Search the Community
Showing results for tags 'Curves'.
-
 Hello, <deutsch see below> I have constructed a Bavarian flag (diamond flag) in the designer: - many rectangles 30 x 1000 directly to each other, grouping - Copy the group, rotate by -51° - Rotate both groups by +67° - Colorize half of the resulting diamonds in blue, the rest in white or transparent, so that the laser does not perceive it as a shape afterwards. This worked so well. I save this as a future base for Bavarian flags. Now I need a strip 170 mm x 40 mm of it. Rest should disappear or be finally deleted. For this I marked both groups and cut them to size with the cut tool. Here is the first issue: The rest still exists, it's just not visible. How do I delete everything around it completely? Now I want to punch a rectangle in this remaining strip. A font is then to be embedded in this rectangle. The punched rectangle must become transparent again so that the laser does not do anything here. Unfortunately, I fail completely. I can't get the transparent "hole" punched through the many individual blue diamonds. How can I punch out a shape from a large number of individual curve objects that actually affects only a part of the objects? Or did I go about it the wrong way? The important thing is that I can end up exporting an SVG that can only export the blue diamonds and partial diamonds and the font as curve objects. This is the only way I can tell the laser where to laser at all and where "nothing" is. many thanks I can also post partial results as files here. I just didn't know what I needed and didn't want to upload too much here. deutsch: Hallo, ich habe mir eine bayerische Flagge (Rauten Flagge) im Designer konstruiert: - viele Rechtecke 30 x 1000 unmittelbar aneinander, gruppieren - Kopieren der Gruppe, drehen um -51° - Drehen beider Gruppen um +67° - Einfärben der Hälfte aller entstandenen Rauten in blau, Rest in weiß bzw. transparent, damit der Laser das nachher nicht als Form wahrnimmt. Das hat so gut funktioniert. Das speichere ich als zukünftige Basis für bayerische Flaggen. Nun brauche ich davon einen Streifen 170 mm x 40 mm. Rest soll verschwinden bzw. endgültig gelöscht werden. Dazu habe beide Gruppen markiert und mit dem zuschneiden Werkzeug auf Maß gebracht. Hier ist das erste Problem: Der Rest exisitiert immer noch, ist nur nicht sichtbar. Wie lösche ich alles umliegende vollständig? Nun möchte ich in diesen verbleibenden Streifen ein Rechteck stanzen. In dieses Rechteck soll dann eine Schrift eingelassen werden. Das ausgestanzte Rechteck muss dabei wieder transparent werden, damit der Laser hier nichts tut. Daran scheitere ich leider vollständig. Ich bekomme das transparente "loch" nicht durch die vielen einzelnen blauen Rauten gestanzt . Wie kann ich aus einer Vielzahl von einzelnen Kurvenobjekten eine Form ausstanzen, die auch nur einen Teil der Objekte wirklich betrifft? Oder habe ich das Ganze falsch angepackt? Wichtig ist, dass ich am Ende eine SVG exportieren kann, die nur die blauen Rauten und Teilrauten sowie die Schrift als Kurvenobjekte exportieren kann. Nur so kann ich dem Laser vorgeben, wo er überhaupt lasern soll und wo "nichts" ist. herzlichen Dank
 -
Hi, I intend to realize a design from affinity designer with a laser engraver on wood. The design contains for example letters. I have converted these letters into curves. For the laser I now need a second version of this letter, shrunk by 1 pixel from all sides. I know this for example from Photoshop. There a selection can be selected 1 pixel narrower. Can I get that in the designer with a curve also somehow? Thanks for your help Regards Sepp Deutsch: Hi, Ich beabsichtige ein Design aus affinity designer mit einem Laser Engraver auf Holz umsetzen. Das Design enthält zum Beispiel Buchstaben. Diese Buchstaben habe ich in Kurven umgewandelt. Für den Laser benötige ich nun eine zweite Version dieses Buchstaben, der um jeweils 1 Pixel von allen Seiten geschrumpft ist. Ich kenne das zum Beispiel von Photoshop. Dort kann eine Auswahl um 1 Pixel enger gewählt werden. Kann ich das im Designer mit einer Kurve auch irgendwie hinbekommen? Danke für eure Hilfe Grüße Sepp
-
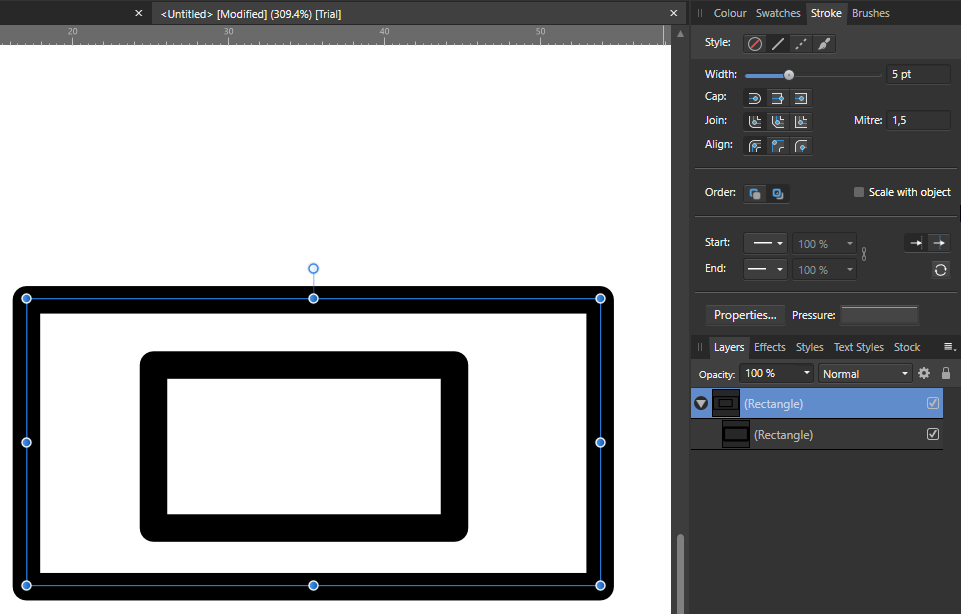
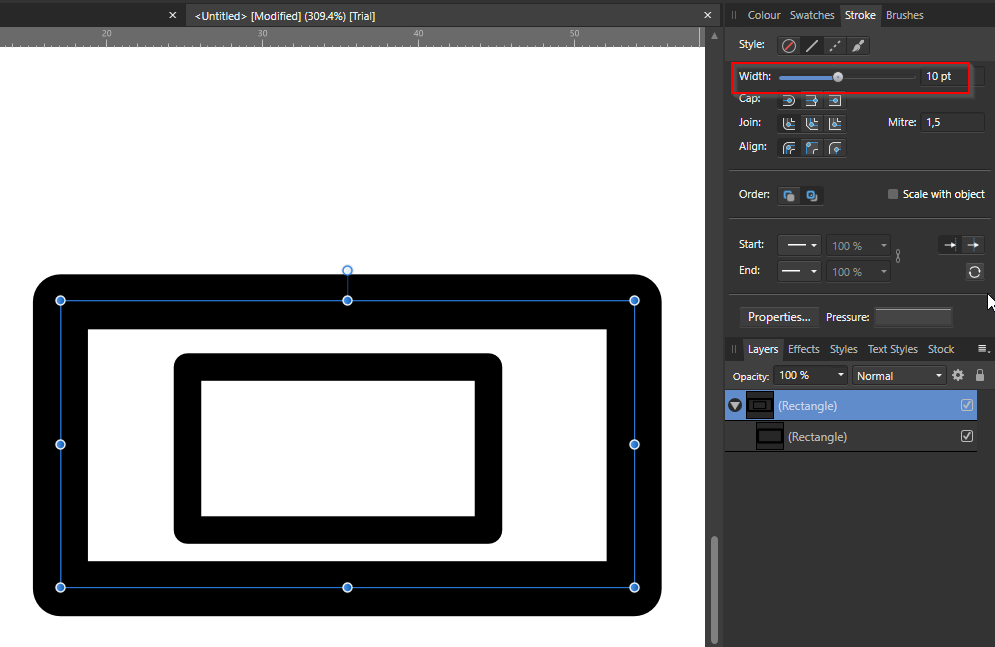
 I have a question about curves / shapes inside another (parent - child). When selecting shape or closed path containing curves, stroke modification change only parent item. To change children strokes, they have to be selected separately. When items are grouped, there is no problem - changing group stroke make effect on all items in group. Is there a way to change child property when changing parent, or to select both, parent and child, to apply format for all items.
-
Hi, sorry if i am to stupid to find the answer myself ... but i am puzzled. If i open a curve layer and add a preset ... how can i use the preset when creating a new layer? i just do not find the trick ... Sascha
-
 Hi, when using a RGB document and then a curves layer with LAB color space, affinity becomes totally slow. I added a DOF filter like James Ritson in his 1.9 Youtube today, when you mode the center it takes about 1 second to update. rainbow lab curves slow.afphoto
 -
What do the experts say: add a curves adjustment, select the alpha channel select the color picker Should the picker select the alpha or the lightness value to find which part of the curve to ajust? In my experiments, it selected the lightness, which might be not what you expect when modifying alpha. curves alpha picker.afphoto
-
 Hello, I have just recently started getting into Affinity, and so far I'm really enjoying it! Today I wanted to try something a friend told me he does in Photoshop, but it appears (to me) to be buggy in Affinity. I have an image in Lab color mode. Create a curves adjustment layer (it shows as default the Lab "Master" channel). Switch to AOpponent channel in the curves dropdown. Click "Picker," pick a spot in the image, and drag slightly up/down to create a curve node. What I would expect here is a node on the curve corresponding to where that pixel lies on the A channel's axis.. but instead I seemingly get a node corresponding to where it is on the L axis. In other words.. If I pick a bright white cloud, I get a node way far to the right.. even though I've selected the A channel, not the L channel. And if I pick a dark pixel, no matter the color, I get a node way far to the left. If I pick a midtone pixel, I get a node near the middle. For fun, I converted my image to RGB mode and tried it with curves in RGB channels, and had the same result -- the picker picked seemingly based on pixel brightness, not channel value. I hope this makes sense. Perhaps I'm missing something and this is not a bug. :-) Thanks for reading.
 -
 I made a series to curved shapes of increasing size that I would like to flatten into a layer so I can fill the spaces with different colors/gradients. I see lots of advice on converting raster to vector but not the other way around. Can Should I convert the curves to selections? I feel really lost here.
 -
 Hi!! Would you please give me some advice? A lot of times when I am trying to create a circle, no matter what I do, it ends up looking like a 3rd grader did it. As you will see the spiral at the bottom of the first S, I just cannot get it to look any better than that! No matter what I do to make it look better, it ends up looking worse than this! Could you please share some suggestions? Thank you! Wilson
 -
 In photoshop when applying a curves layer there is a hand tool that allows the user to select a point in the image and that point will be represented on the curve so you can adjust based on a particular area of the photo. Does this function exist in Affinity for iPad? I searched and don’t see in the app that I do anything other then creating points on the curve and adjusting.
 -
My dad just downloaded the newest version of Photo for Windows. When he tries to add a curves adjustment, the histogram is greyed out and doesn't match the curves in the main histogram panel. Individual color channels show the correct graph (albeit greyed out), but when he chooses the master channel, the graph is wrong. This happens on all new documents. I've attached a screenshot of the curves adjustment panel next to the histogram panel to show the difference.
-
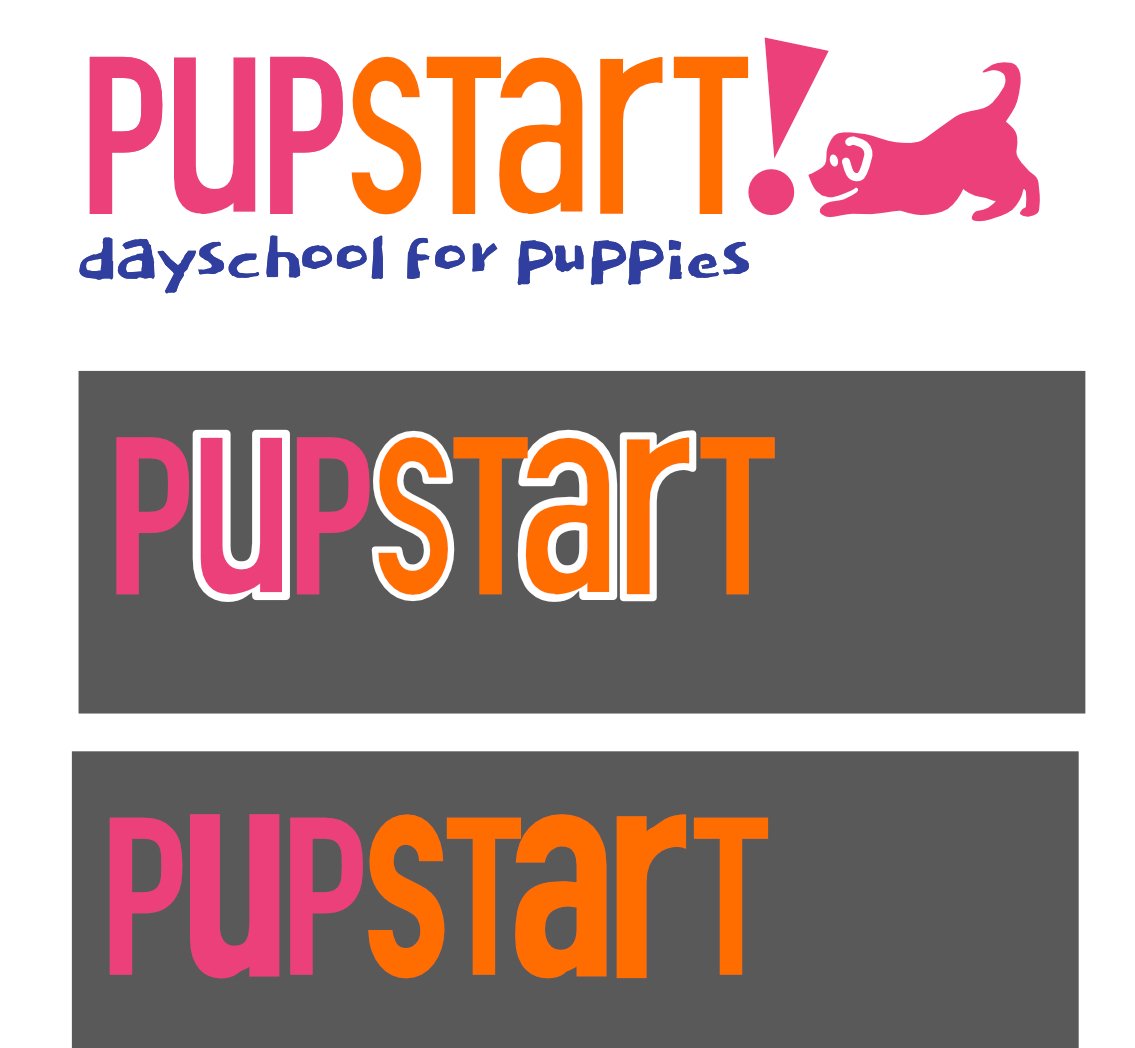
 Help! I created a logo using mismatched font sizes for a custom upper/lower case mix. I converted the text to curves, then manipulated using stroke weight to even out the marks. I was working away on white background and client has approved (and loves) this design based on seeing jpgs. I need to reproduce it as clean vector art and now discovered I'm in a mess of trouble. When I turn the stroke to "none"/invisible, the text bloats out. I'm stuck, any pointers or tips? Many thanks. -Karen
-
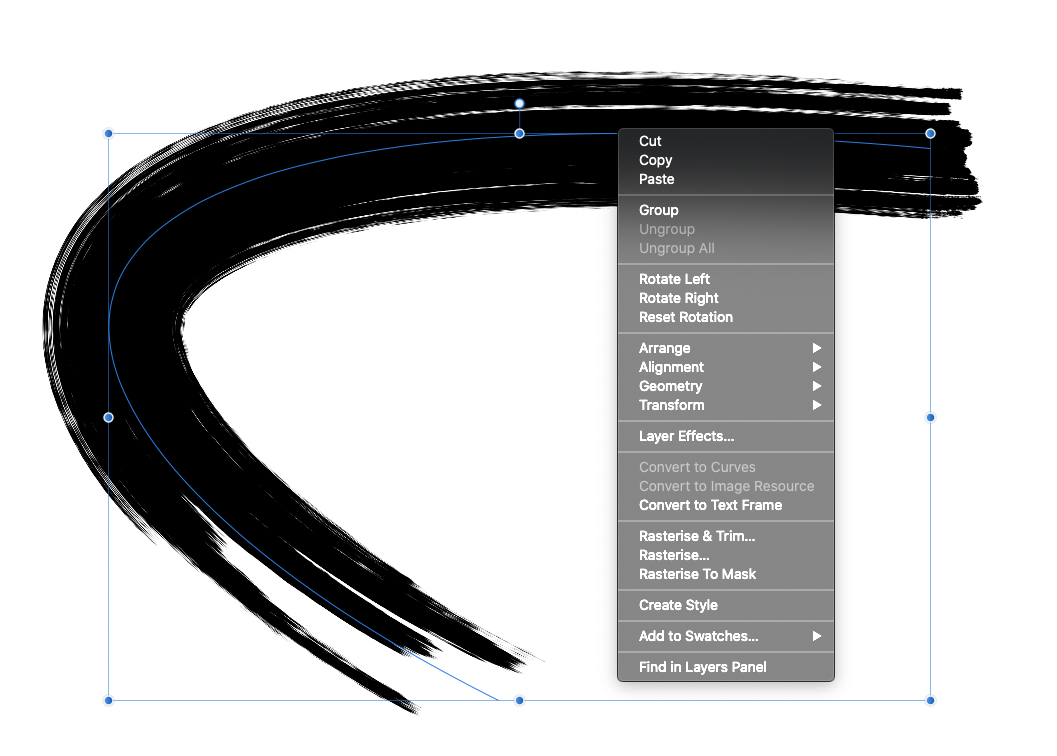
I've been wondering, why there it no option to convert vector brushes to curves? I'm in Designer Persona, brushes supposed to be vector, but the only vector thing about them is that I can edit the trajectory of the brush. Yet, when I wanted to make a 100% vector file out of it, I realised that vector brushes are exported as bitmaps. So, even though the brush tool is labeled as "Vector Brush Tool " it actual isn't. This is all so mixed up - I would expect such behaviour only in Pixel Persona, not in the Designer Persona, where all should be 100% vector graphics. Any tip how to deal with it? Thanks
-
 I am trying to create a inlay template for a CNC router. It is a simple design of a cigar with trailing smoke. The pocket for the template consists of the outline of the design, filled with gray, no stroke thickness. The inlay is comprised of three different wood varieties. When trying to separate the sections of the inlay design into 4 geometric shapes, the fill function respects the curves rather than the individual geometric shapes. Any advice is appreciated.
 -
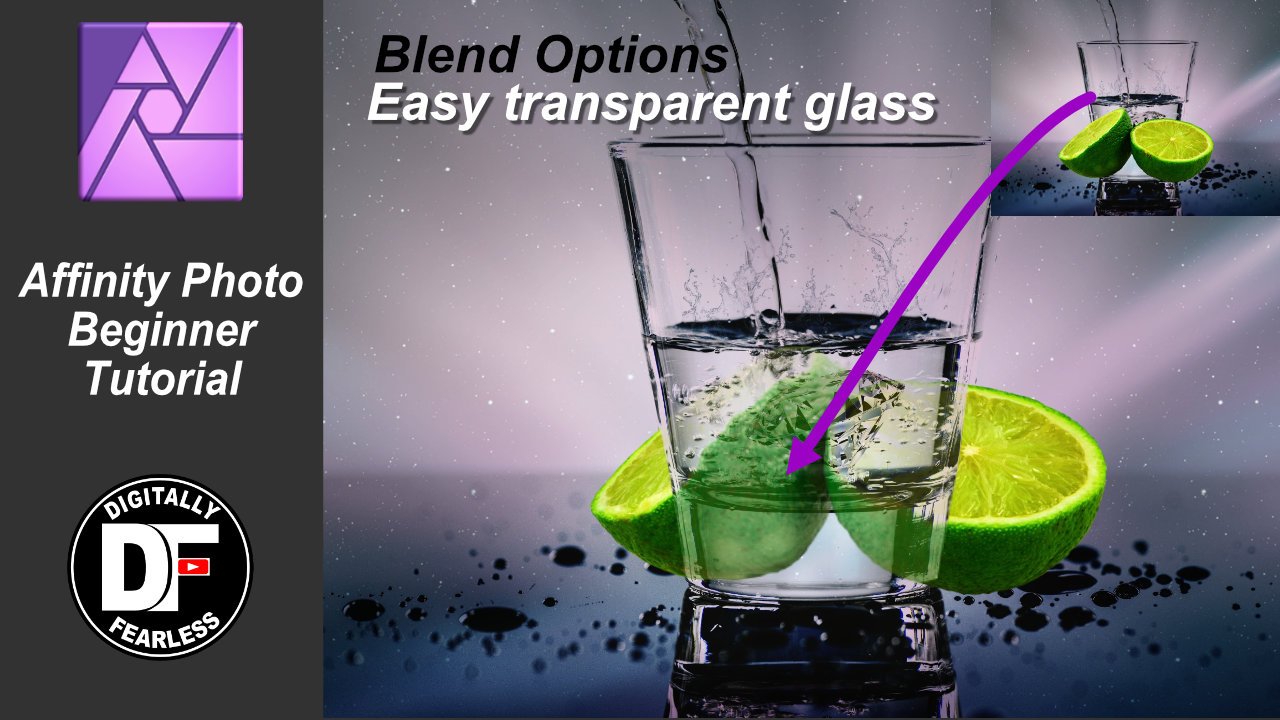
 Transparent glass in minutes. Digitally Fearless Affinity Photo beginner video tutorial on how easy it is to use blend options (blend-if) to make transparent glass. This tutorial also uses curves and liquify. https://youtu.be/PI4pz5RqrWQ
-
- 2
-

-
- affinity photo
- beginner tutorial
- (and 8 more)
-
Hi all I am fairly new to affinity designer and this kind of software on general. I drew a shape using the pencil tool and without realizing what expand stroke does I selected it. Is there a way to undo this? I tried selecting all and converting to curves and I tried using the divide option but so far nothing. Thanks!
-
Hi, I'm placing an SVG file in Designer and try to convert to curves, but the menu item is disabled. This works perfectly with the same file in PagePlus X9. what am I doing wrong? Greetings, Sigurd
-
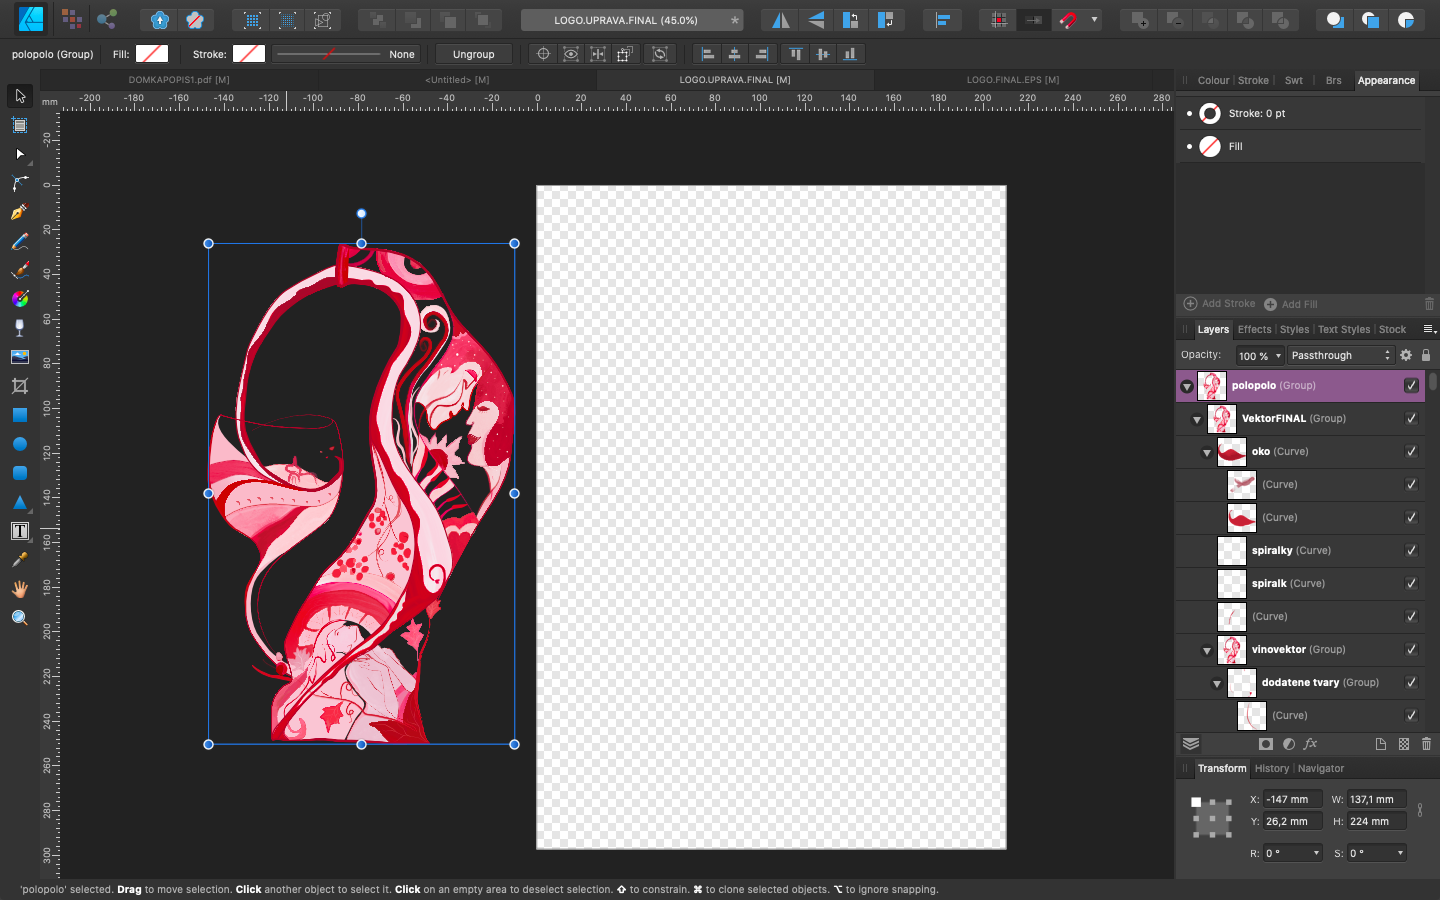
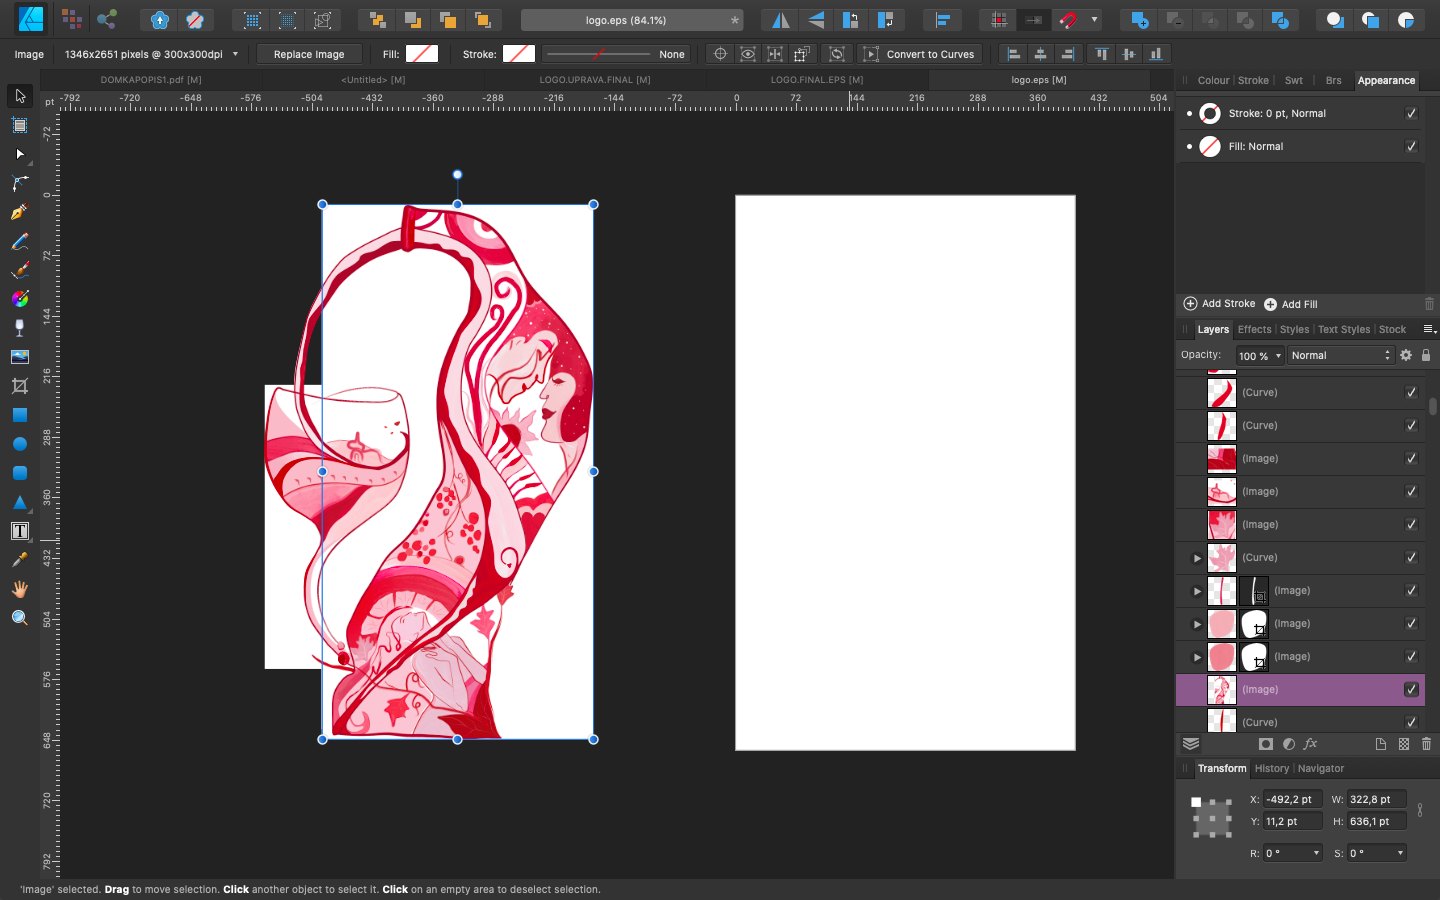
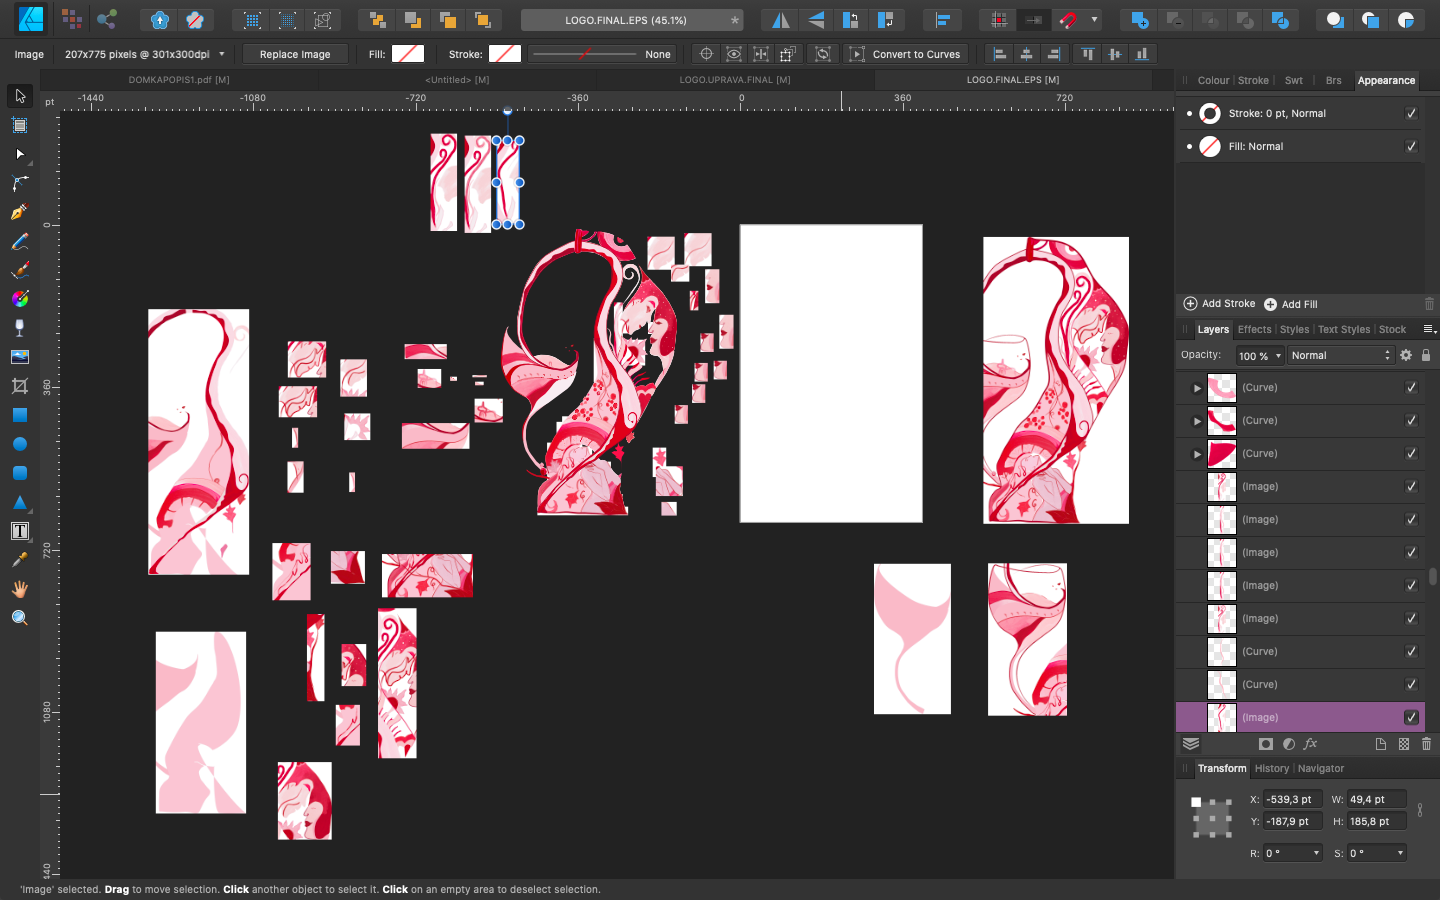
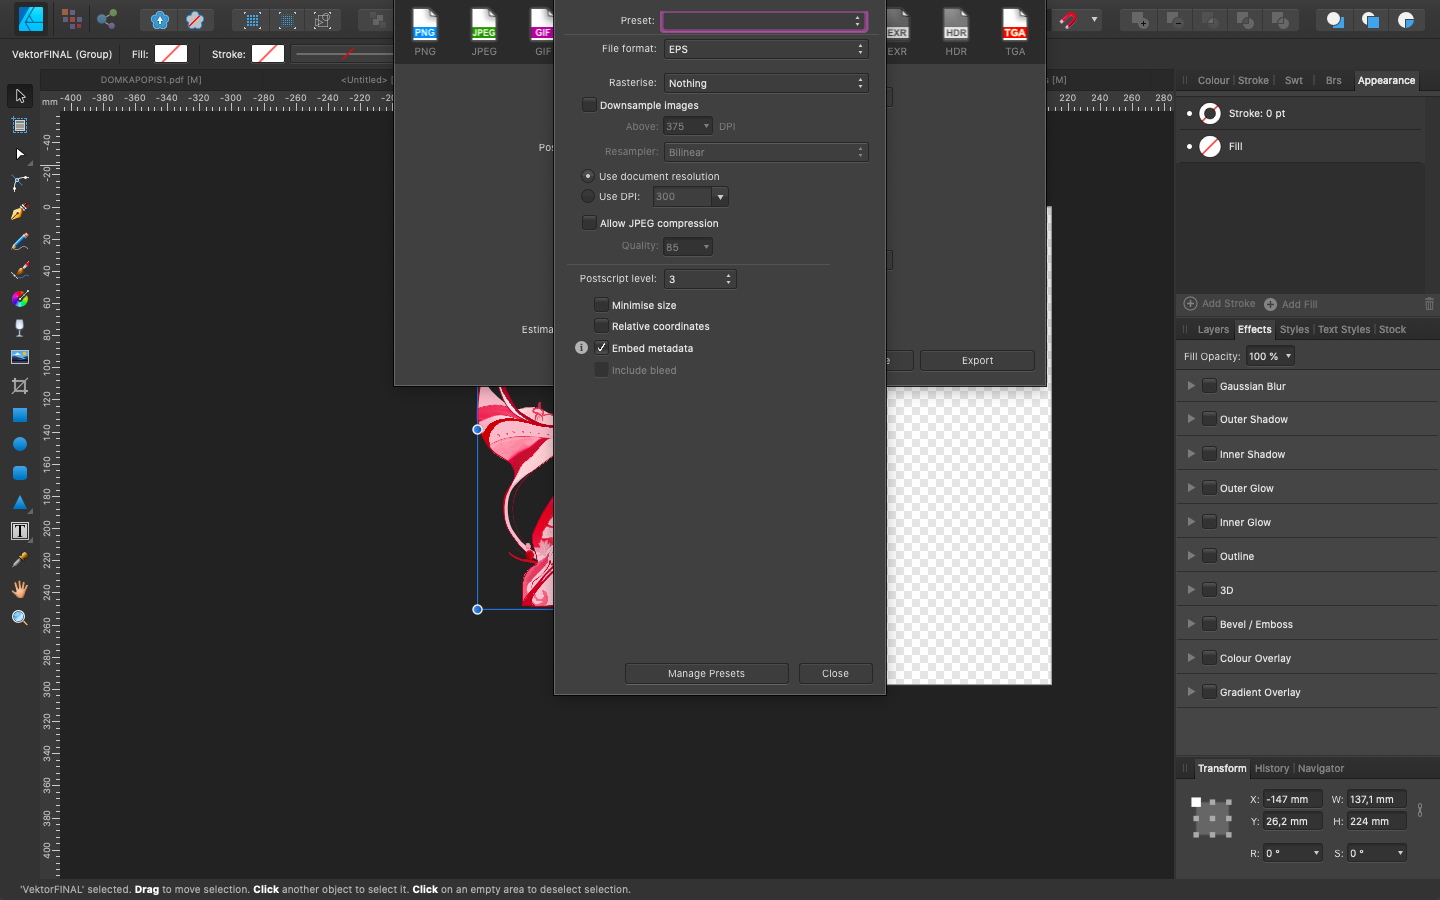
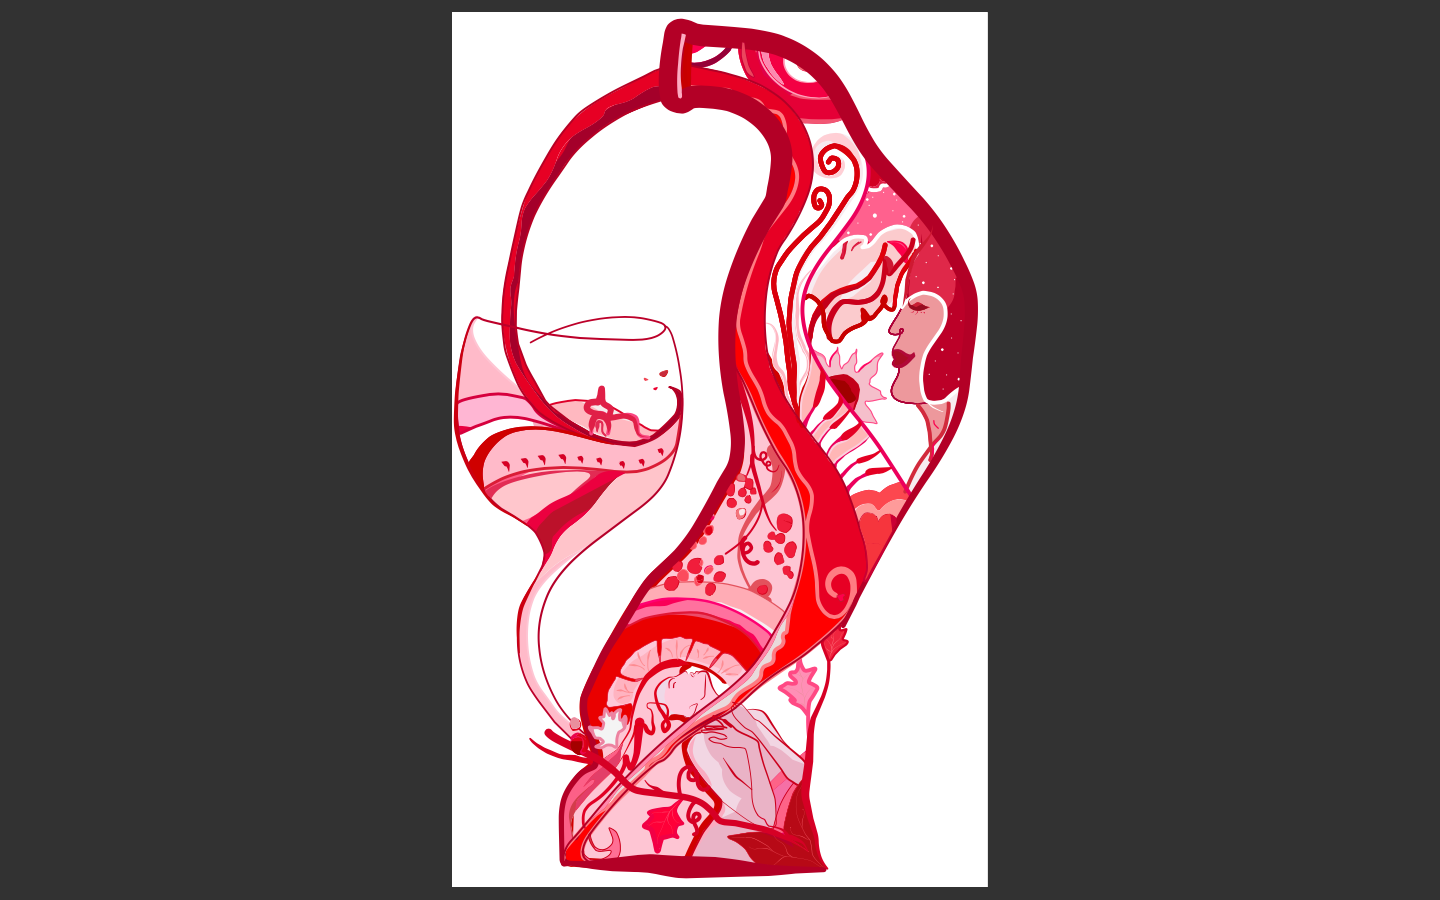
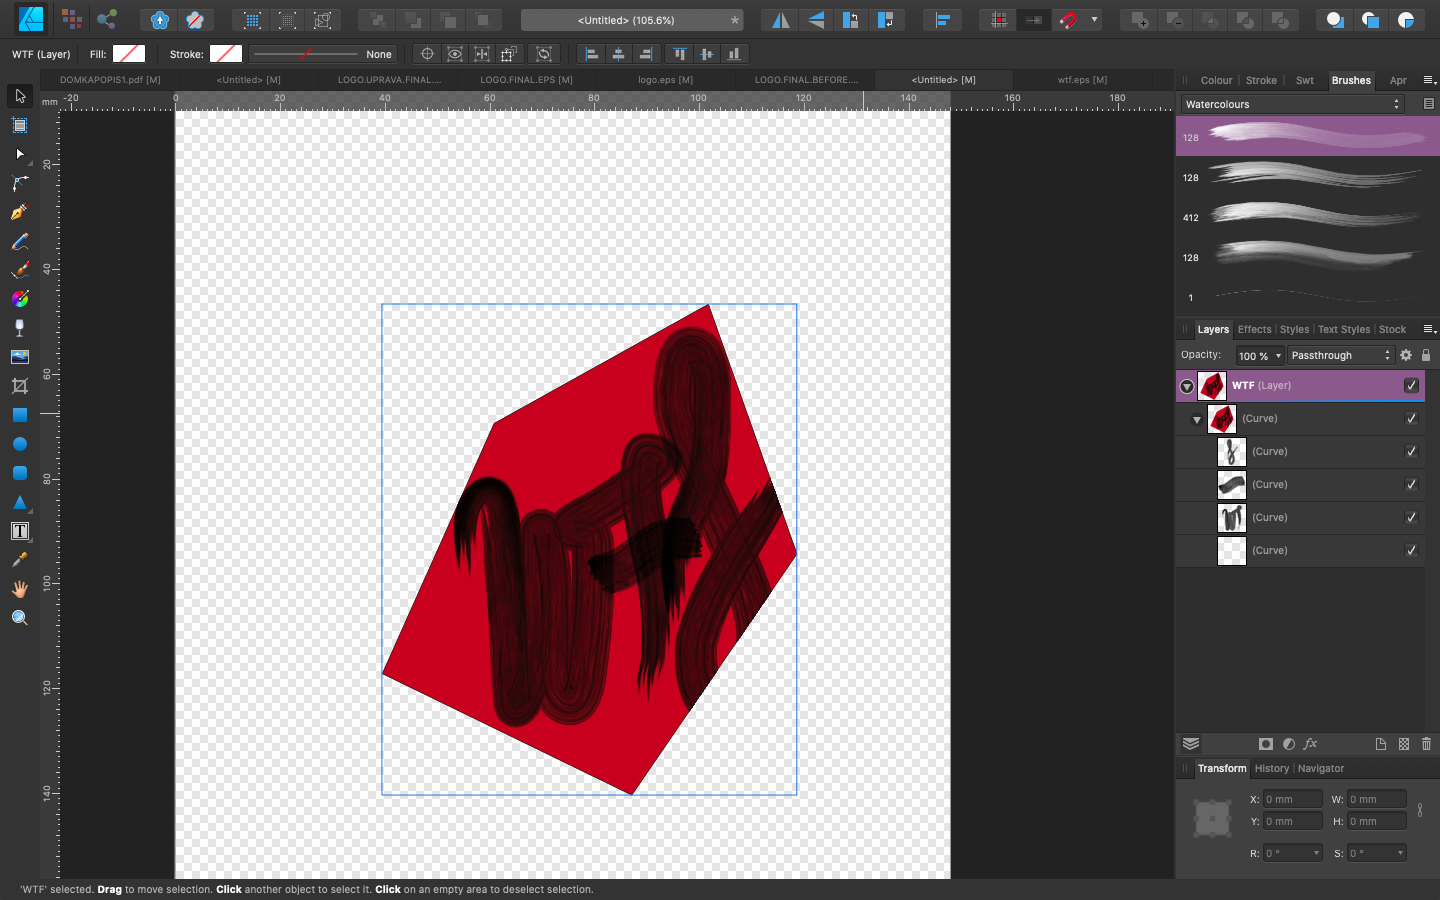
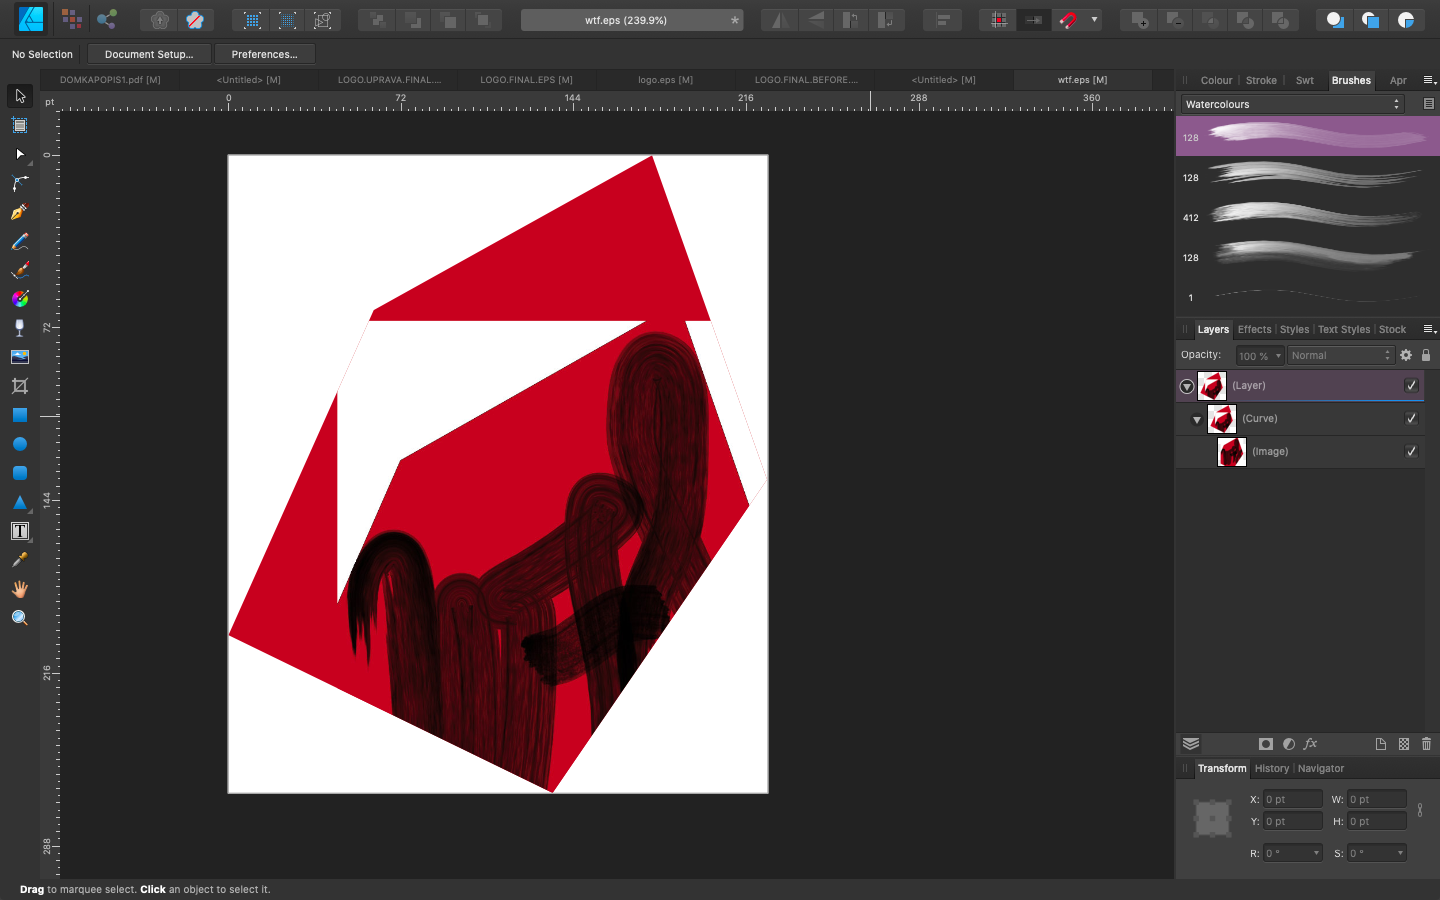
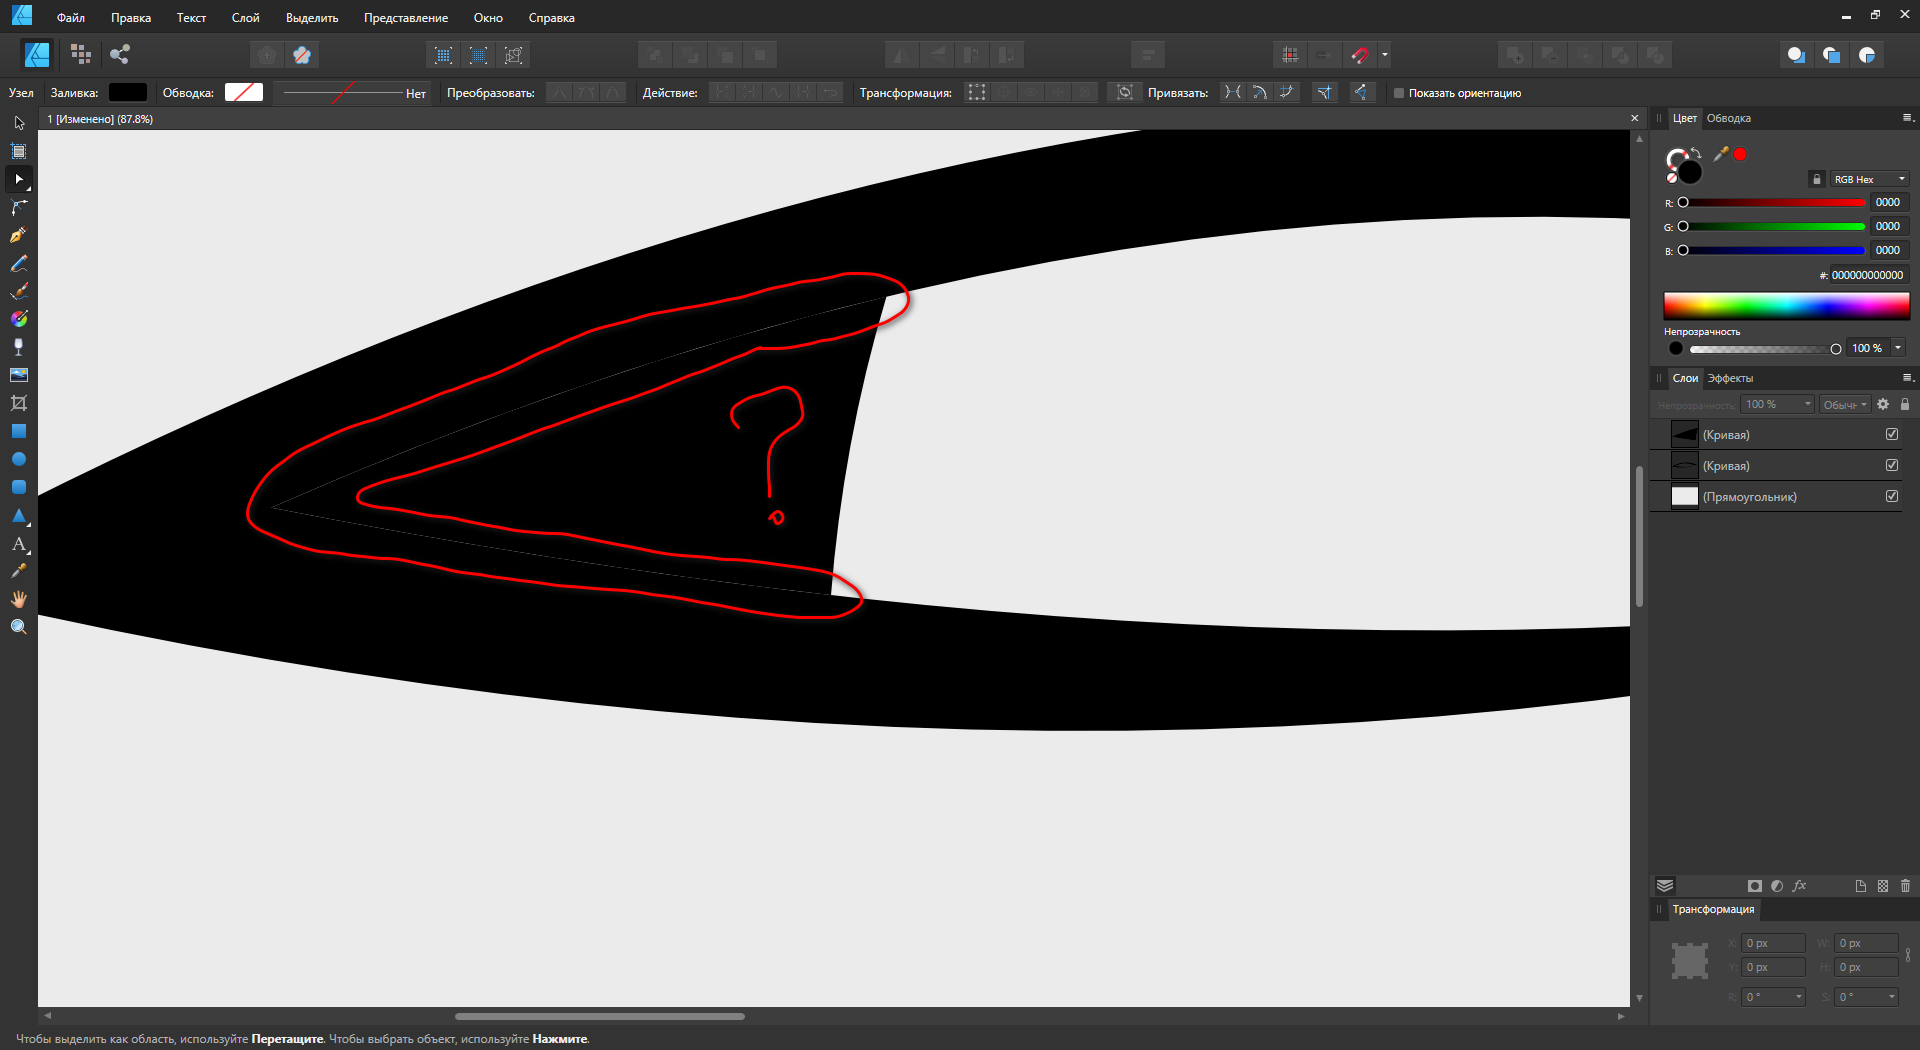
 Hi, so I have quite a strange issue. I was making a logo for my friends winery. I painted it and then digitalized it so she would get vector to use right. I was just in Designer persona for vectors using brushes from this library. The issue is that when I am in the affinity designer the logo itself looks ready, with transparent background etc. but when I export it to eps, white backgrounds behind the shapes appear. I was doing a little research, ticked all the boxes which was supposed to be ticked nothing helped. Then I tried to put the bad eps file back to Affinity and see what is the problem. What I found out is that some of the curves changed to images. When I tried to delete the "white squares" it will automatically delete part of the logo and it is just such a mess. I was wondering if that is because I though I used vector brushes but it somehow transferred to pixel brushes? The thing is it took me a lots of time to find out how to digitalize the painting itself and it was painted with watercolors which was hard to imitate. I was so happy when I finally found out that I can make it in affinity with the vector brushes but now I cant export it. My friend will use the logo in a big size to be printed on a wood. To understand how it was made maybe it will be clear why this is happening for somebody else. I used curves to make the outlines of all the shapes than filled them with color and then I used a mask layer for the filled ones, where I was using vector brushes to imitate the "texture" so It would not be so flat just with a plain color and look like it was painted. I tried to change the option as well for the eps but it resulted in loosing the strokes sizes. i tried to put it in Illustrator as well but the same thing appearing. If somebody knows what to do with it that would be awesome. UPDATE: I tried to just basic shape and the same mask with brush as I used in the logo and it has the same problem. When I export it and put it back it has the white background and it is rasterized. Second option to export it without rasterizing at all results in that the used watercolor vector brush is just black.. So that means it has problem export the vector brushes like vector and it rasterizes them - which i do not get, when it is a VECTOR brush. Or maybe I am idiot and understand the base of vector brushes badly? Here some pictures so you can see what I meant. This is finished logo for export All the layers are curves in this EPS version put back in Aff - curves became images This is to show you how was it made - basic shape filled with basic color and then mask with just brush stroke to make the texture This is the last option I tried but it resulted in the image below - all the stroke sizes, option, brushes deleted. LOGO.FINAL.BEFORE.EX.afdesign
-
 Hello, I've created an object using multiple curves and added them in one using the Geometry tool. Now, I would like to transform the shape (for example bend it in the middle), what would be the best way to achieve this? Thanks,
-
 Проблема с кривыми. Как избавиться? oCam_20200827_003529_track1.mp4
-
 Hi! I wan't to suggest a feature for the Curves adjustment tool. Long story short I've started to shoot color film photography and use affinity to convert the negative film into positive ones for then further process, but in the guide i'm following for converting negatives, the guy uses Photoshop. you drag the diffrent RGB channels before they start clipping, but in affinity its hard to know/see when it starts clipping.. you can eyeball it but you wont get the best results. I plan on doing this process with my film for finer control over the negative converstion alot.. So this little detail to the curves tool would help a ton!! so my suggestion is to add a clip warning in the curves tool ( in RGB mode, clipping for the Master, red, green, and blue channels), much like the clip warning holding down alt in the levels tool Cheers // Peter 😄 (here is the guide im following if anyone is curious, great one! https://www.alexburkephoto.com/blog/2019/10/16/manual-inversion-of-color-negative-film )
 -
 Hello! Cannot find option to convert text in curves? How I can do it? Thx!
 -
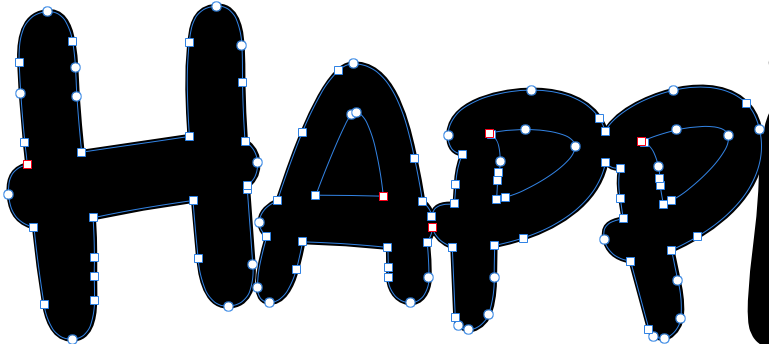
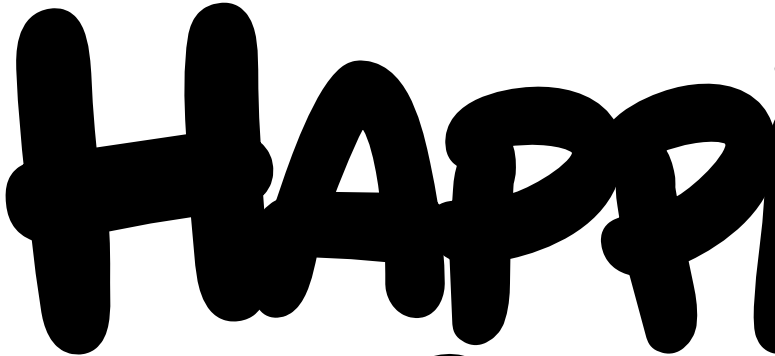
 How do I combine these text letters into one shape/object and keep the stroke size intact? I converted the text to curves, I then "add" the shapes. And what happens is that I loose the stroke size, and the inner white areas are filled in. Thank you to anyone for helping solve this issue.
-
 Hello all I could not find anything about my problem so I started a new thread I am new a designer and my problem is as follows when using the vector brush to design a shape I combine 2 so called curves to make a closed shape. I want to fill this shape with a solid color I select the two curves, use merge curves from the menu And done, but not really with 3 shapes this works perfectly , but with the 3th I am left with a white line through the shape or a colored line outside the shape please advice this Beginner , thanks
-
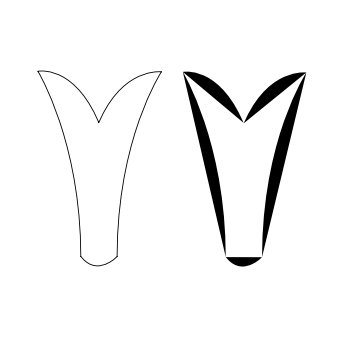
 Hi, I have a simple shape (attached) I'm trying to fill, but despite all the curves being joined it still fills as though they're individual curves. When I joined the last joint it all lit up as yellow, which I assume means it's one joined profile. I also tried several other methods, like drawing each as individual shaped and using 'Join Curves' but not matter what I do I cant get this shape to fill. I'm trying to make the transition from Illustrator to Affinity Designer but problems like this make the transition very difficult. I ended up using my old MAC version of illustrator to do it. Am I missing something? it shouldn't be this difficult. Test.afdesign


.png.957a67a1346a45a488cbc0c5555291dd.png)