Search the Community
Showing results for tags 'Crop'.
-
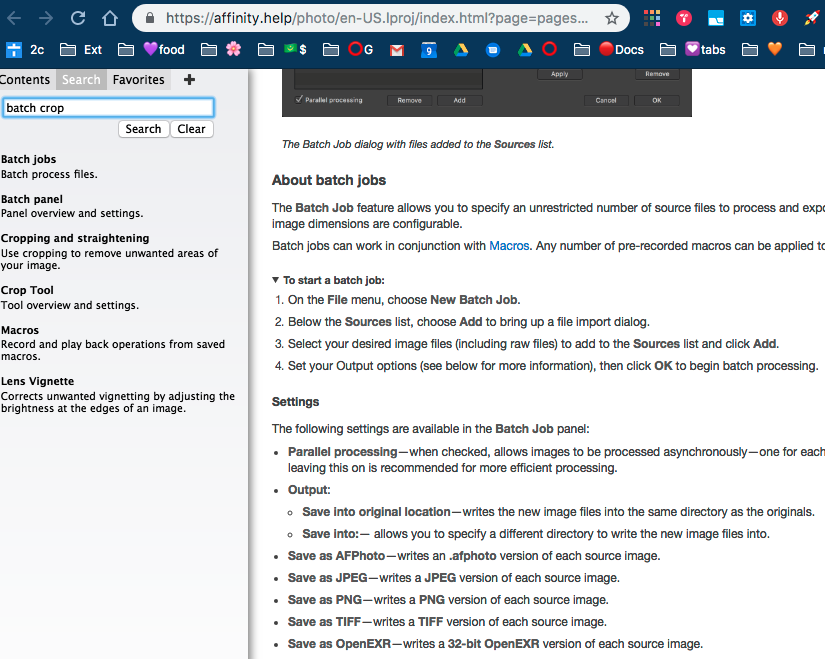
 I've searched various threads, have googled, gone thorugh various Youtube demos — but can't find a simple set of directions that doesn't require watching a 10 minute video that ends up not covering my topic. I bought this app specifically to batch crop and just seems like there would be a ready-made FAQ but I can't find it if it exists. Can someone please point me to a sure-thing guide that is specific to this use-case: Batch cropping into circle? This attached image is too hard and requires having to learn the whole interface and i don't have time for that. I know this has to be a simple process. I would be most grateful if I could get a list of steps. Thank you.
-
 I've been testing out printing my art prints from Affinity Designer iPad. Sometimes I've exported to my computer then printed, and one time I printed straight from the iPad. I want to print an 8x10 sized print, with some white space around. I have previewed the document with crop marks only, with bleed marks only, and with bleed and crop marks checked. Registration marks has been checked through all scenarios. I can't seem to get the print with the correct crop marks so that when I cut it I still have a margin of white space around the print. Does anyone know how I can fix this? Is there a setting I'm missing?
 -
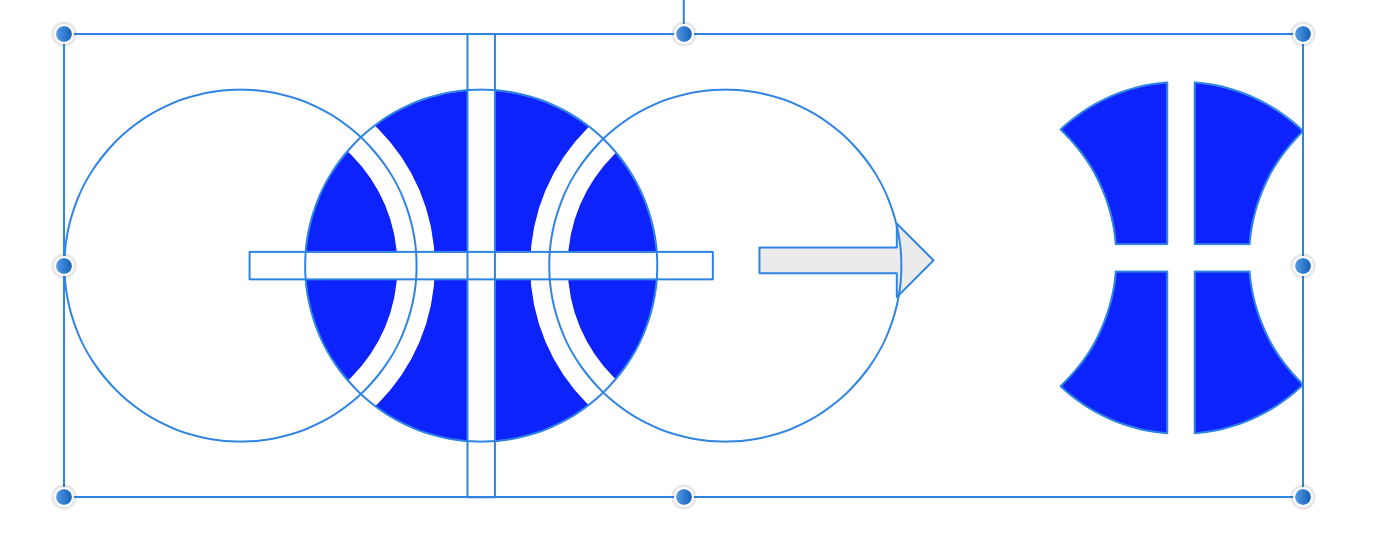
Hi, I was trying to create a shape by overlapping a circle shape with another circle shape (the 2nd circle was only the stroke and with no fill) when I tried to crop (subtract) the first circle with the 2nd circle the program cut the shape as if there 2nd circle had a fill and ignoring it was only the stroke (see attached). I had to convert the circle in to a donut to perform this. Thanks
-
 Hi.. Is there any command similar to the Photoshop "Image - Crop" after making a selection? I want to crop and image to that seletion but i can't find how Thanks
 -
 I am completely new to Affinity Photo, having used Corel Paint Shop Pro and Photoshop Elements previously. How do I partially rotate the image canvas by a specified fraction of a degree prior to cropping? Regards, aramin
 -
 Hey everyone, glad to be part of this community! I just started using affinity photo on my iPad Pro. I simply want to crop an image to a custom size ratio (eg. 1x1) and add a frame to it. Right now I crop the image first and then I change the canvas size and add a new layer to create the canvas but... I am not able to anchor the crop tool to the borders of the image When I crop the image, the uncropped part remains underneath and I cannot create the framing all around it Setting the canvas size is quite a mess I would really appreciate everyone's help :) Nick
 -
I started using Photo 1.7.0.243 So far my issues / comments are: 1) My Canon 77D is now meant to be included in this release yet RAW photos are not visible as thumbnails when I try to 'open' a folder. Am I missing something? This is the main reason I thought I'd try out the beta version. 2) The hand tool used to increase / decrease the image size when twirling the mouse dial, now it moves the image around. Is this a permanent change? 3) Cropping no longer has presets. Do I need to set these up & if so, how? Basic ones like 2:3 & 1:1 would be useful. I haven't done much yet so might add some more comments later. Thanks Julie.
-
I love the various grids on the crop function in AP, but when you correct image tilt and want to keep as much of the image as possible you have to fiddle with the cropping until you have caught the maximum rectangle. Maybe you already have a function like that hidden somewhere, but if not, it would be great if there was a function which could sense the edge of transparency itself and crop just before that. I would certainly help less gifted people like me :)
-
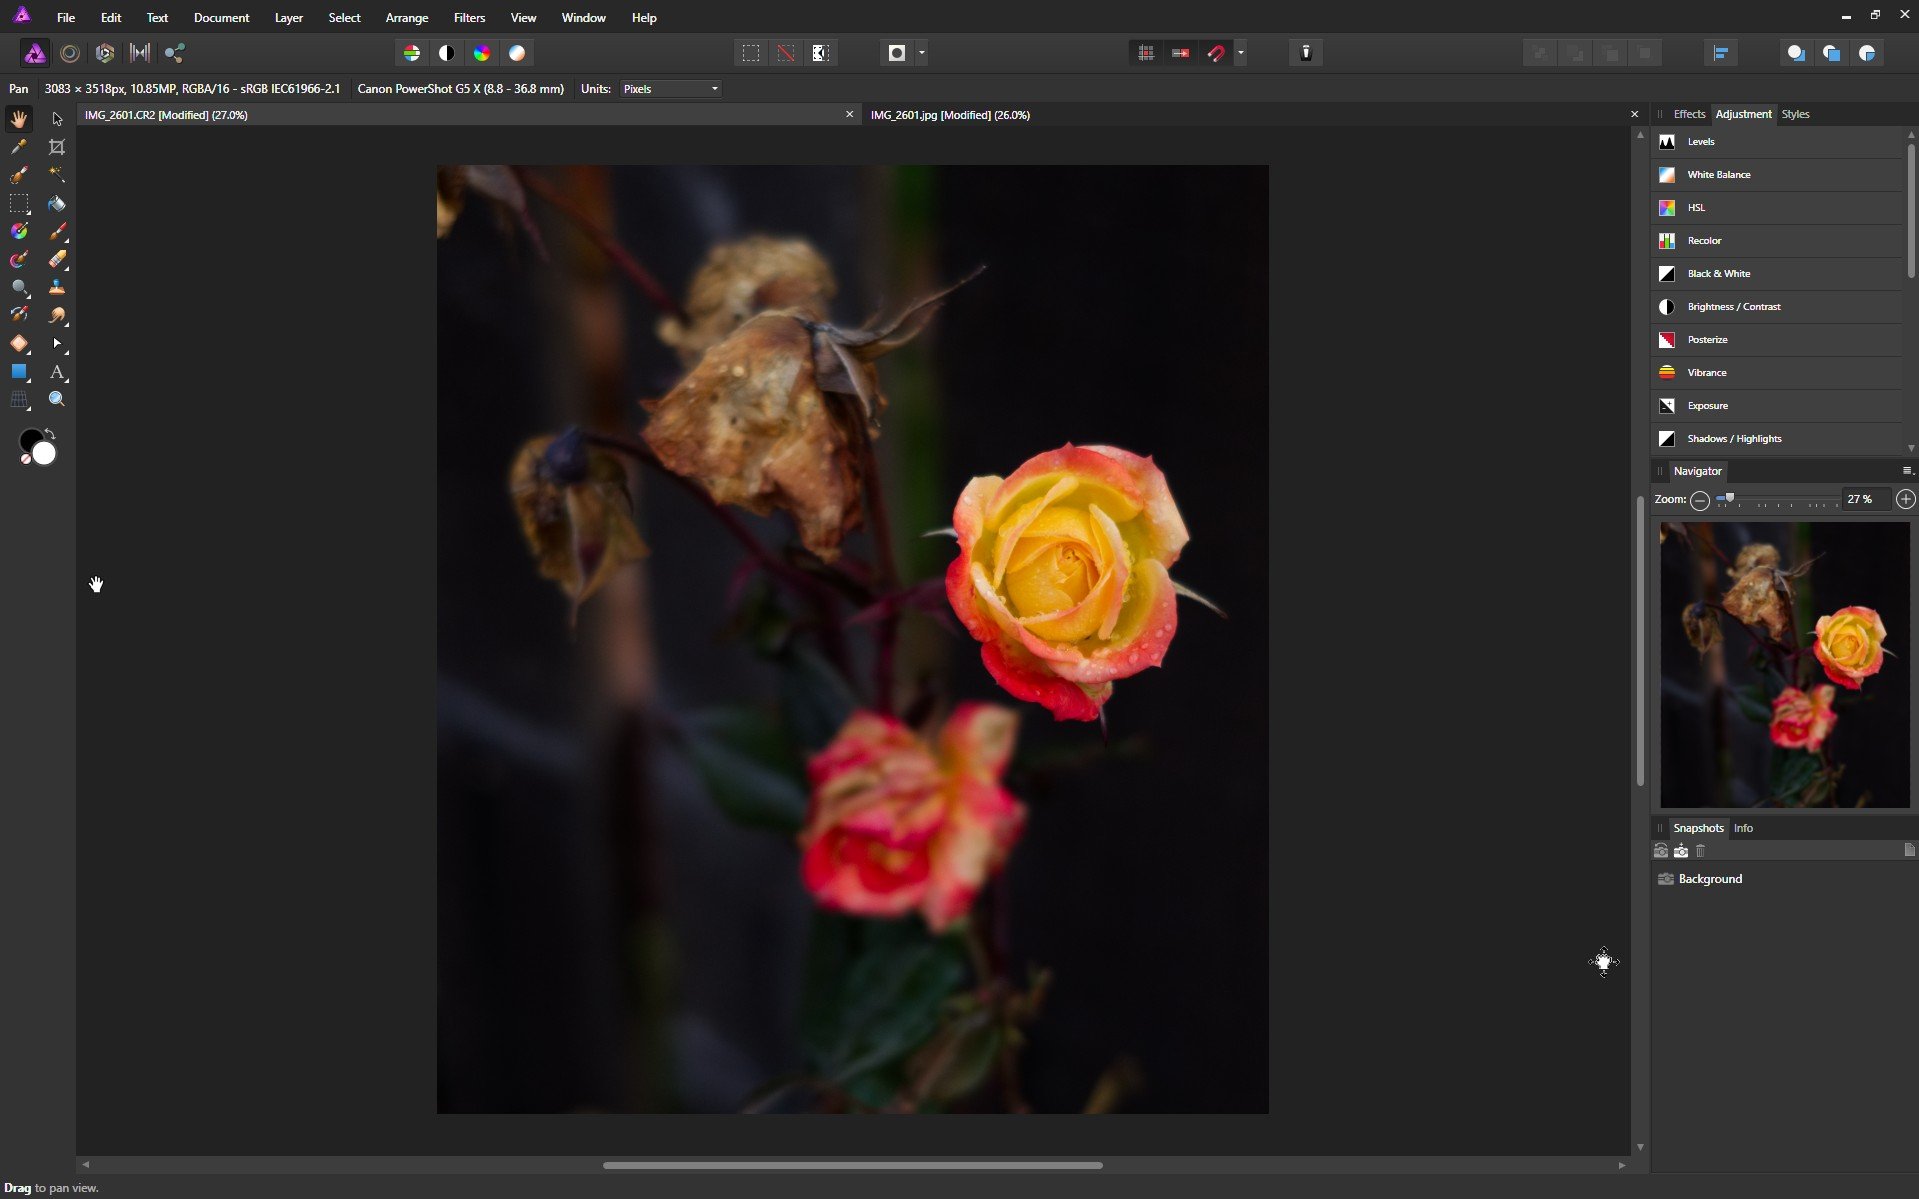
 Hi. Affinity photo on MacBook pro. i am a new user trying out affinity photo before moving from LightroomCC so bear with my lack of knowledge. i have opened a raw file, processed, then developed. i am trying to crop before proceeding. The crop tool shows on pic with the move nodes on corners and on lines. when cursor hovers over nodes I get the double arrow indicating I can crop but when I click and drag nothing happens, the cursor just turns into a cross with arrows. it has worked on a previous picture but........ i have switched of Mac and rebooted but no change. help! peter
 -
 Hi! I understand through quick online searching that it is possible to create bleeding edges on Affinity Designer. Is this possible on Affinity Photo? I can't seem to find out how.
 -
 I do repetitive tasks where I have scans that need to be resized and cropped to a specific dimension. In my previous program (you know the one) I would set the px to 500 x 668 in the crop size boxes and so when I cropped it was already the correct size for me. So I guess it was resizing and cropping at the same time. I can't see how to do this on Affinity. I am so used to doing things this way I cannot even work out how to do it a long way round. If I crop first I crop it to the wrong aspect ratio and then when I resize to my specific dimensions I am distorting the image. Help me please! I am very new to this program, I would like to be able to use it but this is my first brick wall that could potentially destroy my resolution to free myself from 20 years of dependence to a company who don't give a flick about me!
 -
I see new versions are on their way. I am excited, but then I think about the one tool I want and desire and become sad knowing it won't be present.... most likely. Please gods of Affinity.... Give me a DESTRUCTIVE crop (or at the least an option when cropping)! Rasterizing is NOT an option. Sometimes, I just want to get rid of stuff not mask and hide it. So, please please please please please please please please please give us the ability to destructive crop. Thank you.
-

Feature Request: Crop To Selection
Gackt posted a topic in Feedback for Affinity Photo V1 on Desktop
Hello, There's been a lengthy discussion about it already. But it's perhaps in the wrong channel? I hope it's ok that I brought it over to the Feature Request channel It would be great for productivity to have a crop to selection function. Thank you -
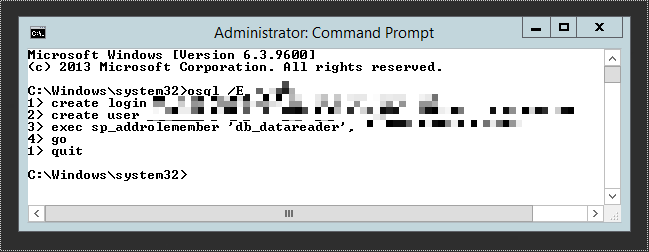
 In Affinity Photo, is it possible to crop an image automatically, like GIMP's auto-crop feature? I'm editing screenshots of an application (see the attached) - I take these with OS X's screenshot feature, roughly dragging around the application window, then want to crop it to retain just the window - removing the dark grey bit in the attached example. The background's all the same colour. GIMP's auto-crop feature removes a same-colour border from an image. Does Affinity Photo having anything similar, or do I have to use the crop tool and select the application window by hand? Thanks.
-
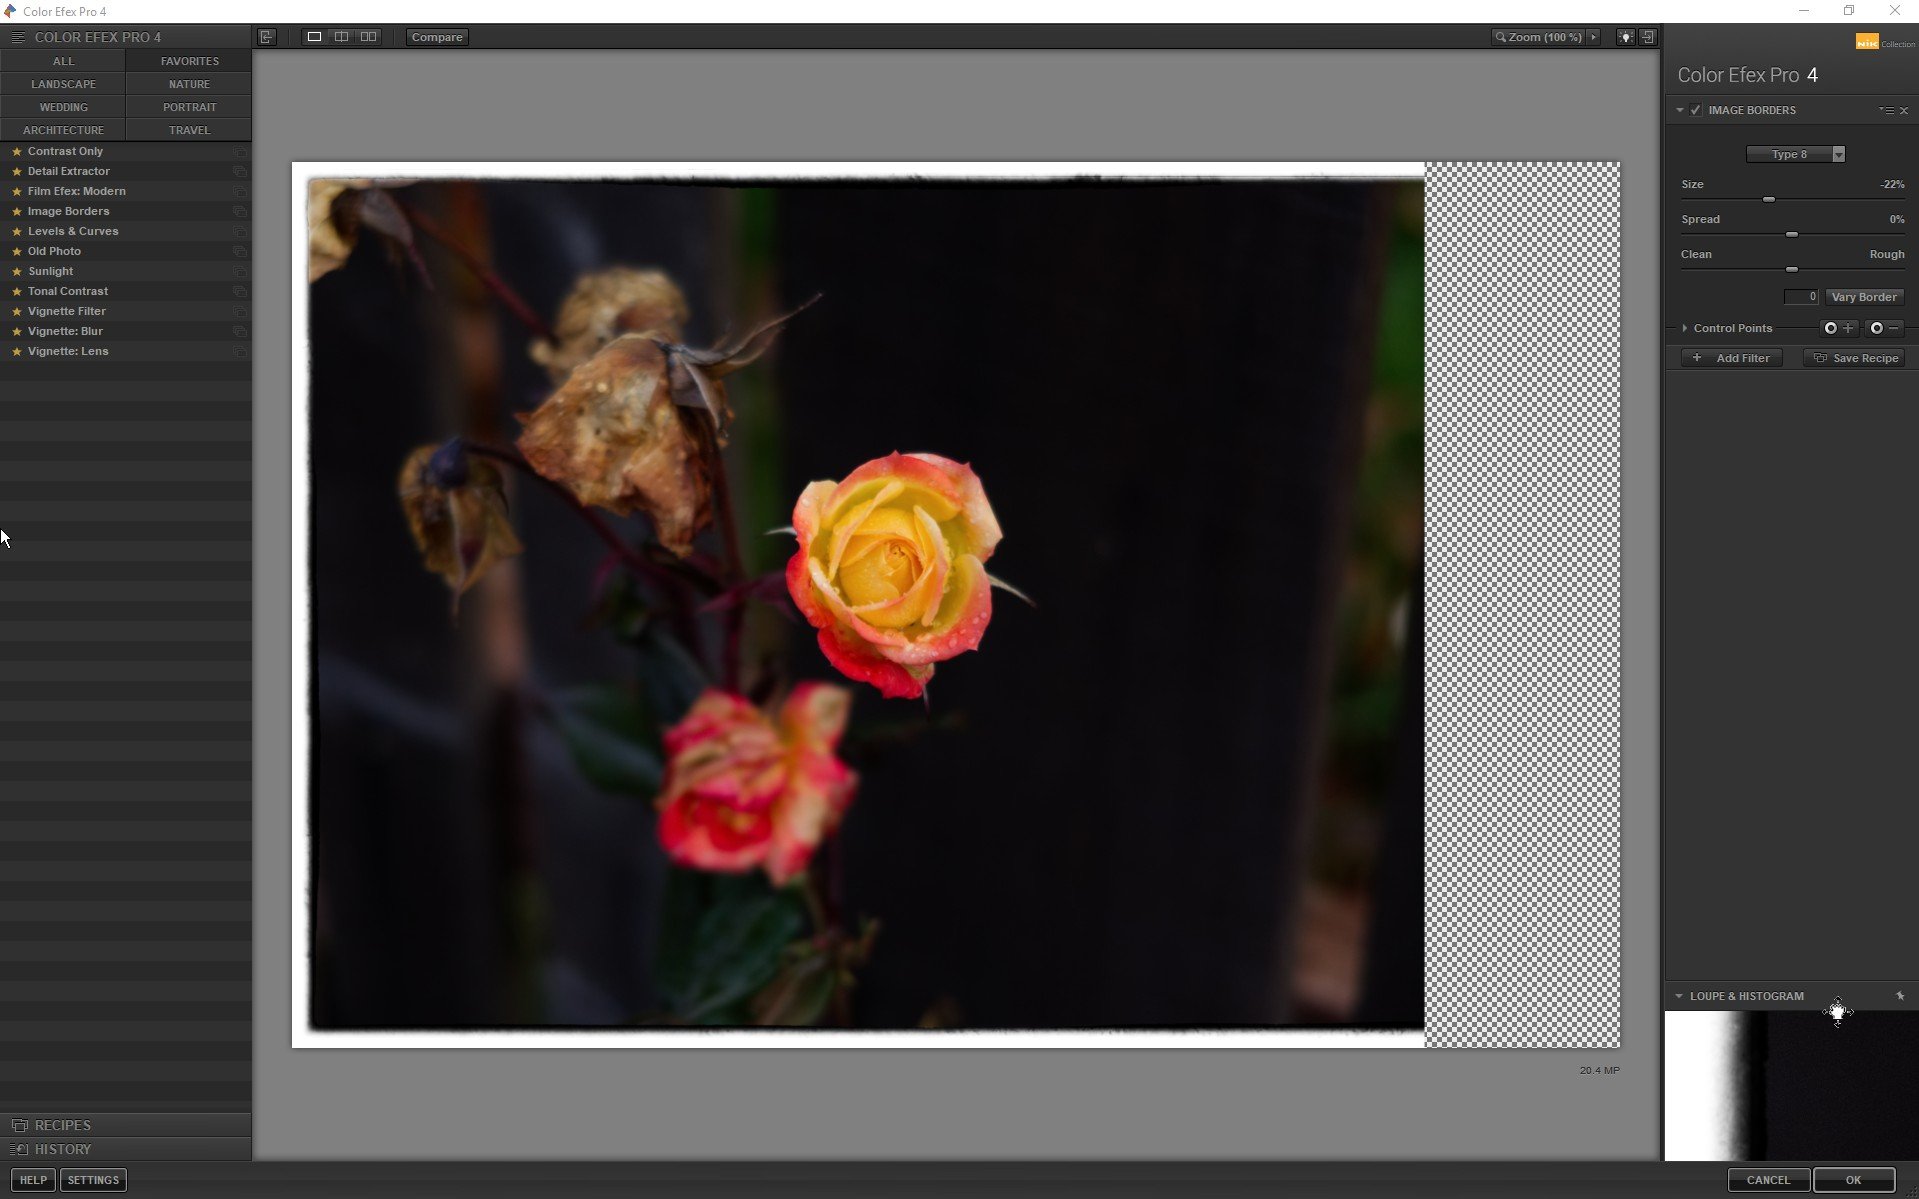
 Hi all. If I convert a file from RAW in Photo then use a plugin filter (NIK, Topaz etc) any crop I have added is lost. Even if I convert then crop in Photo the crop is still reset to the original proportions in the filter. See the screenshots for examples cos it's kinda hard to write about while listening to Pretty Fly (for a white guy) loud! Do others see this?
-
 Hi! Does anyone know how to create a Phi Grid (based on the Golden Ratio) overlay in Affinity Photo? (The Golden Ratio is divides the frame into sections resulting in a grid that is 1:0.618:1). I want to use that overlay for composition and cropping. I know we already have a Golden Spiral, but I like the Phi Grid for landscapes and other types of images. For more basic info on the Golden Ratio you can check this article, specifically for photography: https://www.apogeephoto.com/how-to-use-the-golden-ratio-to-improve-your-photography/ Thanks!
 -
Hi, I would love you to consider adding a Phi Grid as an additional option to the existing cropping overlays. As you probably know, it is based on the Golden Mean just like the Golden Spiral but I find it more useful than the later for landscapes and other types of images. Thanks for all the outstanding work you are doing!
-
 Each time the Crop Tool is selected, the Mode menu always opens with Unconstrained. If I am cropping a number of open photographs to, say, 6x4, I need to re-select the required ratio for each photograph. I would love to see a feature that allows the selected Crop Ratio to be remembered - each time another photograph is selected. I would also love to see the selected Crop Ratio to be remembered between each Affinity Photo session. Such a feature would significantly improve workflow when the same crop ratio is applied to a series of photographs.
 -
 The Place Image Tool is very handy but it lacks one essential thing: to be able to CROP the image by holding a modifier key, say ⌘-Shift I know this is possible with the Picture Image Tool but that is too much workaround
 -
 First of all, you guys are amazing. Your programmers and designers have done an incredible job on building Affinity. Look like after 15 years of retouching in Photoshop I am finally going to switch because you have the tools I wanted Photoshop to have but never had, more humane and thoughtful approach to the overall design and much better performance. Now onto important requests. All these are not just vanity features but those that I came across using very often during my retouching works. - add an aspect ratio shortcut Alt or Ctrl to image cropping. I know you have a dropdown, but it doesn't help much. Choosing the right crop and composition is often a multistep process, adjusting it with an aspect ration, then correction a bit without it the on/off etc. It has to be easy to use shortcut to make it flexible. - Path blur. A complex feature, I know. something that blurs along a curve or several parallel or converging curves with adjustable speed setting on ends and along the curve. Very important for automotive photography retouching. - Same but an elliptic curve with multiple adjustable ellipses. - please add blending to dust and scratches. Right now the results are pretty rough just like in photoshop. Could be something similar to the healing algorithm, where the texture is taken from the surrounding areas, or at least some simple pixel blend to remove the rough edges and artifacts around the remove dust/scratches. - Basic metadata edit. Title, description, keywords, copyright. It's important to have it within the same software. I tried to use separate software for that but that makes it a two step process. Photoshop's metadata editor is fine but is missing spellchecking. Opening the GPS location with google maps in a browser would be handy too. Easy to implement I think. Please consider. - an option to have the layer on/off checkbox on left Thanks a lot. Keep up the great work. Will recommend you to all my colleagues. Alex
 -
 Have been a loyal Photoshop fan since version 1, but now that I'm retired but active, the price is out of reach. In searching for alternative tools, found Affinity Photo and I love many aspects of it. HOWEVER, I've run into a couple of peculiarities that I cannot seem to work around. What I'm trying to do is create .png elements that I can combine as web elements to build up a composite image for customers to create their own version of my product. (Think, changing colors on a car image - sort of like that.) Problem is some of these elements are ovals of differing sizes that must come together concentrically on the website. So, I am attempting to use the crop tool to create transparent background .PNG files and it ain't working as (I think) it should. Here goes: 1. Cropping leaves a ghost line around the cropped area unless I find a way to make that area transparent first. 2. Using the crop preset - I create a crop area and save that as a preset. The area is in the center of the drawing. When I recall the preset, it is justified to the upper left corner. Getting it back to dead center is nearly impossible and my images never align. 3. Aside for the misalignment issue from #2, if I use the preset on two different .bmp images, then export them as .png, they do not retain the relative size - one is larger than it should be. Here are 3 bitmap images produced by my CAD. They are exactly the same size, 1387x983 px. The first one is an oval board with blue place holders for two overlay tracks, the 2nd and 3rd files. BTW, on the toolbar it says that all 3 are represented at 84 - shown here. So, I remove all but the tracks on the 2nd and 3rd files to create the overlays as .png files, attached. Then, when I "place" these two back onto the board graphic, it seems to work. Here's the problem. When I crop these 3, I must recenter the crop tool each time and cannot make it exact with my eye. The result is that the .png files I create for each is slightly on a different center and the overlays don't line up properly, as shown in Sample Board - Cherry with 2 tracks Thoughts? Sample Board - cherry.bmp Sample Inner Track.bmp Sample Outer Track Maple.bmp
-
 Newbie here. I notice that when I use the crop tool to straighten an image or remove parts of an image, it lists in the history the various steps that I have taken. For example, I perform the following using the crop tool, and the corresponding data is shown in the history. Change mode of crop (to 16:9) Constrain Crop Pan around Pan Crop Resize Resize Crop Rotate Rotate Crop etc. Then, when I click apply, all of that history is erased and replaced by "Raster Crop." It appears that only one action has been take on the image. Is it possible to undo each of the steps that make up that change. If I click Undo (or go back a step), I have to start from scratch. I would rather be able to back up a step or two, like to after I did the Pan Crop (in the above example), and then do the Resize and Rotate again. Thanks for your help.
 -
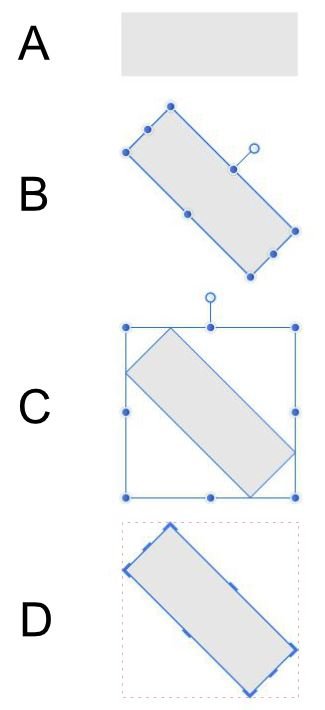
 When I have rotated a shape - or whatever - I sometimes want to crop it in relation to the page but can't find a way of doing it. (Think of the scalpel blade going down or across the page rather than at the same angle as the object.) I can reset the selection box so I can manipulate the shape that way but it would be nice if I could reset the crop box in the same way. Consider the attached image: A. Draw a rectangle. B. Rotate it - the selection handles "follow" the shape. C. Press "Reset Selection Box" and the selection handles move to a box that surrounds the rectangle in the same orientation as the page rather than the rectangle. D. Use the Crop tool but I can't find a similar way to reset the crop tool - to the dotted red line - so I could, for instance, cut off a corner of the rectangle. Is there a function I don't know about or, if it's not currently possible, a way to reset the rotation of an object without actually rotating it back? I know I can put the rotated object inside an 'invisible' shape but then I can't easily move the 'crop'. I found a way of doing what I want by adding a small non-rotated object to the rotated object but this seems like a bit of a hack. These posts are similar to my situation but not quite the same: * https://forum.affinity.serif.com/index.php?/topic/64166-feature-request-crop-by-bounding-box * https://forum.affinity.serif.com/index.php?/topic/61346-crop-tool-problem This thread mentions up-coming improvements to the "vector crop tool" in the first post but doesn't give any details: * https://forum.affinity.serif.com/index.php?/topic/52300-sneak-peeks-for-17
-
 I have a photo that I'm cropping to a 6:2 ratio which is fine. However when I move the crop tool vertically I can't figure out how to constrain it so it only moves vertically and not horizontally. I would expect holding shift while dragging would restrict movement to one direction only. What happens is that I move it vertically to where I want but inevitably I have shifted 1-2 pixels to the side and now have an white bar on the side after cropping. How can I do what I want?