Search the Community
Showing results for tags 'Crop'.
-
 I have looked through the forums, the support pages, and watched a couple YouTube videos, but I haven't found the best method of accomplishing my task. In summary, I want to take a .jpeg image, and cut out the background of spaces outside the image, and inside the image. Then I want to export to SVG. I want the background of all the spots I've cutout to be transparent. With the methods listed below, my image cutouts are not transparent on the exported SVG. My image is a case. sample.afdesign is attached. I am using Affinity Designer V2 at the moment because I found the most documentation and methods around using this software. The methods I have found and tried are. using the pen tool to draw around the case, give the curve a fill, and then from the layer drop down I made it an erase layer. Visually it looks to do the job, but the exported SVG does not show that area cut out. I tried the Pixel Persona selection brush tool to select the portions of the background that differed from the black of the case. That seemed to work well until I got to the portions of the image where the background was very similar to the case. I had to touch up the edges / stroke with the eraser brush to remove the boarder. I found that I can use the pen tool to make a shape of a section that I want to cut out, choose invert selection to get the piece I want, but I am not sure what to do with it from there. From what I am reading, I feel like a need a method of making the shape of the area I want to cut out, make a mask, then delete the mask. Or flatten the mask and the image I am working with. I don't completely understand the usage of a mask, so I am trying to figure that out as well. If it helps, in the past I used fireworks to accomplish the task with the pen tool, converting that to a marquee, cutting out whatever was within the marquee, and making another shape. I refuse to go back to that. I bought the whole Affinity suite, so if another tools is more efficient I can go that route as well. Thanks in advance for any help. sample.afdesign
 -
 I am creating a children's book and each page has a full illustration. My artist provided the images for a spread as a single PNG image - meaning 2 images (meant for 2 pages) on a single png. I want to cut/crop them into 2 separate individual files. How do I do that on Affinity Publisher? I used the crop tool but it's deleting 1 page while deleting the other. I just want a simple cut through the middle. Thank you
 -
 Hello everyone, How can I flatten an image in Photo? Here's my case: I open an image at 500x1000 px and want to resize its canvas to 1000x1000 Well, I do Document > Resize Canvas, unlink the dimensions, set one side to 1000, and press Resize Of course, Photo adds the transparent 250 px margins left and right Then I do Document > Flatten to make one 1000x1000 flat image And nothing happens; the image still has transparent margins, and when I save it to PNG, it saves the transparency as well. In this case, Photoshop makes a flat image with no transparency, which is right. How can I do it in Photo? Please help me understand the logic of this editor.
 -
Shift+O doesn’t cycle orientation (does nothing) and O doesn’t cycle overlay (selects Burn Brush instead). I’m using an iPad Pro 12.9” 4th Gen. with the Logitech Combo Touch. Latest Affinity Photo 2 and iOS version.
-
 Hey everyone, I honestly don't know exactly how to describe what I've been missing for a long time (actually since day one of Photo) other than the title. But I can try to describe what behaviour I would expect. As you can already tell from the title, it's about the Crop Tool. From certain other tools I am used to being able to click on the top and bottom and left and right centre nodes of a selection, a shape or an artboard and adjust the element symmetrically by holding down the ⌘ key. Here is a short demonstration of what I mean by this (Sorry for the poor quality, but I didn't want it to be a big clip): Crop_Tool_function.mov You could say: »Why don't you just move the active area so that it snaps into the middle?« But here's the thing: Snapping to the centre of the current canvas for some reason does not work with the cropping tool – only document edges and rulers are recognised. All other elements in the document are ignored as snapping candidates. For some reason these two functionalities (simultaneous crop opposite sides and snapping) apparently never made it into the crop tool and I really don't know why because these to me are the most basic functions I use on a daily bases – to crop equal parts from the sides or to snap to elements/candidates on the canvas. I really miss these – am I the only one? 😔
- 4 replies
-
- 1
-

-
- affinity photo
- crop
- (and 2 more)
-
One thing that I have seen mentioned on facebook groups is the crop tool. Most seem to agree that either 'crop to original ratio' be set as default or the the user be allowed to set the option that fits their workflow best. For me it is original ratio as I rarely use any other setting. Can this be added to the relevant programs?
-
 I purchased the entire Affinity suite when it was first released as a Beta. But I had been using Photoshop CS6 so long (and knew it so well) that I never made the effort to switch. Now that I'm on macOS Monterey, CS6 is no longer available. On PS, I used macros extensively and could create what I needed without even thinking about it. I'm confident that I will soon have the same comfort level with Affinity products. But this old dog needs some help in learning my new tricks! My challenge at present is to take a full screenshot and turn it into two pages, one comprising the left half of the screen and the other comprising the left half of the screen. I'd do this for a number of similar screenshots and, when finished, I'd combined them into a PDF book. The process I used in PS was to crop the original to half the size (left side first), then save it with the same name, appending "_Lft" to the name. Then undo the crop and repeat for the right side, appending "_Rgt" to the name instead. Close the image and continue to the next. I would either load all the screenshots at once and automate it to all, OR I would simply batch process through all full-size screenshots within a given folder. For some reason, I'm having an issue getting my head around creating the process in Affinity Photo (age, most likely). Any assistance in regard to the best approach would be greatly appreciated. Drifter
 -
Ok now it's becoming very annoying. AD crashes at least once a day. It crashes when exporting using Export Personna, when copying layers from a document to another (I already reported those 2 bugs). And now it just crashed while I was croping an image. I'm using AD from the first version, I was very enthusiastic at the begining. But I start thinking that this app cannot be used in a professionnal way. Can someone from the Affinity team tell me that those bugs are known and will be corrected soon ? Please stop making new features for now and focus on resolving bugs. I really don't wanna go back to Illustator. Thanks affinity_crash.txt
-
 Attempting to crop a photo this evening when I found that it wouldn't work. The double-headed arrow appeared and could be moved about but it didn't move the grid and wouldn't allow a crop. My husband had exactly the same issue with a different photo about an hour earlier. He has a Mac and I am using Windows 10. We were both using graphics tablets. Closing the photo down and reopening allowed the crop. But then it happened a couple more times with other photos. Prior to that I had no problems with cropping. I have just tried cropping again and now it is working. Baffled. I saw a previous post on the same issue and tried Reset-ing the crop tool but that made no difference. Any ideas? Thanks
 -
 Crop many digitized photos for playback on TV. Format 16: 9 instead of unrestricted desired as a default setting at start. what to do? Please help.
 -
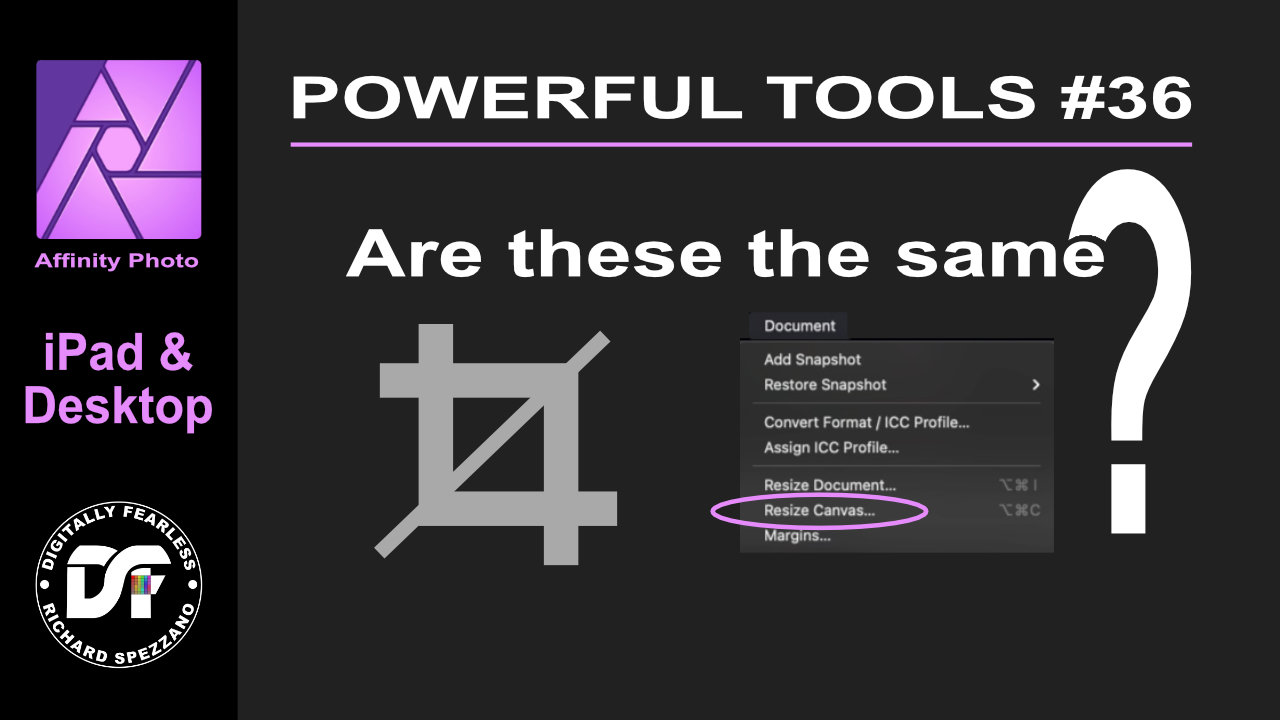
 Power tools of Affinity # 36 iPad and Desktop beginner Affinity Photo tutorial explaining resize canvas vs crop tools and how they are similar. https://youtu.be/qOq3798iSAw
-
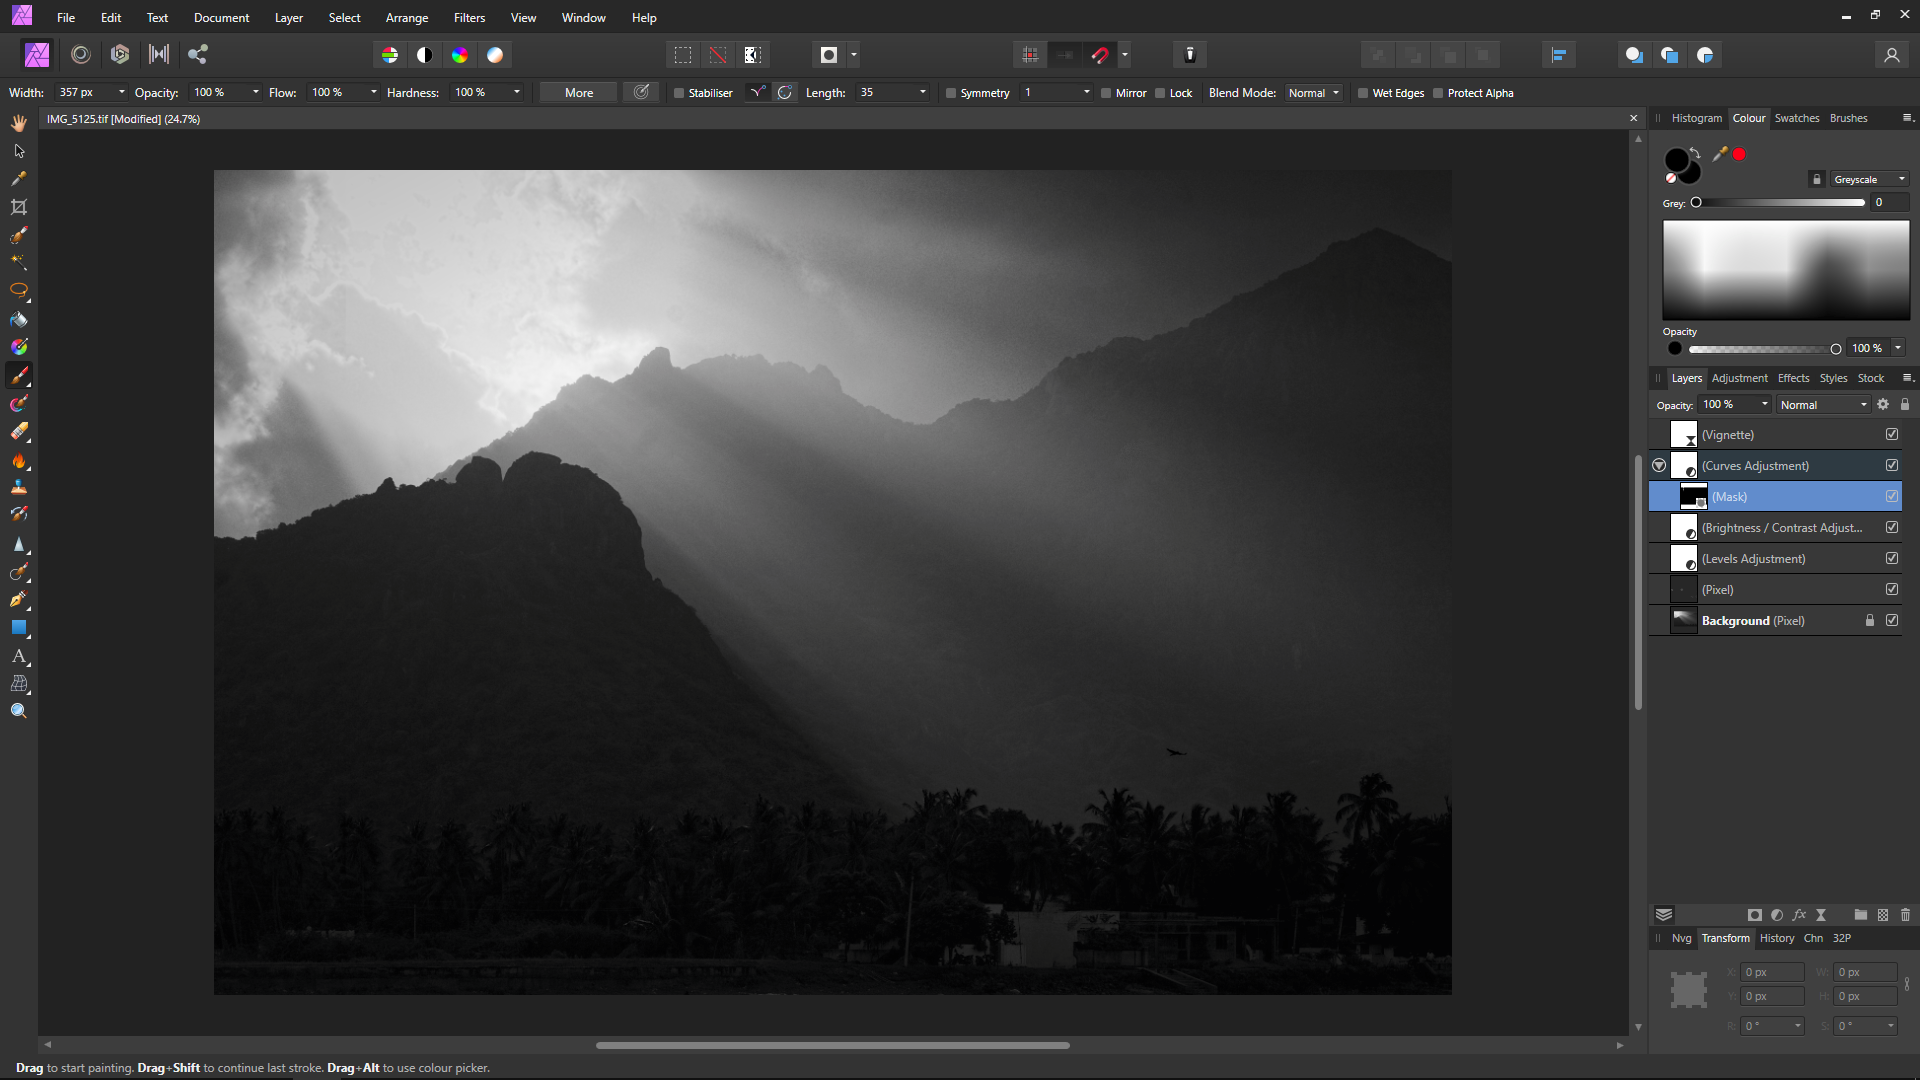
 Hi, I imported an image, cropped it. Then applied curves adjustment with a mask to apply the adjustment on a specific area. I re-cropped the photograph to include more area. The adjustment layer is incorrectly applied on the newly accommodated area, because it was never included in the mask. So when I'm cropping out, the adjustment is automatically getting applied to the accomodated area. Steps to reproduce: Step 1 : Import image Step 2: Crop the image Step 3: Create an adjustment layer with a mask Step 4: Edit the adjustment layer Step 5: Re-crop to include more area Step 6: Check if the adjustment layer is not applied on the additional area included in Step 5 I want the mask to remain the same and not allow the adjustment layer in the newly accommodated area. Any help or directions in this regard is appreciated. Edit: If I select the mask and paint black over the unapplied area, the adjustment layers vanishes from that region. But are there any other ways to do this automatically when we expand the crop? Regards Gokul
-
I have been trying to create an image consisting of a single column of pixes (from one image) replicated sideways. (And do the same thing for a horizontal row.) I first tried using the crop tooj, selecting a narrow crop and entering a small number of pixels in the width box (1, 2 or 3px). Each time, when I completed the crop, the image seemed to disappear. If I then used Document > Resize Document and gave it a full width, Photo just hung. I had to resart my PC to get out of it. Is this a bug, or a feature. I solved my original problem by using Filter > Distort > Equations and entering x=w/2 (or y-y/2) which gave the desired result. John
-
 Since v.1.10, after I've worked on a few files, when I use the crop tool to manually rotate and straighten a photo, there is a lag and a jerky motion which makes it difficult to be precise. After restarting program it works properly for awhile. Performance setting attached Any thoughts are much appreciated. 2017 27" iMac 3.4GHz, 24 GB DDR4 RAM running Big Sur 11.5.1
- 1 reply
-
- 1
-

-
- lag
- jerky motion
- (and 4 more)
-
 Affinity Photo version 1.9.2.1035 on Windows 10 : the devellop function crops NEF File . D4#5296.afphoto D4#5296.NEF
 -
 Please give me a hint. How to make a REAL crop in Affinity Photo? AP remembers all of the original canvas, which is super annoying . Many effects (maybe even all of them) are rendered from the original entire canvas, not the crop area. For example: this is the case with the mirror effect. It is centred but relative to the centre before the crop (of course we can move the kaleidoscope point). To render the reflection, graphic areas are used that are no longer present on the canvas !!! PhotoPlus started with the idea of remembering the original canvas, there was an option to uncheck it. It should be similar in AP, I have no idea where?
 -
 I haven't found a solution to this yet on affinity or other vector programs, hoping someone has. In my work I am consistently trying to crop a series of vector paths using a shape (like a circle. I can crop one at a time, copy/pasting the circle over again and again, but that is very time-consuming. I've attached a very basic file to try and illustrate this. In the group on the left, basically I want the 'hairs' outside of the thicker circle gone, leaving only the parts that were inside, so it ends up looking like the group on the right. I manually edited this one to show you. I need these to still be vector paths, not expanded or rasterized. Any ideas? Thank you. VectorCropAttempt.afdesign
 -
 I would like you to apply the new option "Limit initial zoom to a maximum of 100%" to the image after cropping/resizing also.
 -
 Publisher: I have been assiduously searching for a section which controls creation and management of things like crop marks, bleeds, registration. I just can't find anything. Could you please tell me where to find these controls? Thank you
 -
Would be nice if Affinity shows size tooltip while using the marquee tools and the crop tool. Like the one while using the shape tools - showing W and H. I know I can see it on the Transform panel but the tool tip is easier to see.
-
 I photograph and retouch rings and other jewellery. I've bought AP with the intention of getting rid of 12€/month Photoshop. However, while there are (more or less annoying and slow) workarounds for some of the missing features, there are a few things that AP simply can't do, which is rather infuriating because it means that I still have to keep paying Adobe to get them in PS. So here's a list: 1. A way to stroke a curve or at least to use it as a guide for a brush. Every now and then I end up with a photo that looks a bit too flat. To make the edges a bit more visible I create a path (curve) and then stroke it with a soft brush (20-30 % hardness) and then play with the opacity until it looks somewhat decent. AFAIK AP can render a curve but it does not have the ability to do that usng a custom brush. 2. Adding nodes to a path/curve without switching tools. I find AP's Pen tool to be more user-friendly than PS's version. but I'm missing the ability to add a node to an existing curve/path just by clicking on it without switching to a different tool. PS can detect when the cursor is hovering over a path to then create a node without connecting it to the end of the path. I'd therefore like to see the same feature in AP. 3. Double-click on a node to switch it from Sharp to Smooth and vice versa (like PS's Curvature Pen does). Yes, I know there's a keyboard shortcut for it, but it gets annoying when you have to do it every couple of nodes, and double-clicking on a node currently doesn't seem to do anything anyway, so why not use it for that? 4. Crop to selection, i.e. if the Crop tool is selected and a selection active, snap the crop box to it automatically. It's already possible to do this manually (by checking "snap to selection bounding box" and manually dragging the handles until they snap into place), so I don't see a reason why it wouldn't be possible to make this happen automatically. It would save people like myself who need to drop every photo like this a significant amount of time. 5. Fix saving tool settings. Even with synchronization enabled I still find myself having to switch the Inpainting Brush to sample from the layer below it every time I open a new photo. And before doing that I also need to Shift + J to get said Inpainting Brush instead of the Healing Brush. Why? 6. Limit the Exposure Adjustment layer's range. Nobody needs +/- 20 EV, especially when the minimum step on the slider is 1 EV. Make that +/- 5 EV or even less to get more resolution and make the slider actually usable. 7. Make the Noise Reduction more powerful. This is the exact opposite of the problem above. If I have a wristband or something like that with a lot of dust/scratches/fingerprints/etc., I use NR at maximum strength and minimum details to blur everything together on a new layer, then mask the edges and any details I want to keep to uncover the still-sharp layer below. Photoshop can get a decent amount of blur in one go, with AP I have to re-develop the layer 5 or 6 times to get the same result. All but 2 and 7 have been posted before (even 5+ years ago), and at least 4, 5 and 6 seem like they should be fairly easy to do, yet they're still missing. Why?
 -
 Hello! I couldn't fins answer of forum, so decided to start a new topic. I am working on project to print in Affinity Designer. I need rounded corners in printed files. How should I notice it to print house to crop it correctly? Shall I set it somehow in bleed? Is it possible with Affinity Designer? I have made transparent background and put on this retrangle with rounded corners, but I am afraid it woulnd't work for cropping correcty... Any assistance is appreciated, thank you!
 -
 Hello, Where am I going wrong, please? I want to cut out the policeman’s cap. 1 I crop the image so I can see just the cap. 2 I cut out using the pen tool 3 I click mask 4 I Cmd-C and Cmd-V into a new Affinity Photo file. See RBhBwyuhb6K3E2Y1AnDVaIsa9z4hkk The issue I have is that this takes over the cropped elements of the file. Help appreciated! Will
 -
 I'm using the most recent version from the Mac App Store & for some reason I cannot crop. Specifically I cannot click & adjust the crop handles in either the Photo or Develop Personas.I click & hold on the track pad, nothing. I double, triple click, nothing. It is driving me round the bend. Is it a glitch or am I doing something stupid?
 -
 Hi, I've just discovered the really helpful crop tools in the develop persona, specifically the 'Thirds' and 'Golden Spiral' overlay options. The problem is, the orientation of the Golden Spiral is limited. I can rotate it to a landscape or portrait orientation, but it just means that the focus of the spiral is always in the top left of the frame. There seems to be no option for bringing the centre of the spiral to the right. Is this by design or a bug? If by design, it's a bit limiting. FYI This is on Windows Version 1.9.0.932. BTW I'm loving the application. Cheers Graham


.png.859c452686736c4d9051fa6527c2ce1d.png)
.png.f7d52b02379c70591b575d85dbf73451.png)