Search the Community
Showing results for tags 'Color'.
-
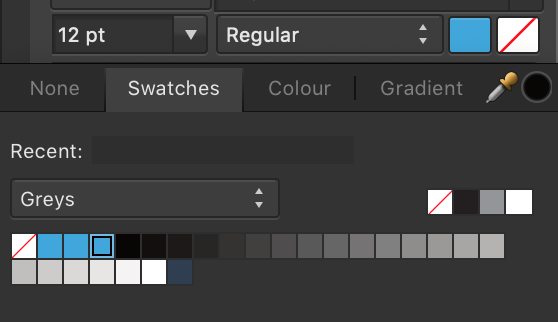
 It would be nice if the color squares in the palette tab would be bigger so that it will be easier to select them with the cursor. I work on a smaller 13" screen, so it can be a bit difficult to select colors since the icons are so small.
 -
 I want to remove the white from this image, I've adjusted the Levels so the whites are completely white & blacks are completely black. I've gone to the selection tab & tried the 'Select sample colour' but i can't find a way to make it work. I've spent the last 3 hours looking at youtube tutorials, FAQ's & forums yet i have no idea what i'm doing right or wrong, please help.
-
 Hello, I just started using some smoke brushes from the Affinity store. The brushes are black. How do I change the color of the brush, so that I can change it into white? Thanks
 -
I am using v1.7.0.192 on mac and it has added a bunch of same colors into the swatch. I cannot delete these colors. What to do? I do not want to delete the entire pallet, just a few colors.
-
 Hey everyone! In the top right corner, the color picker can be dragged to increase and decrease brightness. Personally, I am disabling the UI a lot (button next to color picker) and it would be helpful if there was an option to disable this feature to prevent unintentional color change. Best wishes, Shu
 -
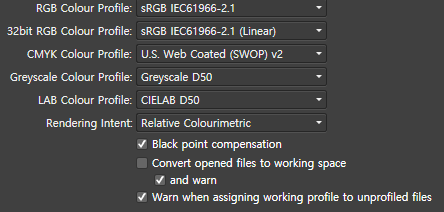
 I find it hard to understand the effects that color profiles have on the colors of images in Affinity Photo. A raw image opened in Photo looks de-saturated, compared to DXO and preview in Irfanview. The JPEG from the camera looks better, but less saturated than shown in other software, like Firefox, Paint.net and Irfanview. Perhaps some setting of Photo overrides the data from the image? When developing the image I assign the ROMM RGB profile. From what I understand this profile keeps the highest number of colors available during editing. Is this true? After making adjustments I export the image as JPEG to use on Instagram and my website: during export choose the sRGB color profile and embed it. Other software like the Windows Explorer preview, Windows Photos, Irfanview and Firefox show the exported image more saturated then I see during editing. first convert the image by changing the color profile of the document to sRGB. Then exporting it the same way. Now the image is also more saturated then shown in Photo, but less than in option 1. What do I need to do differently to have the colors of the exported image match the colors I see during editing? This happens on a Windows machine with the color profile of the display set to the profile that came with the monitor.
 -
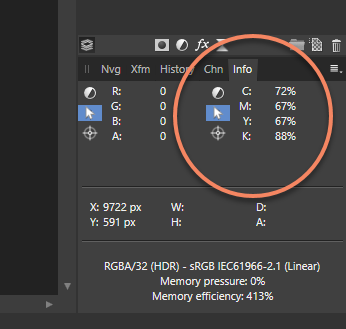
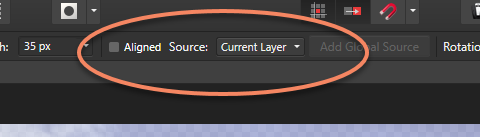
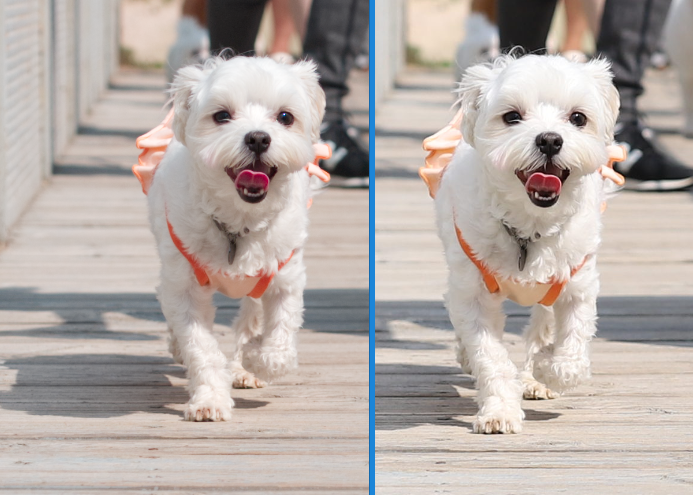
 Hello DEVs First off, thanks again for great software, I've been sending ~250 portraits through it since I bought it, and I love how the application just simply replaced Photoshop Over to my "needs".. I really need some features from PS days, and I hope you guys see why. "Apply Image" in Affinity Photo is not alike PS CC's version of it. I used to use this often to grab an RGB, R, G or B. CMYK or C, M, Y, K or even LAB L, A or B from a layer, a document or a file on the disk, then "apply" it as a mask - inverted or not - on to the selected mask, usually in normal or luminosity mode. I even use it for blending K channel from a dublicate CMYK document in to actual documents RGB composite to enhance faint details which is almost lost. I also use it to mix one of the RGB channels from same document in to the worst channel to enhance the details and remove noise (usually B channel), its called luminosity blending, check out Lee Varis and Dan Margulis photoshop videos. I don't see this is possible in Affinity Photo with the current "apply image", and I wish I had the same blending options in it like default layers so it will be easy to fix a "bad" channel in a image Check video below in this post. I also wish I could set one of the info readouts to a default readout, LAB for example, because I use this more often than RGB or anything else. Left side could be document format. I can change to LAB right now, but it doesnt stick to next image. I love to be able to save my own defaults than white and gra. Every single time I use this I have to go and manually set left one to black and right to white anyway because I rarly use this on other things than masks. It is really annoying After pushing through those 250 portraits since I bought Affinity, I'm really getting tired to recheck "current and below", I never retouch on background or main pixel layers and wouldn't suggest anyone to do it either. Make a new layer then use the healing brush with "current and below" is the safest way to use it anyway, so could it be possible to have persistent settings on these as-well? Check next 5 minutes to see what I mean of luminosity blending: Thats all for now Best regards, Aleksander
-
Hey everyone! I'm not sure if this happens when using other Affinity software, but when exporting to .psd, Photo on iPad deletes empty layers and a layer if it has solid color and is placed as last layer and sets its color as background color. Please don't assume empty layers could be deleted or a solid color layer should be converted to background color. This is quite inconvenient. Best wishes, Shu
-
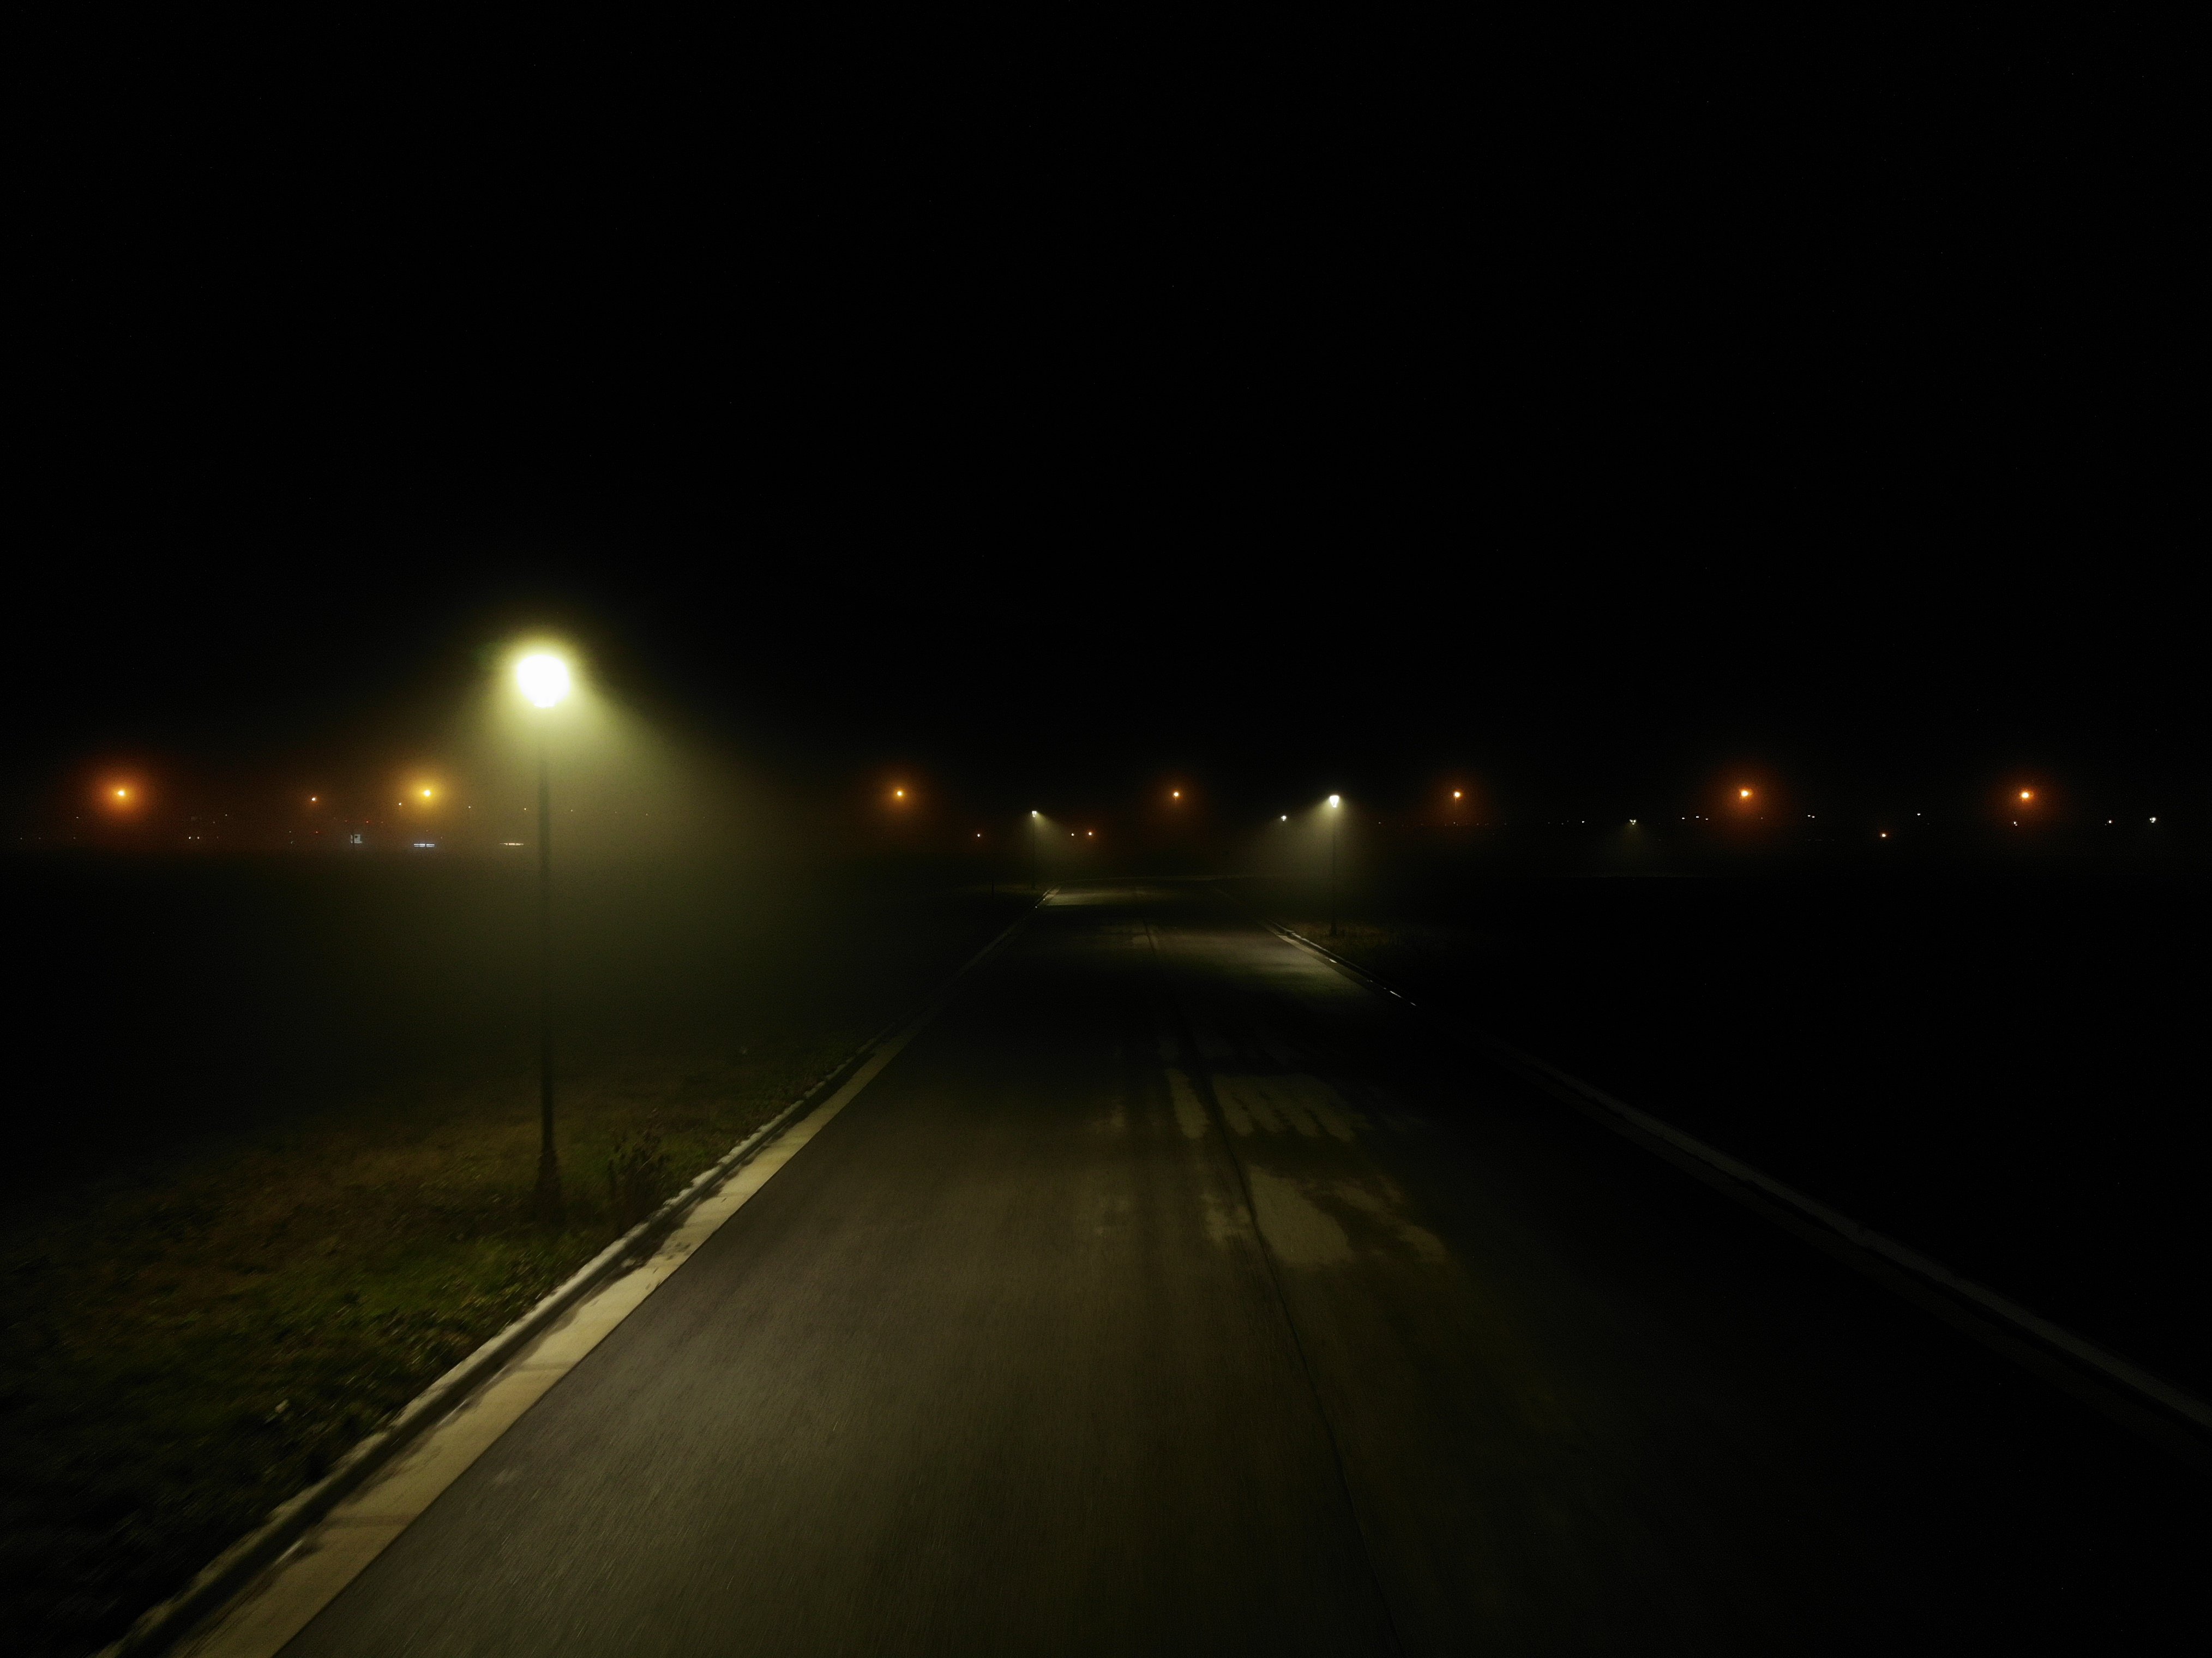
 I'm trying to touch-up my Drone photos, but they look horrible in Affinity Photo compared to Windows Preview or even Gimp Here, the original file has a very very smooth gradient coming from that lamp. But as soon as I open the file in Affinity Photo, the glow from the lamp turns in to blocky color bands.. It's almost like it tries to convert it to web-only colors or something because the quality is horrible. (below, you will probably see some banding in your web-browser, it's actually WORSE in Affinity Photo) Download this image and view it locally, to see it without banding. If you still see banding when you open it locally, sorry your monitor sucks
-
 which tool to use to change color of parts of background to color of something else in photo? For example, there are streetlights, I want to paint them the color of the sky behind the lights. I am very new to the tool. I thought brush tool could do this but it seems like you have to choose a standard color and cannot choose one from photograph. Eraser? Please advise. Thank you! Larissa
 -
 Please add this essential functions in AD: - Background fill colour and stroke colour/width for text boxes. - Convert text boxes back to vector object
 -
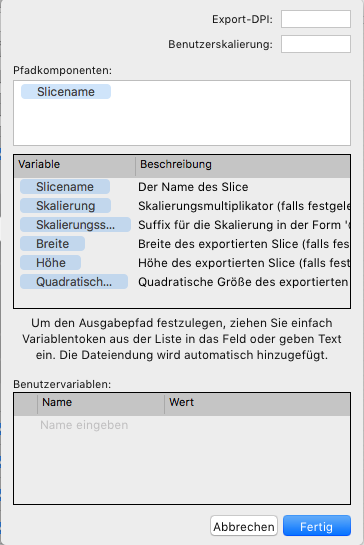
 Hello, it would be great to have a variable for the color space (RGB, CMYK, etc.) of the document for creating the name of a file and the path where it is saved. That would be useful for example for exporting logos in various color spaces, for print, web, etc...
-
Every time I try to change and replace the text's colour it crashes. I've converted it to curves but then I don't know where to change and replace the colour unless I select element by element manually or on the layer panel. Any tips until this bug is sorted? Thanks, IR
-
 I have Affinity and when I try to send it to a plugin it becomes all washed out or the colors are wildly weird.. is there a certain color setting to fix this, I have uninstalled and no change..it does it in Topaz.. nik and all others.. except smartphoto editor.
 -
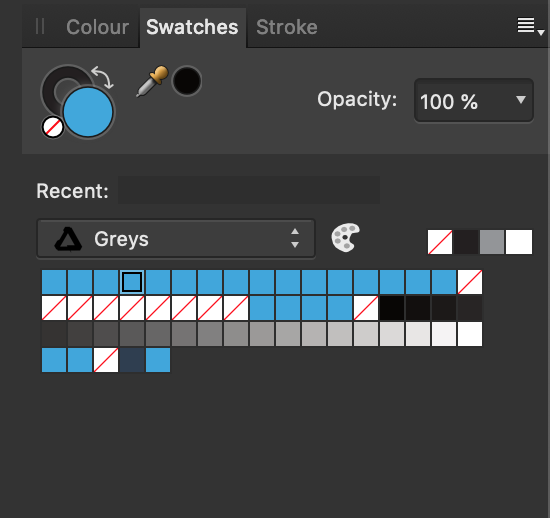
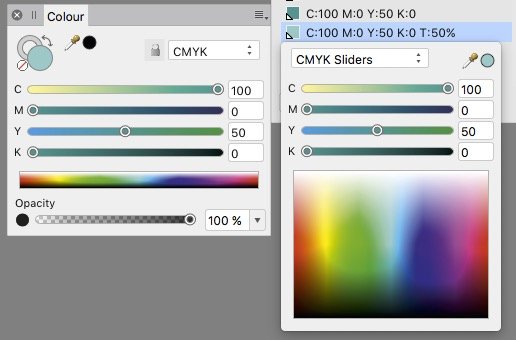
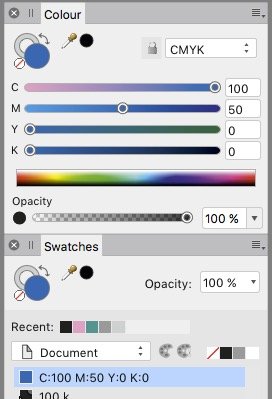
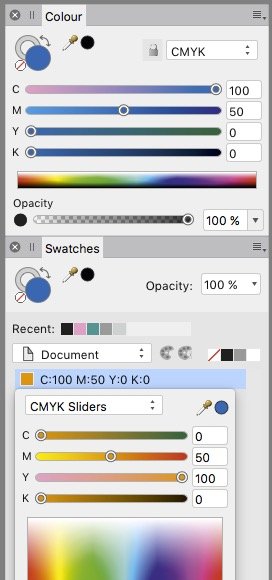
 If in the color pane in tint slider view a tint color becomes added as swatch – than the sliders & values of that swatch don't show its real value but the value of the former 100% tint. Or shorter: sliders ignore tints, the tint slider excepted. In any slider type / color system. For instance: 50% tint of 100 C + 50 Y shows in the sliders 100 C + 50 Y, whereas its real values are 50 C + 25 Y. That means you can't know for shure the values of a swatch which got created as tint. Neither its name nor its slider values appear as realiable. Related issues: • if you hit the swatch name and, in the pop-up window, hit the pipette symbol or the tiny color circle besides the sliders pulldown menu – than the color changes to the sliders values and the created tint is lost and overwritten by the 100% of the former color. • if you define the origin color as global color the dependency gets lost as soon you create a tint: Changing the origin color does not affect its child, the tint. A tint of a color, even of a global, appears not to be related to its mother.
-
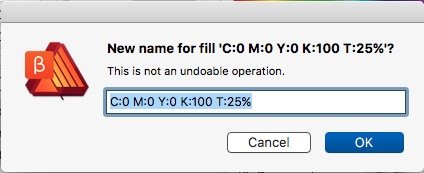
In the list view of the swatches pane any new swatch gets an auto-name with its defined values. Unfortunately these names don't auto-change when the color definition got changed by the user. This results in wrong swatch names, both for global and non-global swatches. To avoid wrong names the user has to rename any swatch manually after changing its color. To fix the name it needs several clicks to the manual renaming option window. Suggestions: – auto-change a swatch name when its color definition got changed – enable renaming on double-click the swatch name p.s.: in the actual renaming option window a hint appears: "This is not an undoable operation." – Why does it warn me that I can undo this operation?
-
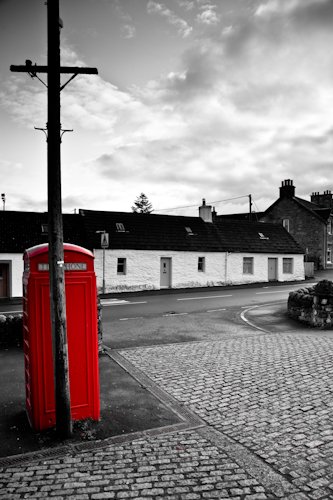
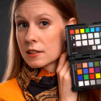
 hello, does anybody knows how to create a black and white picture, and then re-color some items in the picture ? (see example) hope to hear from you
-
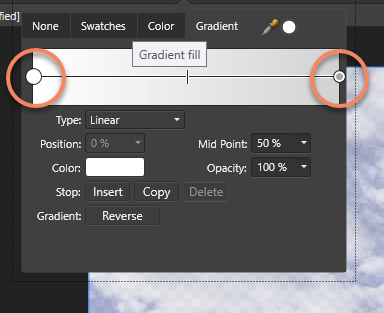
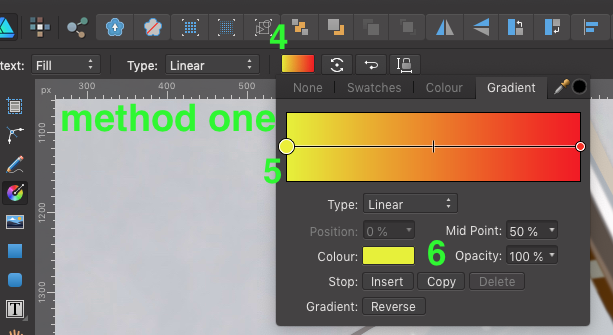
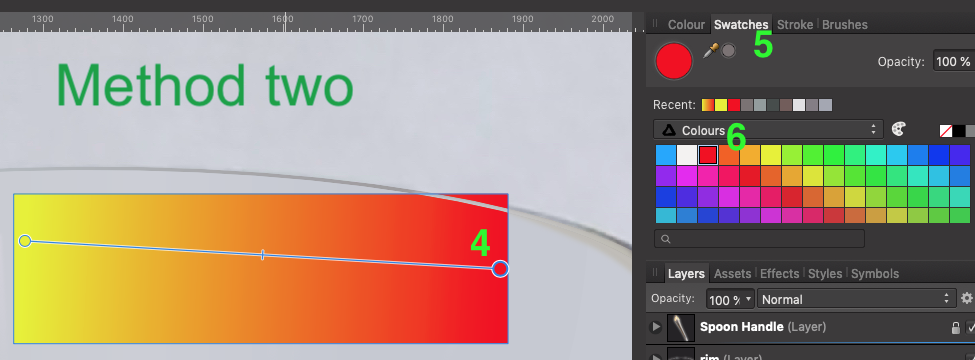
 I struggle to create gradient fills easily and efficiently. Here are the two methods that I use, and perhaps the only way. I'd be curious if someone out there has another method. Method one: Create object select "G" on the keyboard draw gradient Select the Gradient color box at the top toolbar make active a node on the gradient line select color from colour box Repeat steps 6 -7 for each node in the gradient line. Method two: Create object select "G" on the keyboard draw gradient Select the node in gradient bar Select Swatches tab in the docker on the right Select color in the Swatches pallet. Repeat steps 5 -6 for each node in the gradient line. Suggested Improvements: A) What I would like to see is the ability to double click on the color node on the object itself, not the node from the methods above, and by double click the node a swatches pallet opens for you to make your color selection. B) Another option would be to select color node, select the eyedropper in the tool bar and while holding the Shift key down select the color you want applied to that node. This method is great for sampling color from other drawings or reference images. I appoligize if there is another method alreay in place, I just haven't come across it yet. Thanks in advance. -Bill
-
I'm getting the opposite effect with 1.7.0.145. Inserting hi quality JPGs on a page and using Print to file/sRGB IEC61966 2.1/Adobe/Distiller/ and the resulting PDFs are too hot, but the images look OK in Affinity. Especially when it come to reds and blues. Colour test photos.pdf
-
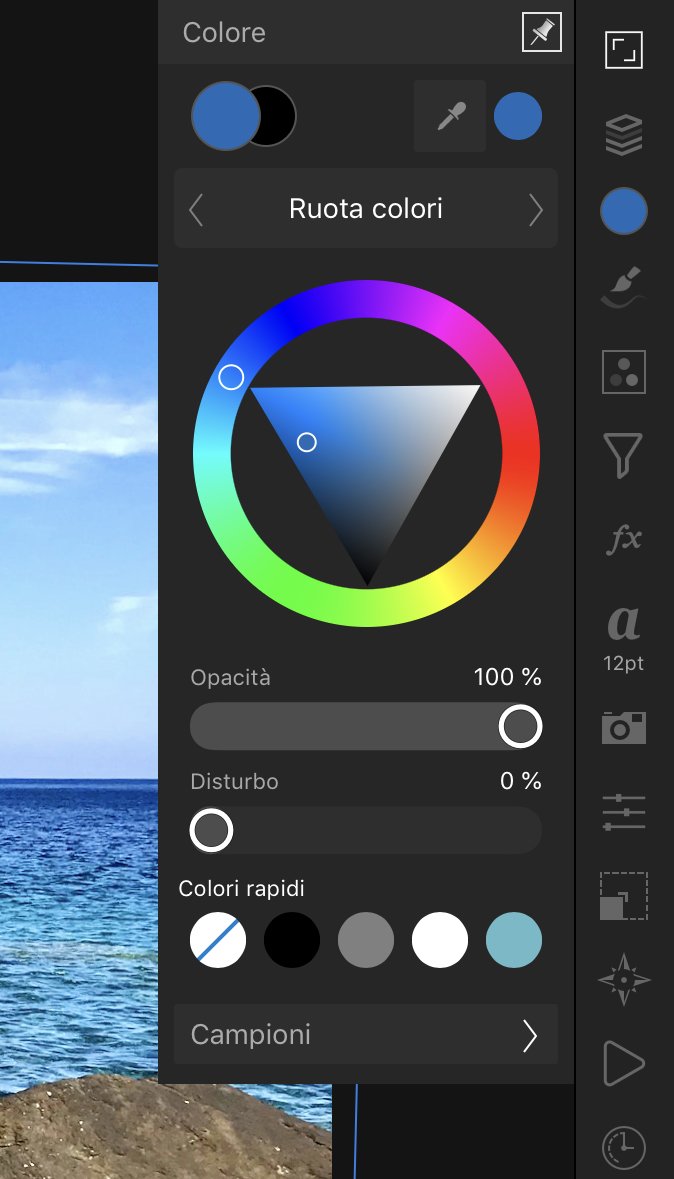
 Hi, how can I see the hexadecimal code from a selected color on my Affinity Photo/Design on iPad? Is it possible? I can't find on forum and on tutorials Thanks
-
 Hey there fellow affinity users. i have a simple question regarding Affinity Designer. Is there a a way to either copy a a color gradient or if possible to save it to use later? I typed out some text, went to fill and changed the color to a gradient that goes from light blue to pink. then i realized i need to use it again and i don't know how to copy it. i cant remake it because it wont be the same... Also if possible it would be nice to maybe save it as a custom one if possible to use again down the road..
 -
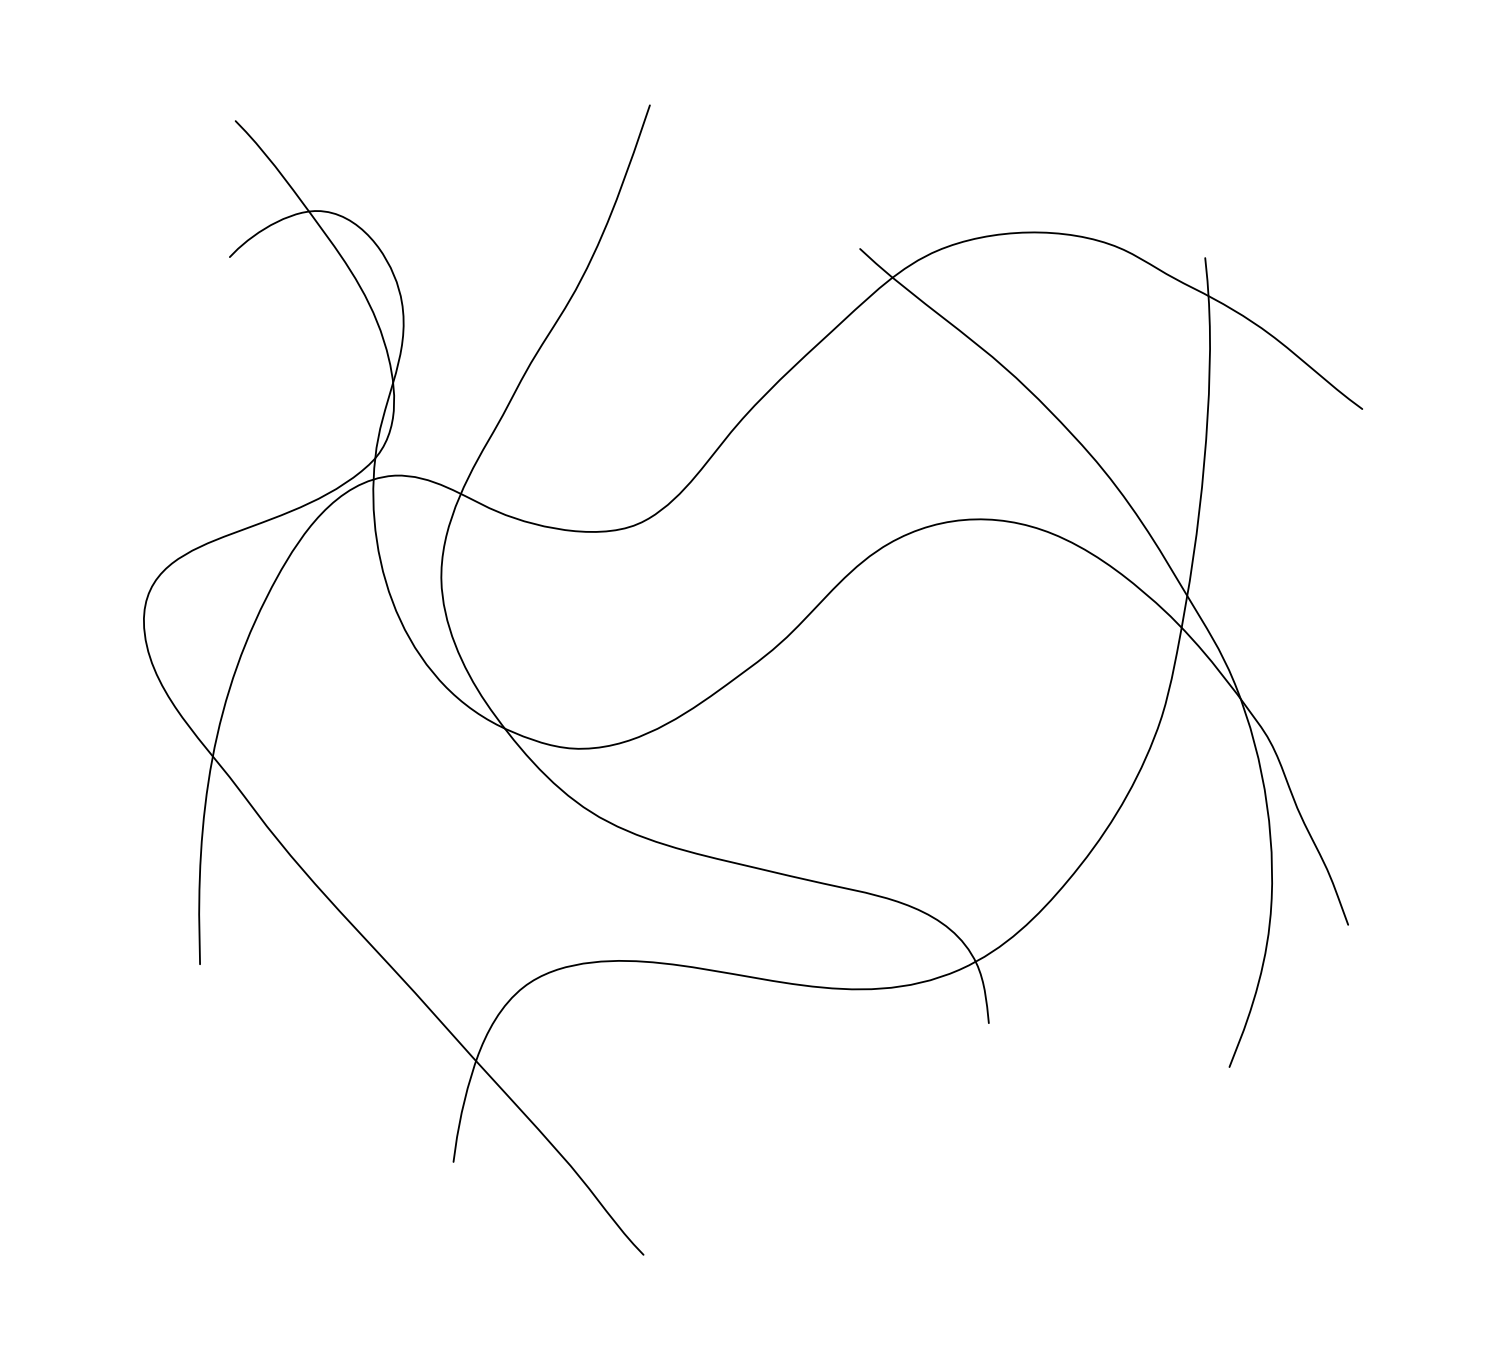
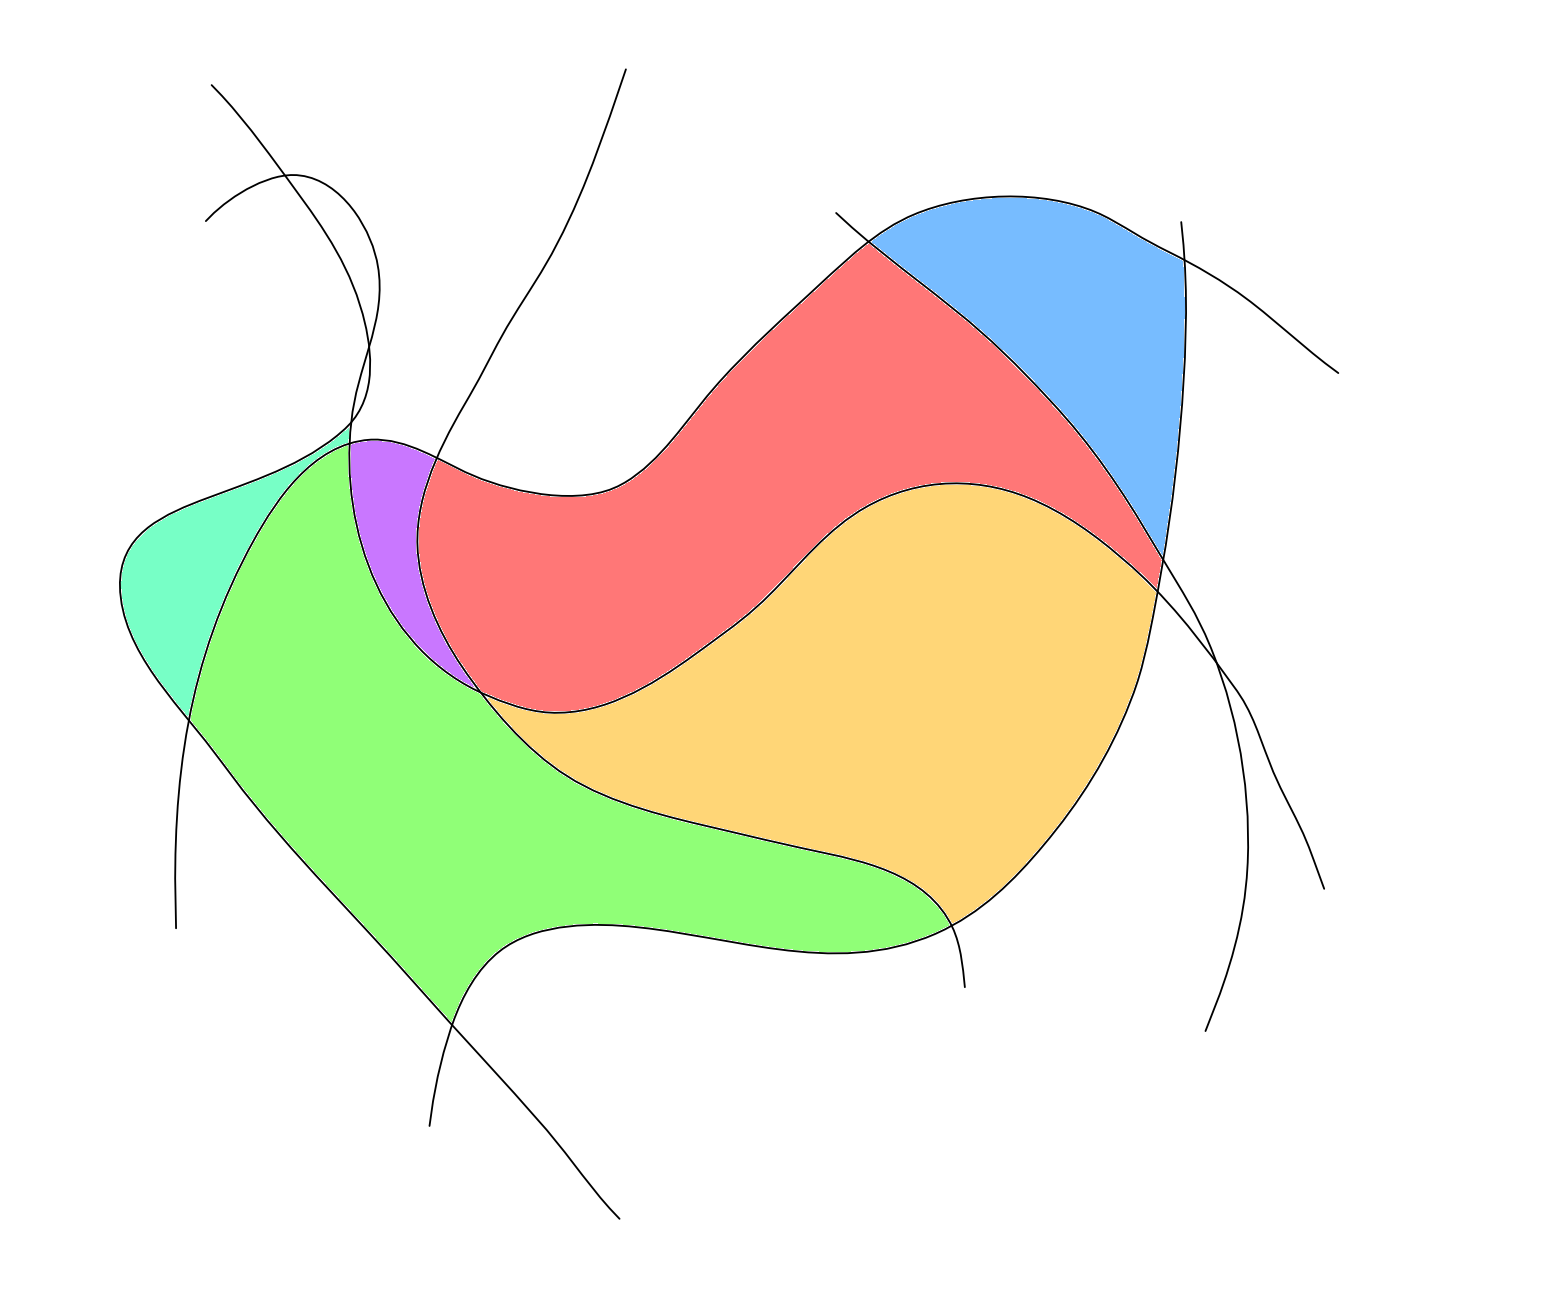
 The image below shows some curves I drew with the pen tool. How would I go about filling in the space in between each curve with a different colour? Here is an example of what I need: All help is appreciated. Thanks, Dan
-
Hello, A feature that I would like to see in Affinity Designer is that of a "color scheme generator" of sorts - or at least a color guide that displays color harmonies (with tints and shades of each color). This guide would let you pick a color, and then would generate colors in different categories that would go well with that color (i.e. analogous, complementary, split complementary, etc.) If this is not yet available, I think it would be really helpful. Thank you!
- 5 replies
-
- 2
-

-
- color
- color scheme
- (and 1 more)
-
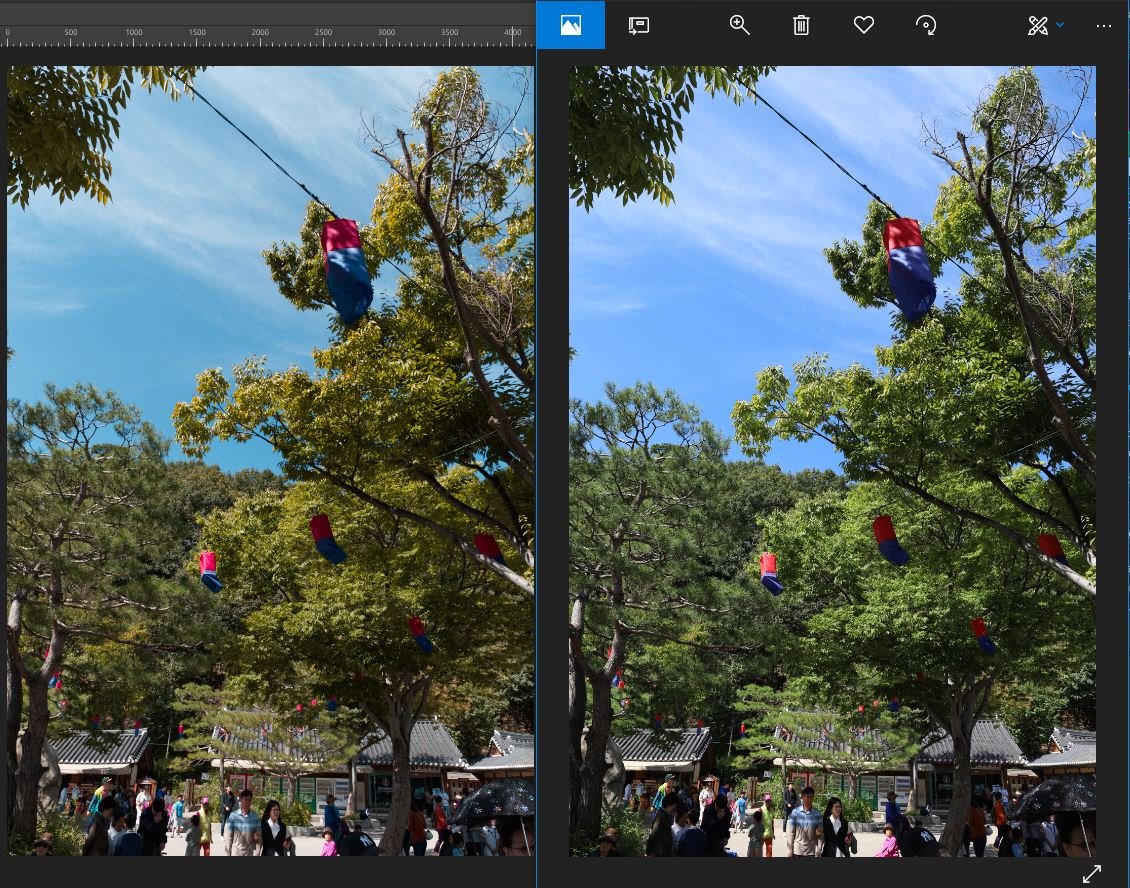
 Hello, support team. I using affinity photo ver.1.6.5.123. And My camera is Canon 6D mark2 with EF 24-70L II Lens. Today I tooks a photos there and I connected my computer. Then I saw not match colors about Affinity photo with Windows image viewer. I like Windows Image Viewer's colors. Q1. Why I see this situation? my setting trouble? 1) I checked RGB color profile (sRGB, 32bit: sRGB) 2) I tried change Adobe RGB profile and restart my computer. 3) I checked a color profile (sRGB) of Monitor hardware profile on Windows OS. Q2. How to see a colors of windows image viewer when I start Affinity photo program. Please check my attach. (left : Affinity photo / right: Windows Image Viewer) CR2 original RAW files. Thanks. IMG_5564.CR2
-
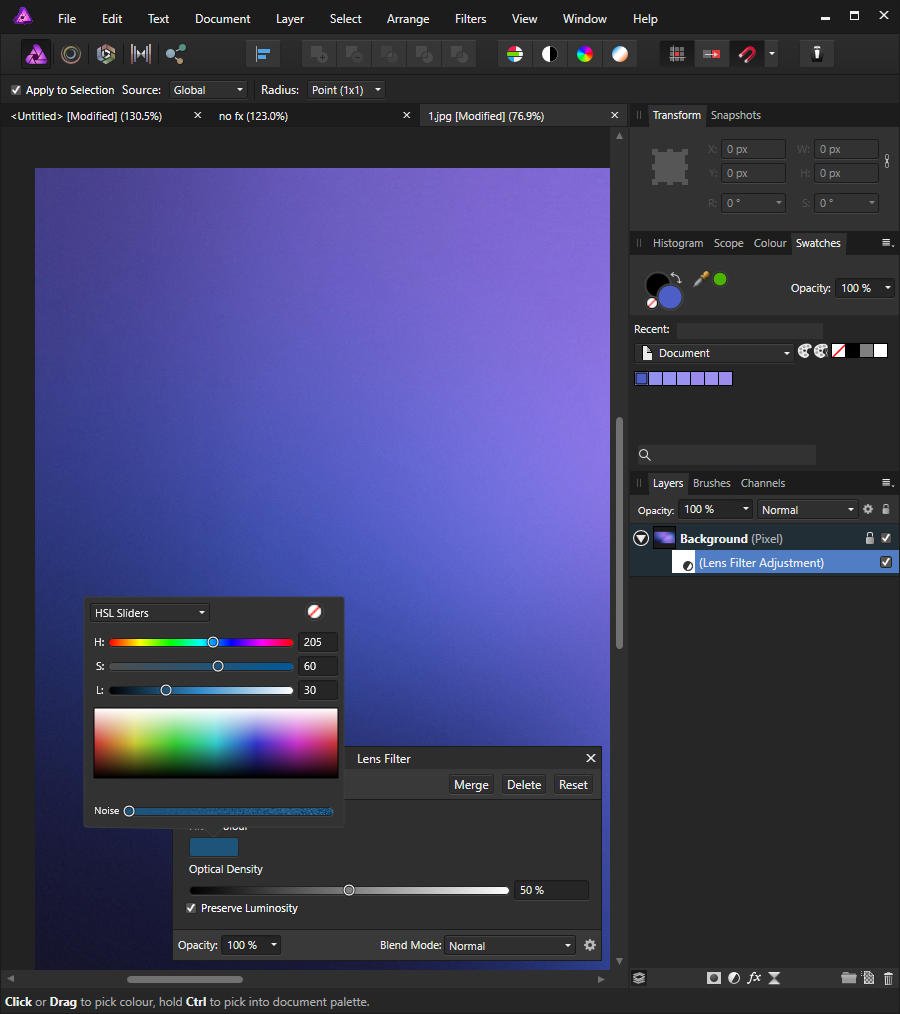
 Hi, It would be really helpful if you guys add the Eye-dropper to the color picker panel of the Lens Filter adjustment layer. Thanks!