Search the Community
Showing results for tags 'Borders'.
-
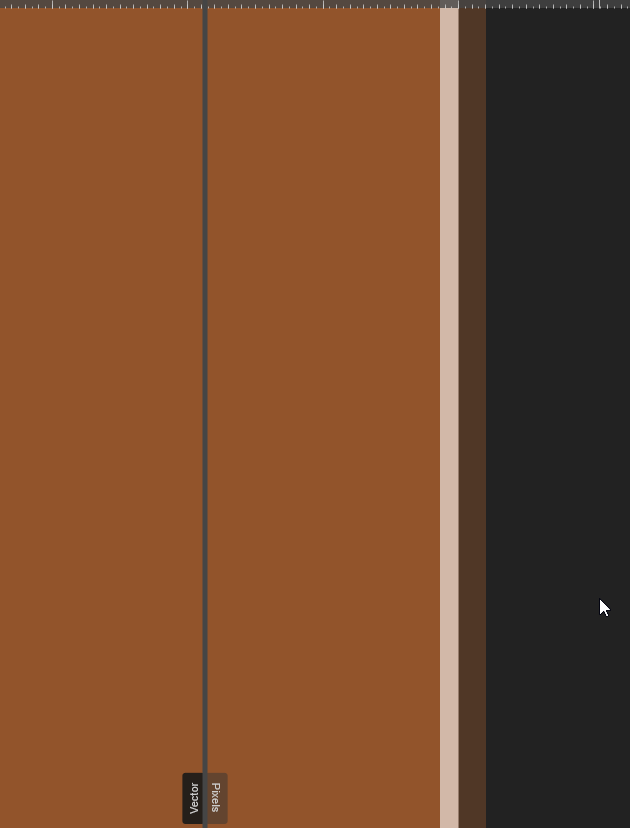
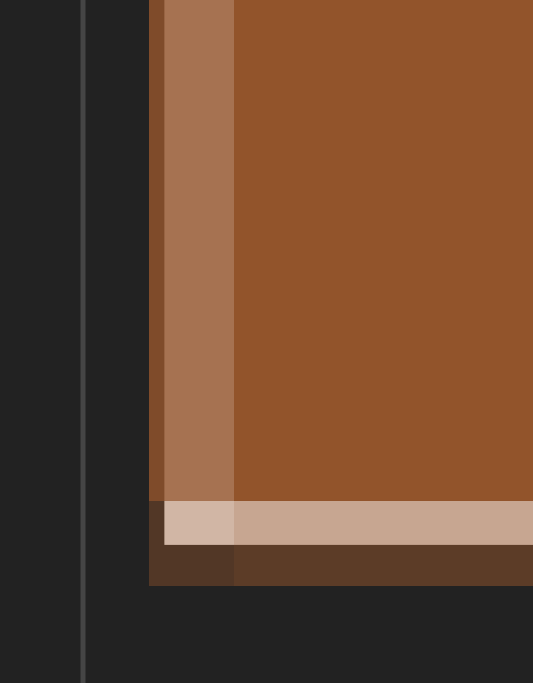
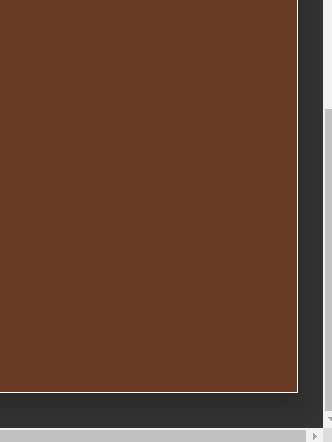
There are lines on borders of shapes. There is no stroke on objects. I know that I can turn off anti-aliasing, but then shapes are rough. These lines are visible even after exporting to raster or vector. I had this problem even in V1. I didn't find on Forum other solution than anti-aliasing. Is there any way to get rid of these lines without manually cover tens of these coffee beans by other whole shapes? (It is a pattern so I can't use whole beans. I can't add them together too, because most of them disappearing.) It is really annoying...

-
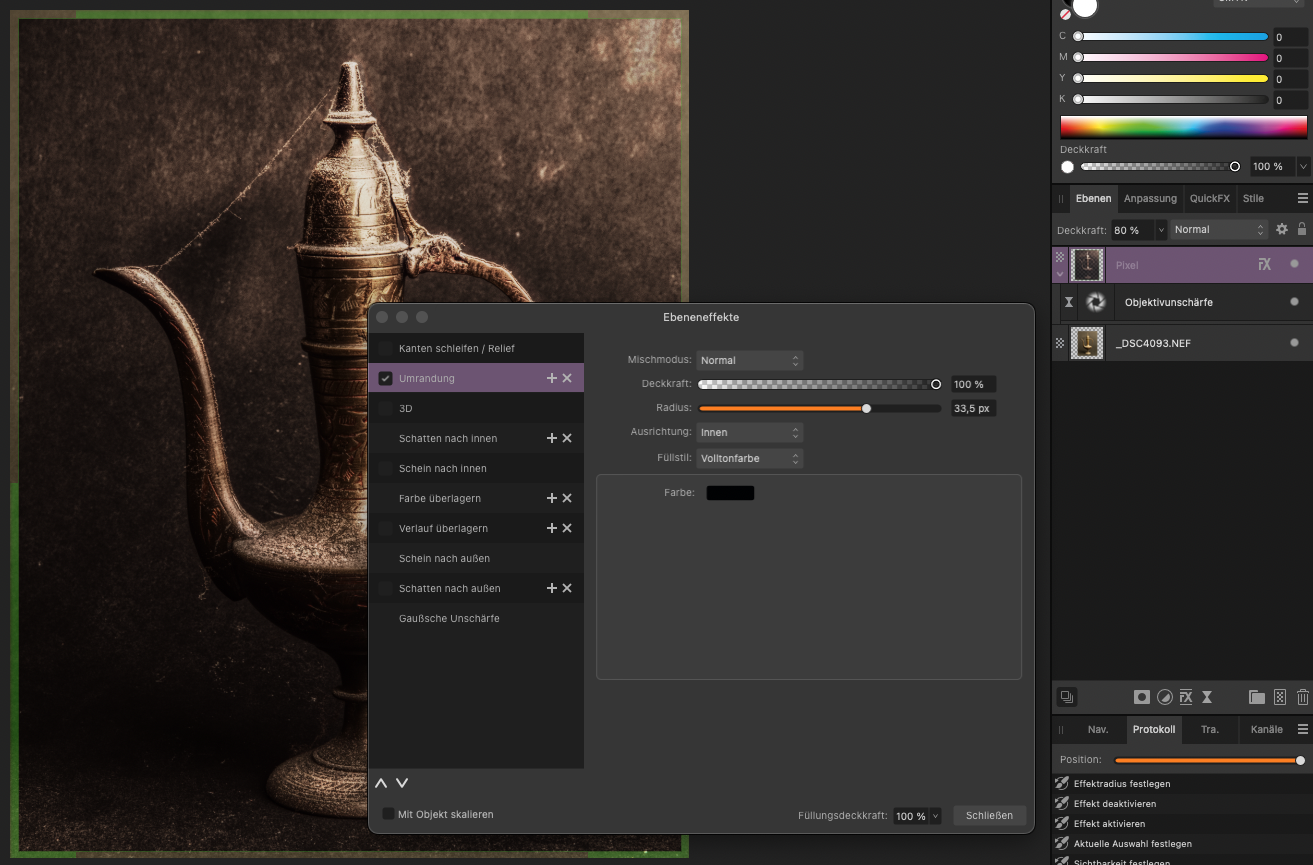
 Hi there, Photo Beta 2.4.0(2240) on Mac displays the border incorrectly when using FX. Should be black, but is green in this case. Greetings Puck
-
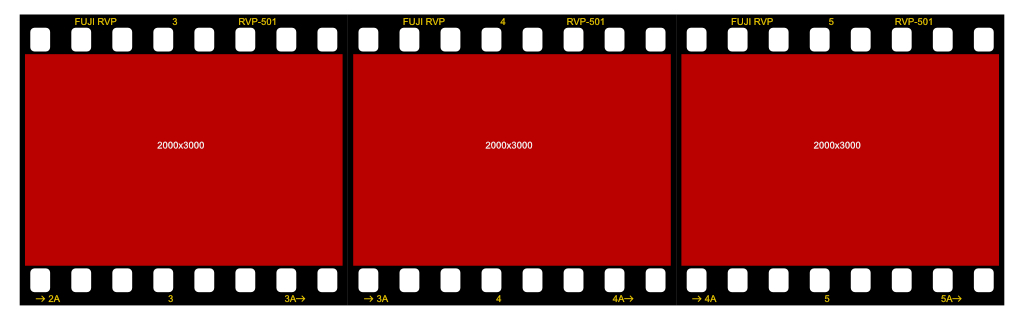
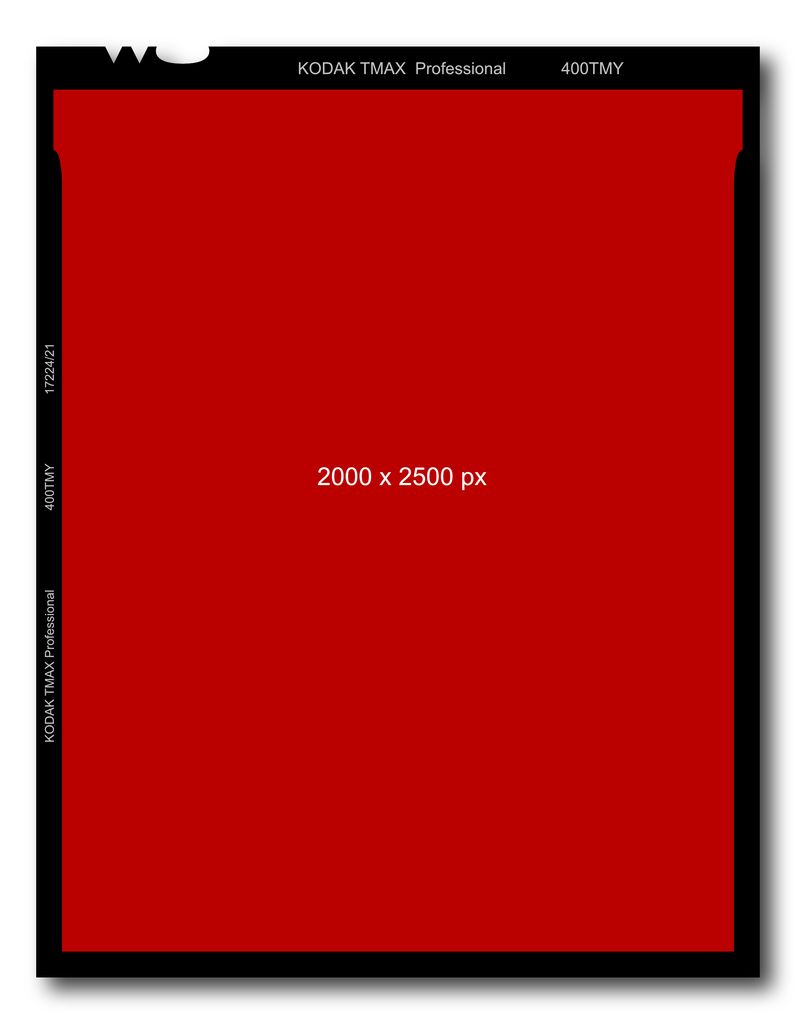
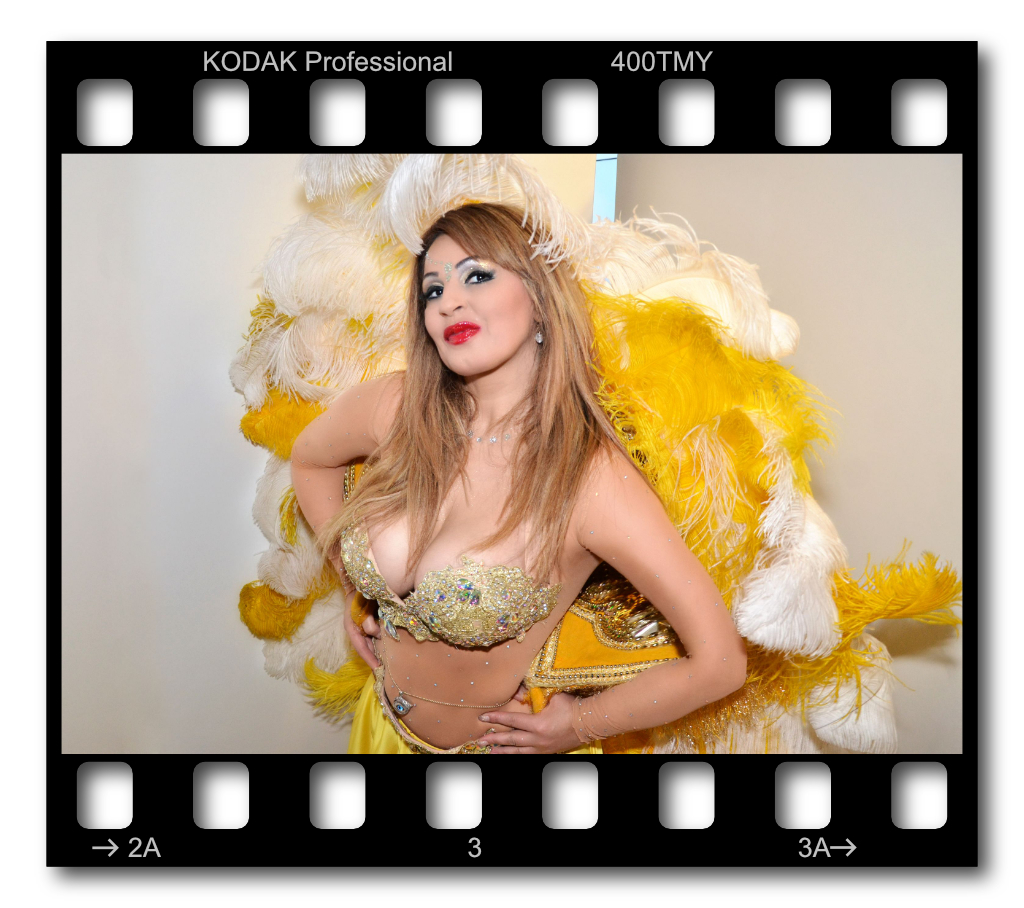
Here are some 35mm and 4x5 filmstrip templates which can be easily reused in AD/AP as photo borders, or for other sort of image presentations etc. - Each of these templates does contain always two (in past times) popular analog film brand looks, so you can switch between them through enabling/disabling layers, or modify/add your own additional ones. There is always also an indicated image place section, where you can mount your photos in. AD/AF Templates: 35mm_film_template.afdesign 4x5_film_template.afdesign 35mm_strip_template.afdesign Examples:
- 36 replies
-
- 19
-

-

-
There are semi transparent borders arround any artboard. It's visible even after exporting to raster. It's visible on non-rasterised pdf as white line. I have printer with margins, so I can't check if it's visible after printing. I'm afraid that when I'm going to make printable things for clients, it's going to look like lack of extended layers to the bleed (which I've done.)
-
 Working with Web design i often need to eport several different png graphics ... i would like to know if there is a way to click/select an object to create atutomatically artboards or slices in the precise dimenson of the object/group, so when i export a PNG file the image does not leaves a gap or borders. Is there a way to do this?
 -
Hello, I need to create a mask image but with a border colored, also the image need to be dynamic so my client can change it but keep the mask.. But when I try to put it with the program I use for web development, it's not working. I know that I am making something wrong with the design part. This is the final result I am trying to achieve with elementor : this is the form of the mask : but when I export it in svg or png I get this : or that if I put a pixel mask : please someone have any idea ? :)
-
 Text frame tool buggy behaviour Affinity Designer v1.8.6, macos Catalina 10.15.7. Reproduce: Set cell stroke > 0 on a tab " " or a space " ". After doing that you can visualize the bug by moving the cursor around the text frame. The cursor will change into an editing caret even if you're far outside the text frame. Also if you click with the selection tool somewhere above and well outside the text frame; it will still be selected. Select the text frame and export "Selection without background". Expected result: a pdf showing only the text in the selected text frame. Actual result: the pdf displays white areas to the top and left of the text frame extending all the way to the top and left edge of the page as it was appearing in Designer. See below for a better explanation:
 -
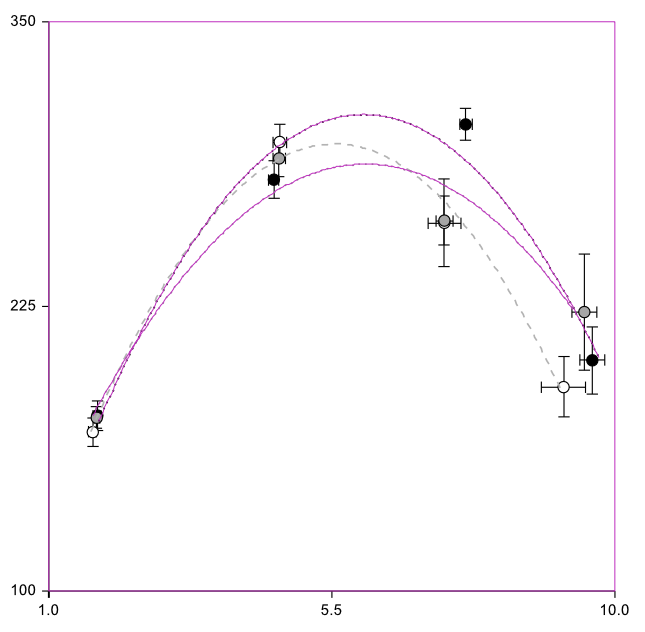
 Hello gang! I've been using Affinity Designer for various projects (MAC) and lately I'm working on some charts for a scientific research paper and I keep seeing this happening and wanted to see what is causing it. As you see in my screen capture there is redish border on objects, nothing is selected but still showing up? What causes this?
-
 I often have to create mockups for buttons, menus, and other web user interface elements. I use Publisher as text boxes and styles map easier to web content. Some things that are simple to spec in CSS require multiple steps in Publisher, or require hacking single-cell tables, etc. What would be nice is CSS-like mode for the Text Frames panel that lets a user spec this all in one place: padding margins per-corner border radius (not all or nothing) per-side borders (including standard CSS border types built-in) gradient borders fill (solid, gradient, transparency etc.) backgrounds (as in CSS, ability to layer multiple backgrounds, transparency, etc) alignment and sizing of background (cover, repeat, etc) box-shadows (both inner & outer) Now, that can all be saved as a Style - although there should be some improvements to the Style palette to make the behaviour and sortability easier - but what would be *extra* nice would be the ability to take an object and have it toggle-able between multiple styles, equivalent to, say, hover, active, visited states, etc. This would greatly speed the ability of designers to create mocks / flows that include object states.
 -
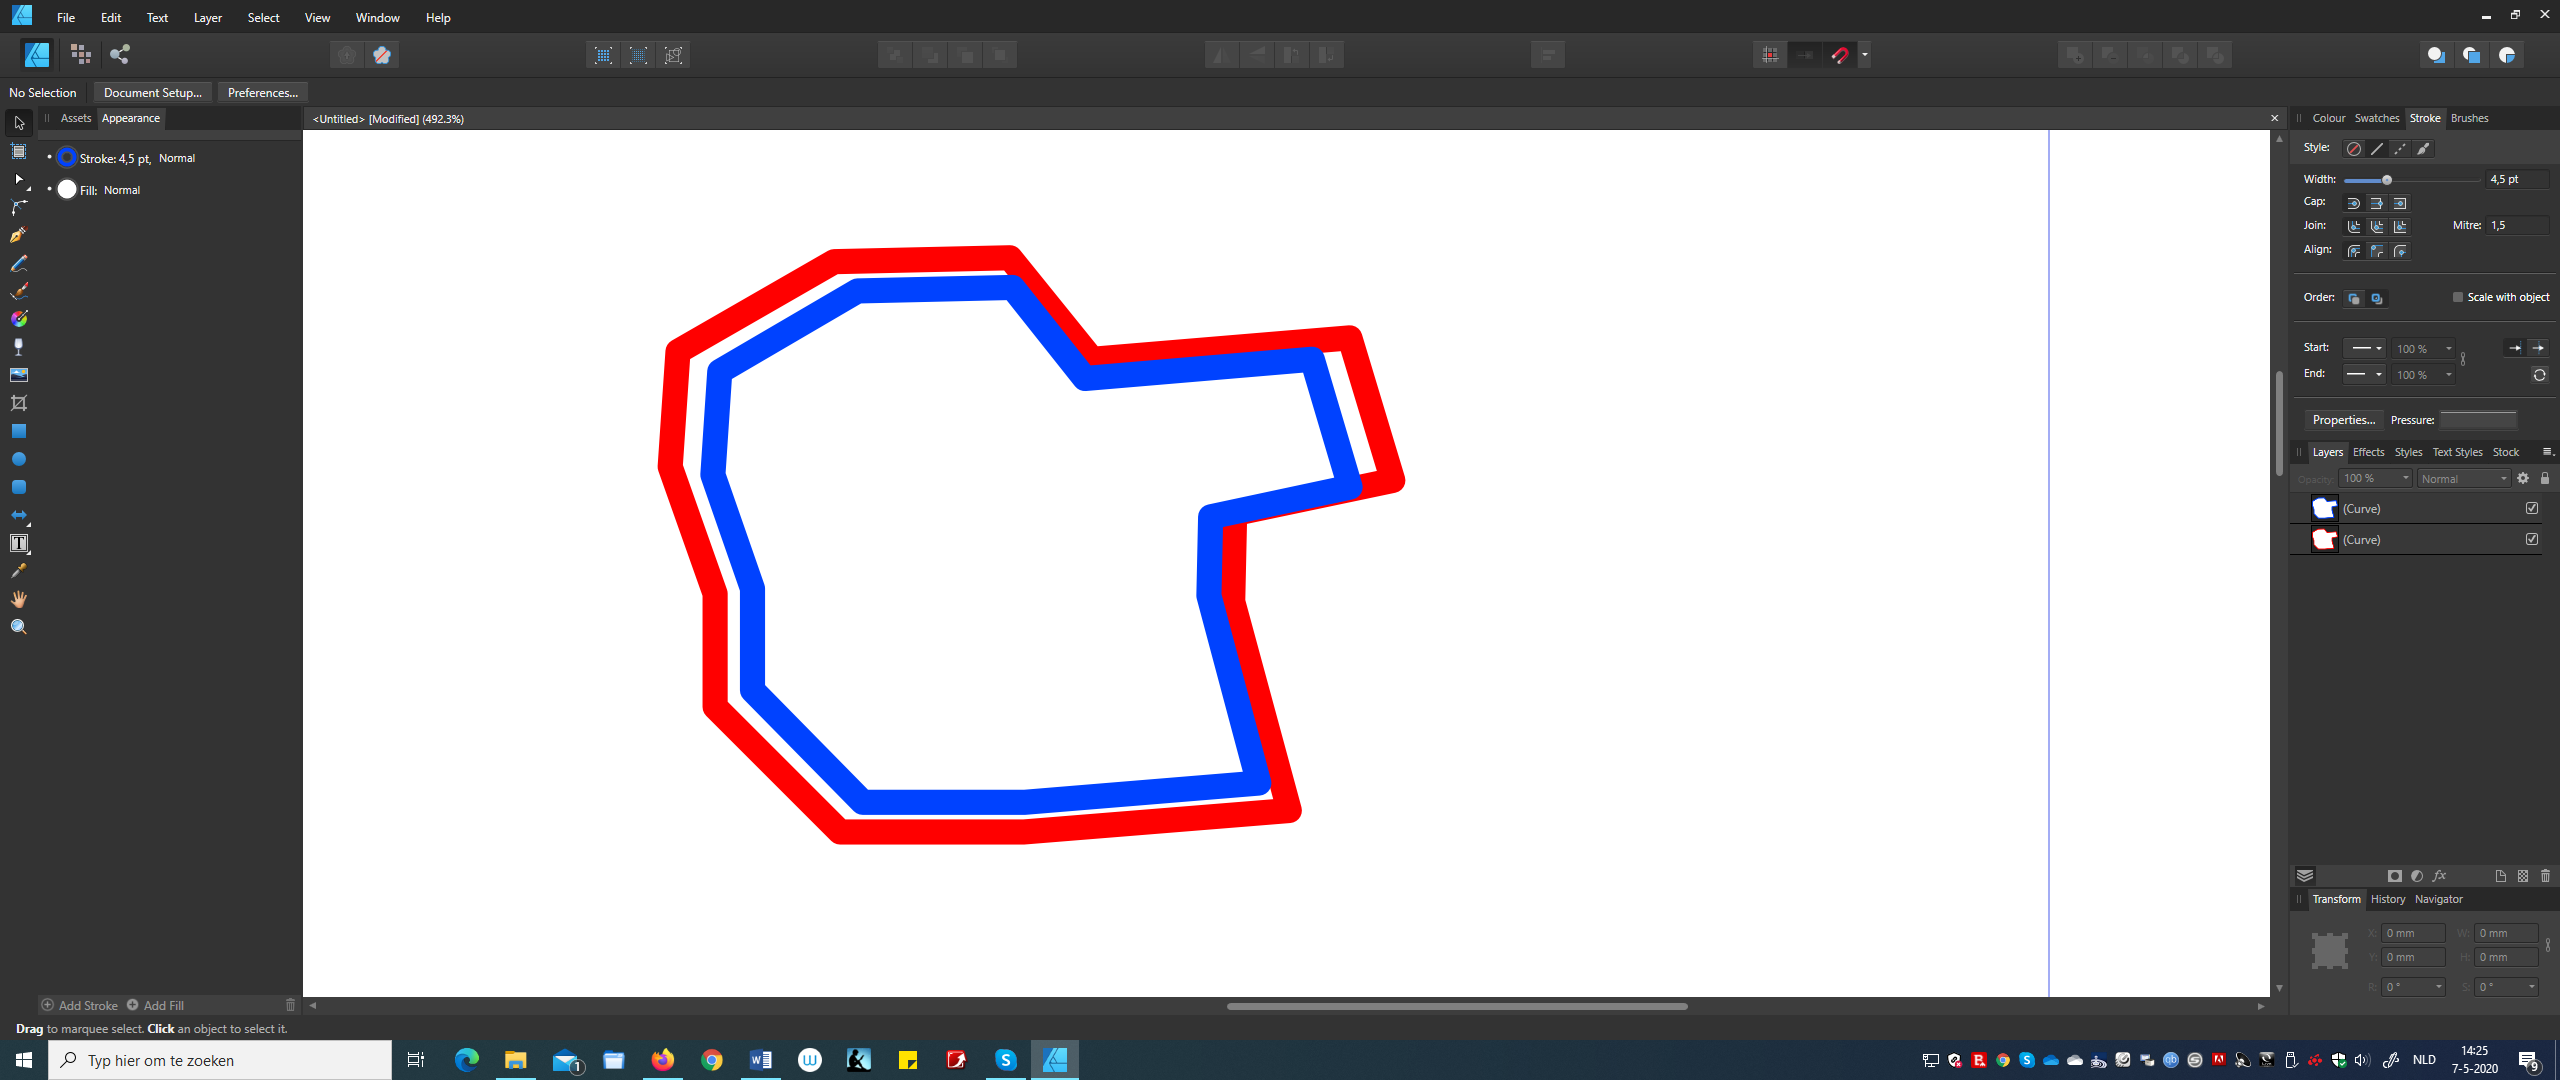
 I have the same problem like in this YouTube tutorial for Adobe Illustrator: Is there a way to do this in a convenient and practical way in AD? Just copy past and centre it is not the right wat. I want to make borders for a country map with two colors. Can anyone helping met with solving this?
-
 I'm putting together a small book of photographs and as a newcomer to Publisher I'm not sure what are considered best practices for working with images. I can give an image a border (a thin rule) whether or not it's in a frame. Then again, I can't seem to assign a style via the Styles palette (specifying a particular rule width and color) to images lacking frames. Using the Styles palette is pretty quick and the results are predictable. I could be missing something here. There might be situations I haven't encountered in which not having a frame would cause problems in the future. What might they be? On the other hand, is using an image frame simply overkill a lot of the time? (If I want to lock the image "in the raw," that's one command within the Layers palette. But if it has a frame, I have to lock the frame and image separately ... somewhat irritating that there's no option to lock both at once as it doesn't seem possible to select both at the same time...or, is it?)
 -
 I'm working on AD using pen tool and note tool. I'm also using the snap to node feature to make sure objects notes are exactly contiguous whenever required. When I want two pieces to be exactly contiguous (no overlap, no gap) I move the node and wait for the yellow highlight to the node of the other object before releasing the node. However, there seems to be a gap between objects as on the picture. Why is that? How can I get rid of these gaps?
-
Hi, Couldn't find anything but is setting table cell borders still buggy? I would expect to select table cells, set border to bottom, set border (stroke) and that would be applied to all selected individual cells. At the moment it only sets a border for the last selected cell(s). Bert
-
Hi, Is there a way to have border in macro which will be +100px to current image size ? How to define that ? Regards, Greg
-
 Hi, in the AD BETA all elements/objects have a pinkish outline around them with "No Stroke" selected, just a gradient fill in what I'm working on(5 objects/elements). When the project opens it's fine but once the element is selected the outlines stay Is this the same issue I found here This is all I could find on it in the forums, it doesn't happen in 1.6.5. but in the linked post it says that it isn't new to this beta. Very frustrating. I understand it's BETA. Cheers
-
Hi! Is it possible or could it be made possible to toggle "show image borders"? As of now you have to select the image to show the border but for layout purposes it would be nice to skim though the document and see that everything is nicely lined up without having to select everything. Best regards. Ejnar
-
 How do you add a border in Publisher beta?
 -
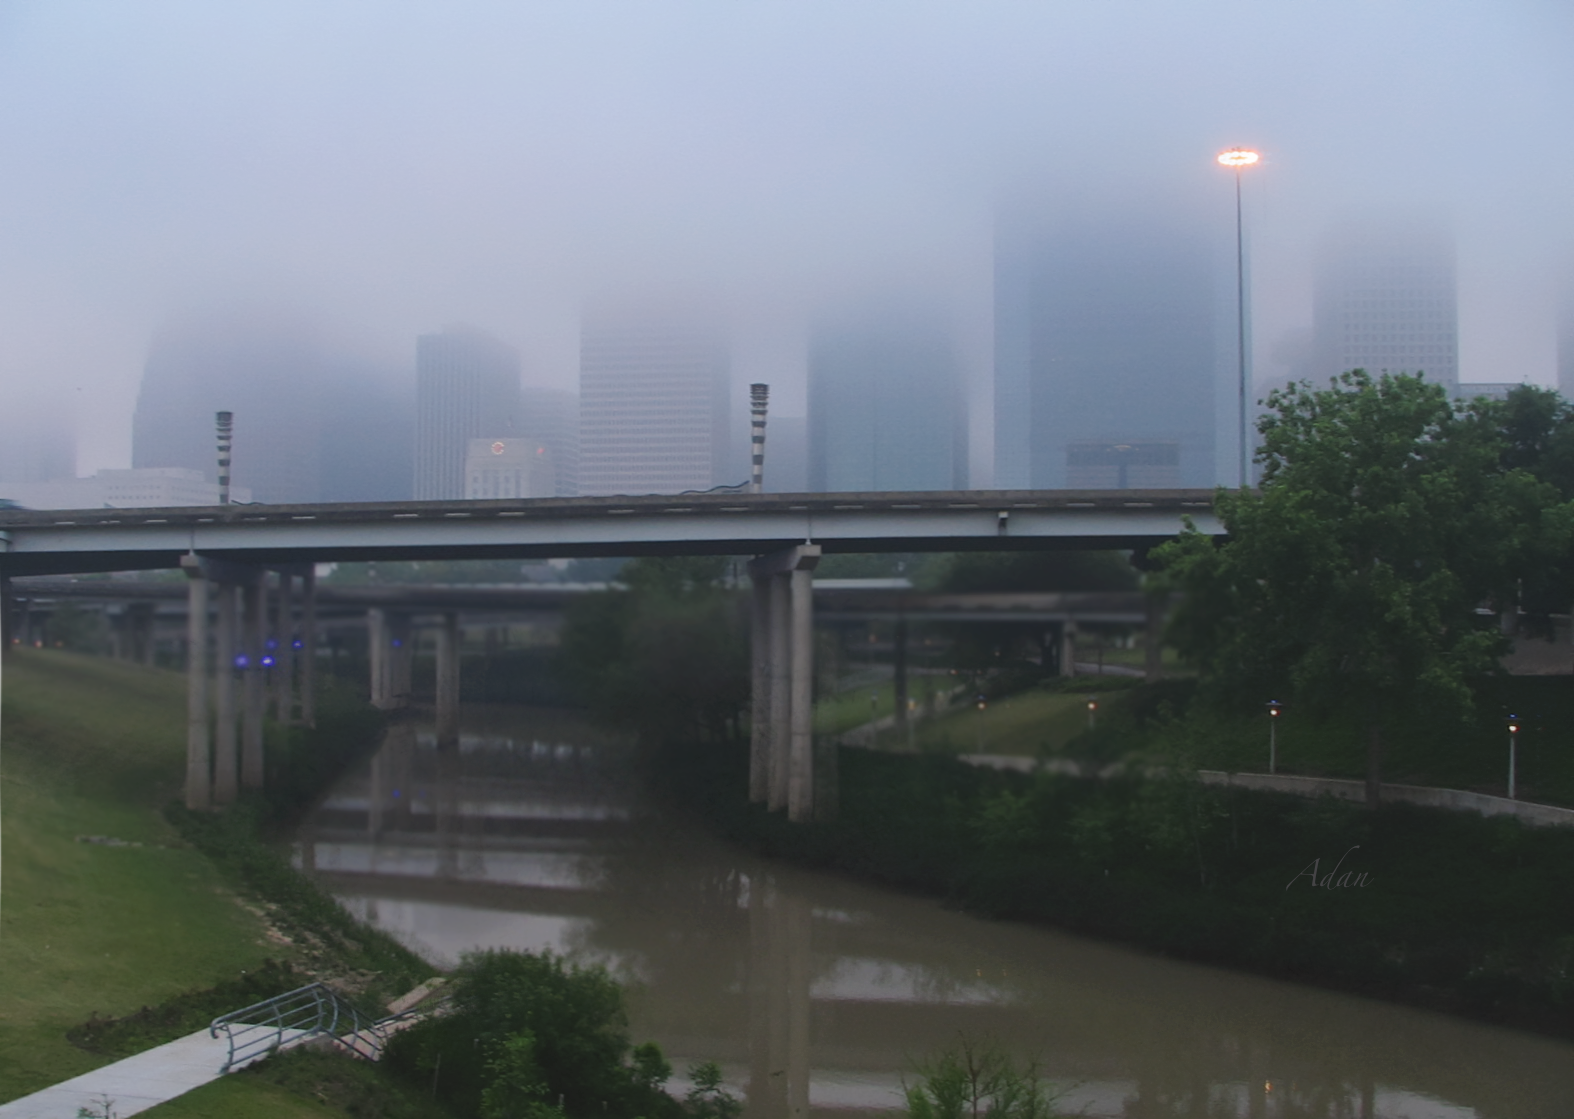
 Hi, I've exported a few pngs (not a problem to this point with jpgs) that I've then uploaded to an art photo site I use. There I get a msg saying though they accept pngs, they need to convert to a jpg to get rid of the excess transparent border I thought I'd cropped out. I've tried clicking the clip canvas command without any luck, at least in terms of my history tabs still showing the excess transparent border. I've tried to clip canvas cmd with the image flattened & unflattened, with the background layer selected & not selected. In PS I simply crop & the excess is (I think) gone from the final file. I'm not real great with PS either, so my learning curve is probably a little steeper than otherwise probably Thanks so much, Adan ps - below is the png file I've most recently struggled with, thanks!
-
 Hi I'd like to apply borders to finished work. In programs such as PS or the old Paint Shop Pro, I used to select all>contract by [x] pixels>invert selection>apply effect to selected area. Is there a similar procedure for AP? Thanks
 -
 I am new to AD. I have been using DrawPlus for some time. I need to create a circular border design within a donut. I can find no forum or info that addresses "border or borders". I need something like an X with a top and bottom. I need this for a circular logo. Thanks
 -
 Try this: once ready to flatten and export, duplicate the background, use Effects to 'outline' (you'll need to click on the gear icon to open full use) and use it just like stroking the border in photoshop. Just remember to flatten the layers after the first border. So, effects> outline set to 'inside' white for (say) 7px. Flatten. effects>outline set to 'inside' black for 5px. Or whatever... and now we can make a macro! And for lots of images use Batch processing. Of course if you want you can keep all your layers and use what was called Stamp Visible... choices...
-
I have a group of masked adjustment layers. When I try to move the hole group to position it, the borders of the group don't represent the borders of the sum of the masks inside the group. In fact the handles are far outside the image and the group "area" is very small. (see attached sample)group borders.afphoto
-
When posting my photos to my blog, I often add a small border. In Photoshop, I use the resize canvas tool to add pixels in whatever color I choose. I have benn able to add to the canvas in Affinity Photo Beta, but only as a clear background (if that makes sense). How do I add (for example), a 50 pixel gray border?
-
 Hi, I'm new to Affinity Photo and using the tutorials... I'd like to add a border to a jpeg that I've cropped. I've 'merged visible' layers. Dragged out the rectangle and then I get a problem. The tutorial shows click dragging the rectangle to the pixel layers and the rectangle then becomes a mask. However, for me the layer nests into the pixel layer but floats over the pixels?!?! I guess I have some other option set incorrectly? I'm using Affinity Photo 1.3.5. Any suggests very welcome. Thanks, Jonathan borders.tiff
 -
 For photo competition purposes, i need to put a 3 pixel white border around my images which I have been doing in Photoshop. How is this best achieved in Affinity? I have already managed to achieve this in Affinity for some landscape images which can be sized to 3 pixels smaller than the desired target of 1400 wide by 1050 high, e.g. 1397 by 1047. Then the canvas can be resized to the desired 1400 by 1050 and a white filled pixel layer put behind which then nicely provides the thin white border. I can't so far make this technique work for portrait format images. These also have to be 1400 by 1050 for projection and the non-image parts of the canvas have to be black to focus attention on the image. (I tried putting the white border round one portrait image and then transferring the layers of this image into the layers panel of a new correct size canvas but this didn't work, maybe I did it wrong?) Similar problems will occur with "letter box" format landscape images which although 1400 wide are less than 1050 high. Essentially what I'm asking is how to do Borders in Affinity Photo? Any help would be very welcome. Bail