Search the Community
Showing results for tags 'Affinity photo'.
-
 Greetings, Affinity Photo 2.0.3 Steps to reproduce: Take any raster layer, 8bit, sRGB Add Live Filter "Gaussian Blur" with eg. 10 px radius Change the opacity of Live Filter to 1% Change blending mode of Live Filter to "Overlay" Until now, everything seems to be fine. You are seeing an almost unmodified layer content. Now, change the Live Filter opacity from 1% to 0% First bug: Despite that blur itself is actually not visible, obviously the image is being applied to itself in Overlay blending mode, while You should be seeing unaltered image. For reference, You may want to convert the document to CMYK FOGRA39, and check there (it behaves correctly). You are still in sRGB. Grab the "Radius" slider and move it randomly. Image is being divided into semi-random areas, similar to screenshot below. Try to "merge" the Live Filter. The artefacts are likely to be embedded into layer pixels. This procedure takes "gaussian blur" as an example. Same glitchy beaviour occurs also when using different Live Filters. KR,
- 4 replies
-
- 1
-

-
- live filter
- affinity photo
- (and 5 more)
-
-
- 1
-
-
- affinity photo
- affinity designer
- (and 2 more)
-
 Since Apple released macOS Ventura (13.x), they have removed the ability to access Albums when opening images from Apple Photos through Finder. Instead, a folder will be presented with all images from your Photos Library, which can be sorted using the default Finder controls. This affects all macOS apps running Ventura and unfortunately there is no way to re-enable this functionality at this time.
 -
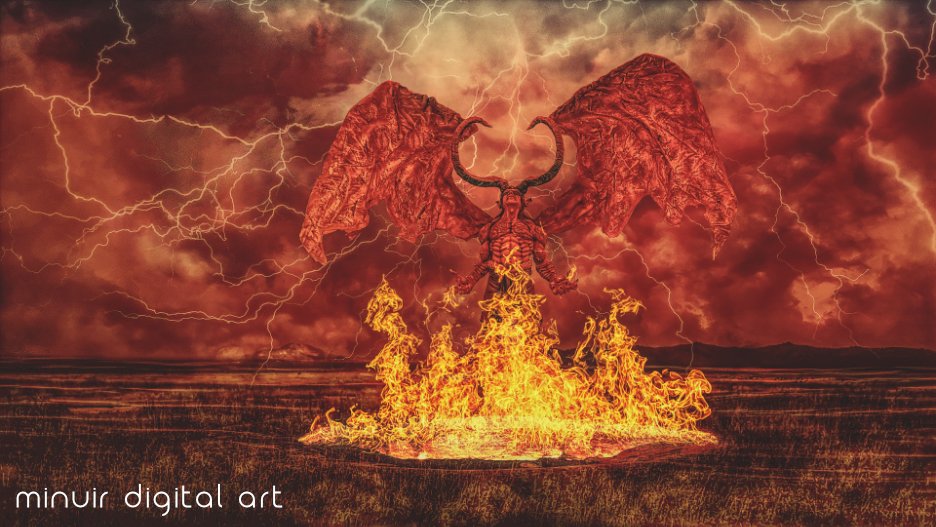
 I really enjoy watching Netflix's Strange Things Season 4. It was so exciting, and it inspired me a lot. So this photo manipulation was done with the atmosphere of "Stranger Things Season 4" "Awakening of The Dark Lord" speed art : https://youtu.be/cvvUGIaUdNU
-
- 2
-
-
- minuir
- digital art
- (and 2 more)
-
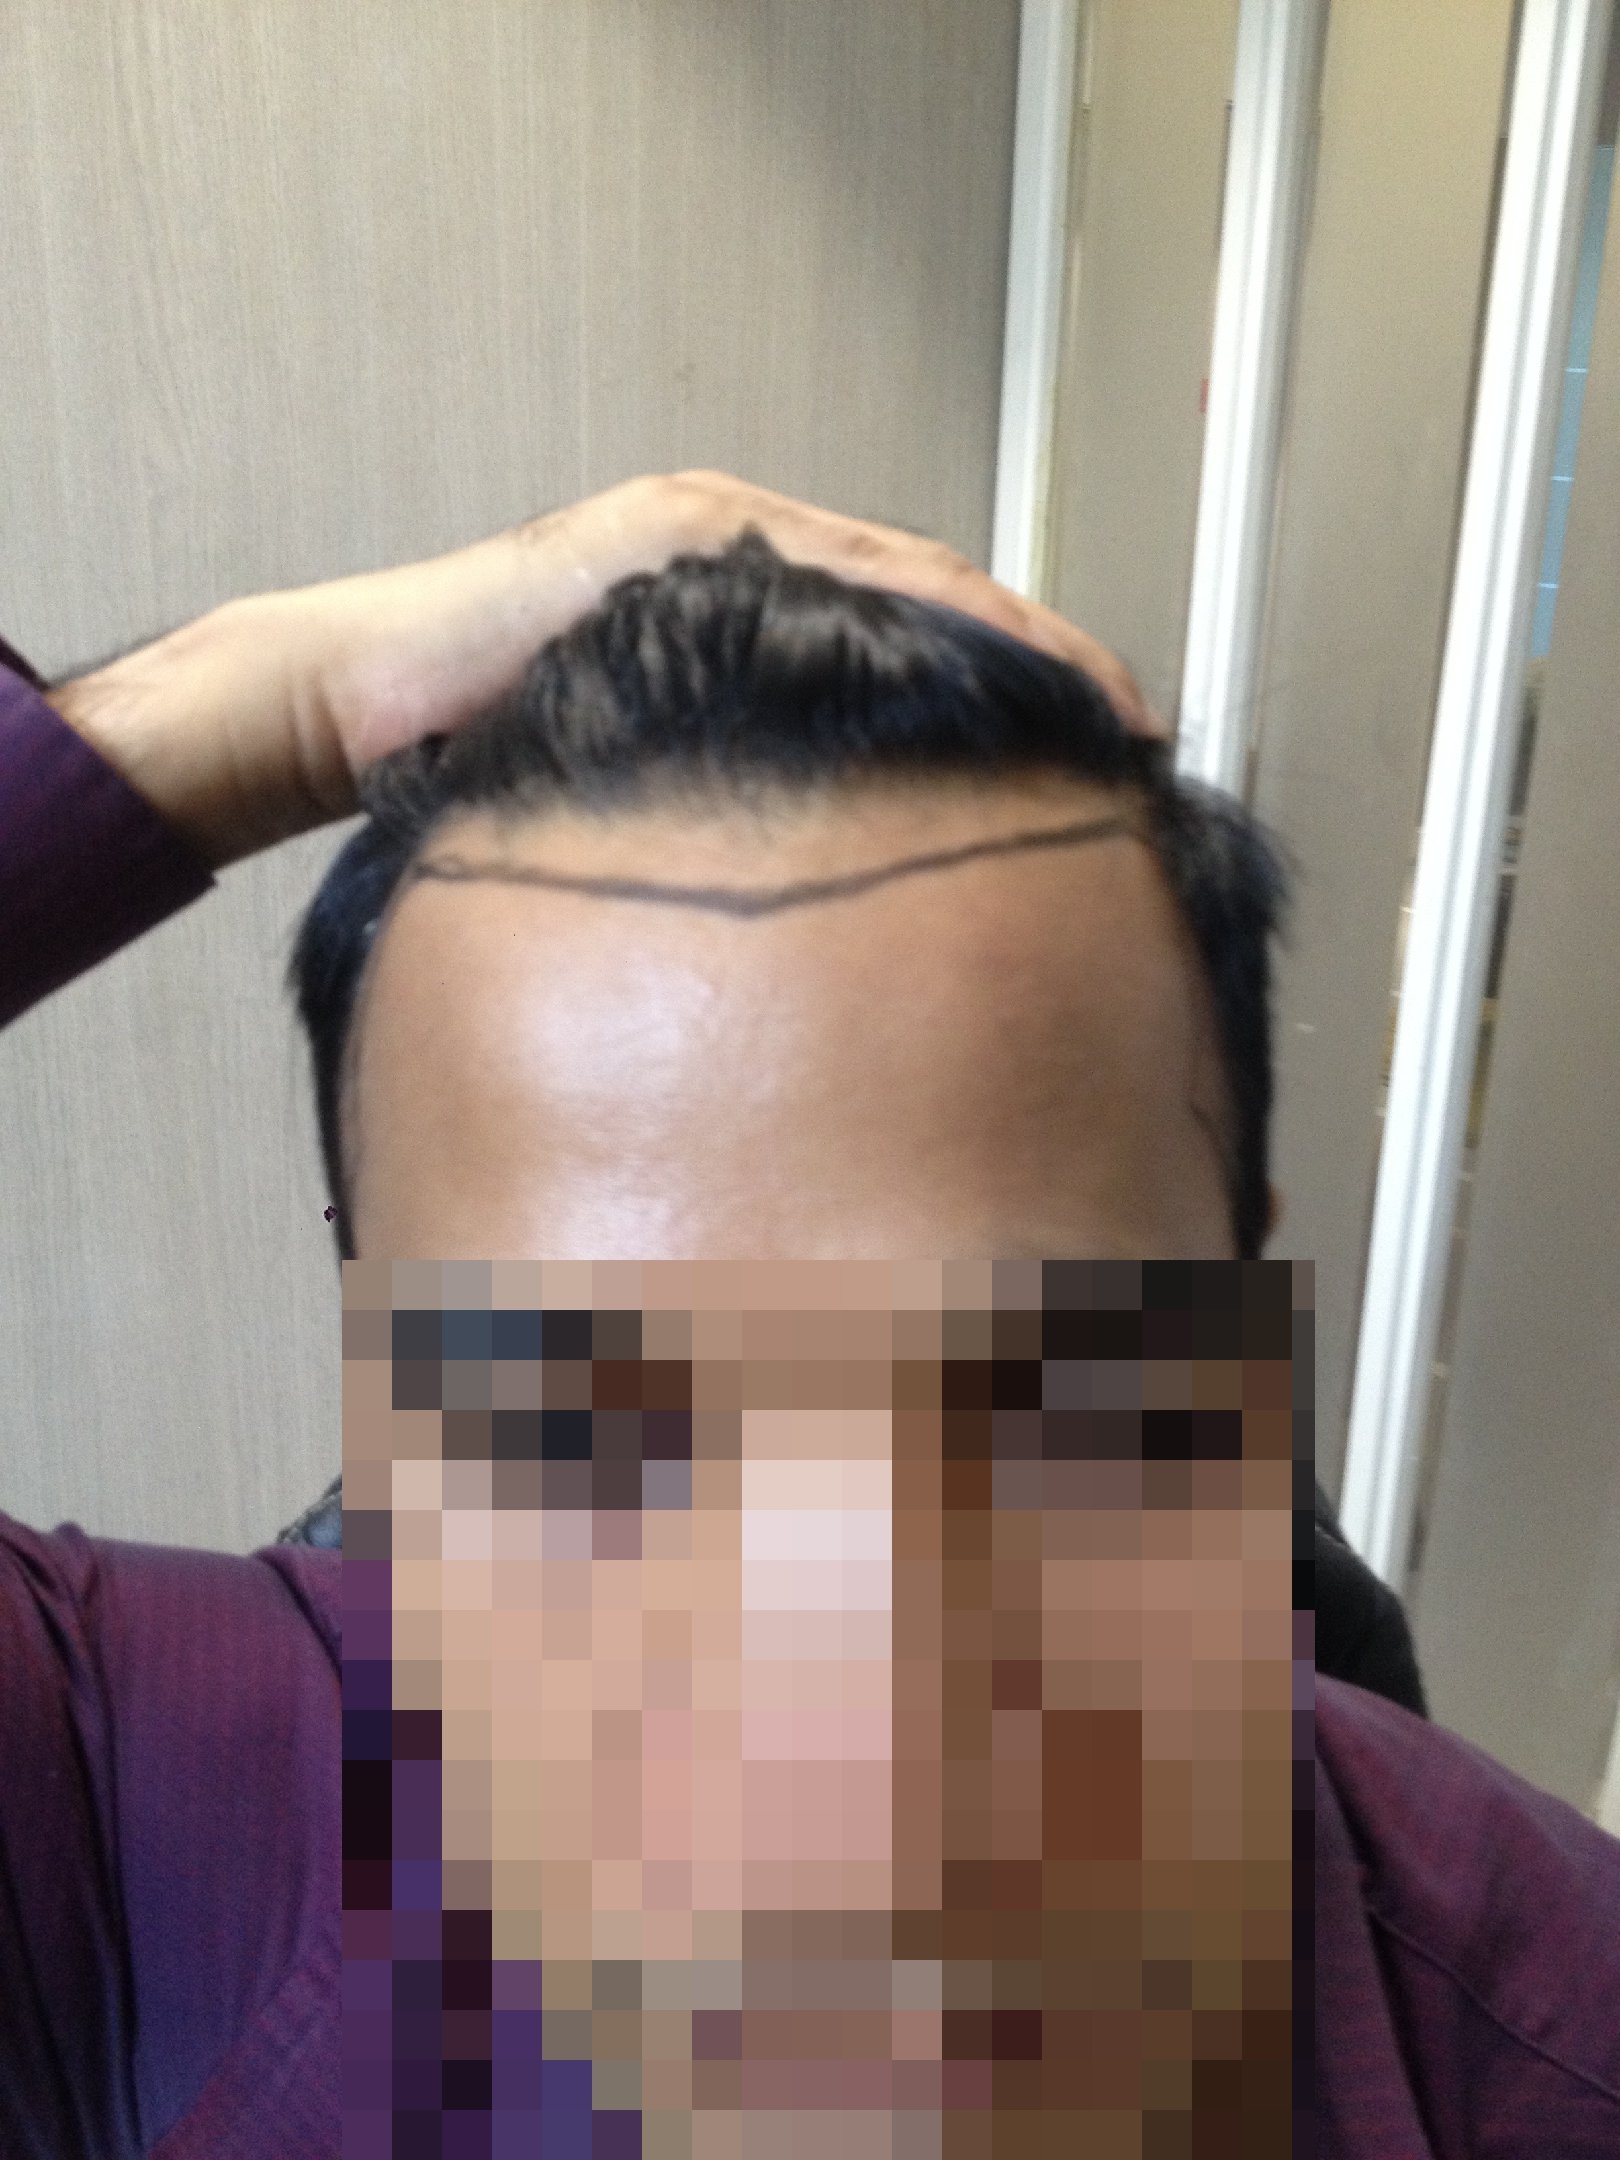
 I am trying to have some hair (Making it look as natural as possible till the Hairline drawn with a Marker in the Picture) What would be the best way to emulate some hair til the Marked Line. I have tried using Clone Tool, Patch Tool but the results do not look natural. Any other suggestions ? Picture attached.
-
 Hello, I am very new to Affinity products. As I have used Photoshop my entire life and I recently switched to Affinity and I am loving all the great features. This is a small feature but very useful while saving photos for web. There should be an option to enable or enabled default to automatically replace space with - (dash) in the file name while exporting images for web like photoshop does. Thank You
 -
So I've been dropped in at the deep end and I'm a little out of my comfort zone! Being the family "graphics" person I must be good at this, no? 😂 I've been given the task of scanning photos and negatives which cover the last 70 years - around 1000. They are both colour and B&W, and of various types, sizes and condition. I've searched the forums on here and elsewhere and although there are really good snippets for specific restorations I can't find anyone describing a general workflow. I'm specifically looking for the order that things should be done and the rationale. For example, one tut said do the dust and scratch removal as a late/last step but my scanner has ICE and that does a pretty good job at that point early on in the workflow. Some of the photos are in good shape and will only need a little colour correction or B&W point adjustment, others are in poor shape and will need lots of work. Does anyone know of any tutorials, blog posts or documentation, especially if it uses Affinity Photo, that covers this type of workflow? TIA.
-
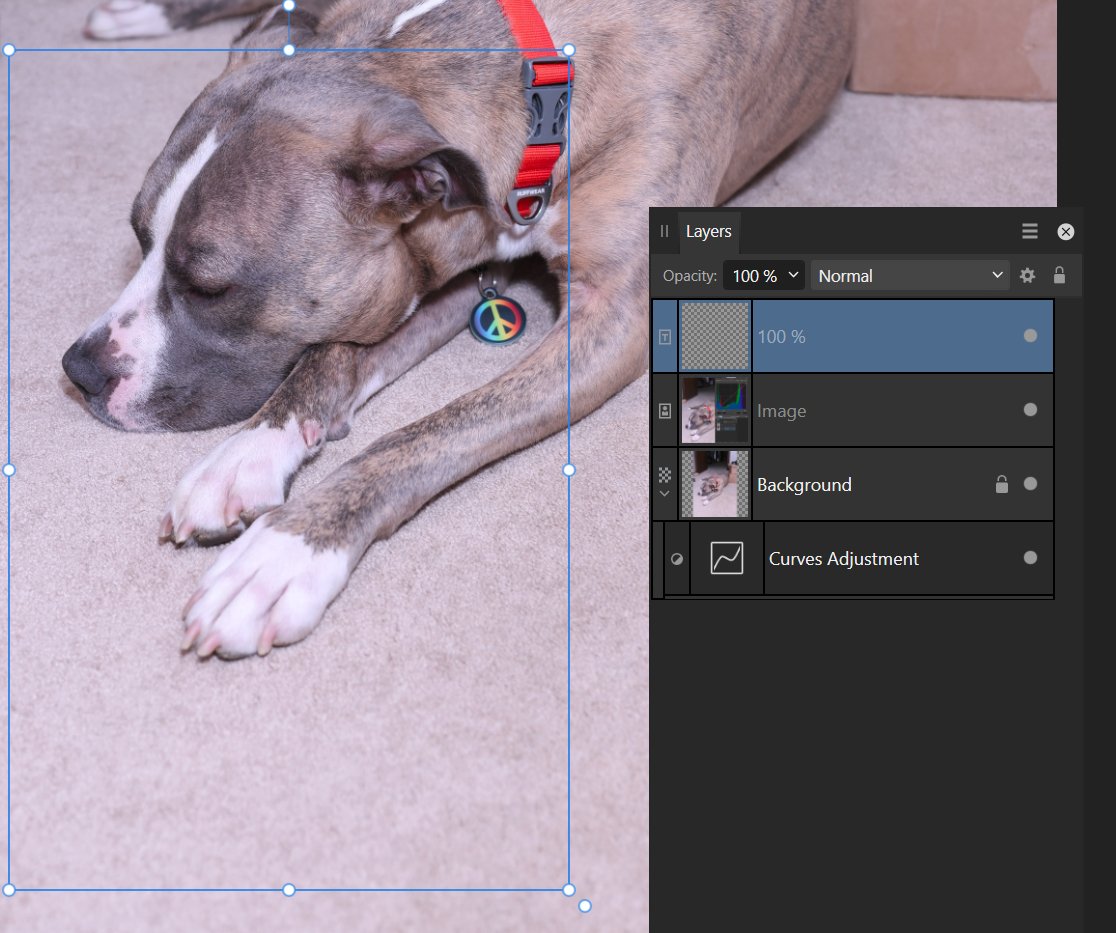
 While working with the curves panel I highlighted the Opacity dialog box, does not matter what the % is, I dragged the box over to the image and let go and it created a new blank layer that says it is Frame Text and lists the % of opacity that was present in the Opacity dialog box. Is this a BUG? If not what is the purpose of creating a text frame layer from this dialog box? thx, - T V (seems to happen from any highlighted input dialog box with the Move Tool (V))
-
I want to composite two images both are persons and I want to blend them standing side by side. Any already existing tutorial posted here ? Which can help me know how to do it ?
-
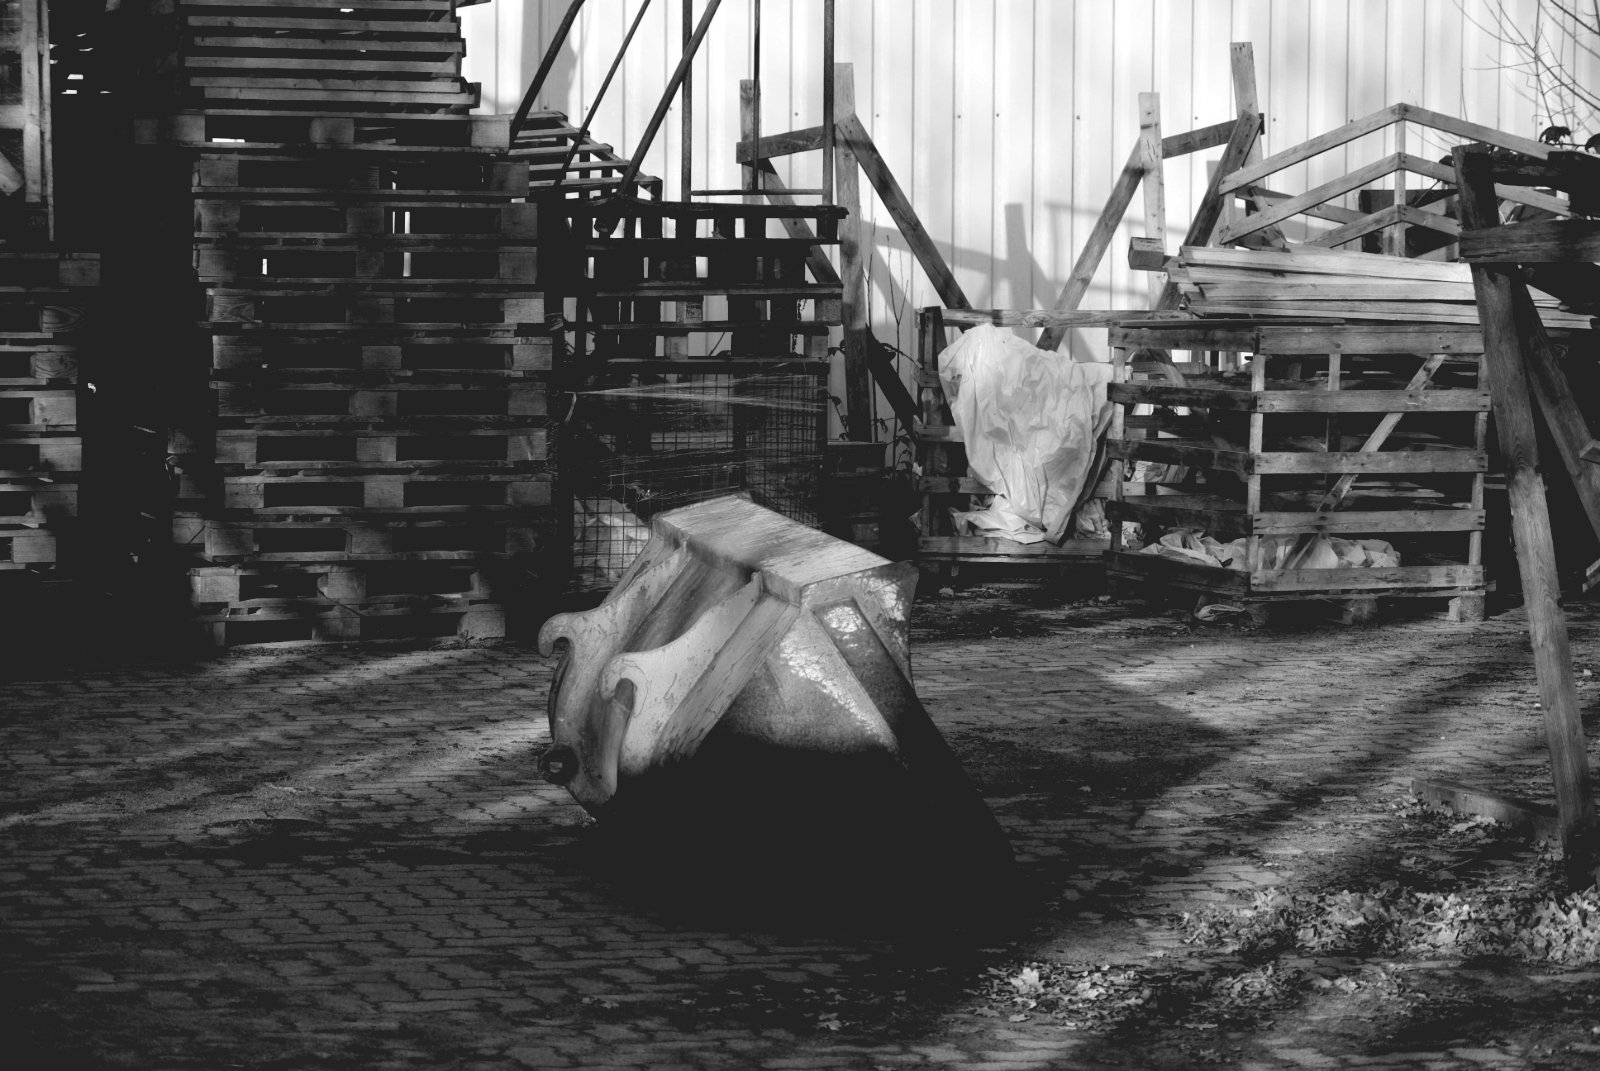
I made a little Collage with APh this morning. I would be even more excited about Affinity Photo if I could do the placing of files directly from APh not by loading and placing. If the file is already open, it would be much easier for a collage but also for Panorama, HDR or FocusStacking. In the cemetery you can find gravestones from the 17th to the 20th century.
-
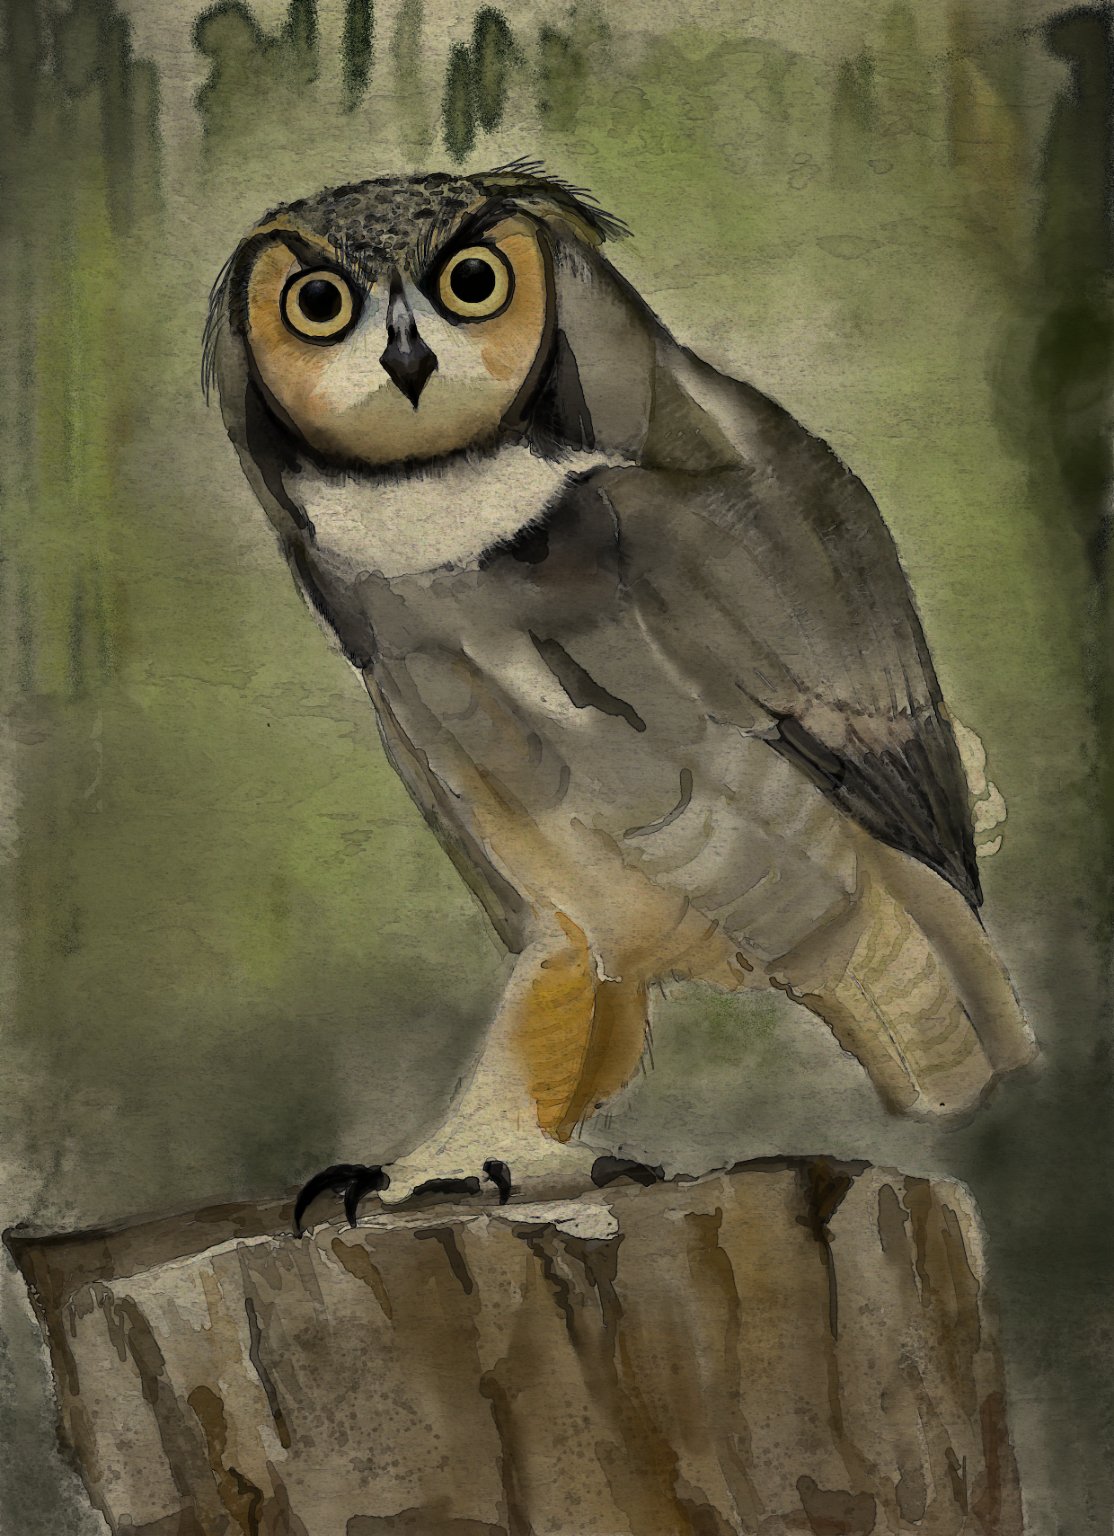
Custom brushes + overlay
- 4 replies
-
- 22
-
-

-
- watercolour
- watercolor
- (and 3 more)
-
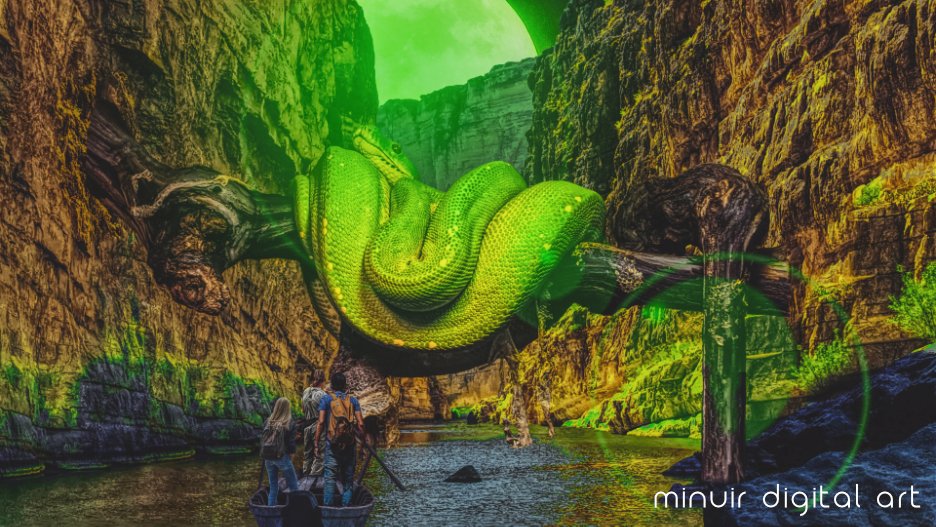
When I saw some photos about mountains, forests, and old-style bridges, I thought the movie "Indiana Jones". So I made adventure-style photo manipulation like "Indiana Jones" with the green snake that I have "Don't Wake The Green Snake" speed art : https://youtu.be/-X77XVzxpPE
-
- 3
-
-
- minuir
- digital art
- (and 2 more)
-
 Hello, have you encountered a problem with affinity photos 2.0.3 blocking the program using - selection brush tool, when I select it after a while everything in the program is blocked and I can't even exit the program.
- 1 reply
-
- 1
-
-
- affinity photo
- v2.0.3
- (and 1 more)
-
 Since the forum is always full of people running into questions or trouble, and it's also the Thanksgiving holiday in the US, I would just like to say thanks to the developers and their company for these great applications. I would much rather have these than an Adobe subscription (especially on the iPad, but also on desktop).
- 1 reply
-
- 7
-
-
- affinity photo
- affinity designer
- (and 2 more)
-
Starting from this video, I made two macro. https://www.youtube.com/watch?v=LdxXq0aaaXQ In order to import them, open Affinity Photo, open Macro tab (enable it if nedeed), then click Import Macro icon (marked with 1 in below pic), after that, click on Add to Library icon (marked with 2), choose where you want to save it, change the name (if you want). Then test it, by applying it to a picture, open the procedural text, adjust the variables, opacity and blend mode. HDR-1.afmacro HDR-2.afmacro
- 8 replies
-
- 2
-
-
-
- affinity photo
- hdr
- (and 1 more)
-
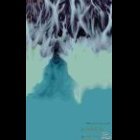
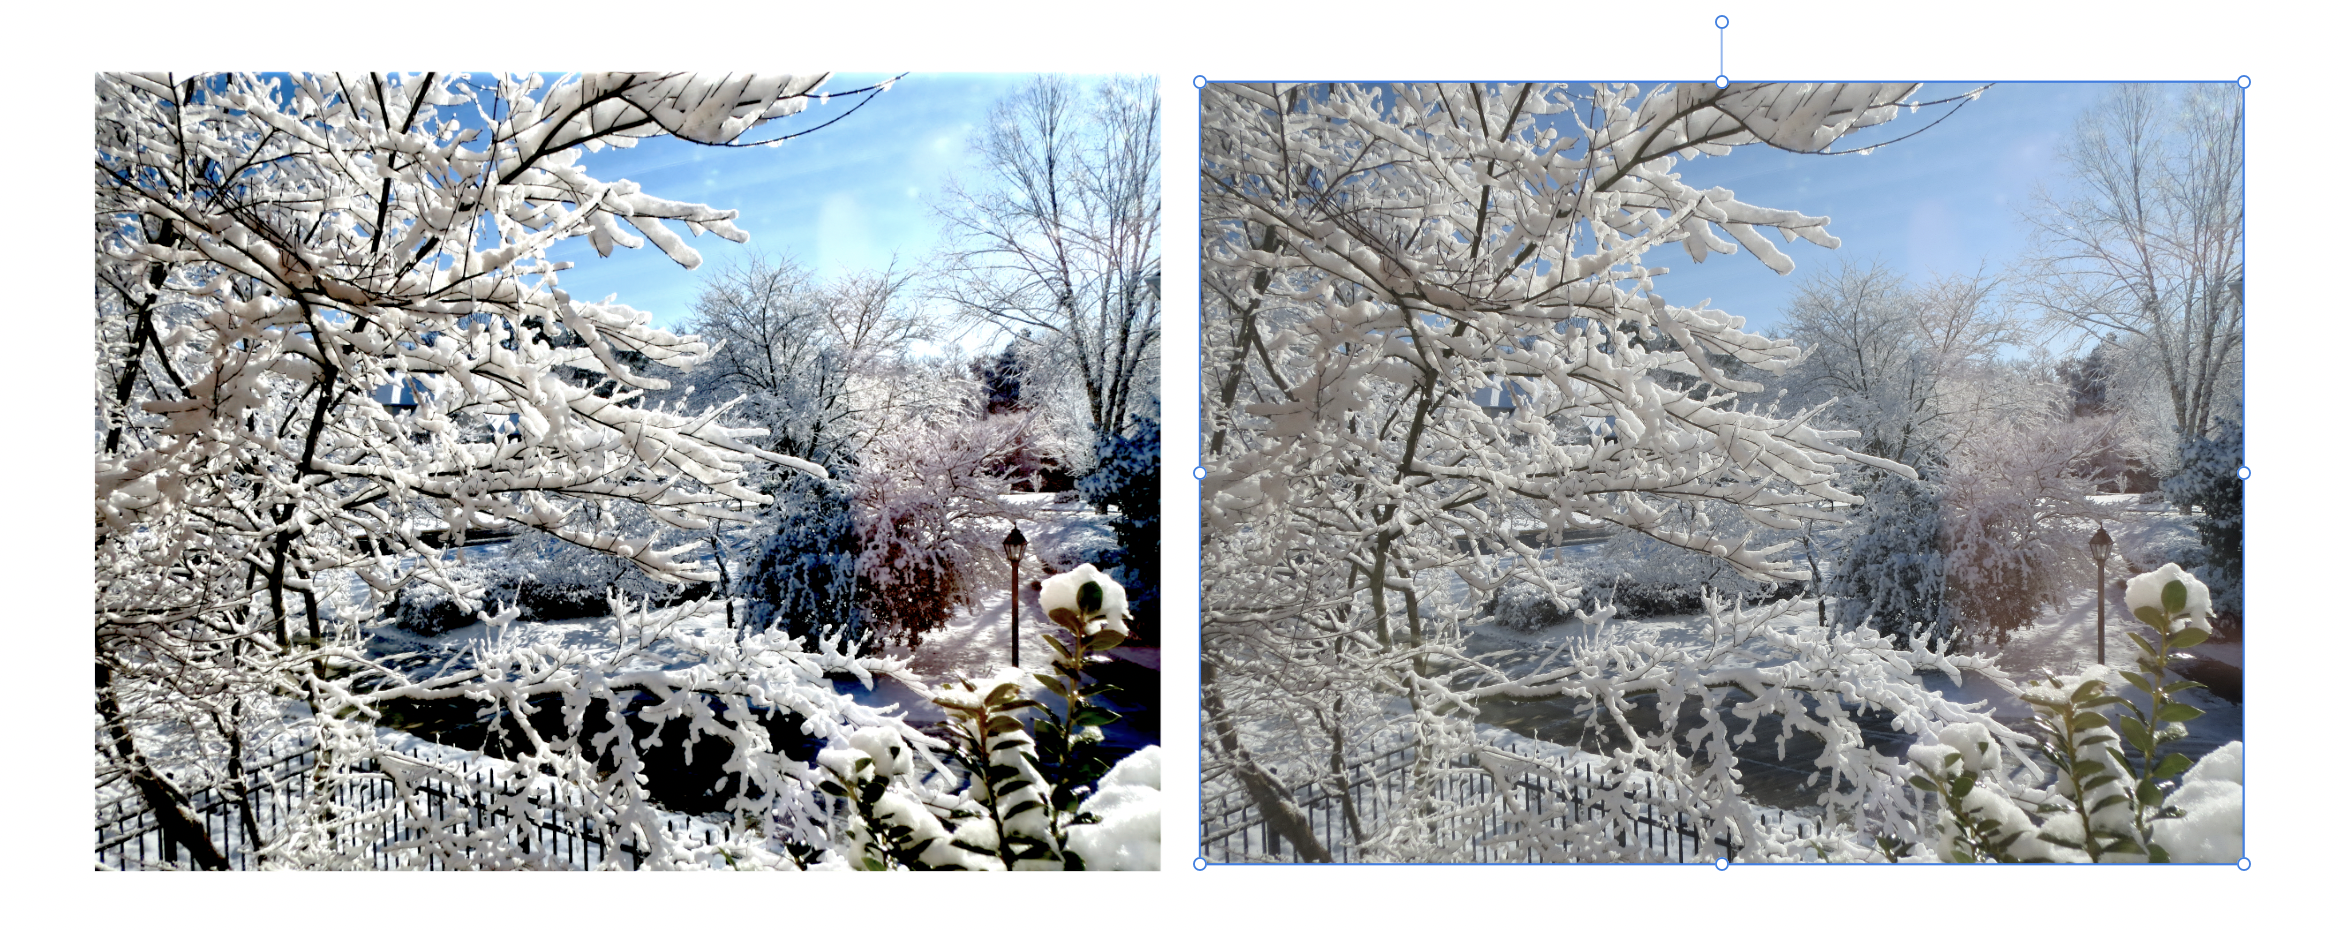
Here is a first attempt, following James Ritson's excellent new video tutorial. Not only is there a huge difference in the two images on my retina screen, but also the printed versions have a major difference too. There is also a vast difference in file size. The HDR version is 31.0 MB. The original JPEG is 3.1 MB. The exported HDR image does not appear in FINDER with the usual image thumbnail. See below. So here are my first and second tries. HDR.jxl on the left, JPEG on the right. Next set, HDR.jxl on the top, JPEG on the bottom.
- 1 reply
-
- 5
-
-
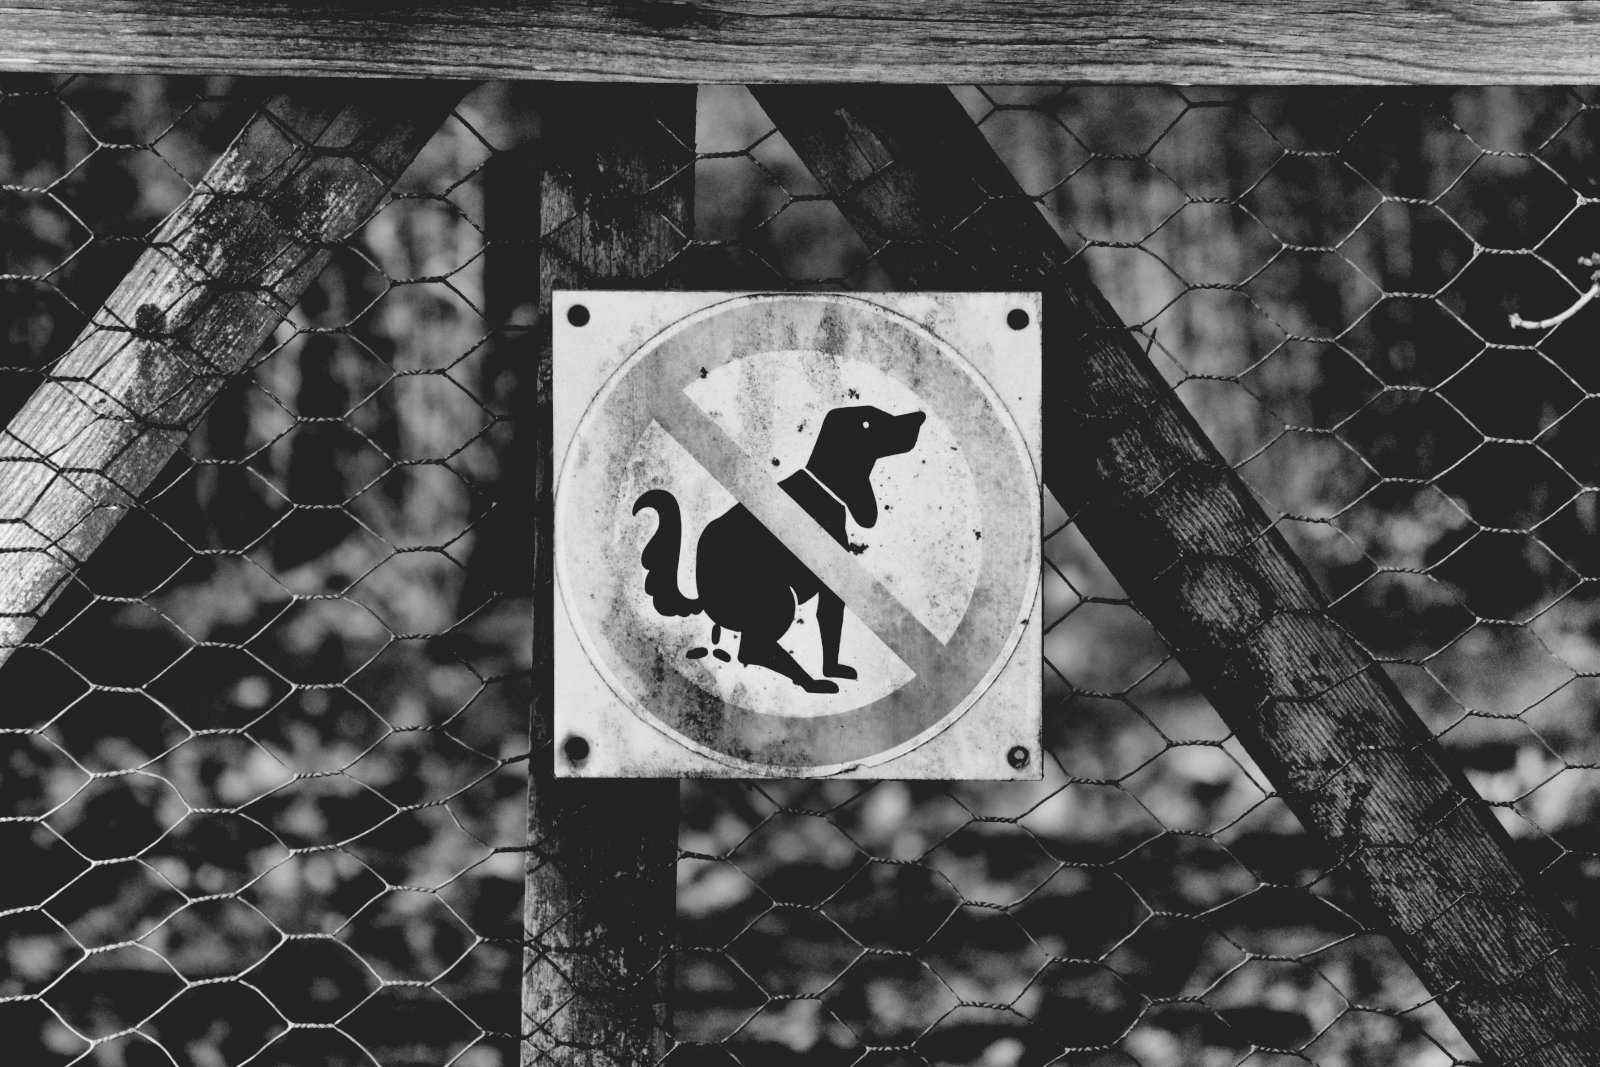
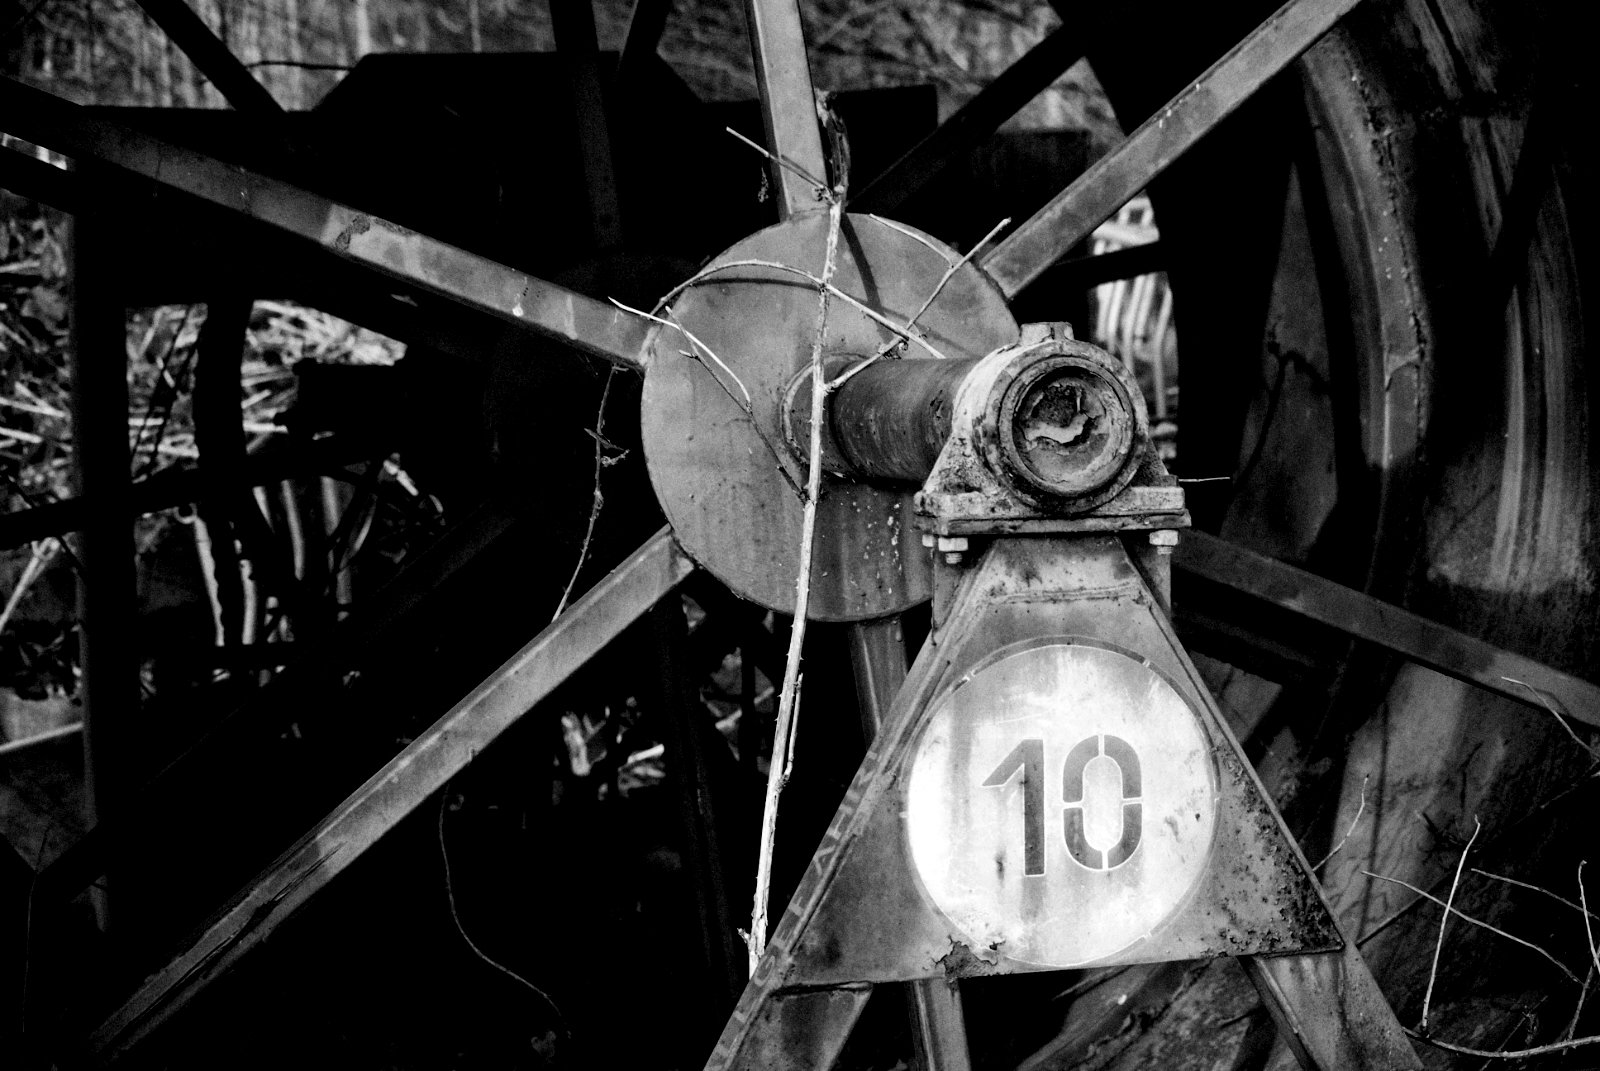
When you see quite dilapidated and rusty things while walking between forest and meadows. And if you happen to have in such moments your little old Nikon 1 cam with you.
-
 Photo v2 in Wimdows how save mask? I tried look old v1 hint i dont found needed things.
 -
Hey guys......so I was working on my new course...and got the the lesson on making brushes.....sooooo I had to amek some brushes. I made a set of fog/ smoke brushes in raster and a set of silky smooth stroke brushes for your vector applications. I have learned so much from the people on the site....I wanted to give back, so here ya go . I am working on new blog post and some new art using them....so I will keep you in the loop Feedback on them is always appreciated, I love making these sorts of tools Jeremy , www.7thseasonstudios.com Stroke brushes -7th season studios .afbrushes Smoke and fog brushes -7th season studios.afbrushes
- 151 replies
-
- 134
-
-
-

-
- brush
- affinity designer
- (and 1 more)
-
 that might be a weird question but is it possible to use affinity photo as view finder and remote controller for an iPhone? I speak for the desktop Mac versions but also the version for iPad Pro would be great if it would be possible to realize it. thank you very much...
 -
 The documentation team have made comprehensive posts about the available V2 Tutorials, which cover most common functionality Affinity Designer 2 tutorials here Affinity Photo 2 tutorials here Affinity Publisher 2 tutorials here
-
- 2
-
-
- affinity suite
- affinity designer
- (and 2 more)
-
 I’m really liking the embedded RAW file functionality and the ability to go back to the Develop Persona and edit an Overlay adjustment. It works well with Gradient Overlays that when you go back and select an overlay, you can see the start/finish handles of the gradient so you can reposition it. However, I can’t figure out how to see a Brush Overlay to edit it . I was expecting to be able to switch the red overlay back on ( as when you orginally paint) so I can fine tune it. Is it possible to do this or do I have to rely on guesswork?
 -
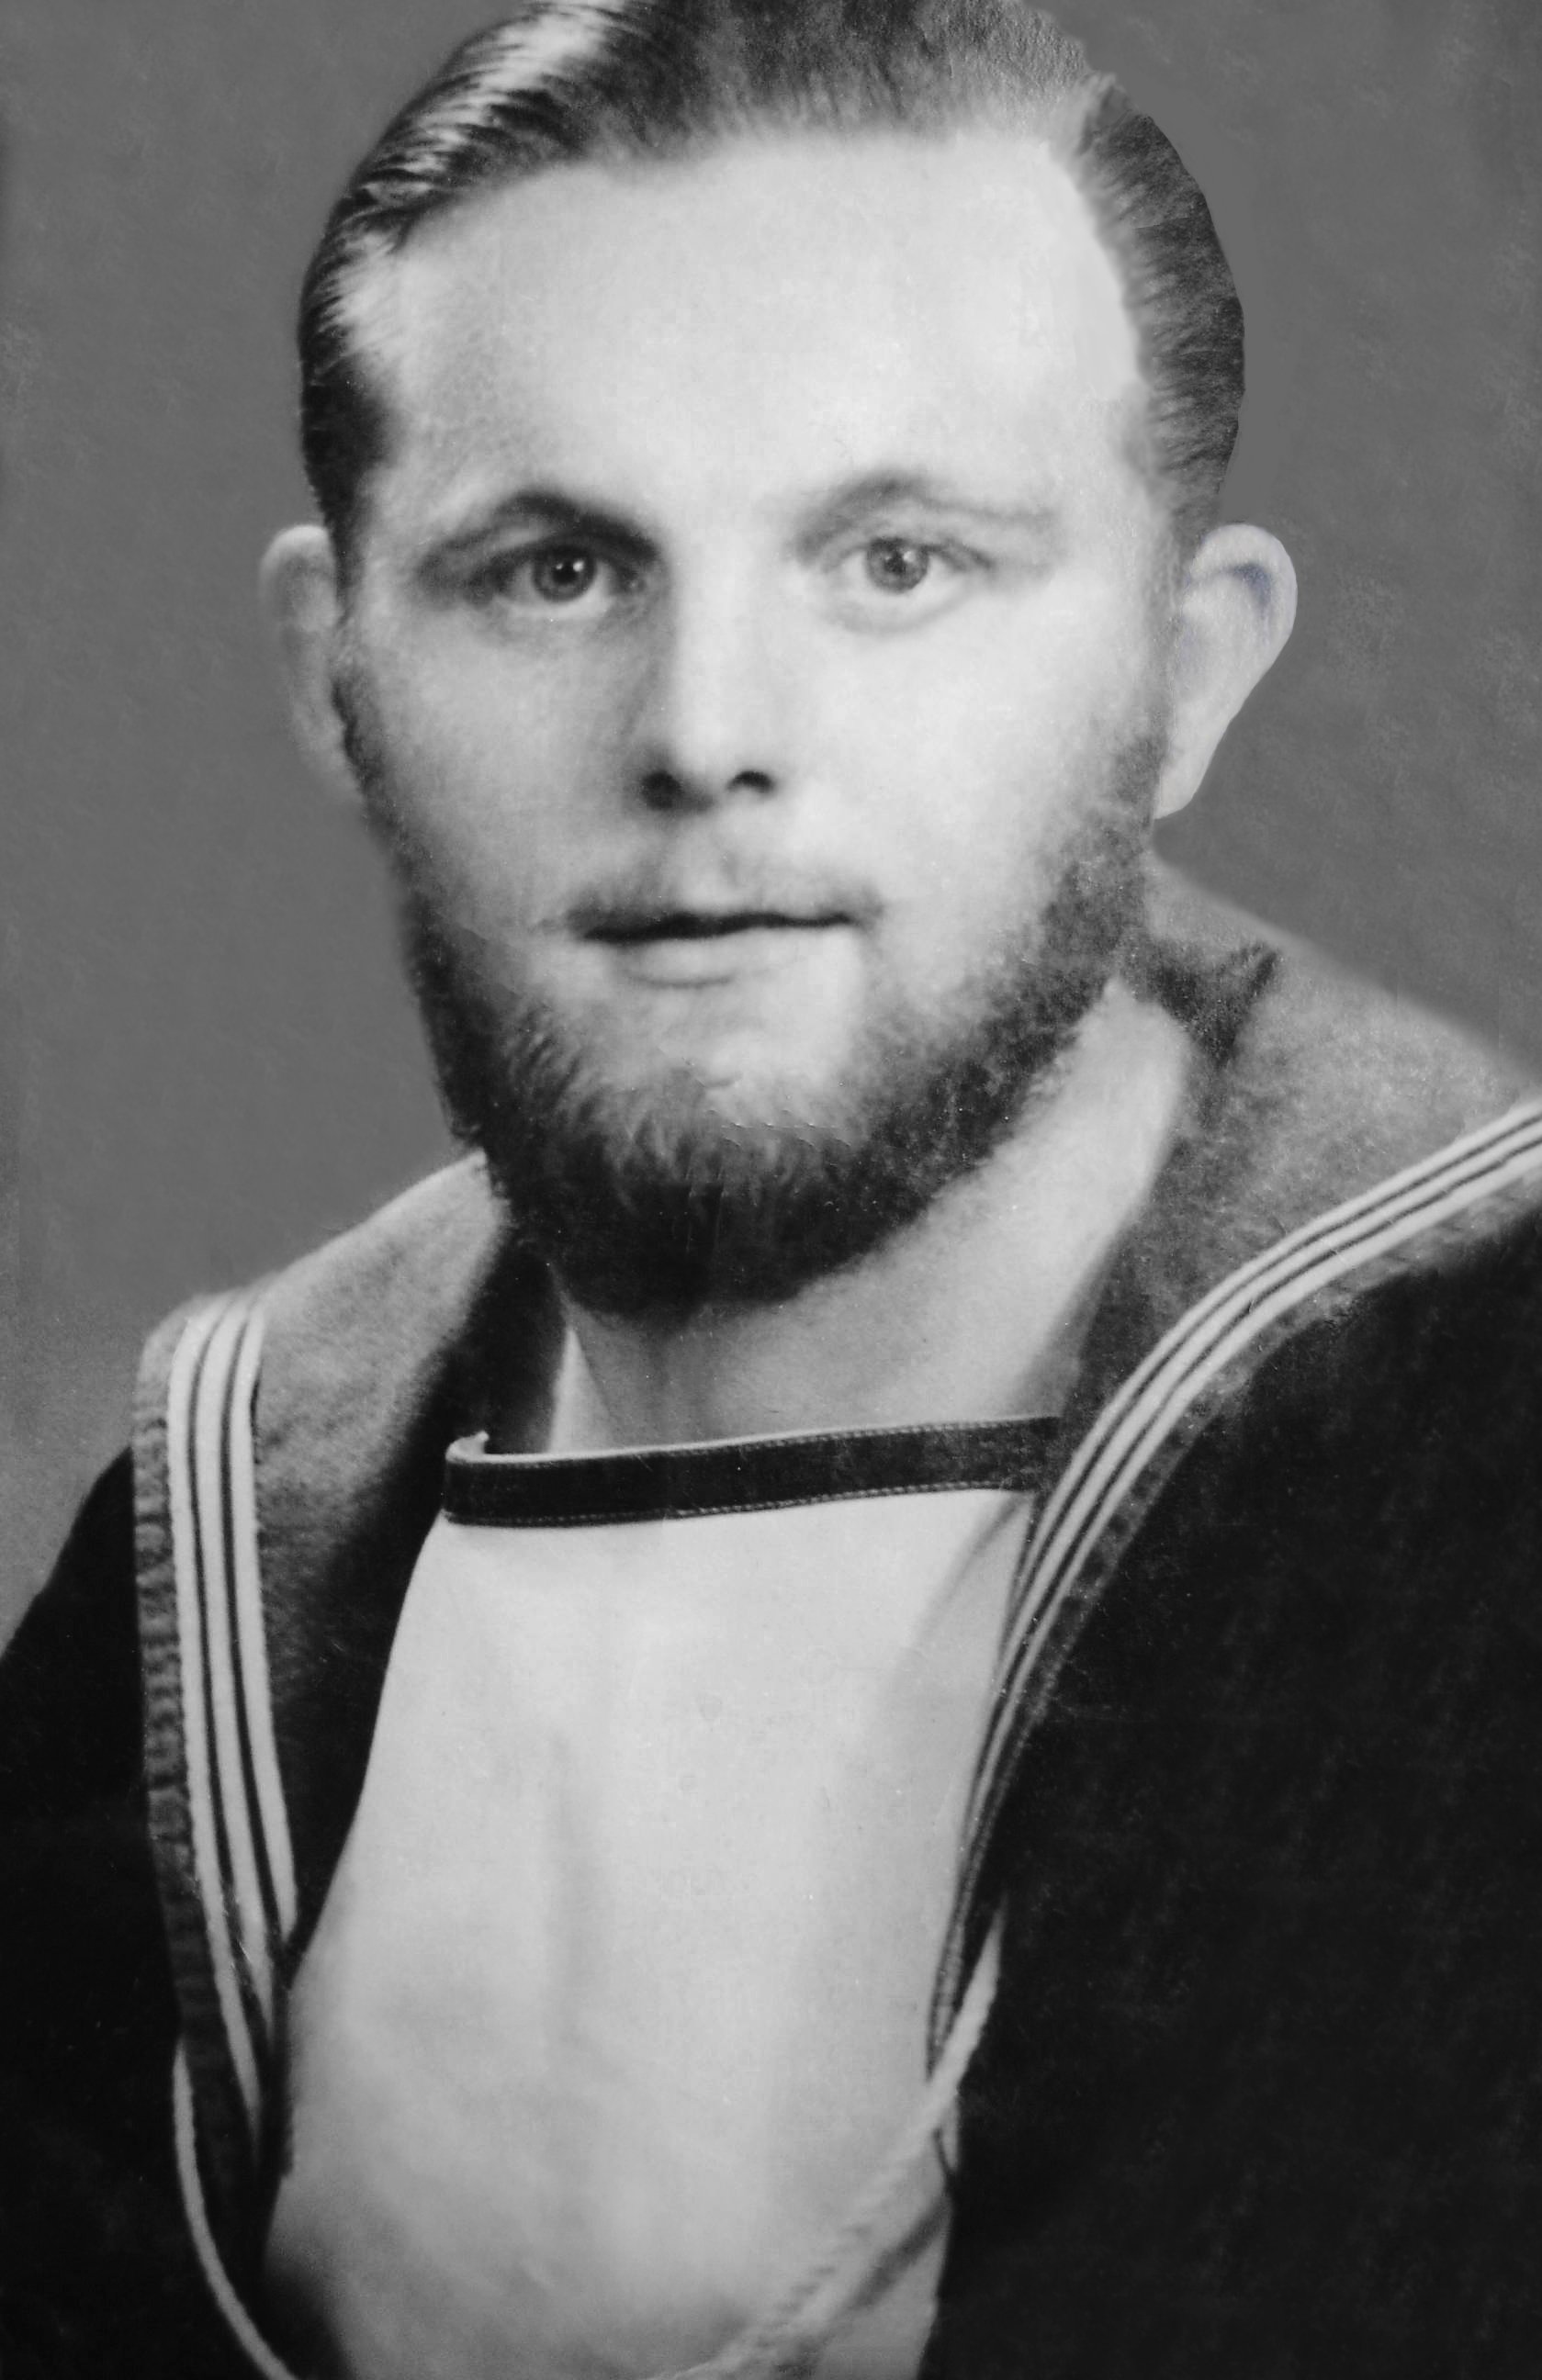
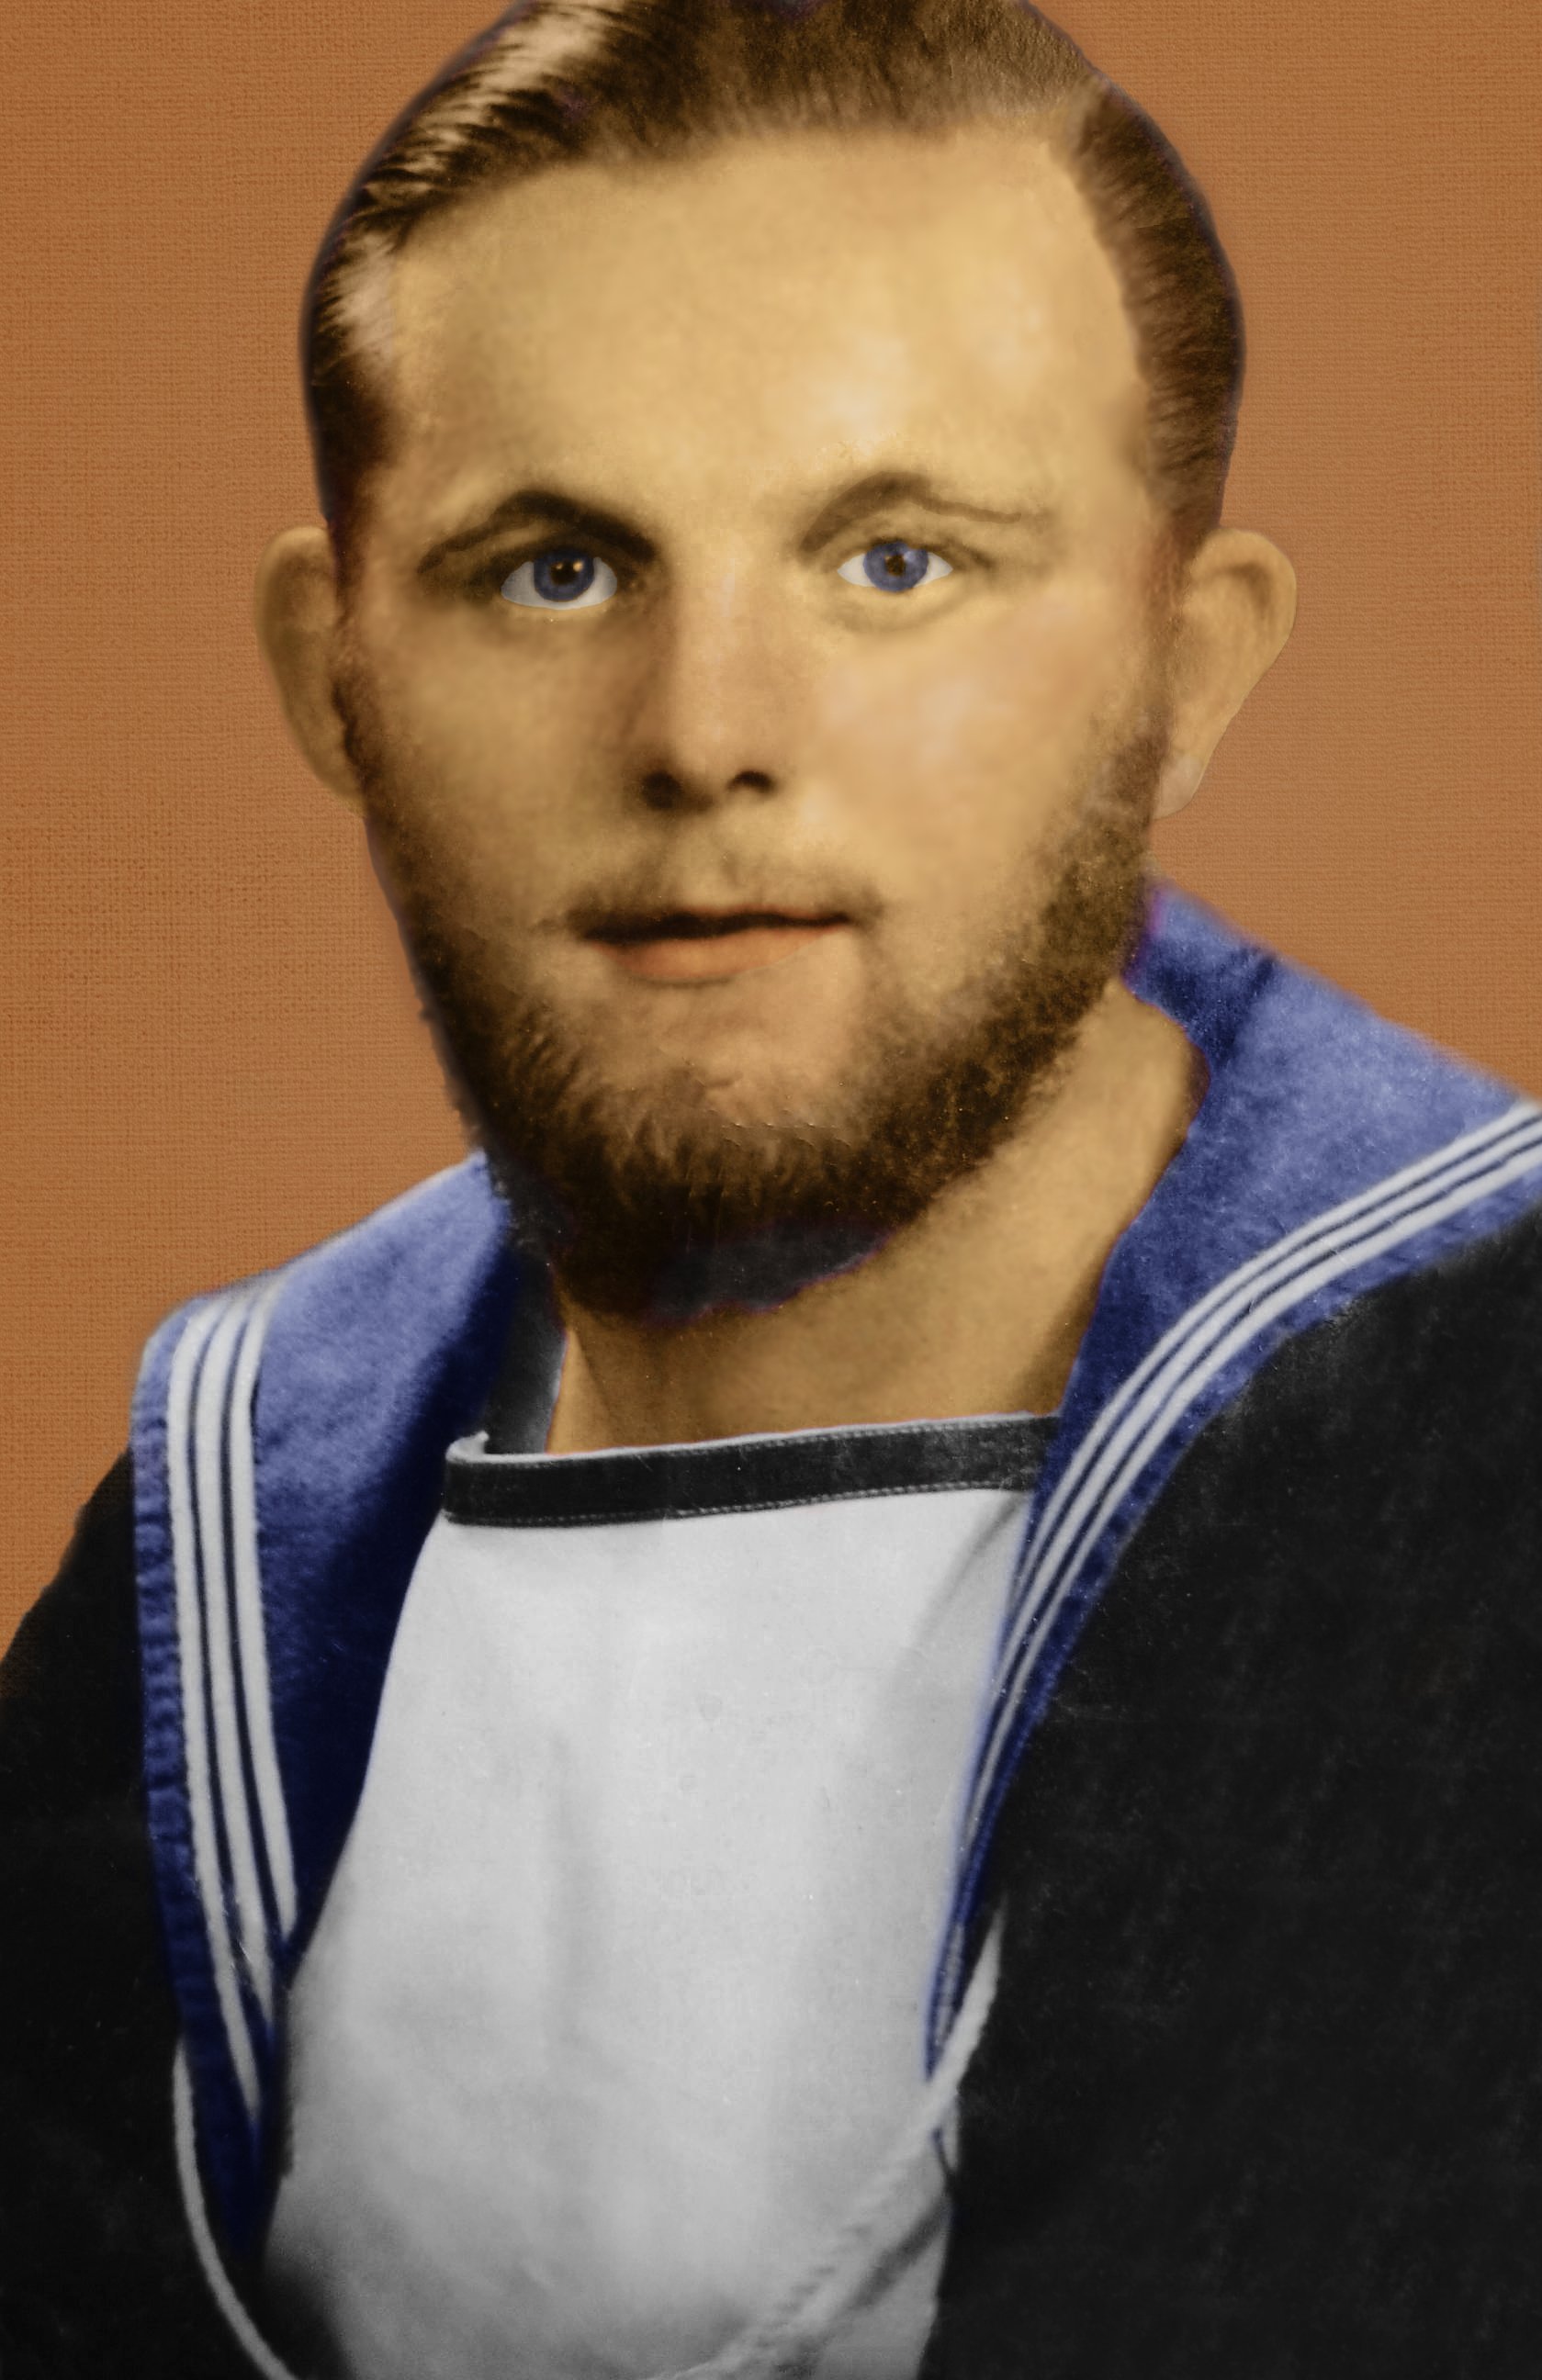
I took a photo restoration class a while ago. Class used photoshop, but I did all my work with Affinity Photo v1. I have a damaged image provided in the class here. I did my restoration work on it and then I tried colorizing it on my own (not an assignment for this image). I have been restoring quite a few old family photos. Some are too damaged for me to do anything with.
-
 Also I really want to be able to feather masks (as I am able to in Photoshop's mask properties). Right now I can apply a Gaussian live filter to the mask but it just doesn't create the same effect I'm after. Please take a look at this video - I want to be able to do this exactly. What ends up happening is that I end up vignetting the whole image.
- 23 replies
-
- 1
-
-
- affinity photo
- masks
- (and 1 more)
-
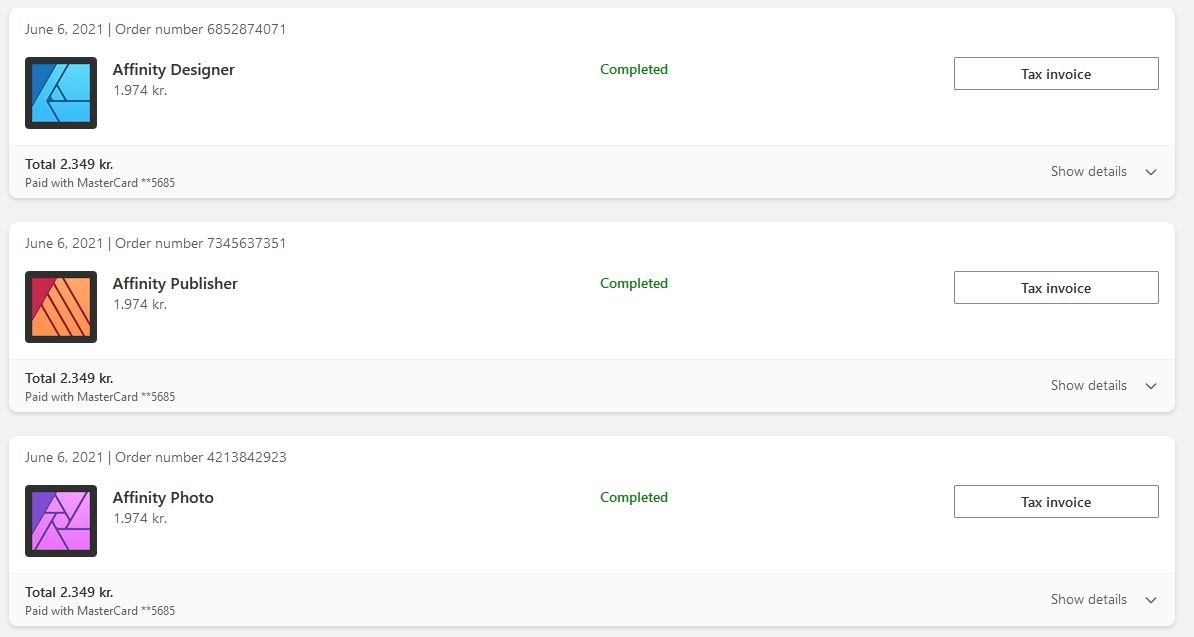
 I purchased all 3 softwares in the microsoft store but can not find the download links to the given apps. The links in my purchases brings me to a whitescreen page. This are the links in from my orders: https://www.microsoft.com/is-is/store/p/affinity-designer/9nblggh35lrm/0010 https://www.microsoft.com/is-is/store/p/affinity-publisher/9nblggh35lzr/0010 https://www.microsoft.com/is-is/store/p/affinity-photo/9nblggh35lxn/0010 When i download the Designer/Photo/Publisher Software from here (e.g. https://store.serif.com/en-us/update/windows/publisher/1/) it requires a product key wich i can not receive, because its not in the purchase mails or in the order list from microsoft purchases and the links don't work.