Search the Community
Showing results for tags 'Affinity designer'.
-
 In case that document is opened (no matter if changes are saved or not), any of Affinity applications (v2.3.1, win 10) will not restart when in application Settings is changed any parameter which requires a restart (for example changing "Language" or switching "Enable Pointer Support") and user confirms to restart in a dialog box. App only closes an opened document and quit itself. No restart happens. If no document is opened, app quits and restarts as expected.
 -
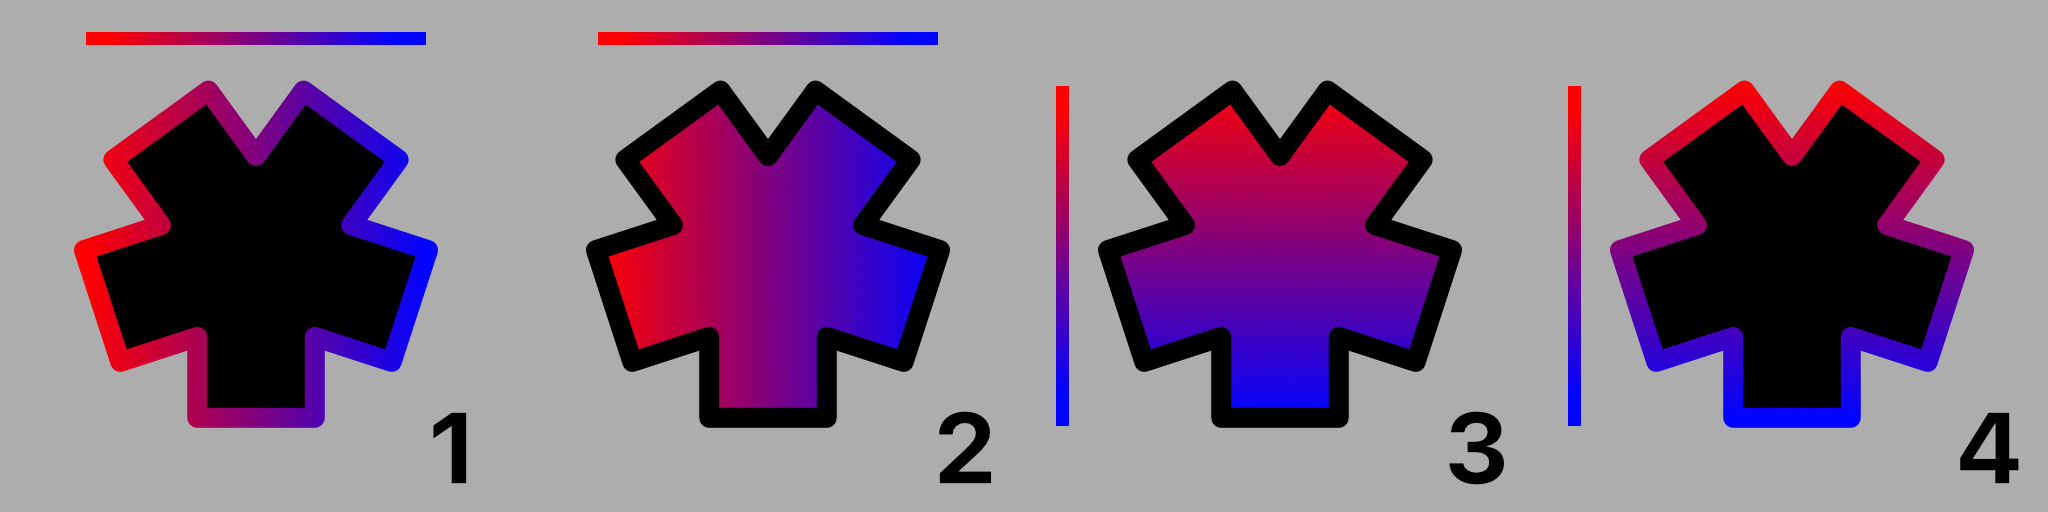
 Hello, in Affinity Designer, you can apply a color gradient to fill a vector shape. Then, we can edit this gradient by invoking the tool of the same name to modify the colors and the angle of the gradient. It's perfect. But you can also apply a color gradient to the outline of a vector shape. It's perfect. Unfortunately, unless there is an error or ignorance on my part, invoking the gradient tool is not operational in this case!... And it is therefore impossible to edit the angle of the gradient, the colors can still be modified from the palette of the same name. It is possible to vectorize the outline. It would then become a shape with a background which would allow the gradient to be edited, but we would then lose the possibility of subsequently modifying the qualities of this outline (thickness, dotted lines, etc.). Here's a solution, shaky, but it works. 1 – Apply a gradient to the outline, 2 – Reverse the background and outline colors, 3 – Edit the gradient then applied to the background (here, the orientation), 4 – Invert the background and outline colors again. Again, if there is a better solution, I'm all ears. Thank you...
-
 Designer 2.3 I'm trying to export my artwork to a PDF file including layers. Even if I check this option in to the export tab, the created PDF doesn't include layers viewed by any PDF reader. They only appear in Designer. Is there a way to export layers even for PDF viewers? Regards
 -
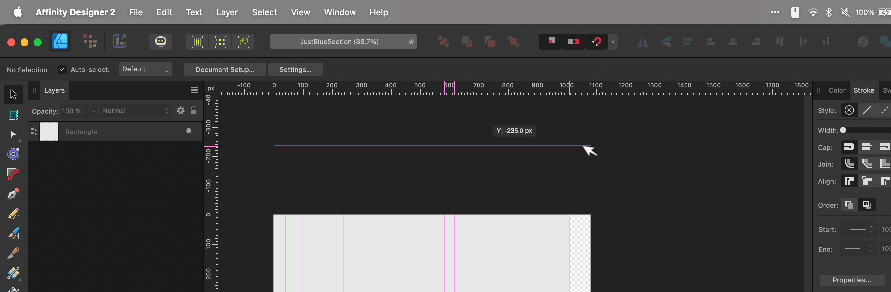
 I can *not* get Guide lines to show up outside of the document workspace/canvas no matter how many ways I try. This is the case with all of my files, even new ones. Is there a setting I accidentally changed? See attached image for how the horizontal Guide pulled from the ruler is only as wide as the work-area & the vertical guides don't extend to the top. Yes I have "View > Show Guides" checked Yes I have "View > View Mode > Clip To Canvas" unchecked. No, I am not using any Artboards. I am running Affinity Designer 2.3.0 on Mac Sonoma 14.2.1 (Somewhat related because I can't see: I can change the color of Guides, but Is it possible to make the Guide lines thicker than 1px on the screen?)
-
 I often have to deal with polygonal pathes, which represents curves*). Look at this comparison between Designer and Inkscape**) (there is a red copy of the line to visualise before and after): As far as I observed, designers "fit to curve"-functionality doesn't handle sharp edges at all. Am I right with this observation? Are there plans to change this? This would turn Designer from an almost perfect to a perfect map drawing tool! *) the pathes are derived from openstreetmap which has no real curves. So all curves are approximated by small straight lines which results in a large number of nodes, which I'd like to reduce. **) In case of Inkscape make sure that "Deleting nodes preserve shape" is selected in the preferences.
- 8 replies
-
- 2
-

-
- affinity designer
- node tool
- (and 3 more)
-
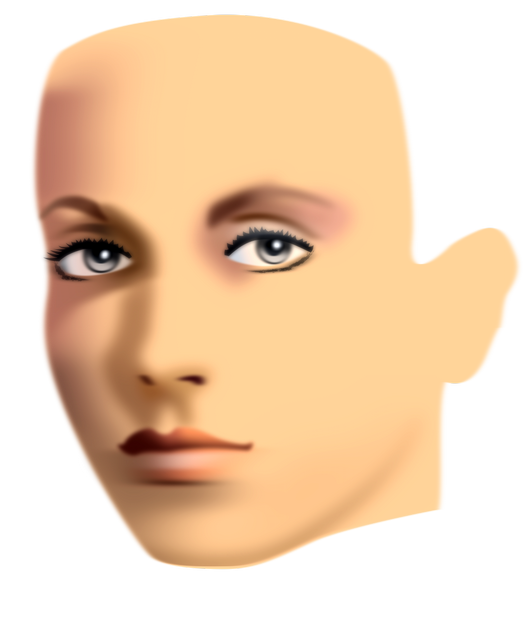
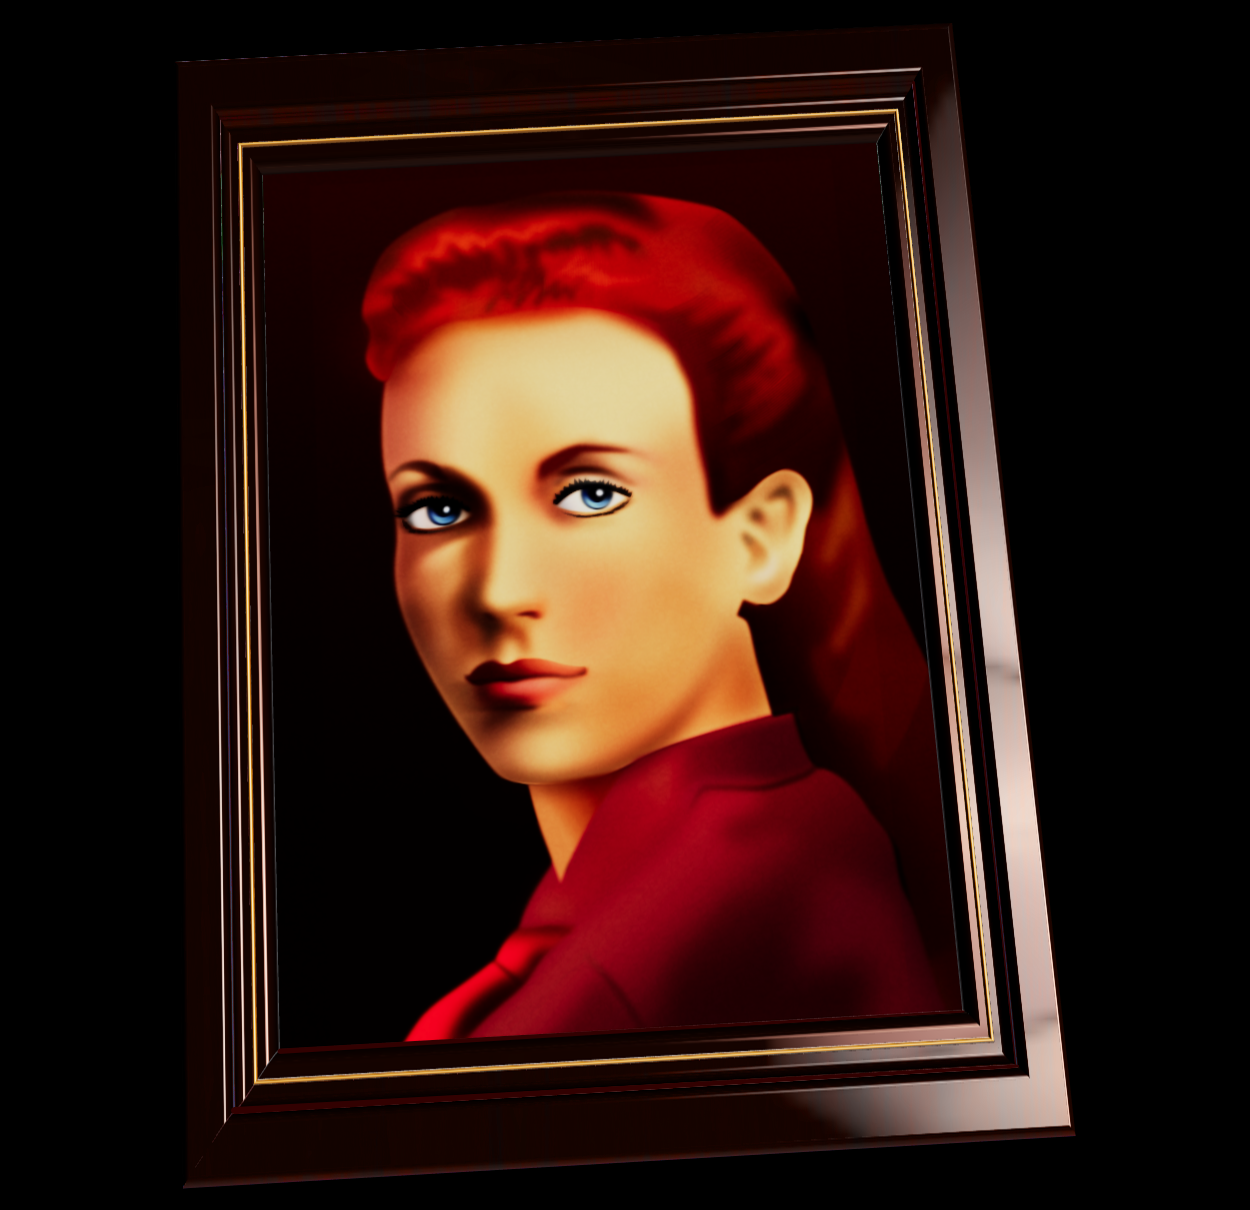
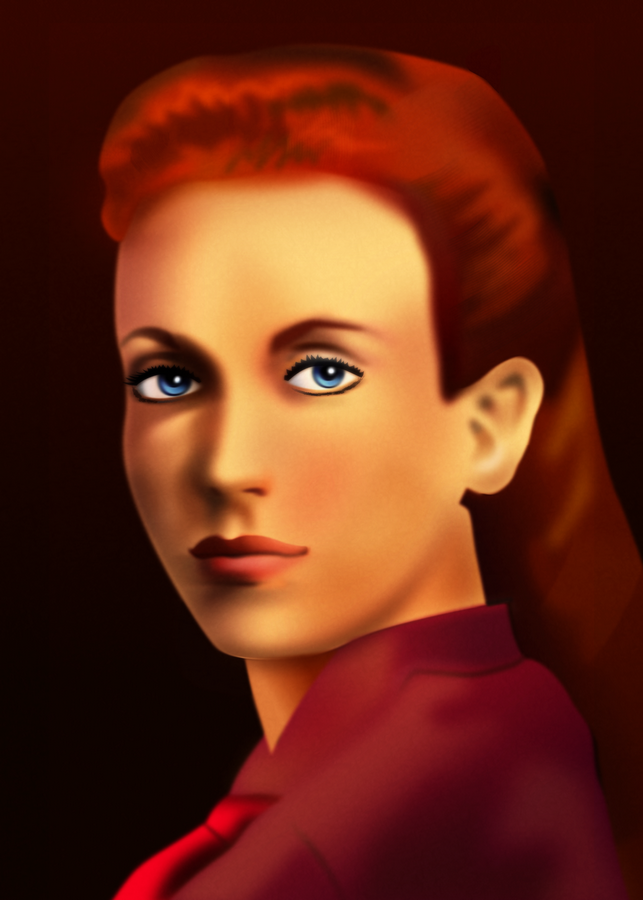
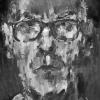
Created this vector portrait long ago in Affinity Designer. Left it and returned to work on it recently. It currently (January 2024) is a work in progress. Rendering of drawing in 3D frame 2D vector drawing view This was done years ago and resumed vector drawing at the end of the previous year. I am forced to work in Designer, because Photo does not start up. Designer and Publisher run after starting them up three times. I filed a bug report on this matter in Bug in Windows.
-
 Hi, Does someone know how to set a default language in any of the Affinity Apps. I am Dutch so I would like to set the spelling language to Dutch.
 -
 I've noticed a slightly annoying bug when trying to edit guides on a document in Affinity Designer 2.2.1. How to replicate the issue: Open the Guides Manager Single-click on an existing guide Start typing a number The focus is still on the document so it starts changing the opacity (as would happen when using the number pad within a document). I realise I actually need to double-click on a guide to edit its value, but I often forget this. Is it possible to remove the focus from the document when in a popup window, to avoid unexpected changes being made?
 -
Affinity programs are littered with tiny missing features that may seem insignificant or workaround-able but make it increasingly frustrating to use and decreasingly likely that I would ever recommend its use for professionals that do not want to be interrupted in their workflow to figure out why they can't do the simplest thing (i.e everybody). In this case it's silly, Affinity Designer does not allow me to reset the bounding boxes for an object after rotation. The only option is a temporary Cycling of bounding box style by using the "." shortcut. Upon research users are resorting to adding unnecessary layers and doing Geometry manipulation as well as other frankly time wasting and silly workarounds like exporting the whole thing to PDF and starting over just to fix the tiniest of things. This is beyond frustrating and inches me back to Illustrator so I can actually work. Please allow users to reset the bounding box to the correct orientation for an object! We should not have to workaround this in a professional desktop environment. That being said thank you to the Affinity team for everything else they do.
-

STATES in Designer
Wojtek Sosnowski posted a topic in Feedback for the Affinity V2 Suite of Products
I cannot understand why STATES didn't make into Designer. I hope it will be implemented soon.- 1 reply
-
- 3
-
-
- affinity designer
- states
- (and 2 more)
-
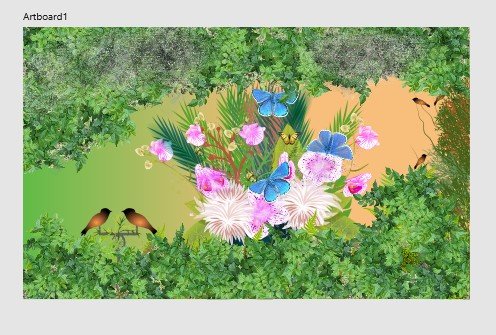
Forgot to share this one, but still happy with it The graphics were fully designed using Affinity Designer and animated using Moho Pro. The music I made using Ableton Live. Hope you like it!
-
-
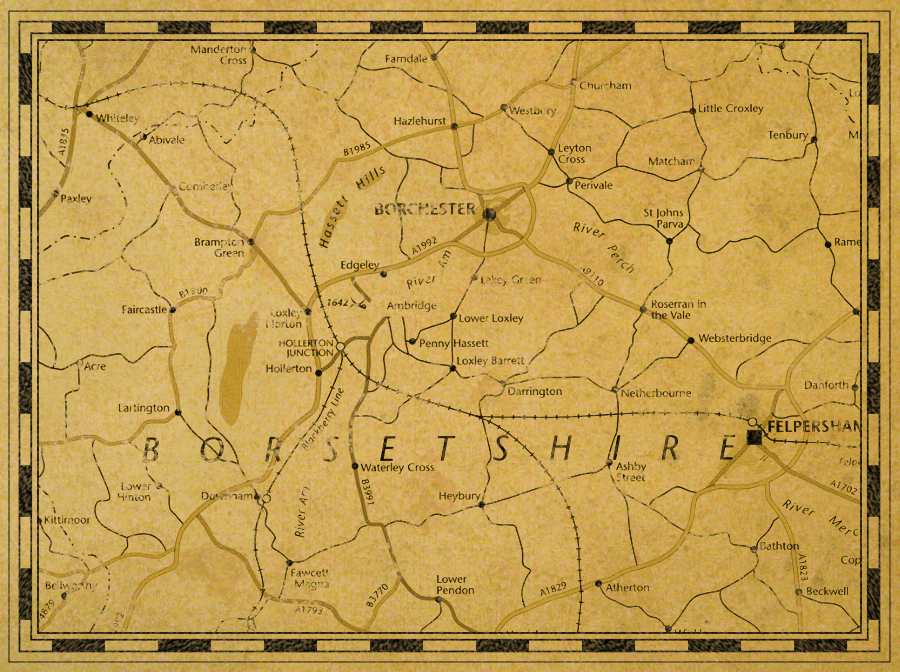
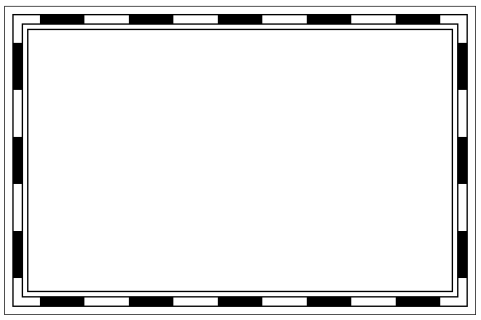
 I’ve listed, below the images, the steps of a technique, using Designer only, which you can use to create a border as you might see on old treasure maps etc. It’s a bit long-winded but not difficult to do, shouldn’t take more than a few minutes to complete, and it should work in both V1 and V2. At each stage, make sure that: Stroke Colour is Black; Fill is None; Scale With Object is OFF. For the base border: Draw a rectangle, you can make it any size you want, and keep it selected; Open the Swatches Panel or Colour Panel; Set the Fill to None; Open The Stroke Panel; Set: Stroke Width to 16px; Join to Mitre; Align to Centre; Open the Appearance Panel; Add a New Stroke and make sure it’s above the previous stroke added; Set: Stroke Width to 12px; Cap to Butt; Join to Mitre; Align to Centre; Style to Dash; Dash Pattern to 5,5,0,0,0,0; Blend Mode to Erase; Also: Make sure that the "Balanced" button is ON or the effect won't be as nice; Add a New Stroke and make sure it’s at the bottom of the ‘stroke stack’ (but above the fill); Set: Stroke Width to 16px; Join to Mitre; Align to Inside; Style to Solid; Blend Mode to Normal; Add a New Stroke and make sure it’s above the previous stroke added; Set: Stroke Width to 14px; Join to Mitre; Align to Inside; Style to Solid; Blend Mode to Erase; Add a New Stroke and make sure it’s at the bottom of the ‘stroke stack’ (but above the fill); Set: Stroke Width to 20px; Join to Mitre; Align to Outside; Style to Solid; Blend Mode to Normal; Add a New Stroke and make sure it’s above the previous stroke added; Set: Stroke Width to 19px; Join to Mitre; Align to Outside; Style to Solid; Blend Mode to Erase. For the optional ‘distressed’ effect: Duplicate the rectangle and select the duplicate layer; Use the “Revert Defaults” button on the Toolbar; Open the Swatches Panel or Colour Panel; Set the Fill to None; Make sure the new (duplicated) rectangle is above the other rectangle in the layer stack and still selected; Open The Stroke Panel; Set: Style to Textured Line Style; Open the Brushes Panel; Select the “Dry Media” category, scroll down and select the “Light Charcoal (for closed curves)” brush; Open The Stroke Panel; Set: Stroke Width to 90px; In the Layers Panel, set the Blend Mode of the duplicated Rectangle layer to Erase and set the Opacity to 60%; Group both rectangles. You can adjust the relative sizes of the strokes, brush pattern, etc. as necessary for different borders. You can also resize the border as you want while still keeping the same general design – if you have added the ‘distressed’ effect then make sure you move/resize the group as a whole. If you don't have the "Dry Media" category of brushes then you will need to choose a different brush from your collection. Important: Because you are using the Erase Blend Mode at various stages, the result will always* be rasterised upon export to any file format. * Unless you set “Rasterise: Nothing” as an export option whereupon the border will not be exported at all.
- 8 replies
-
- 4
-
-

-
- affinity designer
- map
- (and 1 more)
-
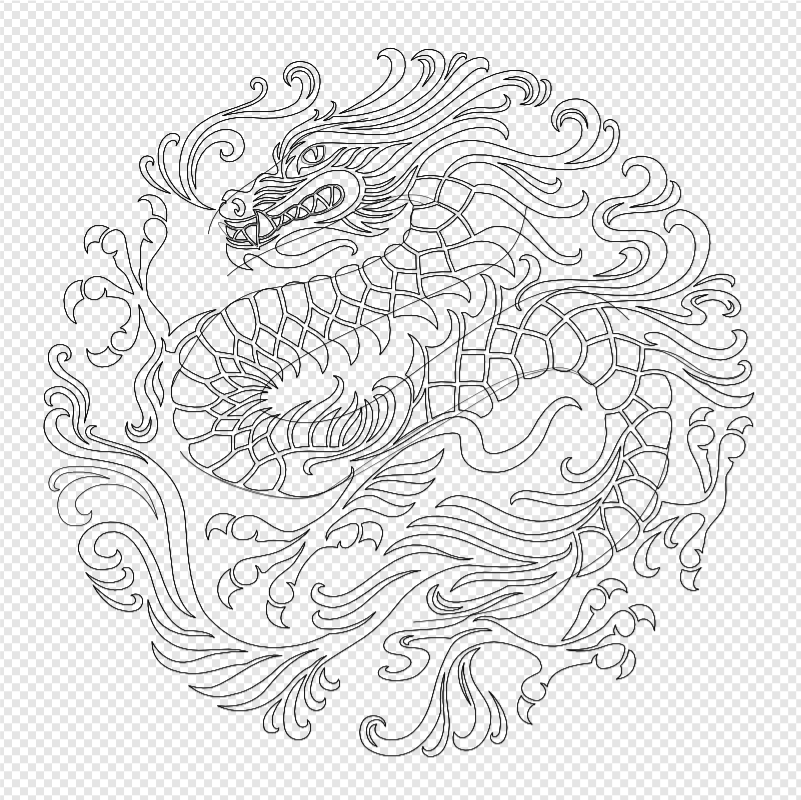
Chinese zodiac dragon created in Affinity Designer. Vector wire frame screen dump.
-
 Right clicking a swatch created on any document palette created after the first one will no longer have the Edit, Rename and Delete menu entries active. See the image below: Steps to reproduce: Create a new document Create a new document palette, name it 1 for easy reference Create a new global swatch, make it spot to enable the Rename Spot menu too Right click the newly created swatch See that you can edit, rename and delete this swatch Create a new document palette, name it 2 for easy reference Create a new spot global swatch Right click this new swatch, notice the disabled menu items Creating further palettes and swatches Notice the problem continues Video guide below: Swtaches menu.mp4 Thanks!
-
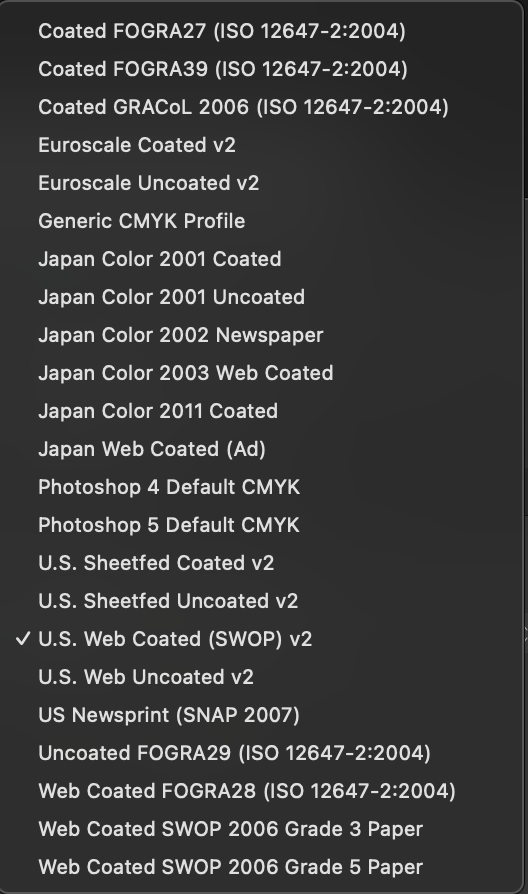
 Hi, I recently updated both Designer and Publisher to the latest version and I have noticed that the CMYK profiles ISO Coated v2 and ISO Coated v2 300% are now missing. Any idea why? (Is Euroscale Coated v2 the same as ISO Coated v2 - see attachment?) Thanks for any help anyone can offer.
-
the things i find as tools like brush and assets are so fine . easy when you want 2 start and have nothing . It saves a lot of time . Before i forget happy new Year all
-
Made in Affinity Photo V2 on iPad Pro.
-
 Every eps file I import into Affinity Designer 2 looks awful. The graphics are separated into unusual sections and gradients and shadows are changed (misplaced or redrawn) and some graphic elements look as though they have been rasterized (The graphic no longer appears smooth and well drawn.... they look pixelated). Every single eps I've tried to import turns out this way. Is there a setting that needs to be adjusted? Not sure how useful Designer will be if it can't handle eps files. Please help. I've attached and eps and a jpg of the same file to you can see the two and how Designer is treating the eps. Daniel Christmas background blue v kr.eps
-

affinity designer New year contemplative firework impressions
v_kyr posted a topic in Share your work
This years contemplative and thoughtful "New Year's Eve" firework impressions ... ... used for some online cards, with the help from some of my firework assets. Some Firework assets Stop the wars and have instead a peaceful and hopefully then world wide much better new year!
-
 I have the two stars on the left and I would like to get the result on the right (same strokes visible but the whole thing is transparent). In this particular case, I used the shape subtract function to subtract the frontmost star from the star in the back and then pasted another star in and made everything transparent. This sort of works, but in my actual case i have about 30 shapes drawn on top of each other and this is not really a feasible workflow. I also fiddled around with the "erase" blending mode but this doesn't properly export to SVG, so I cannot use this either. Is there some way to achieve this result without manually editing each involved shape?
-
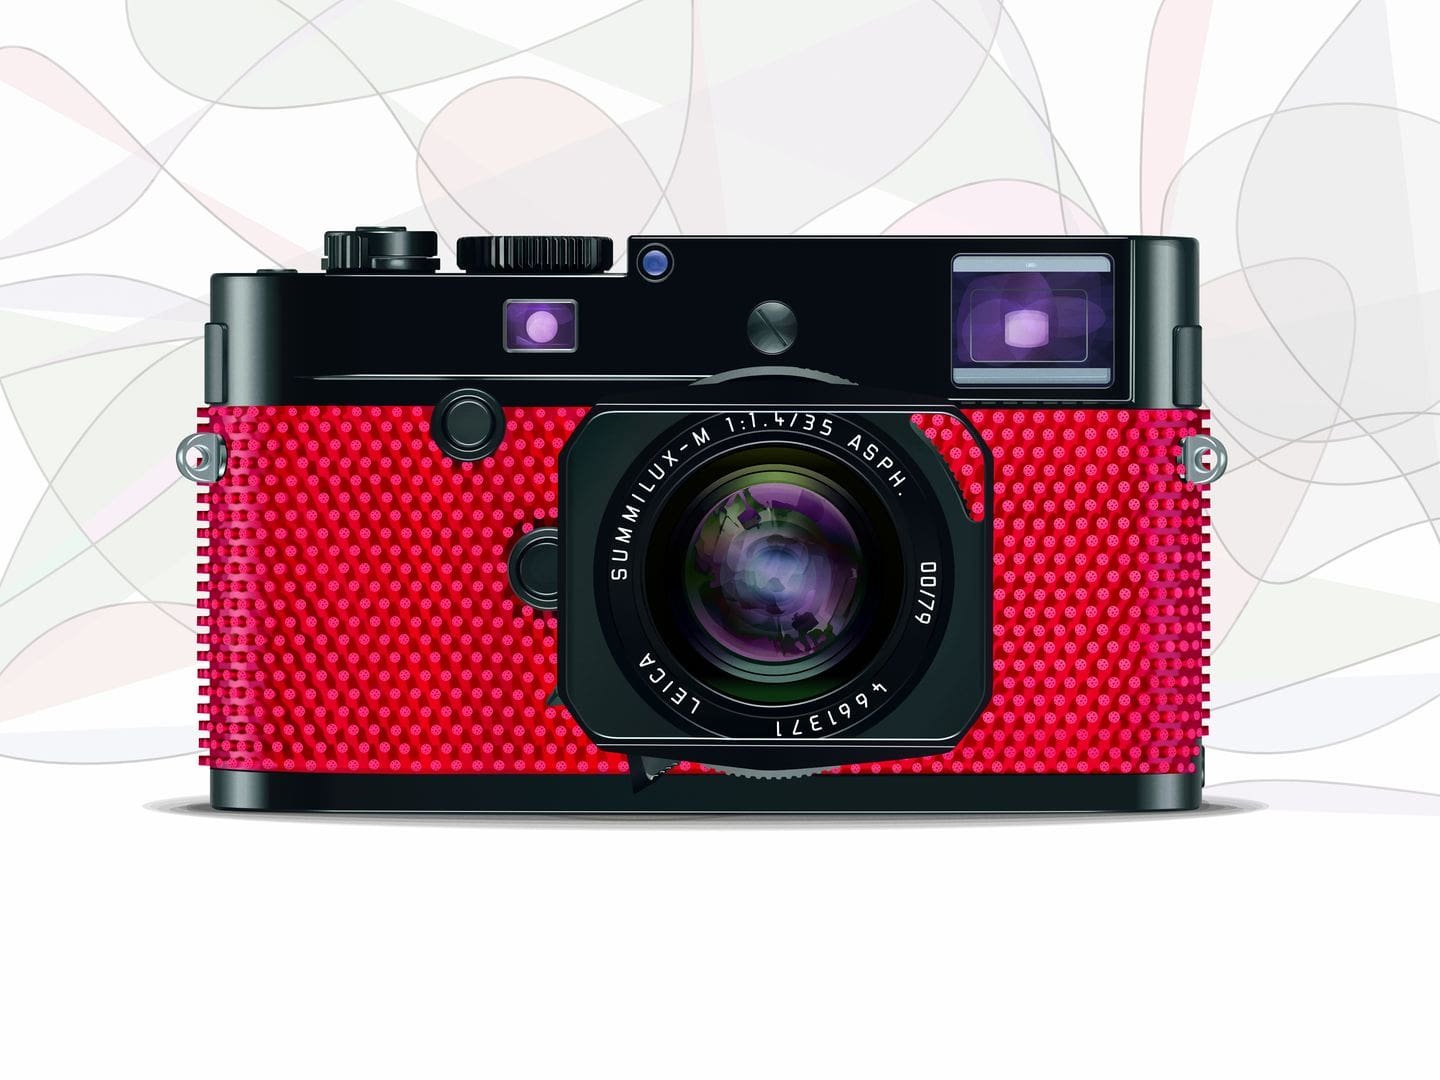
 This one was covered in table tennis bat rubber and the text on the top plate was also red.
-
Prism Desk Calendar 2024 DE/EN/GR localized - A4 print template
-
 Hi, Suppose I have many small objects scattered and selected all over the canvas (objects belong to different groups , etc.). Now when they are all selected, I know that 50% of the screen should not be selected. How do I deselect 50% of the screen easily, sort of like with a lasso tool just by going around area that I do not need?
 -
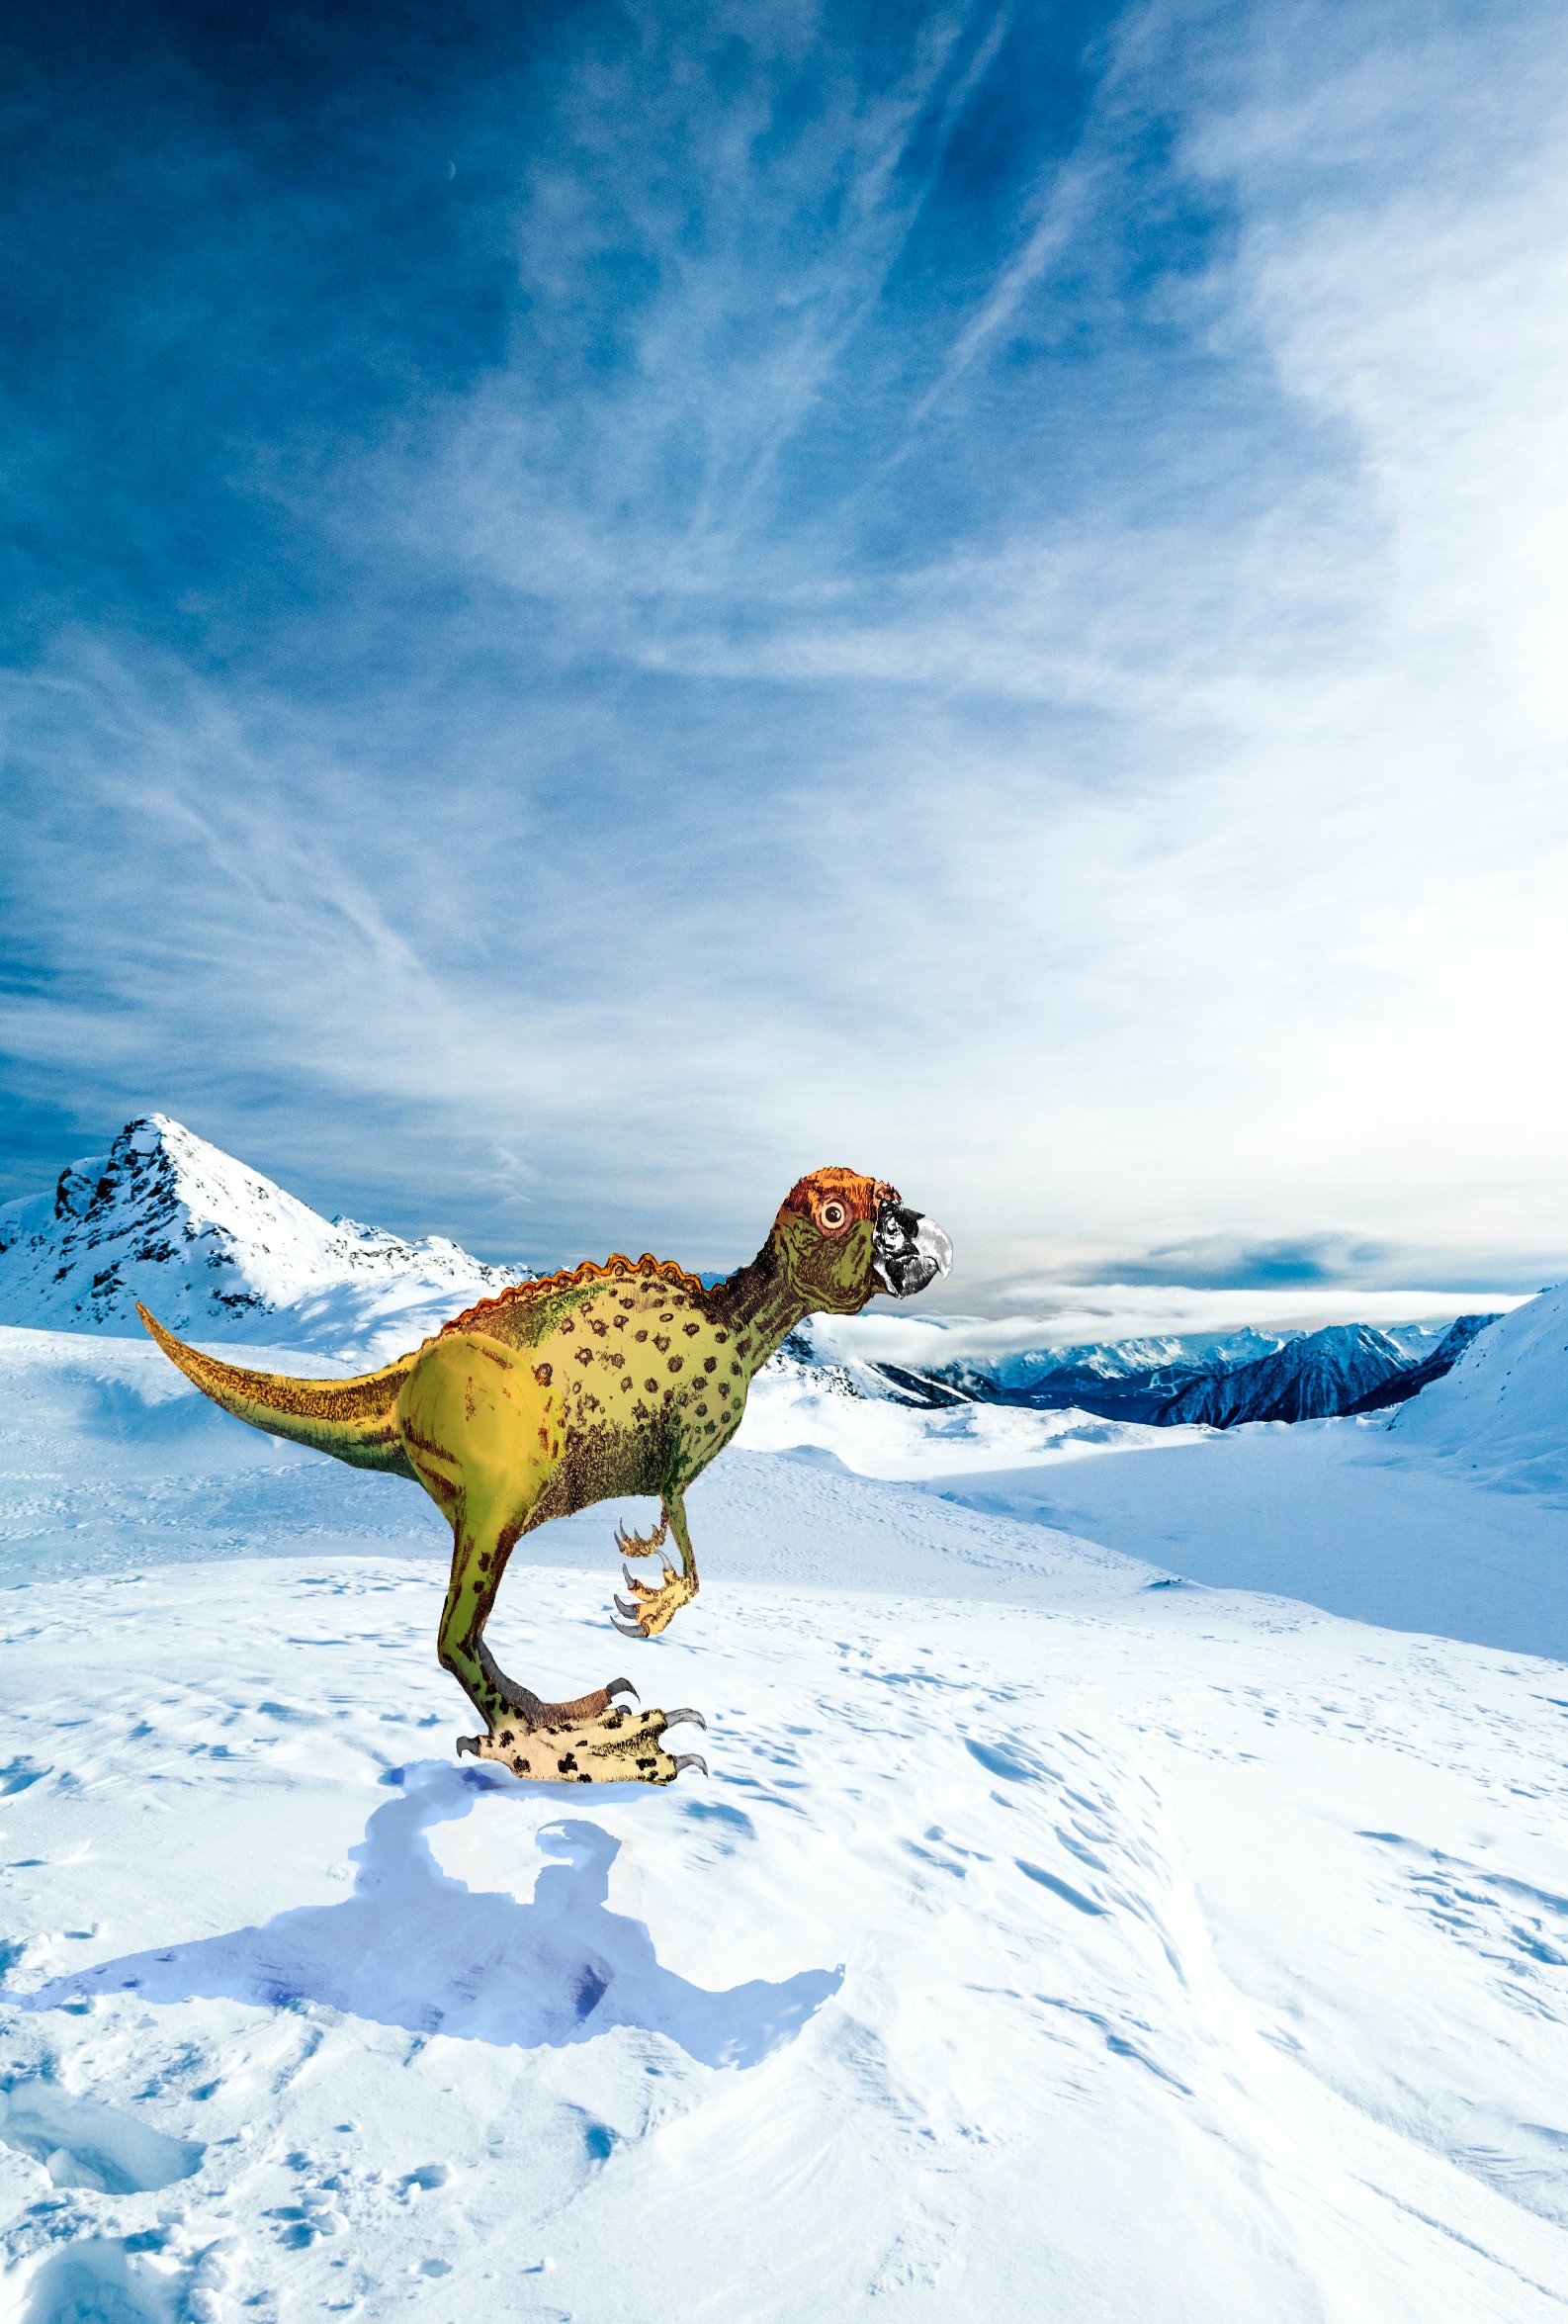
A little Monster