Search the Community
Showing results for tags 'Affinity Designer'.
-
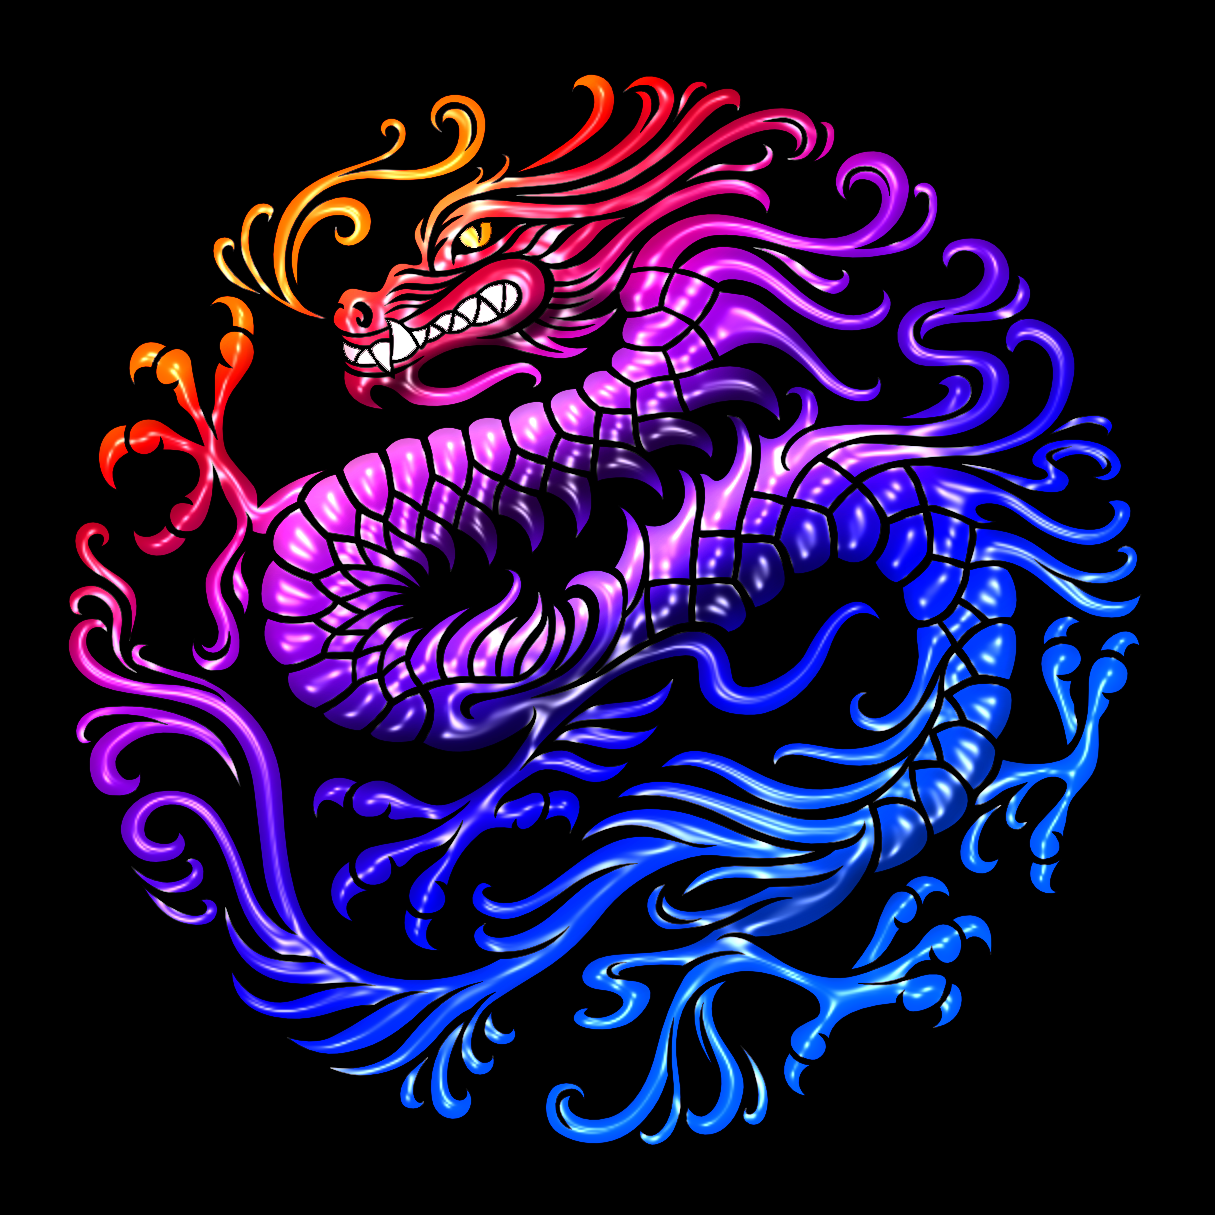
Forgot to share this one, but still happy with it The graphics were fully designed using Affinity Designer and animated using Moho Pro. The music I made using Ableton Live. Hope you like it!
-
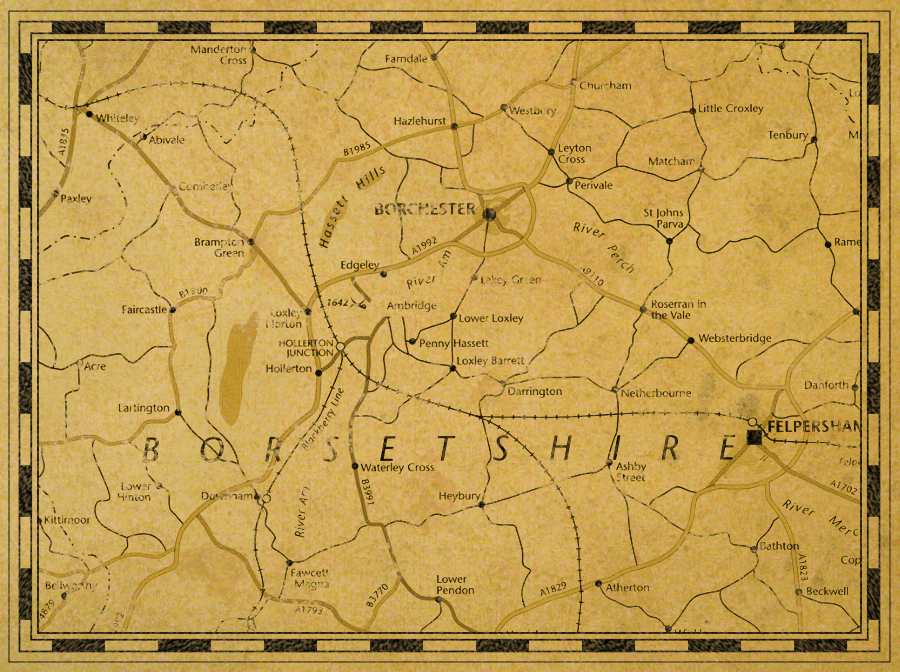
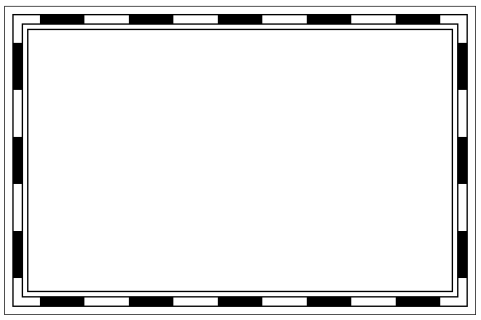
I’ve listed, below the images, the steps of a technique, using Designer only, which you can use to create a border as you might see on old treasure maps etc. It’s a bit long-winded but not difficult to do, shouldn’t take more than a few minutes to complete, and it should work in both V1 and V2. At each stage, make sure that: Stroke Colour is Black; Fill is None; Scale With Object is OFF. For the base border: Draw a rectangle, you can make it any size you want, and keep it selected; Open the Swatches Panel or Colour Panel; Set the Fill to None; Open The Stroke Panel; Set: Stroke Width to 16px; Join to Mitre; Align to Centre; Open the Appearance Panel; Add a New Stroke and make sure it’s above the previous stroke added; Set: Stroke Width to 12px; Cap to Butt; Join to Mitre; Align to Centre; Style to Dash; Dash Pattern to 5,5,0,0,0,0; Blend Mode to Erase; Also: Make sure that the "Balanced" button is ON or the effect won't be as nice; Add a New Stroke and make sure it’s at the bottom of the ‘stroke stack’ (but above the fill); Set: Stroke Width to 16px; Join to Mitre; Align to Inside; Style to Solid; Blend Mode to Normal; Add a New Stroke and make sure it’s above the previous stroke added; Set: Stroke Width to 14px; Join to Mitre; Align to Inside; Style to Solid; Blend Mode to Erase; Add a New Stroke and make sure it’s at the bottom of the ‘stroke stack’ (but above the fill); Set: Stroke Width to 20px; Join to Mitre; Align to Outside; Style to Solid; Blend Mode to Normal; Add a New Stroke and make sure it’s above the previous stroke added; Set: Stroke Width to 19px; Join to Mitre; Align to Outside; Style to Solid; Blend Mode to Erase. For the optional ‘distressed’ effect: Duplicate the rectangle and select the duplicate layer; Use the “Revert Defaults” button on the Toolbar; Open the Swatches Panel or Colour Panel; Set the Fill to None; Make sure the new (duplicated) rectangle is above the other rectangle in the layer stack and still selected; Open The Stroke Panel; Set: Style to Textured Line Style; Open the Brushes Panel; Select the “Dry Media” category, scroll down and select the “Light Charcoal (for closed curves)” brush; Open The Stroke Panel; Set: Stroke Width to 90px; In the Layers Panel, set the Blend Mode of the duplicated Rectangle layer to Erase and set the Opacity to 60%; Group both rectangles. You can adjust the relative sizes of the strokes, brush pattern, etc. as necessary for different borders. You can also resize the border as you want while still keeping the same general design – if you have added the ‘distressed’ effect then make sure you move/resize the group as a whole. If you don't have the "Dry Media" category of brushes then you will need to choose a different brush from your collection. Important: Because you are using the Erase Blend Mode at various stages, the result will always* be rasterised upon export to any file format. * Unless you set “Rasterise: Nothing” as an export option whereupon the border will not be exported at all.
- 8 replies
-
- affinity designer
- map
-
(and 1 more)
Tagged with:
-
-
Right clicking a swatch created on any document palette created after the first one will no longer have the Edit, Rename and Delete menu entries active. See the image below: Steps to reproduce: Create a new document Create a new document palette, name it 1 for easy reference Create a new global swatch, make it spot to enable the Rename Spot menu too Right click the newly created swatch See that you can edit, rename and delete this swatch Create a new document palette, name it 2 for easy reference Create a new spot global swatch Right click this new swatch, notice the disabled menu items Creating further palettes and swatches Notice the problem continues Video guide below: Swtaches menu.mp4 Thanks!
-
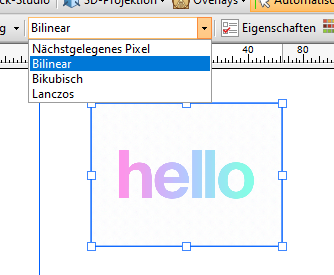
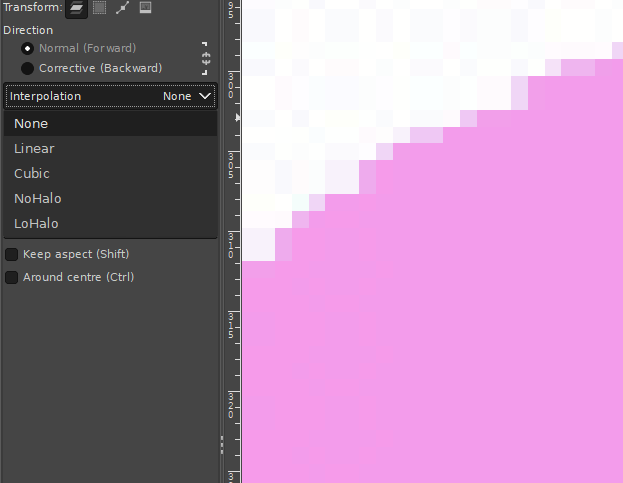
Hi, I know there was already a topic like this. But always, when I try to resize pixel art or old graphics (low resolution), it always destroys my work and creates blurred edges. Affinity Photo has a tool named Pixel Tool, and in Serif 2.3, they added a pixel grid. And I think Affinity can be good software for editing pixel art graphics, but having the ability to change interpolation during resizing would significantly enhance its capabilities in this regard. I do not want to rescale the whole document, I want to rescale one or two elements in the document. Like Draw Plus 😎 (bugged version with immutable german language as default): or like Gimp:
- 3 replies
-
- 2.3
- affinity photo
-
(and 5 more)
Tagged with:
-
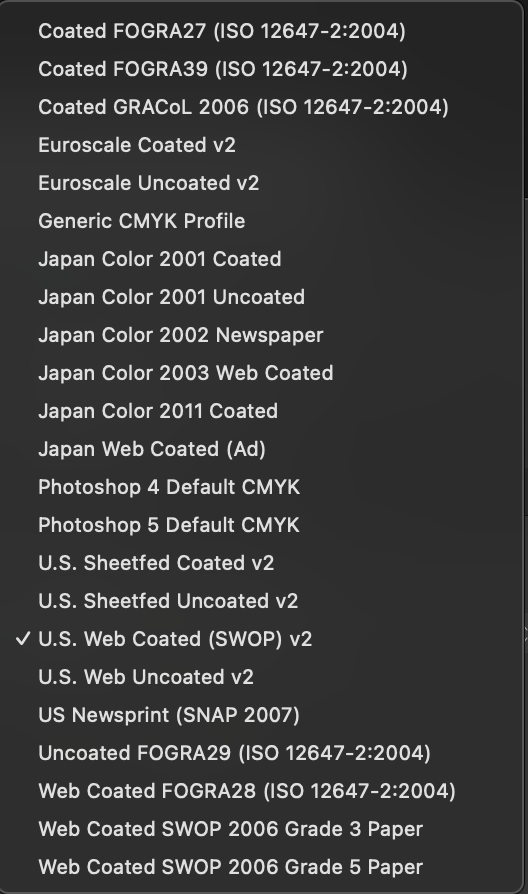
Hi, I recently updated both Designer and Publisher to the latest version and I have noticed that the CMYK profiles ISO Coated v2 and ISO Coated v2 300% are now missing. Any idea why? (Is Euroscale Coated v2 the same as ISO Coated v2 - see attachment?) Thanks for any help anyone can offer.
- 2 replies
-
- affinity designer
- affinity publisher
-
(and 1 more)
Tagged with:
-
the things i find as tools like brush and assets are so fine . easy when you want 2 start and have nothing . It saves a lot of time . Before i forget happy new Year all
-
-
Every eps file I import into Affinity Designer 2 looks awful. The graphics are separated into unusual sections and gradients and shadows are changed (misplaced or redrawn) and some graphic elements look as though they have been rasterized (The graphic no longer appears smooth and well drawn.... they look pixelated). Every single eps I've tried to import turns out this way. Is there a setting that needs to be adjusted? Not sure how useful Designer will be if it can't handle eps files. Please help. I've attached and eps and a jpg of the same file to you can see the two and how Designer is treating the eps. Daniel Christmas background blue v kr.eps
- 10 replies
-
- eps file
- quality loss
-
(and 1 more)
Tagged with:
-

affinity designer New year contemplative firework impressions
v_kyr posted a topic in Share your work
This years contemplative and thoughtful "New Year's Eve" firework impressions ... ... used for some online cards, with the help from some of my firework assets. Some Firework assets Stop the wars and have instead a peaceful and hopefully then world wide much better new year! -
I have the two stars on the left and I would like to get the result on the right (same strokes visible but the whole thing is transparent). In this particular case, I used the shape subtract function to subtract the frontmost star from the star in the back and then pasted another star in and made everything transparent. This sort of works, but in my actual case i have about 30 shapes drawn on top of each other and this is not really a feasible workflow. I also fiddled around with the "erase" blending mode but this doesn't properly export to SVG, so I cannot use this either. Is there some way to achieve this result without manually editing each involved shape?
-
-
Hi, Suppose I have many small objects scattered and selected all over the canvas (objects belong to different groups , etc.). Now when they are all selected, I know that 50% of the screen should not be selected. How do I deselect 50% of the screen easily, sort of like with a lasso tool just by going around area that I do not need?
-
-
A Little Monster Added a small asset collection from Santa Baby (Does not need to be!) Vector Configurations of the Little Monster and associated vector. Files as displayed AD 2.3 File not asset library! Little Monsters Toolkit.zip
-
If your design has hundreds of objects, select similar objects can be very difficult…but it's easy with the Select Same feature. In this video we’ll look at how to select objects with the same fill, stroke, shape, and more.
-
- affinity designer
- trentl
-
(and 1 more)
Tagged with:
-
A quick one keeping things simple, a few conical gradients etc. Might tidy things up if I decide I like it.
-
I have run into a small almost non-issue. At my place of employment we use utilize custom made name plates. I make them for a lot of people. Generally, I print them on card stock, and then trim them down using a paper cutter. Problem is, sometimes I don't cut exactly perfect. To make them fit in the holders sometimes requires a lot of manual trimming at the end. This led me to do some searching on Google about full bleed prints. While I knew of full bleed before, I never thought about treating these name plates in a similar manner. So today, I create a document with many art boards. I include a bleed of 0.125 inches (1/8"). I attempt to print one of the art boards with the bleed marks, and the print does not have a bleed area. I see the bleed mark, but the color does not go into the bleed area. I created a new file, added bleed marks, and it did print into the bleed area. I have noticed through numerous test it seemed to affect art boards, despite having a bleed set. Is this a bug, or "working as designed"? Does any body know how to not have this happen? Thanks in advance, Robby
- 9 replies
-
- affinity designer
- v2.0.3
-
(and 1 more)
Tagged with:
-
Hats off to you pure vectorists out there. I keep trying! But I got to say I am enjoying seamlessly leveraging both Vecotor and Rastor graphics in the same image. All on the ipad no less! https://www.instagram.com/p/BmRAerOAluz/?utm_source=ig_web_copy_link
-
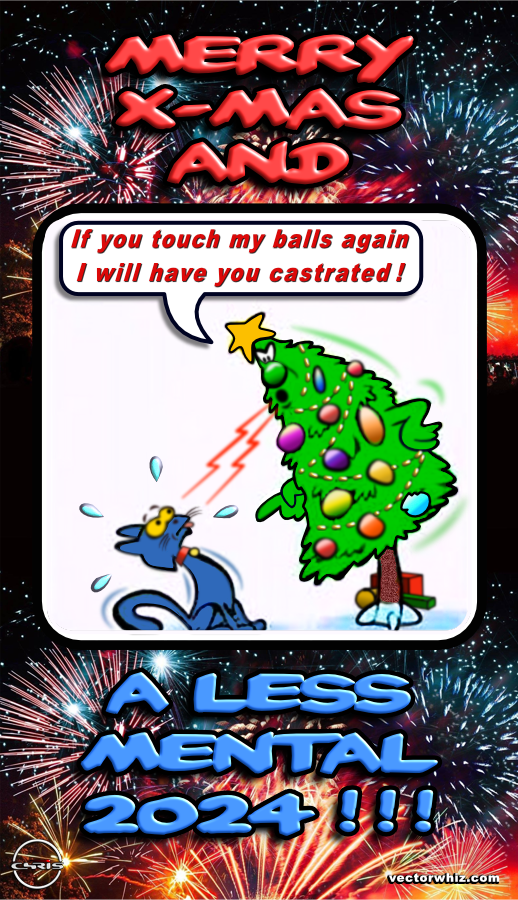
Some of this year's reduced tree motives which I use on xmas cards ... If you need some last minute xmas tree resources take a look under the forum resources at ... Xmas Trees Assets Xmas Trees Xmas Silhouettes ... generally take then a look at the xmas stuff under ... Retrospective of resources contributions Have a contemplative and peaceful Christmas time!
-
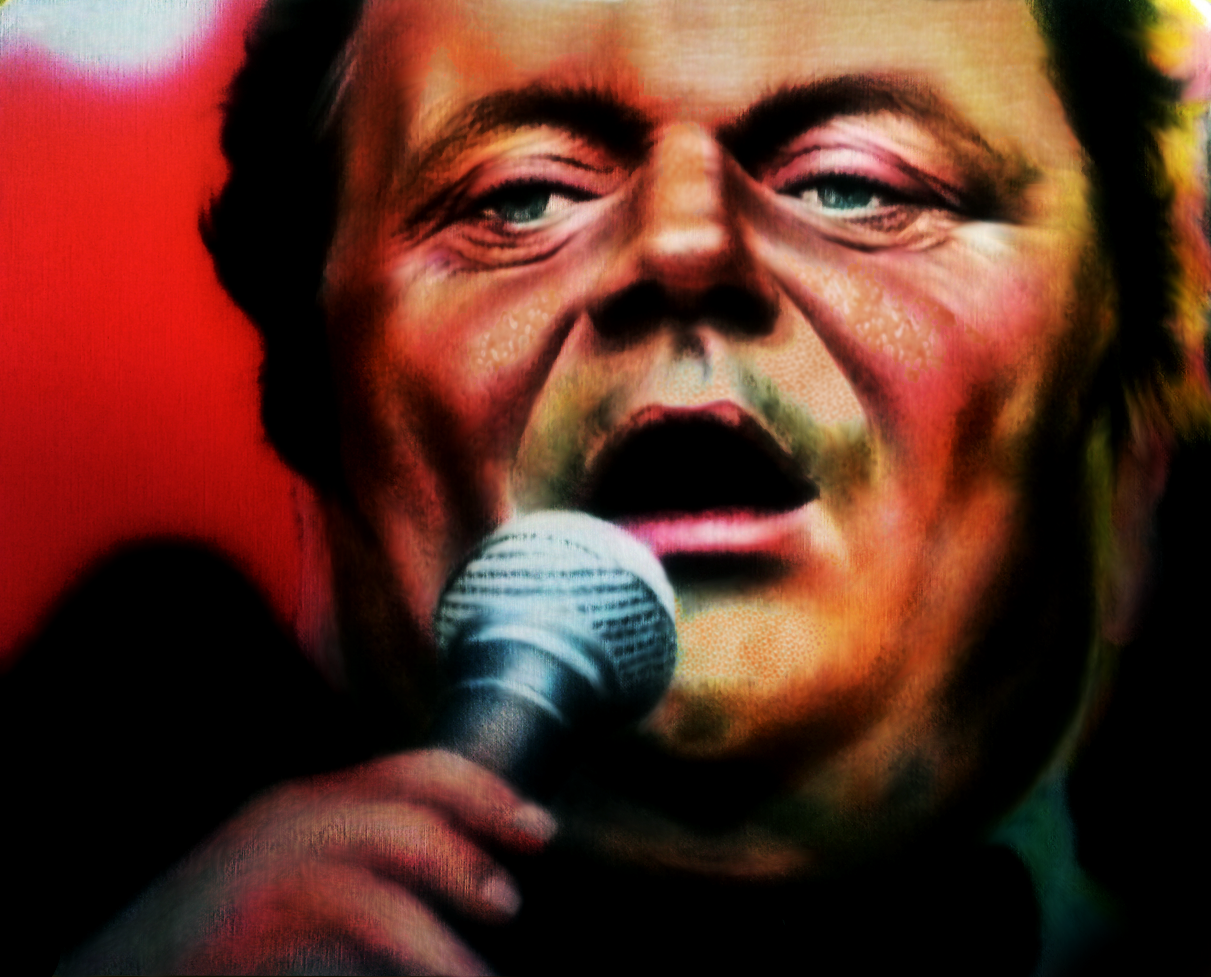
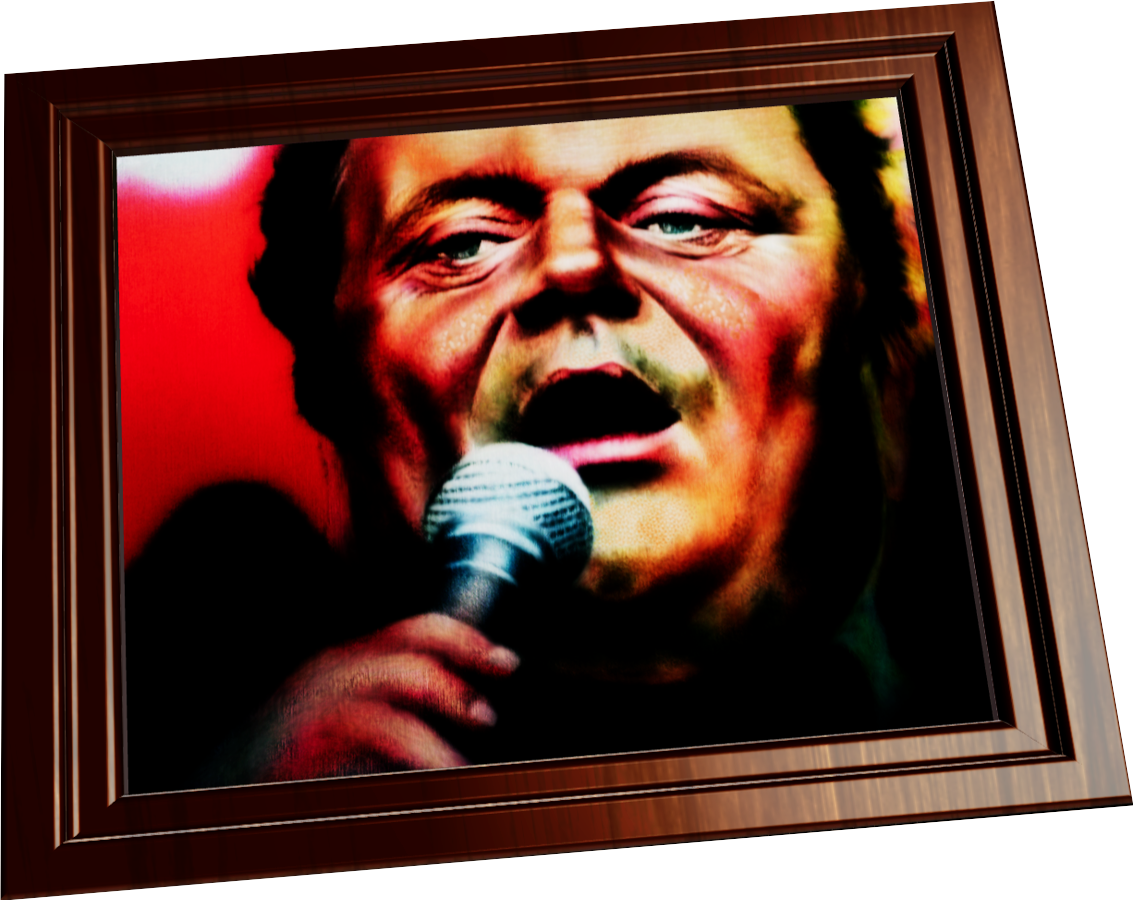
Freehand (analog) airbrush on canvas, Affinity Photo: pallet manipulation and saturation, Affinity Designer: enhancement of skin texture with the Gradient tool to edit bitmap textures and brushes. (work in progress as of Dec 2023) (3D version created in Plasticity 3D)
-
- affinity photo
- affinity designer
-
(and 1 more)
Tagged with:


