Search the Community
Showing results for tags 'Affinity photo'.
-
 Hello,
-
 Hello, at first, sorry for my English. I've just started the 10 days evaluation for Affinity Photo and I'm also a new user for any post-production software ... therefore I'm trying to follow the tutorials. Please note that the Italian subtitles for "Panoramica UI" https://affinity.serif.com/it/tutorials/photo/desktop/video/295557614 are probably for a previous relase of the tutorial itself, they are not in sync with the things that are being explained and therefore they are not useful ... could you please fix them? Also do you have any plan to release the subtitles even for tutorials without them? Thanks and regards
 -
 I bought Affinity, but I have a suggestion: Make it available on Persona Reveal Reveal (Develop) the possibility of saving the adjustments we made to the photos, as in Photoshop's CameraRaw (save file XMP). So, every time I open the same photo, I can review or modify the settings instead of having to start the adjustments from scratch as it is today. Here is the suggestion! Hugs,
 -
Hi, I'm recently trying to move from Adobe products to Affinity Photo. currently I use both, as find the RAW processing in Affinity Photo sub-par yet. wanted to share some quick thoughts what could be improved: 1. when I process my ORF files, somehow the image is a bit wider than in viewfinder or camera JPEG, or processed with ACR. it's good that Affinity Photo has those extra pixels, but could we please default to the image dimensions that match camera JPEGs and allow user to get extra pixels on request? 2. I miss 'color profiles' from ACR. the ones that are 'adobe color' or 'adobe portrait'. I also think they have some special sauce to it, as I find colors from ACR more pleasing. 3. no auto WB? and no 'pick color in image to be white'? seriously? 4. could we please default lens vignette correction to off? it's good that Affinity Photo has this, but most time I like my pictures without this option.
-
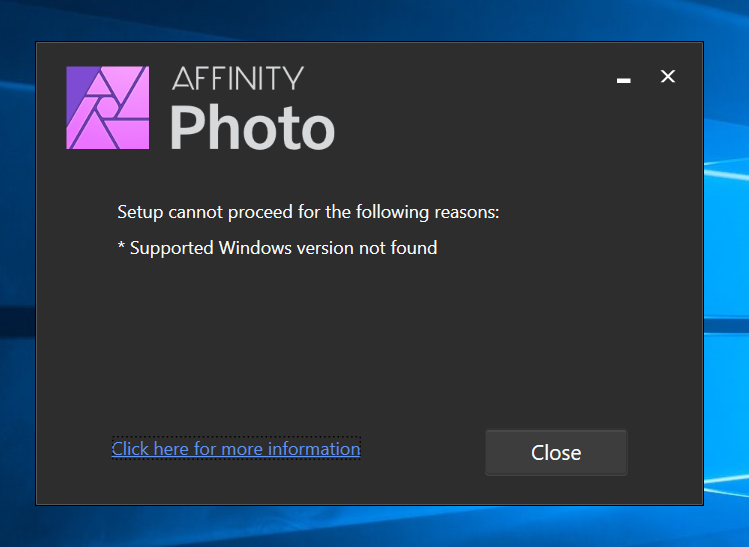
 Hello, I have windows 10 pro installed on my system. I want to install Affinity Photo. But while installing I'm getting error of supported windows version not found. I checked OS requirements for the Affinity Photo. I want to know isn't the Windows 10 Pro sufficient to install the same? Is the anniversary update of Windows 10 is higher than Windows 10 Pro??
-
 Freehand pen can't take screenshot,Big problem after update, the brush will shake on the desktop during work I don't understand why the problem with each update is always so bad
 -
I'm really angry, updating the affinity 8.1 drawing board doesn't work at all,Is it possible to solve this problem!!!!!
-
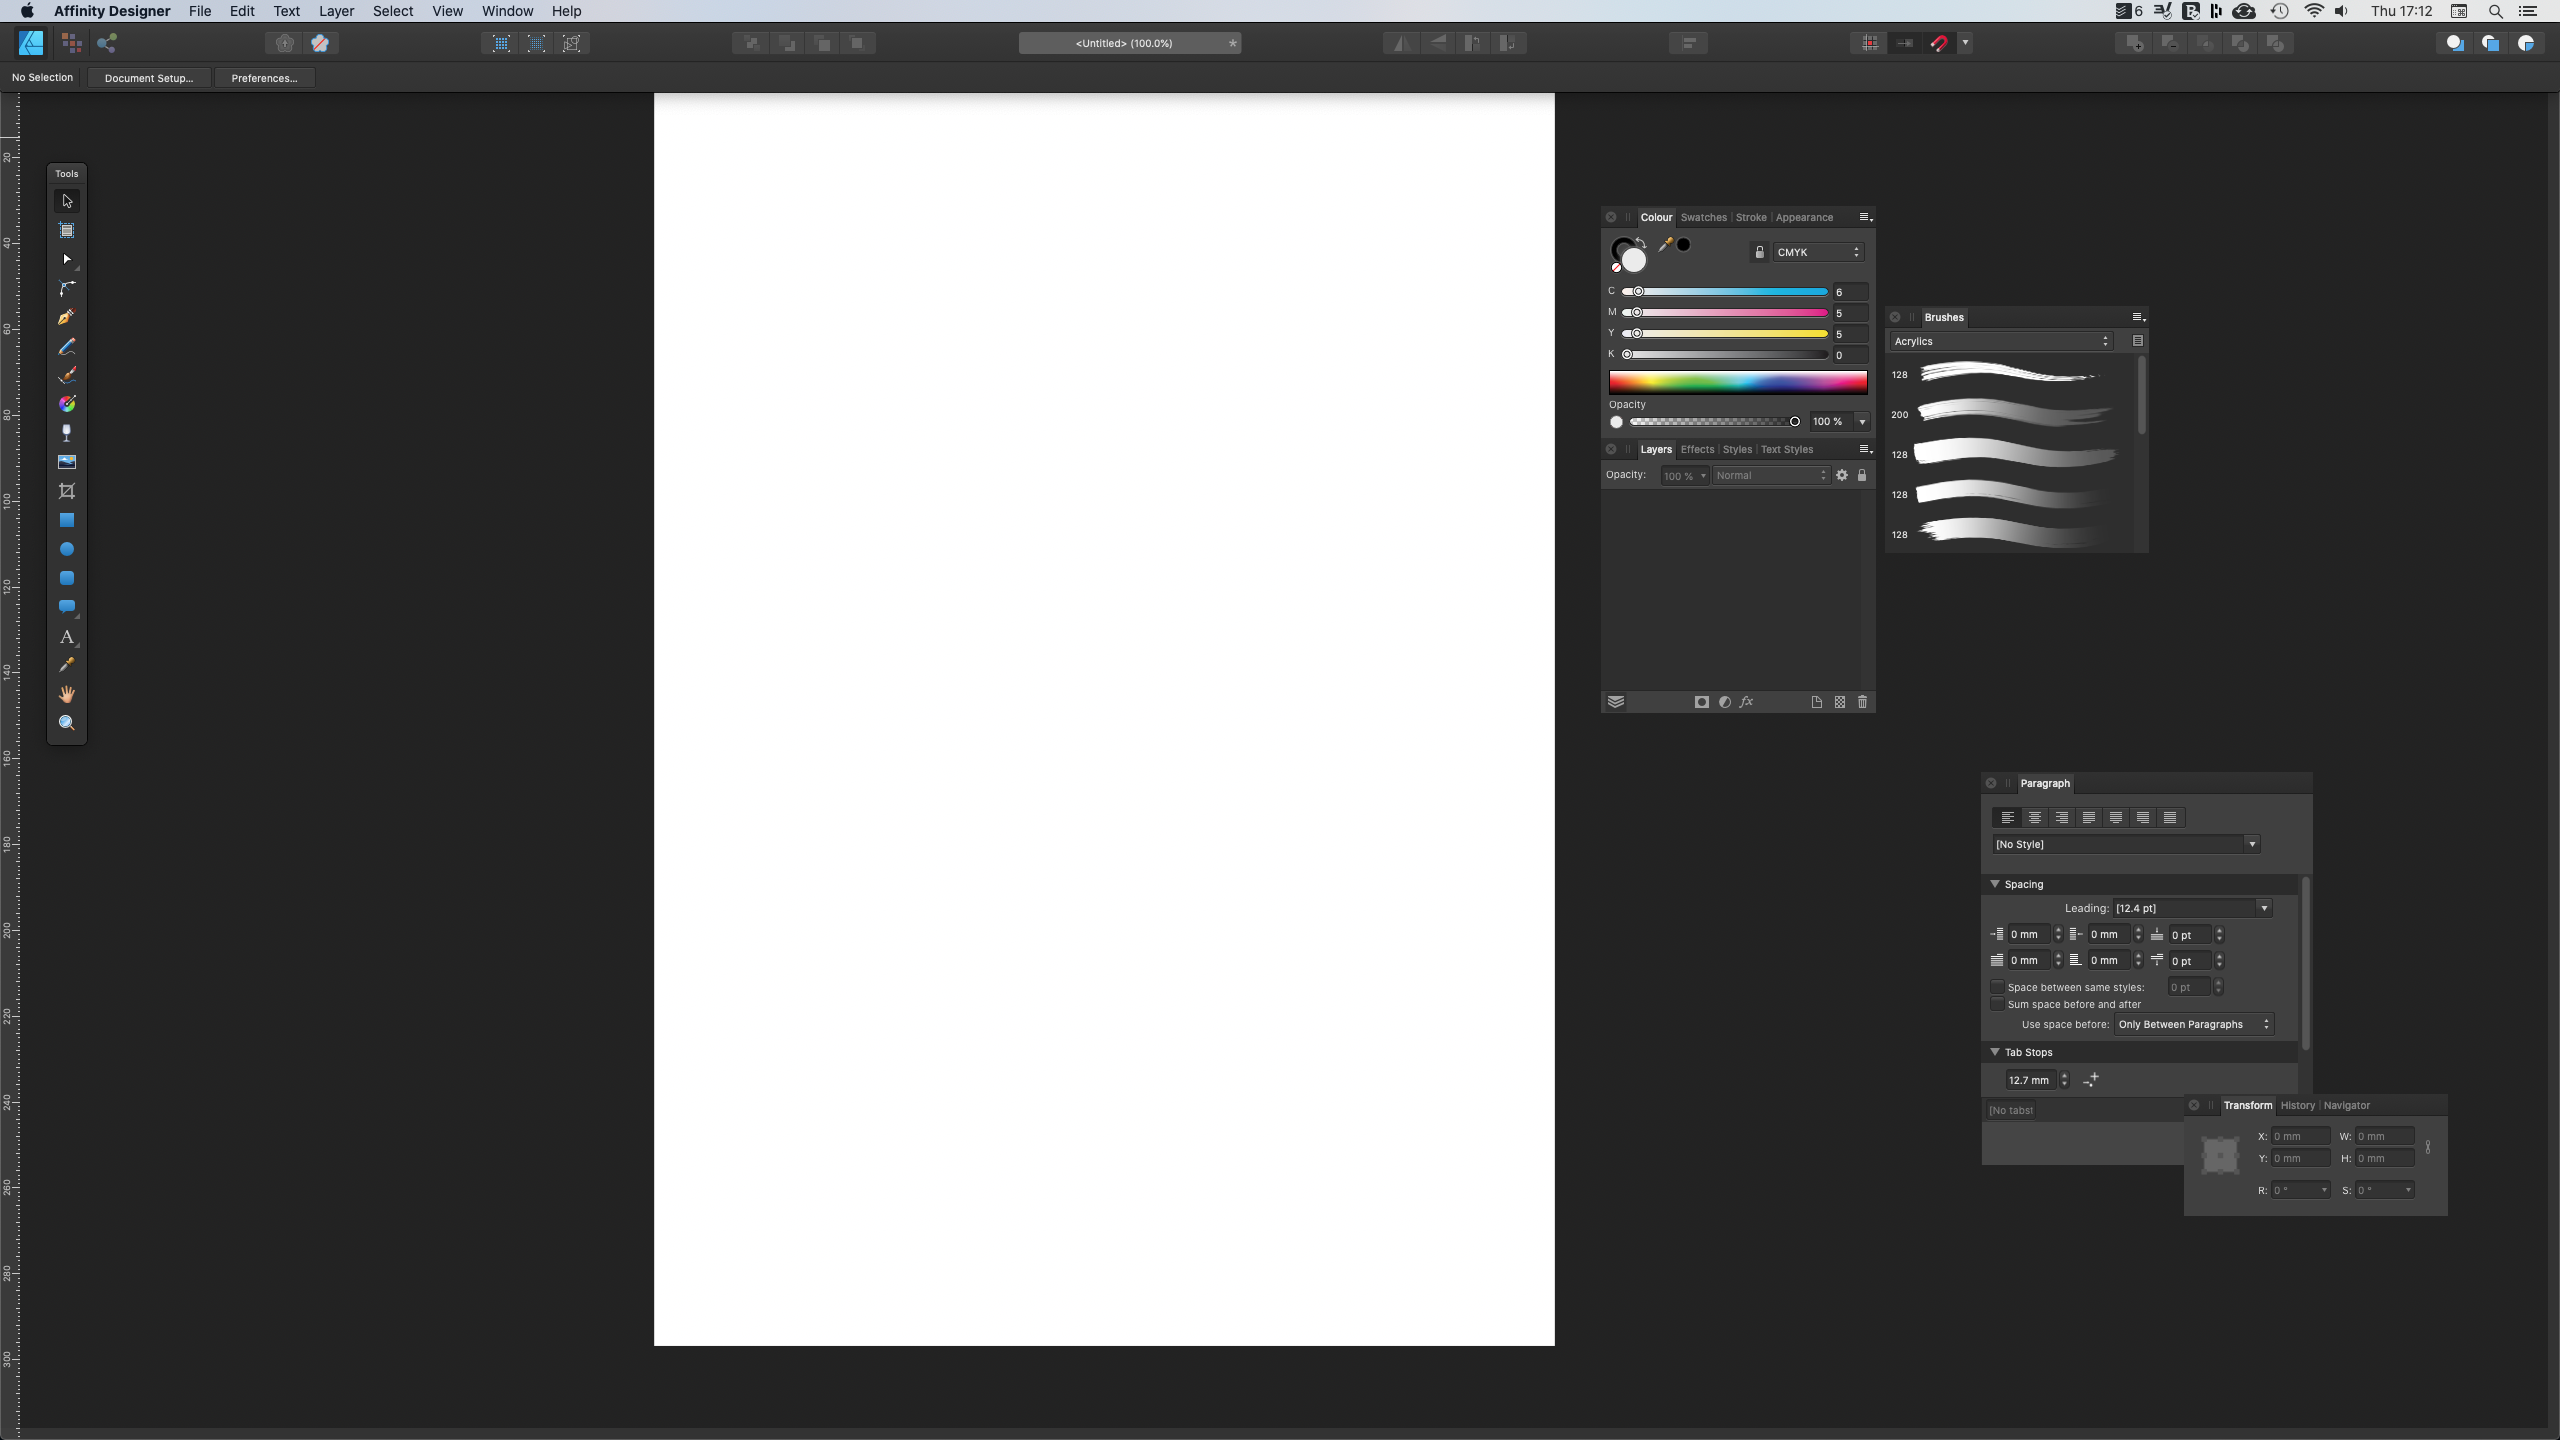
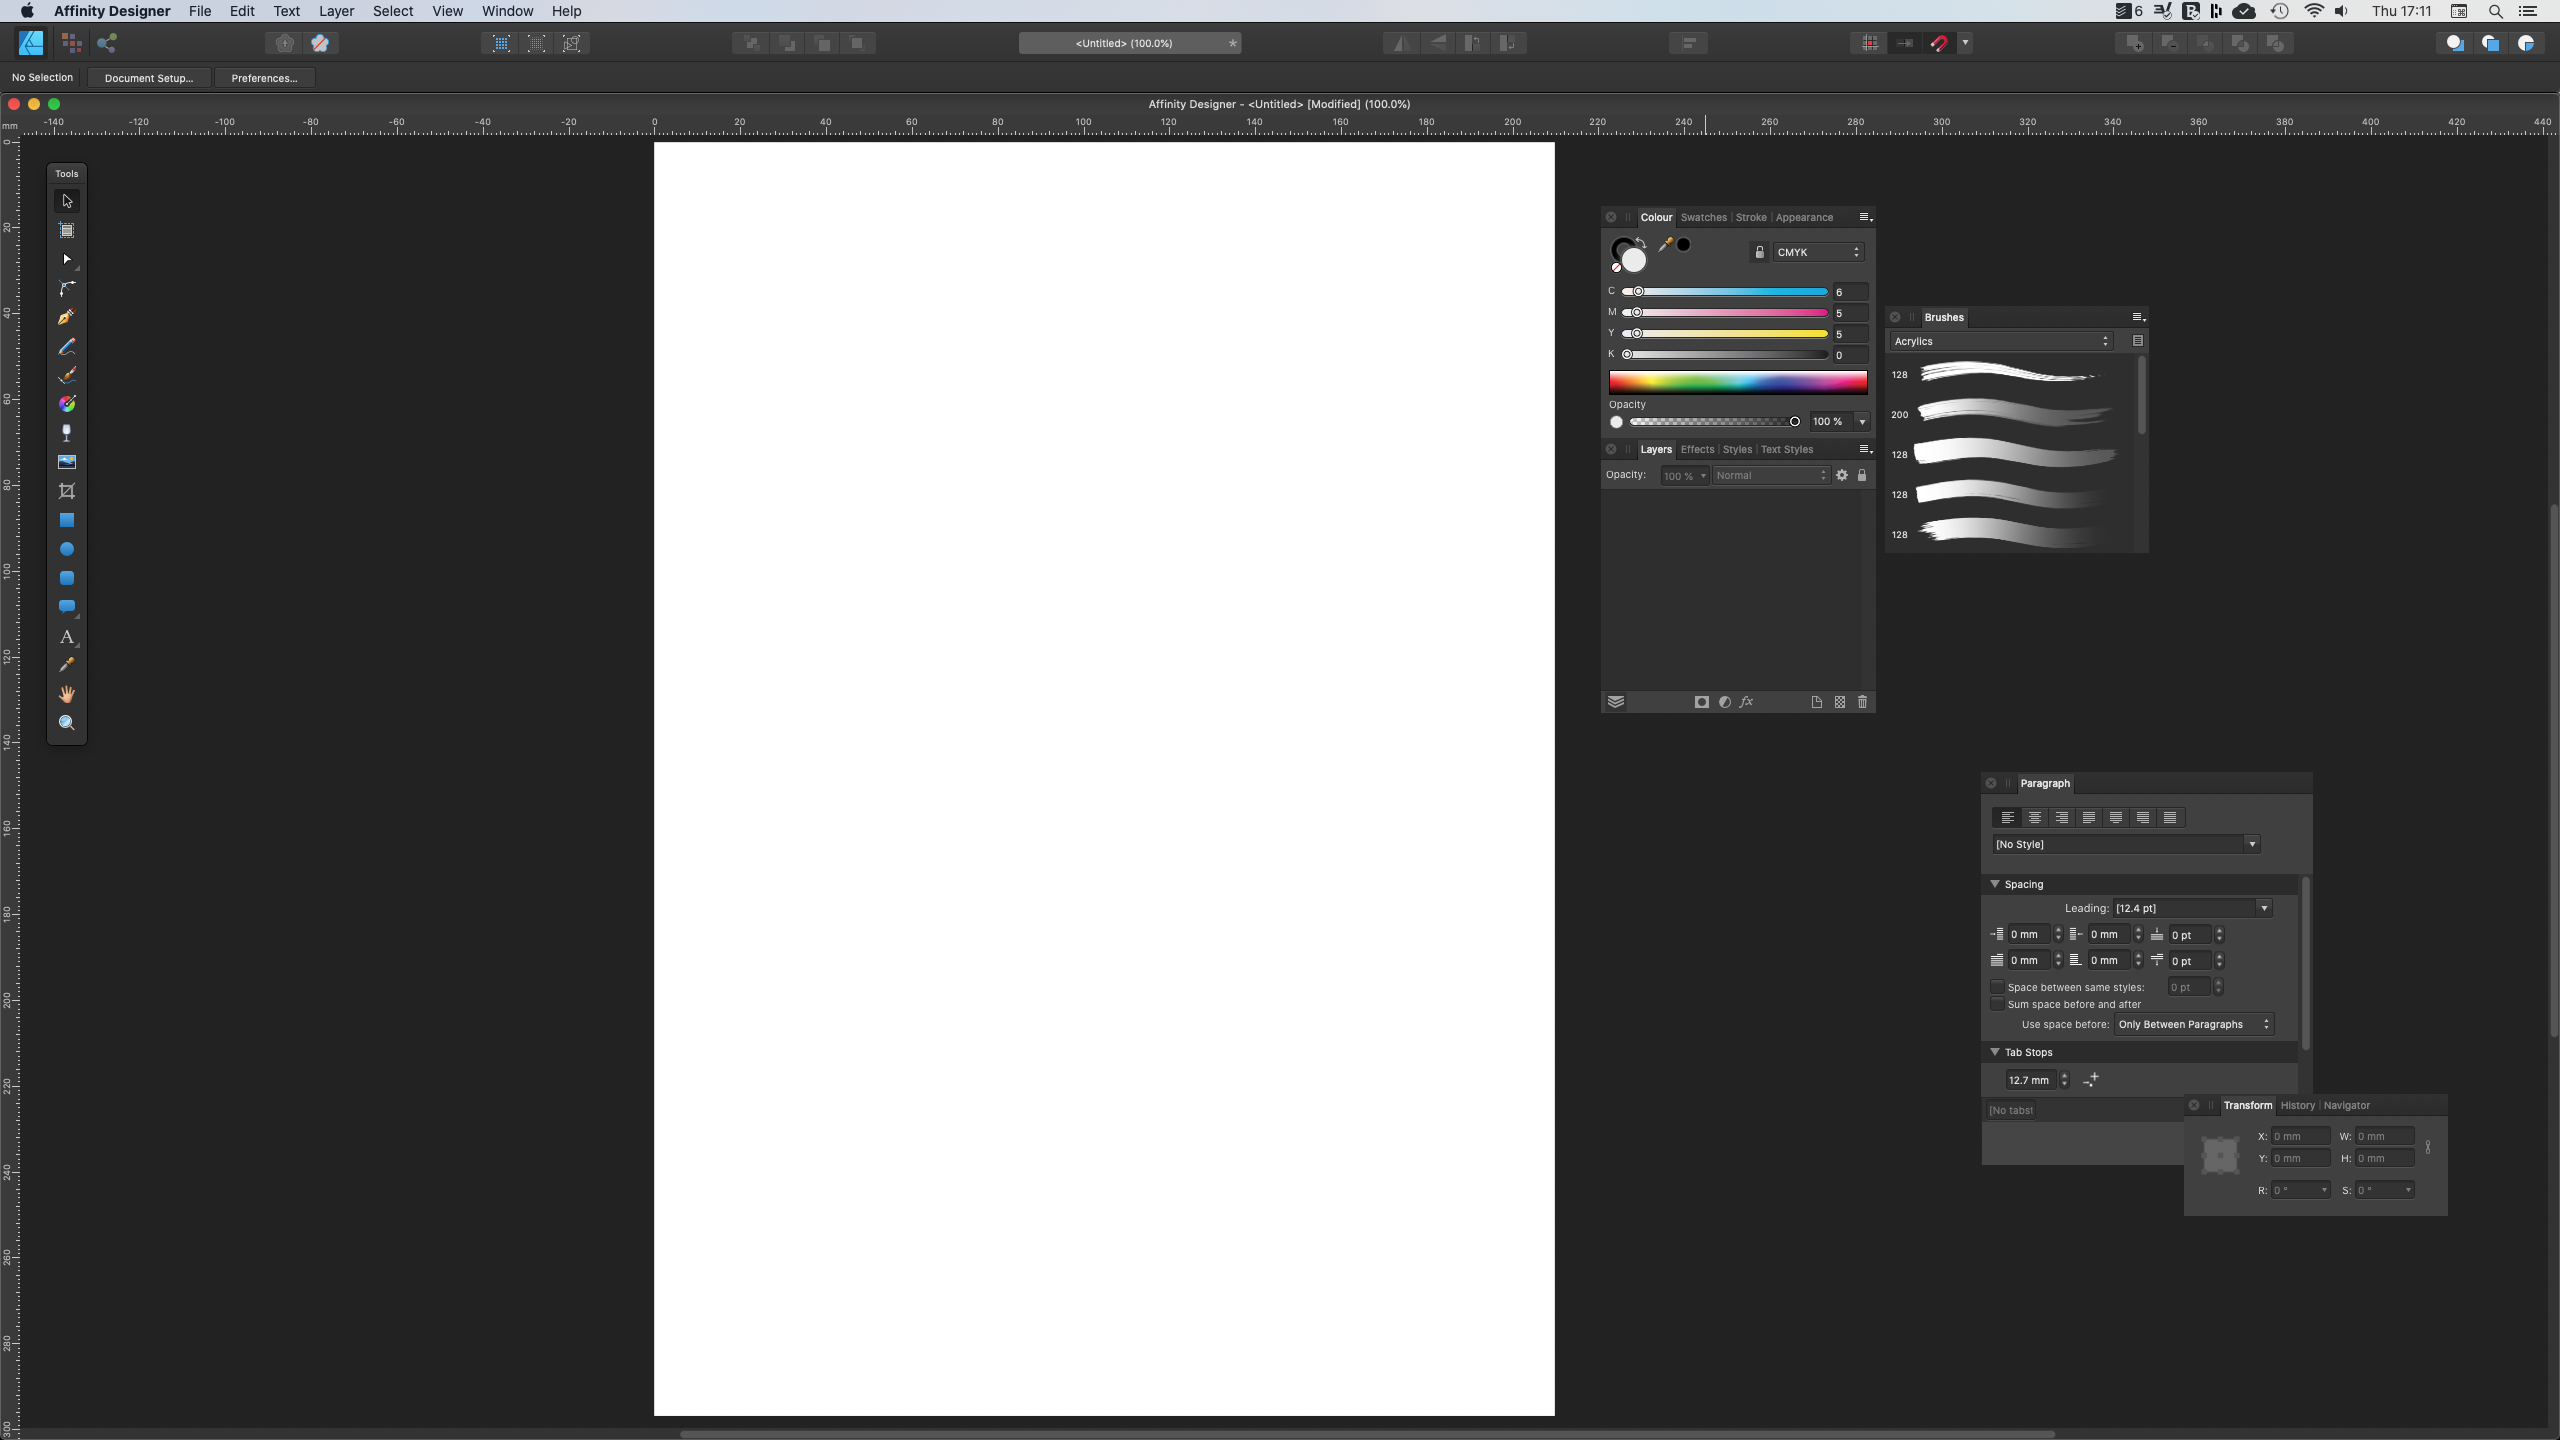
 This is more of a niggle than anything else. When working in separated mode, when you ALT + click on the green Mac traffic light to expand the window, it expands to the full screen size. This means that the Toolbar covers the rulers, and more importantly the open / save / export dialogue box. Yes I can move it down 70px each time I open or create a new document, but it's a bit of a pain. I've just noticed that using Tab to hide all tools in separated mode hides the toolbar forever! You can see on the screenshot it's selected to show the toolbar. When you go back to non-separated mode everything comes back!
-
 Can you tell me if a version of Affinity Photo is compatible with MAC OS High Sierra 10.13.6? My MAC is old and High Sierra 10.13.6 is the maximum level of upgrade. Thank You!
 -
 I’m considering buying the Huion Inspiroy Q11K V2 Graphic Drawing Tablet. I would appreciate any macOS Catalina/Affinity Photo owners comments concerning this tablet, driver comparability or problems -tilt/pressure. Thank you.
 -
Hi, I am new to all this really. I am looking to recreate the pattern on the logo within his image, to make my image look like a woven patch. I have seen a few tuts online but all for Photoshop using some scripts but not for Designer (or Photo) https://images.app.goo.gl/5bAUjyGQJx1FqmSc7 Or https://images.app.goo.gl/ms9Pe9xXYHiWcLq67
-
Here is my experience with Dave's Multiple Color Models. This macro follows Dave's video, give or take a blend mode and choice of channel. To run this macro you will need to have Dave's Colour Models V2.afmacros installed in the macro library. T V - DAVE'S MULTIPLE COLOR MODEL.afmacros . Enjoy - T V
-
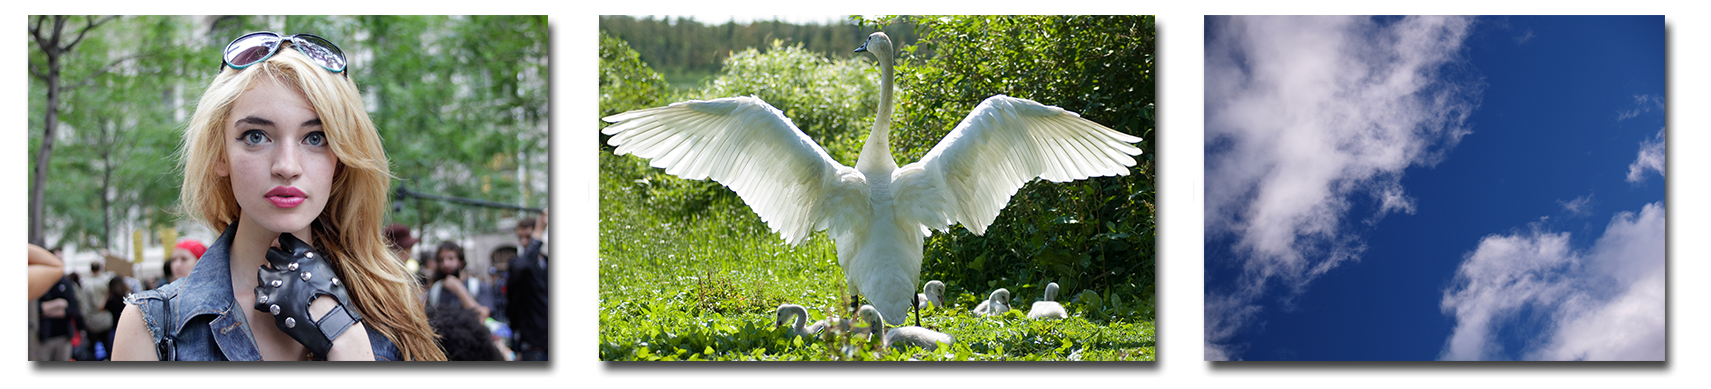
Used a few effects from the ever awesome Filter Forge 9, such as the flaking paint wall, and the wavy effect on the wings. The wings are from Pixabay uploader zorro4, and the main image worried girl woman waiting sitting by Ryan McGuire Edit: Noticed a few mistakes, so did a bit of refining, Id misaligned the light rays and I'd missed some erasing on the girls legs. This is the original afphoto file if you want to play around with it: Fight or Flight.afphoto (55.5Mb) and these were the afbrushes I made for the light rays: Light Rays by Dex.afbrushes (1Mb)
- 7 replies
-
- 11
-

-
 This video explains why and when you use Blend Modes. Instead of a technical description, this video gives an artistic view. Understand Blend Modes in the way you actually use them. Know what Categories off Blend Modes are the most important. In this Video: Dark Blend Modes are for blending dark Elements with your other layers Light Blend Modes are for blending bright Elements with your other layers Overlay Blend Modes are good for atmospheric blending effects
- 1 reply
-
- 2
-

-
-
 Hi, a question just to understand: we have on the same level the thumbnail of the photo and the thumbnail of the mask; in the layer, ALT + click on the mask minature and, on the screen I see the mask; always i in the level, click in the thumbnail of the photo and on the screen I see the photo. Up to this point completely normal, the difference that I would like to be explained is, because in AP the photo after the click is displayed, so to speak, in sections and, instead, in PS it is displayed instantly. Yet it is the same PC, same video card, same CPU, extended RAM etc .; in AP in Preferences / Performance I have changed everything but the result is always the same. Thanks to those who want to dedicate a little of their time to satisfy my curiosity.🙂
 -
affinity photo Poster Military
eegler posted a topic in Tutorials (Staff and Customer Created Tutorials)
Hello, I create the movie poster for the military and I enjoy the effects (lights, helicopter movement, shade, etc.). Watch the video on Youtube :
-
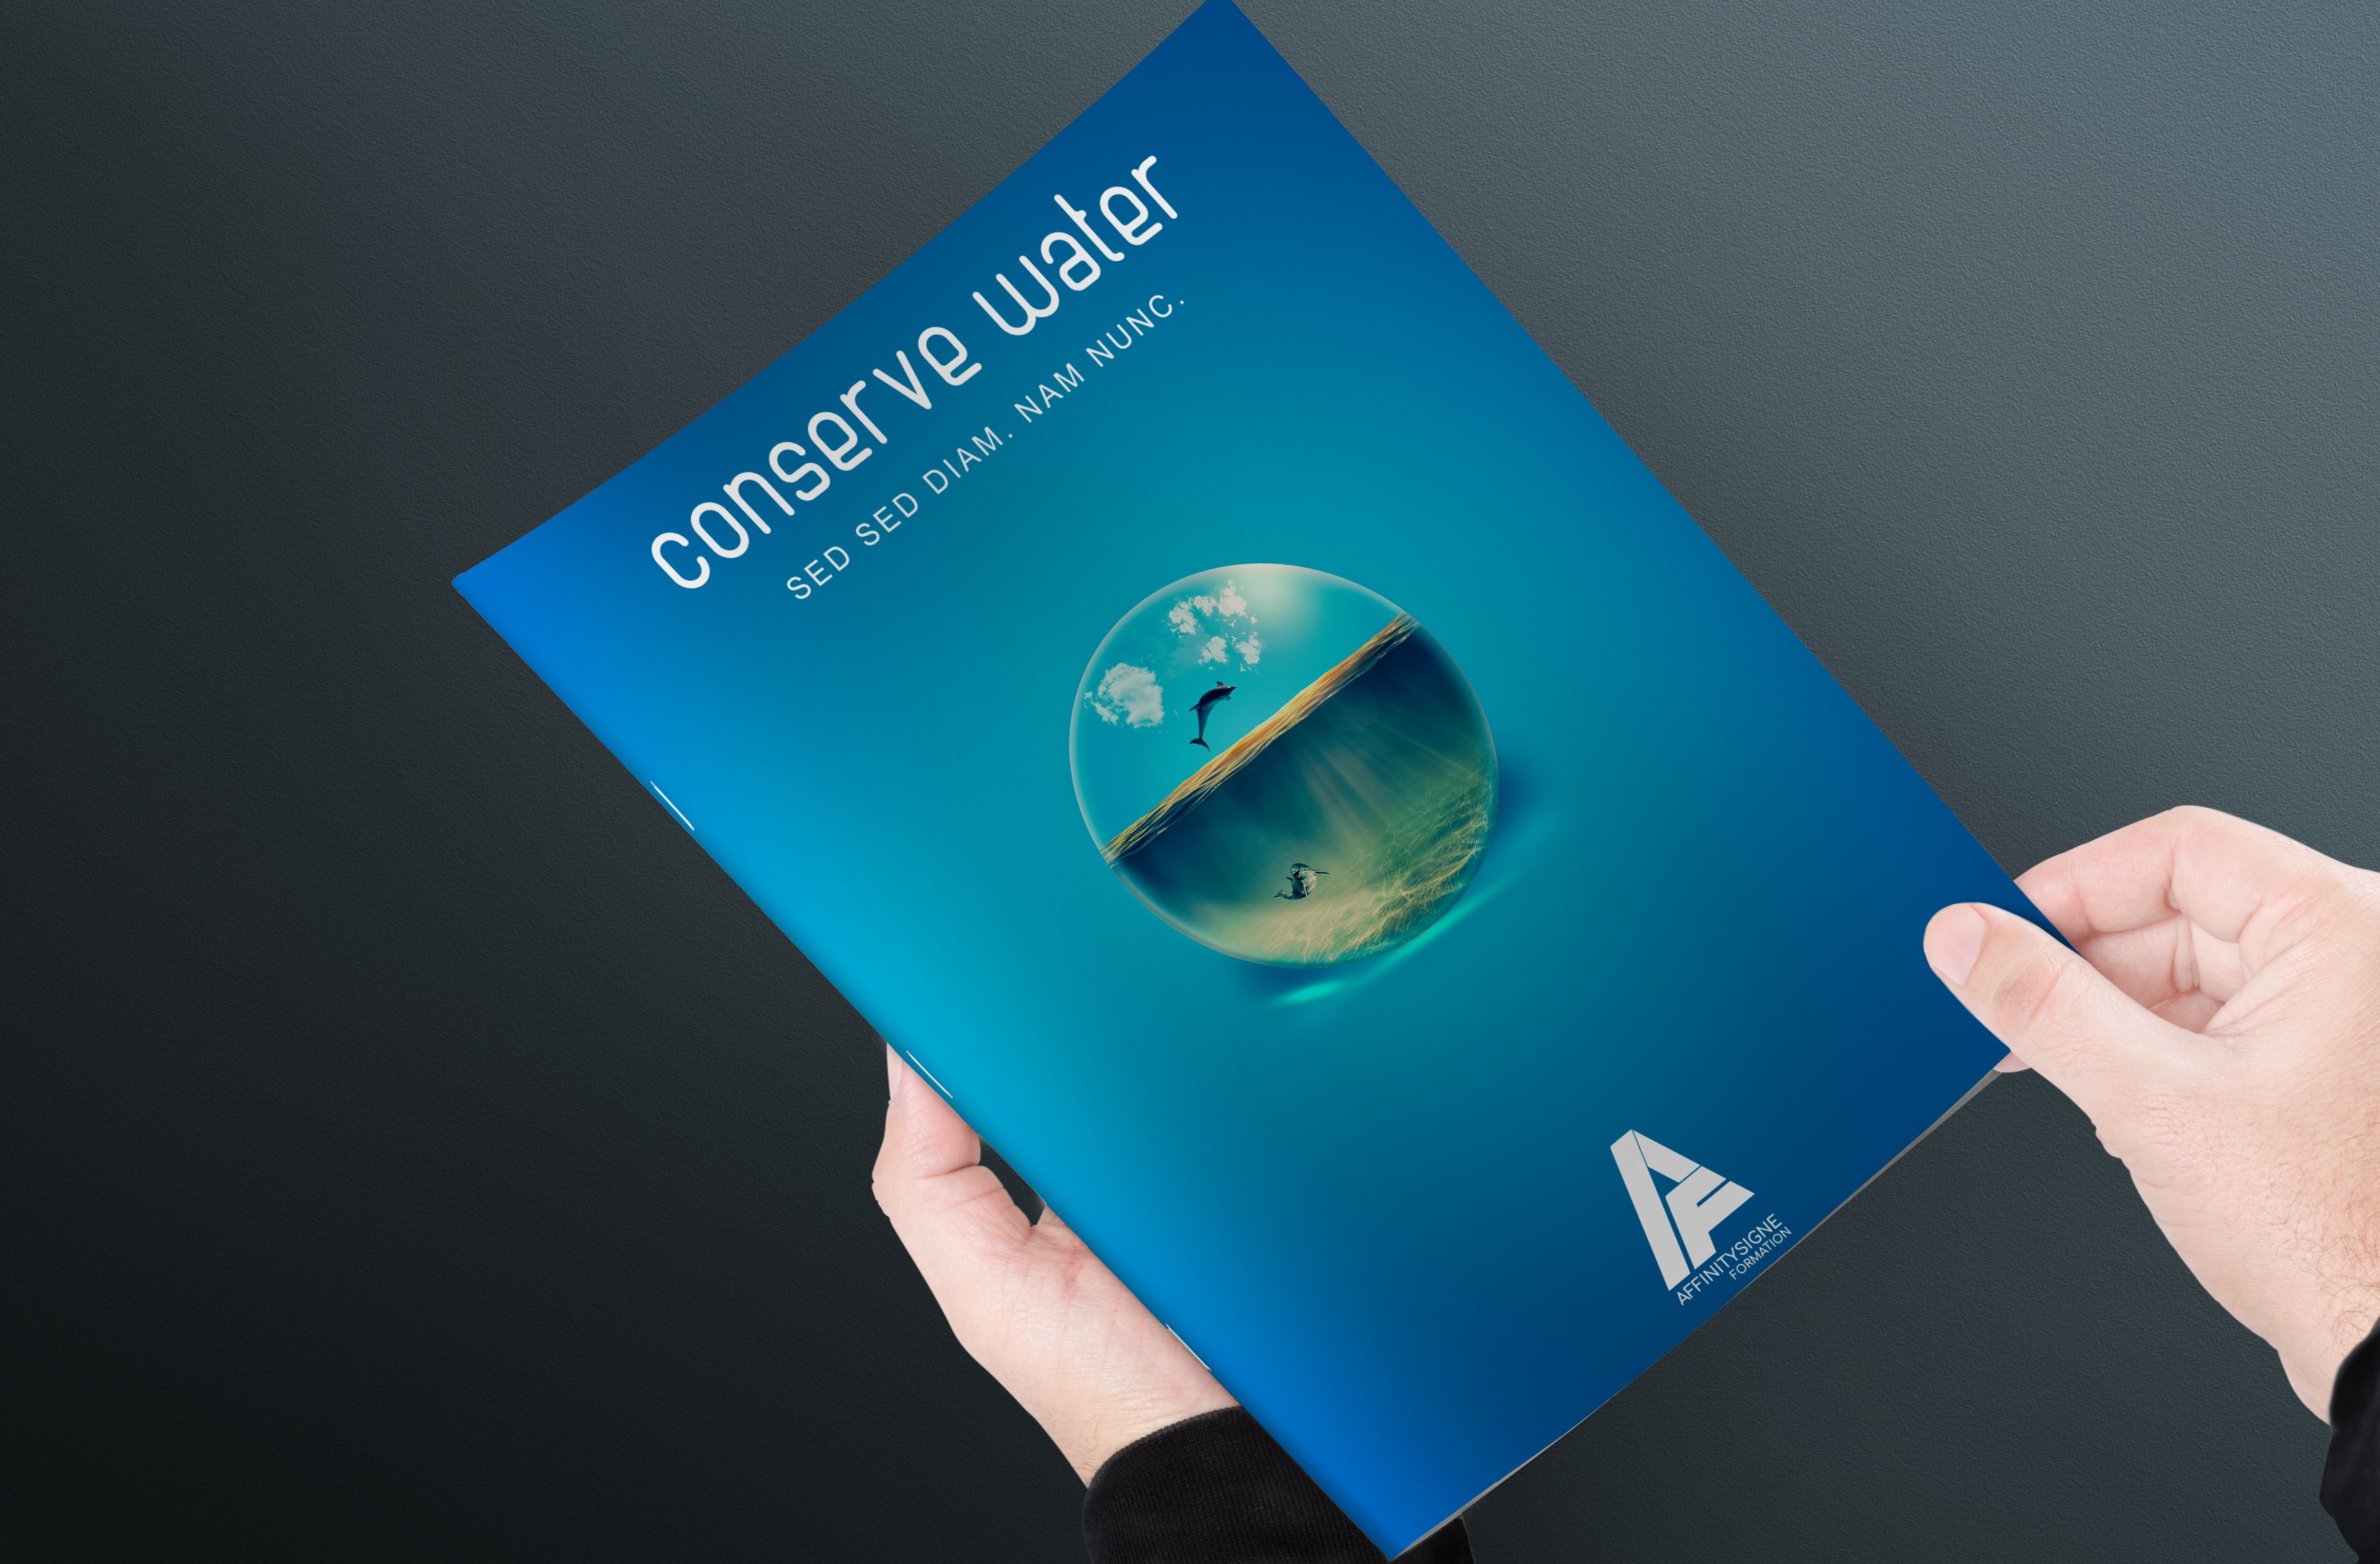
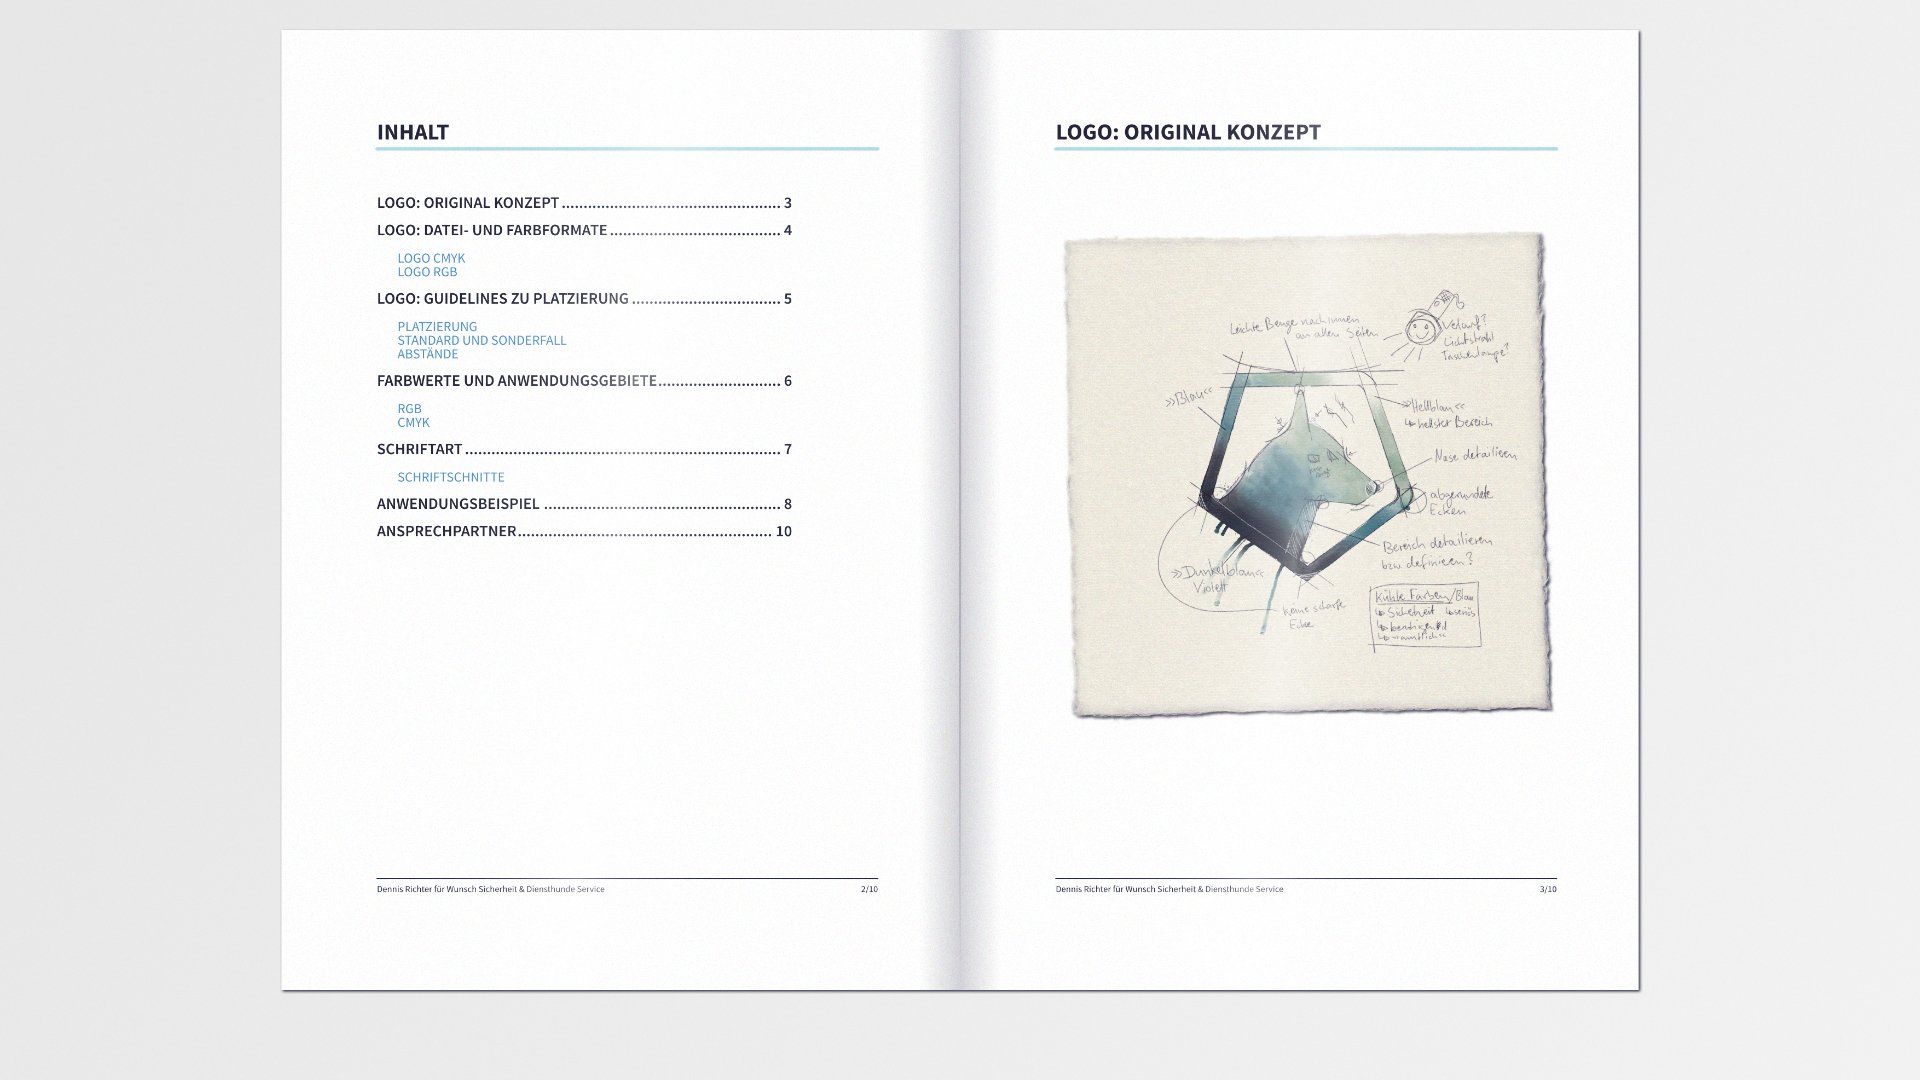
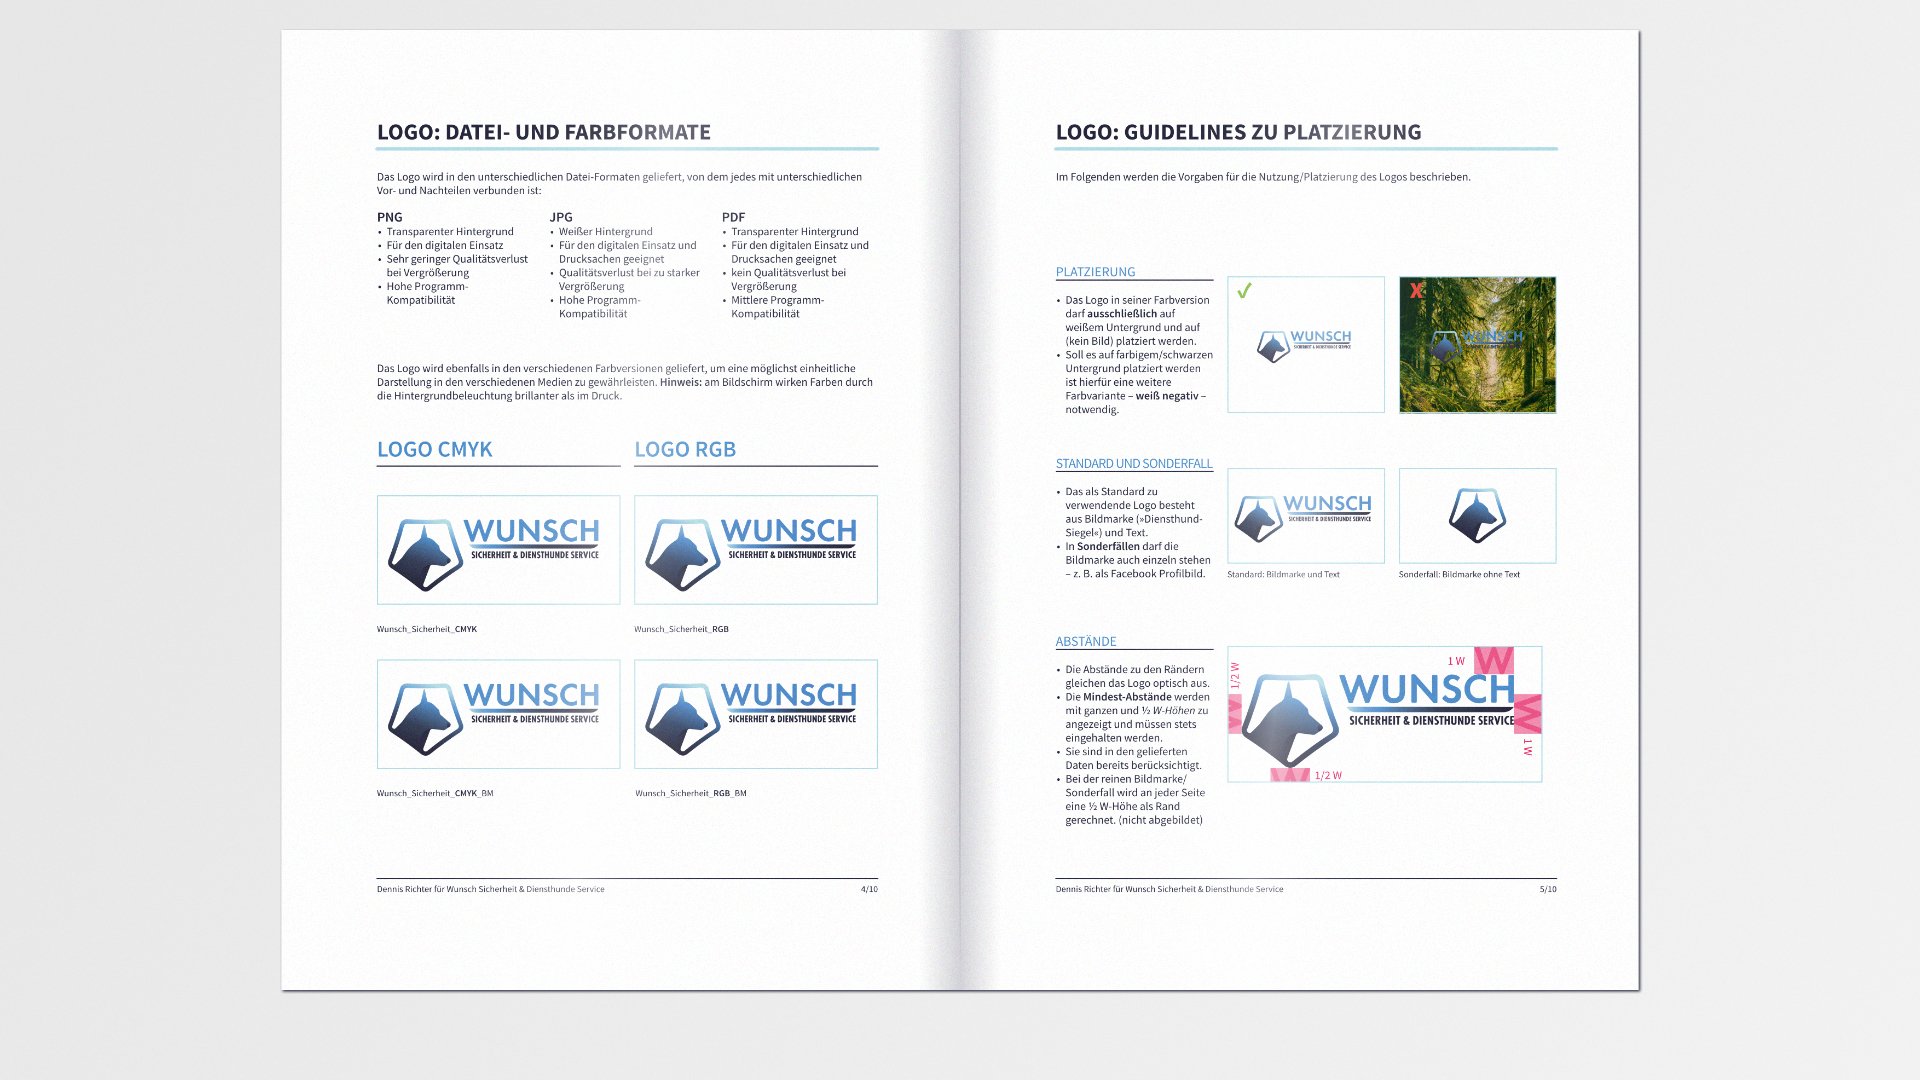
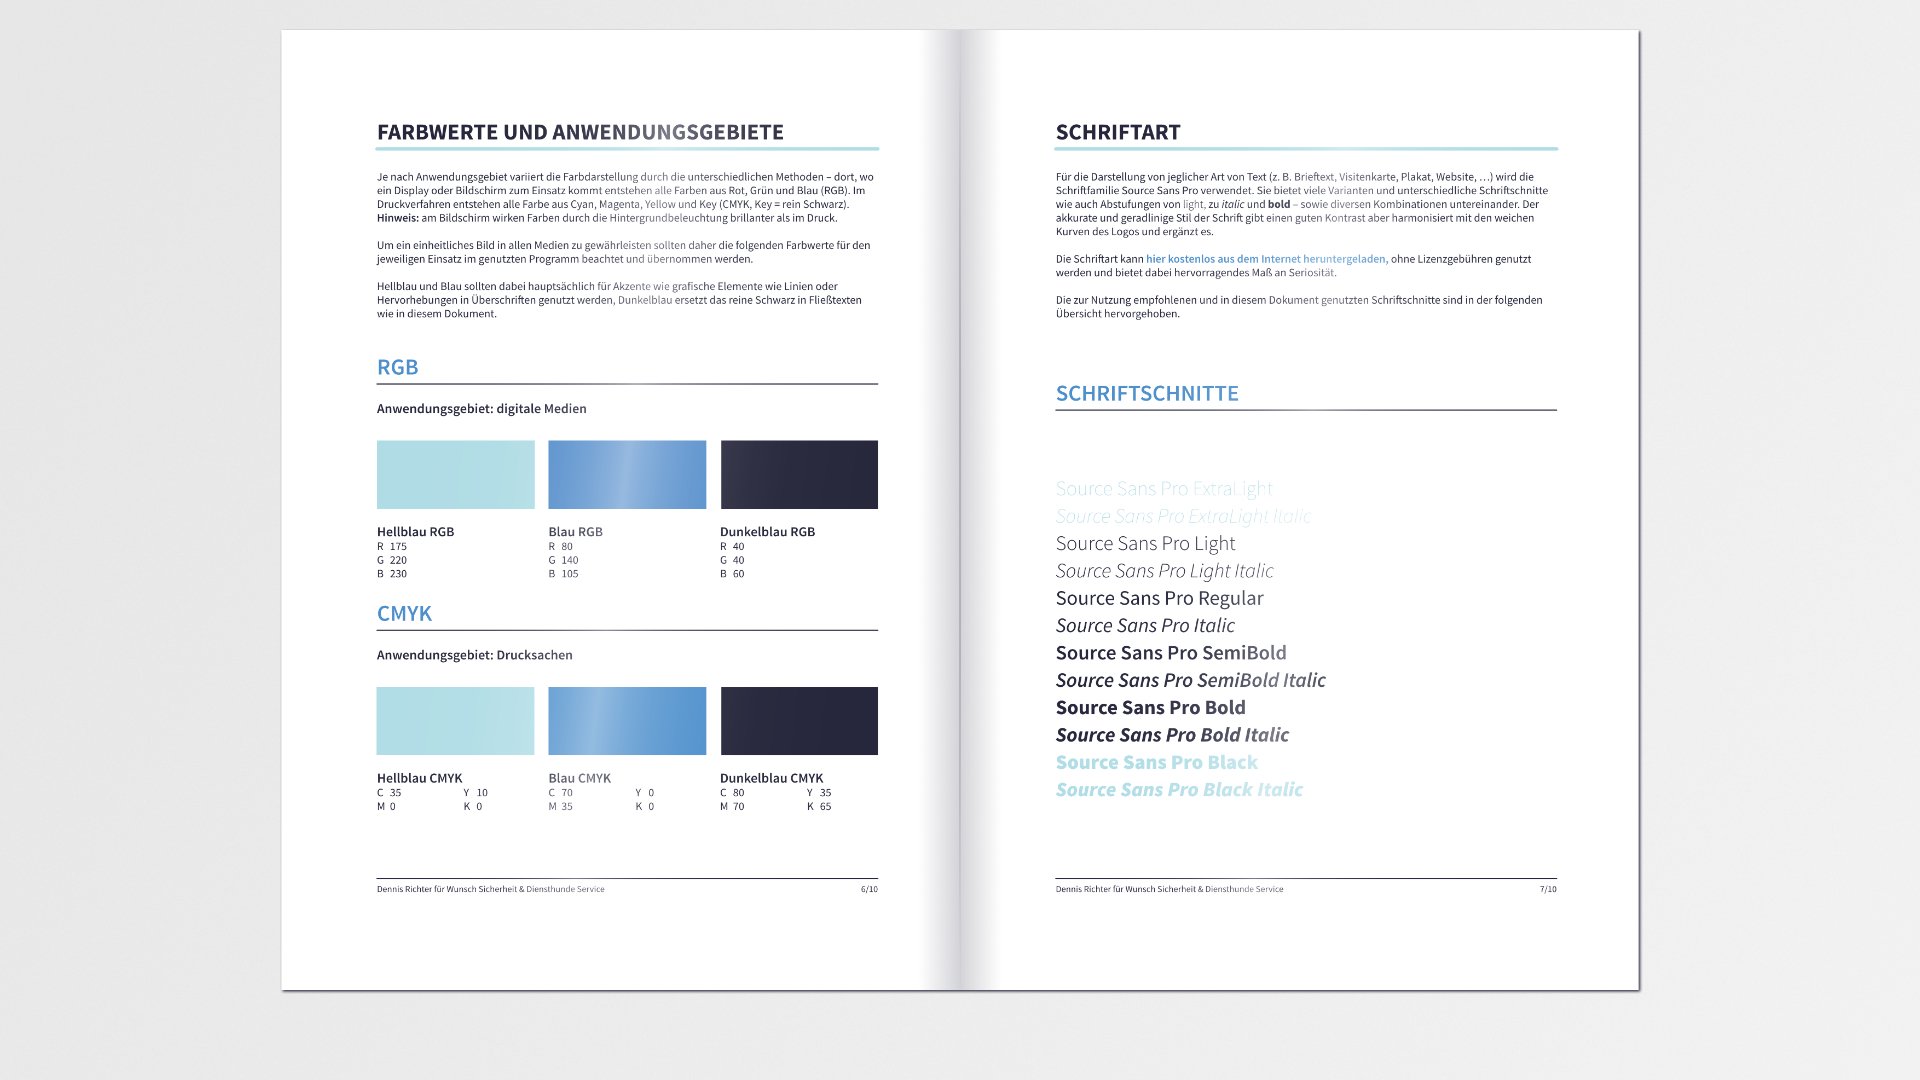
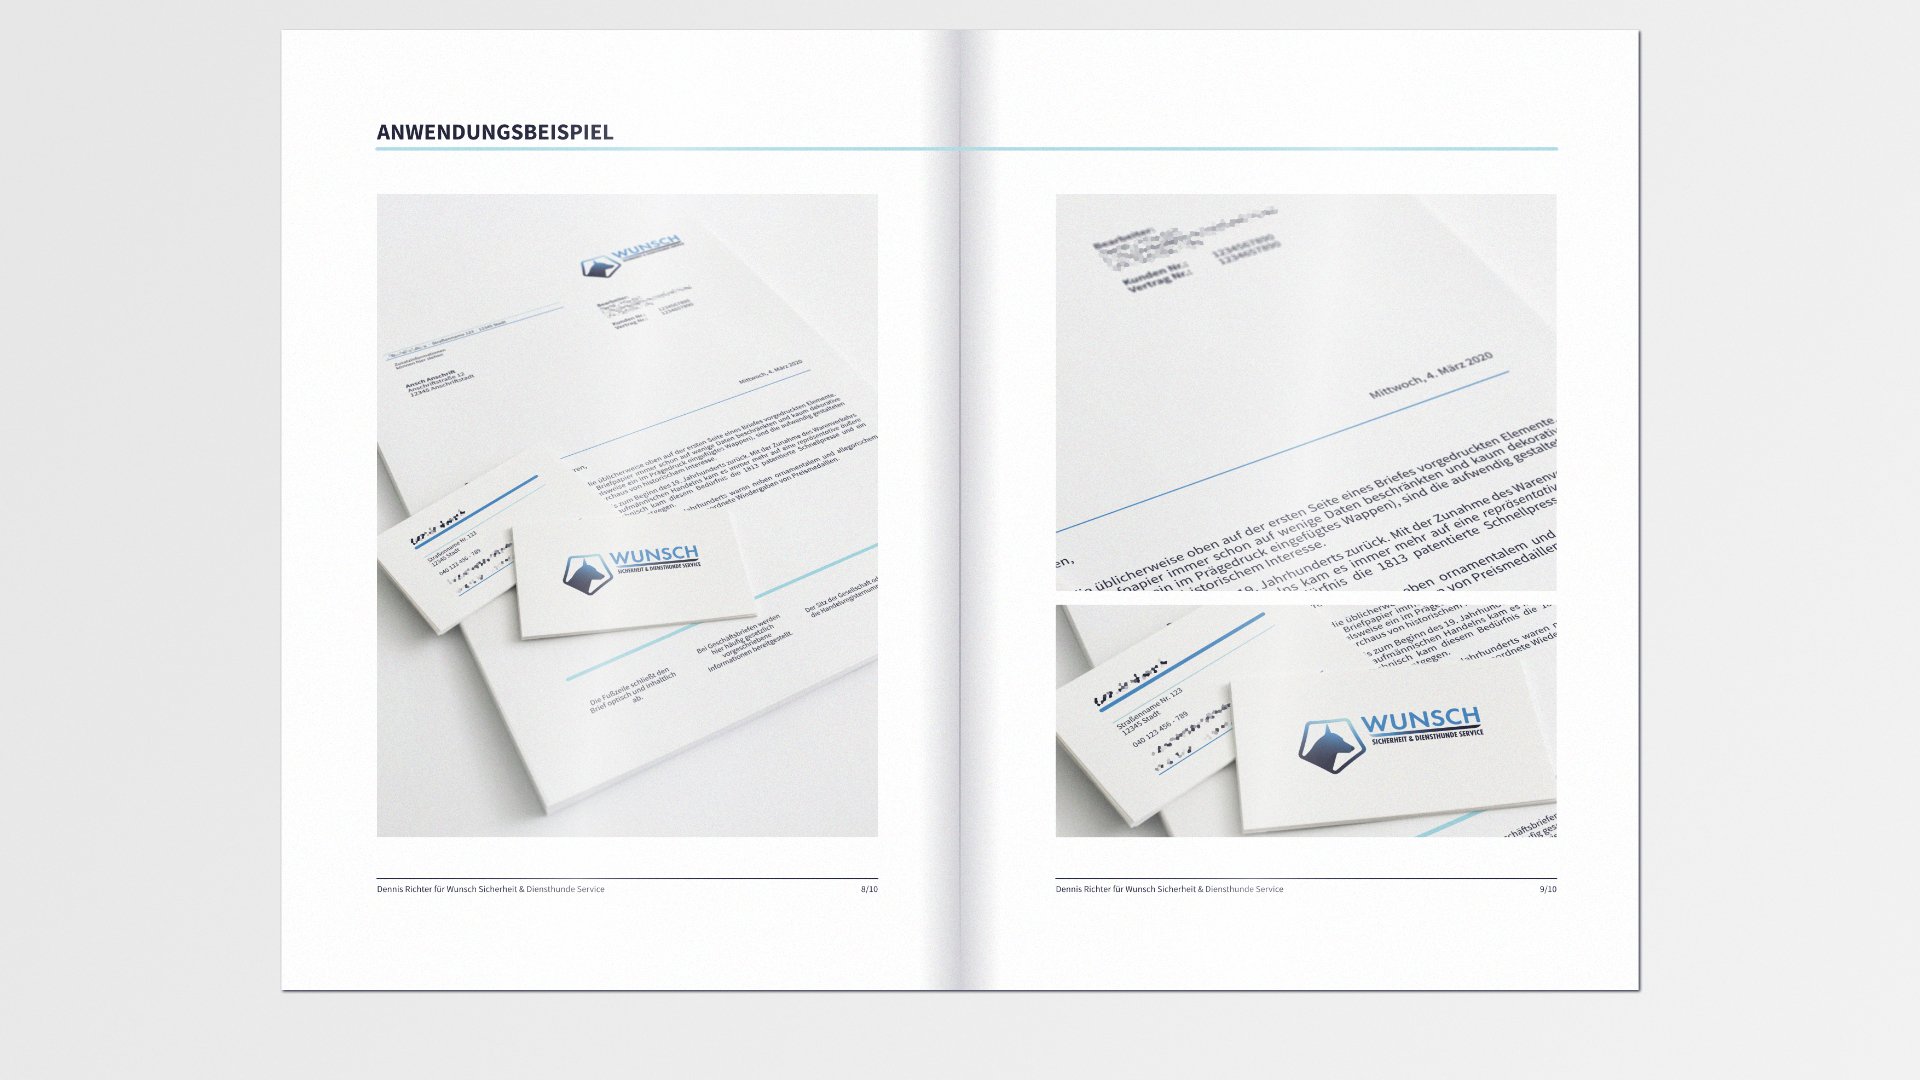
 Hey folks! I'd like to take a moment and share my latest work with you. I was asked to design the logo for a security and guard dog service. With this project I wanted to put the Affinity Suit to the test – and to no surprise it succeeded. 🏆 The vector-based logo was created in Affinity Designer, as the tools are closest to the program alternatives I am familiar with - but which have become obsolete by now. The letterhead and business card were designed in Affinity Publisher. A visualized use case that is more comprehensible for the customer was created with the help of a mock-up in Affinity Photo. Just in time embedded documents (aka Smart Objects) are finally supported, thanks for this fine addition, Affinity! ❤️ Finally I combined all the information in a little brand book with Affinity Publisher and thanks to the new possibility to collect resources (another feature that was highly anticipated) I was able to compile all my work into a nice and clean job folder. For me the current coverage of the suite is already very impressive. Of course, one or two features could be further developed or added - but for this project (with one exception for the concept drawing) I never had to use a product outside the Affinity Suite range, which I think is quite remarkable. Please feel free to share your thoughts on this one! 😀 Oh right, sorry – I forgot to mention that almost the whole document is published in German, but I guess you get the concept. 😅 Greetings MrDoodlezz
- 14 replies
-
- 9
-
-
- affinity photo
- affinity publisher
- (and 6 more)
-
Hello, when I resize a photo it happens as in the video; https://drive.google.com/open?id=1eCP3hZHrpk-2eQcFzl_HIo8njiPyJj5z the mask seems to go on its own. Even with different resampling methods the result does not change. I don't put my hand on the fire but, it seems that the malfunction happens after the update to 1.8 otherwise I would have noticed before. Thanks for the tips you can give___ EDIT: I had difficulty adding the video, is something wrong or is it my fault?
-
 The new affinity programs (1.8) started using windows ink. In windows ink there is a problem with changing stroke size with wacom pen, because windows ink intervenes some way, and so I can't use alt ctrl + right click + click to change brush size. in windows ink dragging some sort of objects is harder, because it likes to stick and creates lag (eg. vertices on graphs). even if the press and hold (windows ink) action is disabled. I went over these kinds of issues in Photoshop a few years ago, when Adobe changed the input mode to windows ink. A common workaround for Photoshop issues is using a script that disables windows ink, because it is a badly implemented thing.
 -
Hey everyone, thanks to the great OCIO support and the performance, I´m using affinty photo more and more to process my still linear exr renderings out of octane for cinema 4D. Unfortunately I'm having an issue with alpha masking of groups with this workflow. These are the steps I take: 1. I'm rendering a half float linear exr and use the "object layer color" for alpha masking [because it's faster to render inside of octane]. 2. I take the exr into affinty [1.8.0.585] 3. Use OCIO to convert the Image to sRGB 4. Below that, I adjust my exposure if necessary 5. On Top, I have a LUT to convert the Image to sRGB ICC 5. I right-click my black and white (but still RGB) object layer color and rasterize to mask 6. I drag a drop the mask on my grouped beauty [regular beauty and denoised beauty] 7. As a result, the mask is very pixelated and unusable. Masking a group seems to cause the problems. Without the group everything works with and without OCIO. The same mask and grouping works fine in Photoshop. The Photoshop files looks different because its without OCIO but adjusted exposure, otherwise it would be way too bright. Thanks in advance!
-
The original photo from the woman is from Timothy Krause. Added some public domain sky and a swan, and mixed it together
-
Learn how to make Night Photo Shots look amazing in Affinity Photo. Using the Nik Collection Plug-ins Viveza 2 and Color Efex Pro. I'm starting with a underexposed RAW photo snapshot. Applying the Nik Collection Magic, this turns into are really nice Night Shot with beautiful lights and a nice cosy feeling.
-
I was messing around with Perlin noise to create a random topographical map, combining multiple pixel layers with different octaves of said noise. I noticed that there's a barely visible ray coming from top left corner of the image going at a 45 degree angle down all the way across. I believe this is a bug in Perlin noise code, since the ray becomes more visible the more layers of Perlin noise you combine in one image. Example here: https://i.imgur.com/IeMTDWd.png
-
 So I watched the video on importing smart object from a PSD (https://t.co/6tbKeoSmn1?amp=1) and I really loved how you could edit a placed image. So I tried creating something like it from scratch in AP. Placing the image wasn't the issue but in the YouTube video you can see that the perspective of the embedded image is different. How would I do that in AP? I tried the perspective button but that converts it to a pixel layer so that's not what I want. How would I recreate this functionality? Is this even possible in AP?
 -
 Guten Tag, ich habe das Problem, dass die Farben einer in Affinity Photo colorierten Datei nach dem Export in eine PDF extrem blass sind. Wenn ich als PNG exportiere sind die Farben so wie sie sein sollen (siehe Bild). Muss ich eventuell irgendwo eine Einstellung ändern, oder hat das was mit RGB und CMYK zu tun oder so? Vielen Dank für eure Hilfe Michel Perspektive_Quartierszentrum.afphoto Perspektive_Quartierszentrum_coloriert.pdf