Search the Community
Showing results for tags 'Affinity photo'.
-
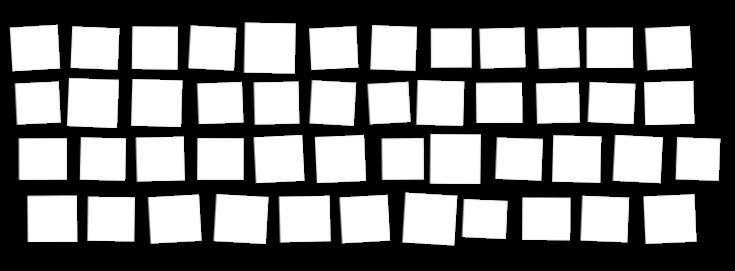
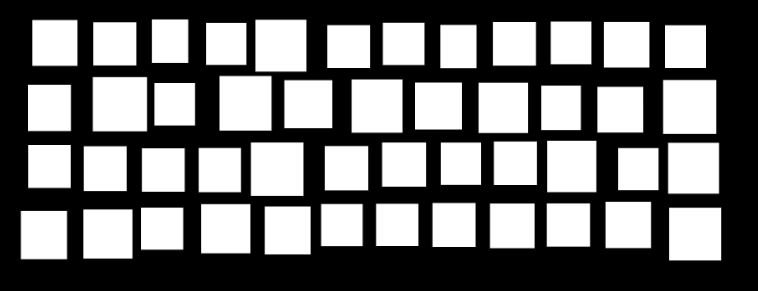
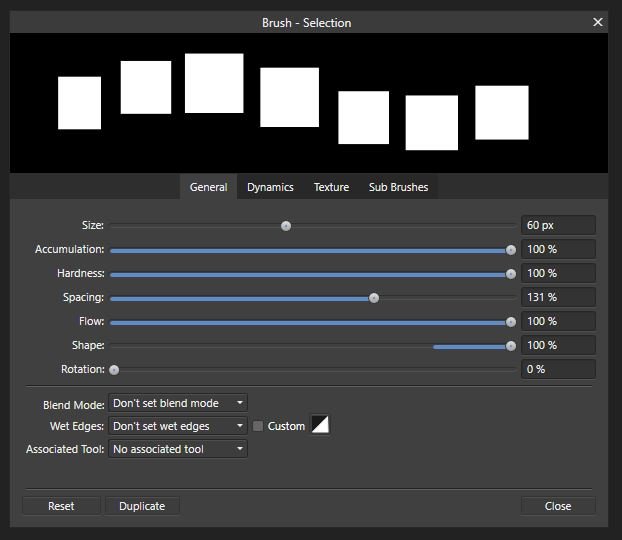
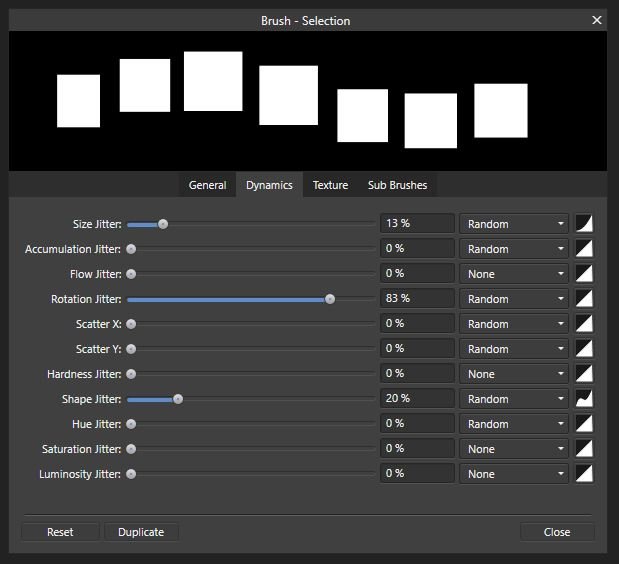
 I'm trying to create this in AP: I made this in PS with four parallel, horizontal lines, using a basic, square brush with minimal angle jitter and moderate shape and size jitter. Very basic. The goal is to create subtle variations that will make the arrangement of the rectangles appear handmade and not mechanic. This is the closest I could get to it in AP: Obviously, this is unusable for my purposes. I'm wondering if I just don't know how to adjust the brush settings to achieve the desired effect. Here are the brush settings I used: The problems I've encountered: 1. The 'Rotation Jitter' setting doesn't seem to do anything on its own. It looks like it has to be combined with 'Rotation'; however, when combined with 'Rotation' everything is either rotated in only one direction or the angle variation is too great. 2. I'm either using it wrong or the shift modifier is glitching when used in combination with the brush tool for straight vertical and horizontal lines. I've tried: click>shift+drag, shift+click+drag, shift>click+drag. None of the key combinations work correctly and the closest result is this: For some reason Affinity insist on connecting the end of the fist line with the beginning of the subsequent one. I don't see a shift key modifier option under the 'Brush Tool' in the 'Keyboard Shortcuts' menu, so it's possible that, technically, this function isn't available in AP. Any suggestions and workarounds are welcome. I'm on Windows and using a mouse but have access to a drawing tablet.
-
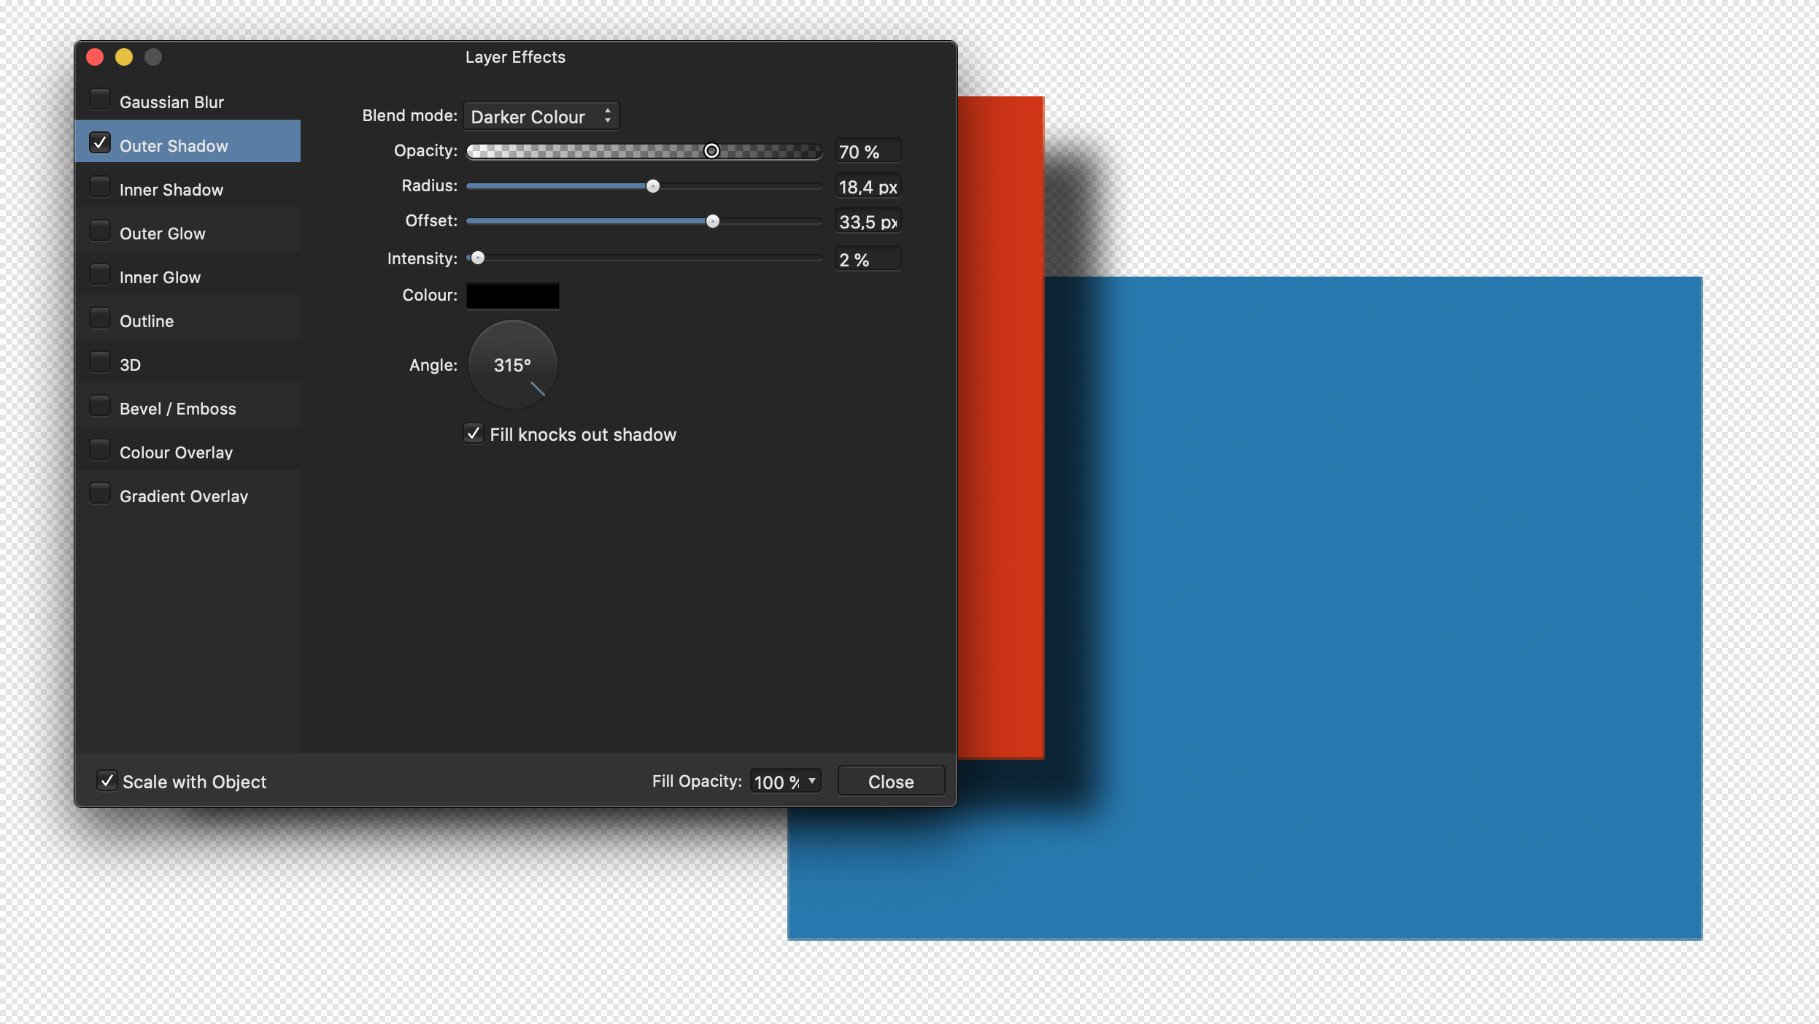
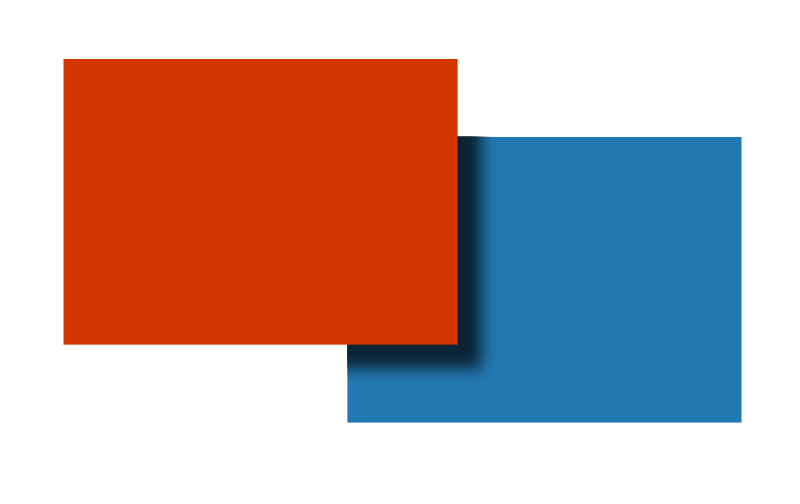
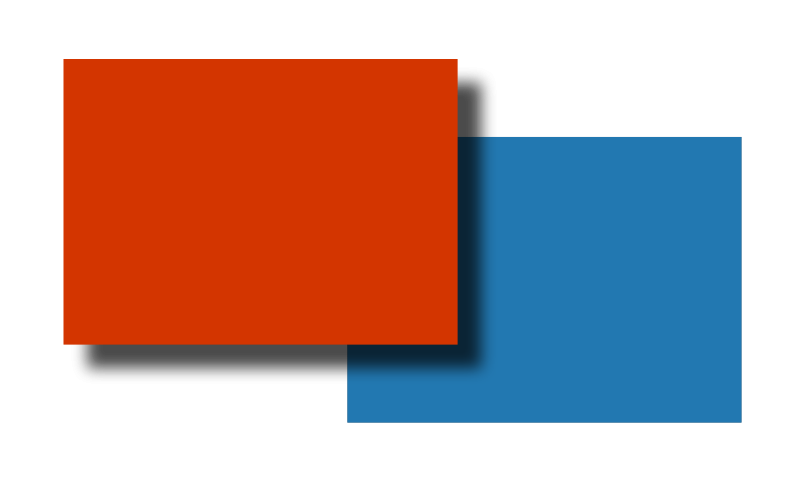
 Dear Community I'm getting wrong results withe the same .APHOTO file using the Mac version (1.10.5 and all before) of Affinity Photo. When I use Blend Mode: "Darker Color" in Layer Effects it only works correct with the PC version. Settings (for the red square): Result on the PC (desired): Result on the Mac (buggy?): I also attached the source file. Can anyone reproduce the error or is it only on my machine (MacBook Pro running MacOs 12.3.1)? afphoto-shadow-darker-color-test_01.afphoto Additional fact: When I switch to Affinity Designer (1.105) the result is correct. I would really appreciate equal results for equal settings on both systems. Greetings, Henry
-
I've exported the attached document to a half-size PNG using the menu-option (not the export-persona). As you can see in the attached PNG there is a square of noise in the bottom-left corner. I've exported this same file (with some minor edits) in the same way yesterday, and the square of noise was in a different part. Am I doing something wrong, or is this a bug? puzzle4.afphoto
-
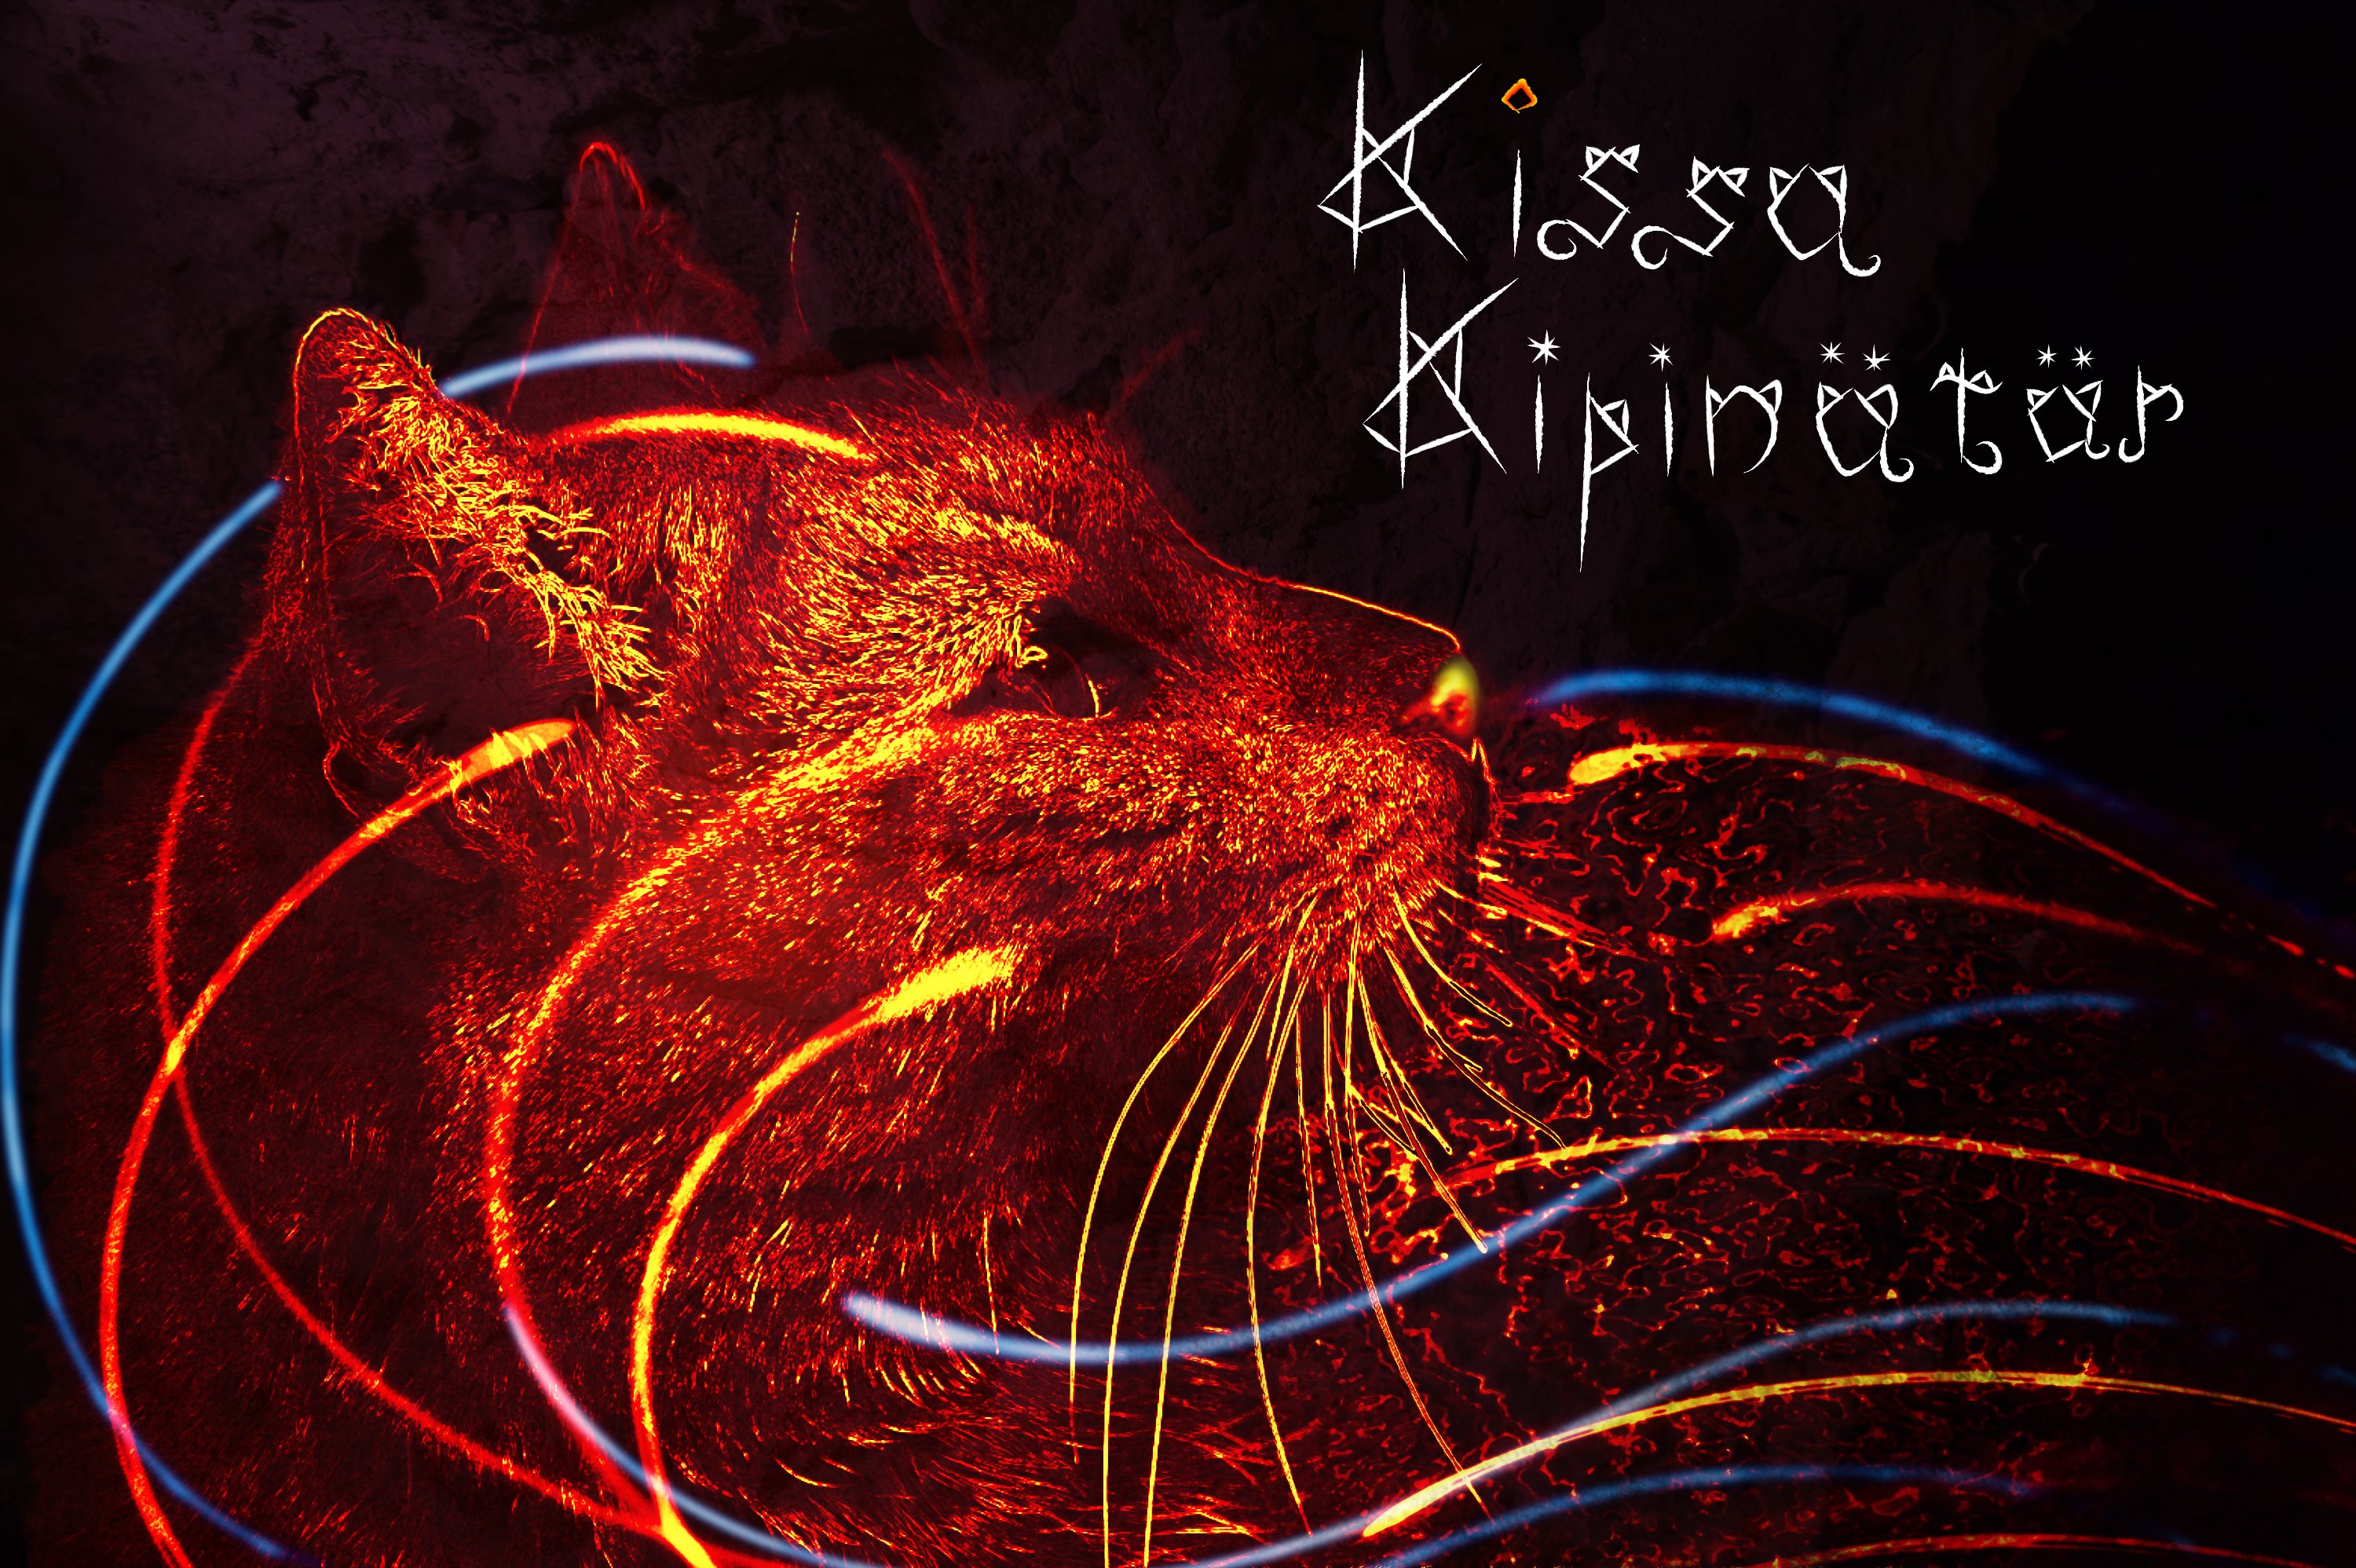
So this is an image manipulation using various effects to create my impression of a creature(?!) mentioned in Finnish national epic Kalevala. Her name is Kissa Kipinätär, which loosely translates into Cat Miss Sparkle (I don't know what she's called in the English version of the poem). So here it is!
- 1 reply
-
- 7
-

-
- affinity photo
- affinity designer
- (and 4 more)
-
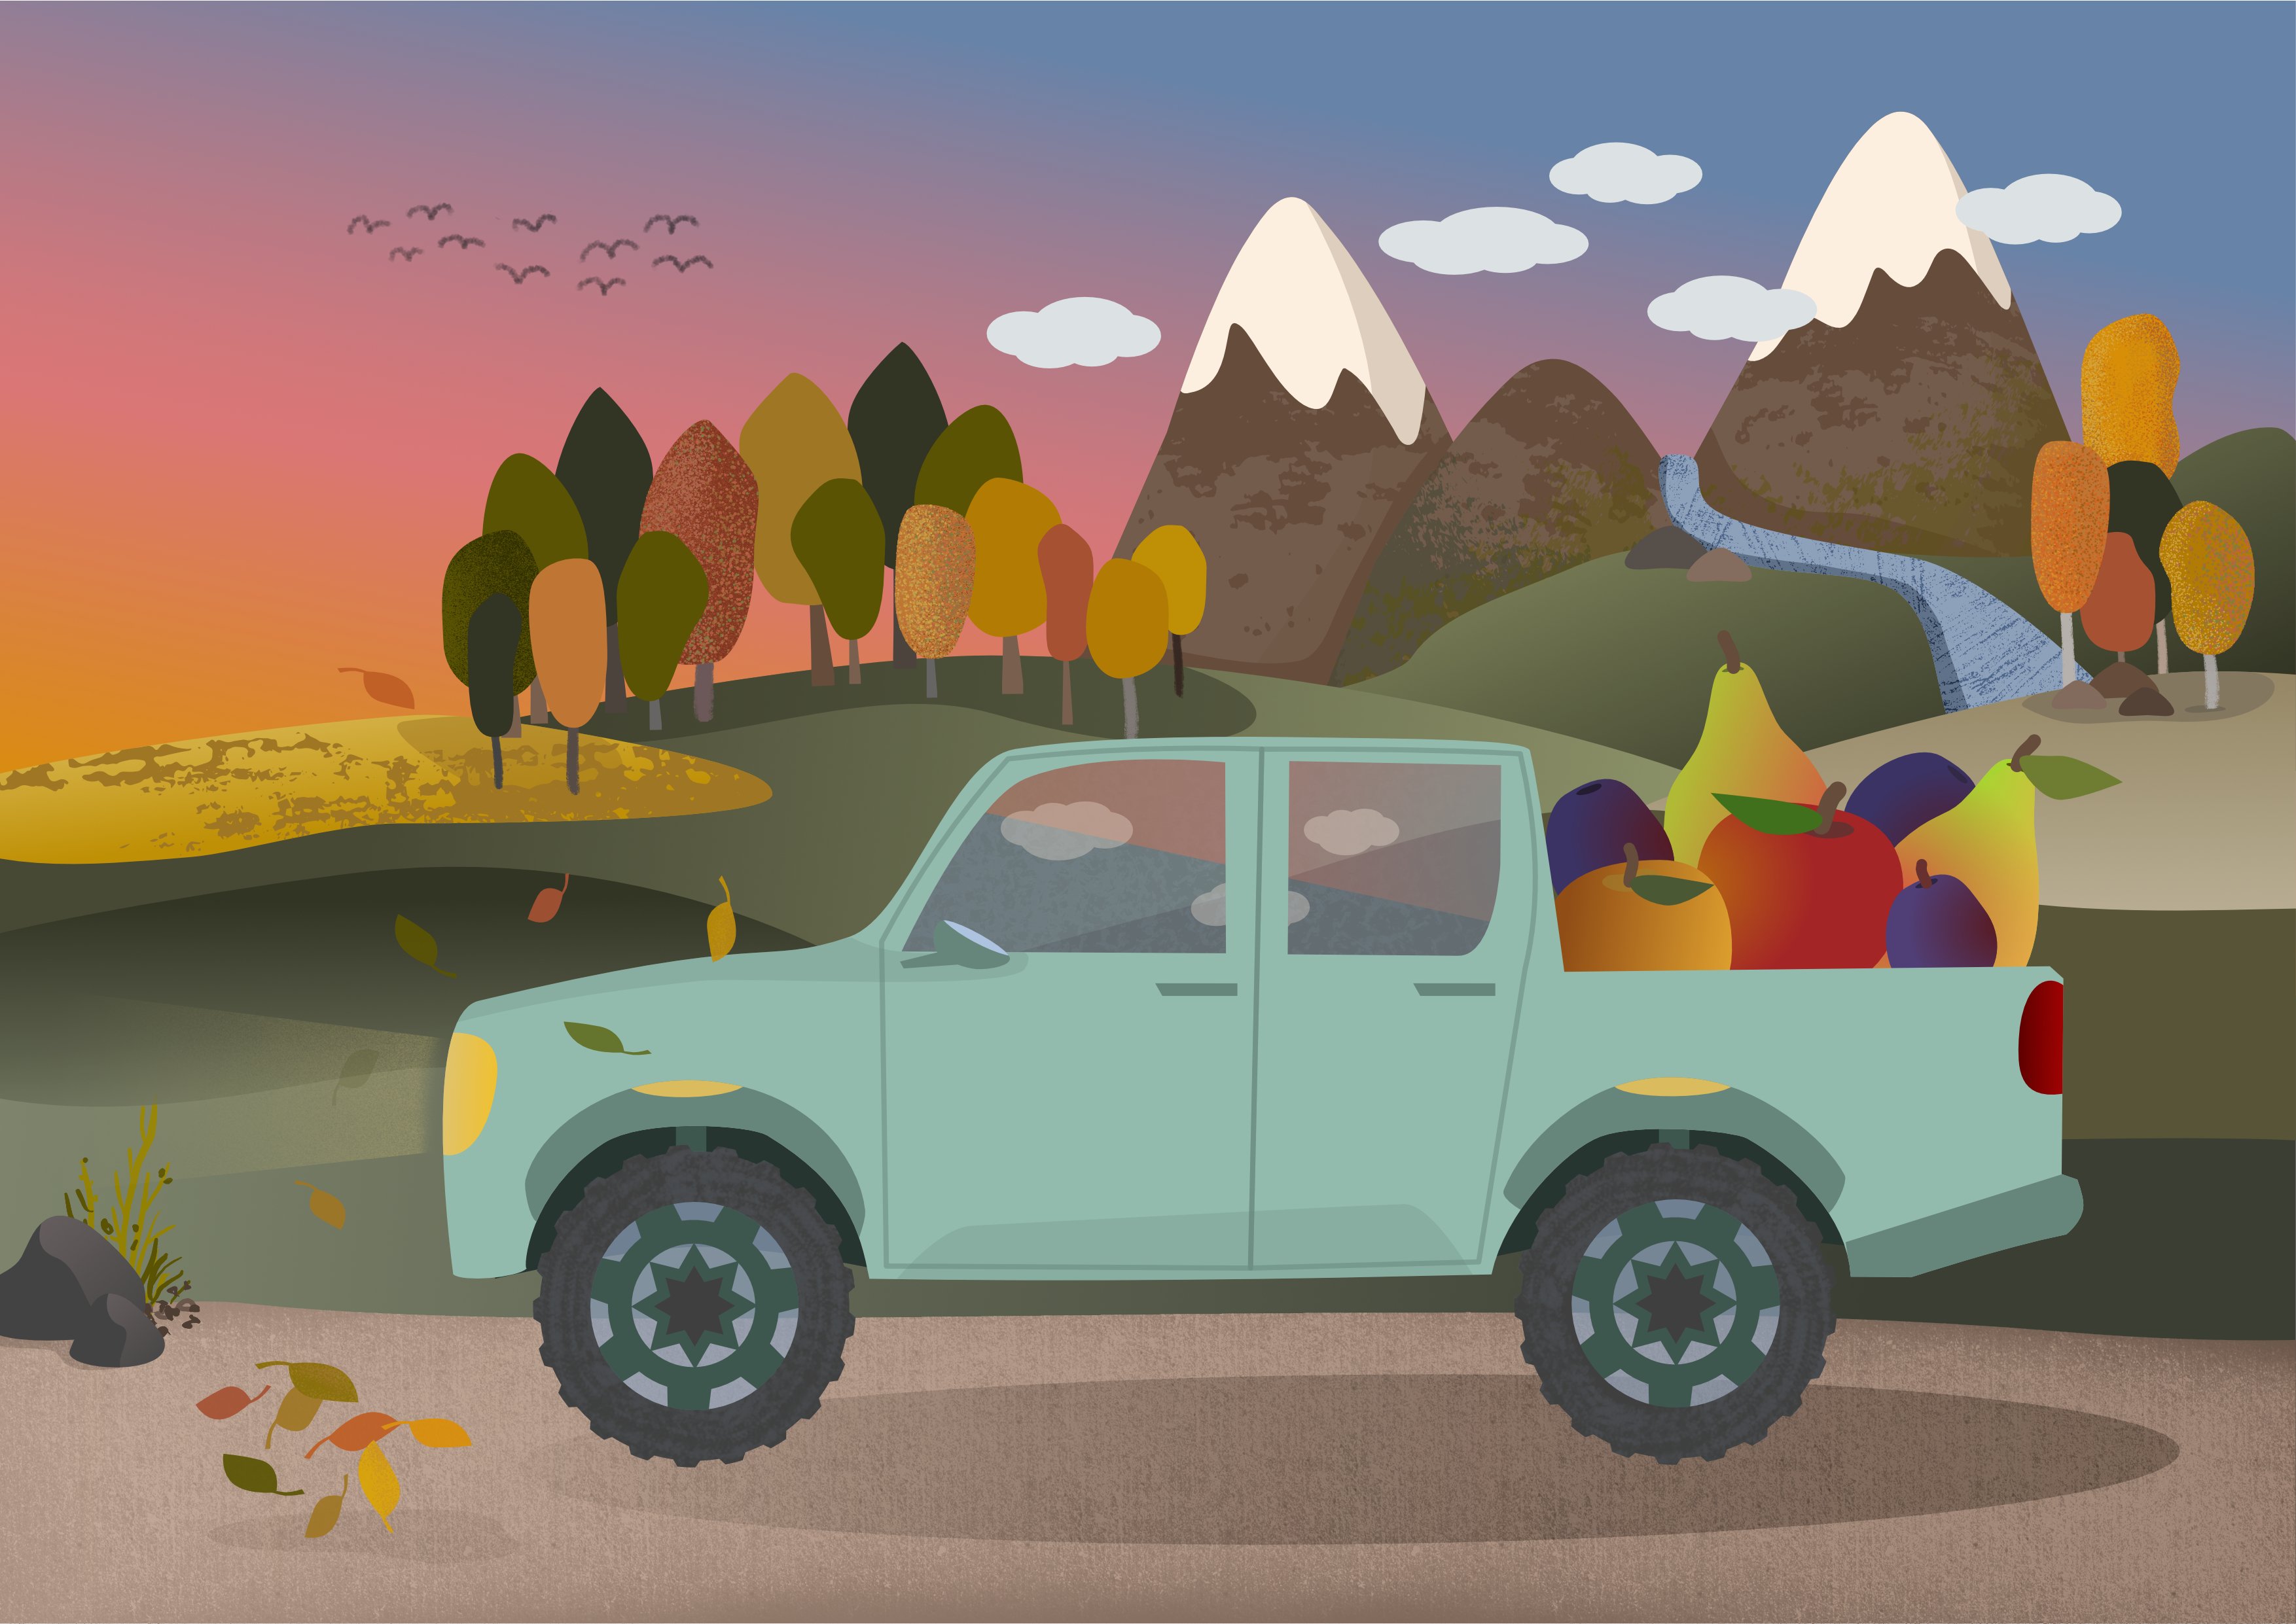
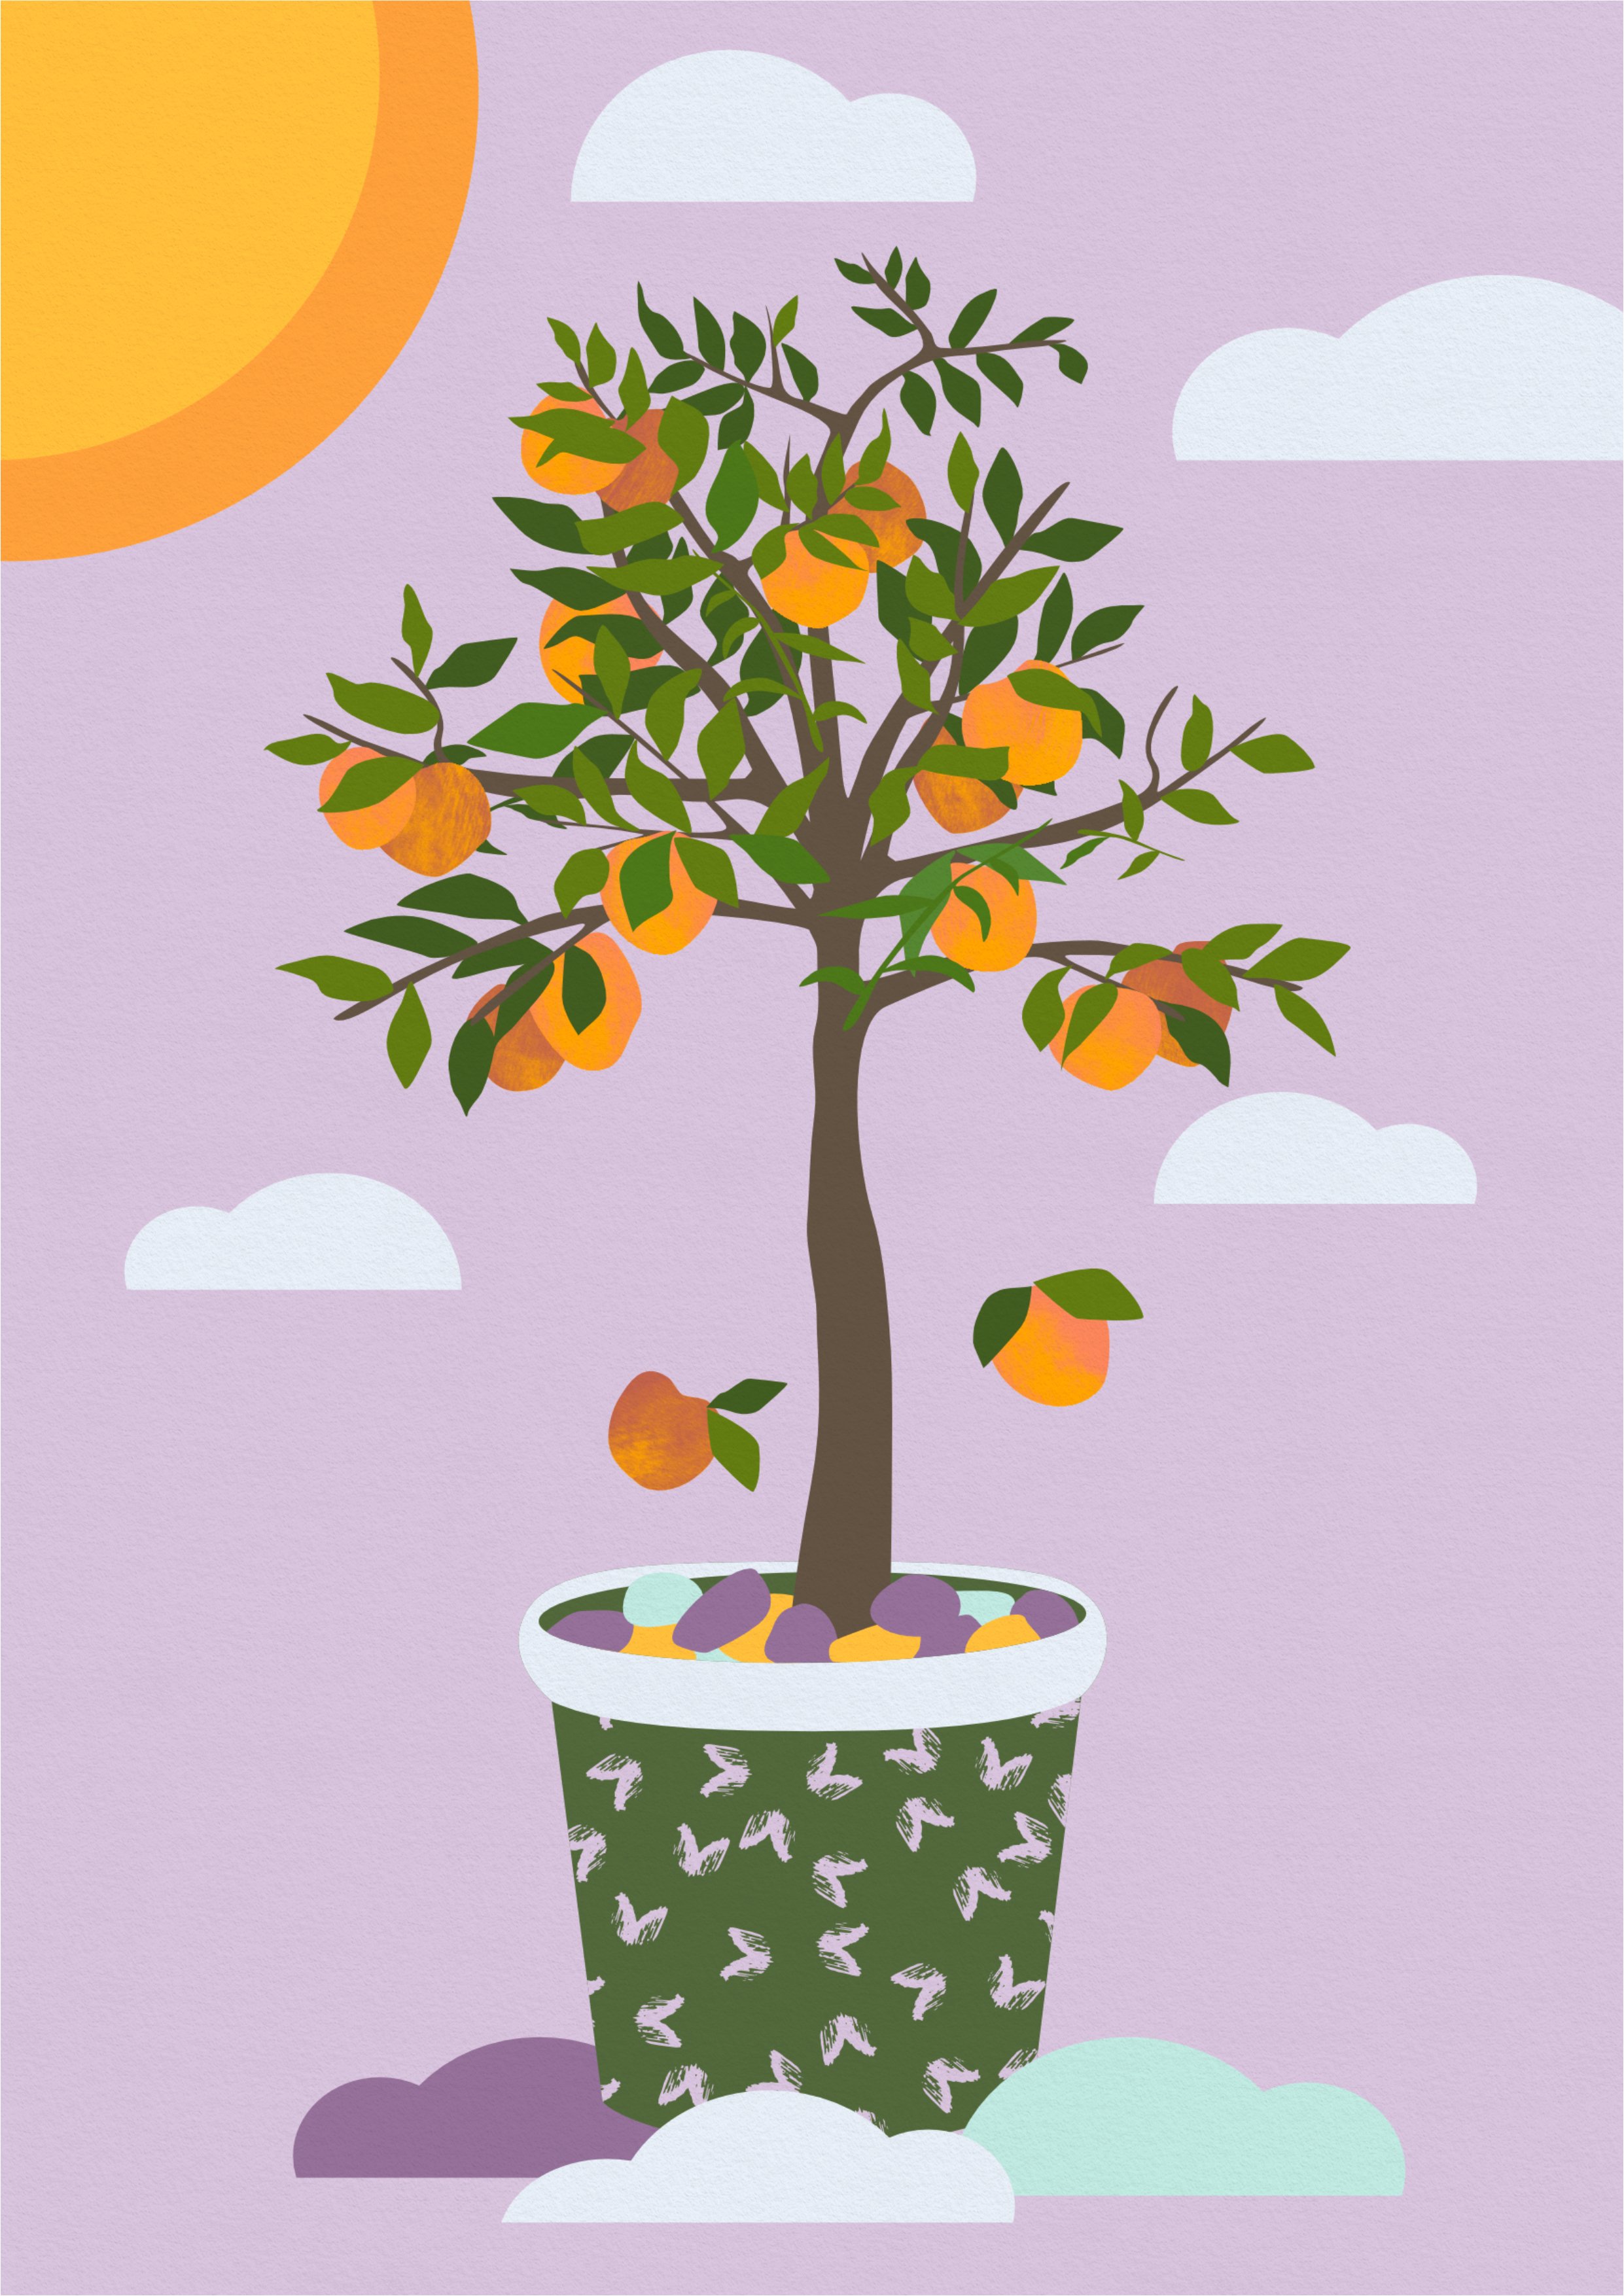
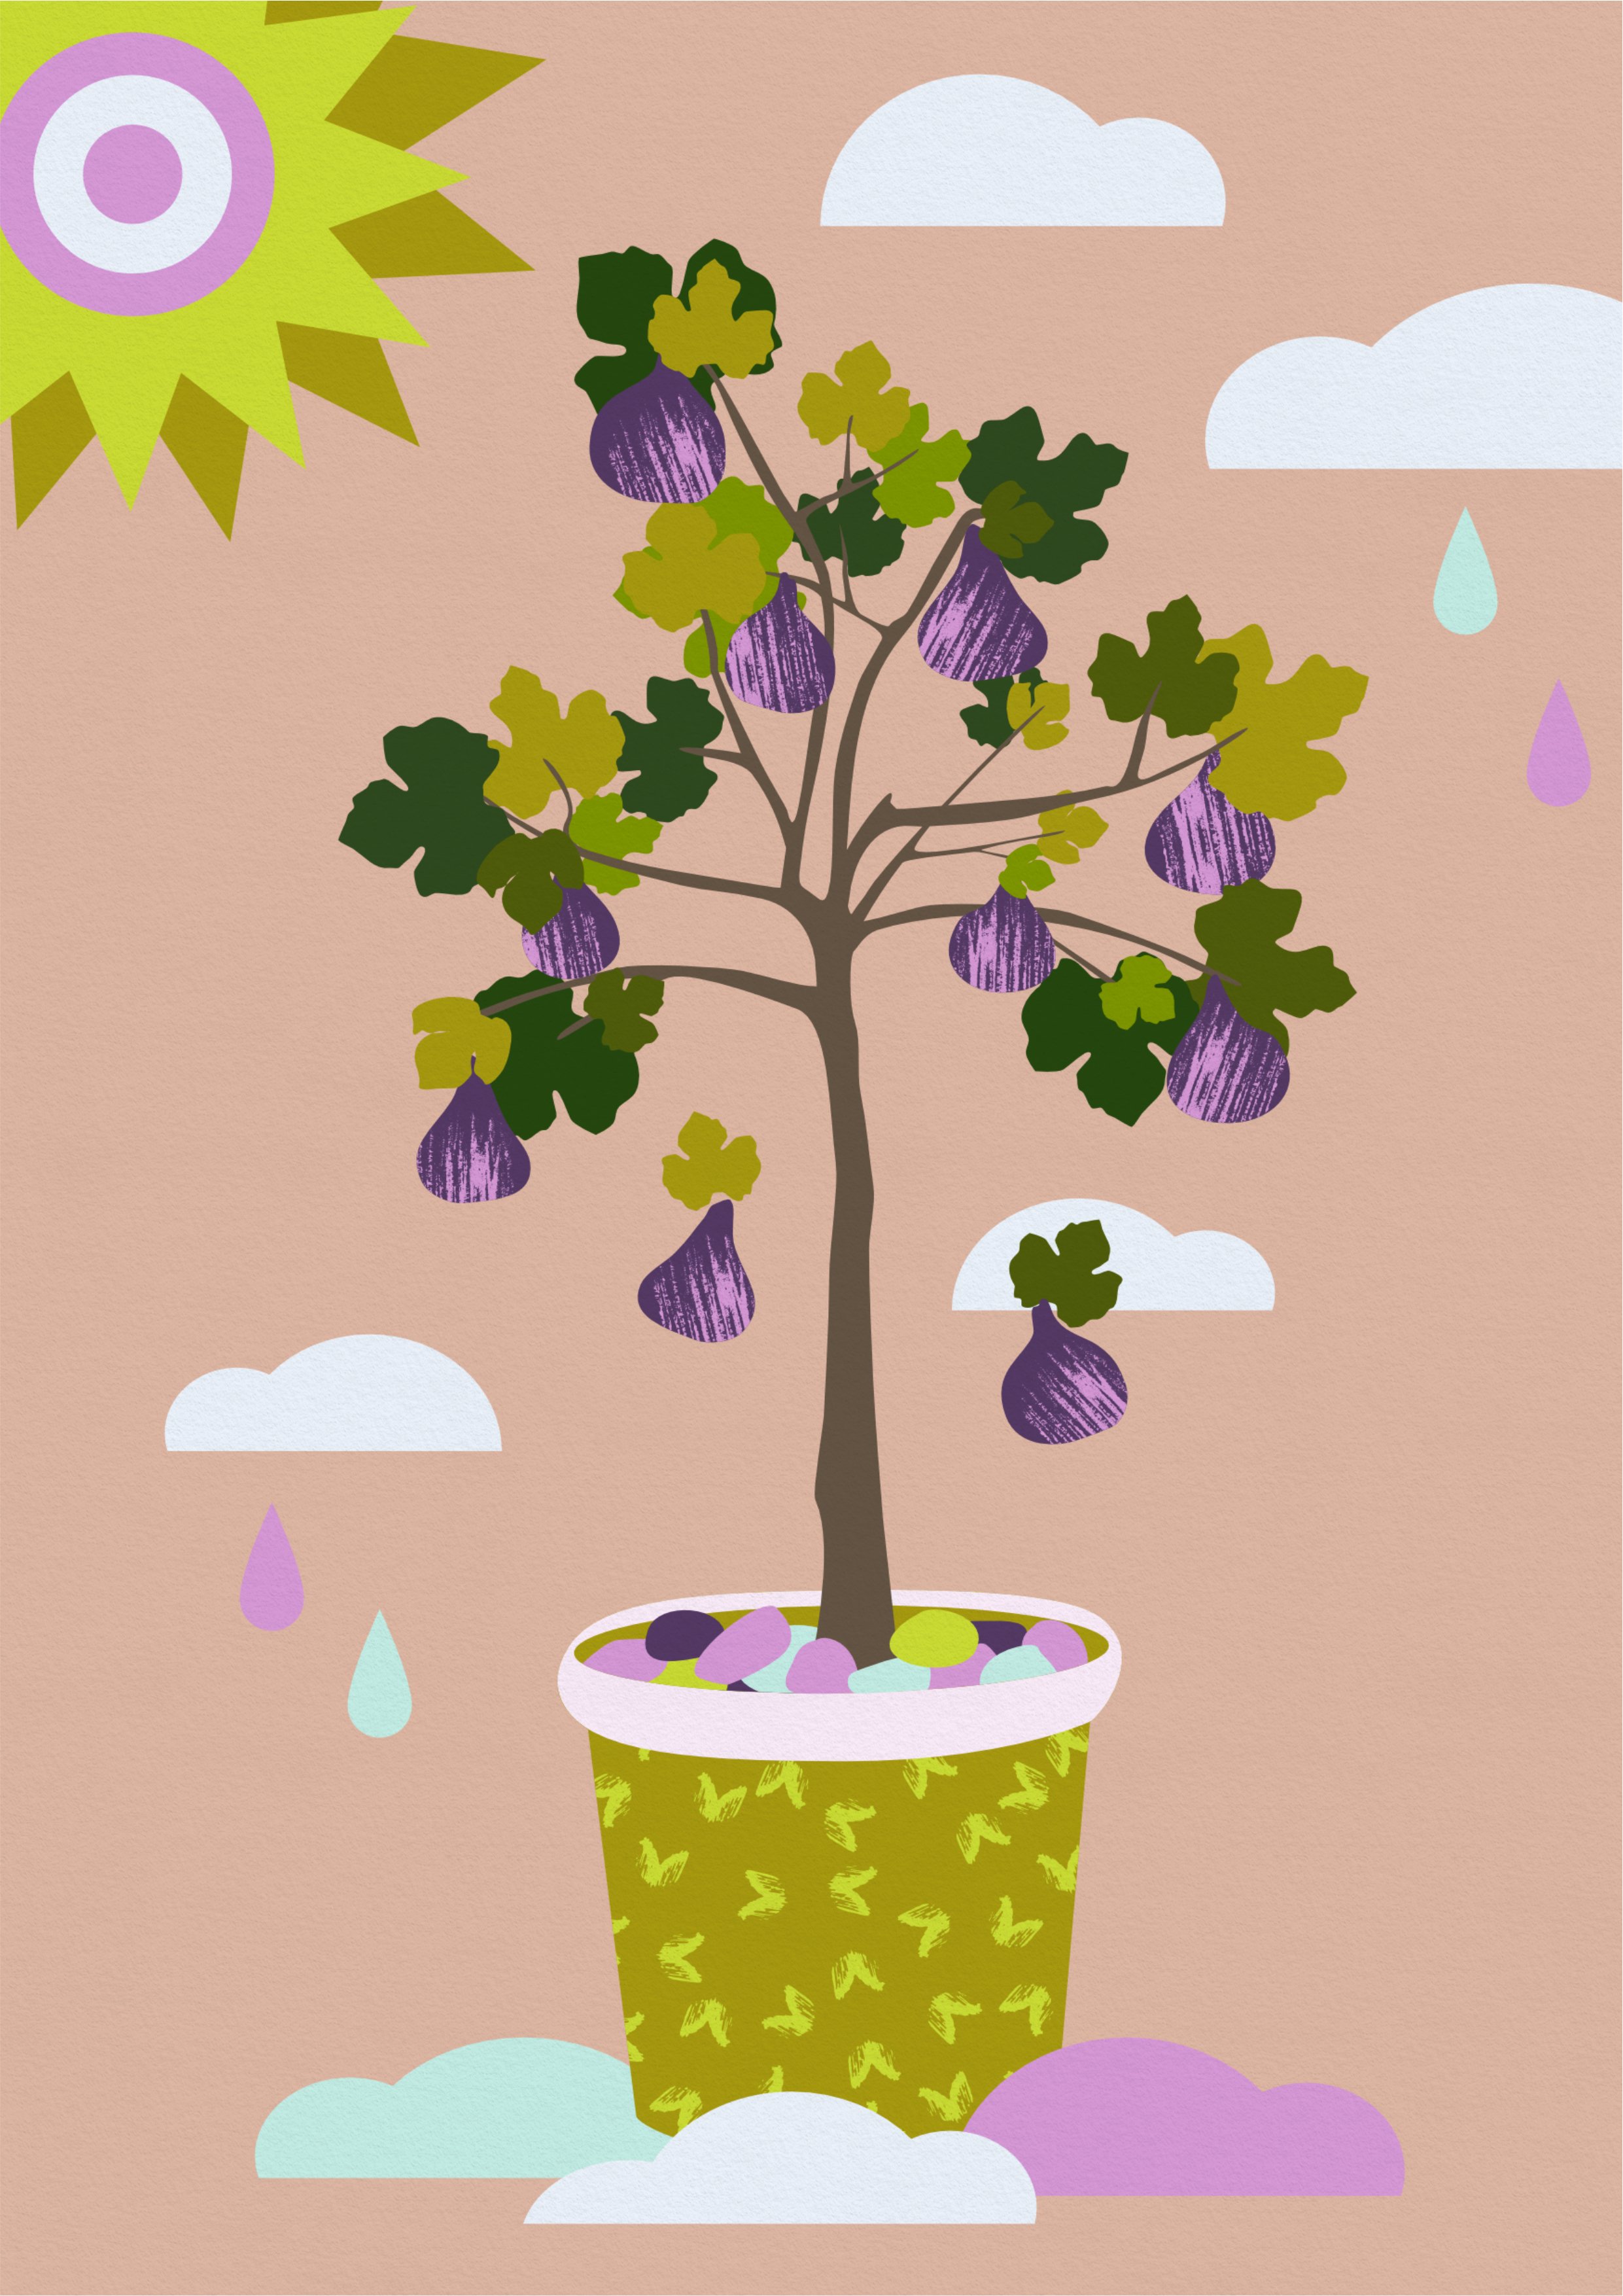
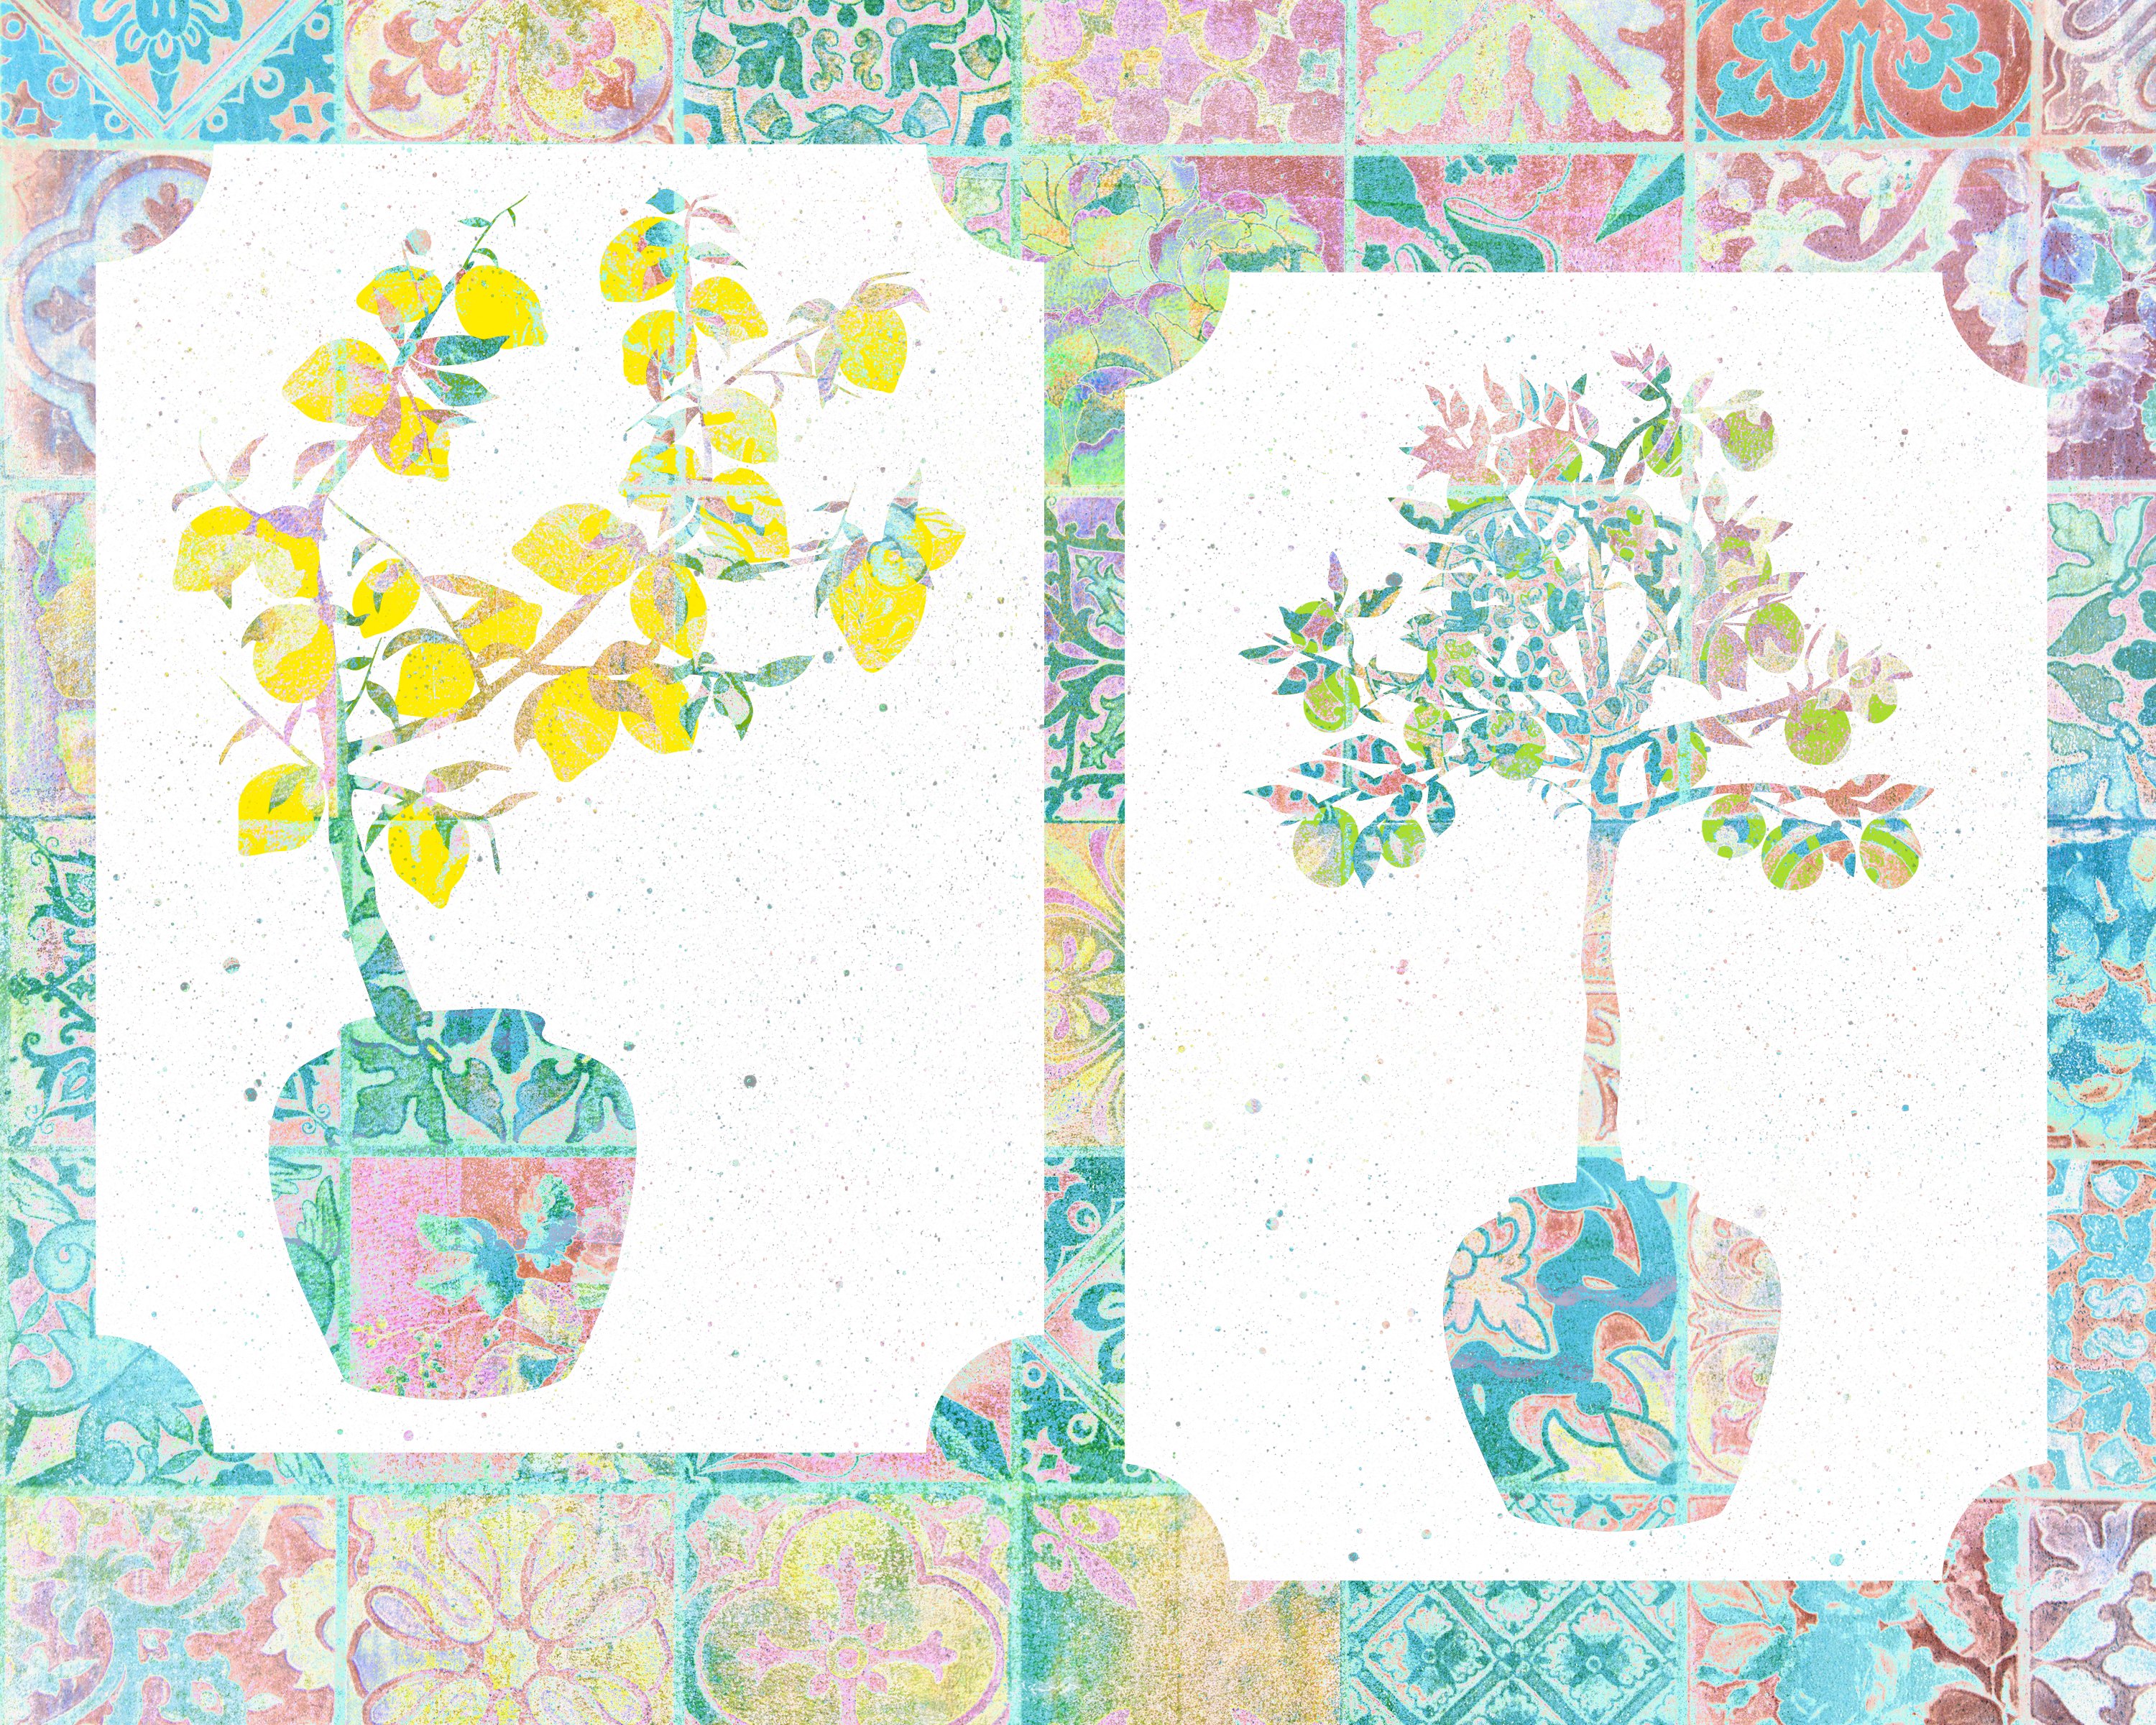
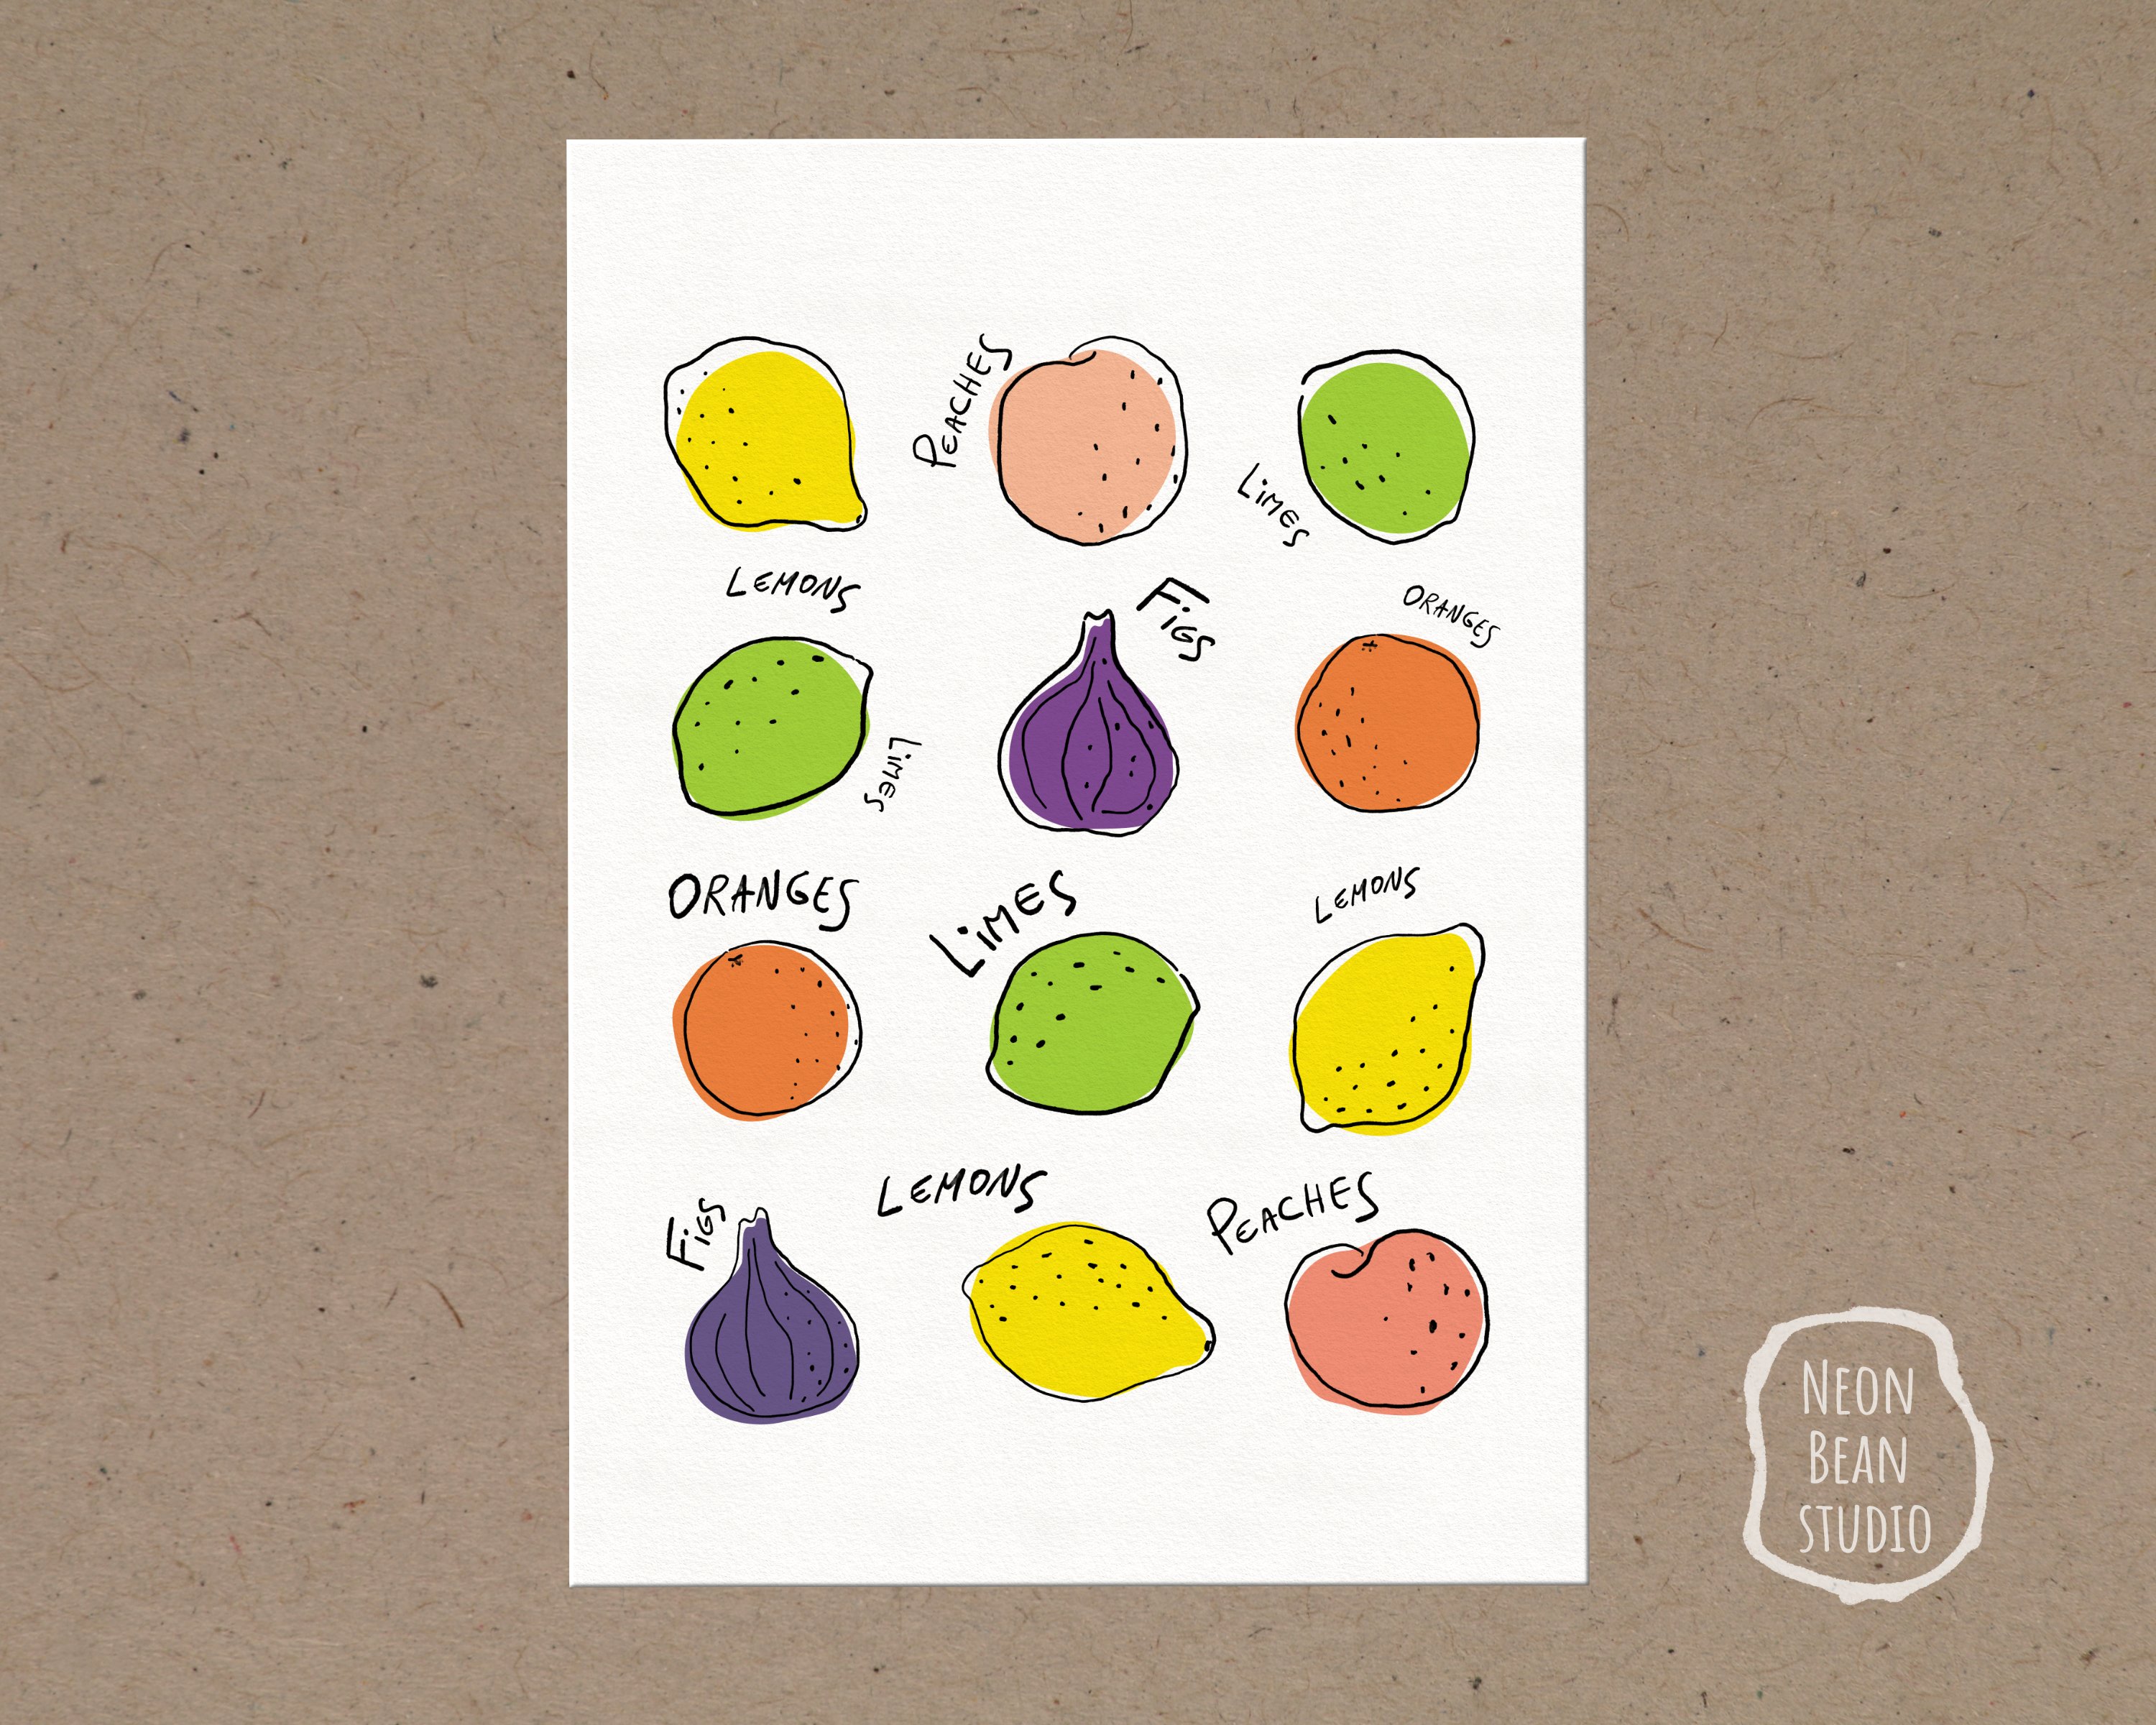
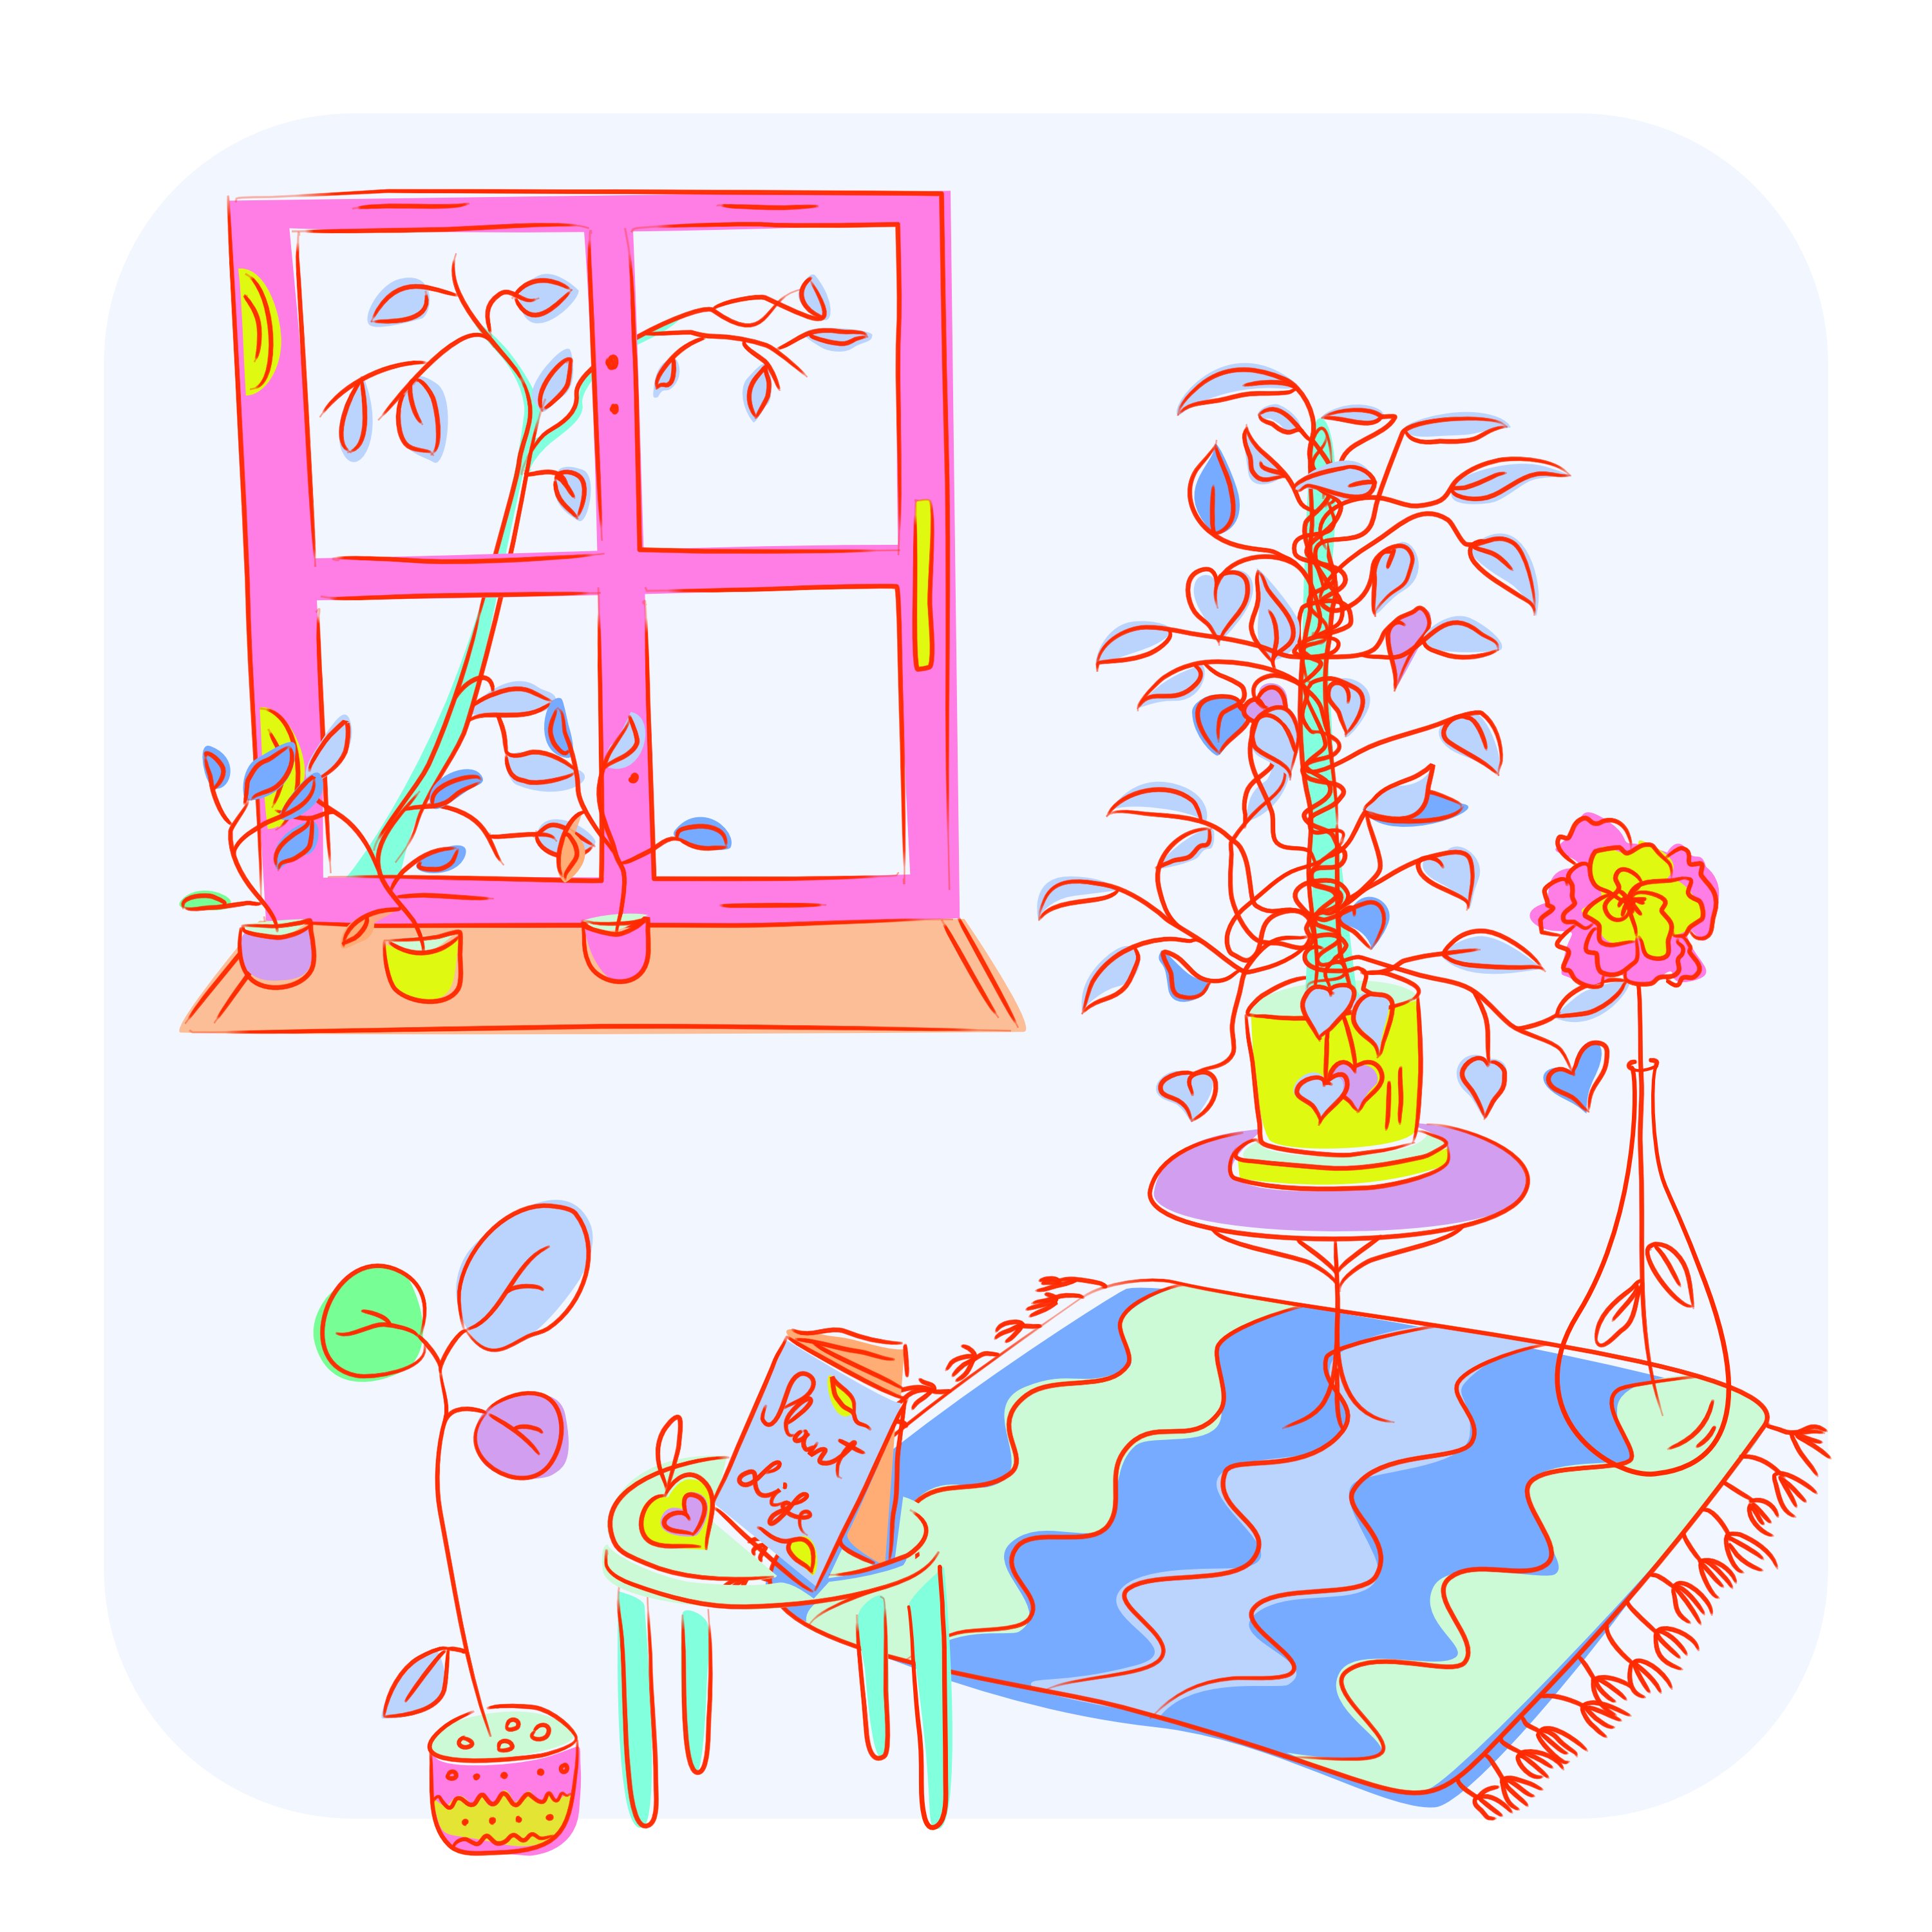
Hi, I’m Nora! I made this topic to share my illustrations with fellow creatives! I’ve been using Affinity Designer & Photo little over a year now, learning new things every day! Year 2020 end, I made a choice to follow my heart and become full time Illustrator / Surface Pattern Designer 🙌🏻, previously I had been working full time job in Tourism Industry. Even though I always did different crafts and projects next to my daily work, I never felt the courage before to let things go and be a full time artist. So here we go, I post some of my works here, these are from the end of 2021. Also if you would like to see my works as a full project, I have them here on my Behance: https://www.behance.net/psnora/projects I hope to hear from you others out there, if anyone had also similar story with me or if not , it would be still fun to hear from you.🎈
- 14 replies
-
- 12
-
-
- whimsical
- illustration
- (and 7 more)
-
 Hi Guys, I am working on a Photo and this person has a lot of Acne Scars, Blemishes and a lot of Uneven Skin Tone on the Forehead. I am trying to use Frequency Separation method and work on Low Frequency for Colour Correction of the skin and High Frequency for Scars and removing blemishes. And then I am using Healing Tool to do the work. My Problem is, to even out the Uneven Skin Tone on the Forehead I am not getting a even skin tone on all sides, either one side becomes too light or become too dark. I just cannot get the Uneven Skin Tone to even out in the Forehead. Even though I use a Hardness of 0% on the Low Frequency which I use to even out the skin, For High Frequency I use Hardness at 100%. My question to you guys is, is there any method or trick that I need to follow while working to even skin tone in Freuqnecy speration ? Please guide me. TIA !
 -
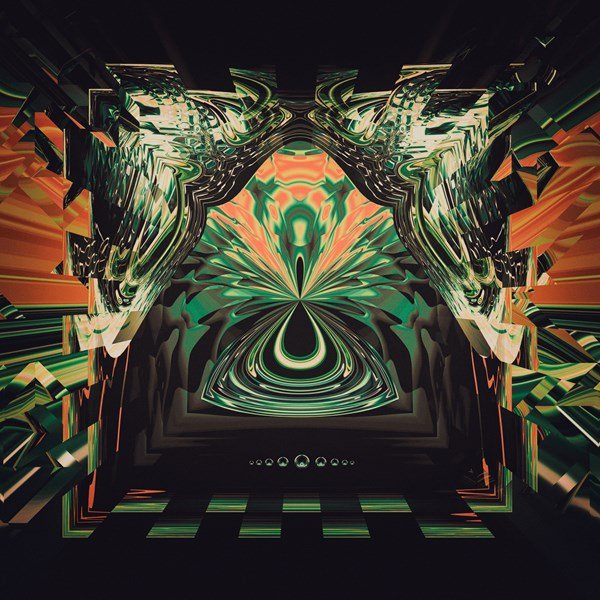
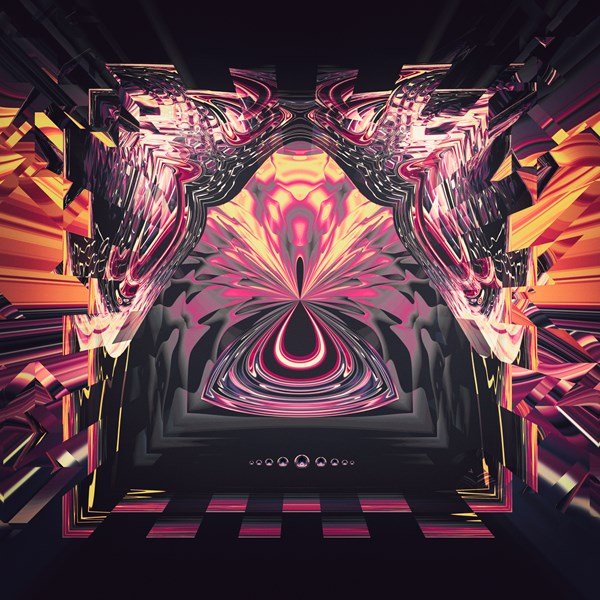
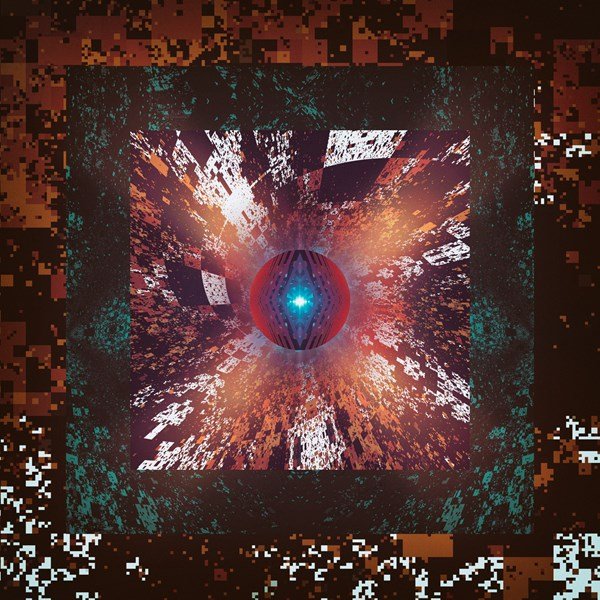
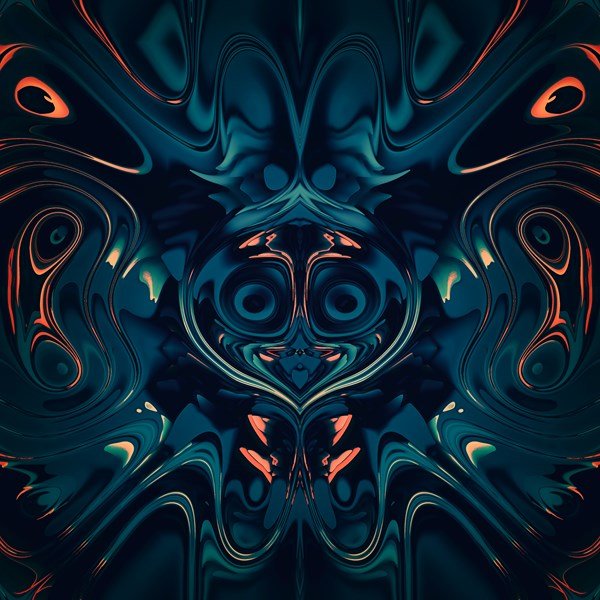
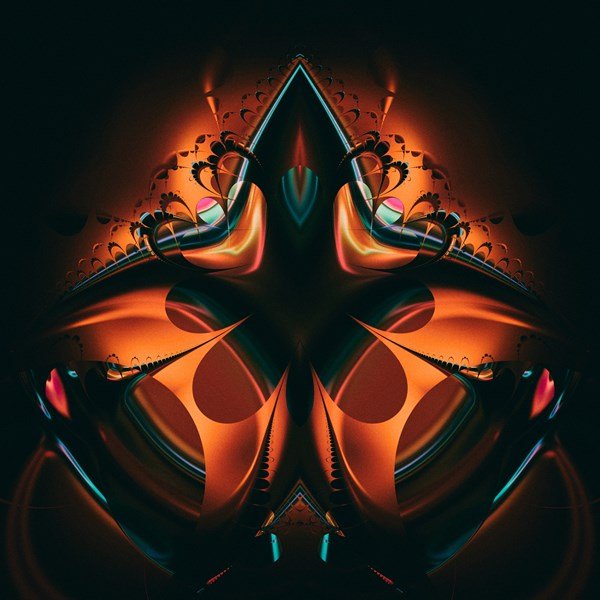
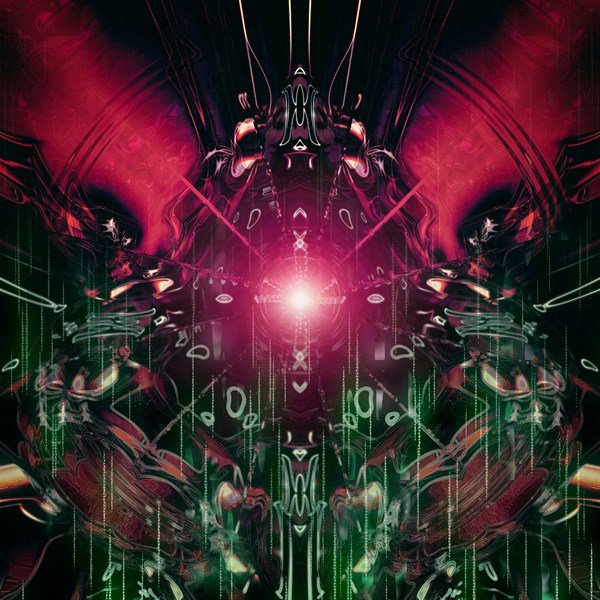
Multiversum and Multiversum 2 Concept art, Affinity and Filter Forge.
-
Affinity Photo and Filter Forge
-
Affinty and Filter Forge
-
Affinity Photo + Filter Forge.
-
My hobby after my Job. Affinity Photo + Filter Forge.
-
Distortion pattern. Affinity Photo + Filter Forge. My hoobby after my job.
-
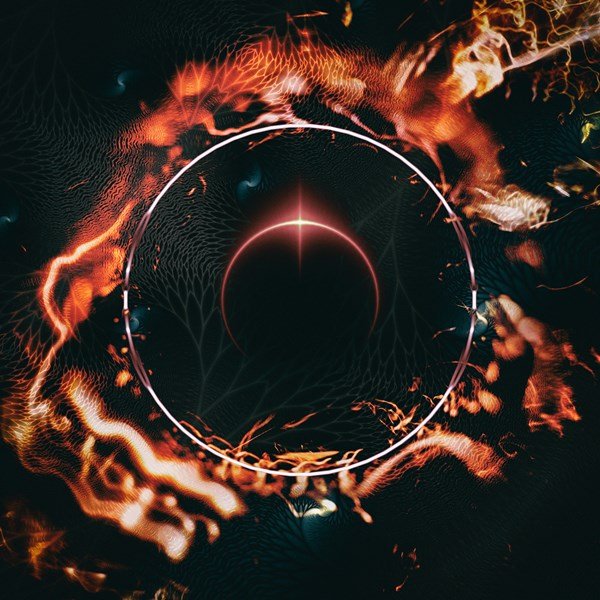
Diffraction Dream variation no 5, Affinity Photo + Filter Forge.
-
Software: Affinity Photo and Filter Forge.
-
Hi, Another attempt of mine at photobashing: 'Treacherous Rocks in a Green Mist'. It reminds me a bit of 'The Lost Continent' by Dennis Wheatley, which I read when I was at school... I love the textures you can apply to your brushes in Affinity Photo. You can achieve such strange and unexpected results...
-
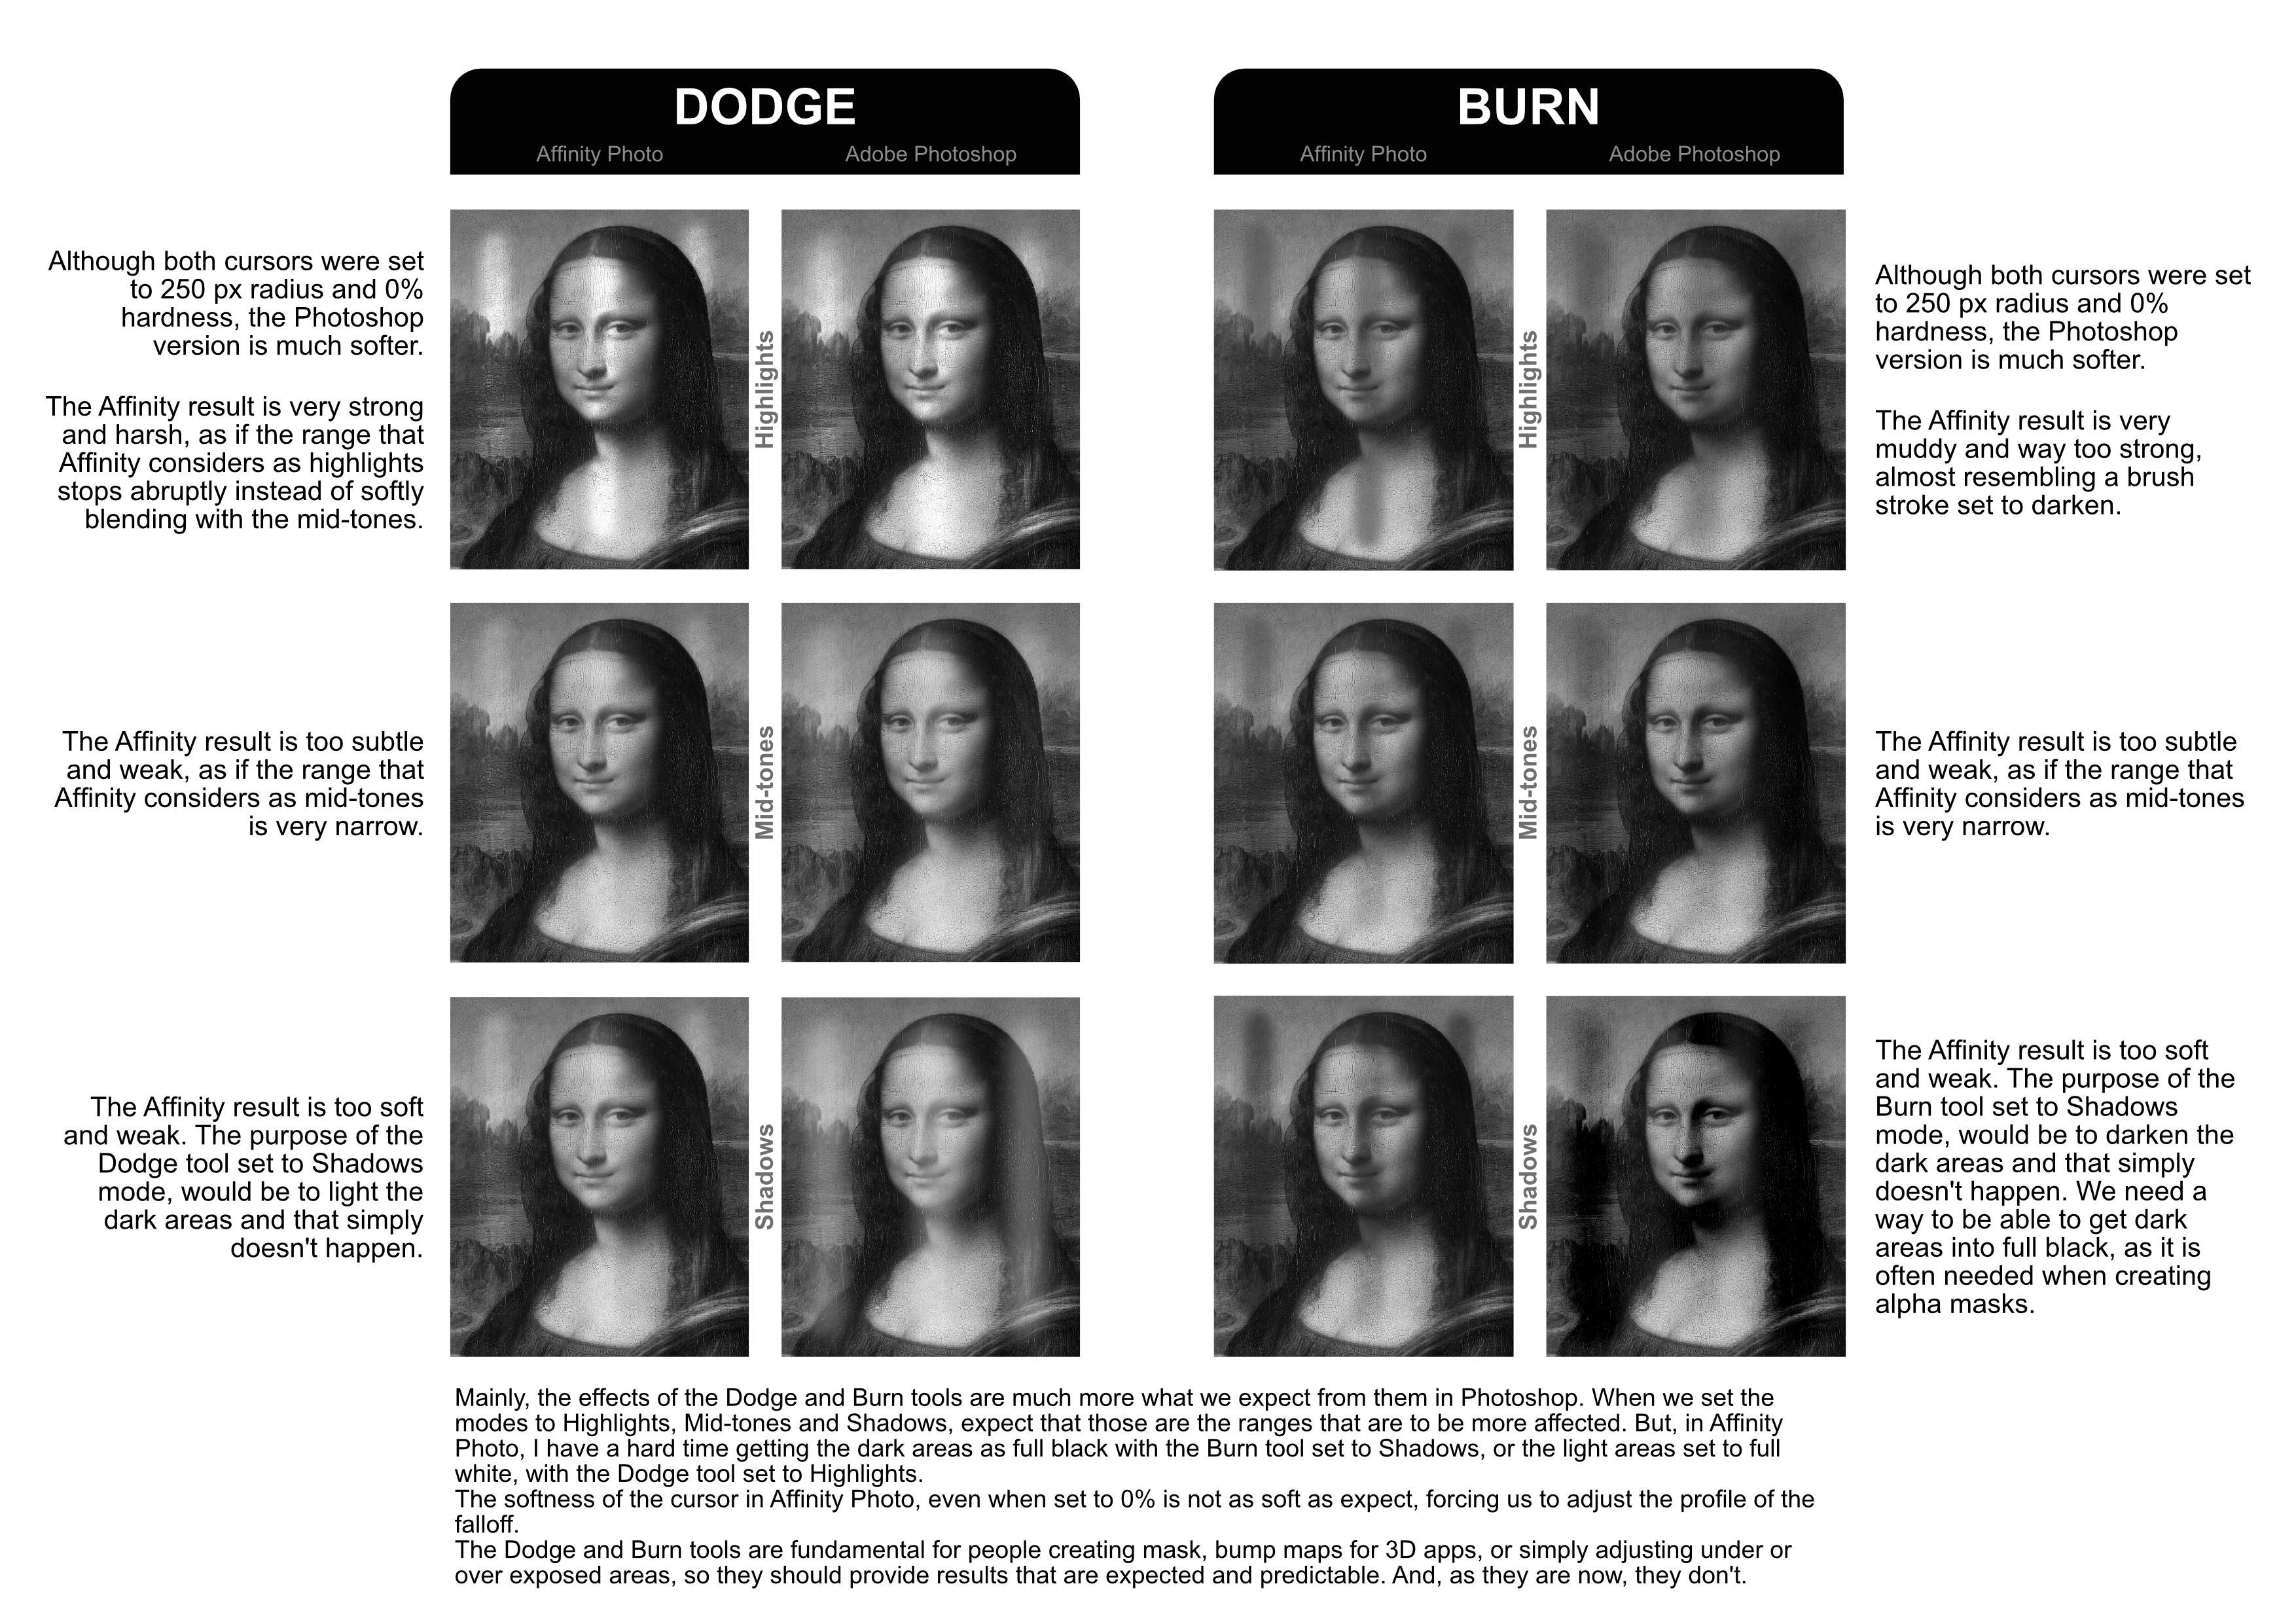
 I'm a loooooong time Photoshop user. And when I say "loooooooog time", I mean I started with version 1.0 of Photoshop. Although I still have to work with Photoshop at my workplace (since the agency where I work, uses the Creative Suite), at home I use Affinity Photo (except for work having to do with intensive alpha mask work, as Photoshop is still much, much better at it). However, I do try to transition as much as possible to Affinity Photo, for all bitmap related work (I fully transitioned to Affinity Designer for all my vector work). But I still find some things that I have to admit that Photoshop does better and the Dodge and Burn tools are some of those things. Take a look at the attached image and tell me what you guys think.
-
- 2
-
-
- affinity photo
- photoshop
- (and 2 more)
-
 I use Aff Photo on both my desktop (iMac) and all singing all dancing new laptop (MBP). I have been using Topaz DeNoiseAI and SharpenAI as part of my workflow from with Aff Photo. In 'preferences', the plug in settings are identical on both machines BUT on the MBP Aff Photo will no longer run the plug-ins when editing a RAW file (.ARW) from the Photo Persona; when I go to select them, they are greyed out. It will happily let me run the plug-ins on .jpgs but not RAW files (.ARW). It used to! The aging iMac runs these plugins quite happily for both RAW and jpeg files albeit slowly.
 -
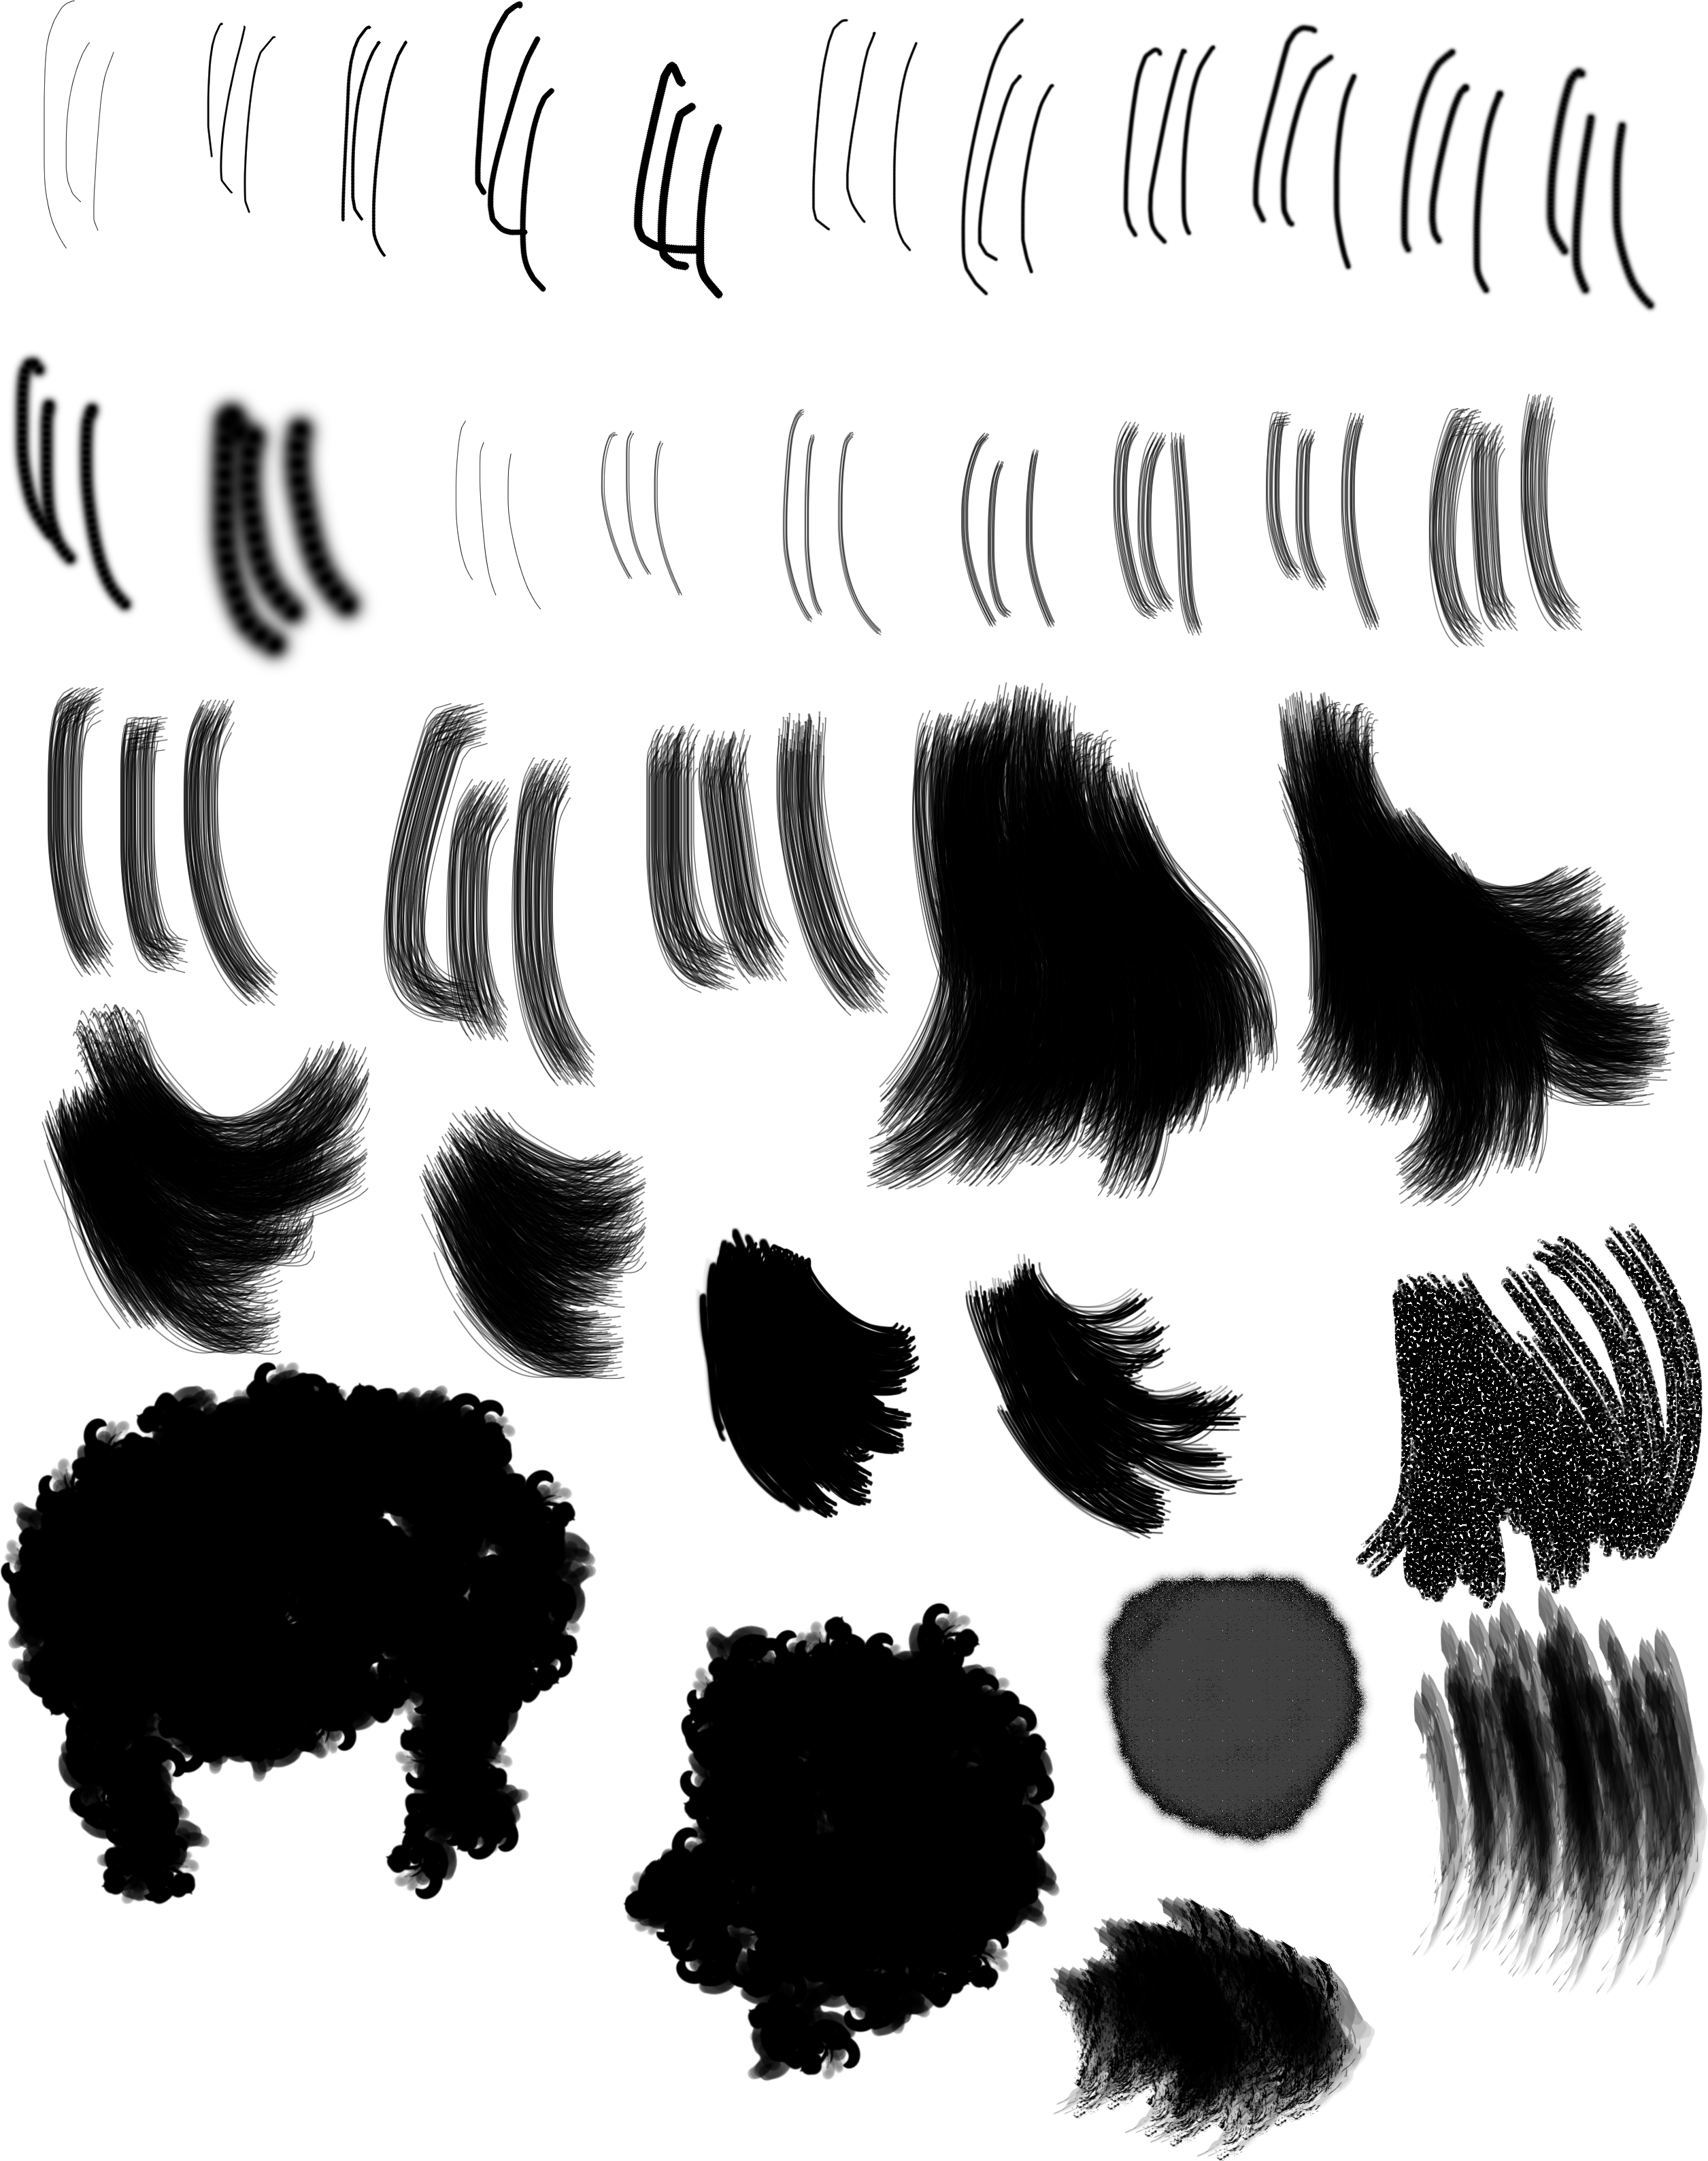
Another brush set to retouch hair. I didn't create this set but it was free, I didn't change much but the file names and placed them in numerical order (don't ask why). I figure why not re-share it here, if hasn't been re-shared already. Below is a sloppy sample of the 35 brushes in this set. This will definitely come in handy. Hair Retouching Brushes.afbrushes
-
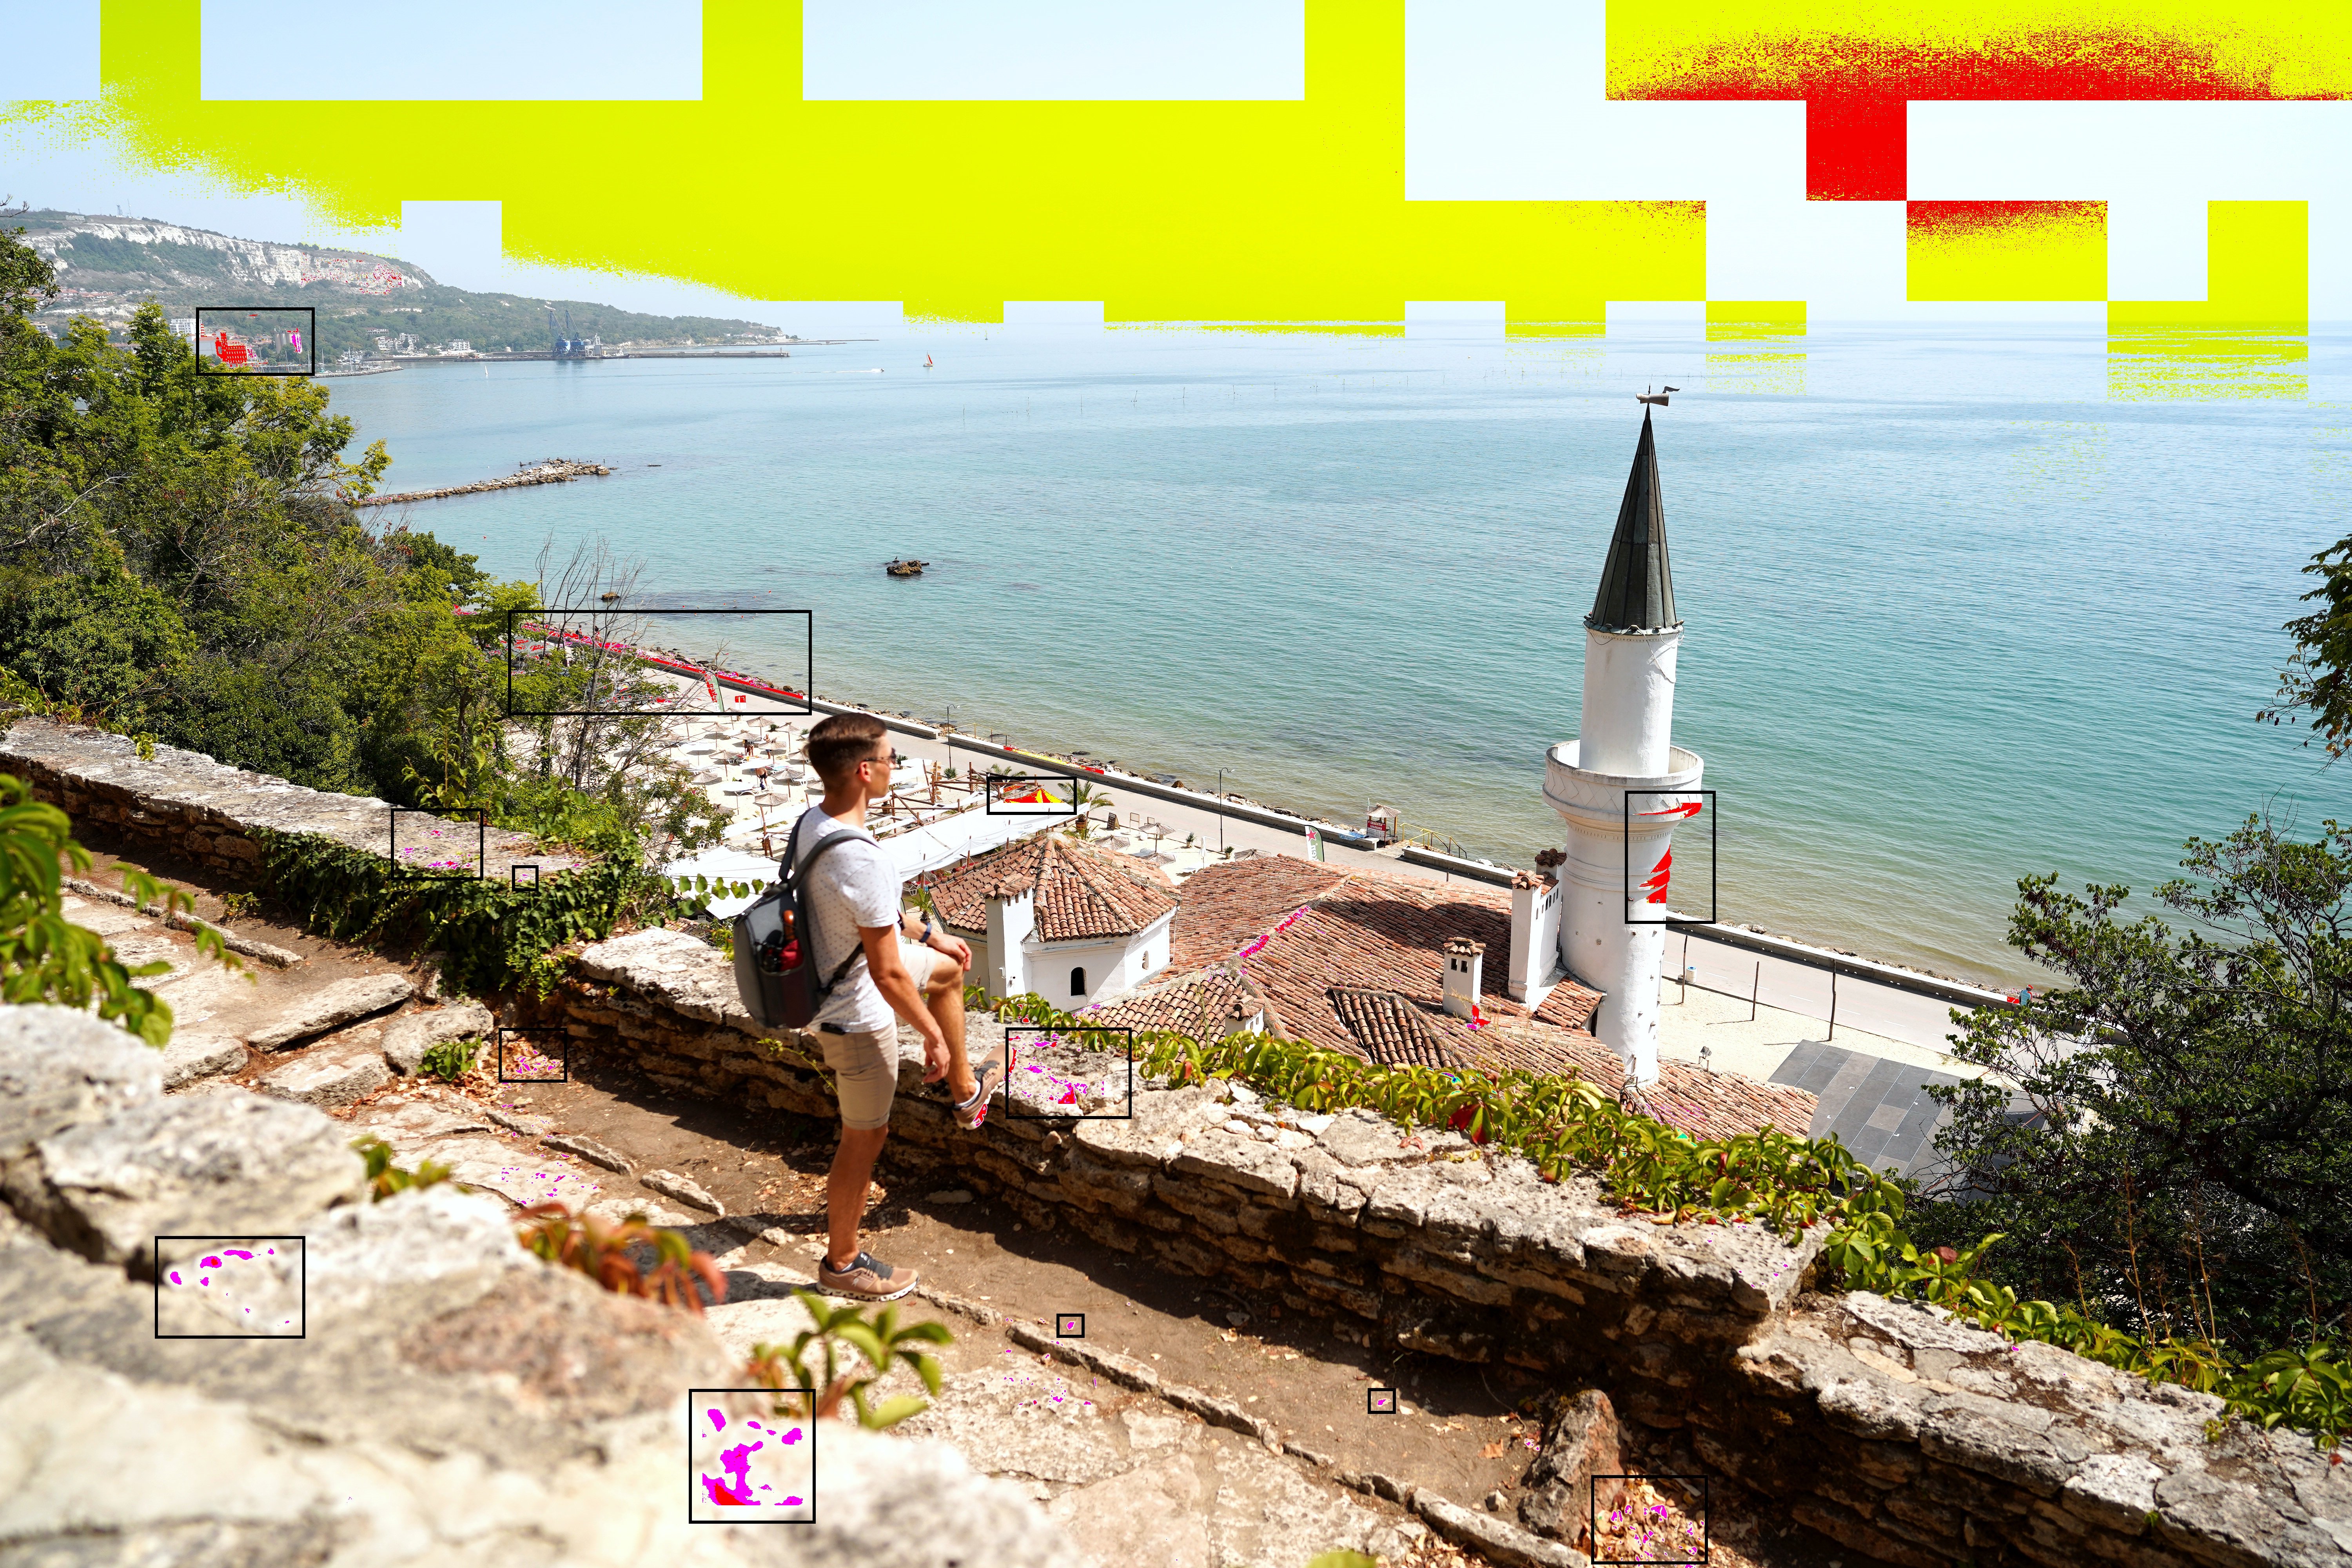
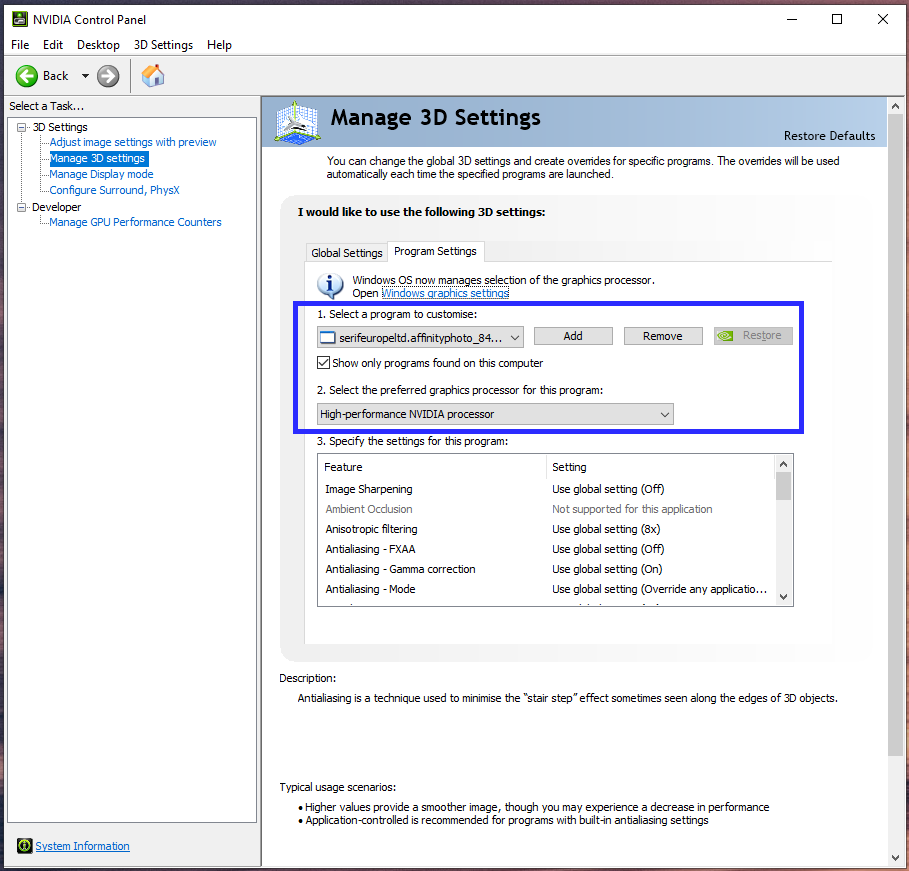
 I recently bought a new notebook, since the integrated graphics card of my old one was quite weak for Affinity Photo. (New Notebook: Lenovo IdeaPad 5 Pro 16ARH7, RTX 3050 Ti, AMD Ryzen 7 6800HS Creator Edition) After applying a few adjustment-layers followed by either merging visible layers or directly exporting the file as JPG, there will be a bunch of artifacts introduced. "Hardware-accelerated GPU scheduling" is turned off on Windows, as mentioned in this article. Same issue occurs on Windows 10 and 11, tested it on two different SSDs. The problem occurs not only on this very image, but when applying several adjustment-layers in general. So far, I couldn't narrow it down to one specific adjustment-layer. I never had such issues on the old device. Windows is up-to-date, notebook-drivers are up-to-date and graphics-drivers for the dedicated Nvidia as well as integrated Radeon card are updated as well. I also made sure that Affinity Photo only runs on the dedicated card for better performance. Affinity Photo Version: 1.10.5.1342 (Downloaded via Windows Store). If I missed any details, feel free to ask. Any tips and hints are highly appreciated! Thank you! DSC02209.afphoto
-
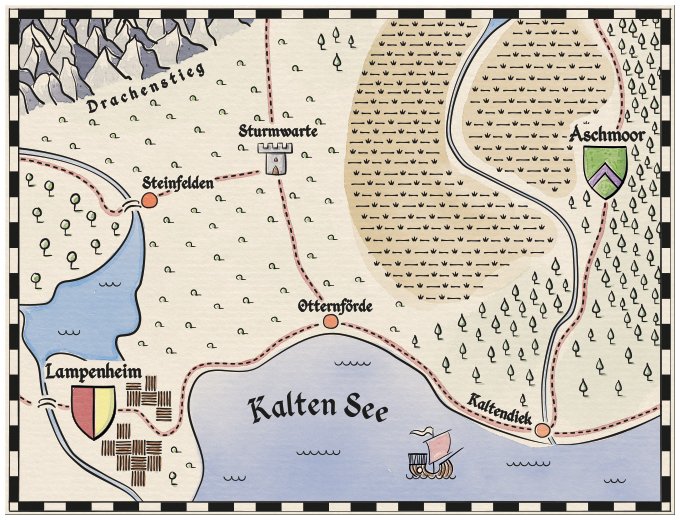
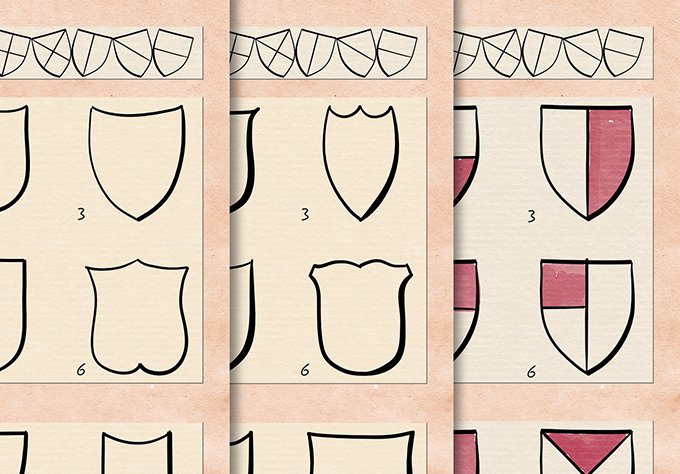
Hi, I have created a #Zine for #Zinequest - #Kickstarter. This is my first campaign. I used Affinity Designer for all of the illustrations (including the maps) - no special brushes, just the basic pen-tool. All of the textures were created or edited with Affinity Photo and the layout is in Affinity Publisher. The watercolour painting is not done with Affinity - I have yet to understand the brushes and such - especially how they work in the world of offset printing. I hope you will take a look at my campaign on Kickstarter -
-
 Face_Your_Fears.psdI am following the following tutorial: (time stamped begins at exact location of my issue) As tutorial instructs... I have attached an hsl adjustment to the waterfall layer (background) However, when I try to change the waterfall layer to blue (as tutorial shows) hsl seems to not be working - nothing is happening. (shown in the 2nd video clip below) I then tried it on the boy layer.. also not changing to blue, instead blue pixel blocks appear on the boy image (shown in the 1st video clip below) I closed out Affinity Photo, relaunched it, still having same hsl issue. What am I doing wrong? (I have attached video clips to show what I am experiencing, I have also attached the PSD files) Face_Your_Fears.psd FullSizeRender.mov FullSizeRender.mov
 -
 Does Affinity Photo or Designer have a Monotone / Duotone / Tripletone to create this sort of effect: http://www.adweek.com/files/imagecache/node-detail/news_article/spotify-side-hed-2016.png Referring to the headshot image. Thanks!
 -
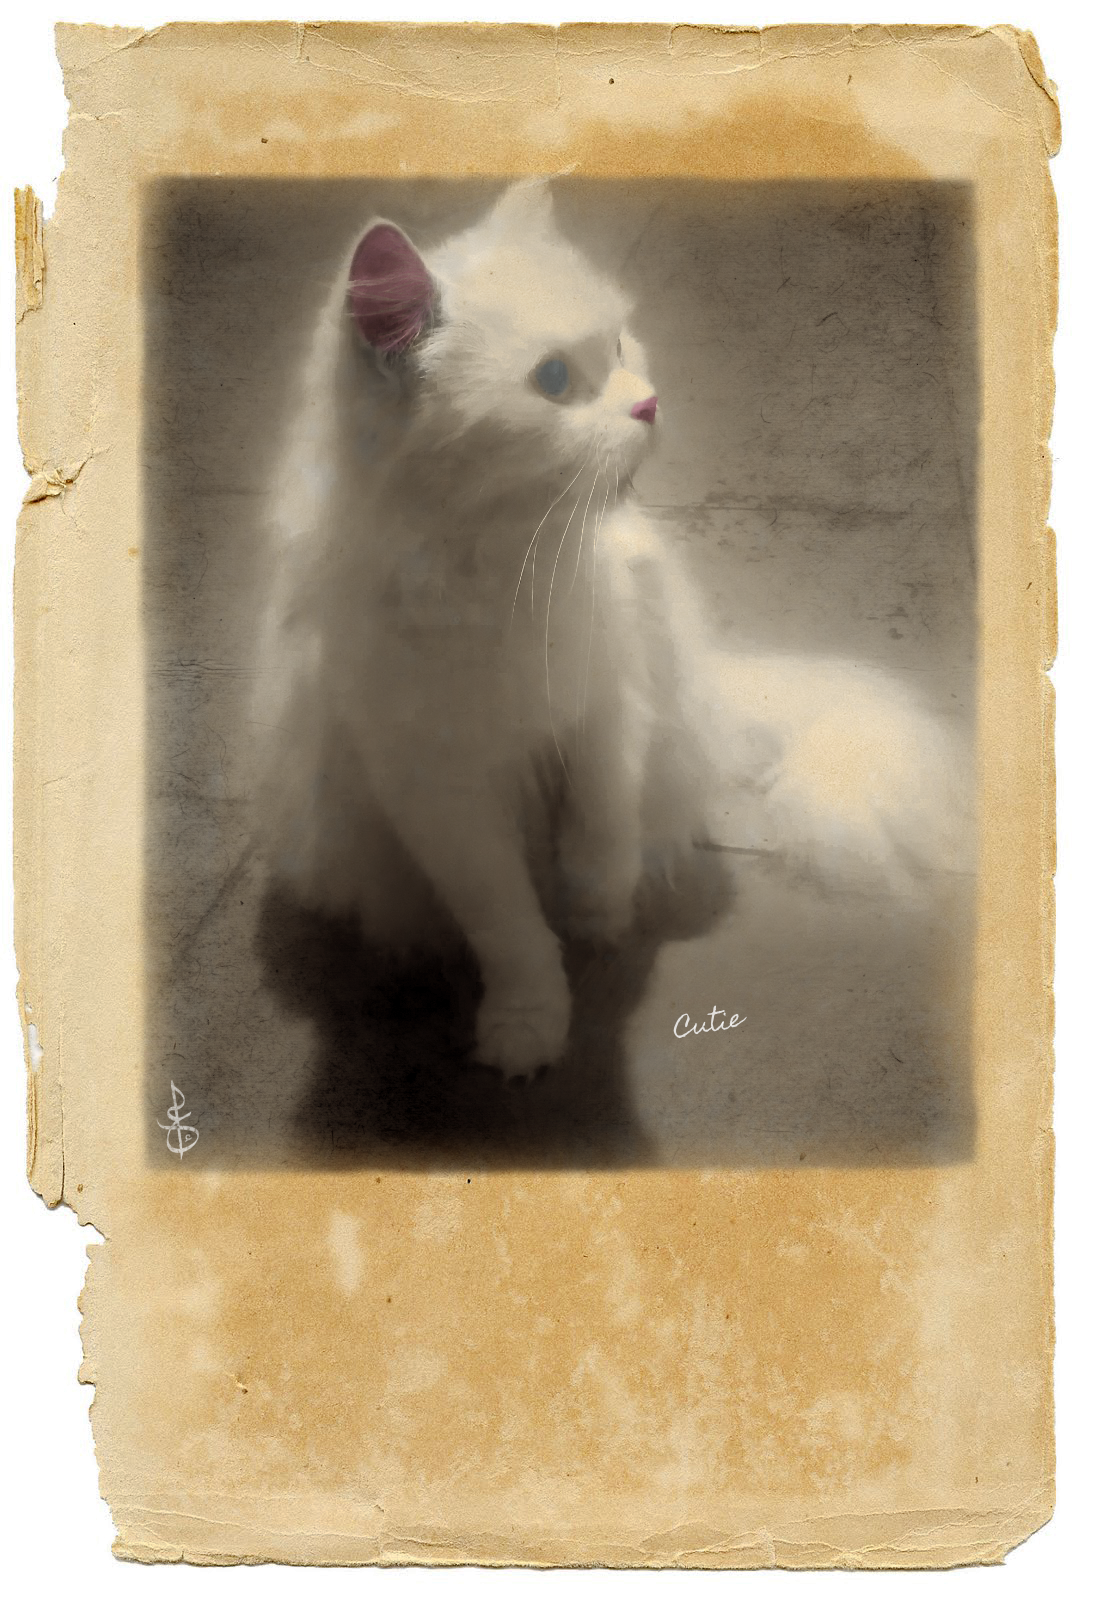
This is a picture of a friends cat (Cutie) that was taken with a low quality cell phone camera. Decided to turn it into a 19th century photograph, inspired by pictorialism. I'm sure if I spend more time on it, it would look better, also, would probably help if I had a more hi-res photo of the cat. Any feedback welcome! This is the original image,
-
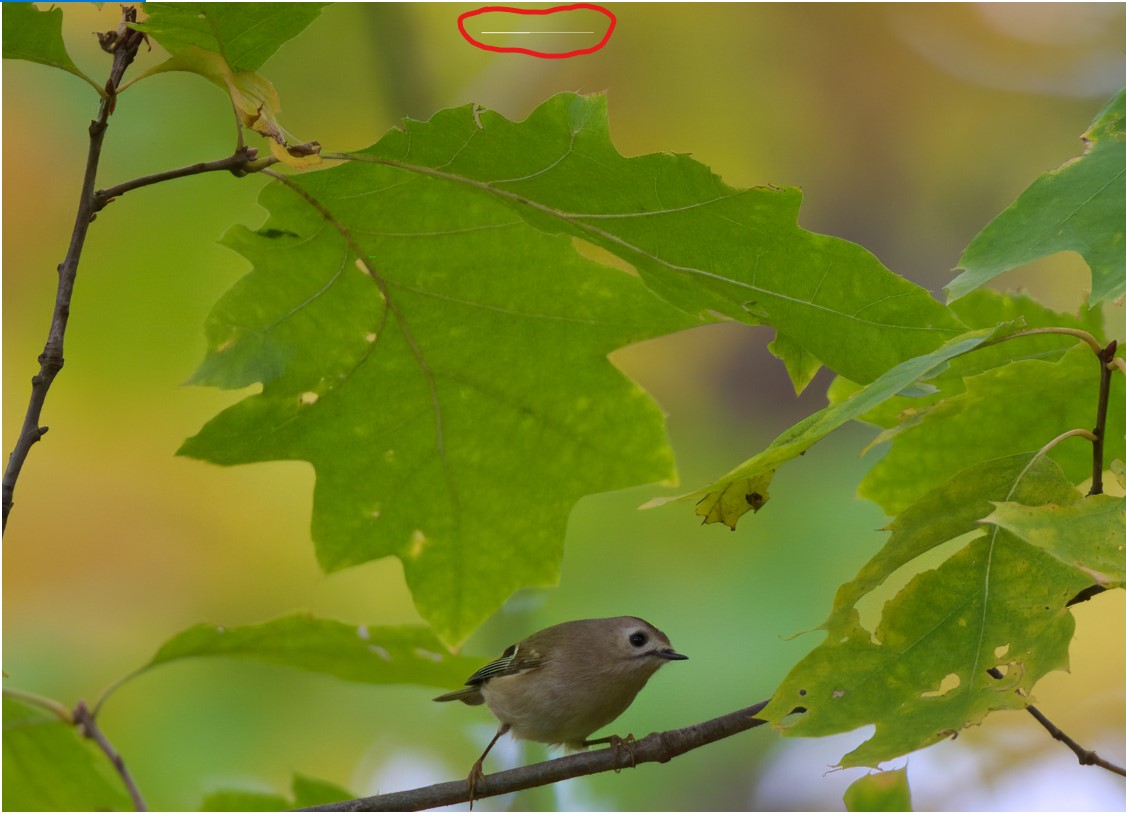
 Hallo, ich habe seit etwa zwei Wochen das Problem, dass nach dem Export der Bilder Streifen auf den Bildern auftreten. Diese haben immer die Farbe des zuvor ausgewählten Hintergrundes und treten jedes Mal an anderer Stelle auf. Das Problem tritt sowohl bei Tiff, Jpeg und PNG-Dateien auf. Was kann ich tun um dieses Problem zu beheben? LG Isegrim