Search the Community
Showing results for tags 'Affinity photo'.
-
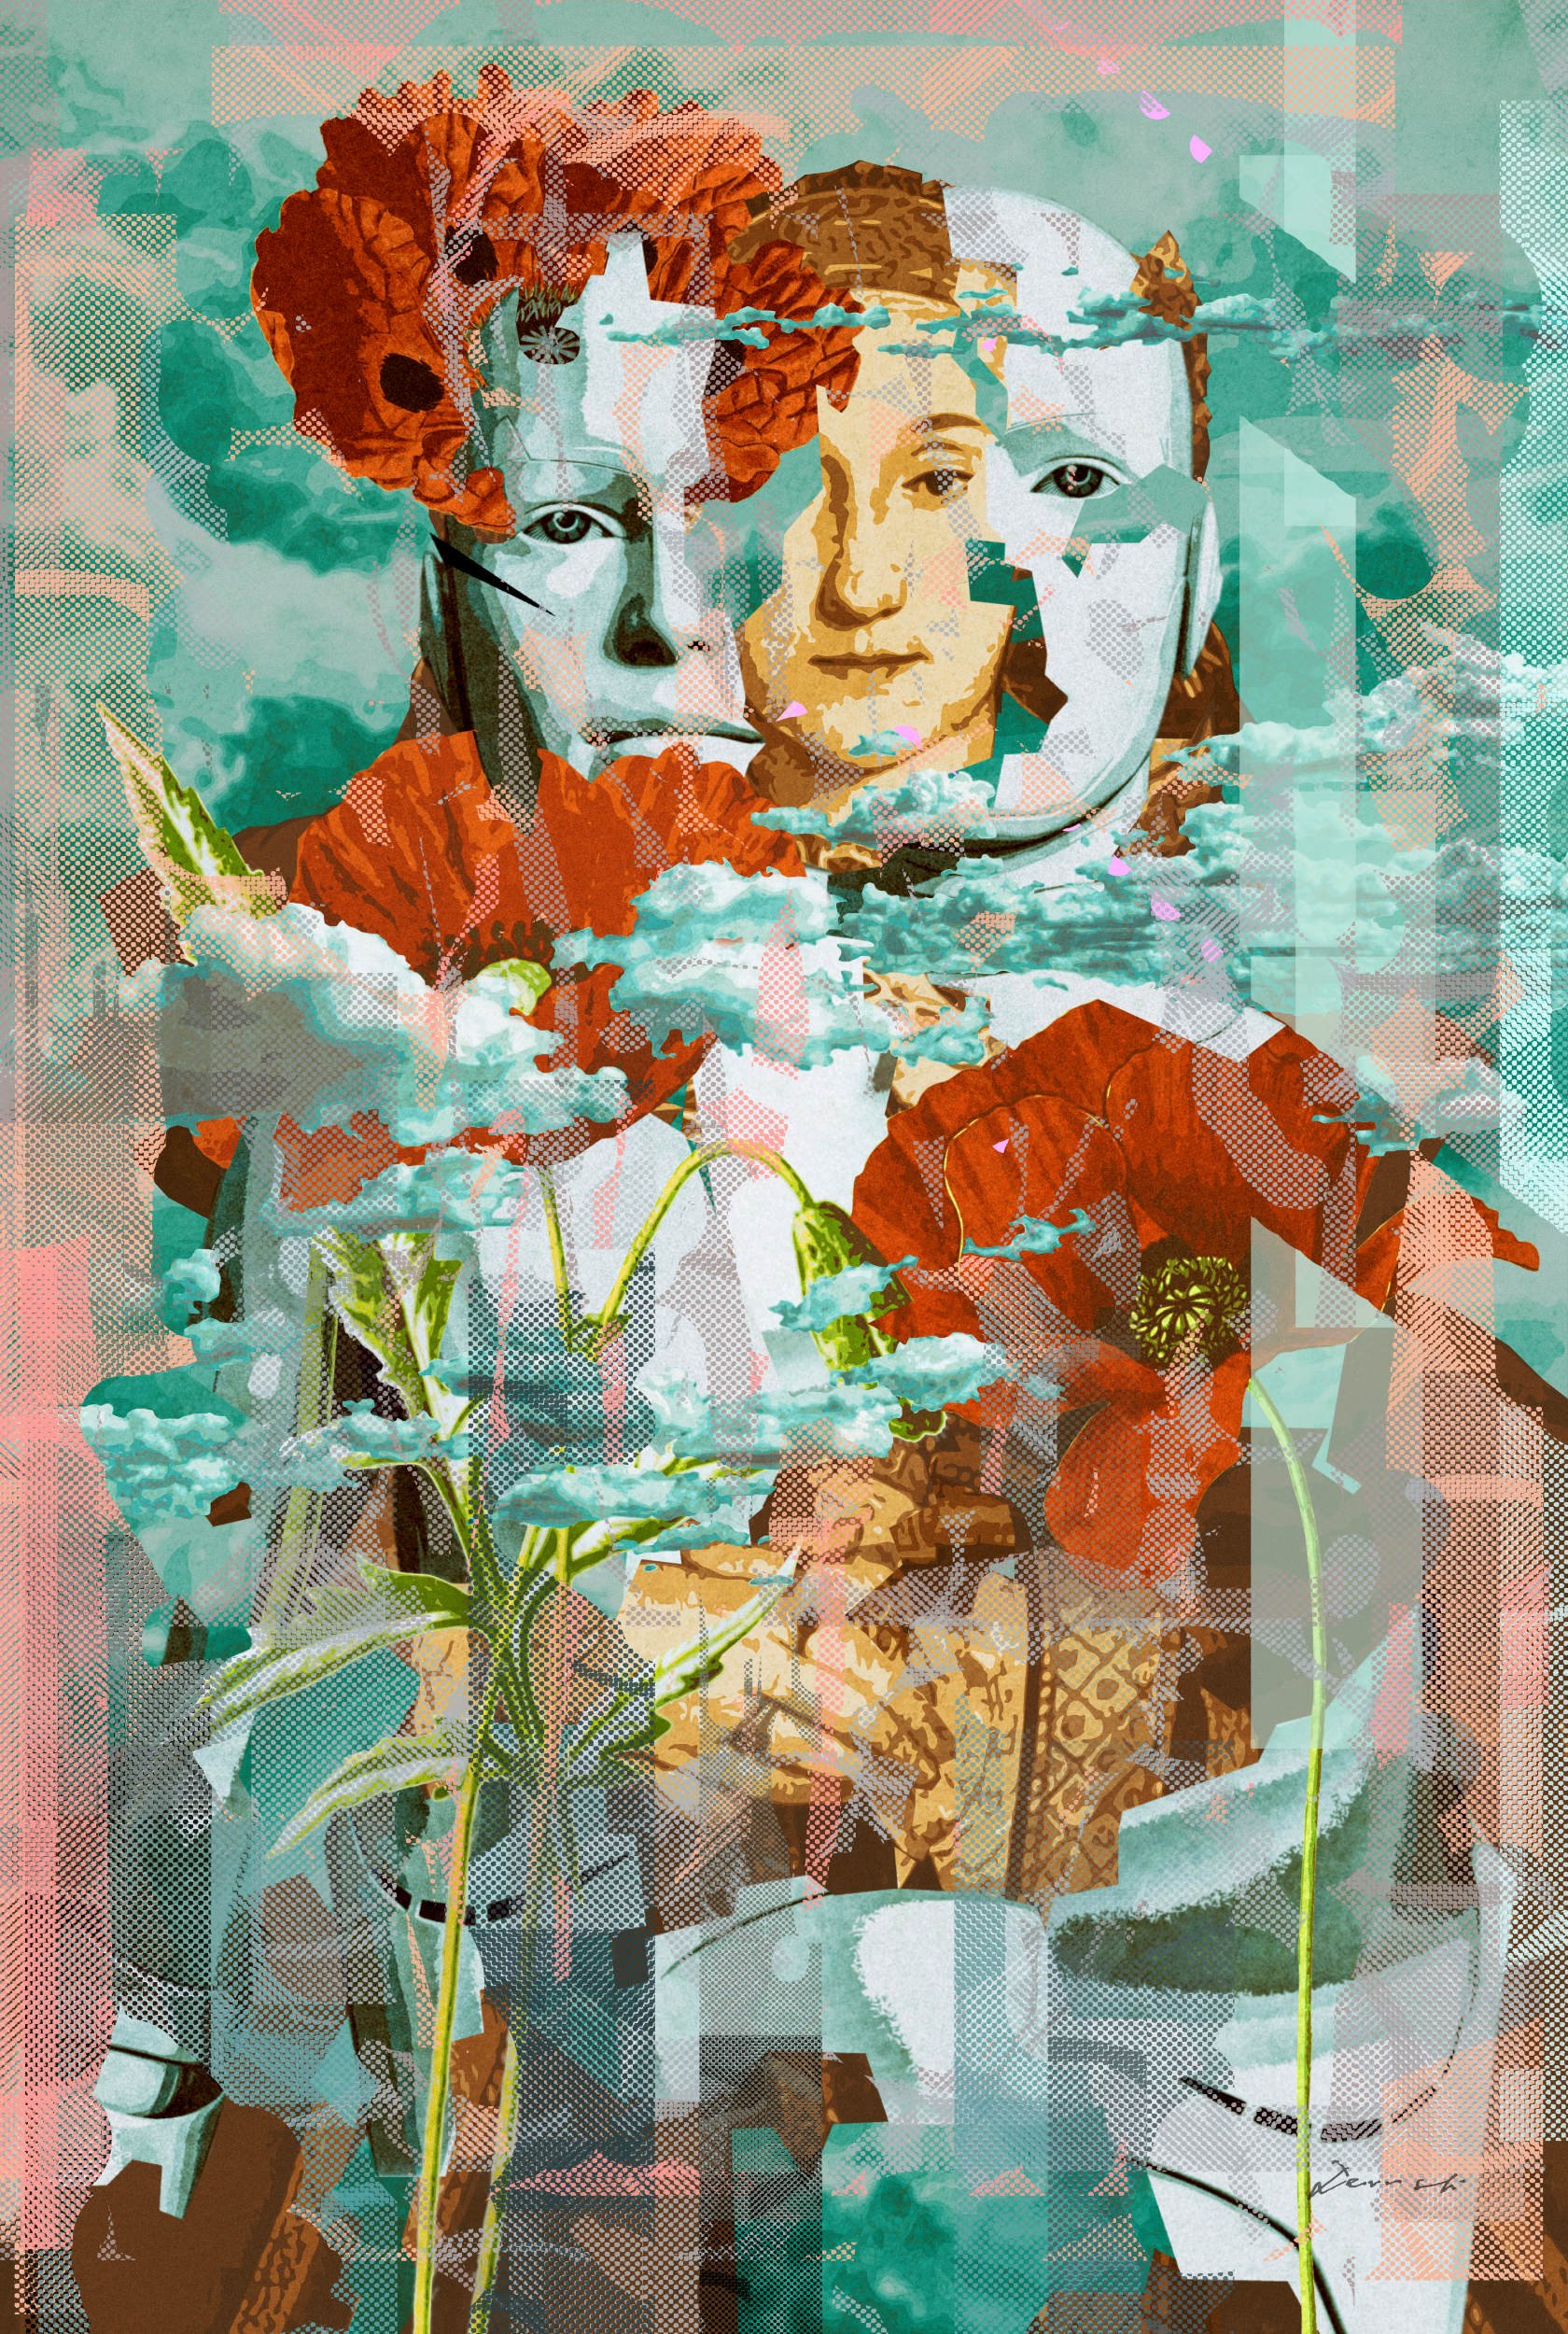
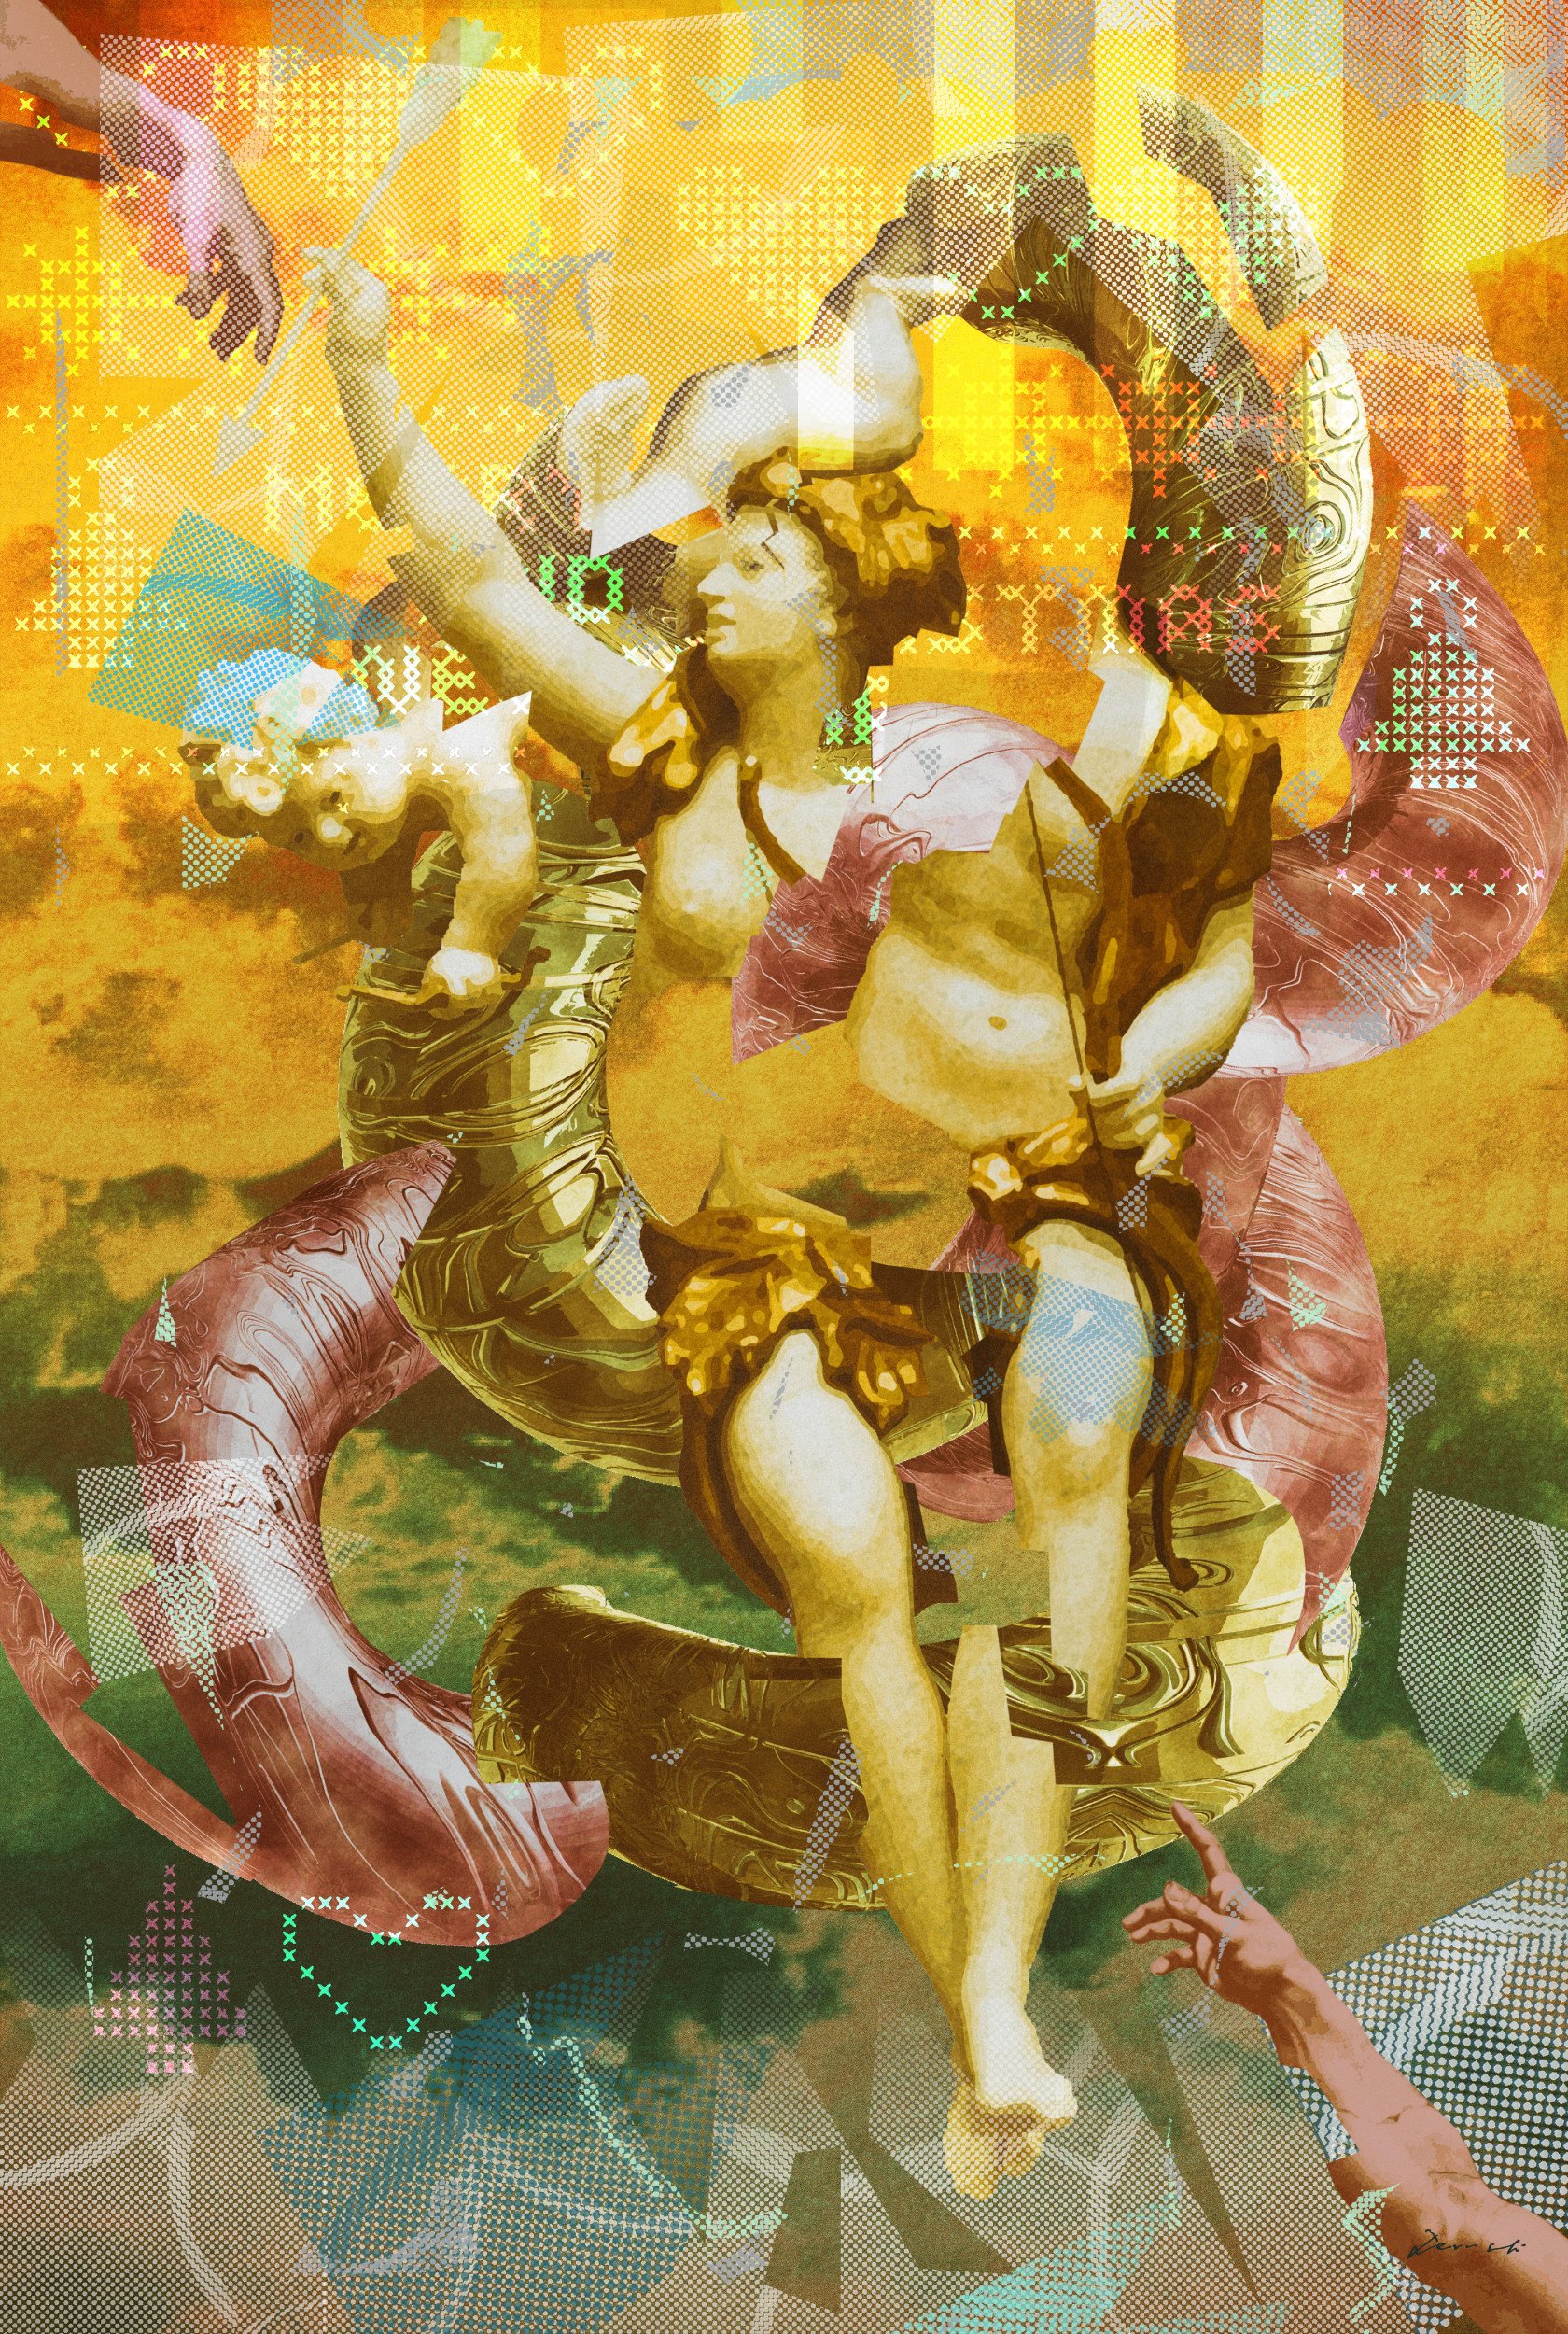
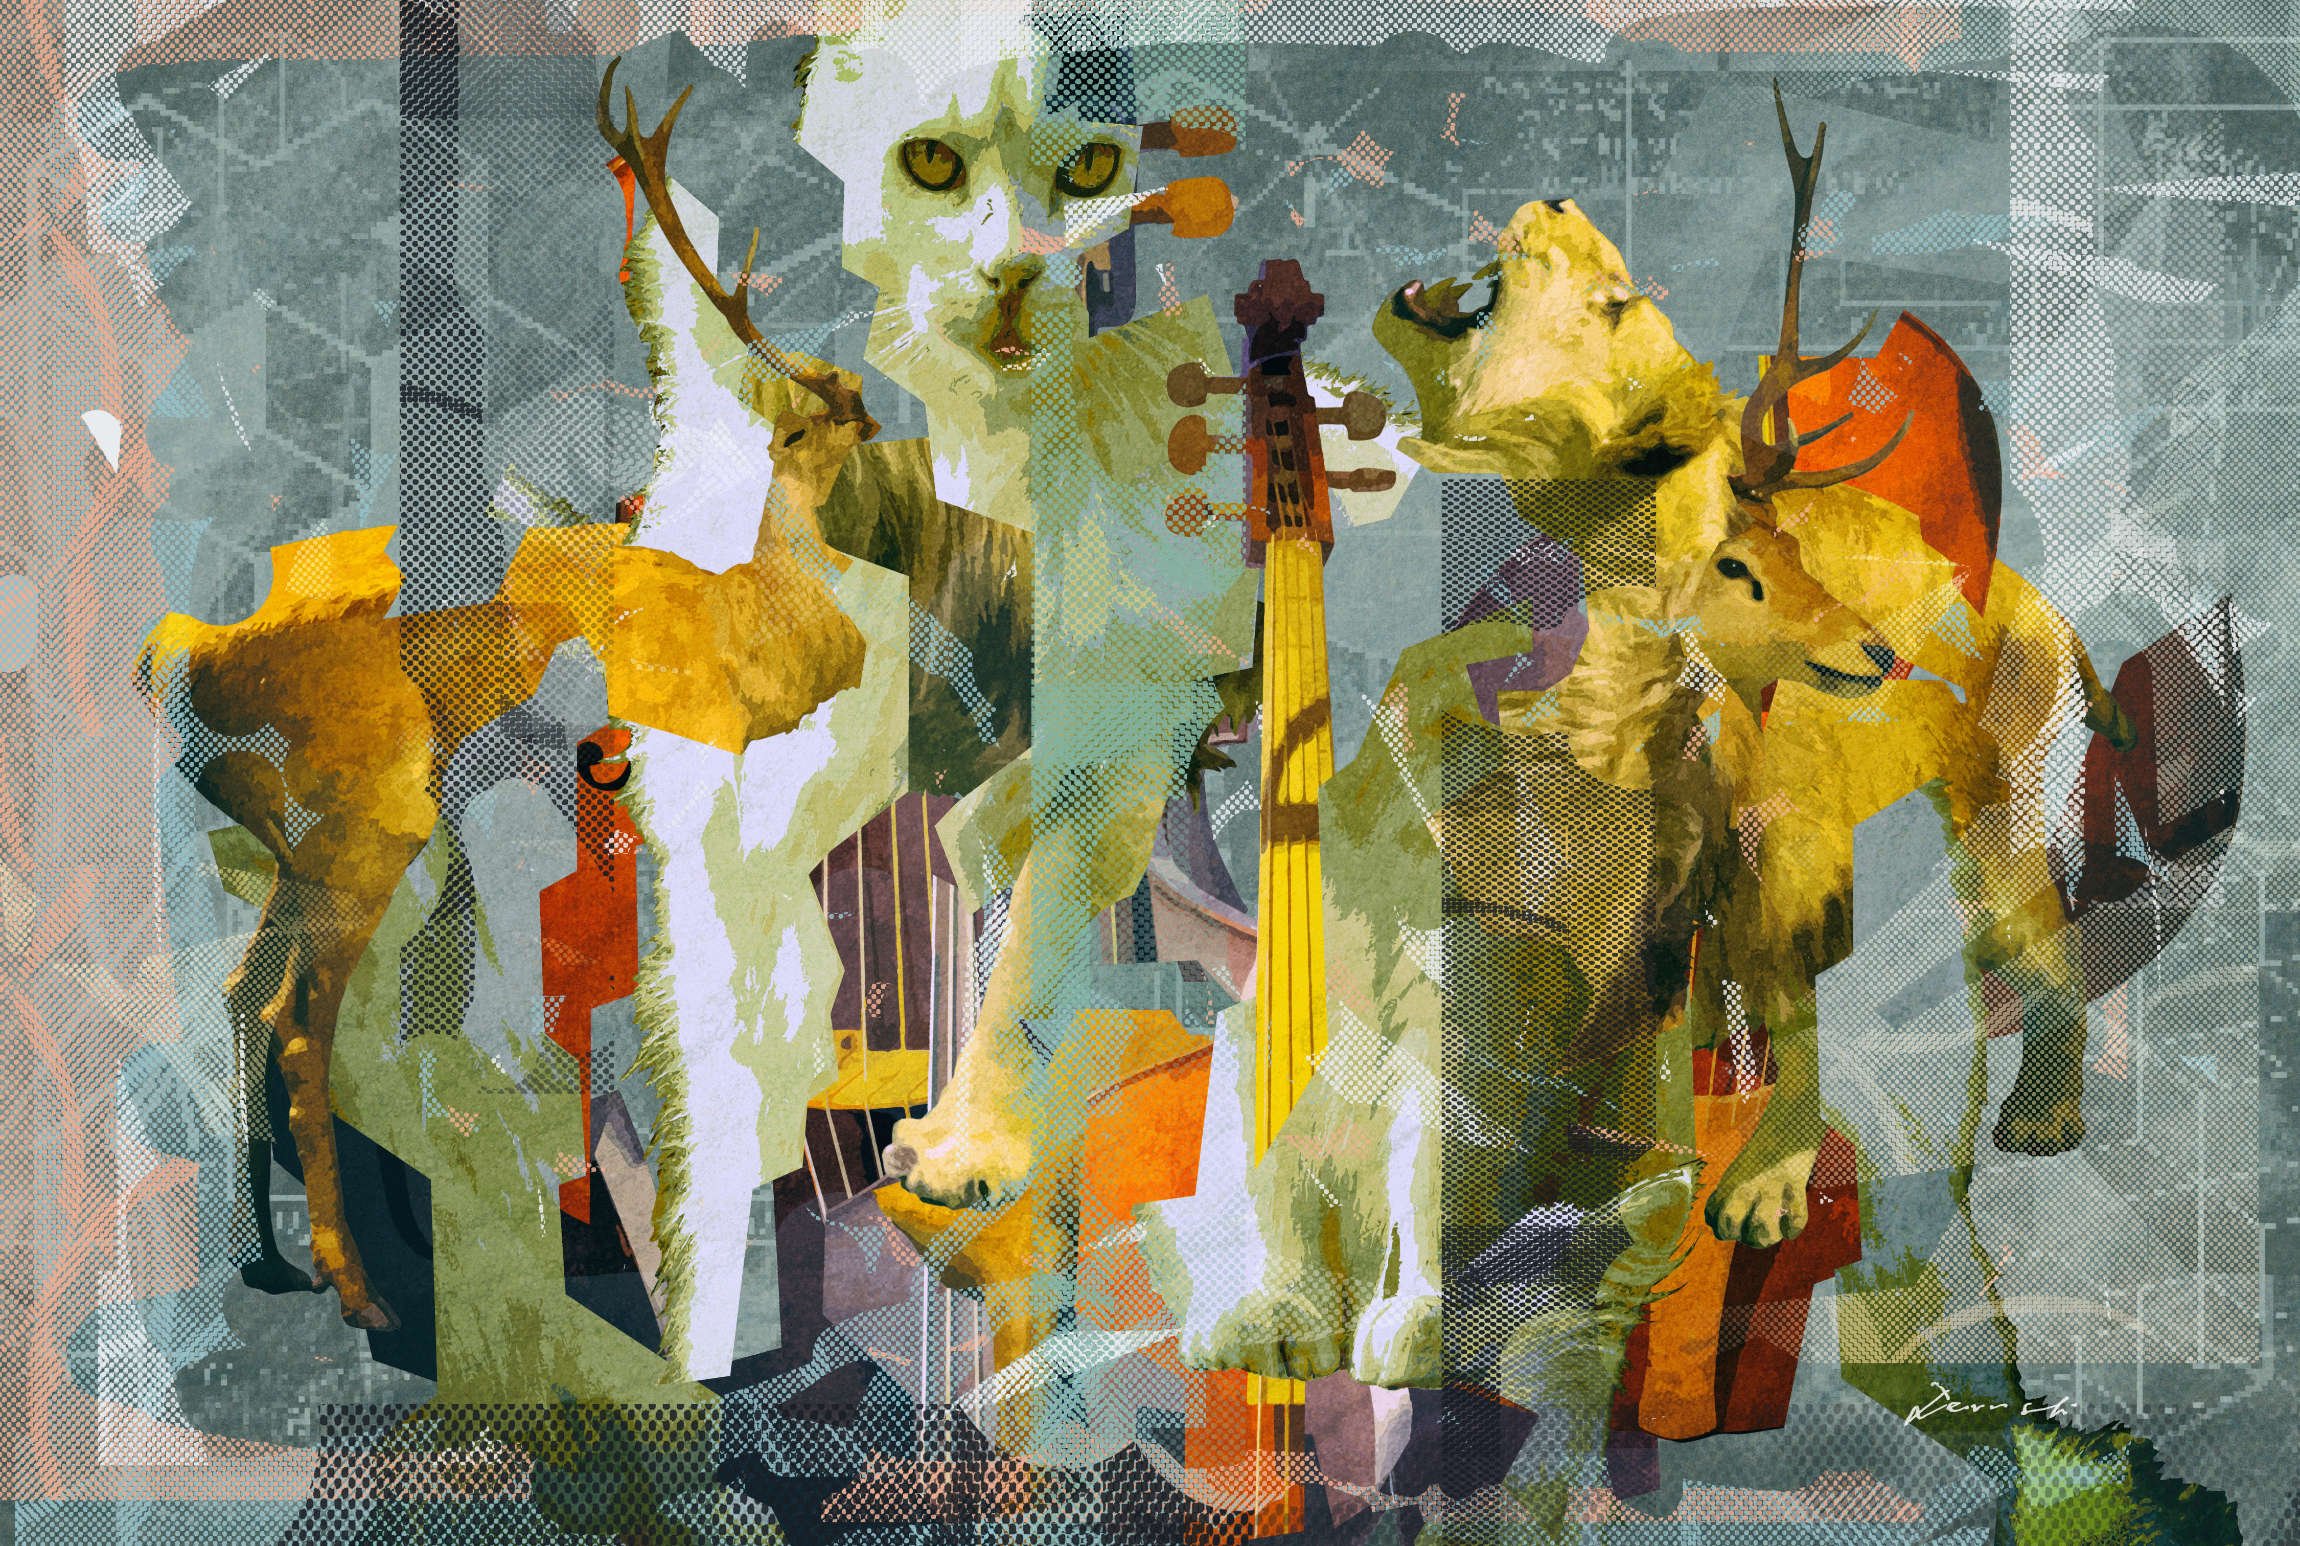
 Three of my last digital collage artworks. I used this time exclusively Affinity Photo and Inkscape with my MacBook Pro instead of other well known software.
-
 Please, add the LAYER layers to the AP. Without it, the new Publisher's embedded files layer turning functionality is a nonsense. Thank you. Accordingly, there is an error in the Photo help file, where you talk about Layer properties (right click on the Layer in the Layers Panel). 🙂
 -
 First order of business: I love the updates, big thanks to Affinity and Serif for the hard work! Onto the suggestion: Currently, I can batch RAW files to .afphoto files, but they are embedded with huge file sizes and no option to make them linked instead. To convert RAW to .afphoto as linked files, I have to individually save each one. This is a problem for my workflow. Also, when merging for HDR or Stacks, I cannot use .afphoto files as the source. This requires me to batch out intermediate TIFFs first, which eventually get deleted and seem like a wasteful extra step. For context: I shoot a lot of bracketed photography, mainly for HDR but increasingly for focus stacking. Currently, for a 5-bracket shot, I have to manually open and save each of the 5 exposures. With larger photosets following multi-day trips, this is going to be extremely cumbersome. Bonus points: I would love to be able to add text to the end of a filename (e.g. "_Edit") when batching, but that's a much lower priority than the requests above.
 -
A picture in an abandoned residence I took and edited with Affinity Photo V2. Perhaps useful to people but the way I go about it is: 1) File > HDR Merge 2) Select your HDR stack/bracket 3) Deselect Tonemap (you can always do it later but imo its not a good starting point ) 4) Merge the HDR and Edit all you want.
-

affinity photo Affinity Photo Manipulation - In The Dark Forest
minuir posted a topic in Share your work
Walking on a quiet country road at night, I saw something moving near a tree in the distance. So I thought it was just a cat, but when I got closer, it was a wooden swing. I was about to pass by thinking that someone made a swing on the tree but I thought why the empty swing kept moving... so I got goosebumps. So when I got home, I tried to make that creepy feeling into photo manipulation with affinity photo. "In The Dark Forest" speed art : https://youtu.be/FcBrhmGdFCg
-
- 2
-

-
- minuir
- digital art
- (and 2 more)
-
 I can get the plugin to open in AP2 from the filter menu but no preview. Click ok and it applies the filter to the selection. Other times the plugin crashes.
 -
 I think that the current set of brushes should be expanded (for Archviz & concept art purposes). The current brushes for the most part emulate traditional materials, but they don't cover many of the typical elements in architectural design. A good set of default brushes, which Photoshop conveniently supplies, helps people get over the initial hurdle of migrating resources. More specifically, there could be a few cloud brushes (there are some in the free Dreamphography brushes), simple grass, simple foliage, birds, people and weather effects (e.g. rain/ snow particles). There could also be some specific top-down brushes for the same categories.
-
- 1
-
-
- brushes
- affinity photo
- (and 1 more)
-
Hi, A file (works in Photo 1.10.5 and 2) which simulate a curled rotated image with shadow . For chaging the image, open Group (it is in the very top of the stack) then open the beneath Group, then look for the layer with the text "Your image above me, then delete me!" You can replace the color of the pins by adding a Recolour adjustment. Also, you can rotate all of them, by selecting the main Group. You can change the background (the paper) . I used a Daub paper, but you can put anything else which is fitting to your work. rotate-right.aftemplate
-

affinity photo Photo manipulation with Photo, AP, panorama
stojames posted a topic in Share your work
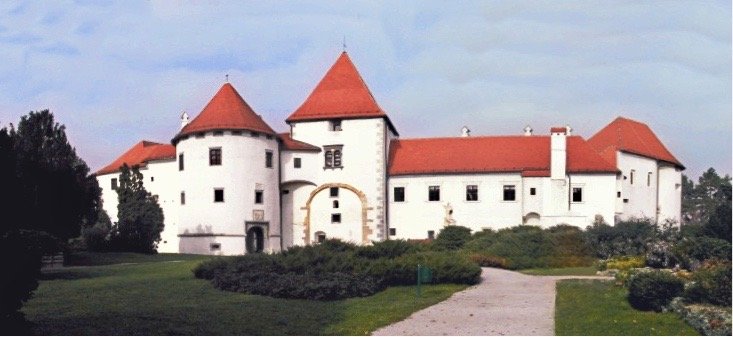
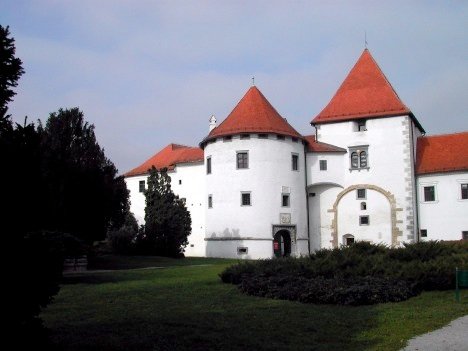
I had 2 photos of castle in Varazdin Croatia. I used Affinity Photo v1 to stitch the 2 photos together. I removed myself and a friend and had to reconstruct part of lawn and walkway. I took liberty of removing someone in red from doorway. AP worked great to make the 2 photos into a single photo of the full castle.
-
Currently, Affinity Photo does not have the full align panel available in the toolbar: Although I could opt to add the individual align buttons, it takes up more valuable toolbar space. So, could this one be added to Photo too?
-
 Hi Guys, I wanted to ask this question to all the Veterans and expert users of Affinity Photo here who have been using Affinity Photo from a very long time. My inclination, attraction and how I got drawn attracted to Affinity Photo was, because I was looking for a Software which can perfectly cutout subjects from the background and then I can replace it with a design of a background which I like. But I wanted to ask you guys now that remove background from an image is a inbuilt functionality in Apple Photos on the iPads so lets say if I try to remove a background using the inbuilt functionality in the photos APP on the iPad and lets say if it does not do an impeccable job, what are my options ? Is there any way that I can come back here in Affinity Photo and do some kind of touch up and make it more accurate ? However point to be noted here is, once the background is removed from the image and there is no mask on it, drawing back the imperfections done by AI would be difficult to draw back in right Guys ? However the other option could be to have a Blank Pixel Layer and then one can try to draw or correct for e.g. (Corners) with the same colour ? would that be the way to go in such a case ? is my understanding correct ? is that how it will have to be done then ?
 -
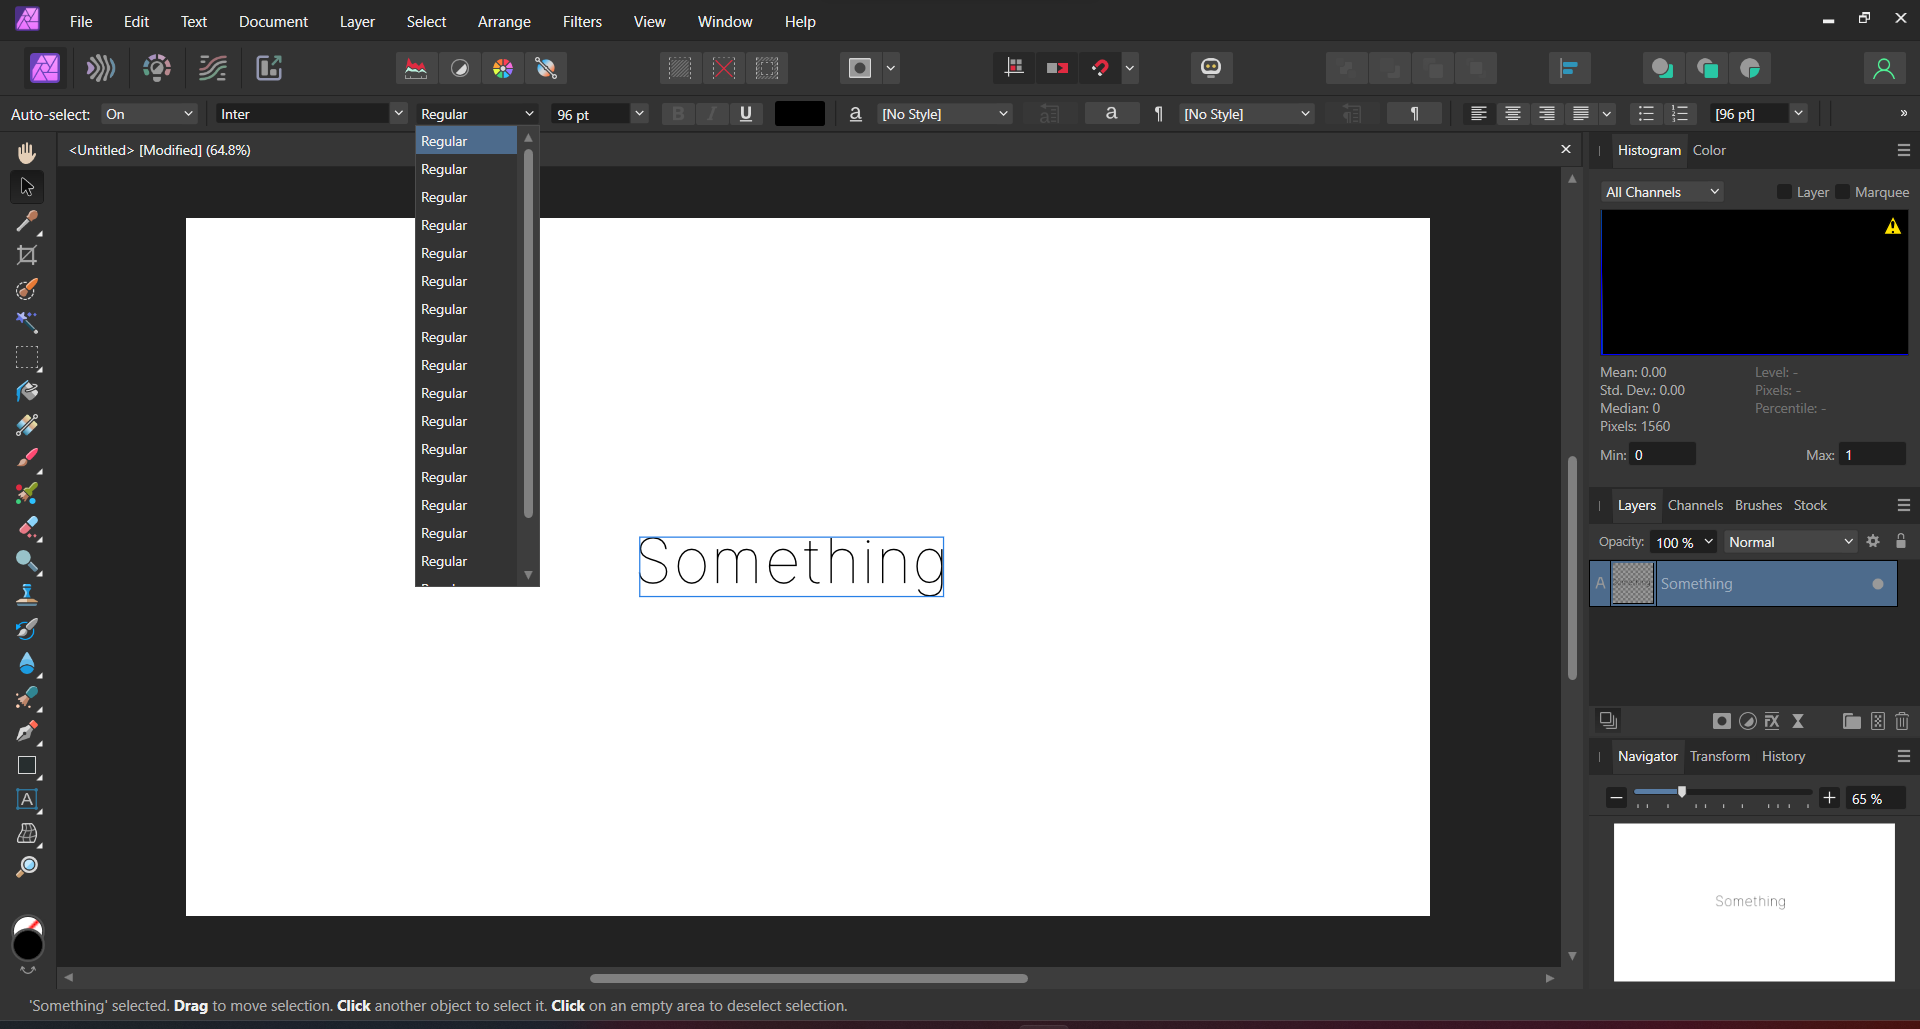
The problem is quite simple. I am not able to use variable fonts installed on my system. I have attached screenshots showing that my computer properly recognizes the font however, none of the programs, Photo 2, Designer 2, Publisher 2, correctly recognise my font. And yes, this is the case with other variable fonts as well, not just one. Fonts were downloaded from Google Fonts. Running Windows 11 22H2. Downloaded all programs from Microsoft Store. If you need any other info, I'll be happy to provide. P.S: Sucks to not be able to create something on the first day itself. But I guess launching a software has its share of challenges.
-
Painted this zebra finch bird on a branch based on a photo I saw using Affinity Photo.
-

Need help with updates.
Filmarik posted a topic in Affinity on Desktop Questions (macOS and Windows)
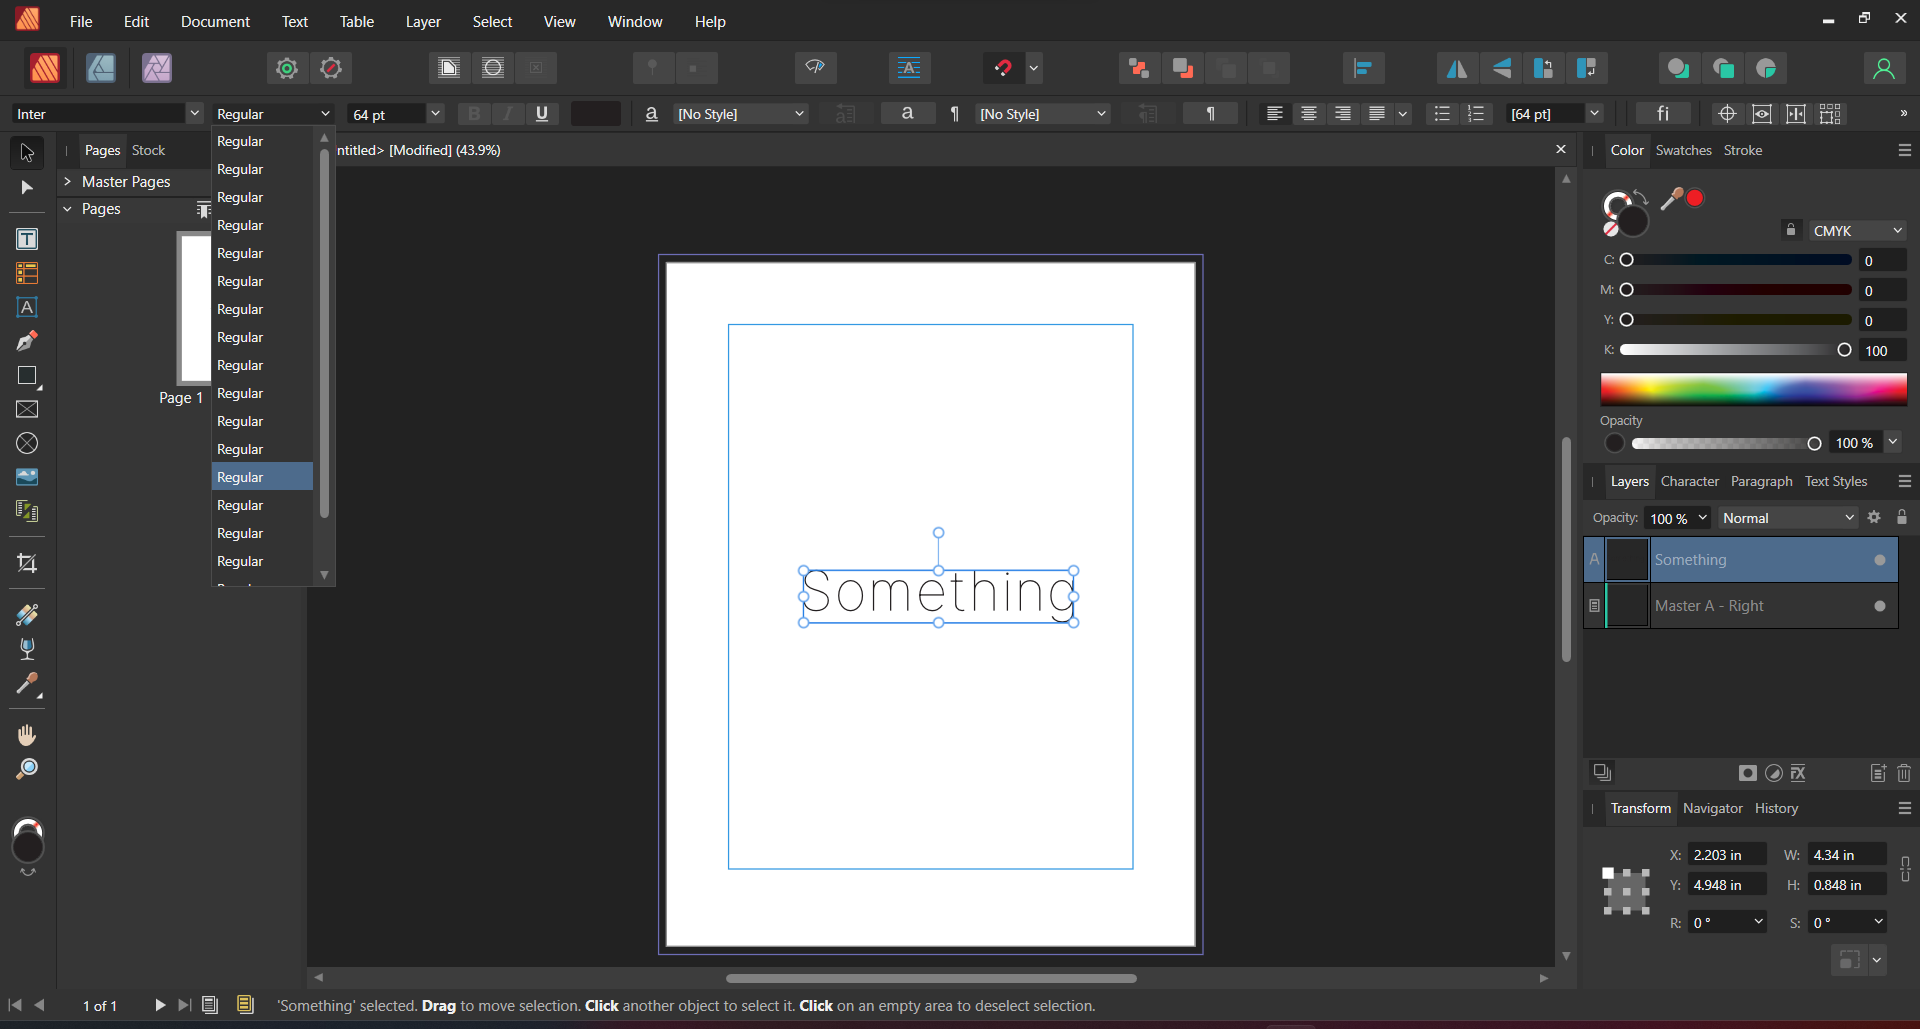
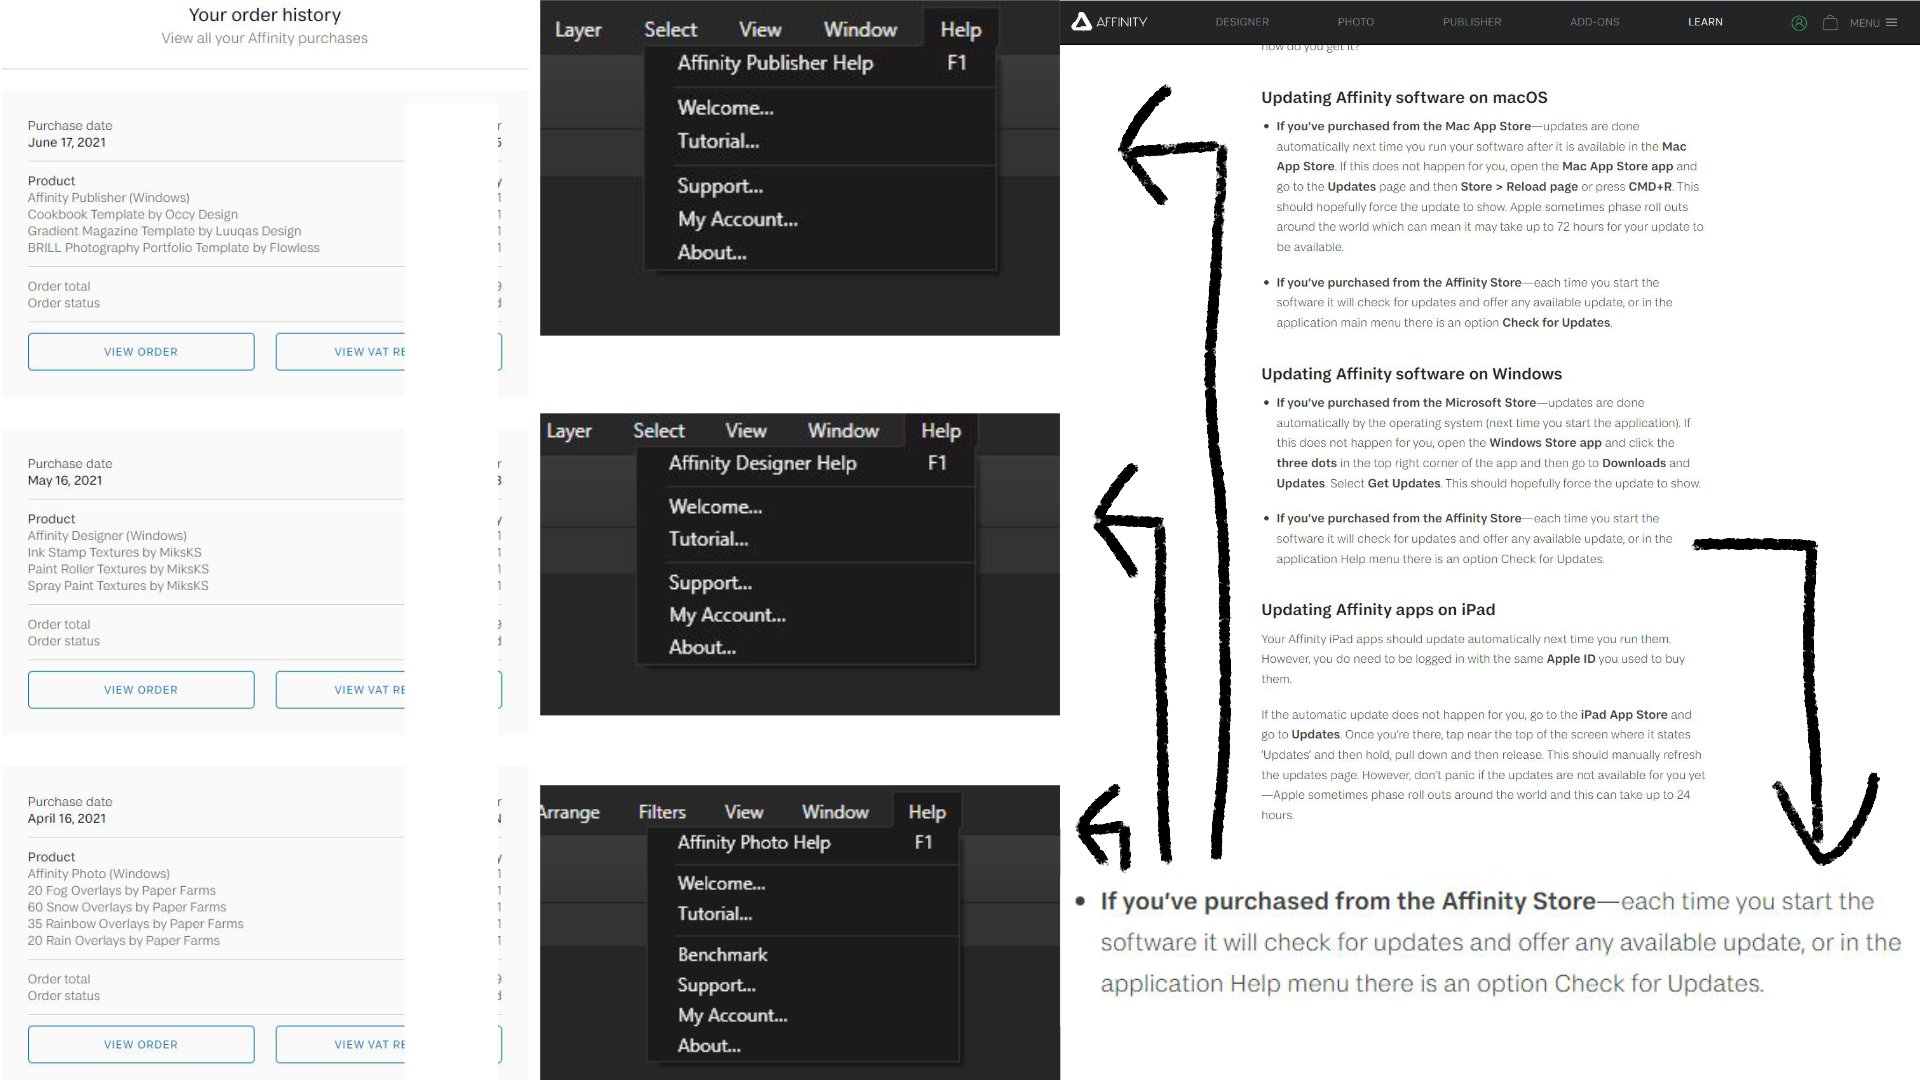
Hello! I need some help. I own on windows all three Affinity products: Photo, Designer, and Publisher, which I bought from the Affinity Store. I own all 3 software's. I bought them separately last year; does that mean I have no access to those new updates? I looked in the help menu and couldn't find any updates! I'm confused. Please tell me I'm wrong and that Affinity just didn't throw me from the ship. Is this morally acceptable for a loyal customer who paid for all three Affinity software products? Please tell me I'm wrong and they are still working on it and it's just because of the region or something ! And, if that's the case, does that mean there will never be any updates for me or other users who already purchased all Affinity software separately? Q: 1. Why should I pay twice for the same product to the same company when they specifically stated "free updates for existing users"?Just go to the top ''menu'' press ''help'' and press ''updates''. No more no less. 2. What is V2? Does this also apply to V2 users who, like me, will experience this when V3 is released? Extra money! Those who already paid for V2 are happy and laughing at us; just stop and think for a moment what will happen if V3 comes out. I hope I'm mistaken and just hysterical, but all things considered, it appears that I'm correct. Please correct me! I agree Affinity deserves more extra cash for their hard work, but not from loyalists who have already contributed. I would like to pay extra but backstabbing isn't how you do it. Saying one thing and changing the context isn't right, right? I love you, Affinity, but please don't go to the dark side. Thank you, waiting for your response Affinity team. (This was also posted on the Affinity Facebook thread with no reaction, no hate, no help, and was probably deleted.) just edited because of the rules.
-
I recently won the gold medal in the competition "Den Nationale" (The National) - the National Danish Championship arranged by SDF - Selskabet for Dansk Fotografi (Danish Photography Society) The photo won in the Colour Prints category (There were 7 categories in all, but I only participated in 2) Obviously the photo was edited in Affinity Photo. I have shared the before and after to give an idea about how I edited it, but generally I Removed a lot of distractions in the foreground. Removed some of the snow from some of the front trees Enhanced contrast (obviously) Enhance the colours of the leaves, and desaturate most of the background to make them stand out more. Enhanced the sense of mist in the background. This was accomplished primarily with blur and curves layers carefully masked with luminosity masks. I took advantage that I could place these in a group, and place a mask layer before these to control what goes into there filters/adjustments, something I couldn't have done in PS AFAIK. Feel free to check out my other work Facebook: https://www.facebook.com/stroiman.photography/ IG (Only pictures from Bornholm): https://www.instagram.com/stroiman.photography/ IG (My other pictures): https://www.instagram.com/stroiman.art/ Web site and shop: https://stroiman.photography
-
I’m probably more surprised by the lack of a dedicated workspace for painting than I am from the lack of any significant UI customizability. I’m loving all of the quality of life improvements you’ve made but there’s a big question mark over having more purpose-built perspectives than just photo ops. Editorials aside, it would be great to have you partner with a few professional illustrators/fine artists to come up with a sandbox for digital painting. Perhaps splitting the mixer from the regular brush as distinct tools; and enhancing the brush metadata to make it clearer which brushes work best with which of the two primary tools. I’d also love to have a mixing palette or color picker that I can move around for inline sampling and comparisons. There’s a lot of room for innovation in the perspective space on this pipeline.
- 1 reply
-
- 1
-
-
- affinity photo
- affinity designer
- (and 2 more)
-
Hello Legands, New to using Affinity Photo and have run into an issue when trying to Merge Visible layers of vector images. When i perform this action Affinity Photo seems to automatically convert the image to pixels and cause the image to become pixelated. Is this a known issue and is there a fix to prevent this from happening. I use affinity for screen printing designs so pixelation is not my friend. Thanks for any help/ advice.
-
 I want to suggest making it possible to keep the original files exif/metadata in ALL slices set. As far as I understood only the very first slice which is automatically set (not really a slice, but just the whole thing called by the projects name) keeps that data since it works with the same engine as the default export function (the one you can use over Data>Export from everywhere, which you can set to delete all exif data if you want). All other manually set slices will always loose their exif data and there is no option to change that! I imagine it to be not that hard to implement it that way that you have the ability to write exif in slices as well (since its only very little data to copy after the file creation), probably even by default. You can always set the options to ditch the exif if you want, just like with the normal export function. Yes, you can currently workaround by cropping multiple times in the normal Photo Persona and its nondestructive as well. But that defies the whole sense behind the existence of the export persona! If I change even the slightest thing in the image I have to redo every crop and pray to the crop gods that it is somewhat cropped the same as before.
 -
 I still see the workflow for RBGBA channel packing for game texture is still a nightmare and hasn't improved since v1, I thought this would be improved in v2 especially with the UI improvements. Please could you make it simple as photoshop where you can copy/paste from black and white layers into one of the RGB channels. Its soo much simpler to work with and selection of the channel was so much easier.
 -
 When taking pictures in IR, if the photographer doesn't set the white balance in camera and intends to change it via Affinity Photo 2, they come across the issue where the white balance tool in the Develop Persona of Affinity Photo 2 does not have enough range to correct colour casts on the whites in an image. (even when using the picker tool, which extends it slightly) I've attached an example shot I took with an 'ultrablue' filter, the second image corrected using another software, and the first using Affinity Photo 2. There is also the original .RAF raw. The 'correct' white balance that I'm looking for is one where the white of the walls on the parking lot buildings (and the stickers on the recycling containers on the bottom right) is as close as it can be to neutral (no tint). Using the picker tool on the white part of the wall, the tint gets pegged at 100%, meaning it does not have enough range to fully remove the colour cast. This is a huge issue, as the user cannot properly set the white balance in a lot of pictures. Moreover, even if the user does set the white balance in camera, and it is closer to the intended one but still needs adjustments, when enabling the white balance adjustment in the Develop Persona, it oftentimes gets worse due to the range being less than that of the camera's. My suggestion to this issue is: add a checkbox that would enable an extended range of values to be edited. (This would also help people who white balance old negatives.) DSCF6517.RAF
-
- 1
-
-
- affinity photo
- white balance
- (and 4 more)
-
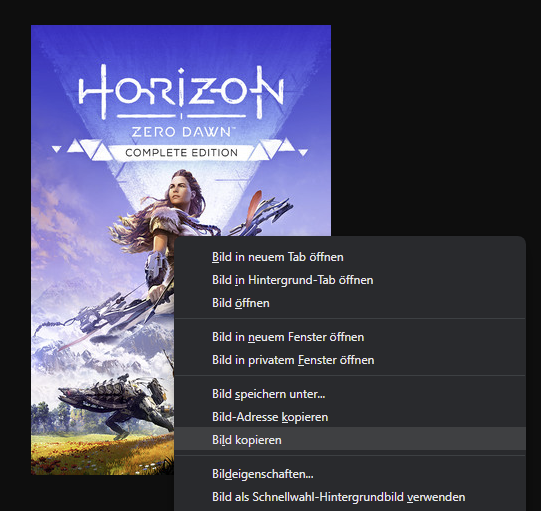
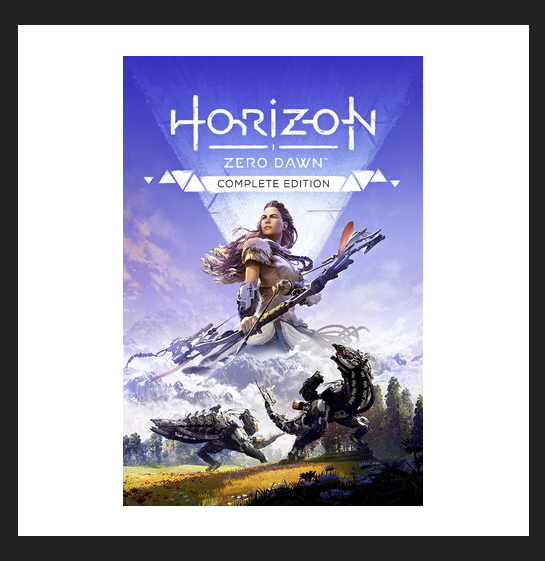
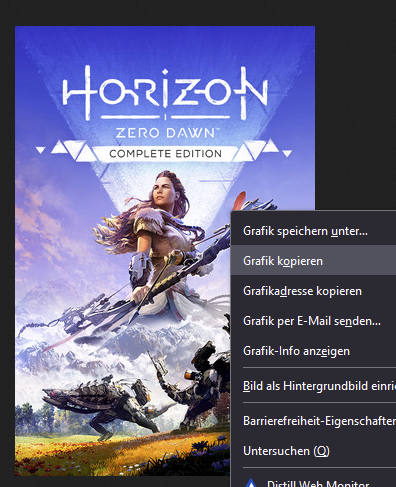
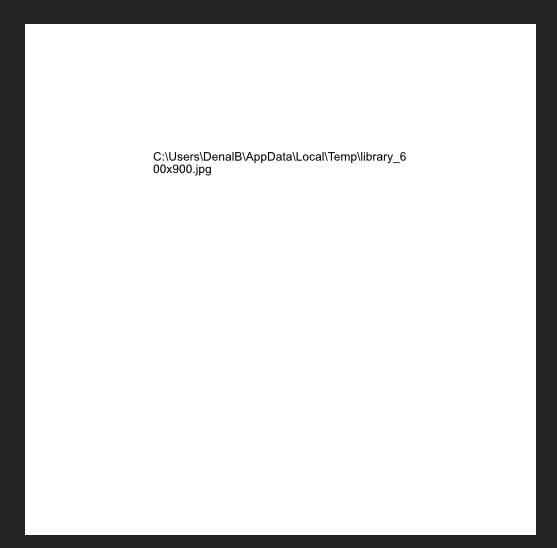
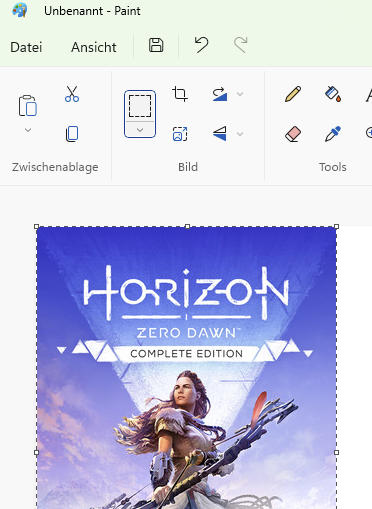
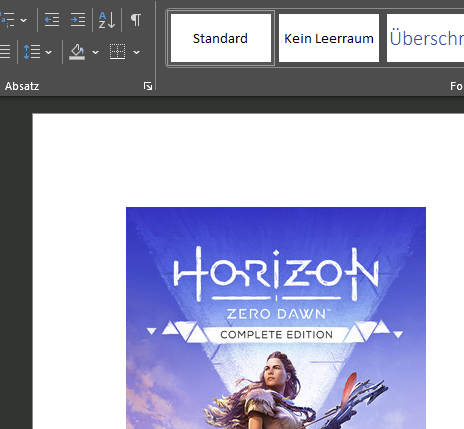
 OS: Windows 11 Pro 22H2 Firefox: 106.0.5 (64-Bit) Affinity Photo: 1.10.5.1342 Some days ago, I started switching my browser from Vivaldi to Firefox. When copying an image in Vivaldi that is opened in a new tab into the clipboard, I was able to paste it into Affinity Photo without problems. In my case, I copy the following image from the website via right-clicking the image and select "Bild kopieren" (Copy image). https://cdn.cloudflare.steamstatic.com/steam/apps/1151640/library_600x900.jpg?t=1593707775 In Affinity Photo I create an empty, white image and paste the image copied from the link into this white image with CTRL+V. This worked for years. Now in Firefox I try to do the same, and it doesn't work. Trying to paste the copied image into the new image only pastes the temporary local link. Creating a new image from clipboard (CTRL+ALT+SHIFT+N) works. But I need the copied image in an existing image. When pasting the image into MS Paint it works as expected. Also, pasting the copied image into MS Word works, too. It seems that it's an issue in Affinity Photo, only. I already asked in a Firefox community if there is a difference in copying an image in Firefox and Vivaldi. But they send me to here. Is there any setting I missed for pasting images from Firefox? What can I do to get the copied image from a website into a blank image in Affinity Photo?
-
 We're aware of an issue with Affinity V2 apps on macOS Ventura where the Brush Cursor will disappear in-between brush strokes or upon selection of a brush tool. A workaround is to simply zoom in and out to get the cursor back but we hope to fix this issue in a future update.
 -
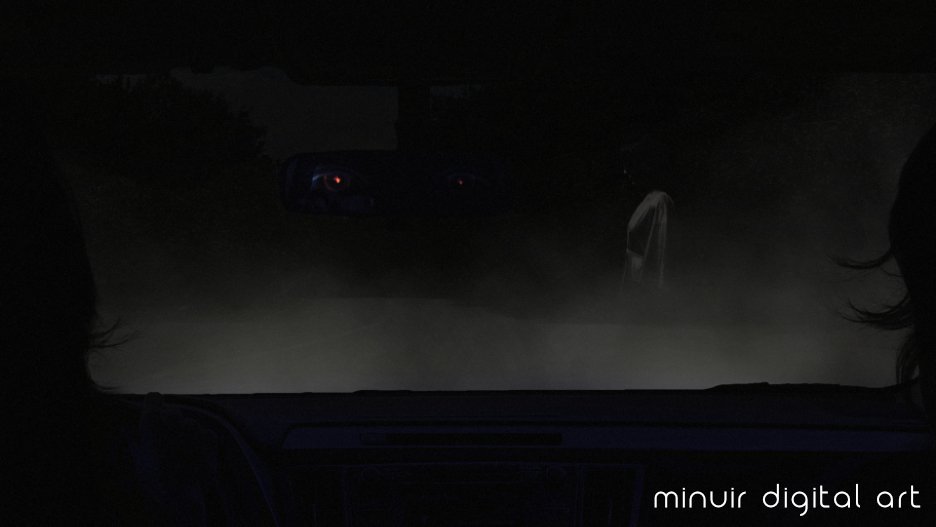
affinity photo Affinity Photo Manipulation - Ghost in the Road
minuir posted a topic in Share your work
This Photo Manipulation work is "Ghost in the Road". When I was young, I heard a lot of stories about ghost in the road. So I've actually been on those roads to see ghosts but I've never seen it. So I worked "Ghost in the Road" through photo manipulation with affinity photo. "Ghost in the Road" speed art : https://youtu.be/5hJQapGFigM
-
- 3
-
-
- minuir
- digital art
- (and 2 more)
-
 With all the buzz with news of something coming Nov 9, there are rumors on the internet that say, that they are getting rid of AD for the desktop and they are going to put on the price up. I hope this is not true I just bought AP for desktop. I wonder what the actual news is that's coming Nov 9th?
- 1 reply
-
- 1
-

-
- affinity suite
- affinity designer
- (and 3 more)
-
 I’m not sure about the best way to share astrophotography processed with Affinity Photo. I decided to try the “Share your work” forum, but if there is a better way, please let me know. I am an experienced astrophotographer who has used a wide range of specialized programs for pre and post processing of astro photographs. These days I’ve been experimenting with my favorite general purpose image processor, Affinity Photo, along with the remarkable collection of astro macros developed by James Ritson. I have much to learn, but so far the results have been excellent. NGC 1955 is an emission nebula located in the Large Magellanic Cloud. (Technically, NGC 1955 is an open star cluster embedded within the nebula.) To collect this data, I used a remote telescope in Chile: 20 inch Newtonian, F 3.6. The object was imaged in three narrowband channels, Ha, OIII and SII. I processed the image with the Hubble palette, which is SHO, modified with a large shift in the green channel toward reds and golds. The built-in tools of Affinity Photo, and especially the innovative JR Macros, made this project a pleasure. NGC1955 SHO.tiff
- 10 replies
-
- 3
-
-
- astro
- astrophotography
- (and 3 more)