Search the Community
Showing results for tags 'Affinity photo'.
-
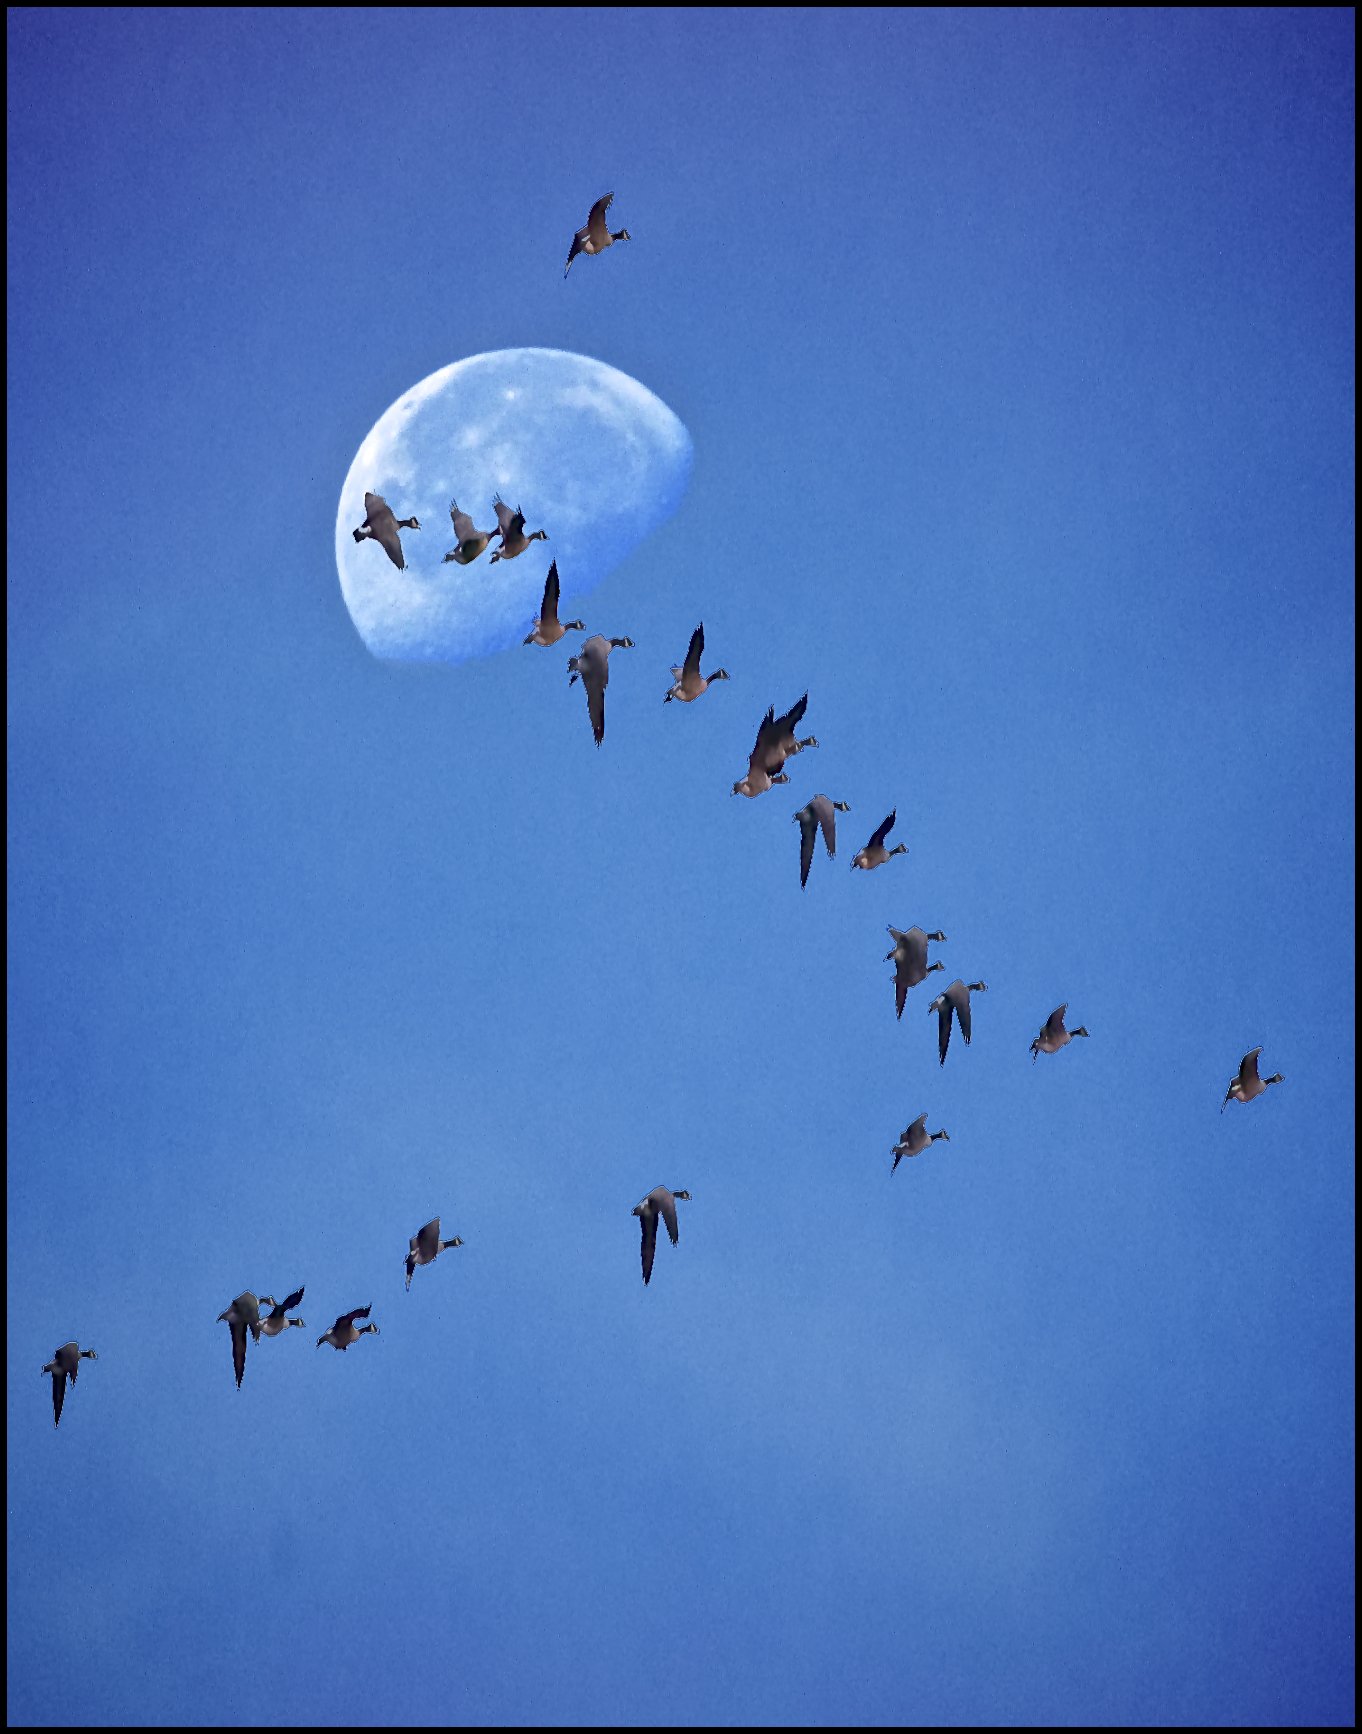
Composite of 2 photos taken many months apart.

-
Hello, These three raw images(RW2) are taken with lumix gx85. There are some black pixel on the image(ipad pro 10.5). I thought my camera have problem but I couldn't find any black pixel on Lightroom(PC-Window). And I checked sample raw image(https://www.photographyblog.com/reviews/panasonic_lumix_dmc_gx80_review/sample_images/). I can still find strange pixels on my ipad but there is no strange pixels on PC. panasonic_lumix_dmc_gx80_15.rw2
-
.thumb.jpg.60b2018ca06d21db83ae359f1df1db3b.jpg) Ok, I downloaded affin.co/searchthewoods file to work on the project. There are 8 documents in a file, however, NO SNAPSHOTS! The manual tells me to open a snapshot with the forest image... THERE ISN'T ONE IN THAT FILE. IS IT ONLY ME WHO HAS NO IDEA WHERE TO FIND ALL THOSE SNAPSHOTS THAT ARE REFERRED TO IN ALL PROJECTS? Yes, I download the file that is referred to at the beginning of each chapter, but then there is a reference to snapshots AND THEY AREN'T IN THE FILE! WHERE IS THE REST OF RESOURCES? It says in the manual: " You can get all the resources that are referenced in this project from: https://affin.co/searchthewoods.... HOWEVER, I personally was unable to find ALL of the resources there! And the same thing for all projects...VERY FRUSTRATING, GUYS!!!! I WASTE SO MUCH TIME JUST LOOKING FOR ALL RESOURCES TO DO THE PROJECTS! SHOULD BE MADE A LOT EASIER TO FIND...
Ok, I downloaded affin.co/searchthewoods file to work on the project. There are 8 documents in a file, however, NO SNAPSHOTS! The manual tells me to open a snapshot with the forest image... THERE ISN'T ONE IN THAT FILE. IS IT ONLY ME WHO HAS NO IDEA WHERE TO FIND ALL THOSE SNAPSHOTS THAT ARE REFERRED TO IN ALL PROJECTS? Yes, I download the file that is referred to at the beginning of each chapter, but then there is a reference to snapshots AND THEY AREN'T IN THE FILE! WHERE IS THE REST OF RESOURCES? It says in the manual: " You can get all the resources that are referenced in this project from: https://affin.co/searchthewoods.... HOWEVER, I personally was unable to find ALL of the resources there! And the same thing for all projects...VERY FRUSTRATING, GUYS!!!! I WASTE SO MUCH TIME JUST LOOKING FOR ALL RESOURCES TO DO THE PROJECTS! SHOULD BE MADE A LOT EASIER TO FIND...
-
 (Affinity Photo) Can you add the Alt+Mouse(R)+MOVE to change the Painter Brush Tool Size?? Like the PS change the Brush Size shortcut key?? Thank you:)!
 -
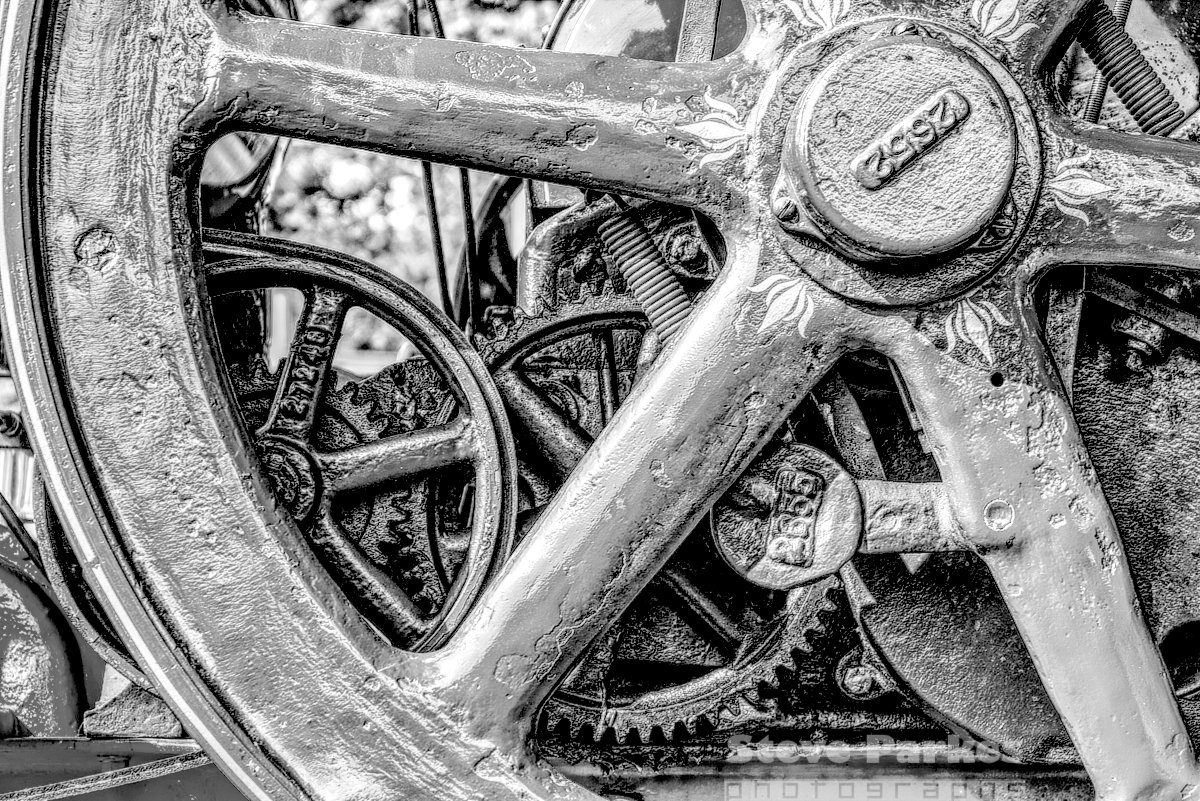
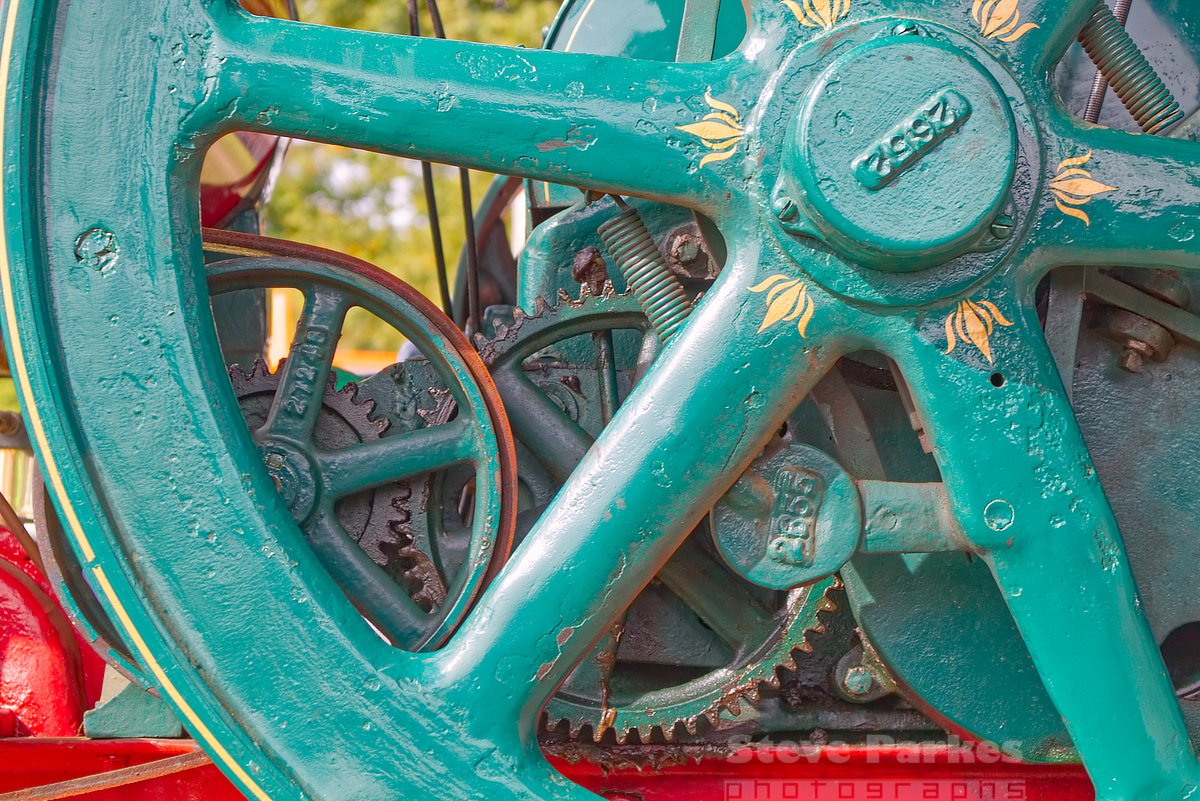
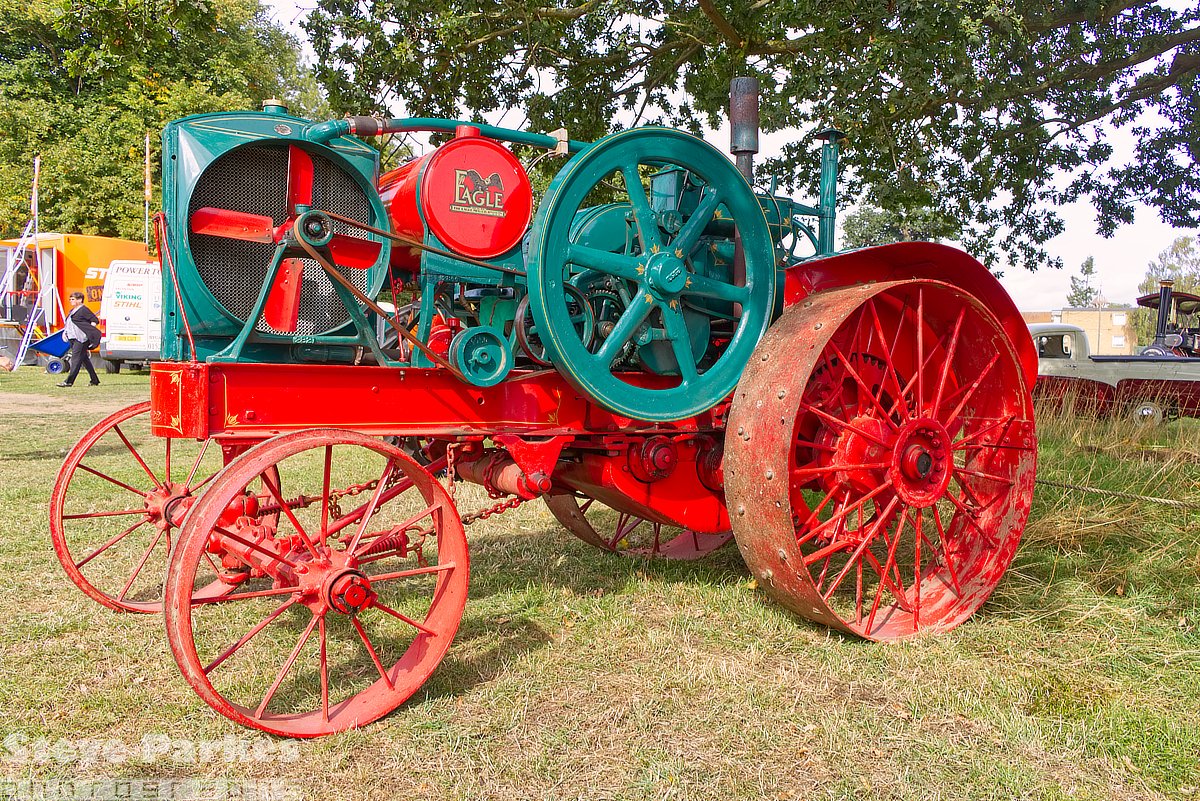
Every couple of years or so I visit the Bedfordshire (UK) Steam Fair and take tons of photos. This time I kept it down to just over two hundred; amazing self-restraint! I concentrated on unusual angles, detailed close-ups, and the like. This is part of the works of a paraffin (kerosene) fuelled vintage tractor. I cranked up the saturation a little in the first image, and later I thought I'd try it in mono. For that, I desaturated it and put it through the HDR persona to increase the local contrast, as well as the overall contrast. (Sometimes I find a better B&W result can be got by turning down one or more of the colours in the Black and White adjustment, but I didn't need to in this instance.) And if you're wondering where this lot fits on a tractor, here's the whole thing ... (If you want to see the other 217 photos, let me know!)
-
 Affinity Photo is the best alternative to Adobe Photoshop. It is really the best photo editor. In this tutorial today we will learn how to do photo manipulation, in this video, we will see, How to create a Fist-Face manipulation in Affinity Photo.
- 2 replies
-
- 1
-

-
- manipulation
- photo editing
- (and 2 more)
-
 (Affinity Photo) I've been trying the context menu, editing the brushes to have size jitter (including the curve) to no avail. It seems to only do the regular round brush stroke without the taper despite showing in the preview. I've seen other people with Wacom Bamboo tablets where the pressure doesn't seem to work, that's the case for me, but even if I don't have pressure sensitivity I just want a tapered brush to draw with. Any help with this would be appreciated
 -
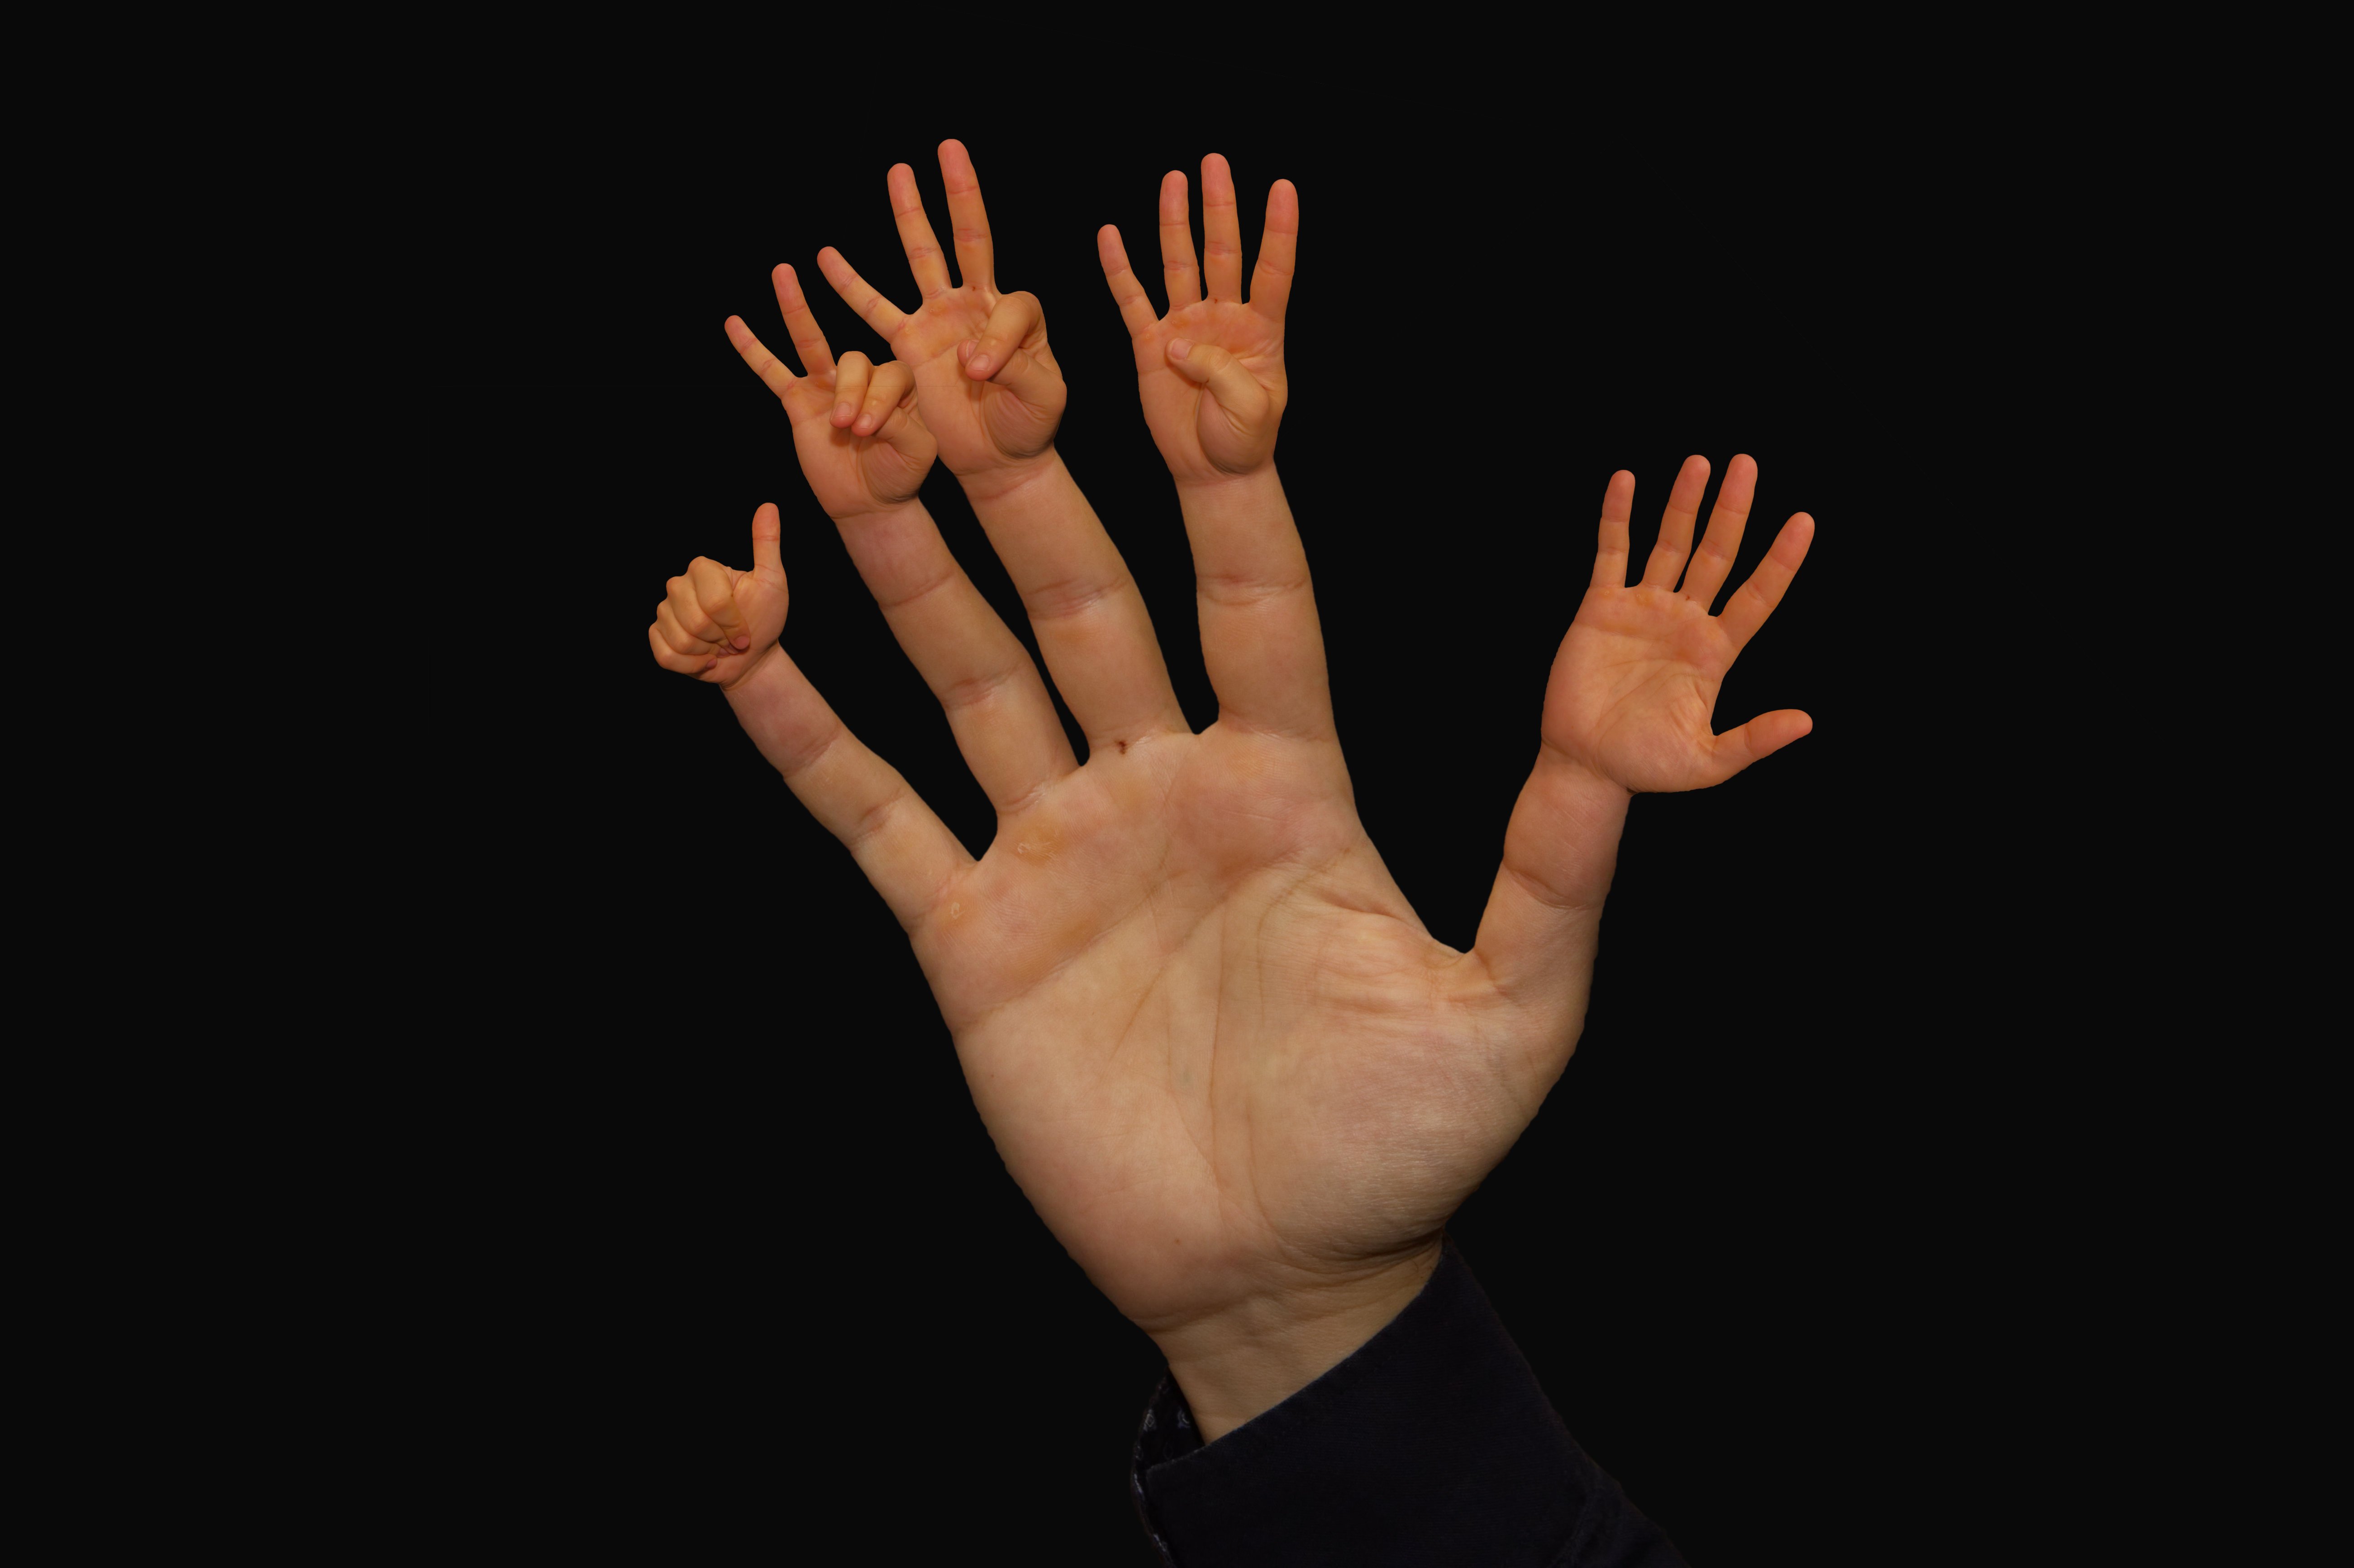
Five Finger Voting - A quick-and-dirty illustration for a presentation slide.
-
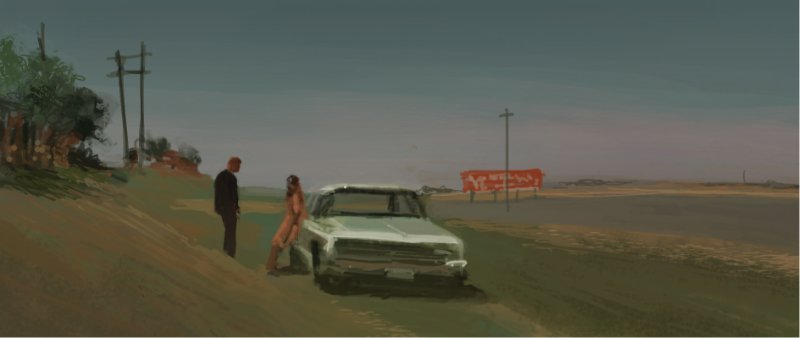
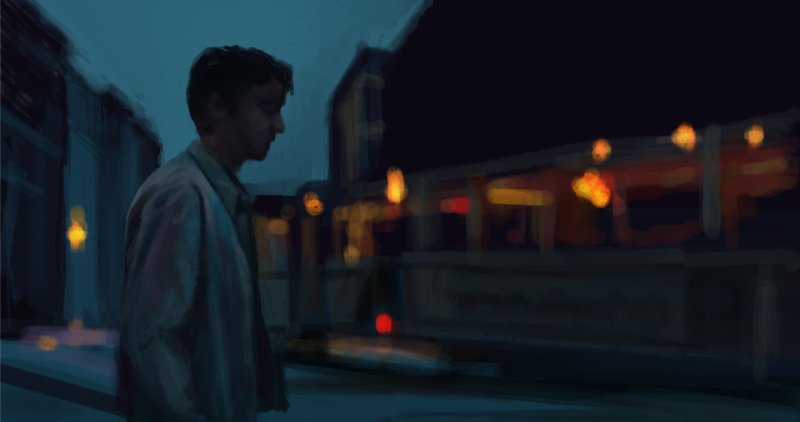
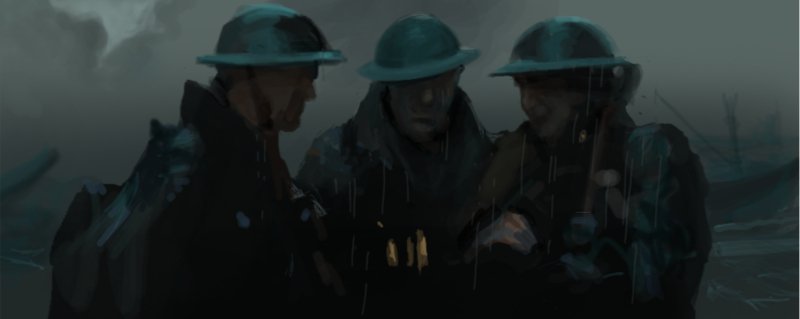
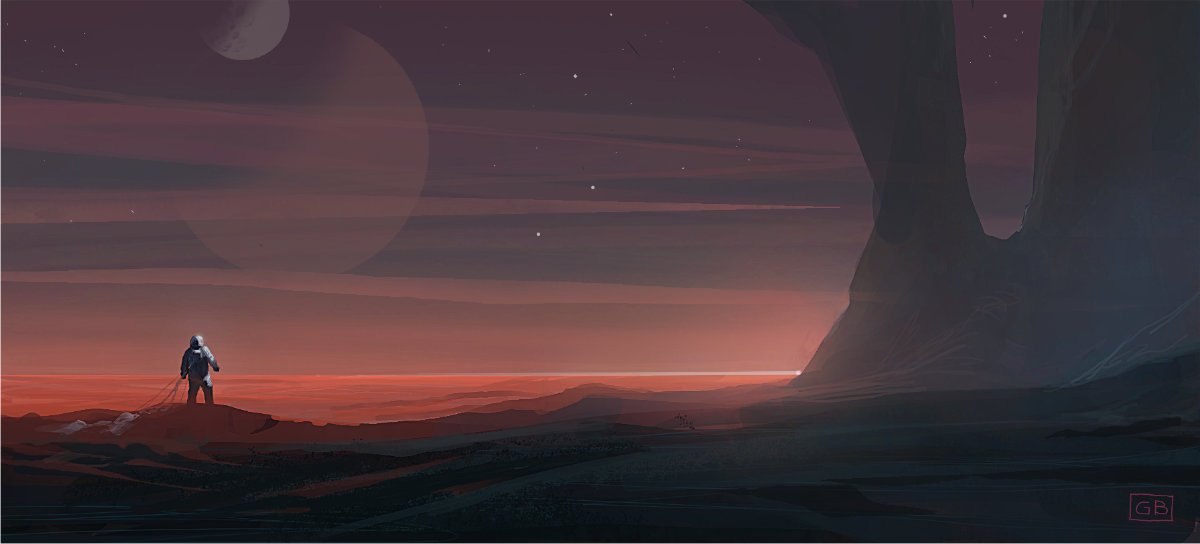
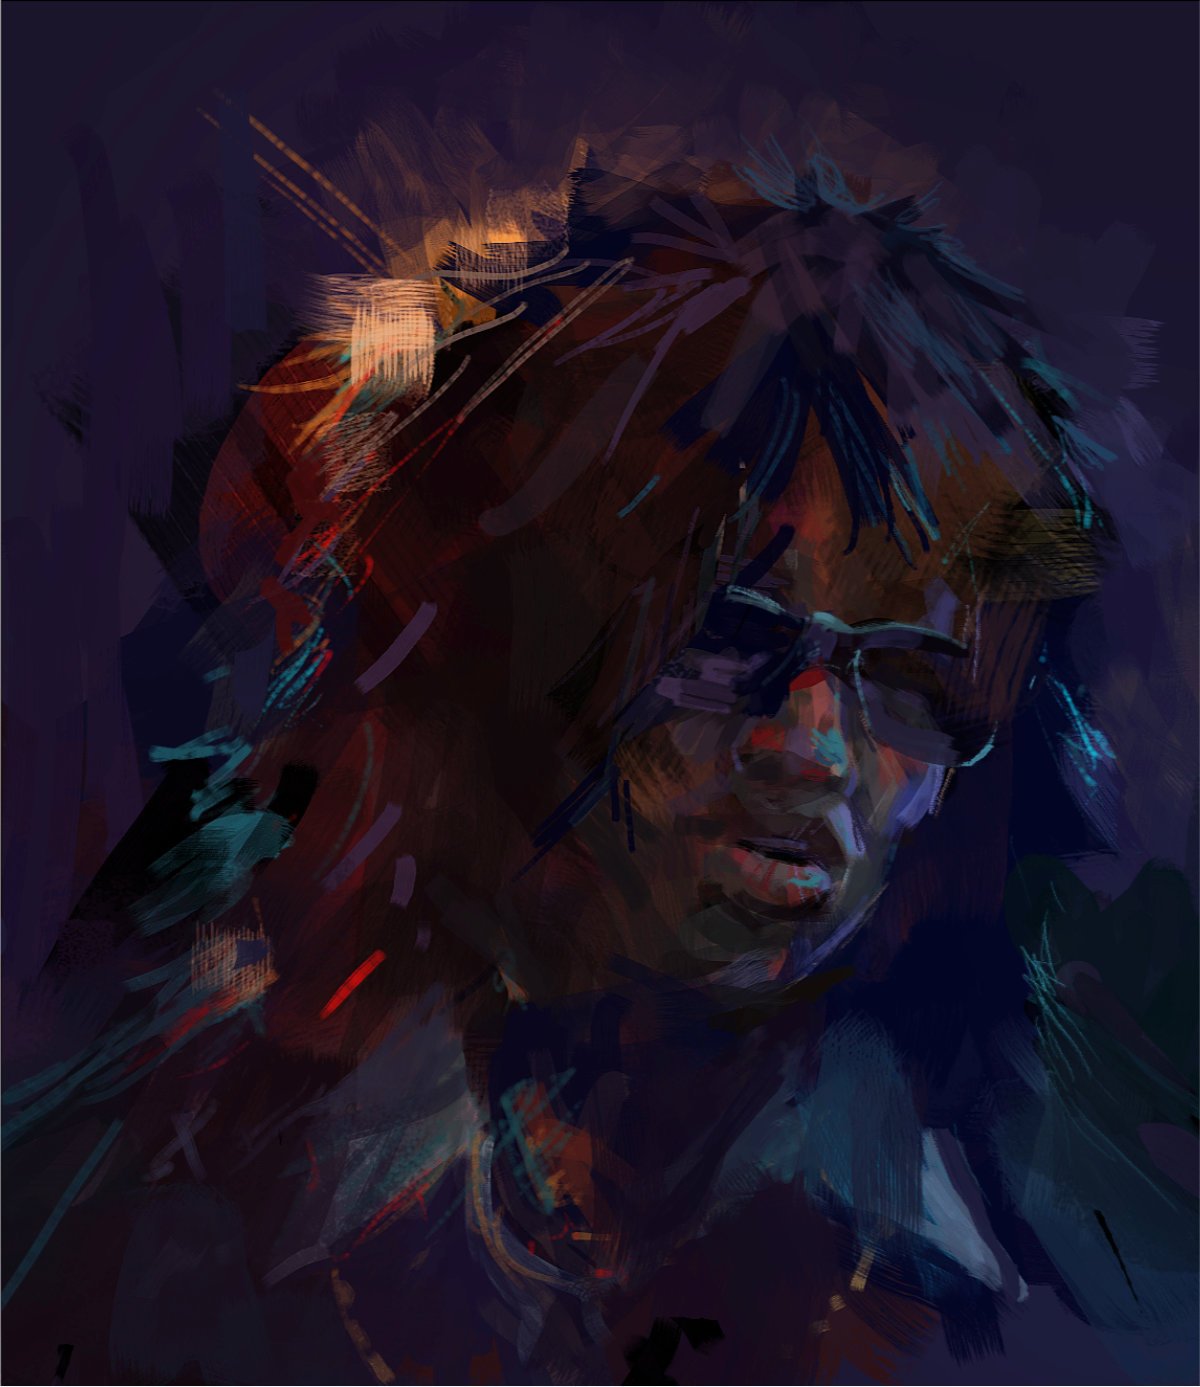
Hi there guys ! it's been a while since my last post in this thread . I'm always around here reading, watching you and submitting some bugs. Here's a bunch of things I did in the last few months with Affinity Photo, mostly with iPadpro. There are some sketch, movie frame study, some illustration...
- 10 replies
-
- 13
-
-

-
I downloaded photocoreskills, HOWEVER, there files exposure_adjustment.ORF and tonal_adjustments.RW2 and advanced_adjustments.RW2 AREN'T THERE! AND possibly other resources I am going to be needing soon? Can someone with the knowledge tell me WHERE I can find mentioned above files to download as well as possibly all other resources? Maybe I am just not seeing the obvious again? PLEASE HELP!
-
Questions welcome MUM! Tv is not working --- only blackNwhite!! MUM!! Shakin' the dust off Make that three now
-
 Right hand is always holding the pencil, and left hand is free. It will be much more convenient if the undo button is on the left side.
- 3 replies
-
- 2
-
-
- iPad
- affinity photo
- (and 1 more)
-
A chart demonstrating how "relative" IQ has changed over the last century - made in Photo using just the Pen tool with fills and strokes. Another demonstration of just how versatile Photo is.
-
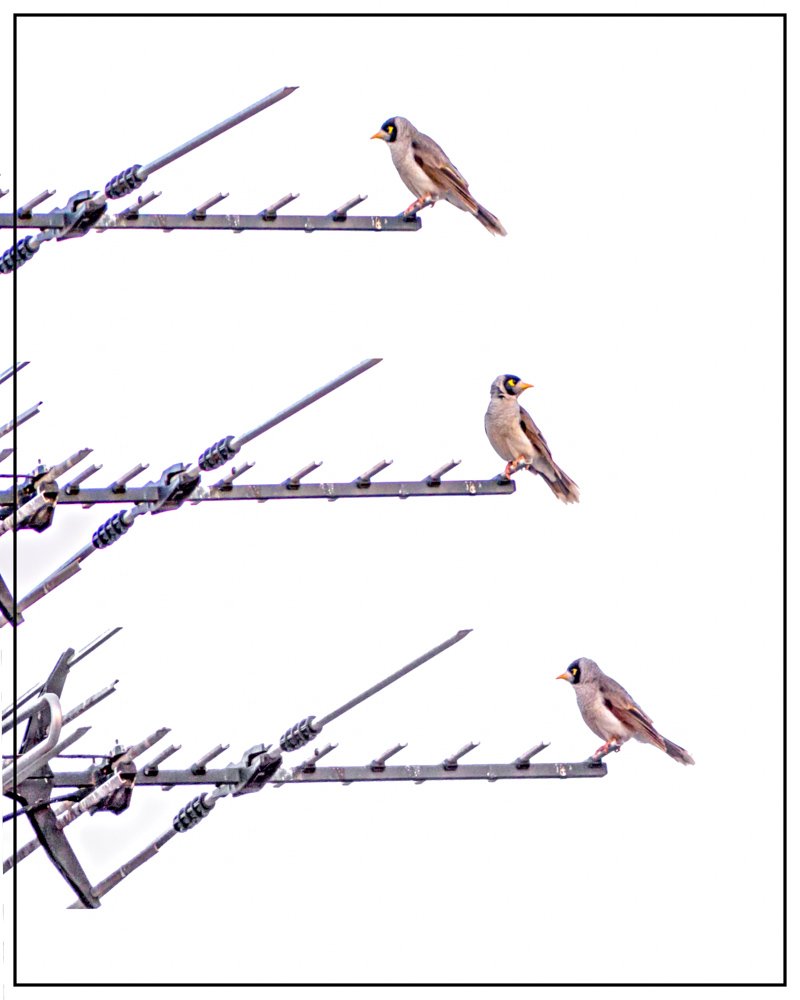
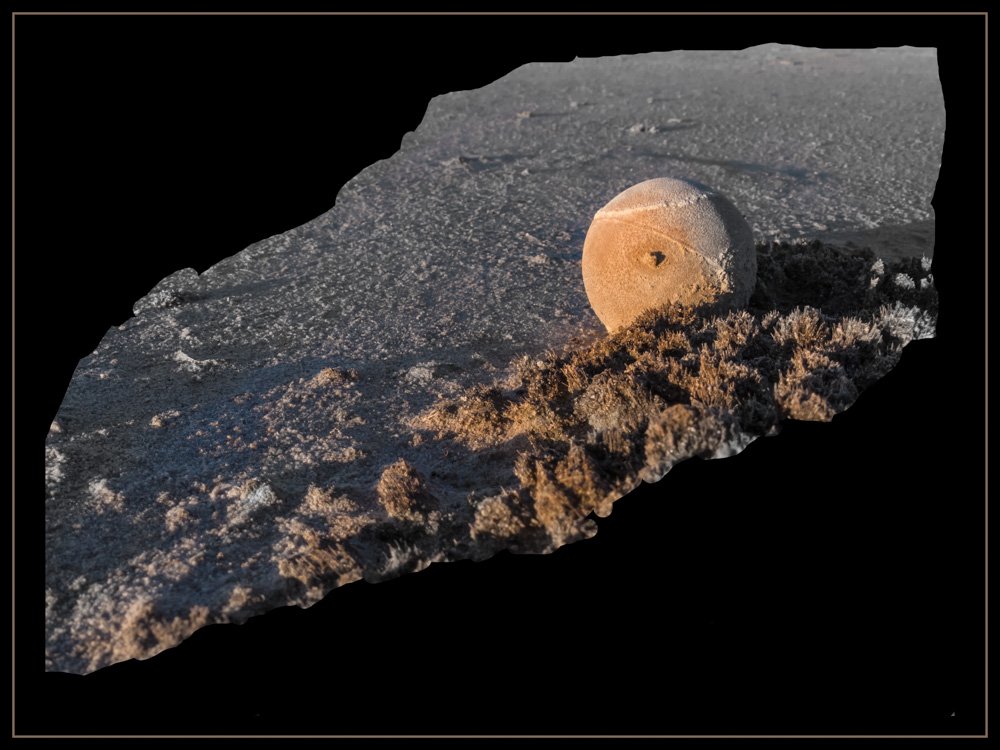
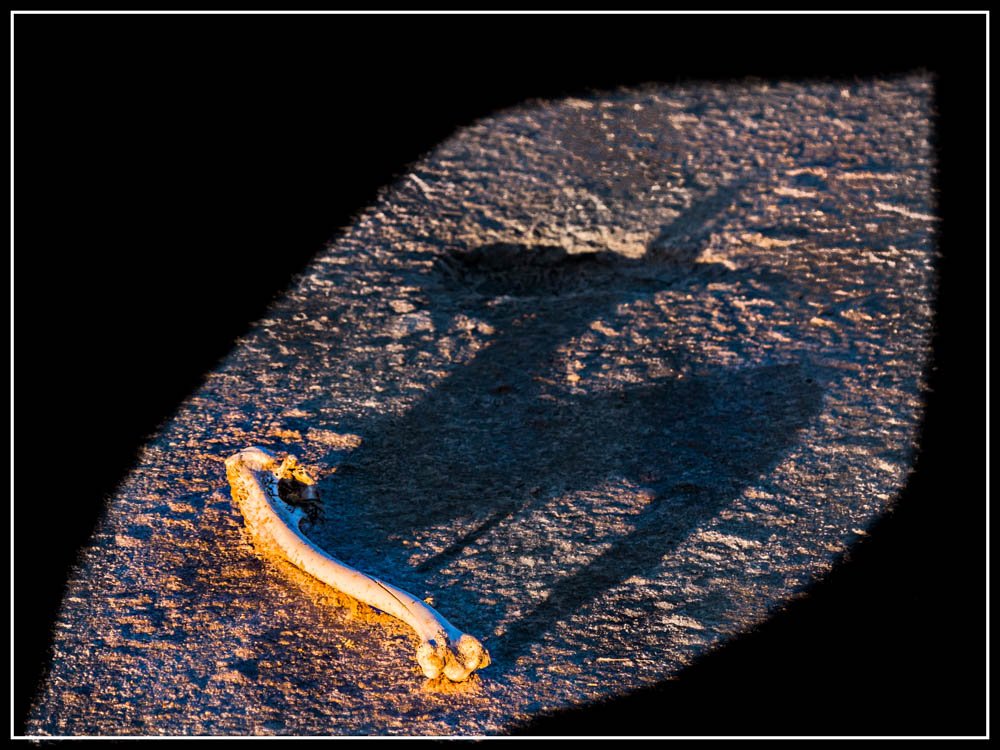
nothing special. Lumix Fz300 --- have to love the versatility of that one even if the quality is not up to the Oly Em1 first 2 are from the backyard and the others from a local salty lake Questions welcome. Mostly just fiddling around with the masking brush without using refine Cheers leaf and shadow 3 musketeers escaping Lost ball --- there is a better photo of this waiting to be captured; if I can find it again donkey bone
-
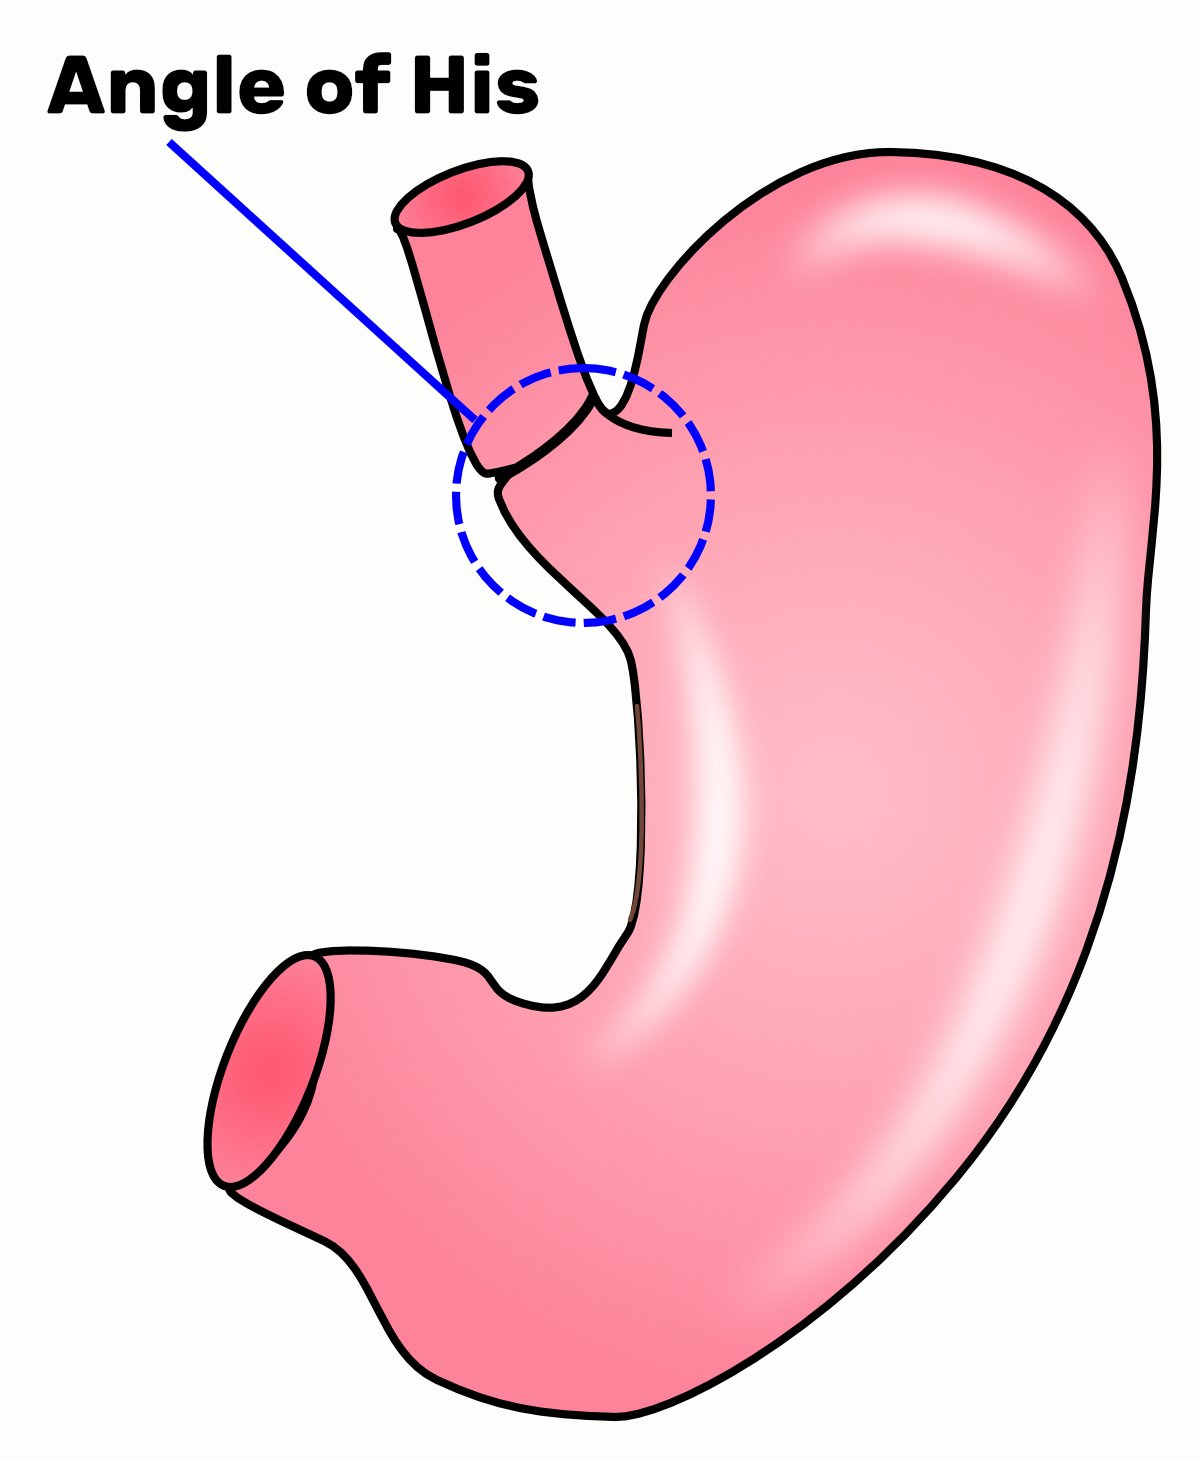
Certainly not offensive but not to everyone's taste - but we all have one. Note this is done in Photo not Designer which would be the usual tool of choice for this sort of thing. I had to illustrate stomach to show the oesophagus, lower oesophageal sphincter and "angle of His" to go with a piece about GERD in infants and how some young/new mothers were being shamed into buying fresh produce when there are perfectly good (and sometimes superior!) products available from the major manufactures. The public domain images all have a lot more detail than I needed so I opted for this adapted trace (it's a little rough as I'm no expert with the pen tool). What makes this special is the wonderful way that Photo does graduated fills so there's a almost a 3d effect going on. The highlights are just short, stroked curves using a variable pen pressure (another feature I just adore) and then rasterised and blurred using Gaussian blur until the desired effect is achieved. It's not going to win me any prizes but it shows just how versatile Photo is.
-
 My latest tutorial. Creating a dramatic image from a boring raw file using only Affinity Photo. This one is quite long and has many small incremental adjustments, so I've split it into three parts. Here is the link for the first one..
 -
 Ok, Im at my wit's end here. I cant seem to figure out the correct way to set up a simple rectangular image mask in Affinity Photo. What's really weird is, some of my layers have masks on them that behave as I want them to and new layers I create have what appear to be the same kind of masks, and they do NOT do what I need them to do. It may be that the ones that are behaving correctly, are from when I originally opened this file from a Photoshop file. The layers that are behaving are the Furniture Images layers. The layer at the top is my attempt to recreate this type of mask, and it simply wont behave the same as the Furniture ones. When I try to manipulate the mask, it remains grouped or joined with the image. I want a layer with a Mask layer on it, underneath the pixel layer. I need to have BOTH the image and the Mask be able to be manipulated independently. I dont want the image to distort when I try to modify the mask object. I CAN NOT see what the difference is between my layers that are working correctly and the ones that arent. Kind of making me nuts! Please have a look at the attached file and let me know how do I recreate whatever it was that I did in the successful version Thanks!. 2018_10.03_SquareUp_Sale_Ad_Email.afphoto
 -
Temple_Of_The_Four_Winds.pdf
-
We are finally here & giving away a FREE Macro Sample Pack. Want lightroom style presets on Affinity. Try our sample pack today! UNLOCK YOUR CREATIVITY Providing film simulation macros for Affinity Photo. Timeless macros to fit directly into your workflow. DOWNLOAD HERE
-
Hello! I prepared new 25 styles for A-Designer, A-Photo and A-Publisher Regards Designia Styles 2.afstyles
-
 In Affinity Photo, there are purple borders around all of the objects on each layer. Is there a way to turn them off? It's kind of hard to design a layout with all those purple boxes all over the screen. I only want to see the borders if I hover over the object, or even better, only if I click on it. Hope there's a way! Thanks.
-
 Hey, new Affinity Photo user here. I'm really happy with the program itself, it seems very intuitive, and easy to get into, especially when you're used Photoshop Elements, which i used before. Now, there's one thing which i miss, coming from that software: The filters. PS Elements really had a big selection of quality filters, and, compared to that, the selection in AP really seems quite sparse. I'd especially wished there were more artistic filters, for text, or narrow object decoration, for example. Wonder if there's anything bigger planned in that regard. At the moment, i rather feel like doing the base work in AP, and then switching to PS Elements, to apply some filters, which, of course, is not optimal.
 -
 Created in an awesome app called JWildfire, Colour edited in Affinity Photo to define the patterns. Comparison
- 2 replies
-
- 2
-
-
- patterns
- colour edited
- (and 1 more)
-
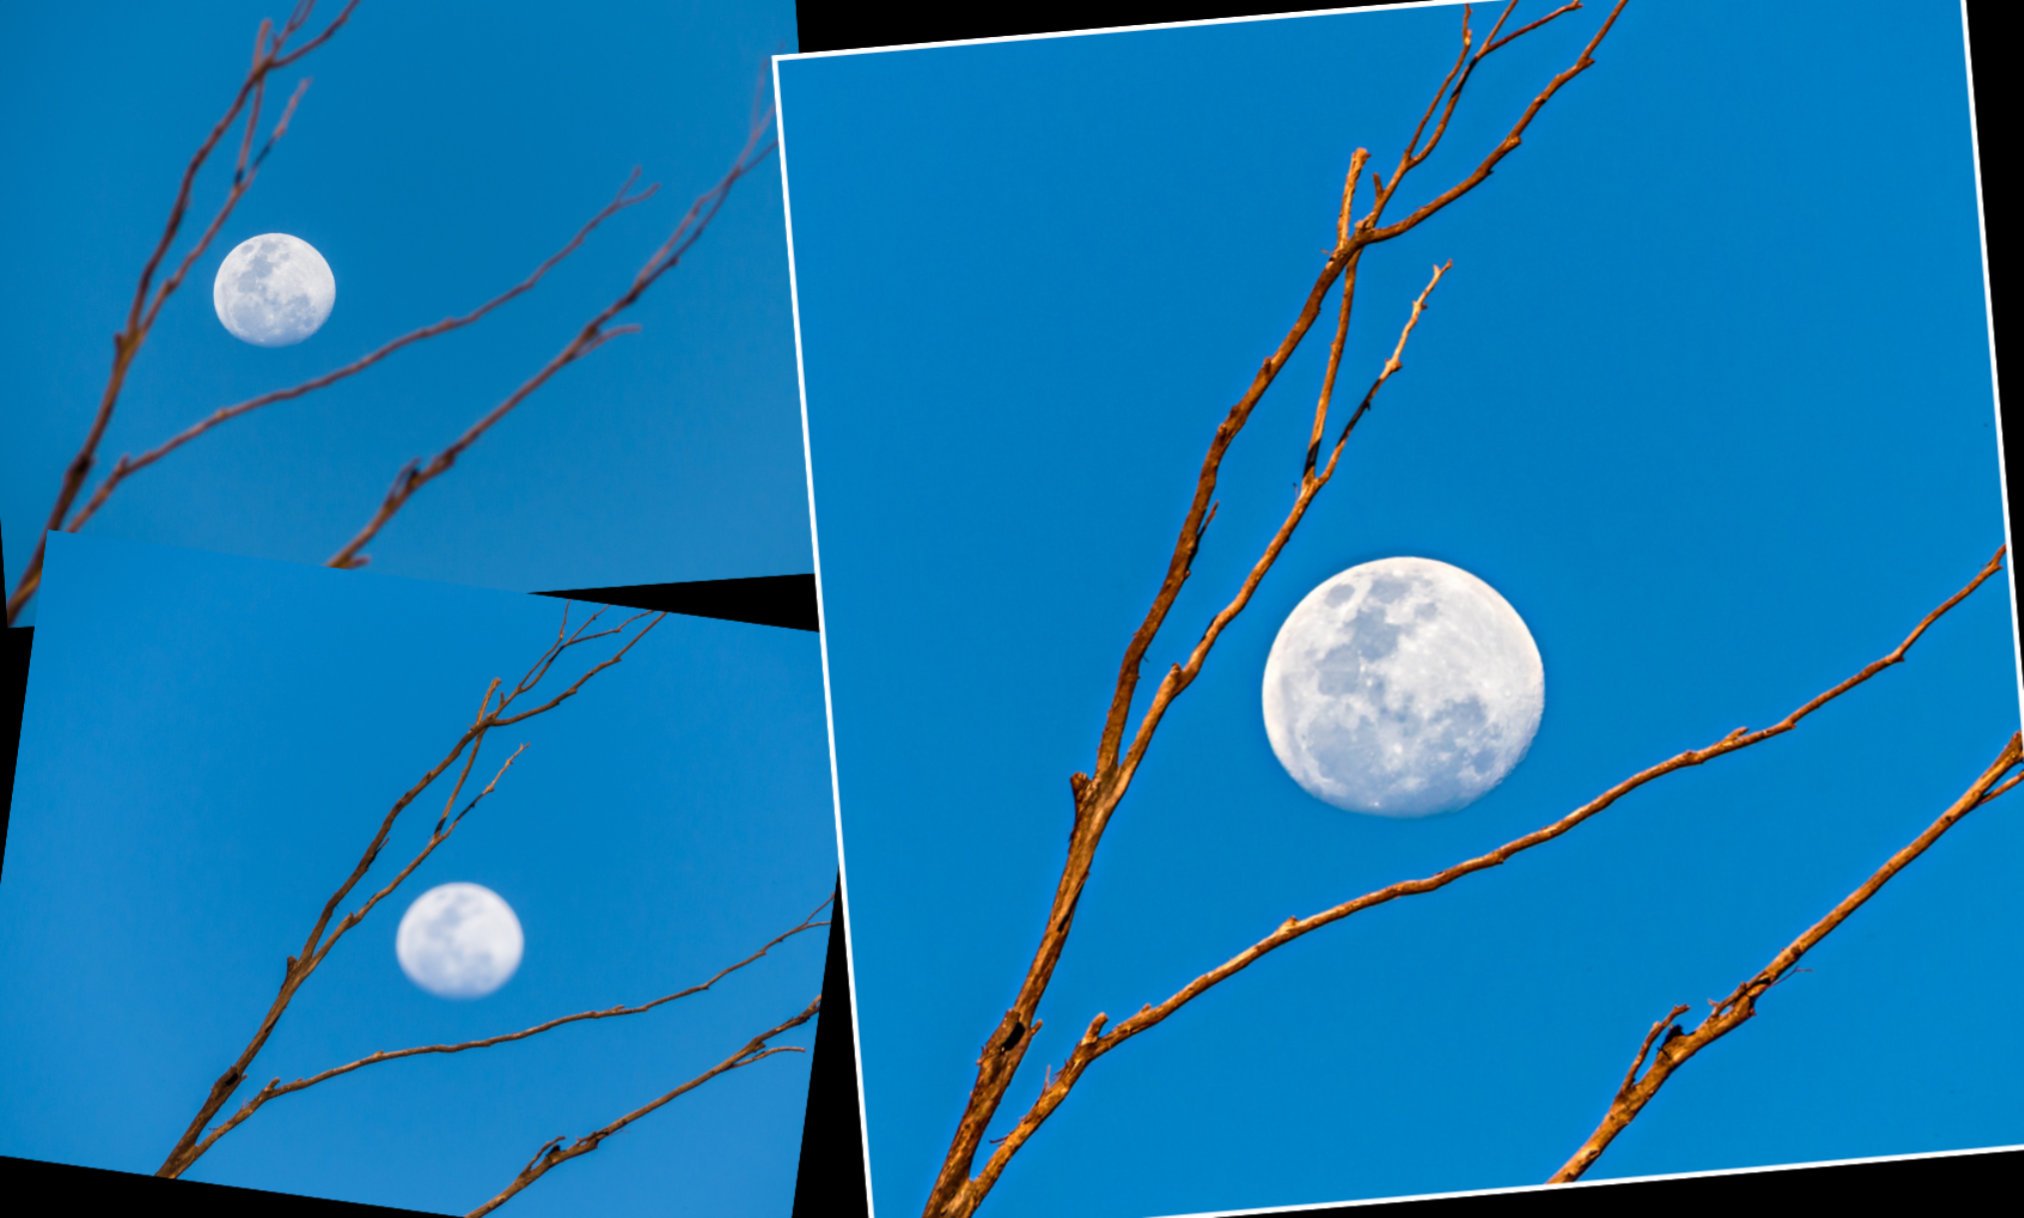
Bit of bad photography with Panasonic Fz300 while walking a friend's dog Just the two photos taken as I usually do; one focused on the moon and the other on the limbs -- was trying to get the "marshmallow" on the stick but the moon didn't want to be cooked --- maybe another evening Basic editing in Lr5 both files taken to affinity > focused moon enlarged to cover the other > masked in with the sharper limbs > bit of contrast added > border added with 'outline Just an interesting little edit to do and share questions welcome


.png.93cdaafc28ffb9dbed28b604c33a8ed5.png)