Search the Community
Showing results for tags 'Affinity photo'.
-
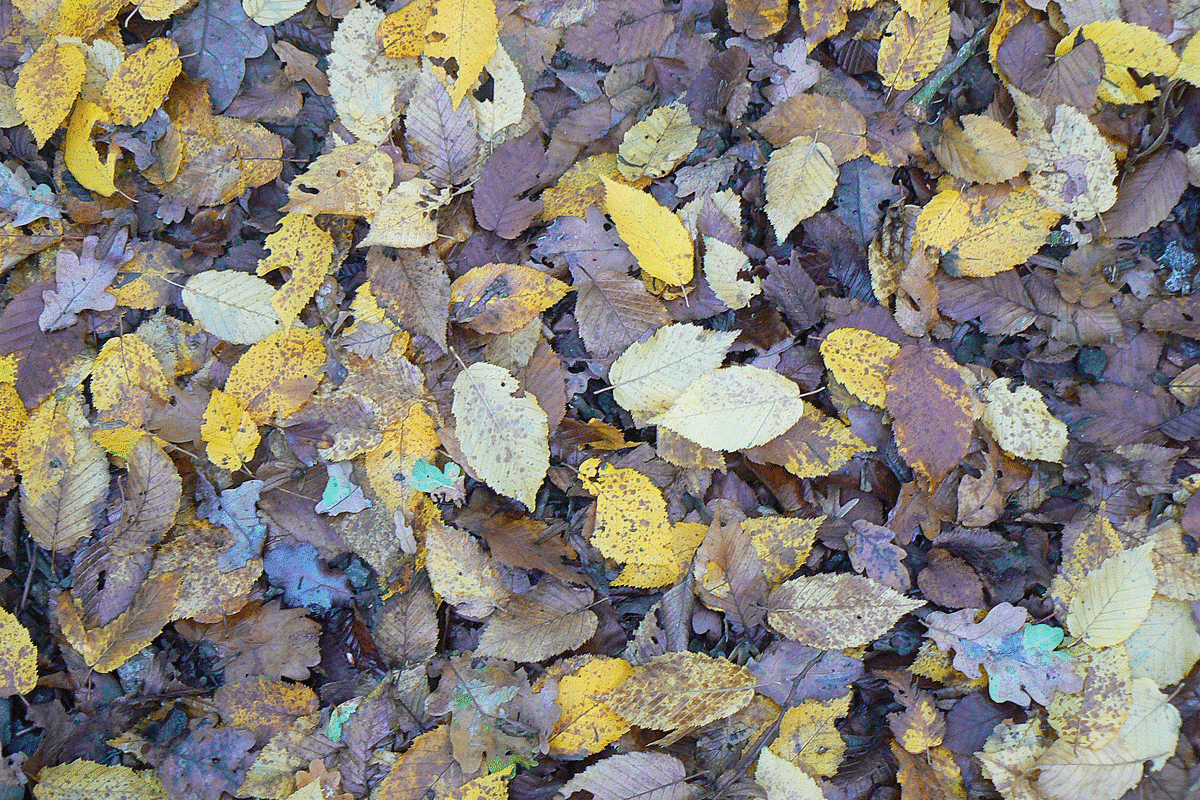
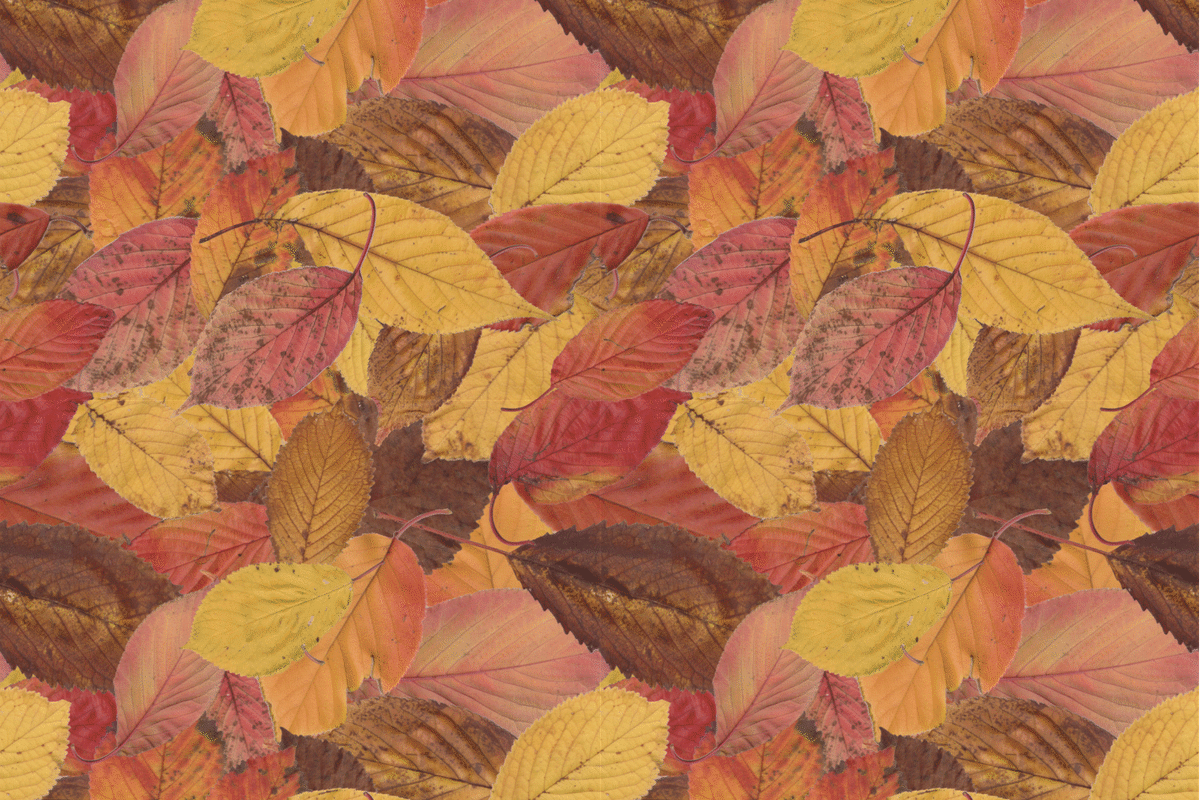
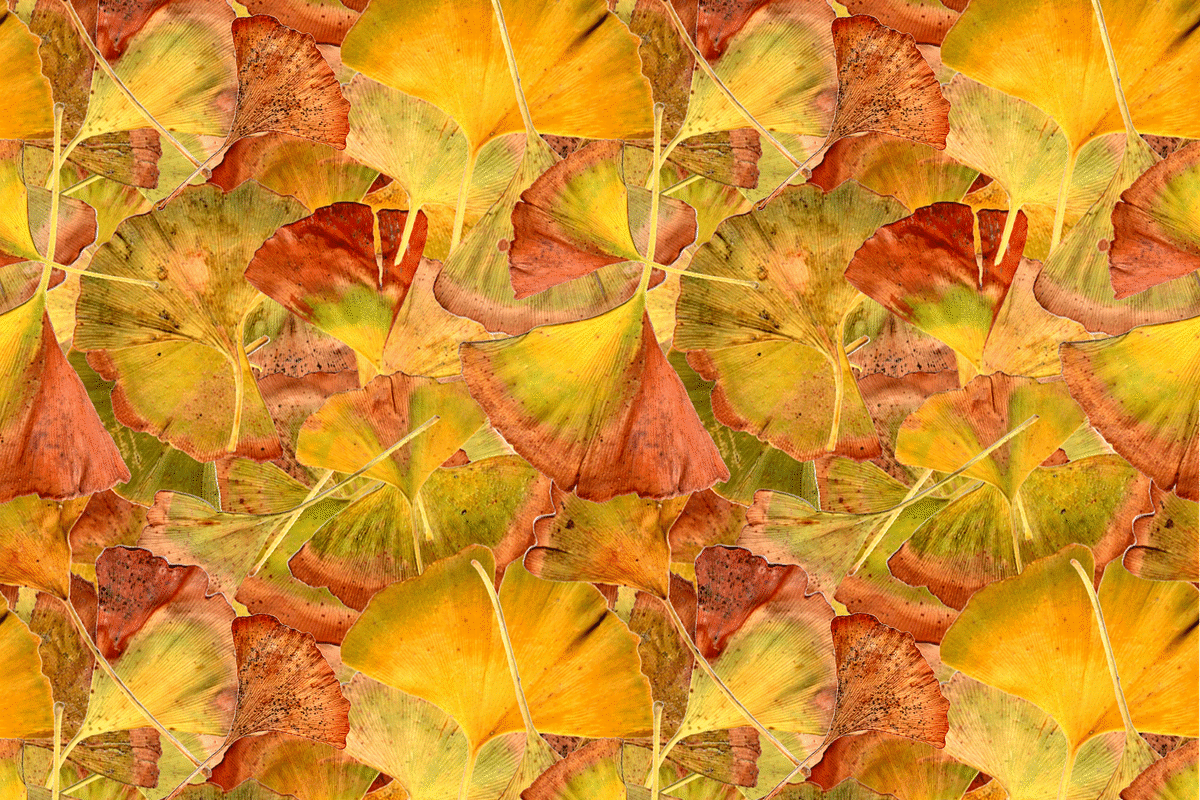
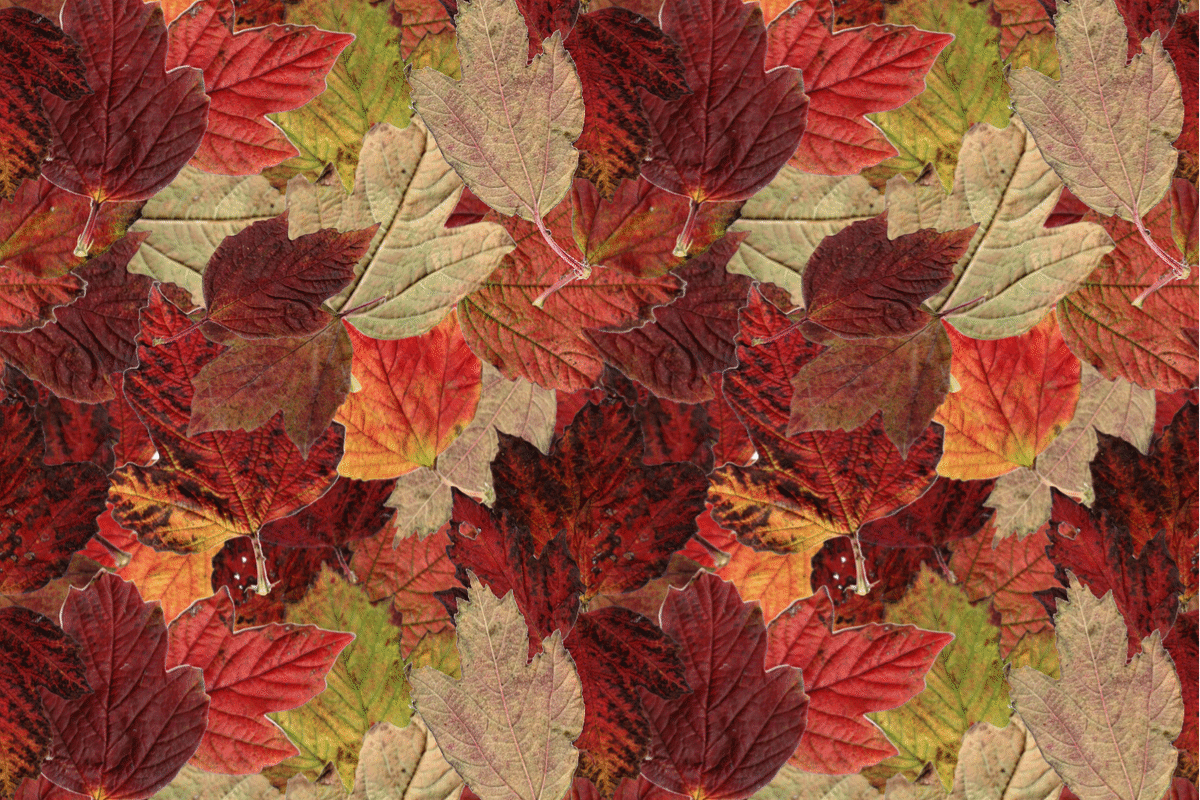
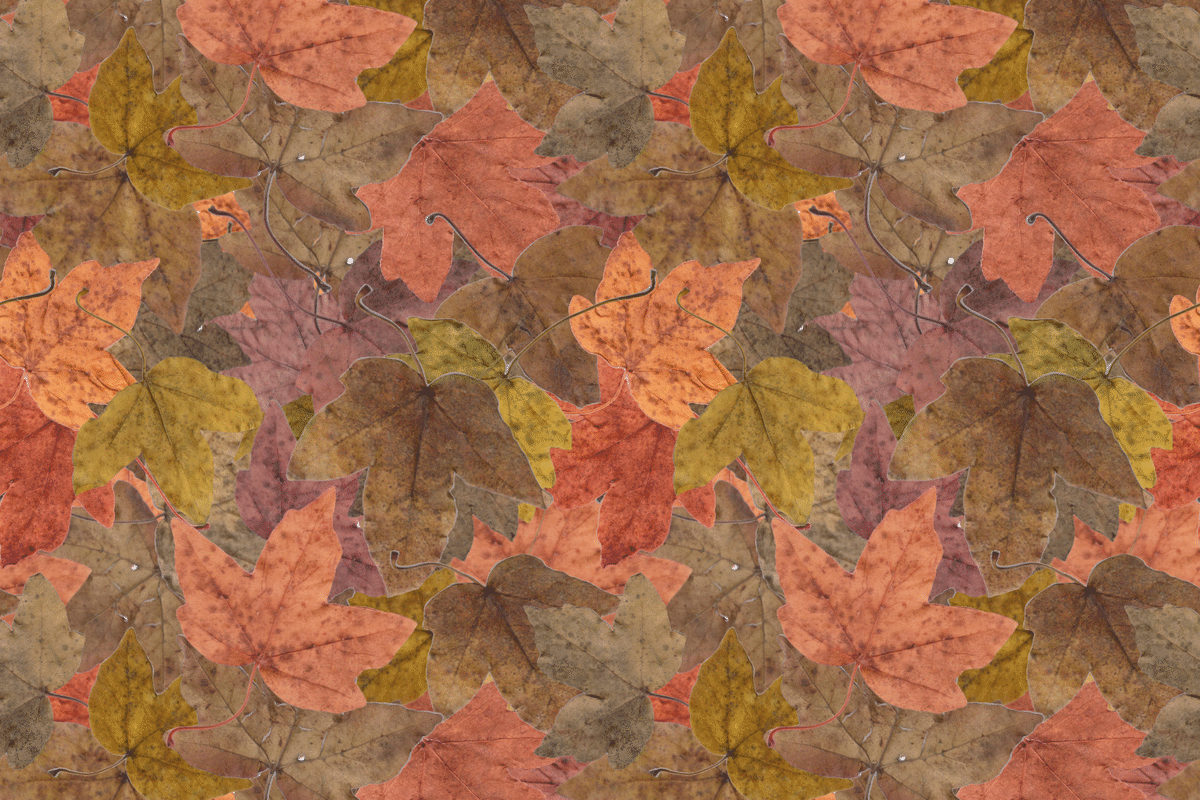
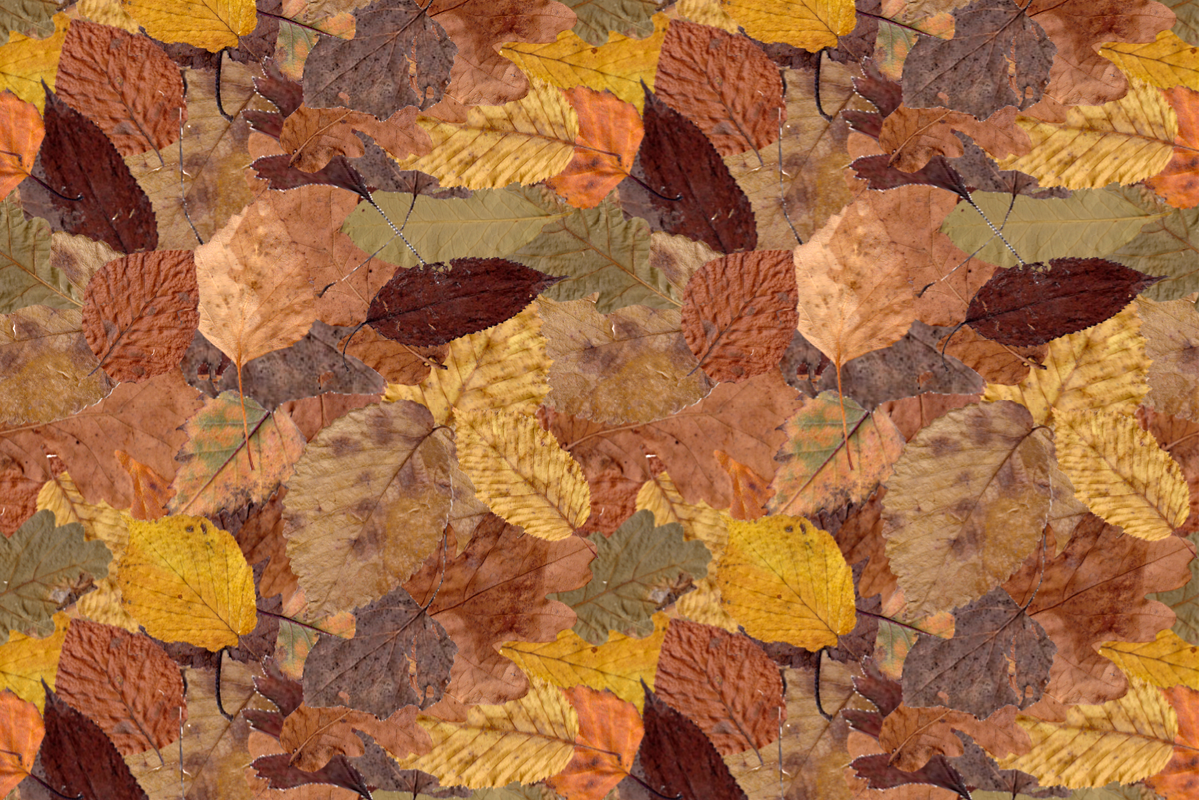
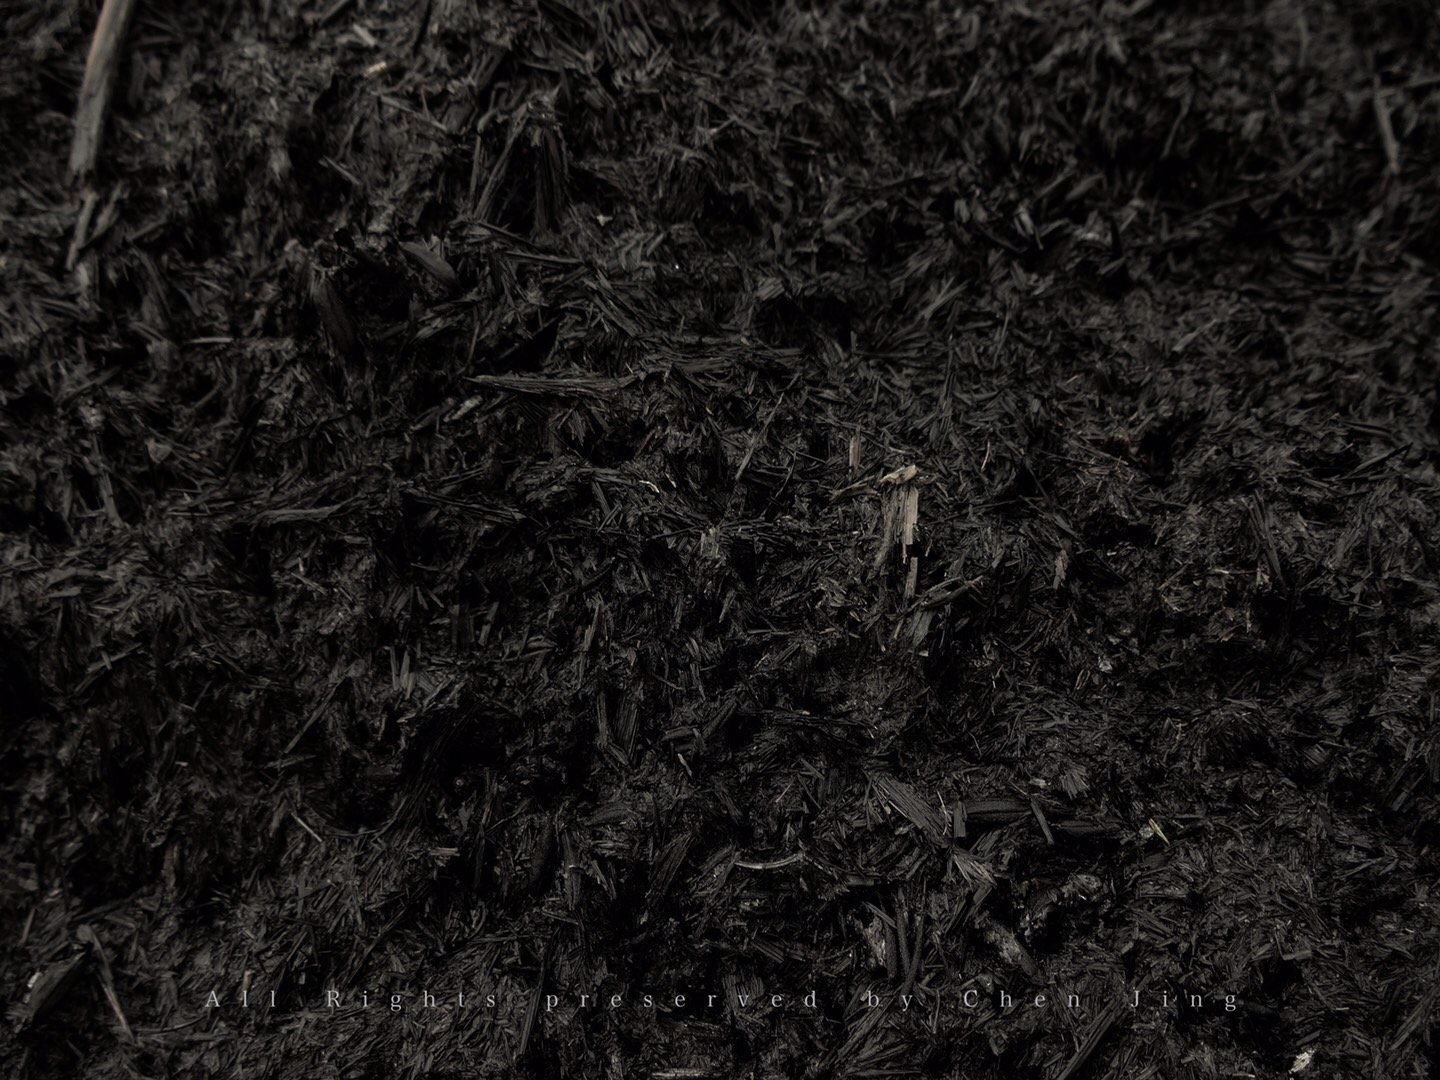
In my recent tutorial, Creating tiles using Affine, especially of Leaves, I explained how to create tileable images using dead leaves (or any other similar object). I show here a selection of such tiled images, with four such tiles grouped to produce a seamless image. Before the tiled images, here is an example of a real patch of leaf litter taken just by holding the camera vertically of the woodland floor: This is an example of a composite image of leaves to recreate a leaf-litter-like tiled pattern: The following four images are each based on a single tree species, using about twenty leaves of different colours. Firstly English Maple Acer campestre. Next Cherry Prunus avium. Now a garden shrub Guelder Rose Viburnum opulus. And finally a strange Chinese relative of the conifers, the Ginkgo, Ginkgo biloba. I have used these to form the basis of a set of table mats. John

-
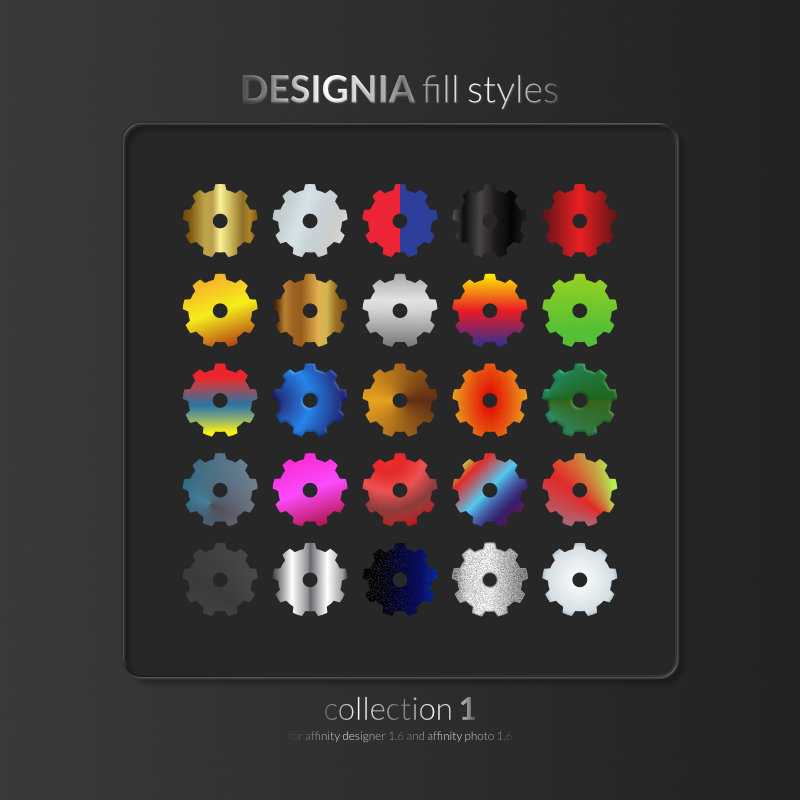
Hello, I created 25 types to fill objects. Designia Styles.afstyles
- 12 replies
-
- 10
-

-

-
- affinity photo
- fill
- (and 6 more)
-
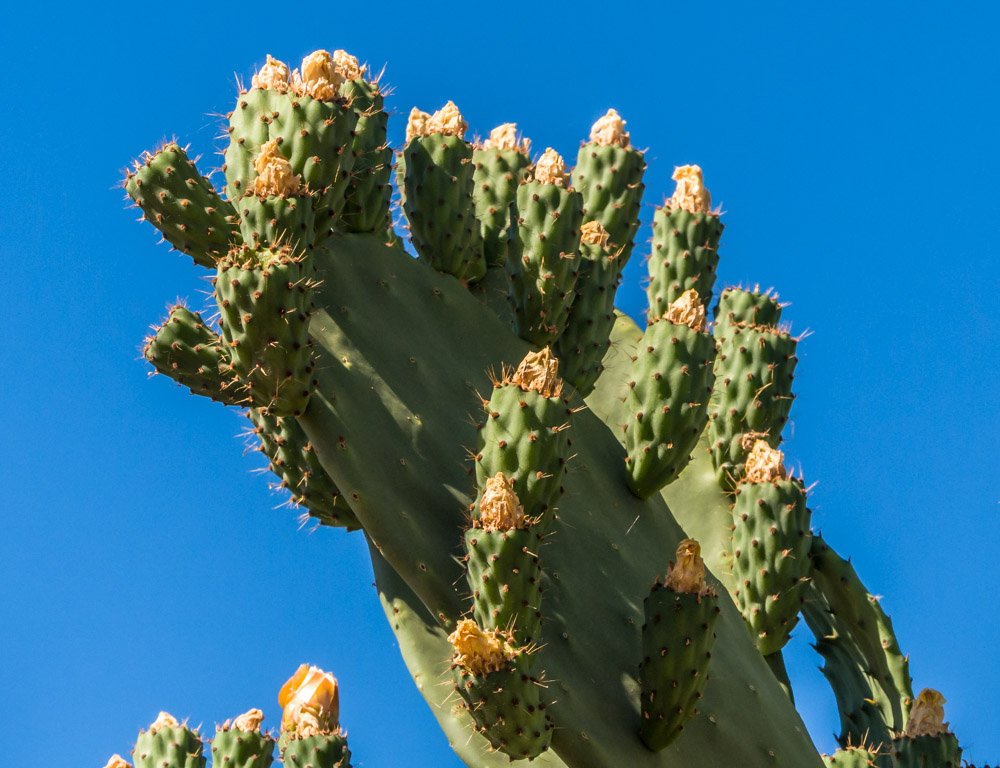
Hi, here's my first design with affinity photo and an ipad pro 2018. I'm a textile designer for fashion and home home design. I love the affinity brushes, before i worked with a cintiq and photoshop but since this design i switched to affinity photo and ipadpro. At the begining i thought that i would use procreate but for my needs i prefer affinity photo105 master Copier.afphoto
- 6 replies
-
- 13
-
-
 Hi Everyone, So, you want to enhance your photos but you're in a hurry? Aren't we all! So my new course, Affinity Photo: The Fast Guide is designed especially for you. It’s a brand new course, so here’s your new course coupon - AFFINITY_FAST . Apply the coupon to get the course for a massive discount. This coupon lasts until the end of November 30th. Everything you need and nothing you don't, all in one 3.5 hour course that gives you pro level techniques in record time. What's more, I provide you with a PDF containing summaries of all the lessons, along with screenshots to help. So you don't even have to make notes because I've done it for you! Well actually, there's two PDF files. The main one contains bullet points of the main points covered in all the lessons, complete with an index so you can search for a particular word or tool. In addition, I'm also including a PDF all about the different layer blend modes available in Affinity Photo complete with descriptions plus a screen shot for every mode so you can really nail down your knowledge. This course has been designed to fit in with various other Affinity Photo courses I offer here at Udemy so you if you want to further your knowledge after this course, I've got you covered. This course may be for people in a hurry. But I still bring the same philosophy to this course as I do to all my courses. Knowing what a tool does is not enough. You have to know why and when to use it. That way you gain skills as well as knowledge. I'll give you both in record time. So click on the link above and enrol today. Professional instruction, delivered in record time! Thanks for your time, Simon
-
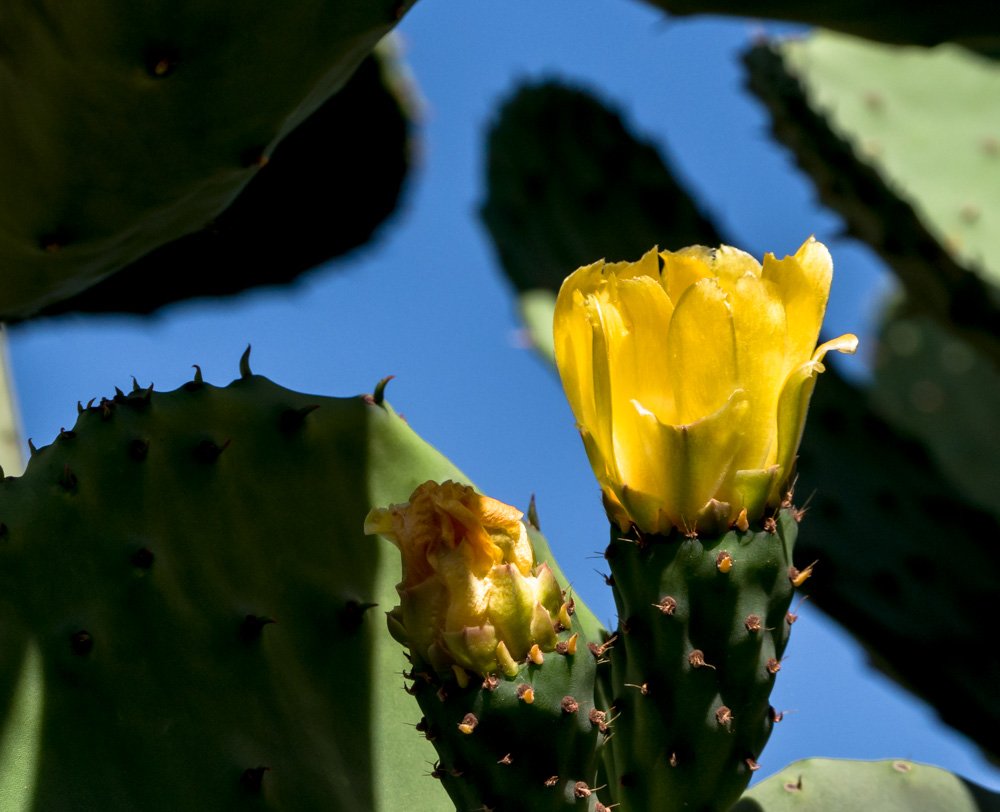
thinking outside the boring old normal square Would have been so much easier to edit 2 and 3 in Lr and post as individual photos; but anyone can and does do that. first is a simple composite of the other two Hardest part is the idea. The second hardest part is putting the idea into place using layers/masks. There 3rd hardest part is knowing when is too much, not enough, or exactly around about close to perfect open both files as layers -- flower top layer cut the flower out with selection bush -- slightly smooth/feather selection -- add a layer mask with the marching still active -- all outside the marching ants will disappear. Now move/size the flower to suit --- no law saying you cannot rotate files. You would be surprised how often I do that Photo taken in the late morning/midday sunlight with a little Pana Fz300 your honest thoughts and comments welcome There are always other images not posted here on my Photos by Ian Browne FB page. I'm not into the FB numbers/friends stuff but you are welcome to like the page and ask questions there BTW: I have no problems if someone points out edit mistakes, typing mistakes, other ways to do similar .
-
The LUT problem have puzzled me for a long time . This is the original image and image with adjustments. This is the image with the LUT formats: .csp .cube .3dl .look As you can see , nothing can bring the color tone back . The .3dl format can do a similar job , but it's still not the same color tone . Also, the function of infer LUT , i put in the original source and the adjustment source of the image reference , but nothing showed up . I still cannot get the way to use it .
-
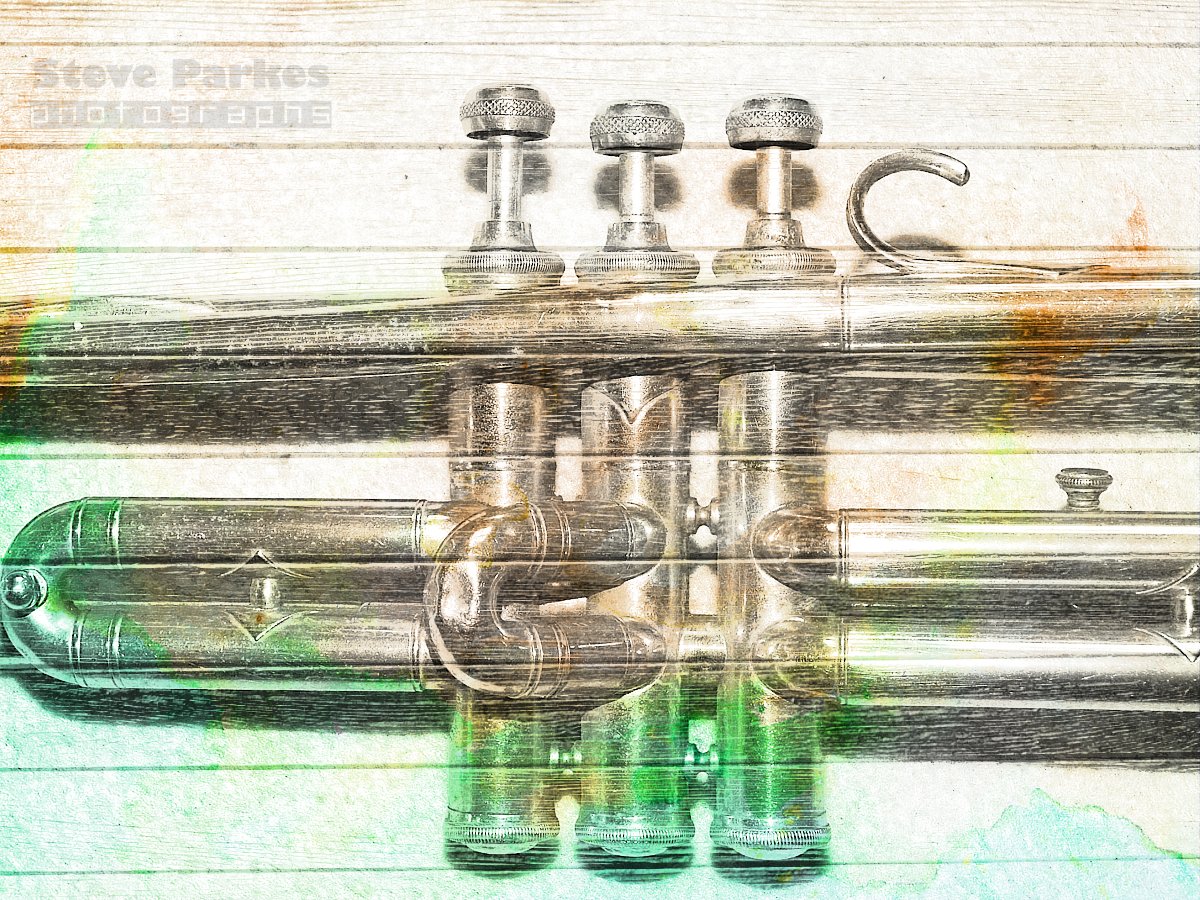
 I've revived a few photos from my archive, using some texture images I've collected -- mostly from legitimate free sources with no copyright issues. These three are of an old trumpet I bought a few years ago. It's no longer playable (and I couldn't play it if it were) but I thought it was photogenic. These three pics have two texture layers, added one at a time, and I tried various combinations of blend mode and transparency till I found one I liked. I think the first one and the third one have something of a nineteen-fifties feel (I was there ) ... This one reminds me of an album cover, but I can't think which one. Do let me know if you do! Here's the first one in afphoto format if you want to see exactly what I did ... 0920z.afphoto
-
I'm having some troubles with the Define option under the wand tool... still having a photoshop --> photo learning curve. Anyways, this is my first Affinity Photo manipulation. Starting to get the hang of it. If anyone is willing to walk me through some advanced methods for defining masks, please let me know.
-
Copied from the Affinity Facebook post -- should / could this be in Tutorials ? Another cut and move closer -- I have explained this before . Three exposure bracketed raw files recorded with the Panorama Fz300 Two of those files manually blended to balance the shadows and the highlights on the tree trunk -- could have been with one exposure set for the highlights but that could have added some noise to the shadows . When using the smaller sensor cameras you need to be very aware of any limitations -- that applies to all cameras so don't fall into trap of bigger is better. Once blended and duplicated ; the free hand selection tool was used to make a wandering selection through the space between the flowers and tree Selection smoothened / feathered lightly Top layer (flowers) dragged closer to tree tidy the join -- didn't need much crop off left hand side of bottom layer flatten and finish as requires The real trick is for the move not to be noticeable Cheers Folks honest comments, your ideas, and questions welcome
-
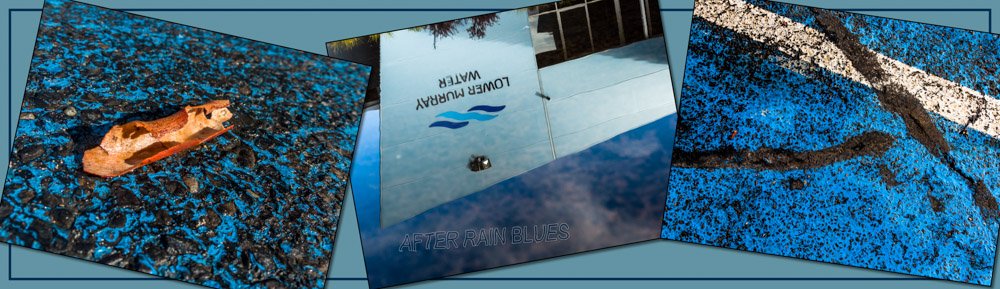
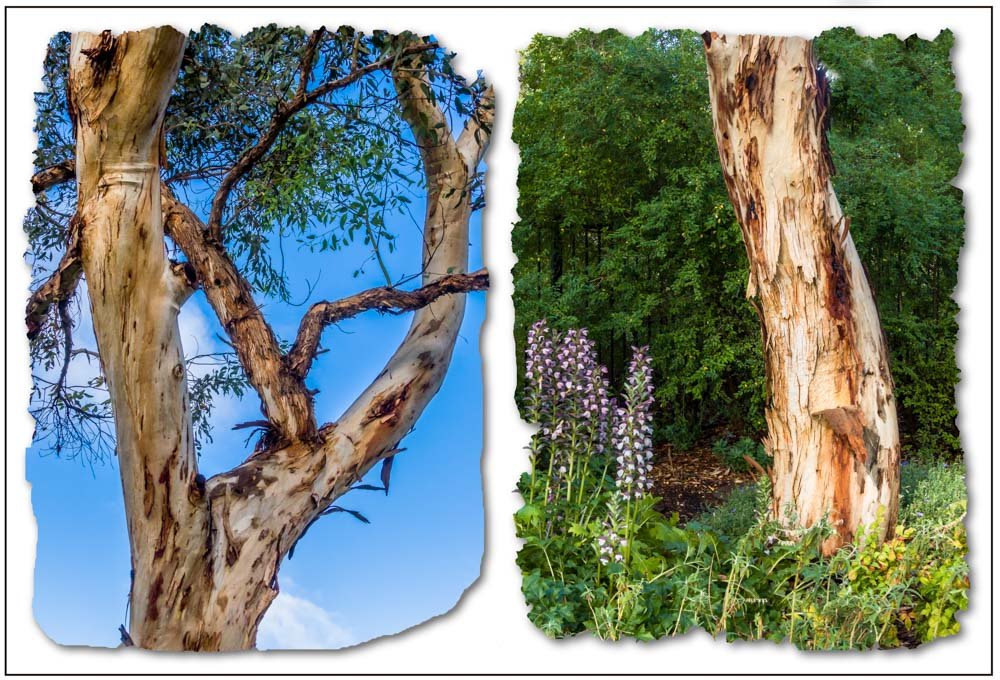
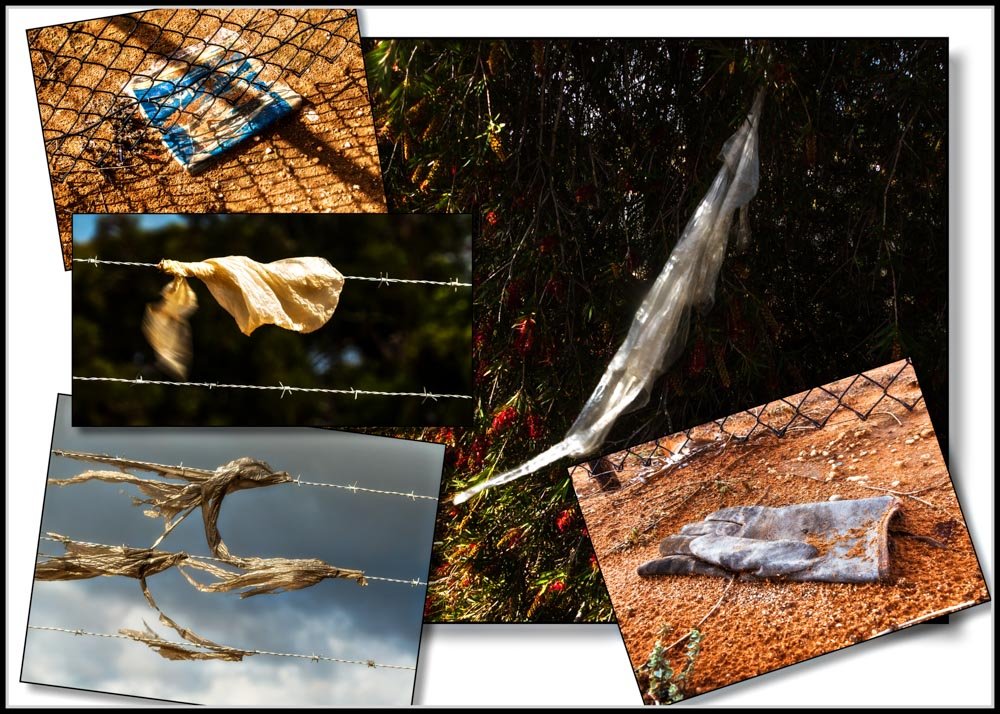
Copied from the Affinity Facebook post -- not sure if this is considered a tutorial so I will just share Not much to explain and really posting to show other ways to share ALL these photos we take these days "After rain blues" (look closely, or closer ;)) "bottom and top side by side" ( the same tree) "Rubbish on the fence, by the fence and in the tree" All photos taken within two hours yesterday morning and no more than a half Kilometer walk from my house . I would still have enough 'photo sets' for 3 or 4 more similar collages --- yeah; "but there is nothing to photograph near me" Nothing really planned. Collages "appear" while sorting images. Photos on angles allow them to be placed a little closer and there is nothing needs to line up. Snapping does make lining up images so much easier although I still rely on the grid (Ctrl + ") for much of it Most of the "effects" happen as the collage takes shape Rough edge (#2) is done with the Selection brush with a little soften (I like that tool more than feather) As always; honest comments, your ideas, and questions welcome --- I don't mind explaining anything I do; but I can edit faster, easier, and better than I can type. (spent 1/2 my life not being able to read and write properly due to dyslexia and other dramas -- still cannot hand write a simple thank you note so I prefer my photos and editing do most of the explaining . Cheers folks All Panasonic Fz300 raw images
-
Started painting again after a long layoff. My Wacom Intuos 3 large died after many years of service. Trying to get used to my new tablet a Huion Inspiroy Q11K V2. https://www.amazon.co.uk/HUION-INSPIROY-Upgraded-Wireless-Battery-free/dp/B07G8SPXF5/ref=sr_1_1_sspa?ie=UTF8&qid=1541357979&sr=8-1-spons&keywords=huion+inspiroy+q11k+v2&psc=1 Seems more than up to the Wacom and very pleased, works well with AP. Sketch a bit rough but then I'm rusty.
-
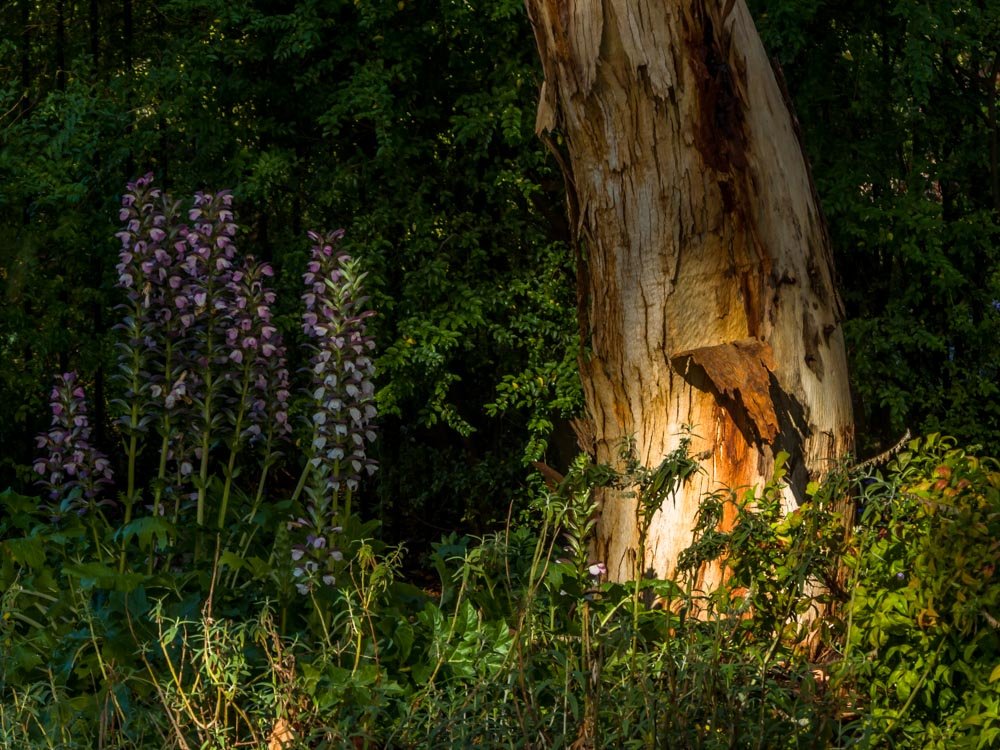
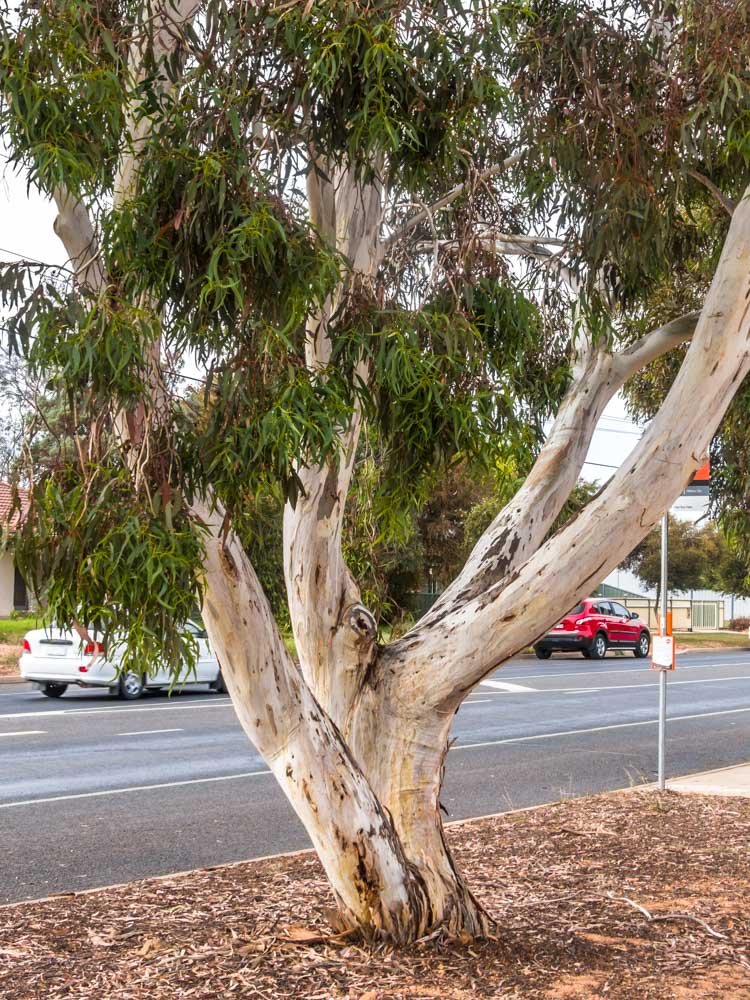
I often walk past this tree and always thought at the right time there was a photo there . Cloudy day worked well . The background was made from the top of the right hand side image What was going to be one of my quick edits but turned into a bit more ; again original files masked out with the Selection brush mostly >> top of tree was blurred several time while being rotated this way and that Copy/paste the tree images with layers onto the blurred background >some more masking >> lot of moving images around to get something that looks balanced Should have put it away for a day or so at least before sharing -- can be amazing what will be seen and notice with fresh eyes -- A mentor of mine; Peter Eastway said he and staff would often look at his main composition images for a month or two; or more before considering the photo to be as perfect as possible . That's why he is a master; or maybe it's grand master several times over of photography. If you fly QANTAS his photos are used in the magazines --- good job; being flown to all parts of the world to take photos and then getting paid a lot for them -- worth googling As always, honest comments (CC) and questions welcome Fz300 panasonic -- I'm currently rekindling my love affair with my little mate Pana :lol:
-
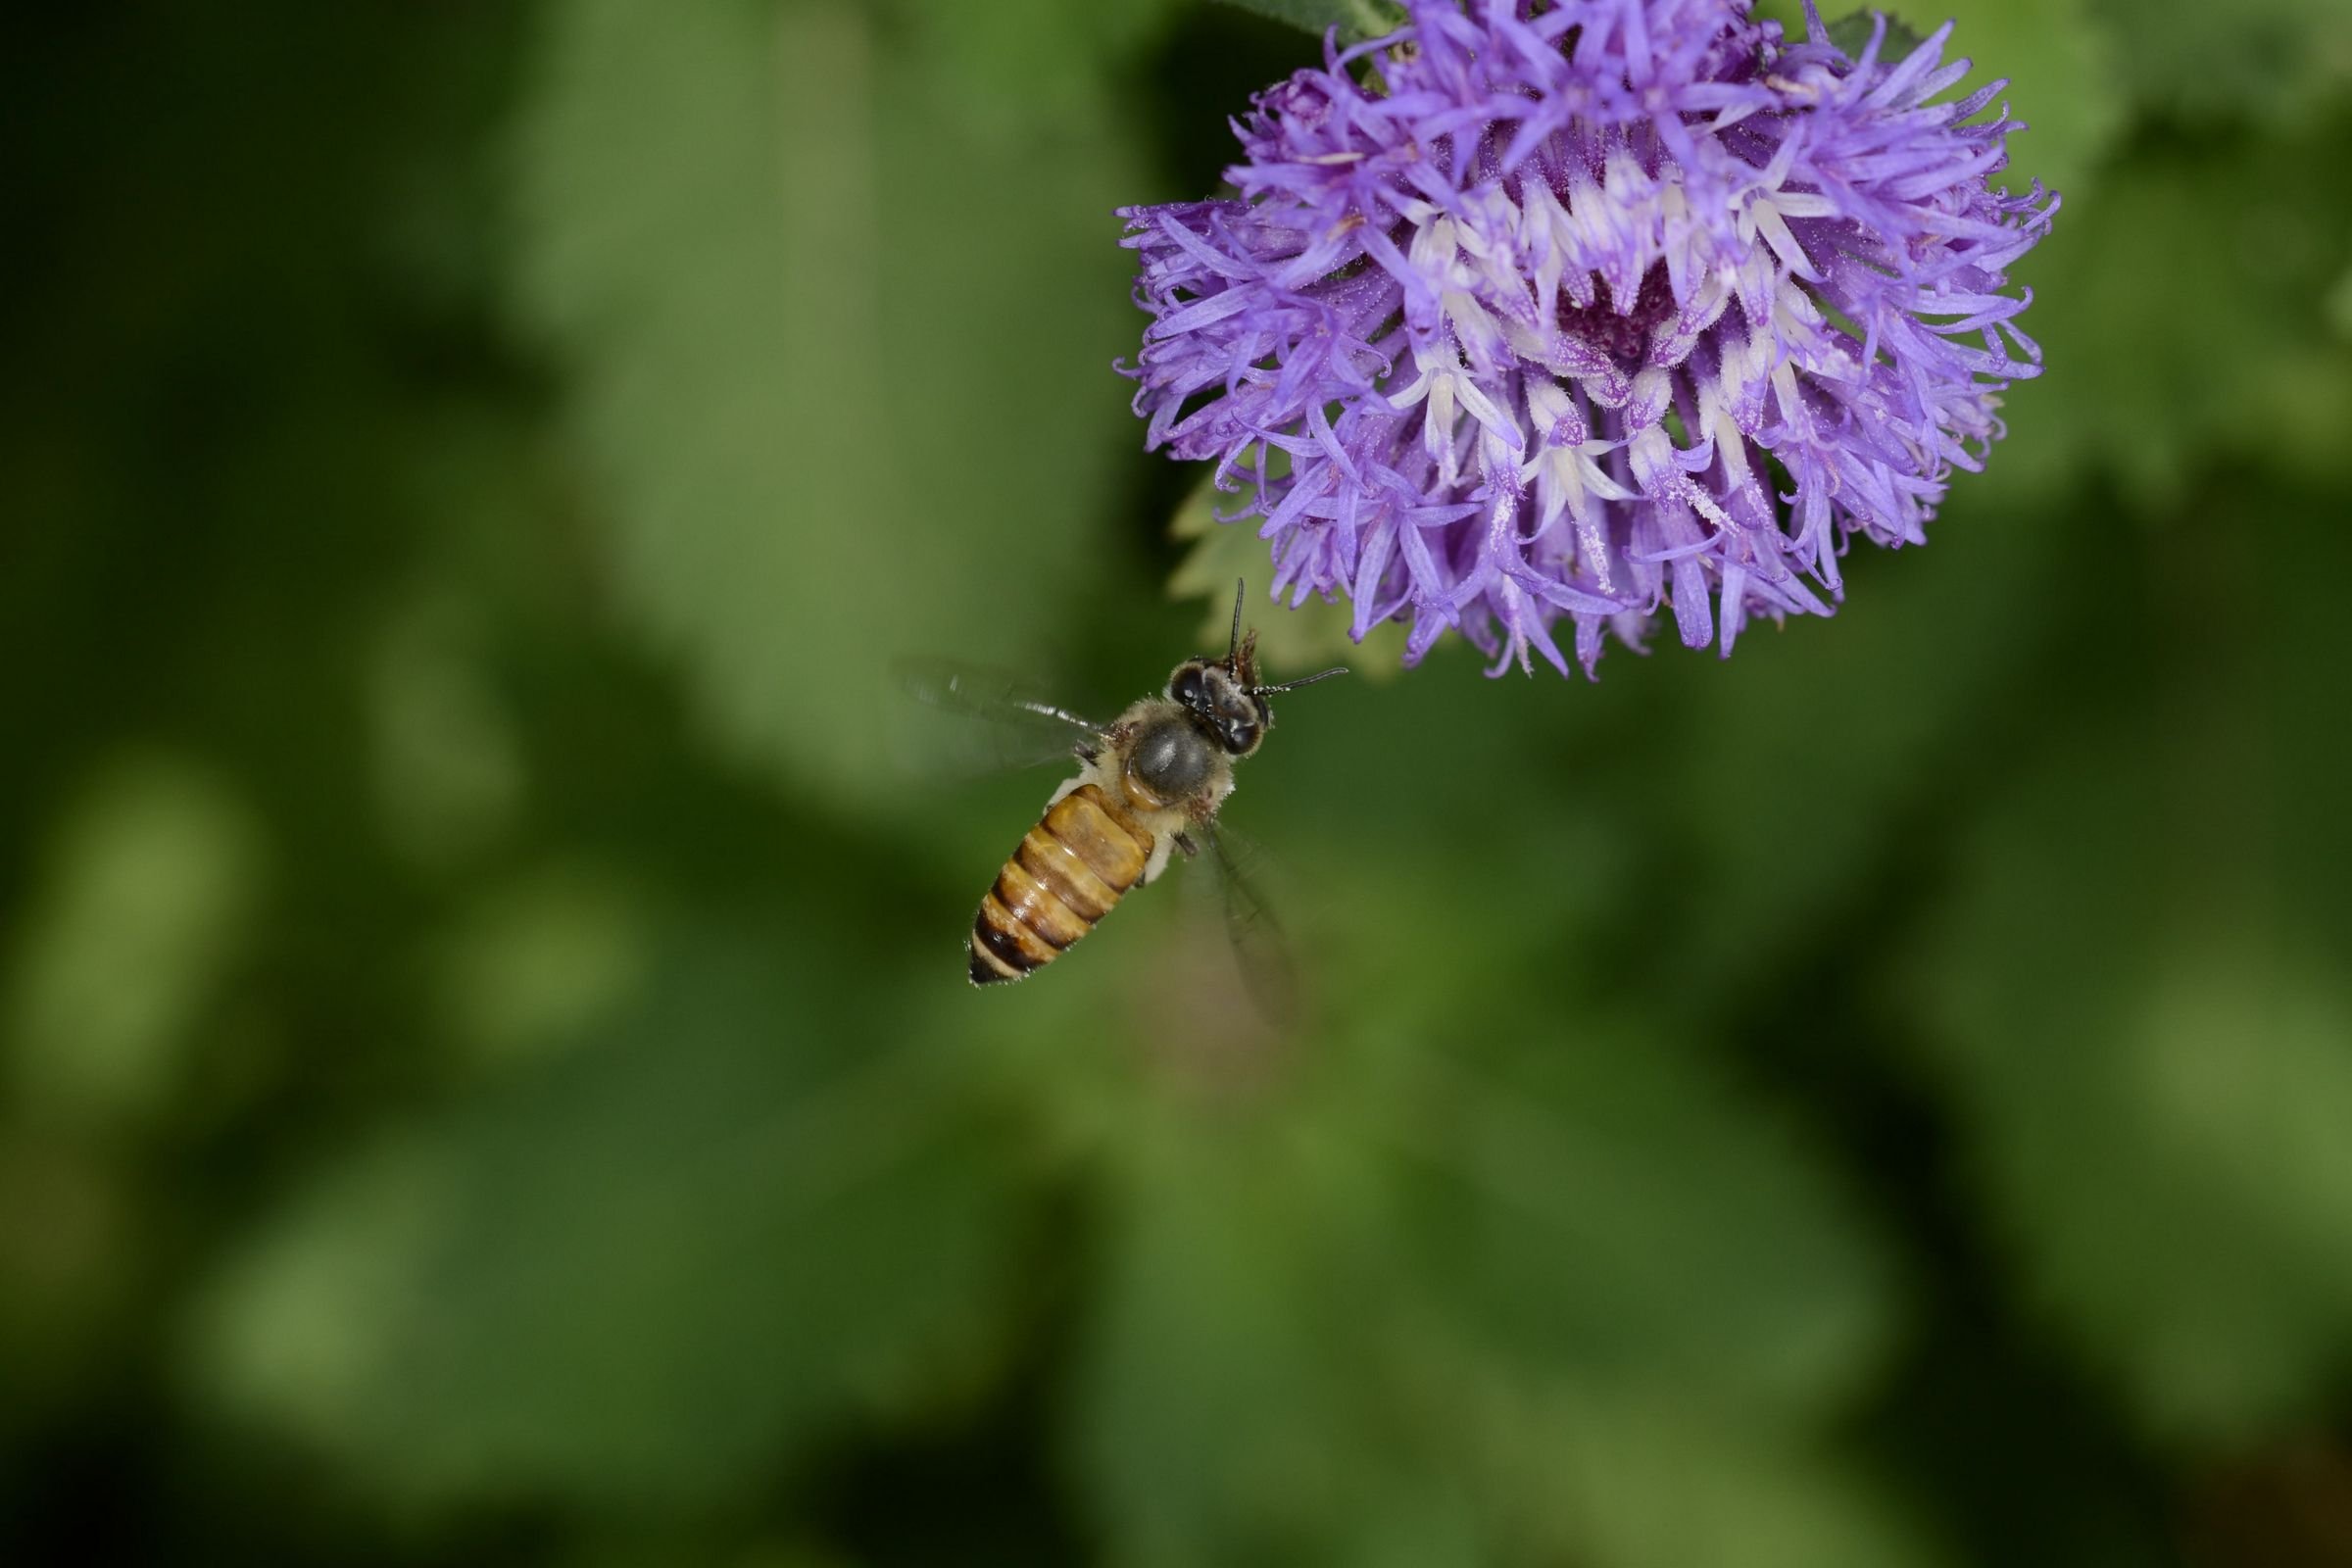
Camera: D3100 Nikon Lens: Tamron 90mm macro iso 100, f8, 1/125sec, Godox TT600 handheld external flash and X1T-N wireless remote on camera, 1/32 flash power. Camera Handheld. (Left hand flash and right hand camera with left hand fingers supporting camera lens barrel farthest end.) Processing: No settings modified in develop persona. After opening in photo persona, made color adjustments in LAB color space. Back in RGB space, made multiple curves adjustment targeting flower outer petals, inner white petals, greens and bee body. luminosity masks were used for the targeted adjustments. Flattened the layers, took it to LAB, used unsharp mask on lightness channel. Brought back to RGB color space, exported image to jpeg. Image below processed in AP. The second image is without any processing.
-
Had some fun in experimenting with the Tone Mapping Persona, Layer blends and a couple Adjustment and Live filters. The unedited image is on the right side. the steps to make the image in the gif;
-
 When Affinity Photo was last on the secondary monitor, and the secondary monitor is then disconnected, Affinity Photo will be started off screen instead of on the primary monitor. In my case I have a graphics tablet with monitor that I plug in and out quite frequently. It's not really a bug and more of a feature, so I put it here, but I hope it still gets "fixed". For everyone else with this problem: what worked for me was to shift-rightclick the icon in the taskbar, click "Move" and then use the arrow keys to bring it back.
 -
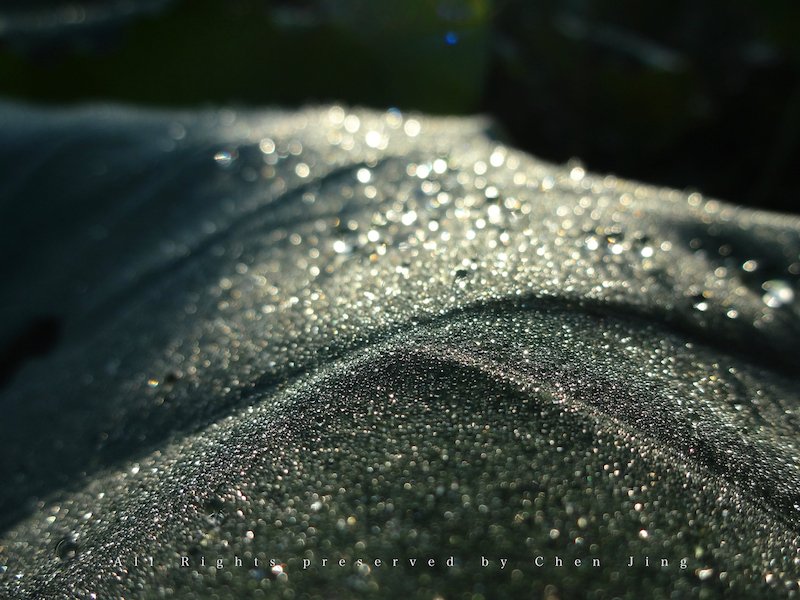
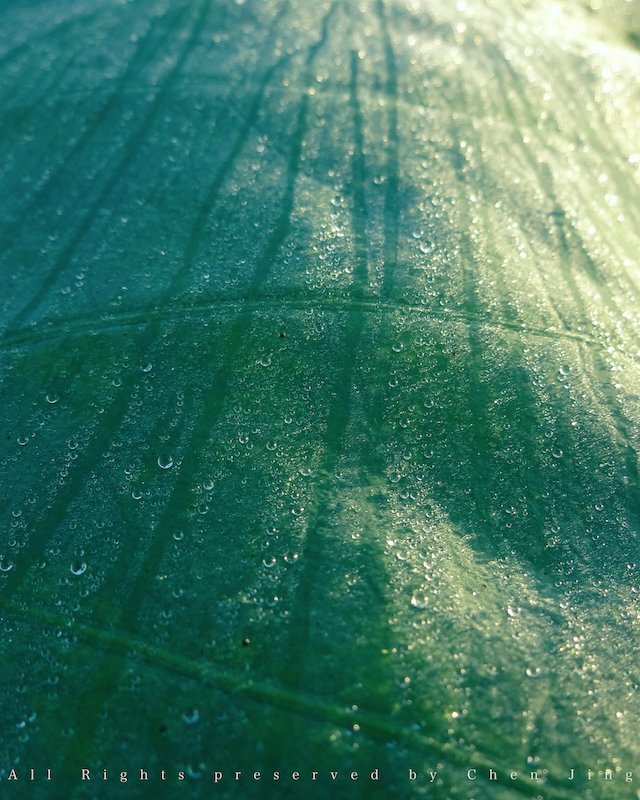
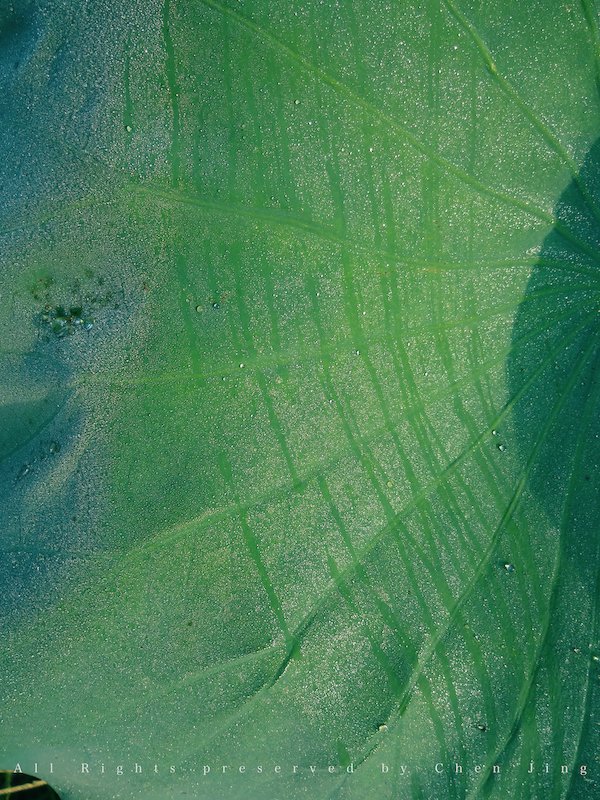
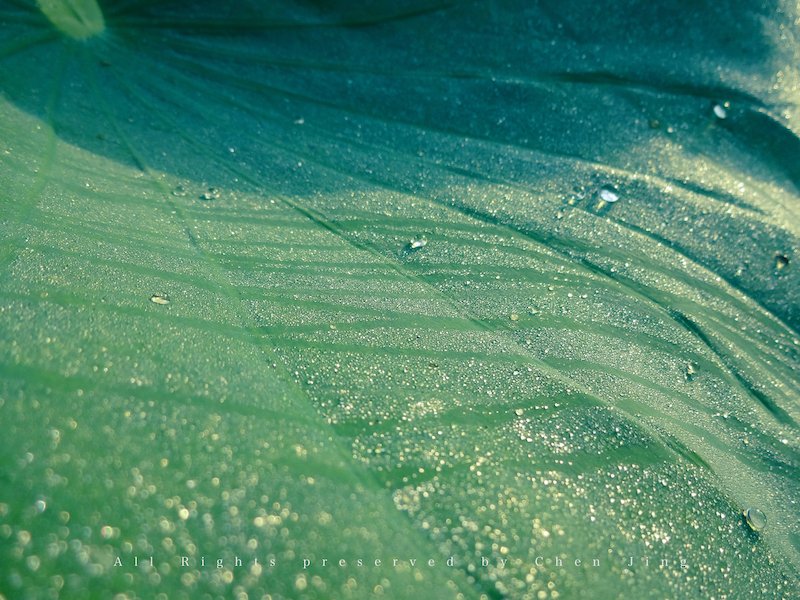
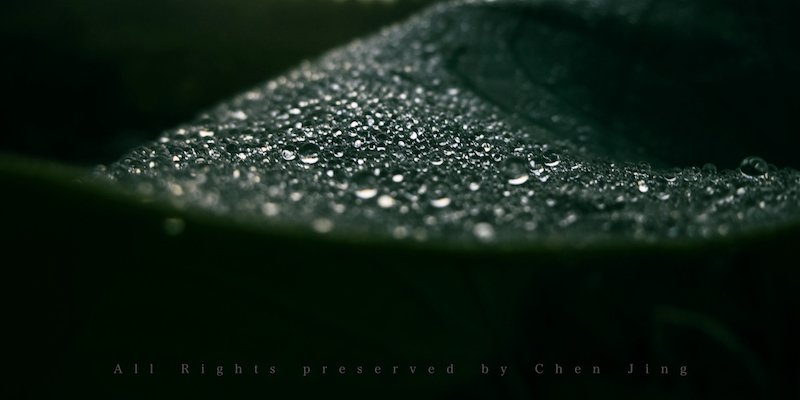
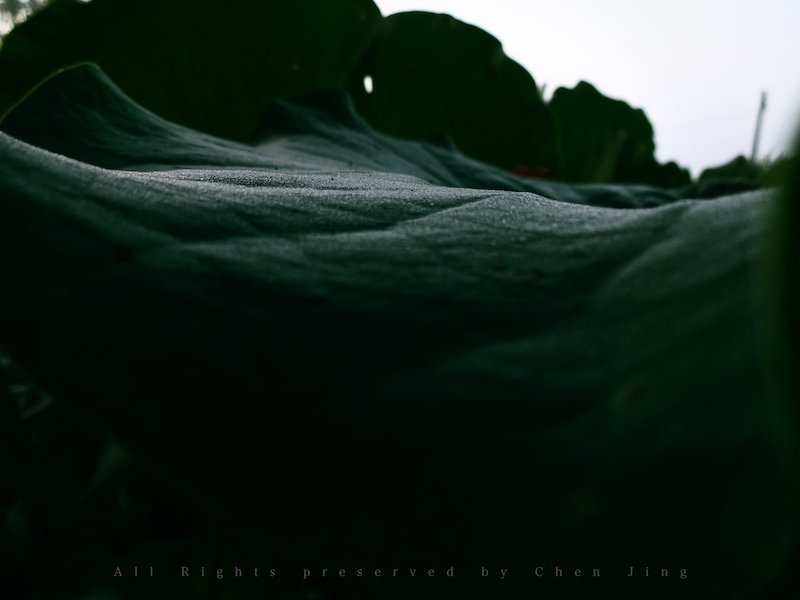
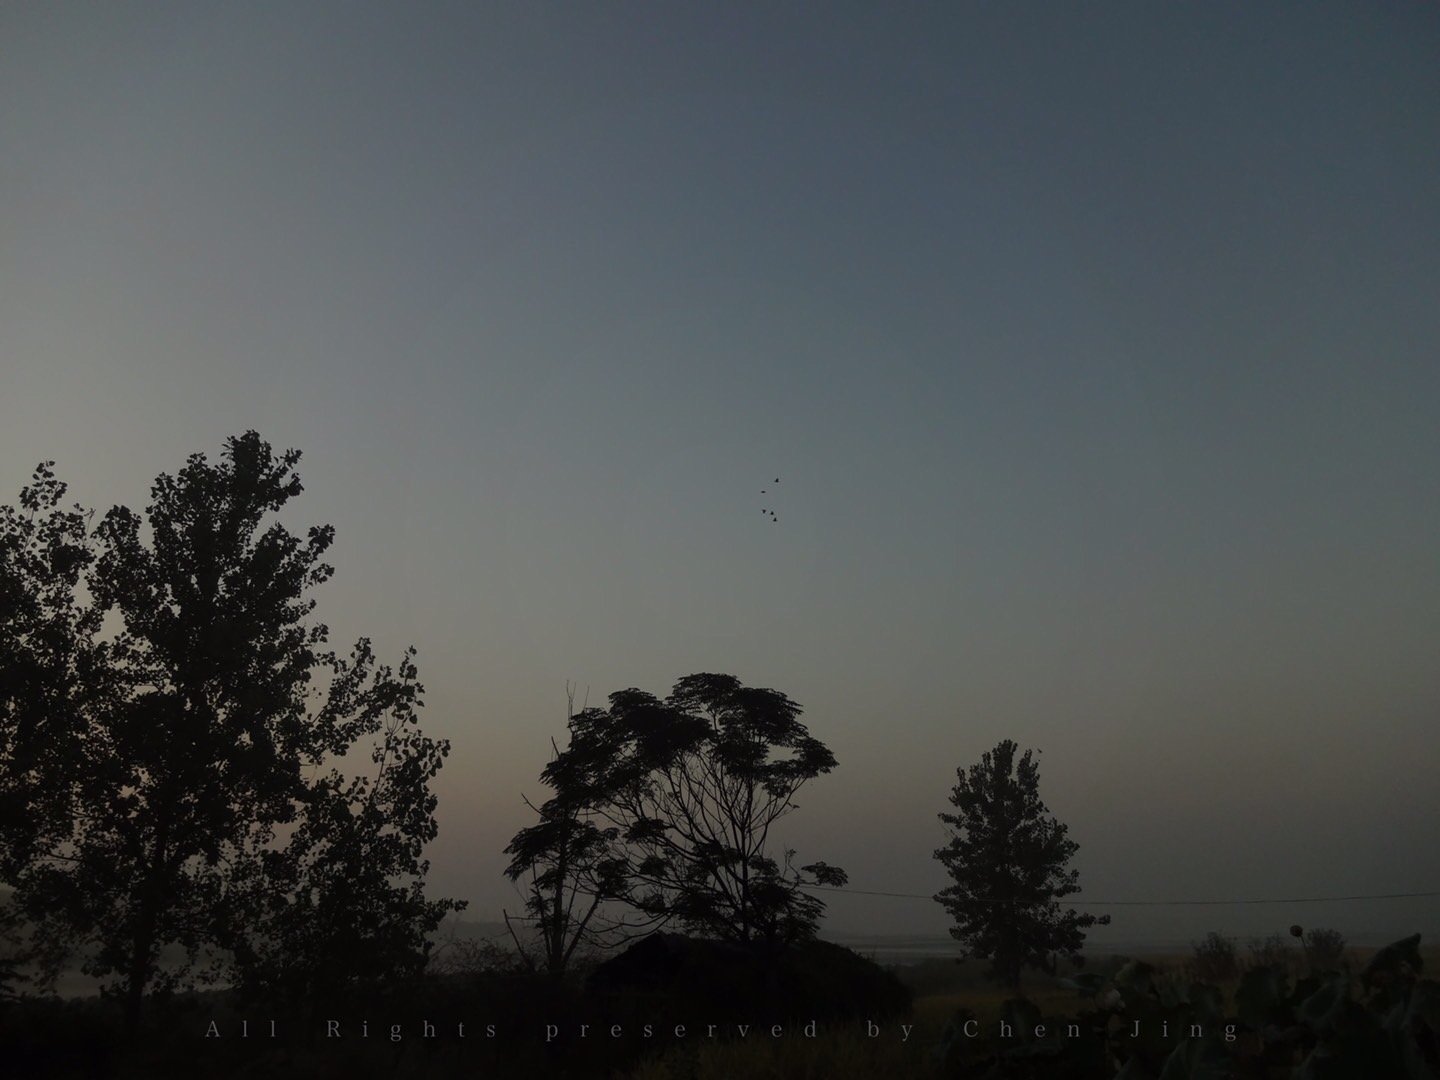
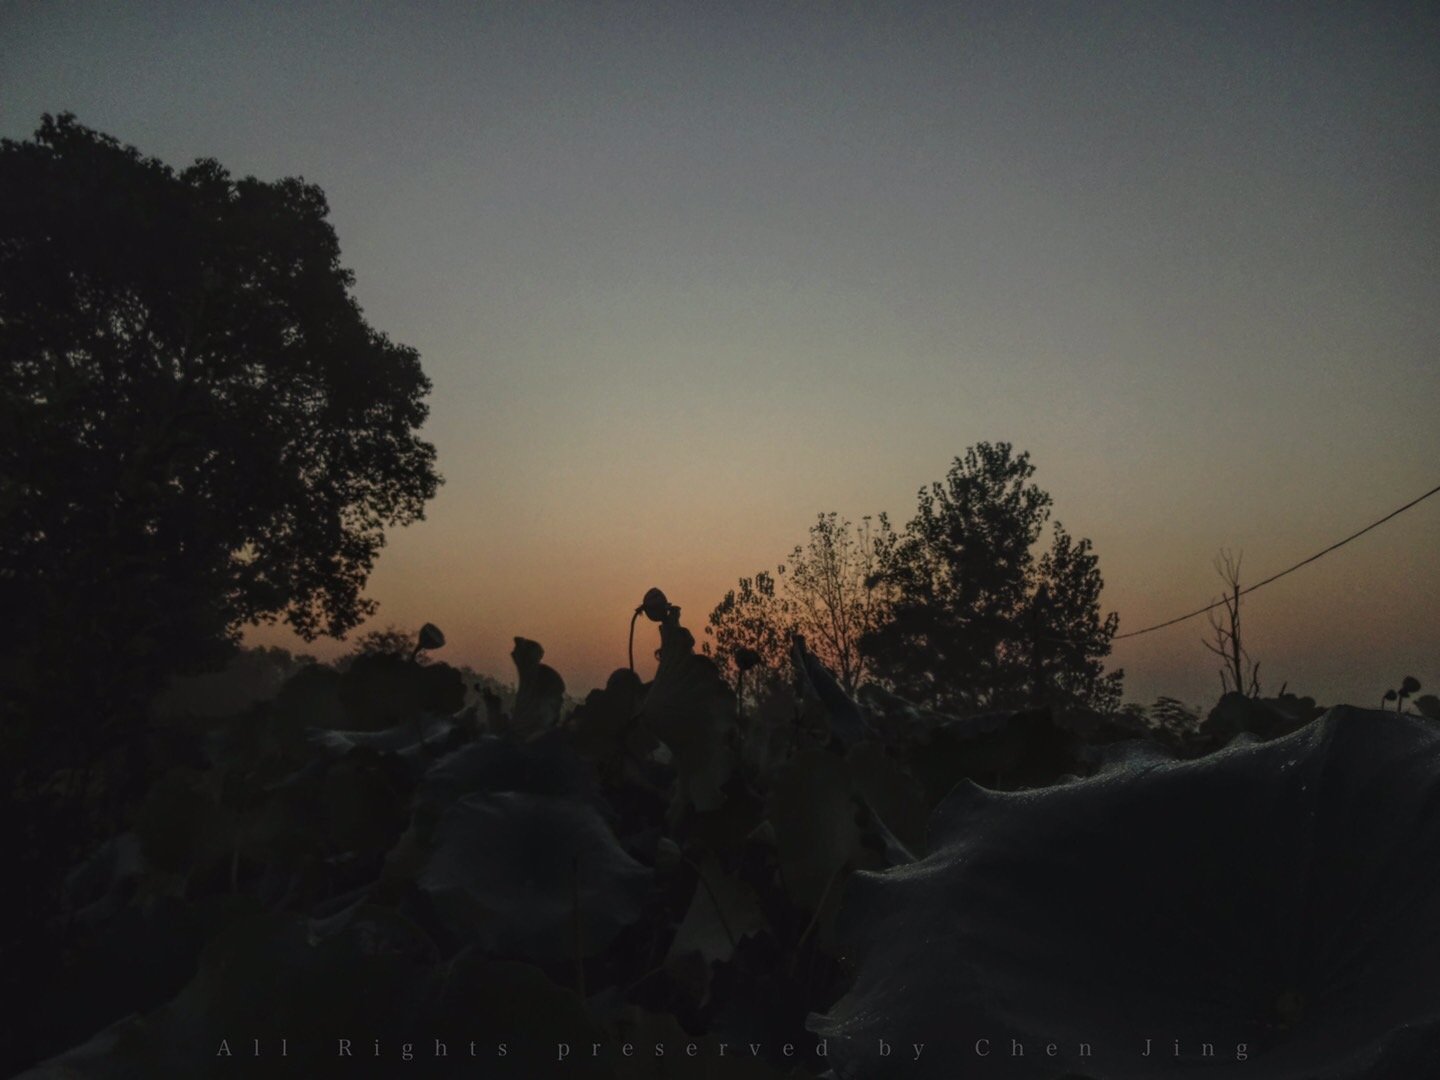
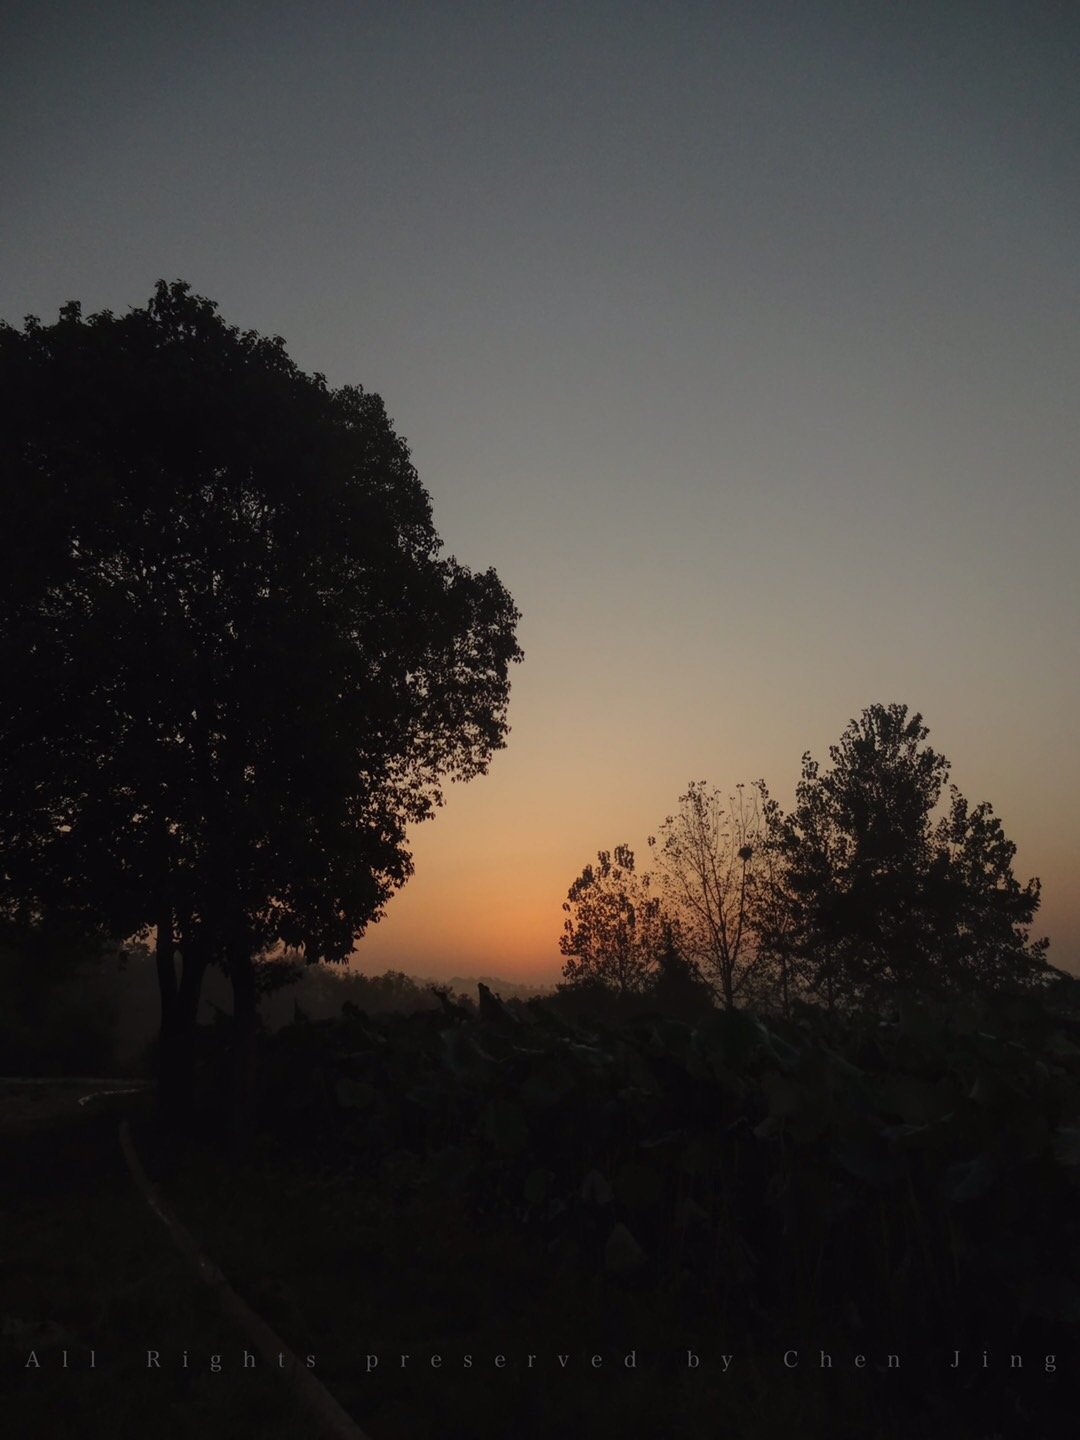
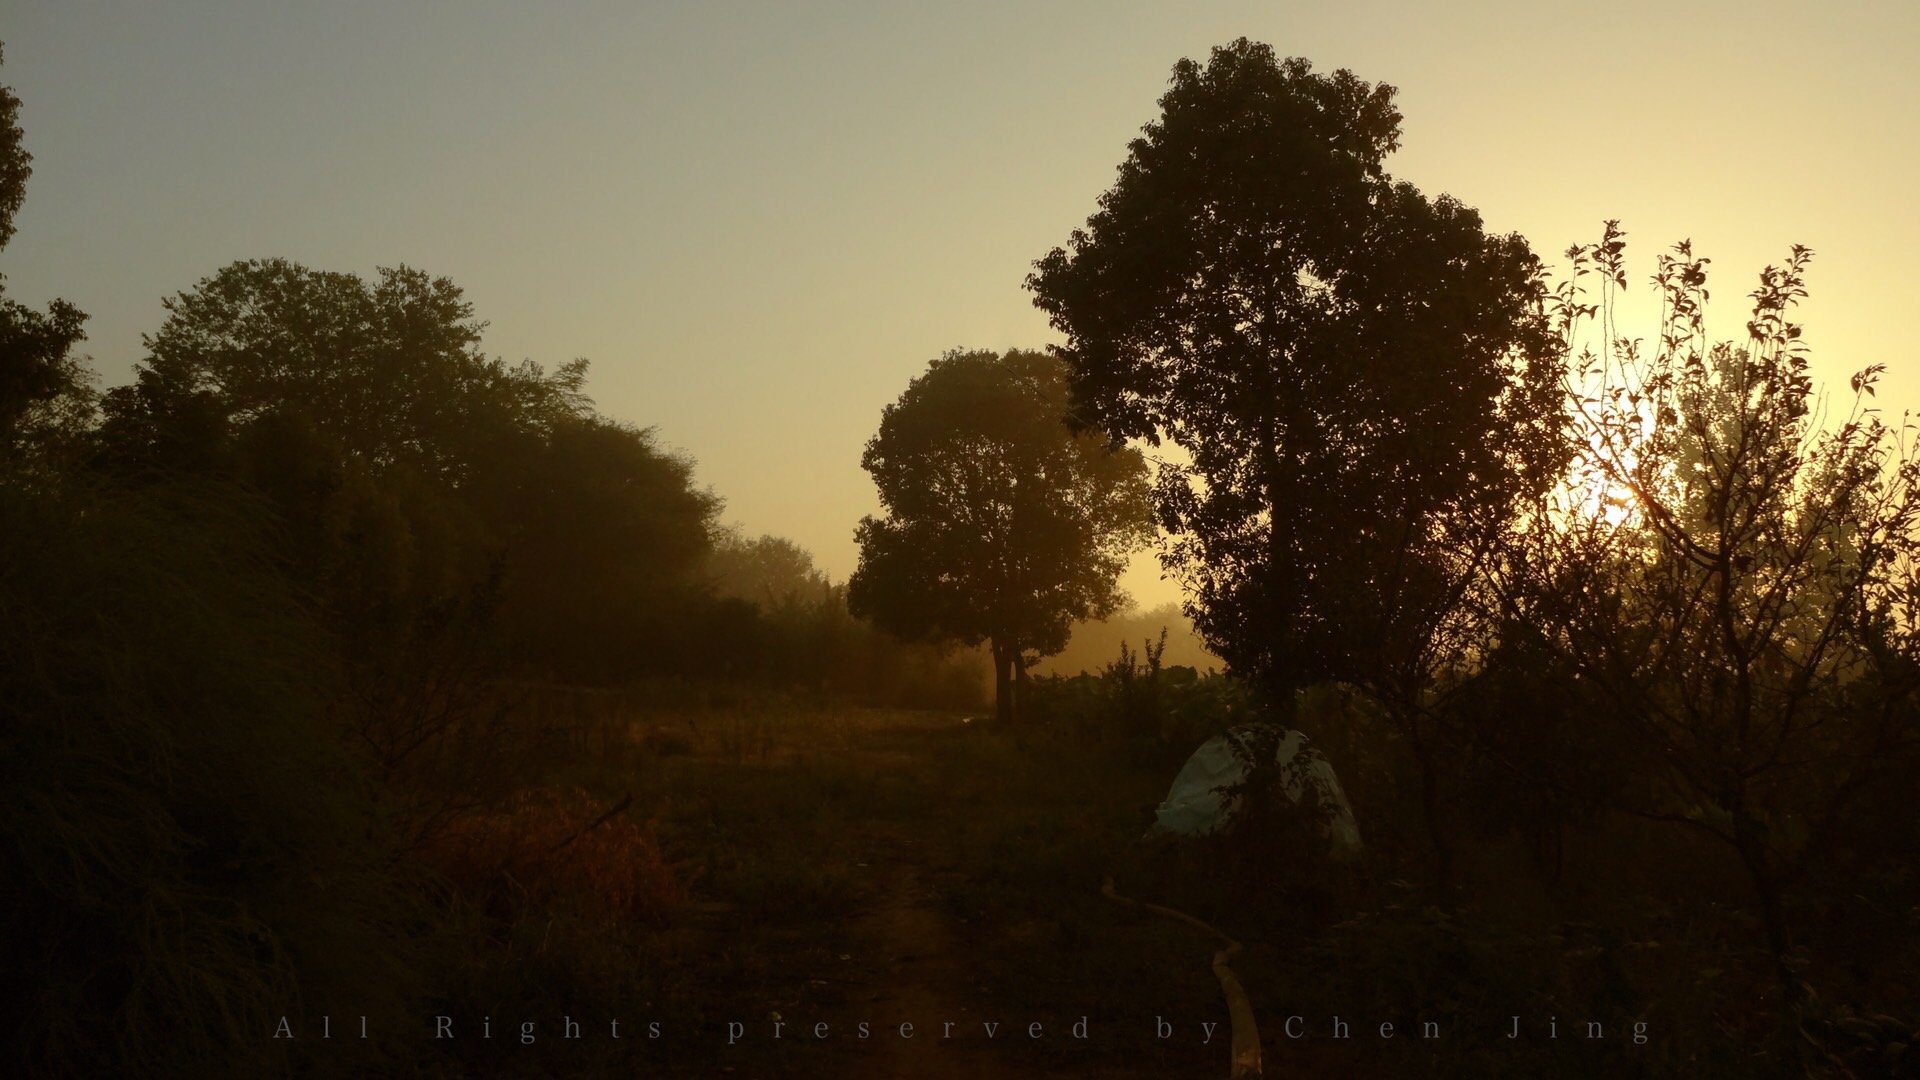
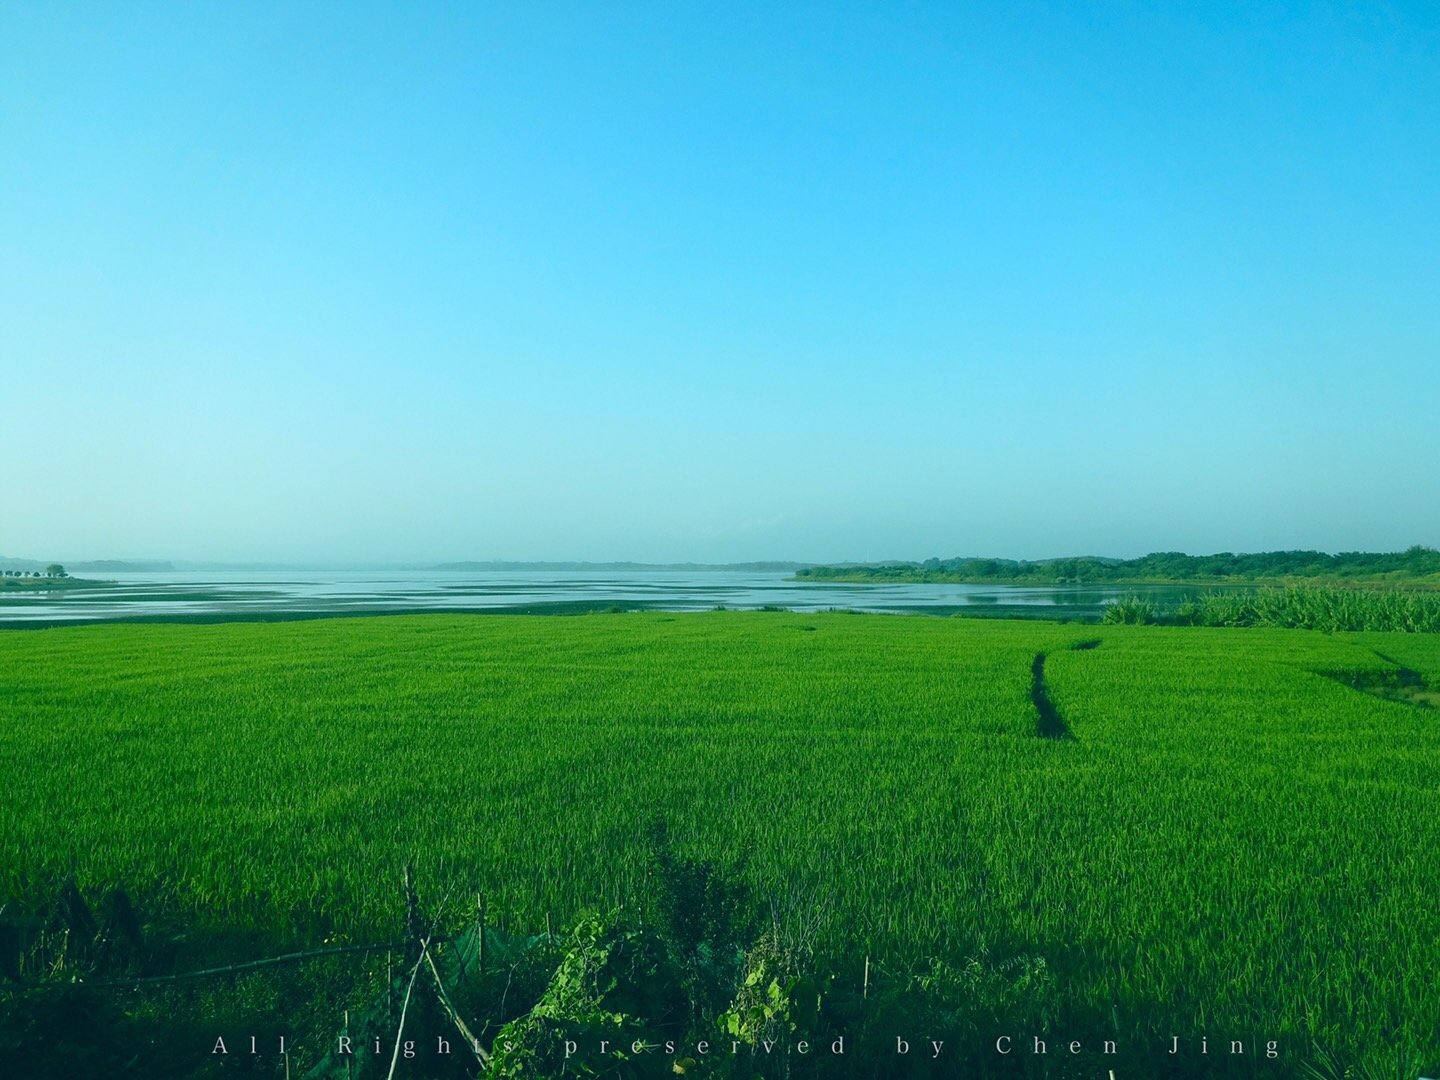
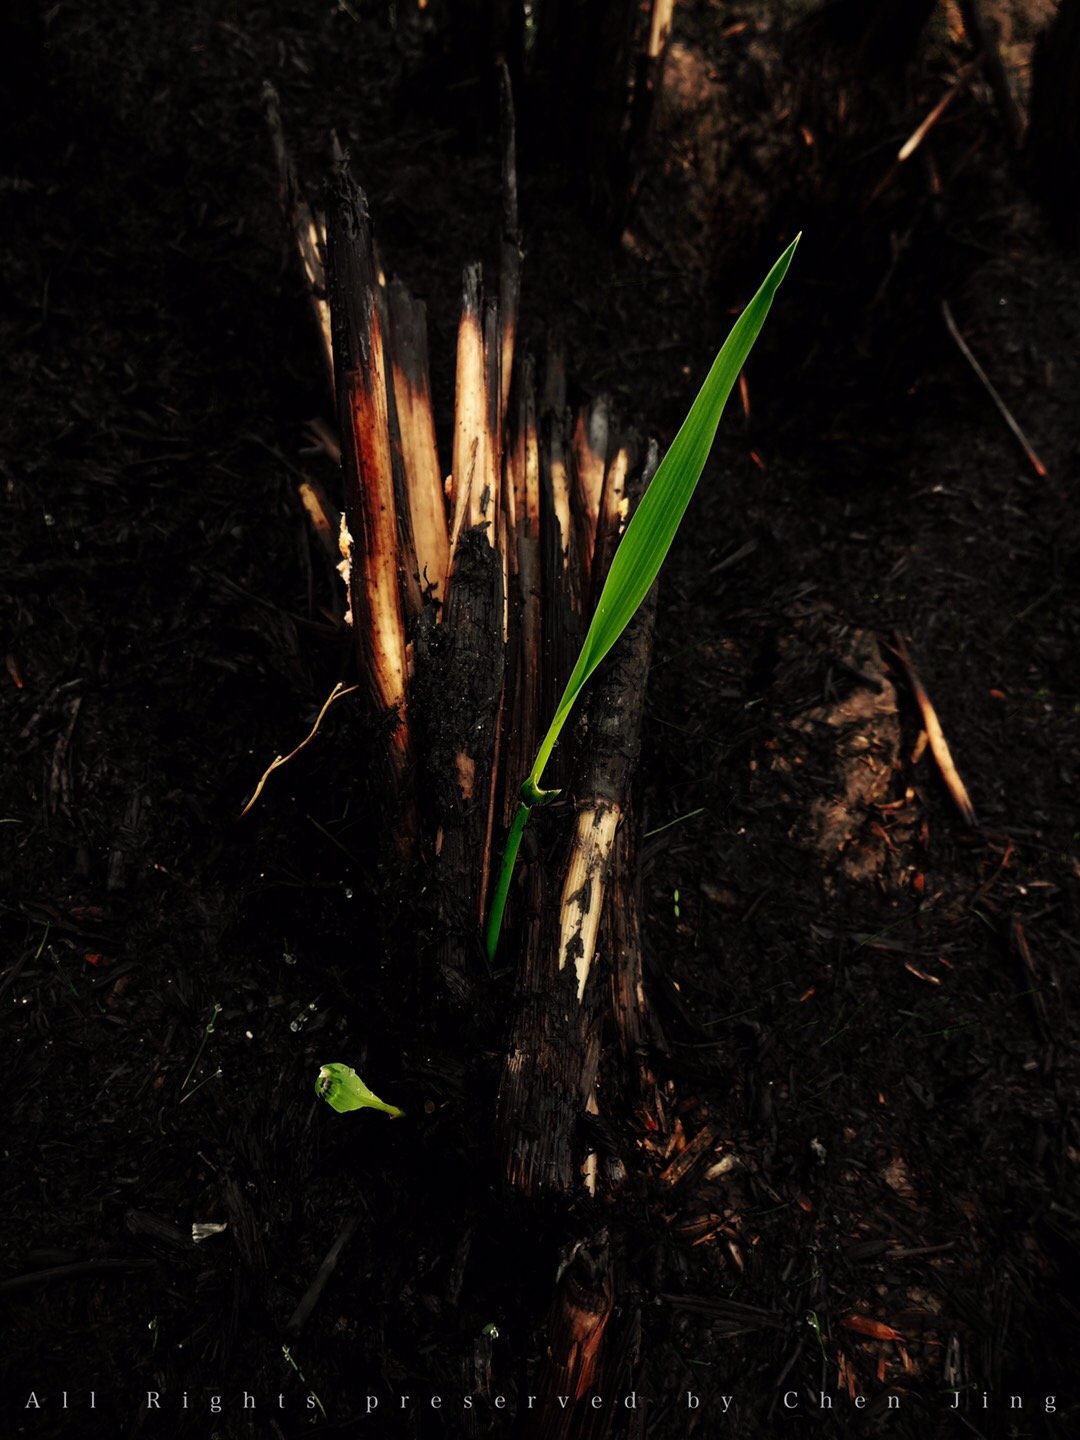
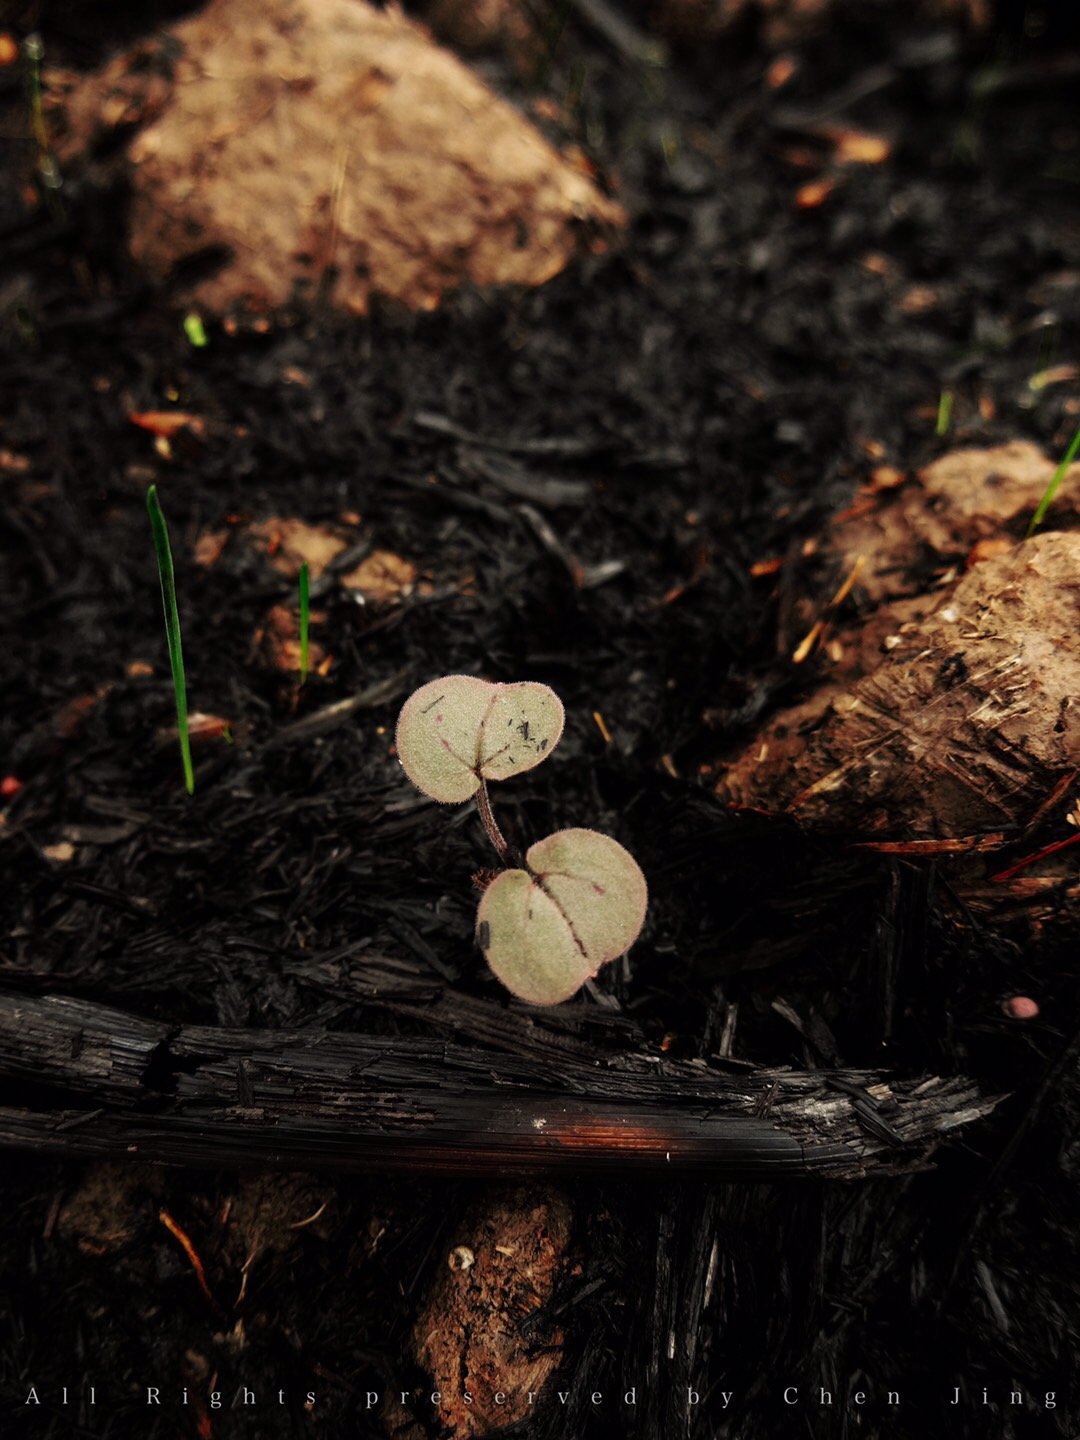
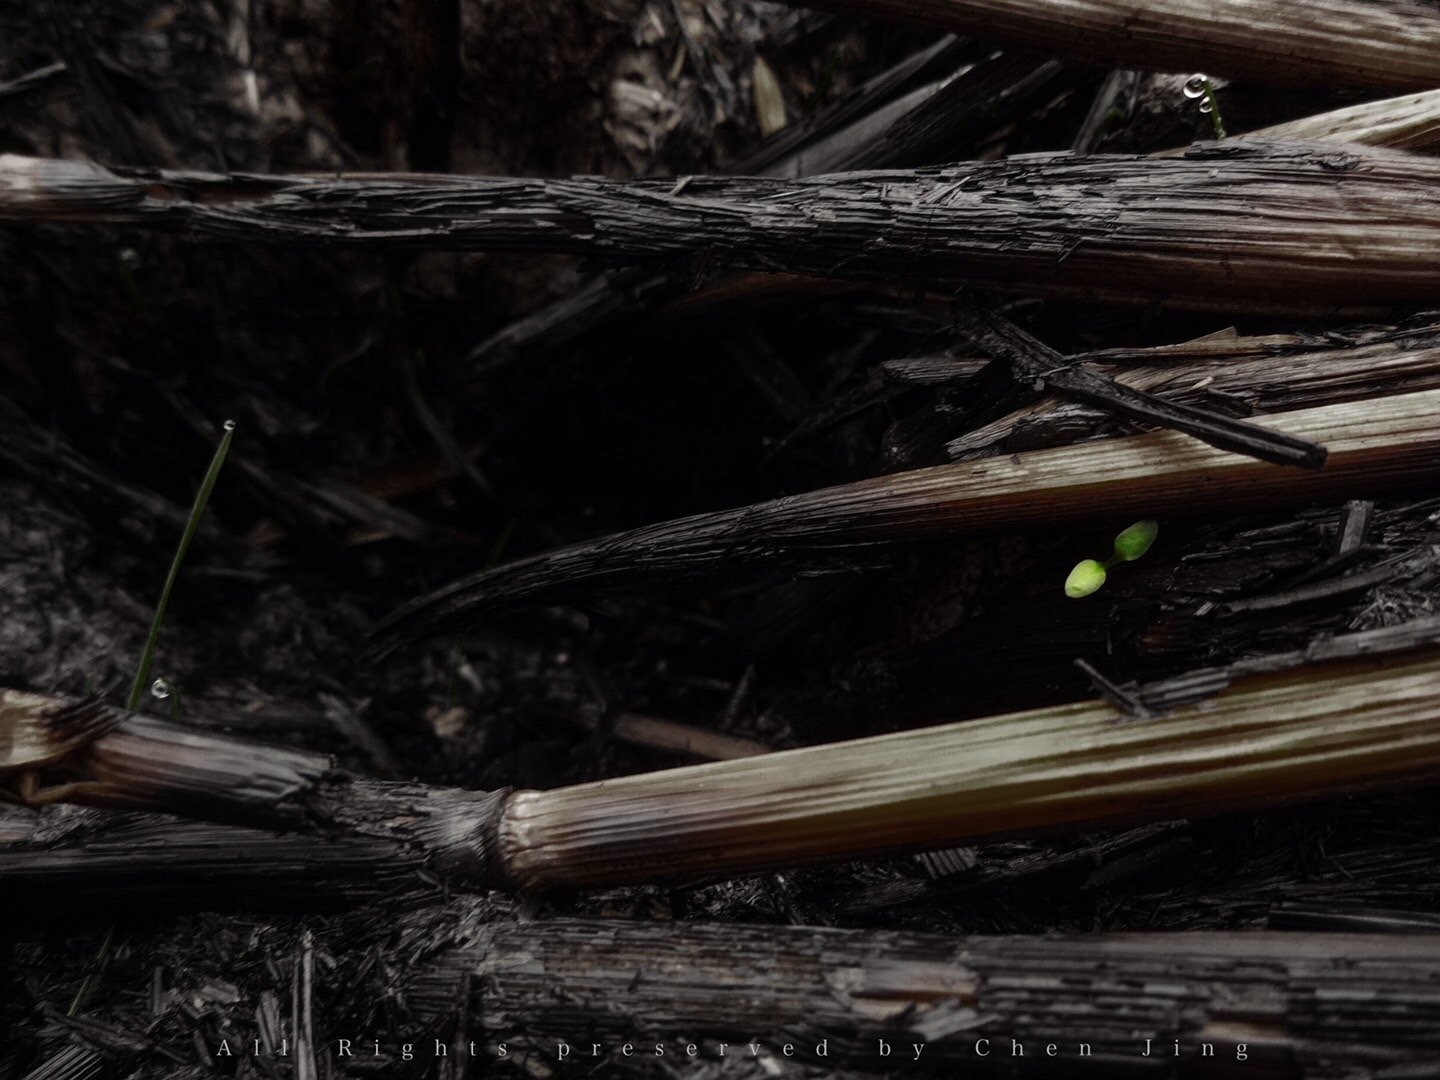
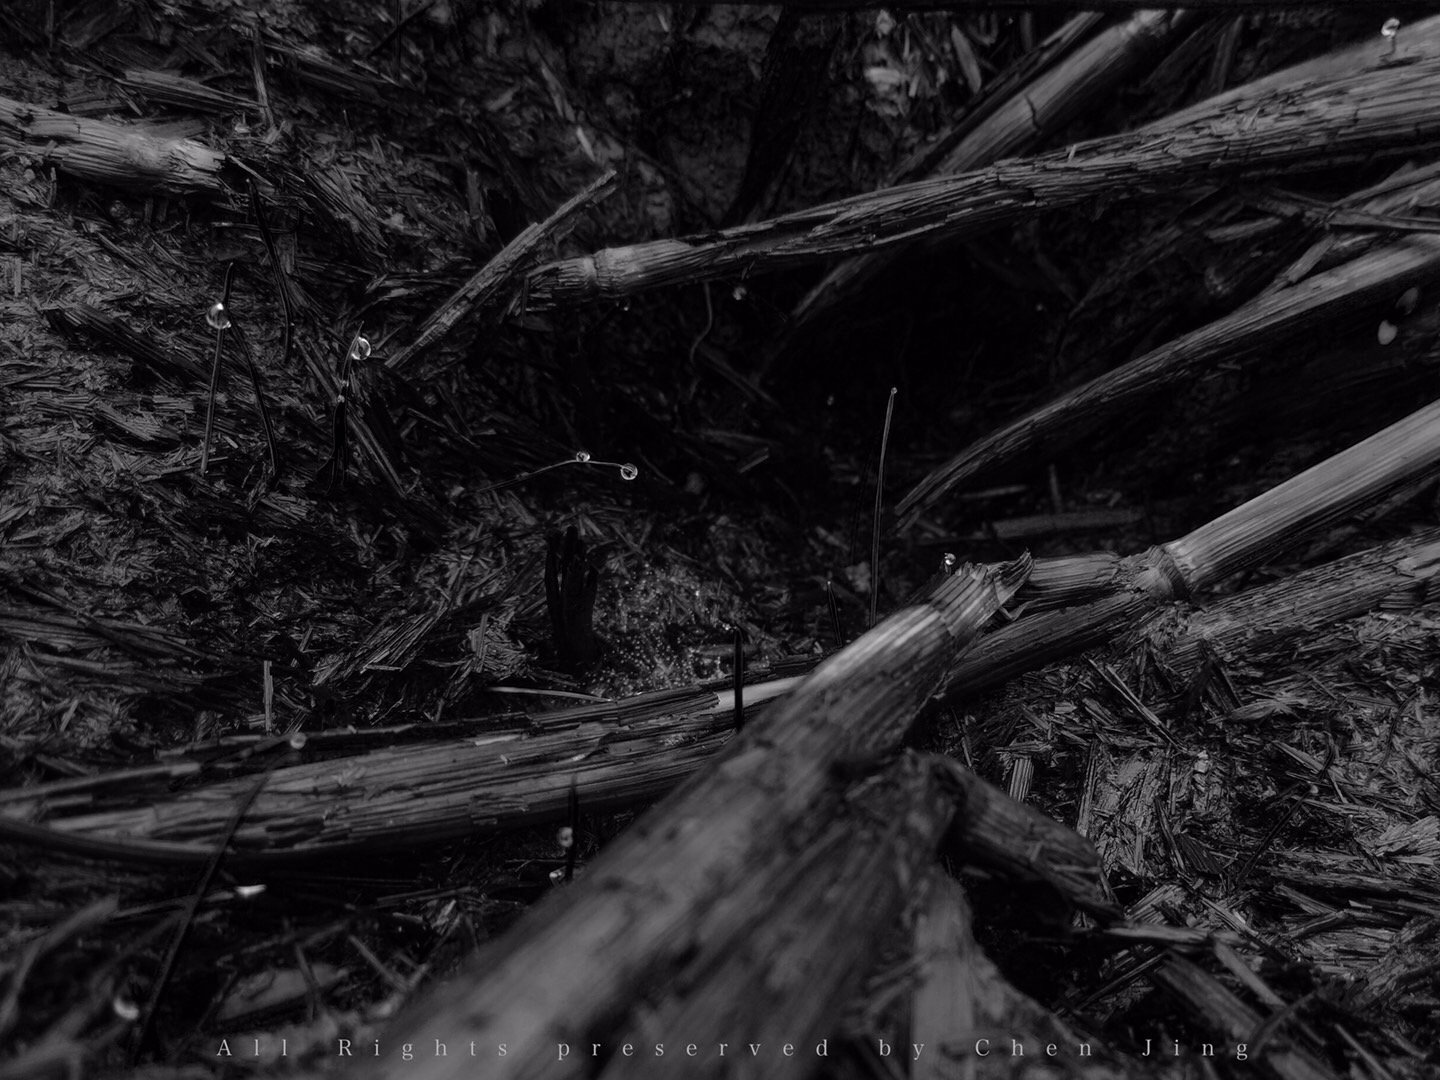
During the morning .
-
The sunlights during the morning .
-
- 1
-
-
- photography
- sunlight
- (and 2 more)
-
They are burning in the fire.
-
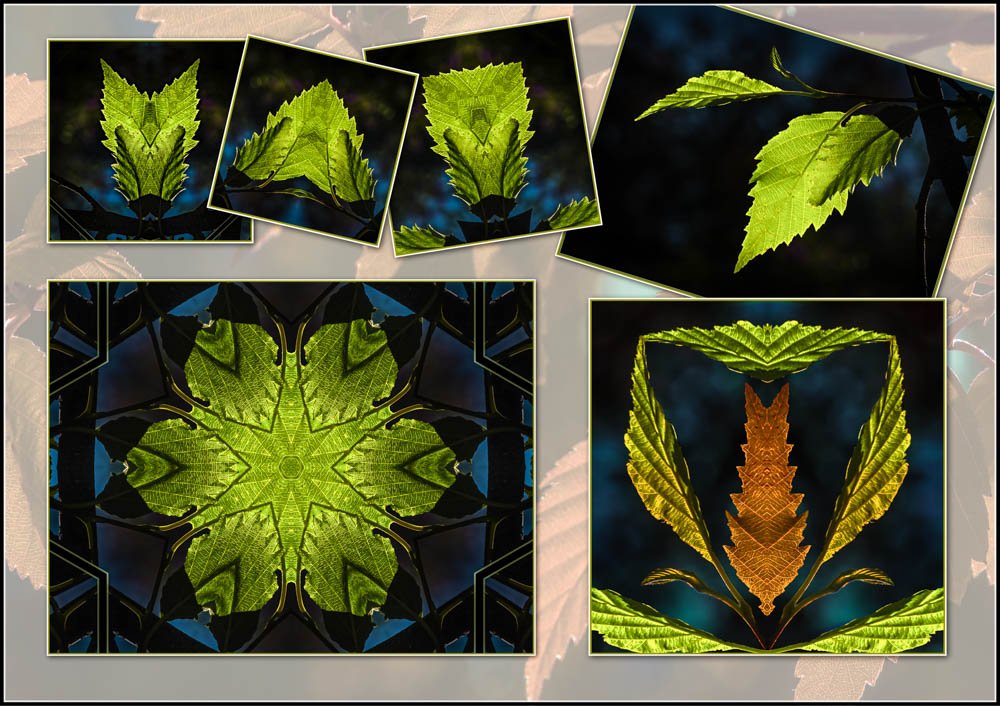
amazing how much a couple of sunlit leaves can be used to waste (LOTS) of time I'm not going to explain it all-- that's nearly book , but as always I am very open to sensible questions and honest comments the leaves were recorded with Panasonic Fz300 raw file >file edited in Lr5 and Ap> file mirrored with Affinity (Filters >distort>mirror) 'til something looked Ok > tiff files added the a base layer via "place" >takes a while for things to fall in place Bottom right hand corner pic is made from two mirrored files Cheers folks
-
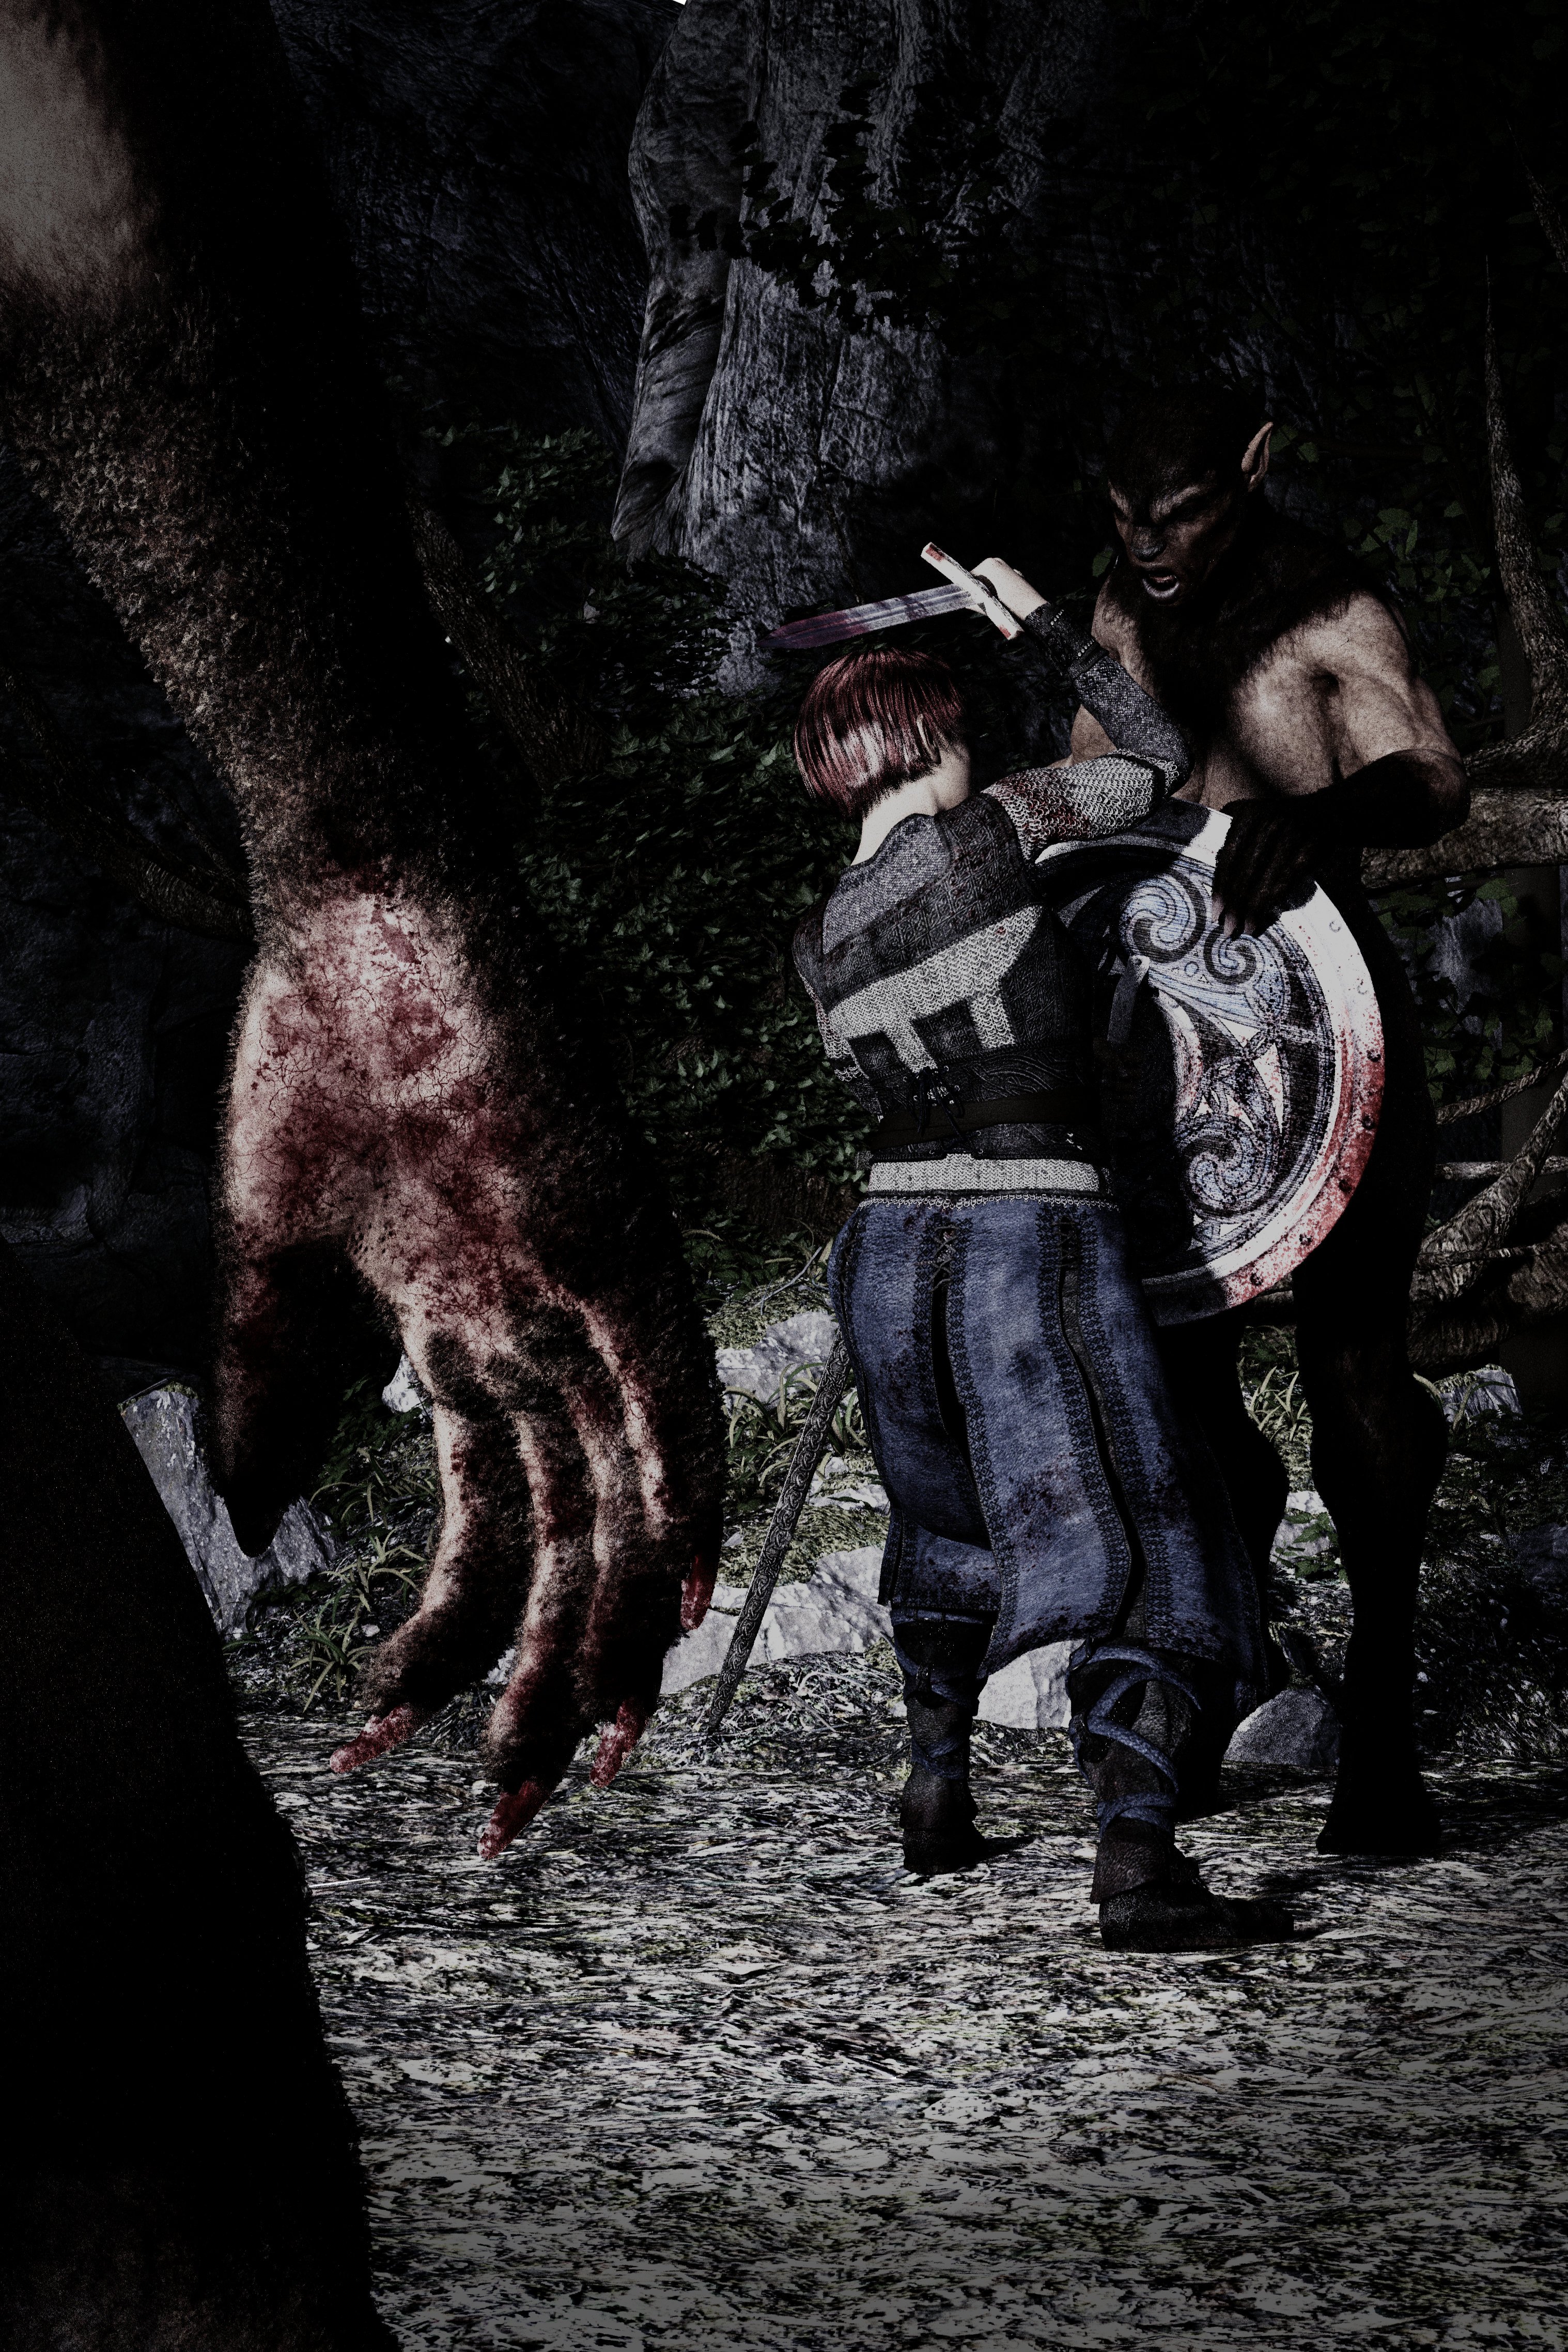
Alice of Sandby vs. werewolves. Alice is a graphic novel character created by Petra Brewitz. Petra and I are working on a graphic novel manuscript, Alice: Demons Gate. No werewolves in that story...but there is definitely story potential in an encounter between Alice and a pack of werewolves. The scene was rendered in Daz Studio. I used Affinity photo to turn the original daylight scene into a nighttime scene: I increased the contrast reduced saturation toned bright parts slightly yellow, and darker parts slightly blue, to create a feeling of night. That is basically it. A
-
Here are some of my latest edits. All images were shot RAW and composited in Affinity Photo on my iPad Pro 10.5.
- 2 replies
-
- 4
-
-
- toy photography
- epictoyart
- (and 2 more)
-
 Hello, I have Affinity Photo running on an old Windows 7 PC, and would like to install it onto my new Windows 10 PC. Can both computers have the program installed and running, or do I need to, somehow, transfer it to my new PC and delete it from the old one? I have read through a few other forums on a similar topic, and have found the answers to be ambiguous, and even somewhat conflicting. Any advice would be greatly appreciated, especially if this can be resolved. Regards, Matt
 -

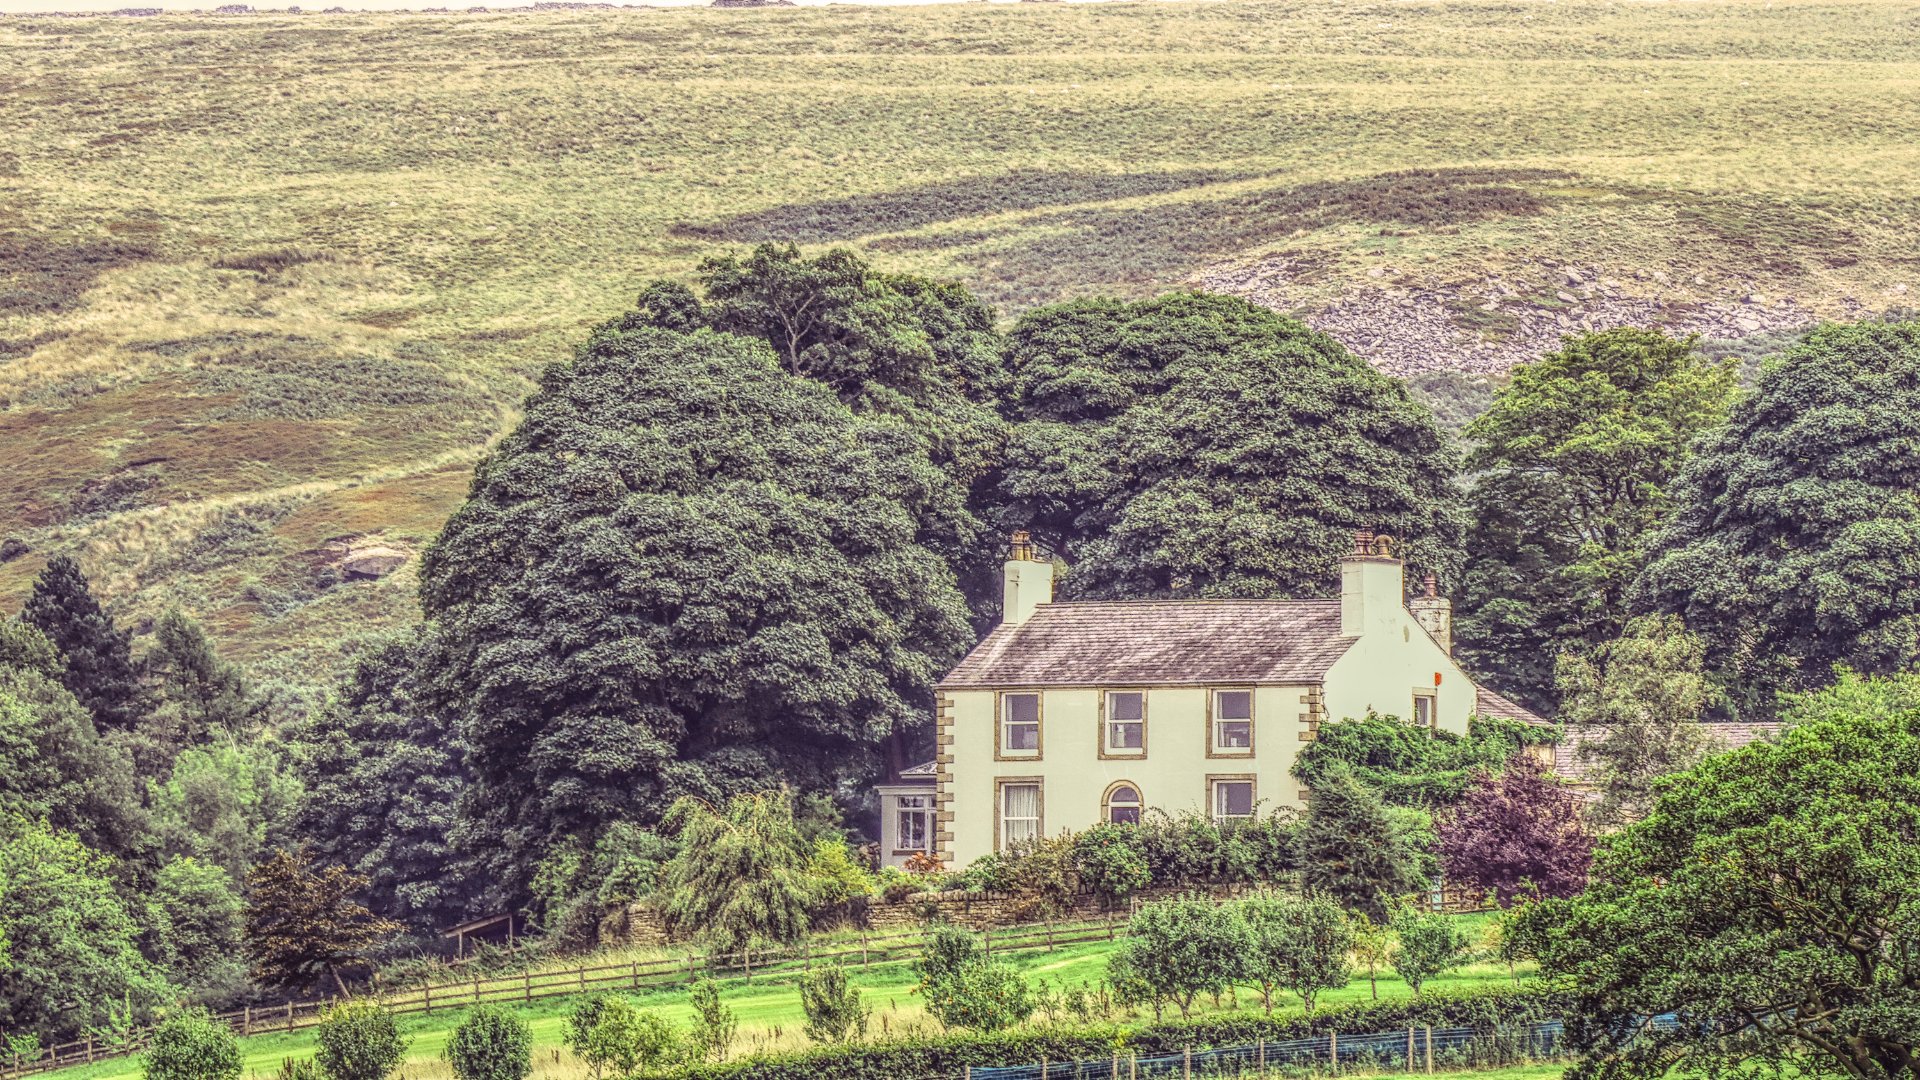
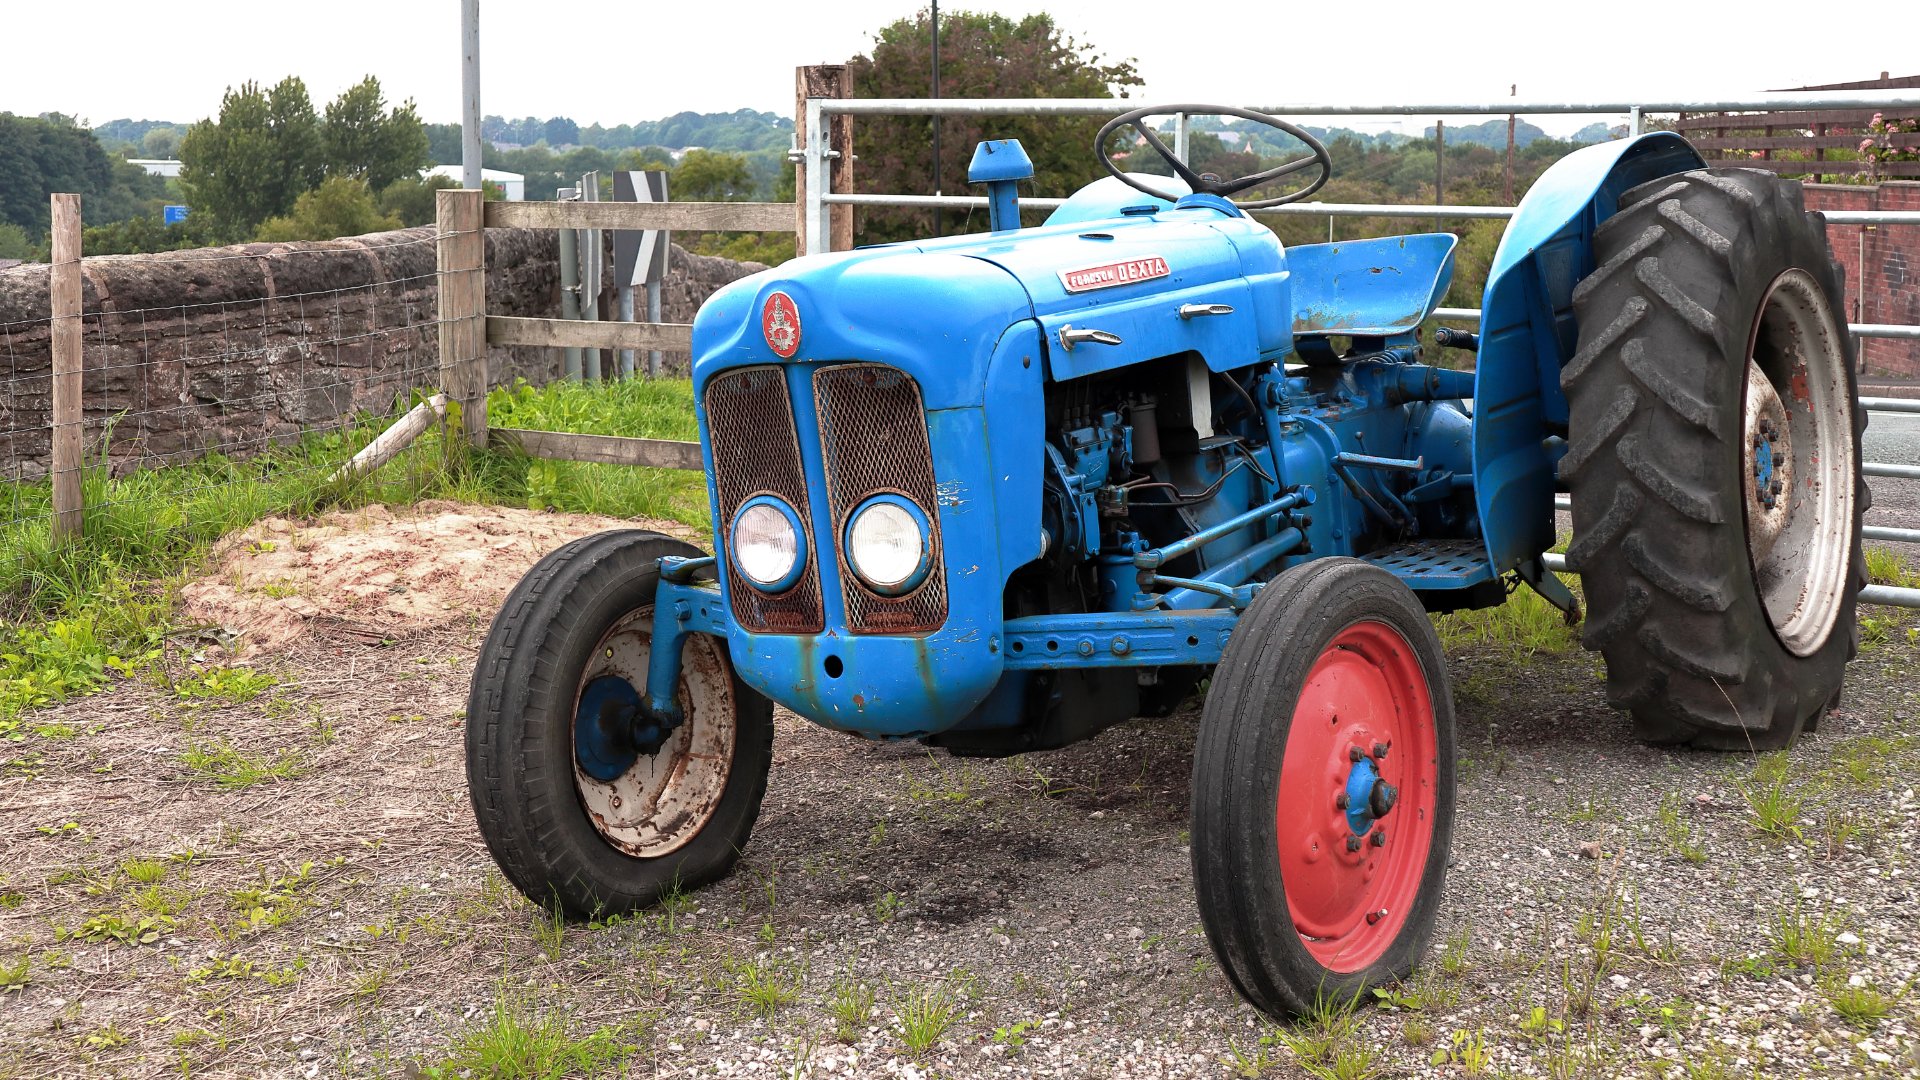
affinity photo Third Week learning Photography & Affinity Photo
I'm Ant posted a topic in Share your work
photos taken near Winter Hill, Lancashire, England Camera: Canon m50 Lens: Canon EF-M 18-150mm