Search the Community
Showing results for tags 'Affinity photo'.
-
 Whenever I do something like changing the canvas size, the view reverts to "Fit" instead of maintaining the view I was currently using for the screen, which requires me to change the view again each time back to 100%. Is there a way to turn this off, or set a default view size that is used so I don't have to keep switching it back while working on a file?
 -
 Created in an awesome app called JWildfire, Colour edited in Affinity Photo to define the patterns. Comparison
- 2 replies
-
- 2
-

-
- patterns
- colour edited
- (and 1 more)
-
i am so very tickled with af photo!!!! it's sooo much easier than ps and much more intuitive. everything is where you need it! this is a simple illustration i am working on for a book cover, nothing fancy. i'm just thrilled at how easy it was for me to cut, separate and color! jen
-
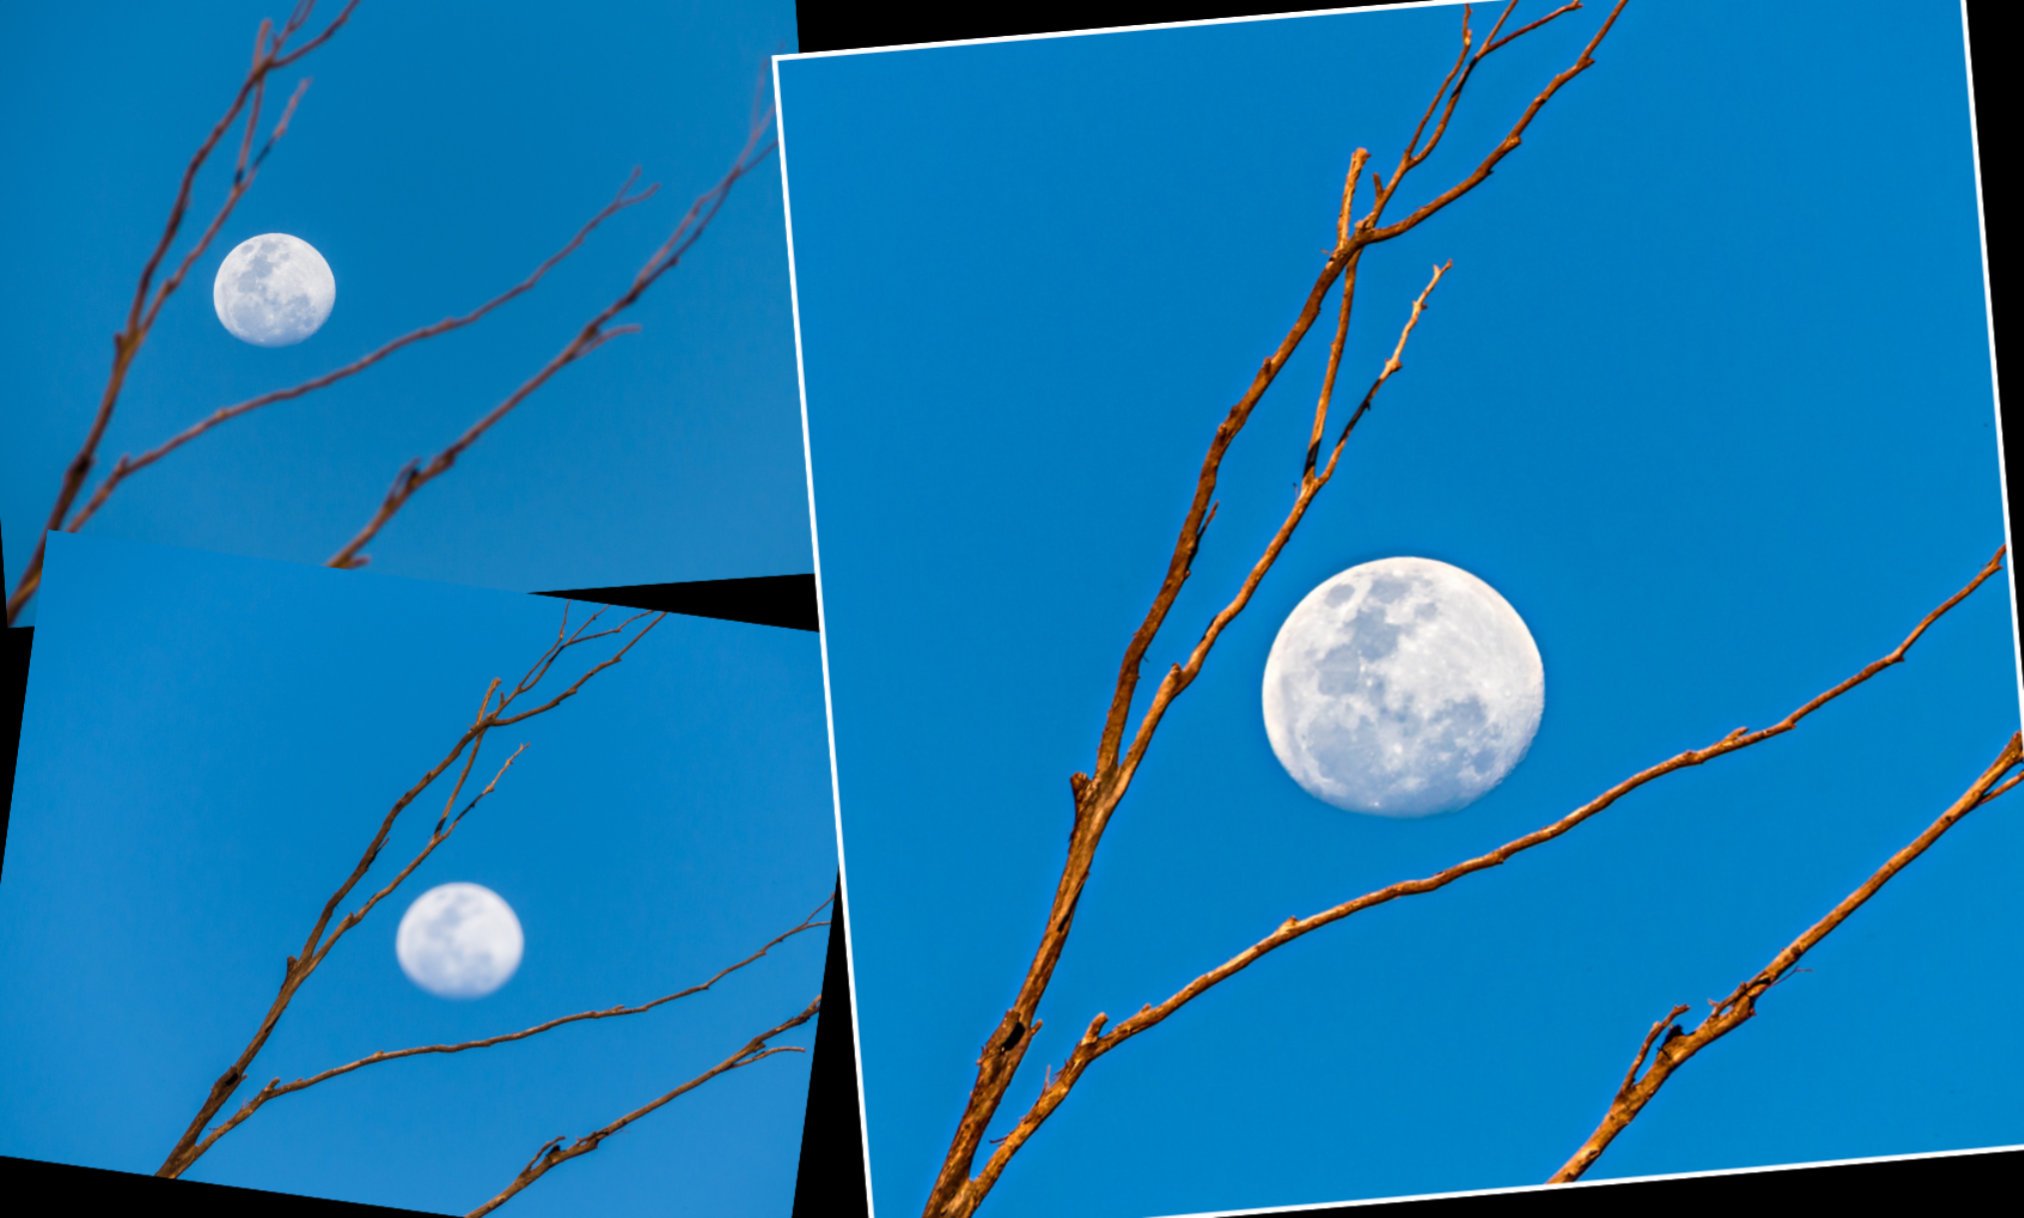
Bit of bad photography with Panasonic Fz300 while walking a friend's dog Just the two photos taken as I usually do; one focused on the moon and the other on the limbs -- was trying to get the "marshmallow" on the stick but the moon didn't want to be cooked --- maybe another evening Basic editing in Lr5 both files taken to affinity > focused moon enlarged to cover the other > masked in with the sharper limbs > bit of contrast added > border added with 'outline Just an interesting little edit to do and share questions welcome
-
 Hi, in the help for Affinity Photo 1.6.5.123 there's mention of a preference <Font UI Size>. However, in the User Interface section of the preferences I can't find this option. Bug or feature? Thanks, affinian
-
 Hello, I would like advice on how to downsize a photo without losing the sharpness and quality. I have images that are too large for my website - eg 4896x3264 px. I want to have them 900px on the horizontal dimension but when I use 'Resize Document' the quality is drastically reduced with lots of pixillation. I can use Unsharp Mask to improve it a little, but it is nothing like the larger image in quality. Is there a way to downsize without this high level of quality loss? I have attached the two versions of my image for refrence
-
 Hello ! @Patrick Connor, @AdamW, @MEB and other team member, i just hope you are really taking it and resting and enjoying staying with your friends, family etc... and not touching your laptops for this week-end. i'm dropping something here for Affinity Publisher (and also the whole product line) but not expecting you to answer or contribute during the week-end, you deserve good rest. Well, this is a proposition i've been continually forgetting to log here. Using Publisher (but also Designer and Photo) in our workflow (for those who integrated it already before stable version) we often and even make massive use of stroke and tweaking it is part of our every day thing; i see there is possibility to set a stroke profile after playing with the curve thing to make its aspect fit our need; after doing that curve thing we can save the profile ... but i noticed this, the saved stroke curving profile disappears after saving closing the project (case 1) and we have to remember how it looked like and redo it my request is this, would it be possible to save stroke curve profile as application wide usable thing, like we continually do with colors/gradient palette so we can simply reuse it with old projects or when starting a fresh project ? i often watch the brothers from Design Art Studio, Olivio Sarikas and even @Bri-Toon tutorial on youtube and for each new projects they have to redo the line stroke profile tweaking over and over for that project, which you must admit is really time consuming. i would rather, setup a stroke curve profile, save it and know it's application wide (like color some palette) and not document based only and then simply select it in the stroke tab before i draw a new line, then draw my line using pen/pencil tool with that selected profile and see if it fits my desire, this will be helpful for those still using mouse technology and even for those using pen/graphic tablets lacking pressure sensitivity functionality to feel home but also to feel and work with less stress or see their head overheated trying to think or remember how this used to work or to be but just focus on their design and produce great things. Please make the curved stroke profile saving applicable application wide in Publisher and if it has the success it should have, then replicate/expand it to Designer and Photo. @firstdefence, @Petar Petrenko, and all others ... your inputs to round the corners of this idea/proposition is expected and will be of great help ! Blessings !
 -
 Hello commmunity! How do I delete the selected area in Affinity Photo for iPad - like pressing the del key (since two-Finger-tap is undo)? Unfortunately I cant find any Option to manage this. many thanks for your help!
 -
 A complete start to finish Affinity Photo tutorial. Turn a nice scene into a dramatic image.
 -
render , modeling . and do the adjustments in the affinity photo .
-
 Okay, a preamble before I tell you what I have found. I use blending a lot in my artwork and what I previously found is that the AP smudge tool does a relatively OK job on large areas of blending but doesn't do well on any blending with a brush size smaller that 75-08 pixels. ( which I need) After receiving a response back to my forum posting about getting a better AP blending tool, I revisited AP and its smudge tool with the hope of uncovering something I missed. What I found holding back the performance of the smudge tool was the type of brush it was set to. Any brush setting with a texture or/and grain produced an OK blend for large areas but fell short of anything acceptable for smaller blend areas , if the smudge brush was less than 75 pixels. The solution, I found, was to make sure that the smudge tool was using a brush that had no built in texture or grain.. ie. use the basic set of brushes. For the IPAD version of AP: I found that the Basic> large Round Brush works the best For the Desktop version of AP: I found that the Basic> Round light brush works best. Of course you have to you have to play with width, flow and strength settings. So there you have it.. Buried within the AP toolset is a wonderful Blender for digital painting! Now the smudge tool works perfectly and can stand next to Procreate's blender. The first image is something I did in AP on the Ipad, with the basic >large round brush as the blending tool. ( okay, I got carried away by the fun of using my newly found AP blender) The second image done on the Mac desktop using the AP round light brushes. If there is enough interest in seeing this blending technique in action, I could create a video of the process. Enjoy! Gregory Clarke-Johnsen
- 6 replies
-
- 2
-
-
- blending tool
- smudge
- (and 1 more)
-
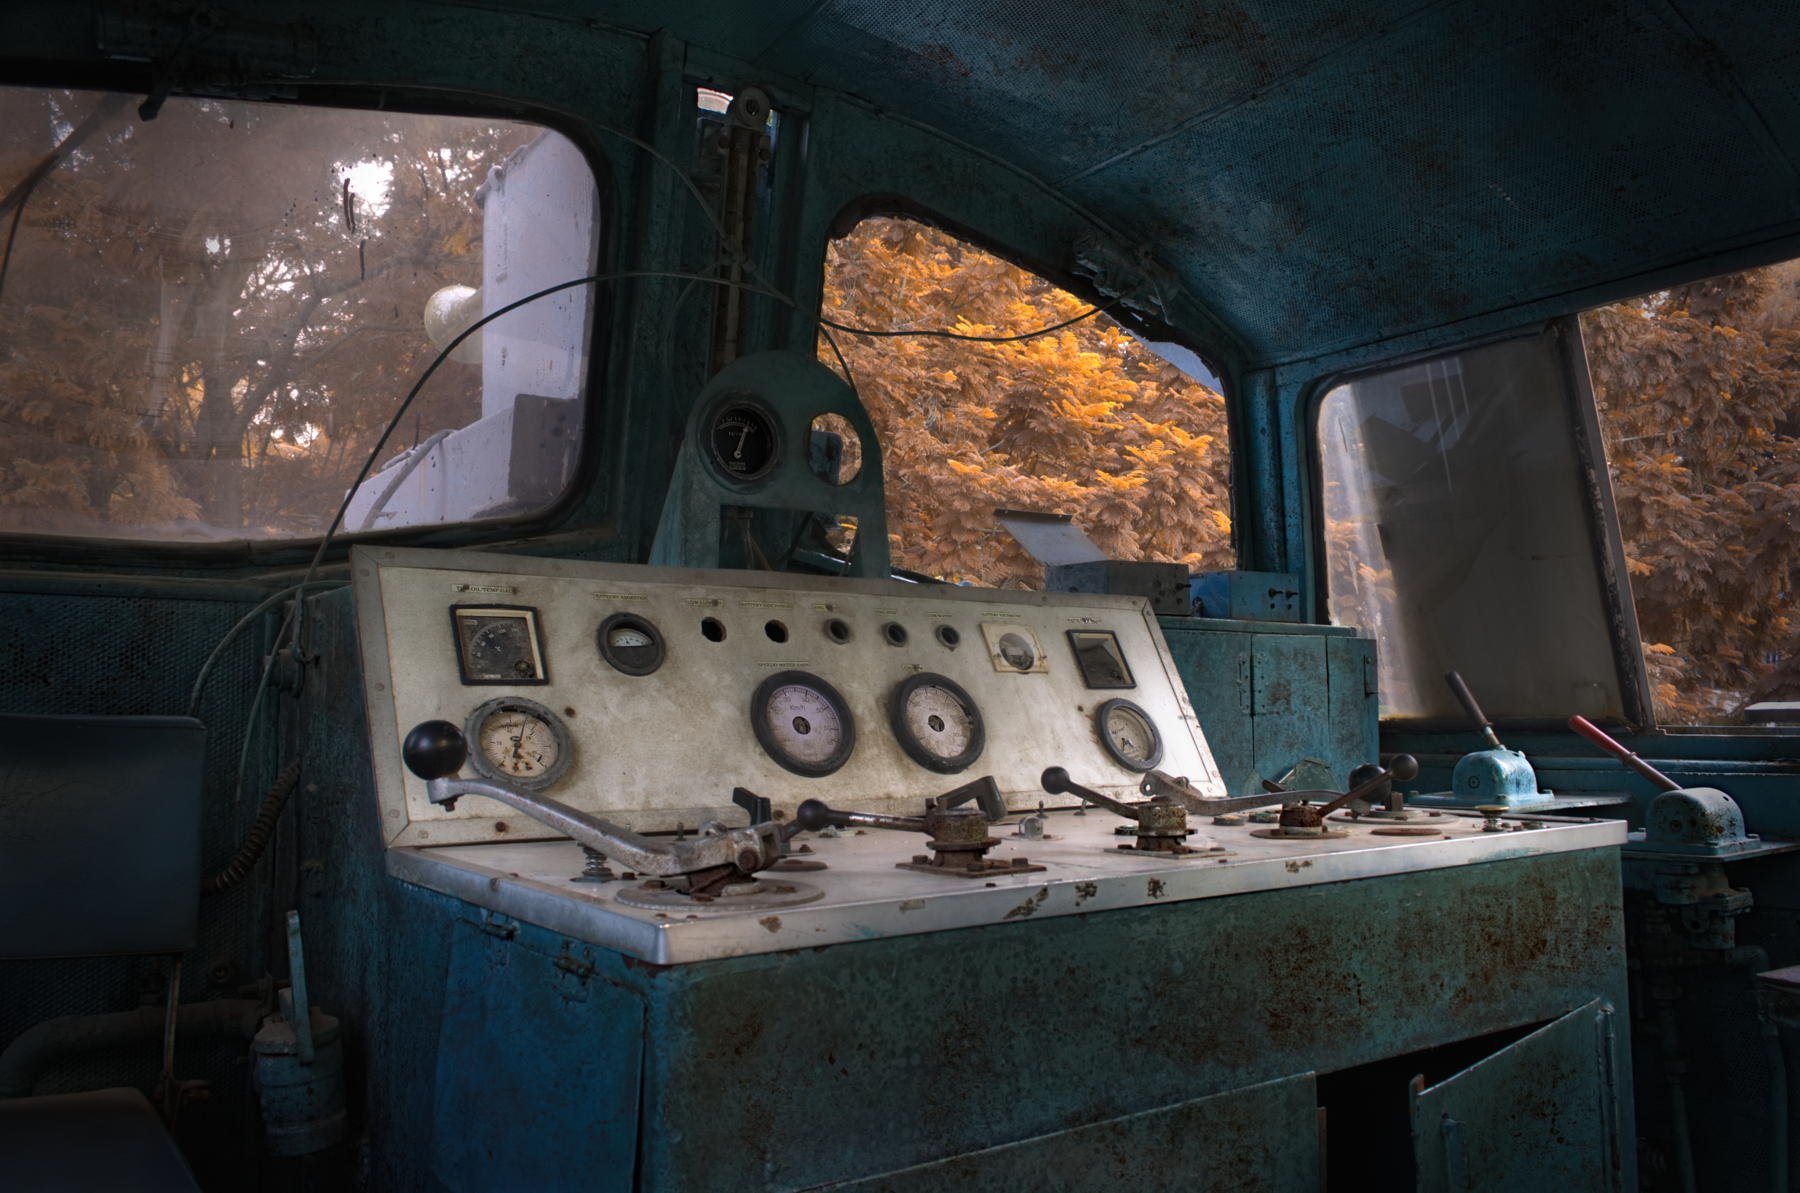
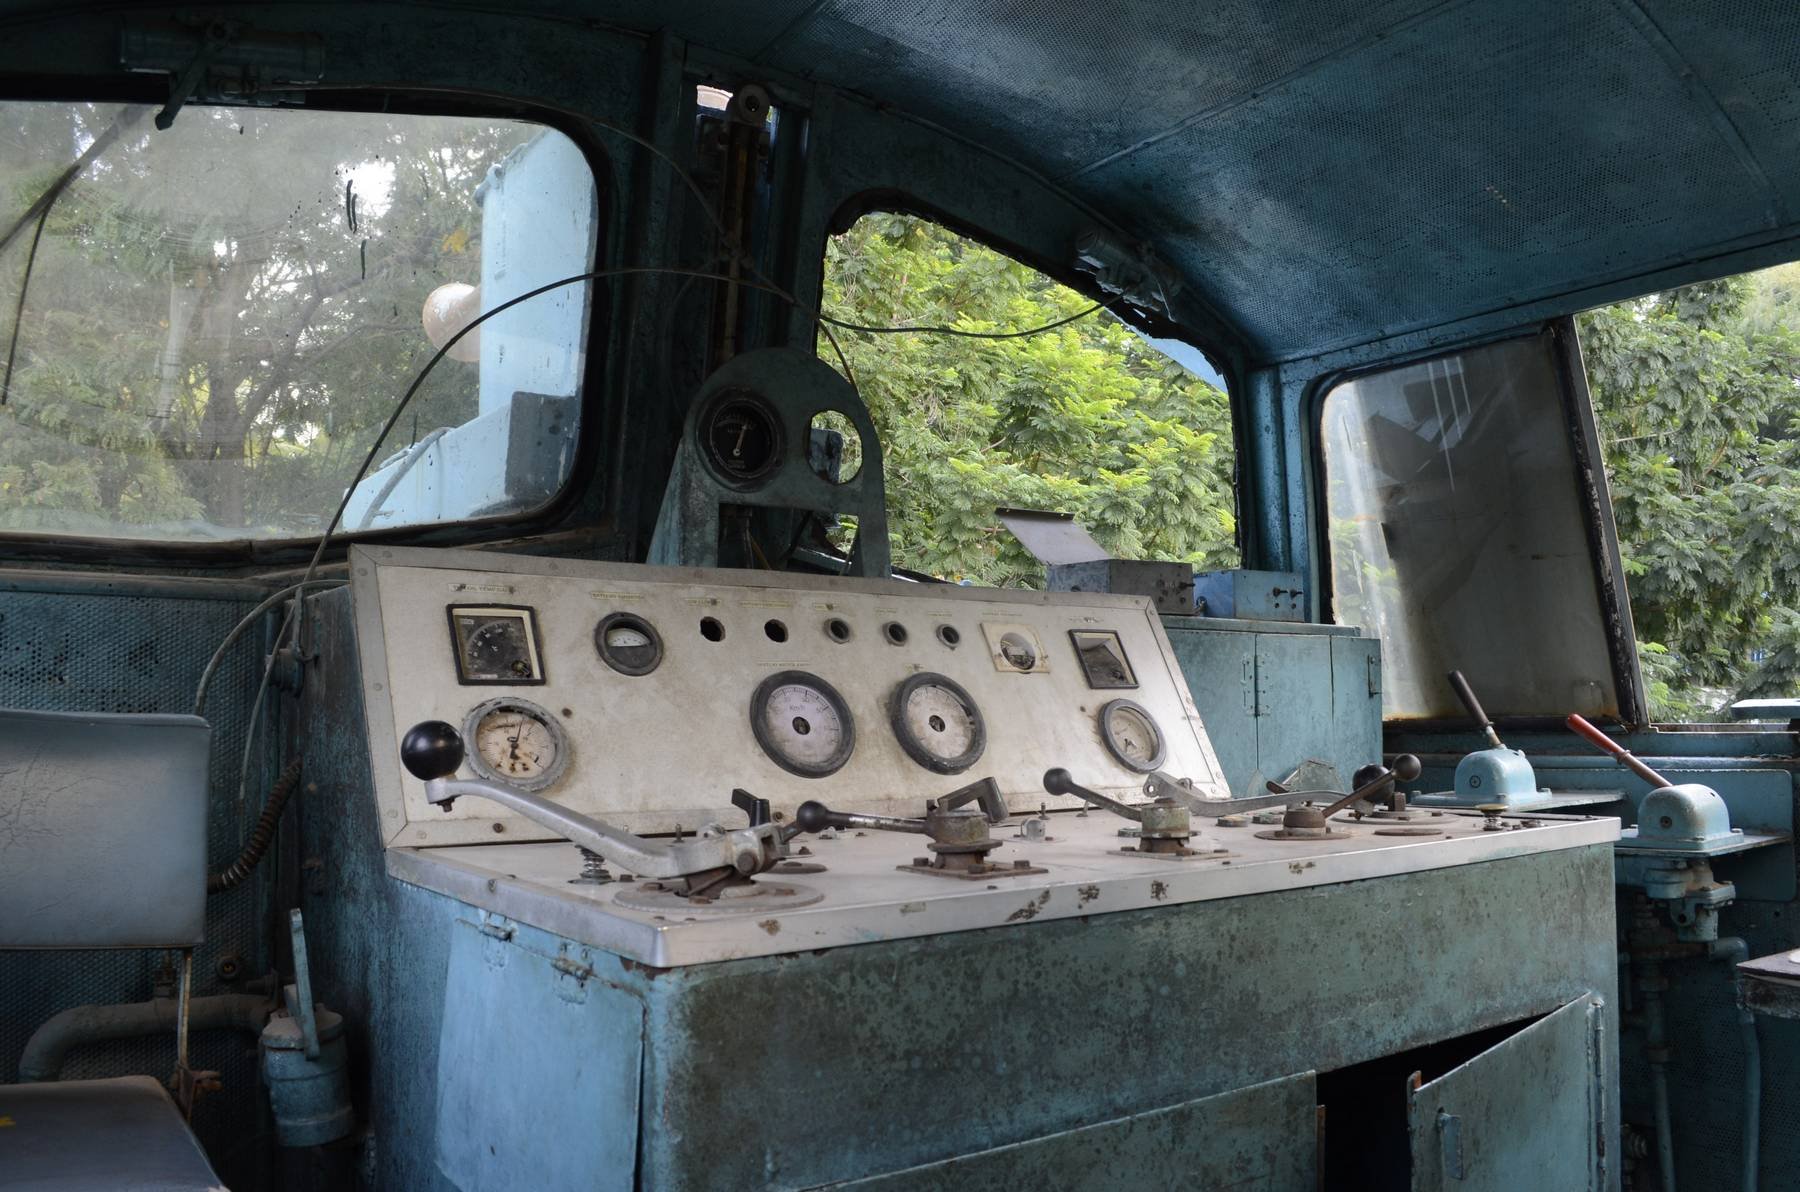
This is an old scrap diesel electric engine. To give a vintage look, the color and texture were modified selectively. A layer (overlay blend mode) with stampings of a grunge brush was used to bring patches of rust. The patches were selectively revealed through a black mask. Channel mixer adjustment layer is used with its output channel red selected and green slider to +200, red and blue slider around -30. This changes leaves from green to red-yellowish. Again, revealed selectively by painting white on the inverted adjustment layer mask. Similarly, levels, curves, unsharp mask, clarity were applied selectively by inverting each of the masks and painting on it with white brush. Finally, a vignette was applied. ABR brushes were downloaded from internet (Grunge_Brushes_by_Aramisdream) The goal was to lead the viewer to the instrument panel, give a rusted , abandoned and vintage look. The exhibit is actually inside Chennai railway museum, India. First image is processed to achieve the goal. This image below is unprocessed original.
-
 Hi After developed one photo in Affinity photo iPad version, Is it possible to sync all the changes to another photo/photos? thanks in advanced!
 -
This is a selfie. I shot the photo of myself in the tunnel over a year ago. My initial attempts at adding tentacles did not work out too well. A couple of months ago, I made a new attempt. I rendered the tentacles in Daz Studio, composited in Affinity Photo, and painted in Dynamic Auto-Painter. I created several different versions. This is the one my son likes the best.
-
Some time ago I decided to try my hand at doing some nudes. It was pretty much the only genre of photography and illustration that I had not dabbled in...at least not very much. One of the things I did was a mini series in the Cavewoman sub-genre of the Lost World sub-genre of Science-Fiction. I customized a base 3D mesh to create Kyla, a Cavewoman style character, and then I proceeded to put her in varous dangerous situations, which she handled extremely competently. Most of the Kyla pictures are on ArtStation. I used a combination of Affinity Photo, Daz Studio, and Dynamic Auto-Painter to create them. Before you click the link, please note that there is an absence of wardrobe that some people might find disturbing. While the pictures are nudes, and the style is deliberately reminiscent of Frank Frazetta, Boris Vallejo, and Julie Bell, I did what I could to avoid objectification. I do hope I succeeded. https://www.artstation.com/artwork/l2vwk Oh, and note that the last picture is a 360 degree panorama. I really appreciate Affinity Photo's ability to handle panorama pictures.
-
This is a composite done in Affinity Photo. The city is a 3D model rendered in Daz Studio. I photographed the elephant in the Gothenburg museum of natural history.
-
 I am looking for tips, ideas, clues, solutions. For months I have been using Affinity Photo seamlessly with Capture One Pro for Sony, no problems at all. Capture has transferred a file to Photo via Edit With > Photo and then the file has returned to Capture as a tiff following work in Photo. It is not now possible to do this ie when a file is chosen for edit in Photo, a tiff is created in Capture but does not find its way to Photo..... Photo neither opens up, as it previously would, or does not import the file if it is already open. There haven’t been any updates or changes to Capture but recently I updated Photo to the most recent update... 1.6.4.104 I have also recently downloaded and installed the beta version of Publisher, along with the most recent update. I have uninstalled Photo and reinstalled the previous version, but the same problem persists. Similarly so since I have again updated to the most recent update. I have uninstalled the beta Publisher, still no luck. Capture continues to send files to Ps, and the various Google Nik plug ins without any problems. Anybody any ideas ??
 -
The photo work that has been 9 years in the making. This "for" my brother who died 9 years ago and the cloud photo was take on that day so it seemed the background to use I would appreciate your honest thoughts before printing to give to my mother, sister, and sister in law . The photo will not be very big; small actually by today's standards All done in Affinity photos
-
 Elinor meets a T-Rex. I photographed the model Noor Model Noor in an old factory in Gothenburg, rendered the T-Rex in Daz Studio, and composited in Affinity Photo. A fun shoot with a very professional model, and, as always, a lot of fun to do the composite in Affinity Photo.
- 2 replies
-
- 3
-
-
- t-rex
- tyrannosaurus rex
- (and 3 more)
-
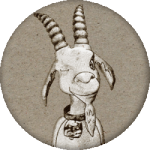
I've been working on how to create book covers that imitate those of the pulpy paperbacks of years past. The idea was to work on a method that others could use as a viable - and so necessarily cheap - option for the self and Indie publishing market. I had been making do with an old version of Photoshop Elements that came with my Bamboo Fun & Touch tablet but decided to take the plunge and try Affinity Photo when I got a new computer, and that turned out to be a very good decision. So... I start off in a program nobody likes to mention - Poser. I'm not too fussy about render settings as so much is changed in post, what matters is the figure, the posing, and the lighting. The result is then opened in Affinity Photo, where I start with some adjustment layers (highlights/shadows, brightness/contrast, colour balance), along with a plug-in from Topaz called Simplicity. This result is then saved out and opened up in a paint program called Art Rage and then attacked with an oil brush and knife to leave me with a faux painting. In Affinity Photo, I've been building some book cover templates and the faux painting is introduced there, with some wear and tear added for a display version. The two designs I've posted here were both based on Mike Shayne covers (the first is one I've seen copied by other publishers, the second is a bit of a classic - enough for someone to have created a font based on it). For very simple designs like this - ie a single figure with one or two props, and also assuming a cover design template is used, then the production time can be between 2-3hrs. I believe that someone more skilled than myself can probably do both a better job of it and at a faster time but even at my speed, I think this could mean a low enough cost for the target market. I don't think I'm ever going to be sufficiently happy with my own efforts to enter that market myself (or, to be honest, with enough free time), so I would like to encourage others to have a go themselves.
- 15 replies
-
- 18
-
-
I often use Affinity Photo in combination with other software, like Daz Studio and Dynamic Auto-Painter. Arachnophobia I was fairly easy to do. I shot the background at the Primus Vicus medieval village outside Halmstad, in Sweden. Then I rendered the spider and the viking shieldmaiden in Daz Studio, and composited using Affinity Photo. Arachnophobia II was done in a similar manner. The main difference is that I had help from two live models, Petra Brewitz and Peter Markusson. The castle in the background of the final image is Borgholm castle on Öland. I hope you enjoy the pictures.
- 2 replies
-
- 2
-
-
- fantasy
- arachnophobia
- (and 4 more)
-
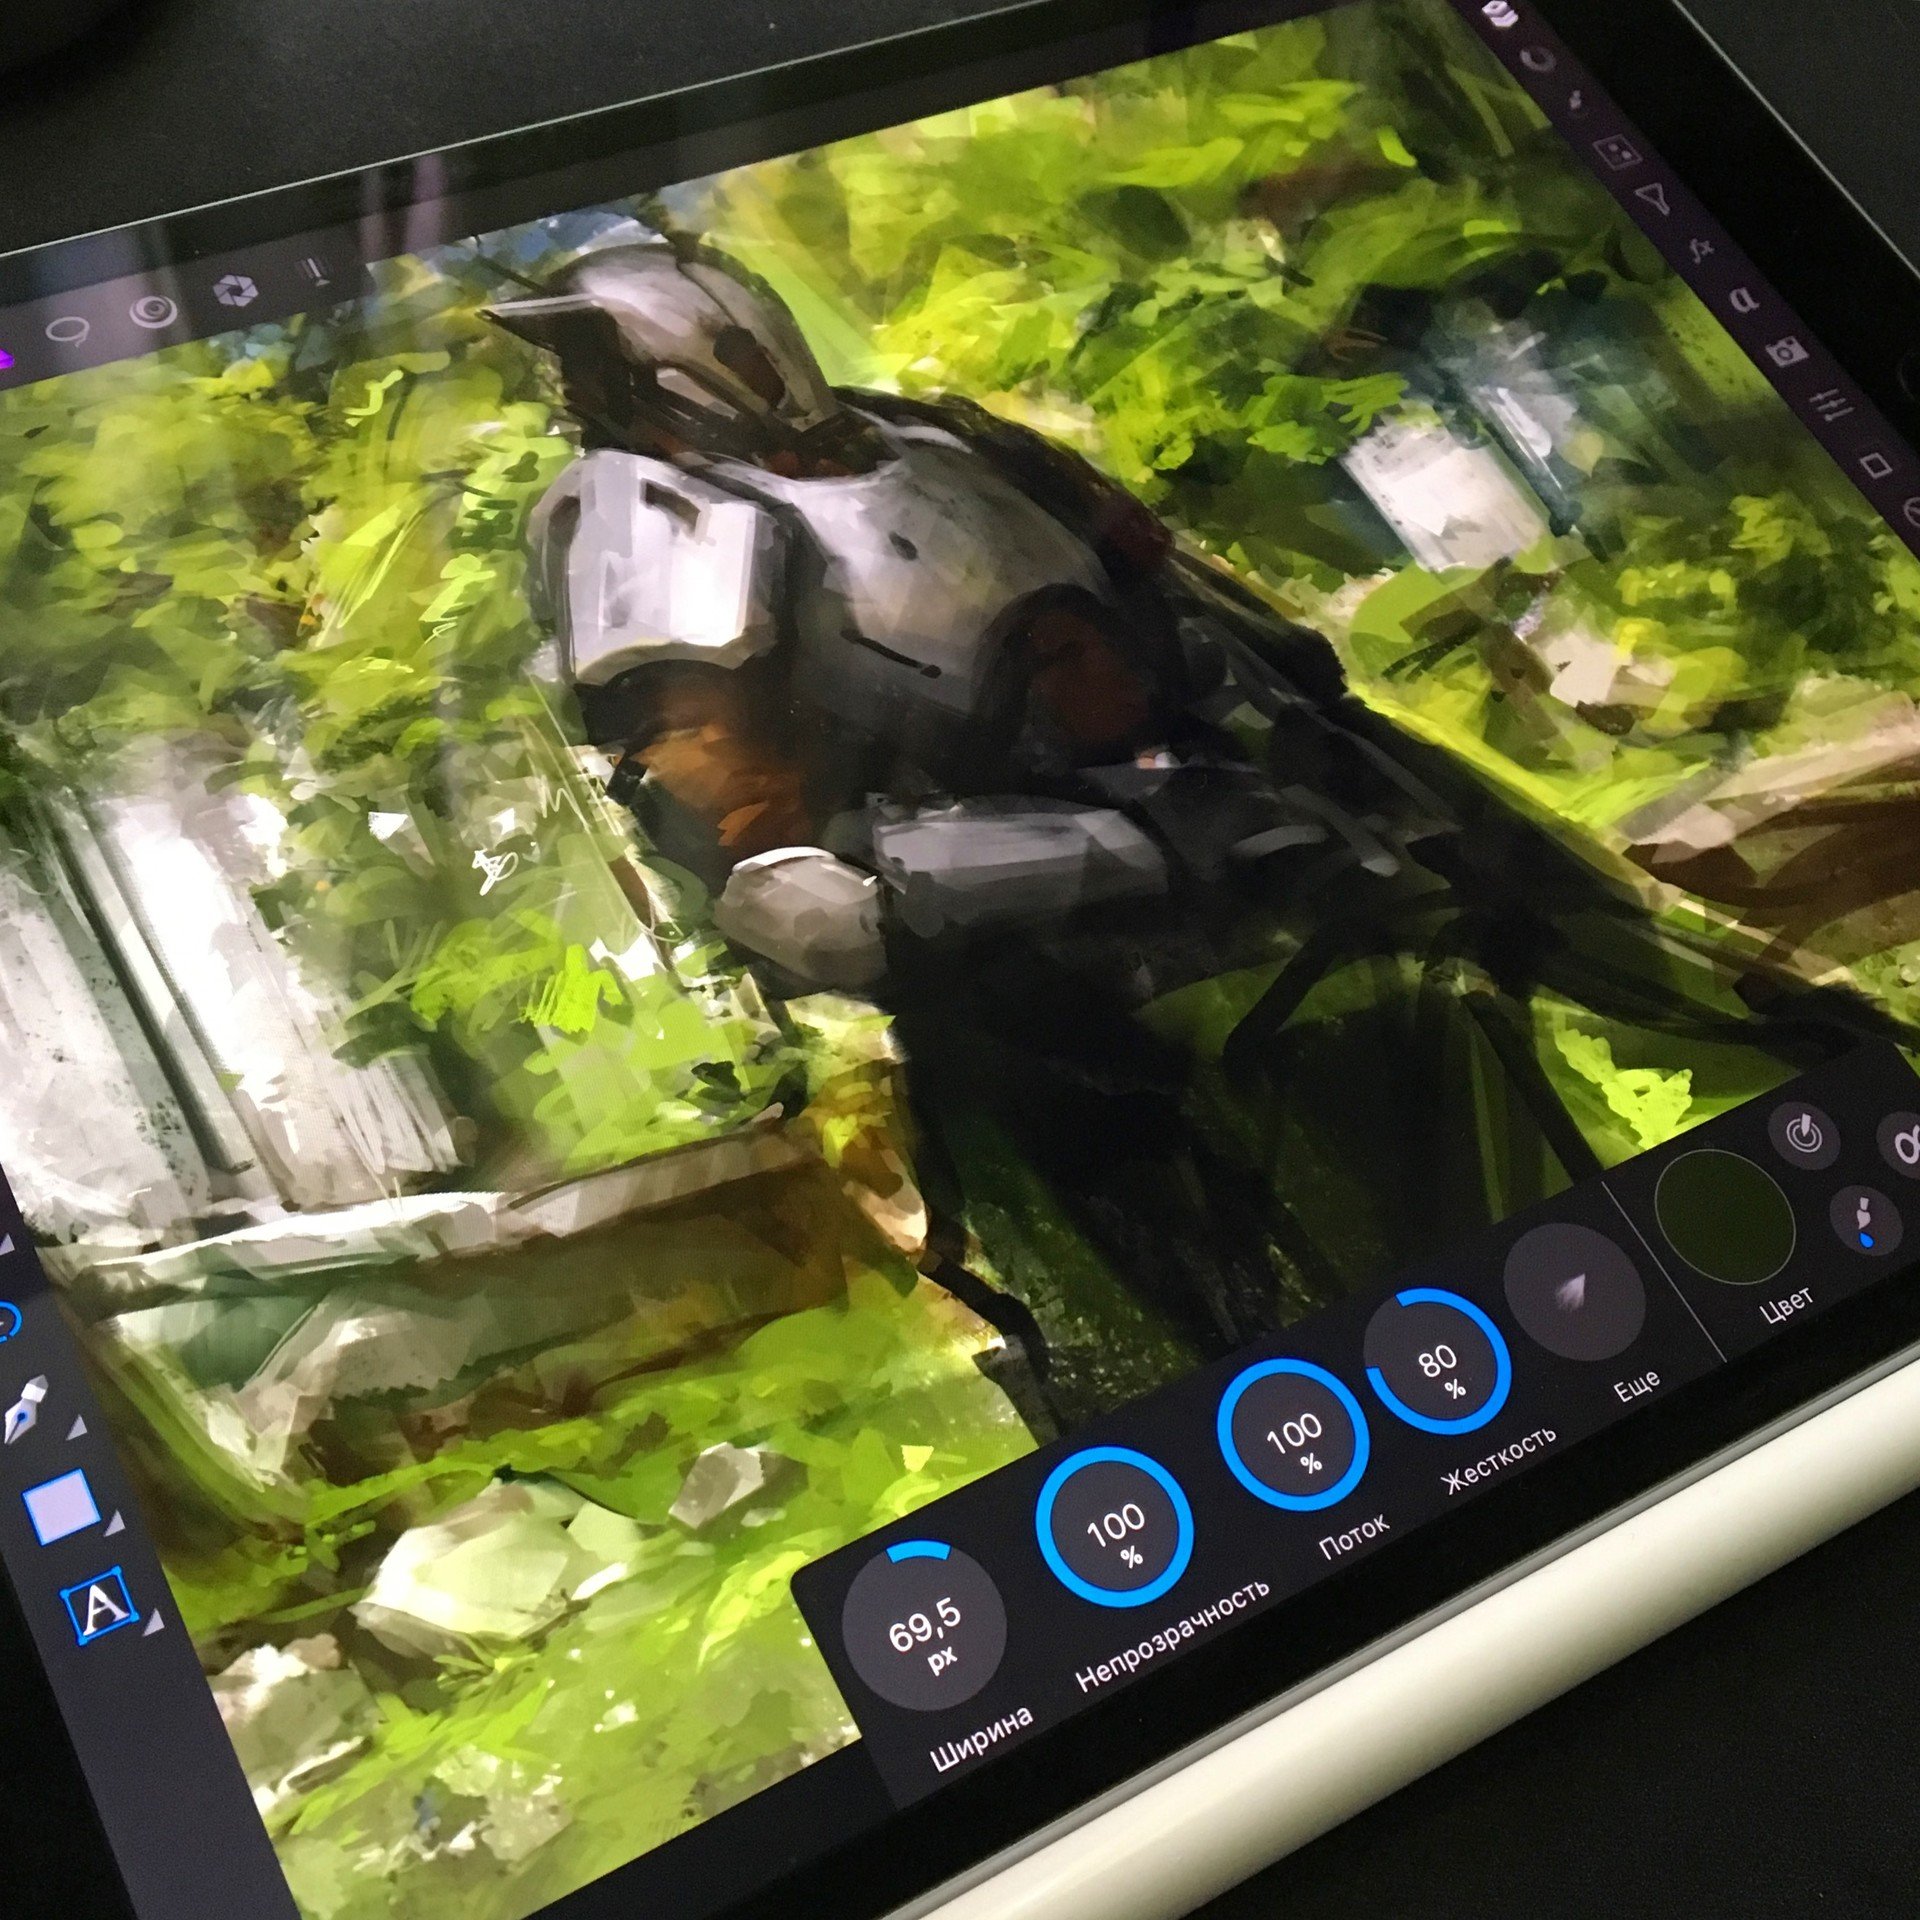
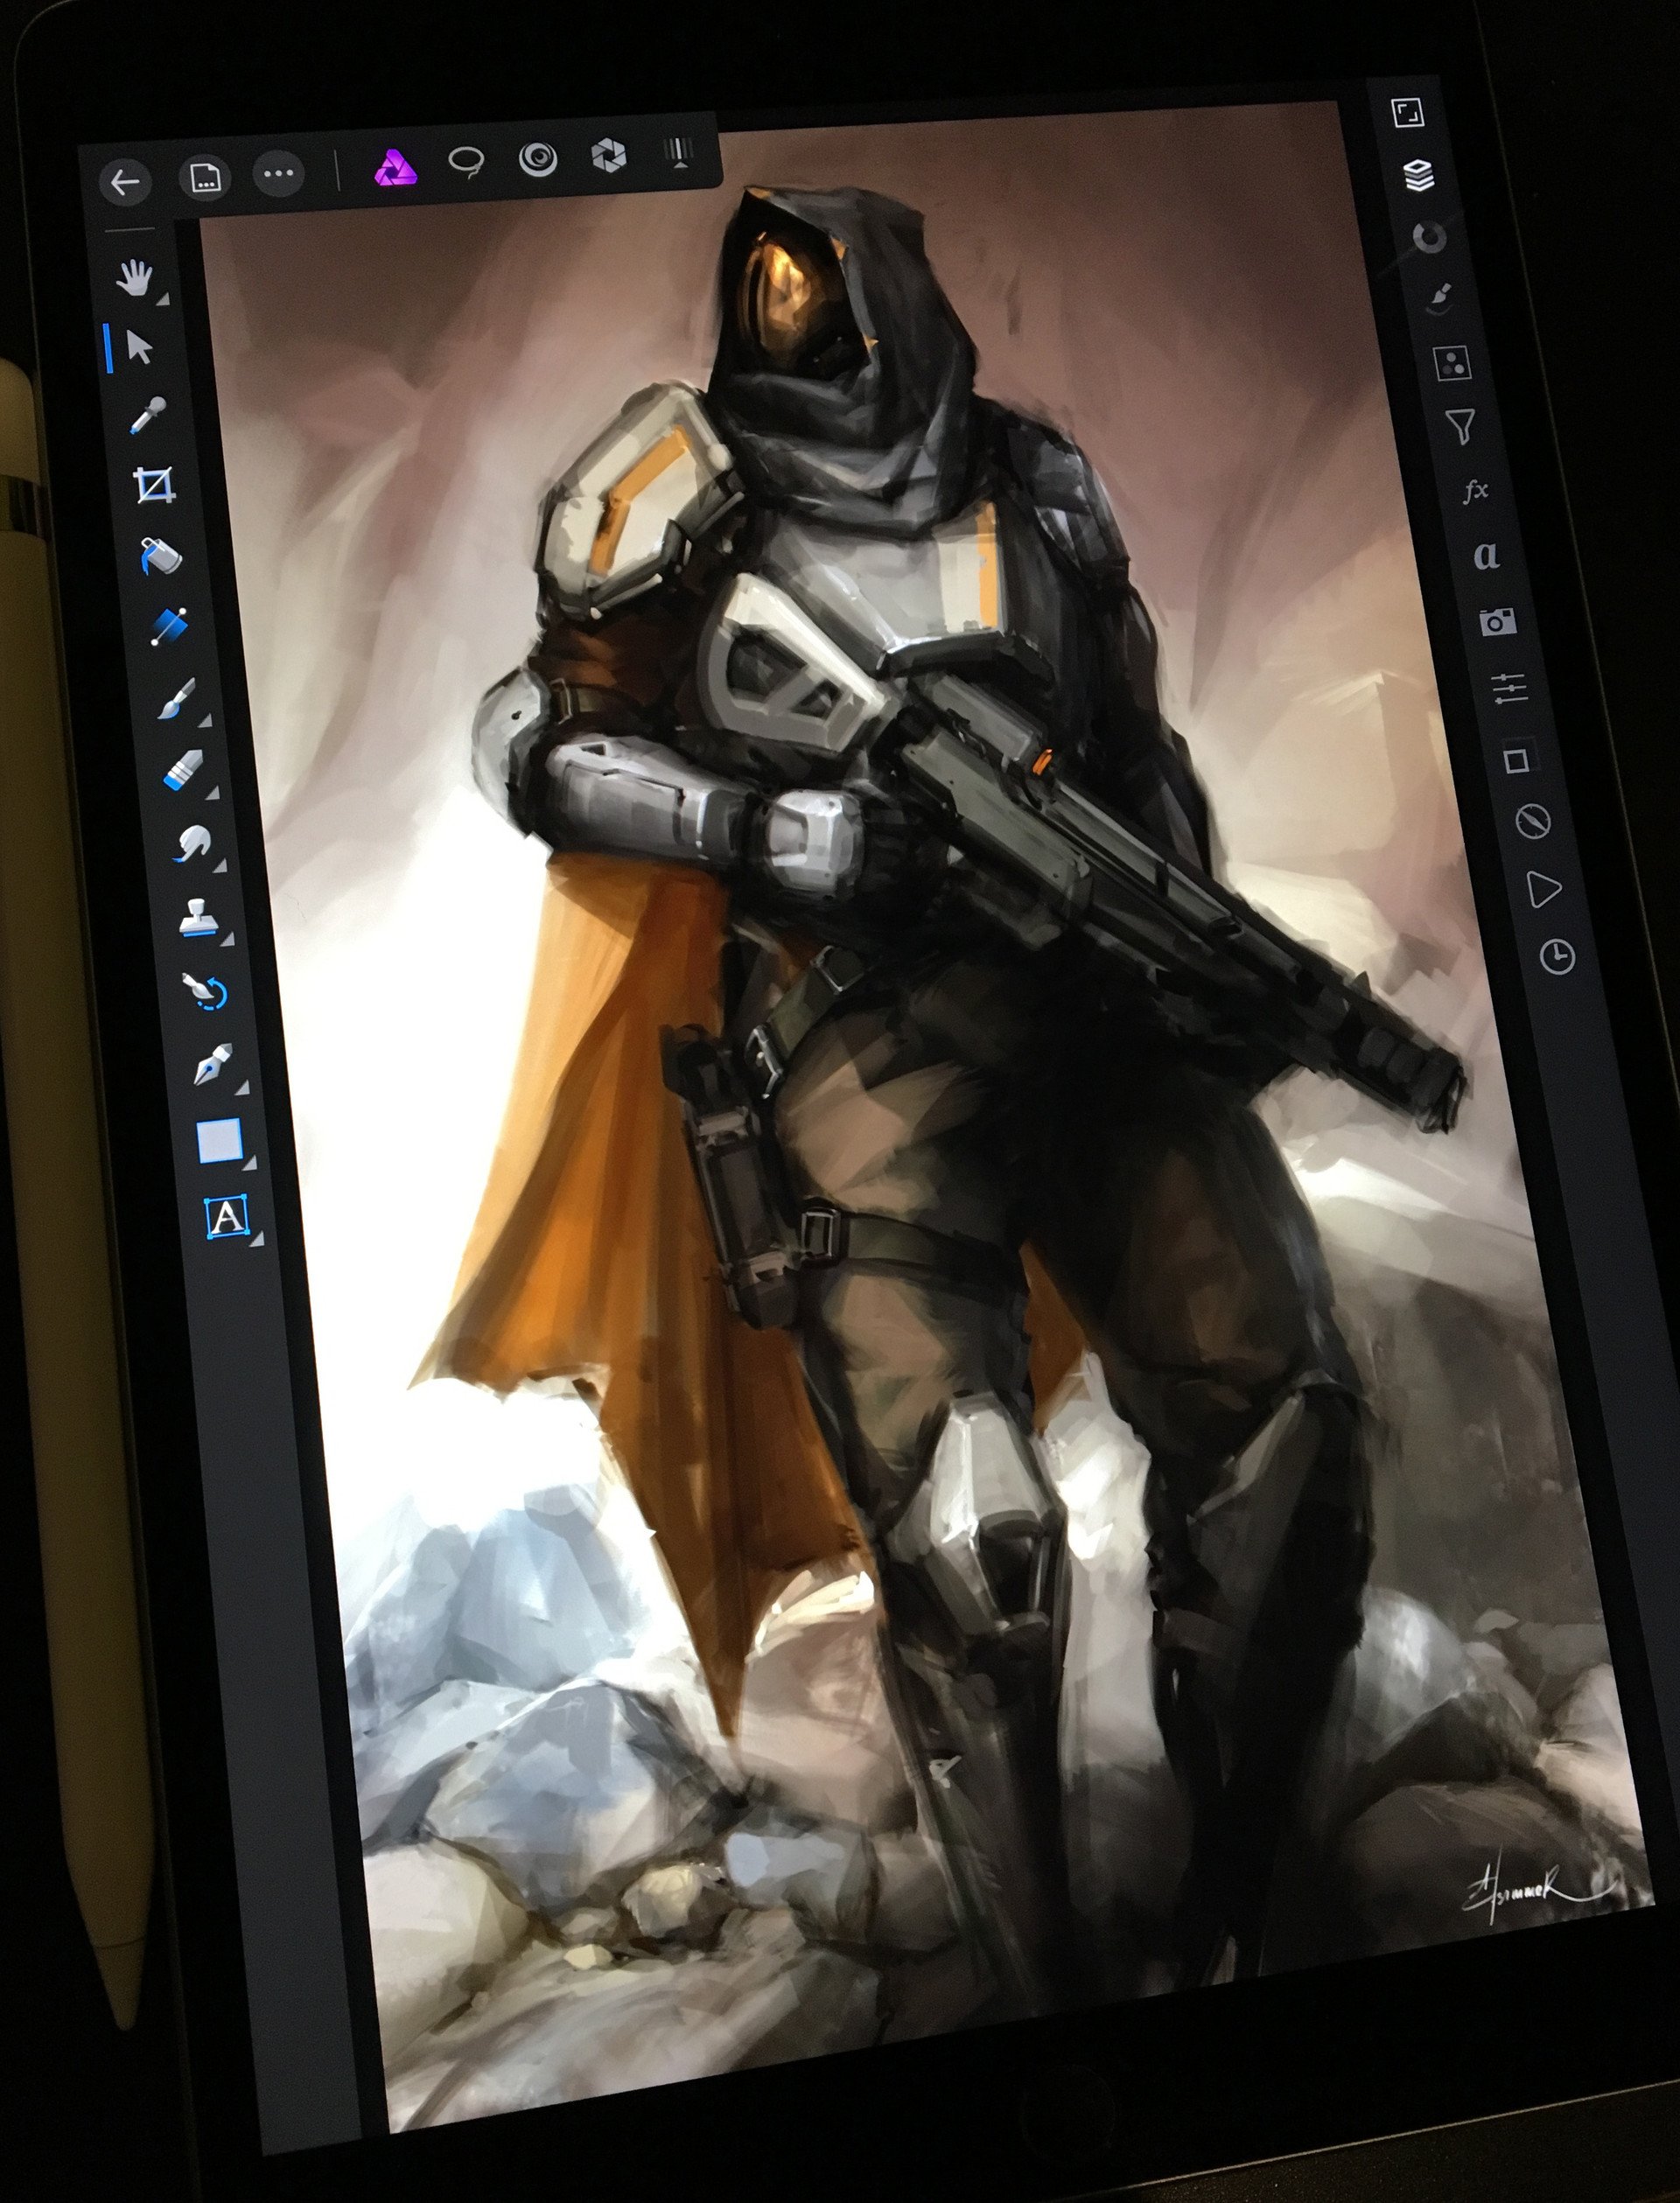
my quick concepts
- 11 replies
-
- 15
-
-

-
 Is there a way to retain the transparent background when I do this? In Photoshop that was standard so I'm a little confused right now... Another Question: Is there a way to apply the Blending Mode layer only to one layer or group?
-
Affinity Photo can open Fuji X-T3 files. Adobe can't do this. Another reason to love Affinity Photo!
-
How to create the teal and orange look with the channel mixer. Probably the easiest method. Just enter 3 numbers!