Search the Community
Showing results for tags 'Affinity photo'.
-
I am pretty new to Affinity Photos and design in general... I just wanted to get some opinions on this poster that I made, any tips or ideas that would be helpful! Thank you! Sicily Poster Information.afphoto
-
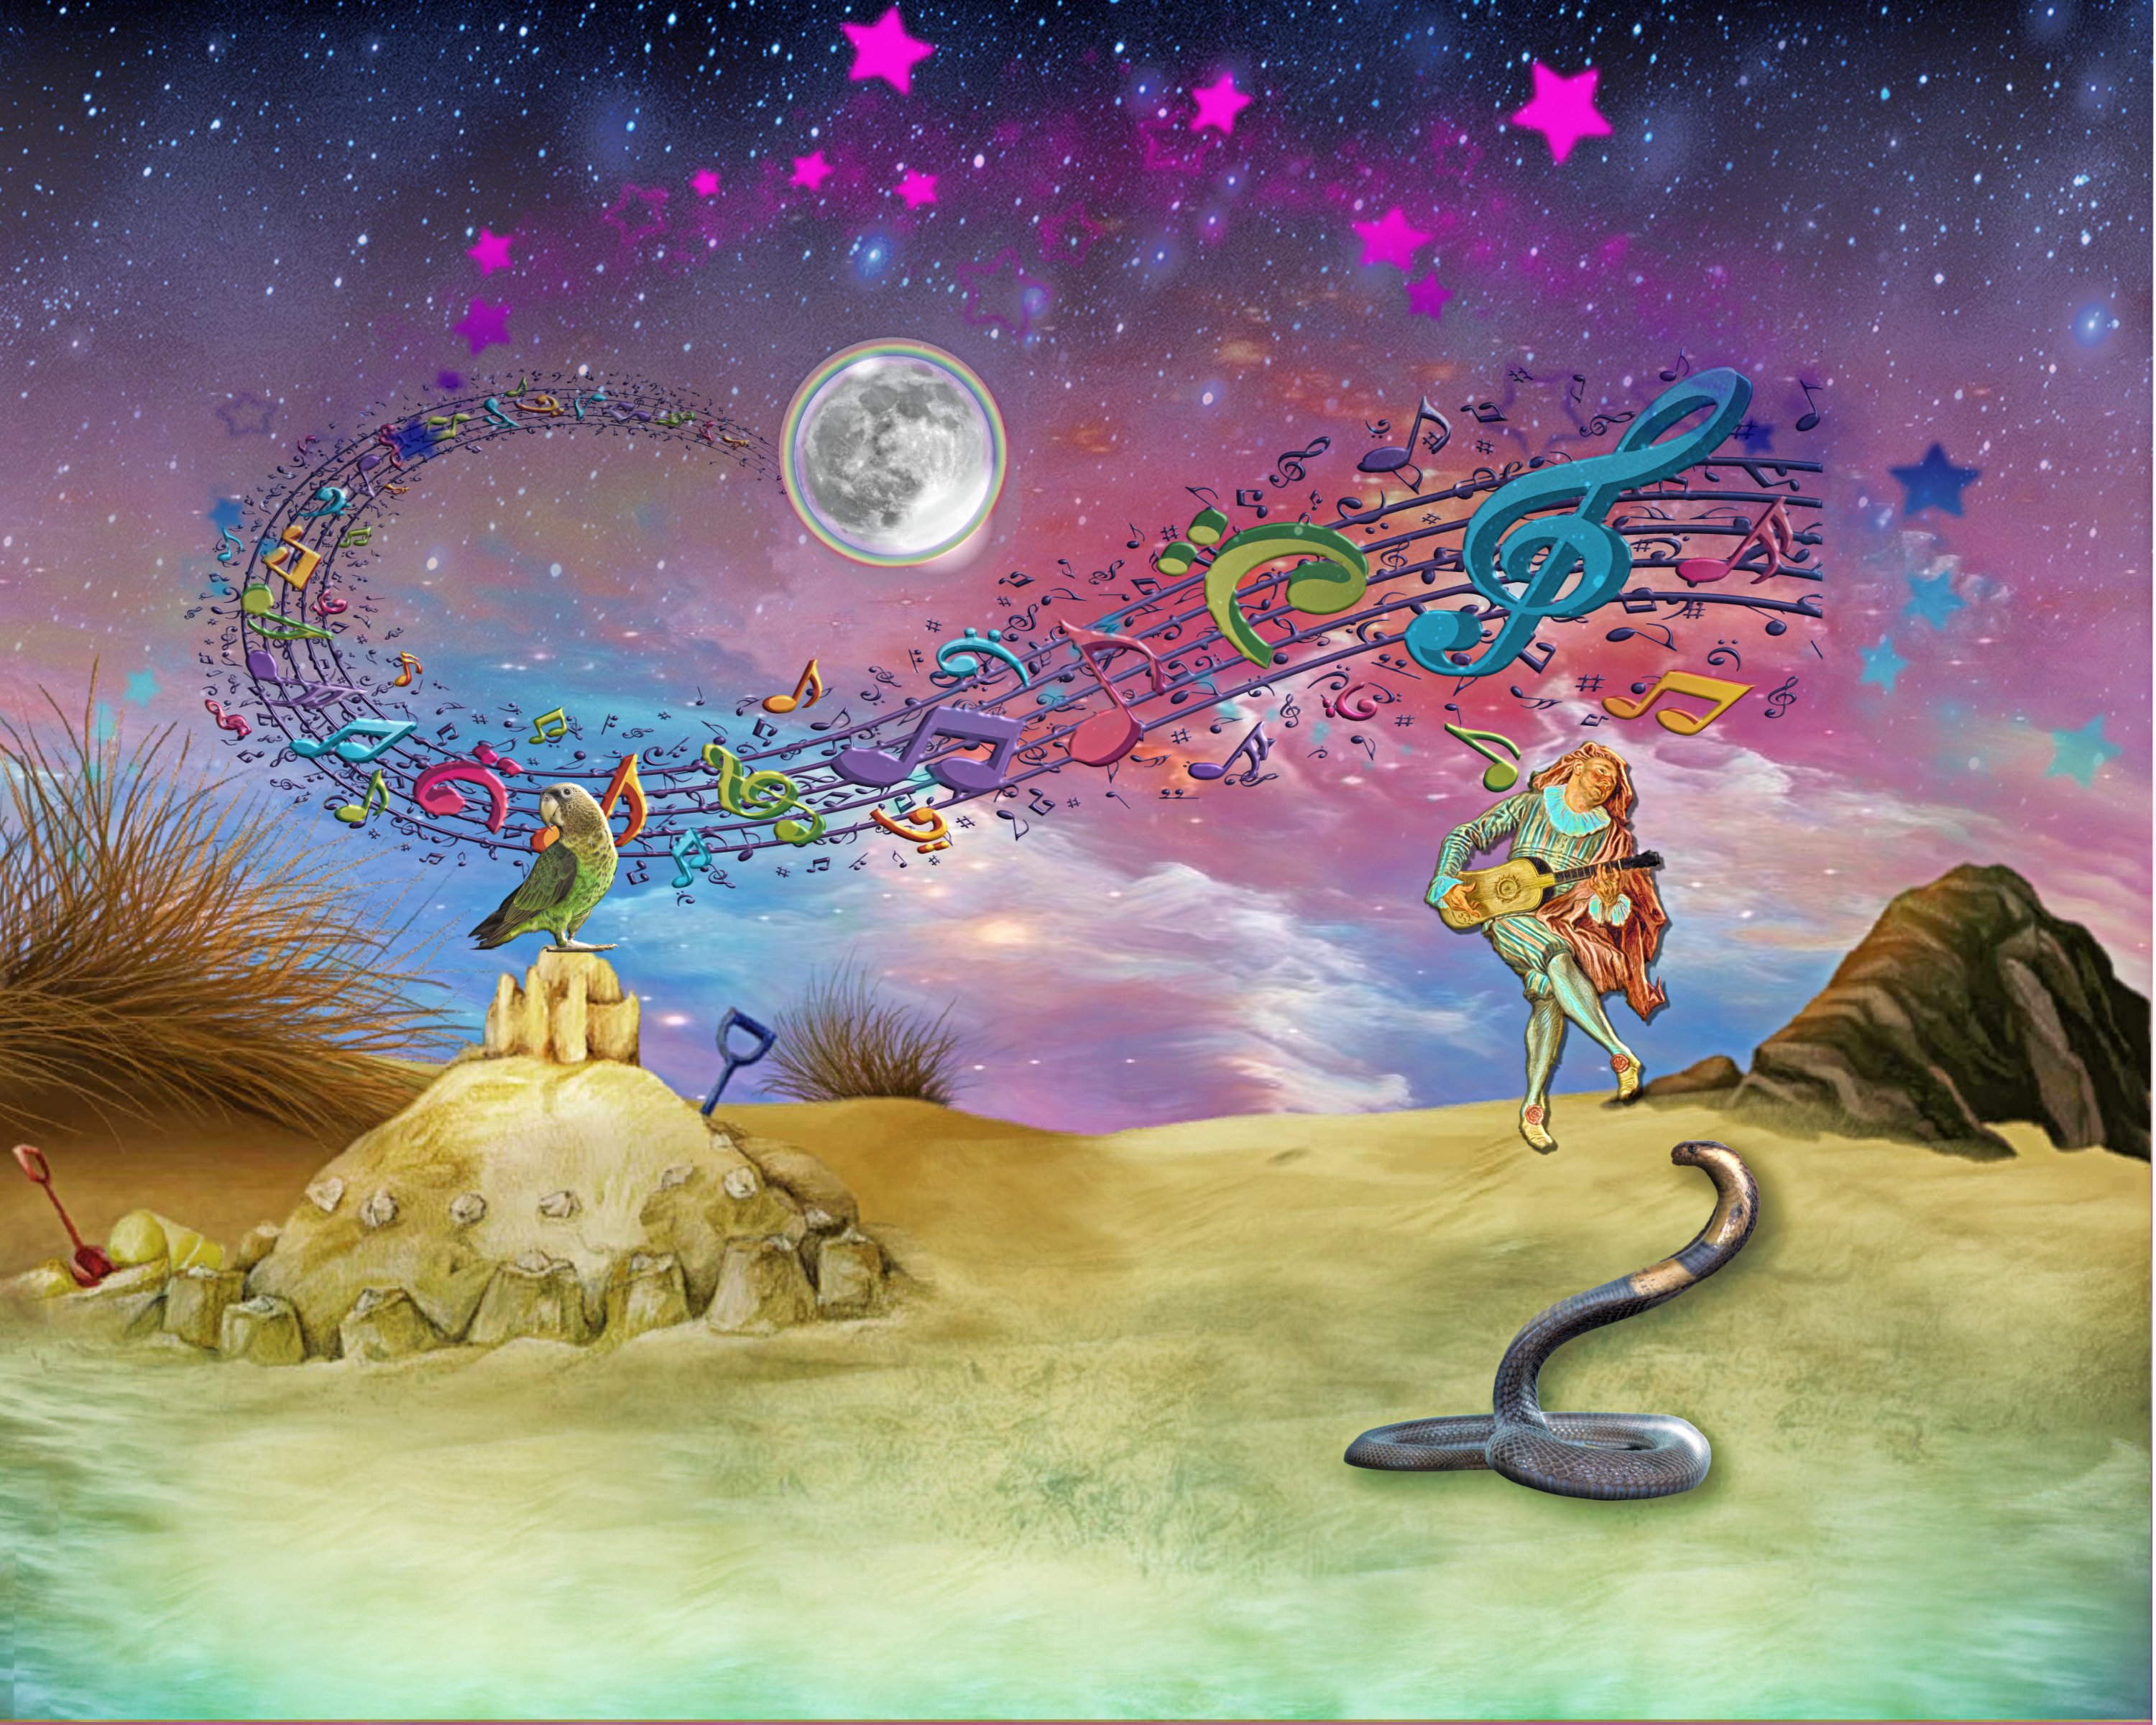
Music of the Spheres...

-
As I learn Photo, I'm delighted to see compatibility with Apple's Final Cut Pro X video editing software. When exporting as a Photoshop PSD you can select "Final Cut Pro X". Until now I've been using Photoshop CS5 to create graphics for video projects, which I'm replacing with Affinity Photo. With CS5 I found that drop shadows created in Photoshop didn't translate to FCPX. But with Photo, the transition is seamless. FCPX lets you animate layers to have photos and or text move around the screen by creating keyframes. I like how images can be placed and quickly sized in Photo by selecting Place, click and drag. Aligning images is made easy by guidelines that pop up as you move around the document. The image below is 1920 X 1080 for HD video. Old school collage with drop shadows, gradient background. I sampled the sky reflection in the water and the fungus for the gradient background. The JPEGs are unprocessed, straight out of camera.
-
 Recently announced image sensors by Canon in their newly introduced 5d MK4 series use a sensor called dual pixel and results in a dual image output available and called DPR (Dual Pixel Raw). My question for Affinity Photo users: has anyone experimented with this raw file? How does AP (Affinity Photo) handle it, either for HDR or micro-focus compensation, ghosting or otherwise taking advantage of its capabilities in image processing? There is a Canon utility designed to break this out for processing and other apps designed to split the file into two versions of the same image for HDR use. The magazine DPR and others have some comments about this new imager and camera. I've just started playing around with the camera's capabilities (awesome and looking to AP for some unique processing ideas. For stitching DPR-enabled images from this camera, what is the recommended practice? I did this is Lightroom very quickly and would like some suggestions in trying it likewise in AP. Lightroom uses a stack (grouping of pictures) whereby each member of the stack can be separately processed, then combined and stitched. Is the method the same in AP? Is there a suggested workflow? The enclosed "pano" stitched image from the Matanzas Forest, FL (composited from 8 images size: 18216x3820p). Reduced for this post to 1000x210@72ppi.
-
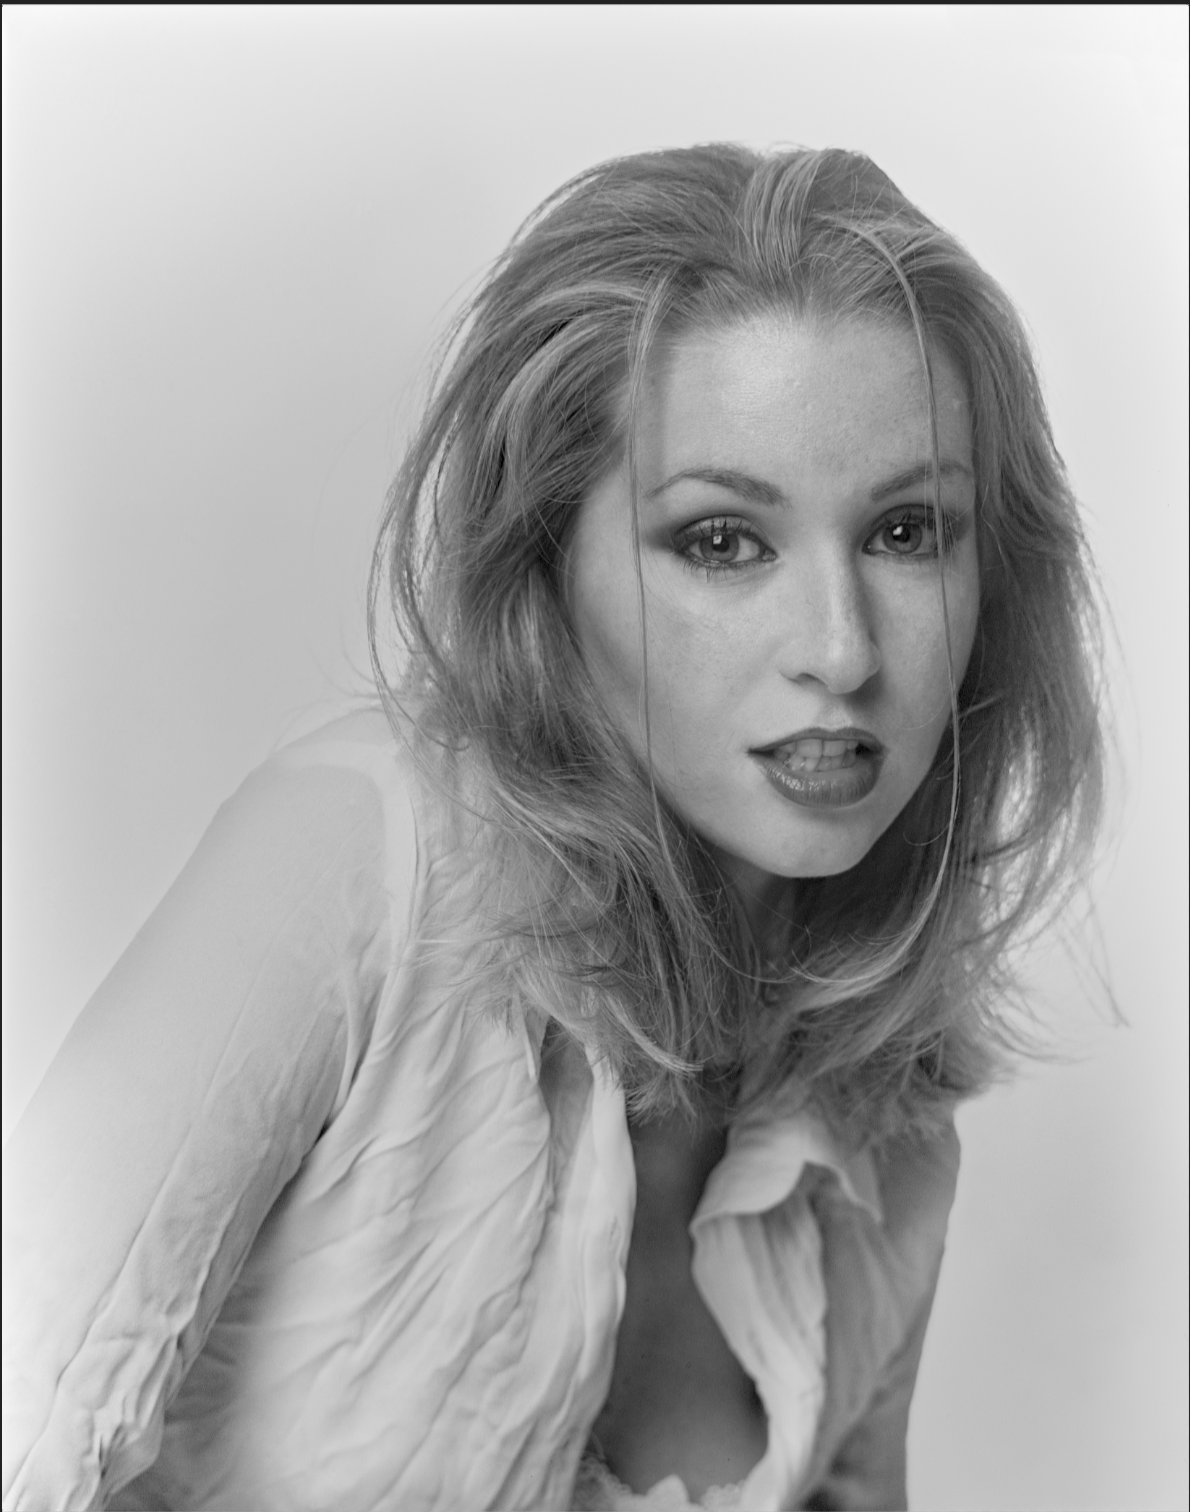
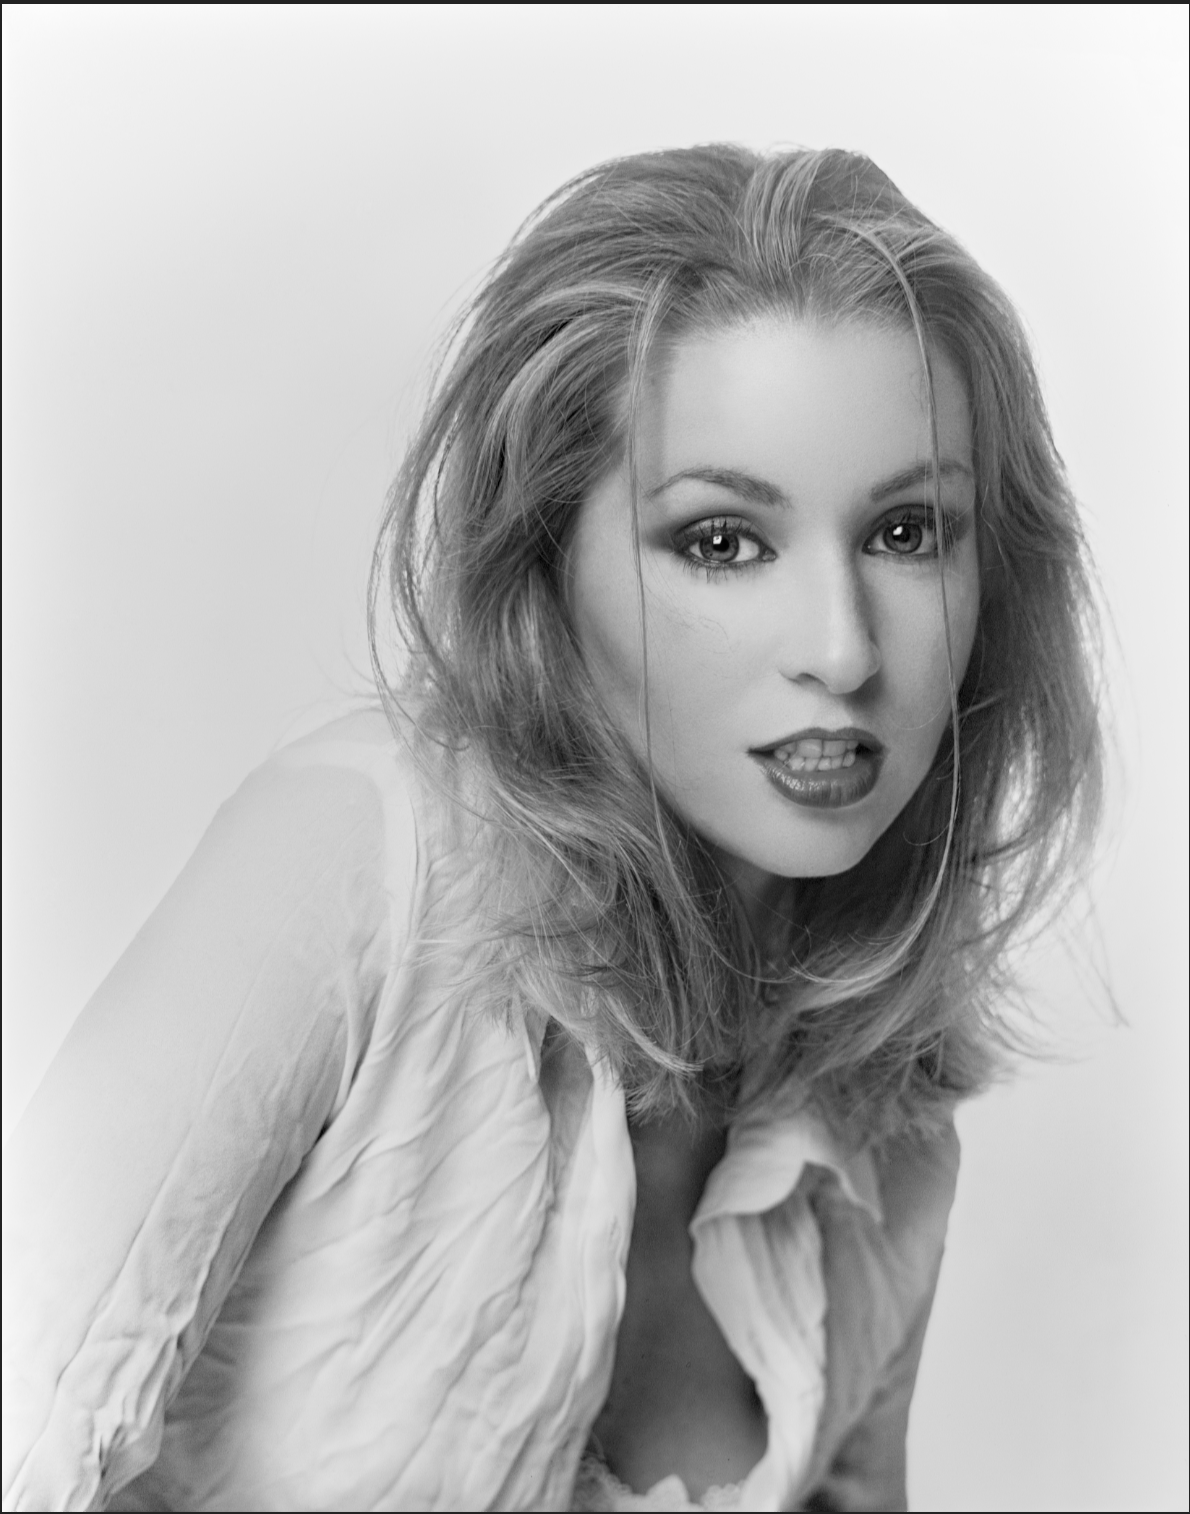
Here is a photo retouching done on affinity photo: What do you guys think?
-
.thumb.jpg.6800ee623273eed4cf93a311483f65f9.jpg) Hi folks, I'm new to this app and looking into slices to simplify a specific workflow... I can't tell if my failure to figure this out is my unfamiliarity with the app or perhaps it's not meant to do what I want. A description: Given: a single source image (may be portrait or landscape) Wanted: To create n different output assets of different sizes and orientations, with the ability to replace the image for a given size if manual cropping/resizing is insufficient to produce a viable composition. To complicate matters, the use case also has overlays (these images are backgrounds for use in an app that presents on different sized devices) which means that images with lots of negative space need to be massaged more depending on where the "important" parts of the image are. I've attached a version set (apparently I can't attach all the images, but what did attach shows the range -- the original is 3072x2048 in this case and there's a 2732x1048 that failed as well) that I've done manually in another app to give a visual of the resize/recomposition I'm describing... is there some way I could use slices to import the original once, manipulate the slices individually to create a result like the manual example, then take advantage of the single export to get the workflow improvement I'm looking for? If not, given the description, is there a suggested different approach that might be better than the lather-rinse-repeat of manipulating the frames individually? Thanks! -brad
Hi folks, I'm new to this app and looking into slices to simplify a specific workflow... I can't tell if my failure to figure this out is my unfamiliarity with the app or perhaps it's not meant to do what I want. A description: Given: a single source image (may be portrait or landscape) Wanted: To create n different output assets of different sizes and orientations, with the ability to replace the image for a given size if manual cropping/resizing is insufficient to produce a viable composition. To complicate matters, the use case also has overlays (these images are backgrounds for use in an app that presents on different sized devices) which means that images with lots of negative space need to be massaged more depending on where the "important" parts of the image are. I've attached a version set (apparently I can't attach all the images, but what did attach shows the range -- the original is 3072x2048 in this case and there's a 2732x1048 that failed as well) that I've done manually in another app to give a visual of the resize/recomposition I'm describing... is there some way I could use slices to import the original once, manipulate the slices individually to create a result like the manual example, then take advantage of the single export to get the workflow improvement I'm looking for? If not, given the description, is there a suggested different approach that might be better than the lather-rinse-repeat of manipulating the frames individually? Thanks! -brad
-
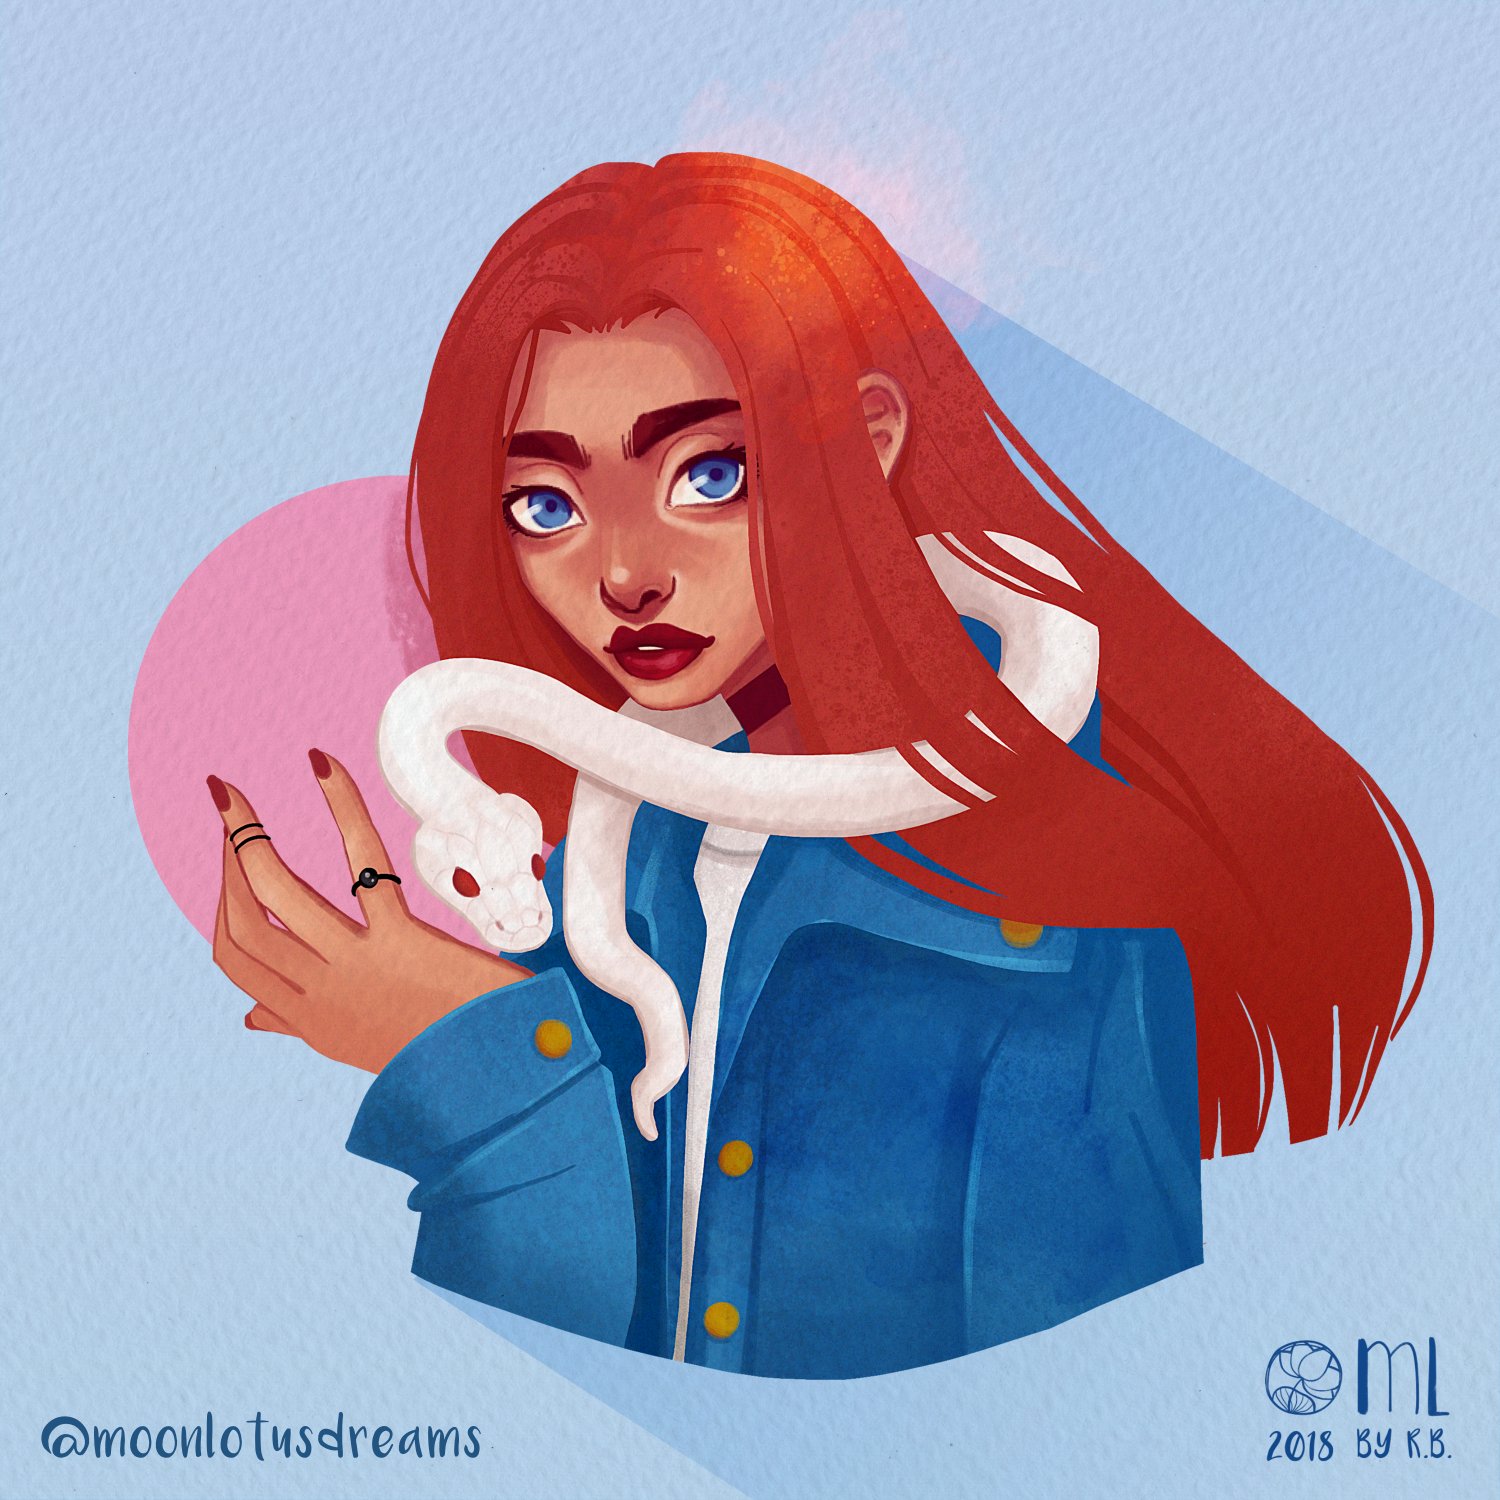
Hello! I am using Affinity Photo since August 2018 but only recently I have started to do more illustrations and digital art with it. I've always been using Photoshop before then and I need to say I find Affinity fantastic! I would like to share some drawings and my latest speedpaint video. Please let me know if you have any feedback or advice to improve Thanks! Speedpaint video here: https://www.youtube.com/watch?v=vKx1FbRYjZg
-
- 3
-

-
- illustration
- digital art
- (and 3 more)
-
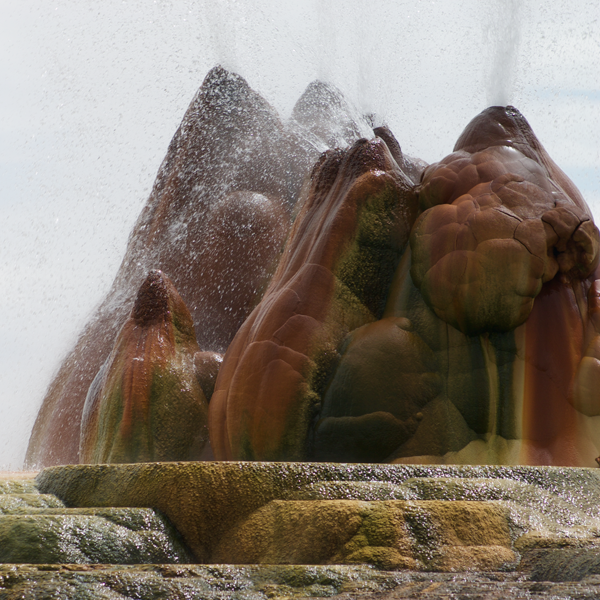
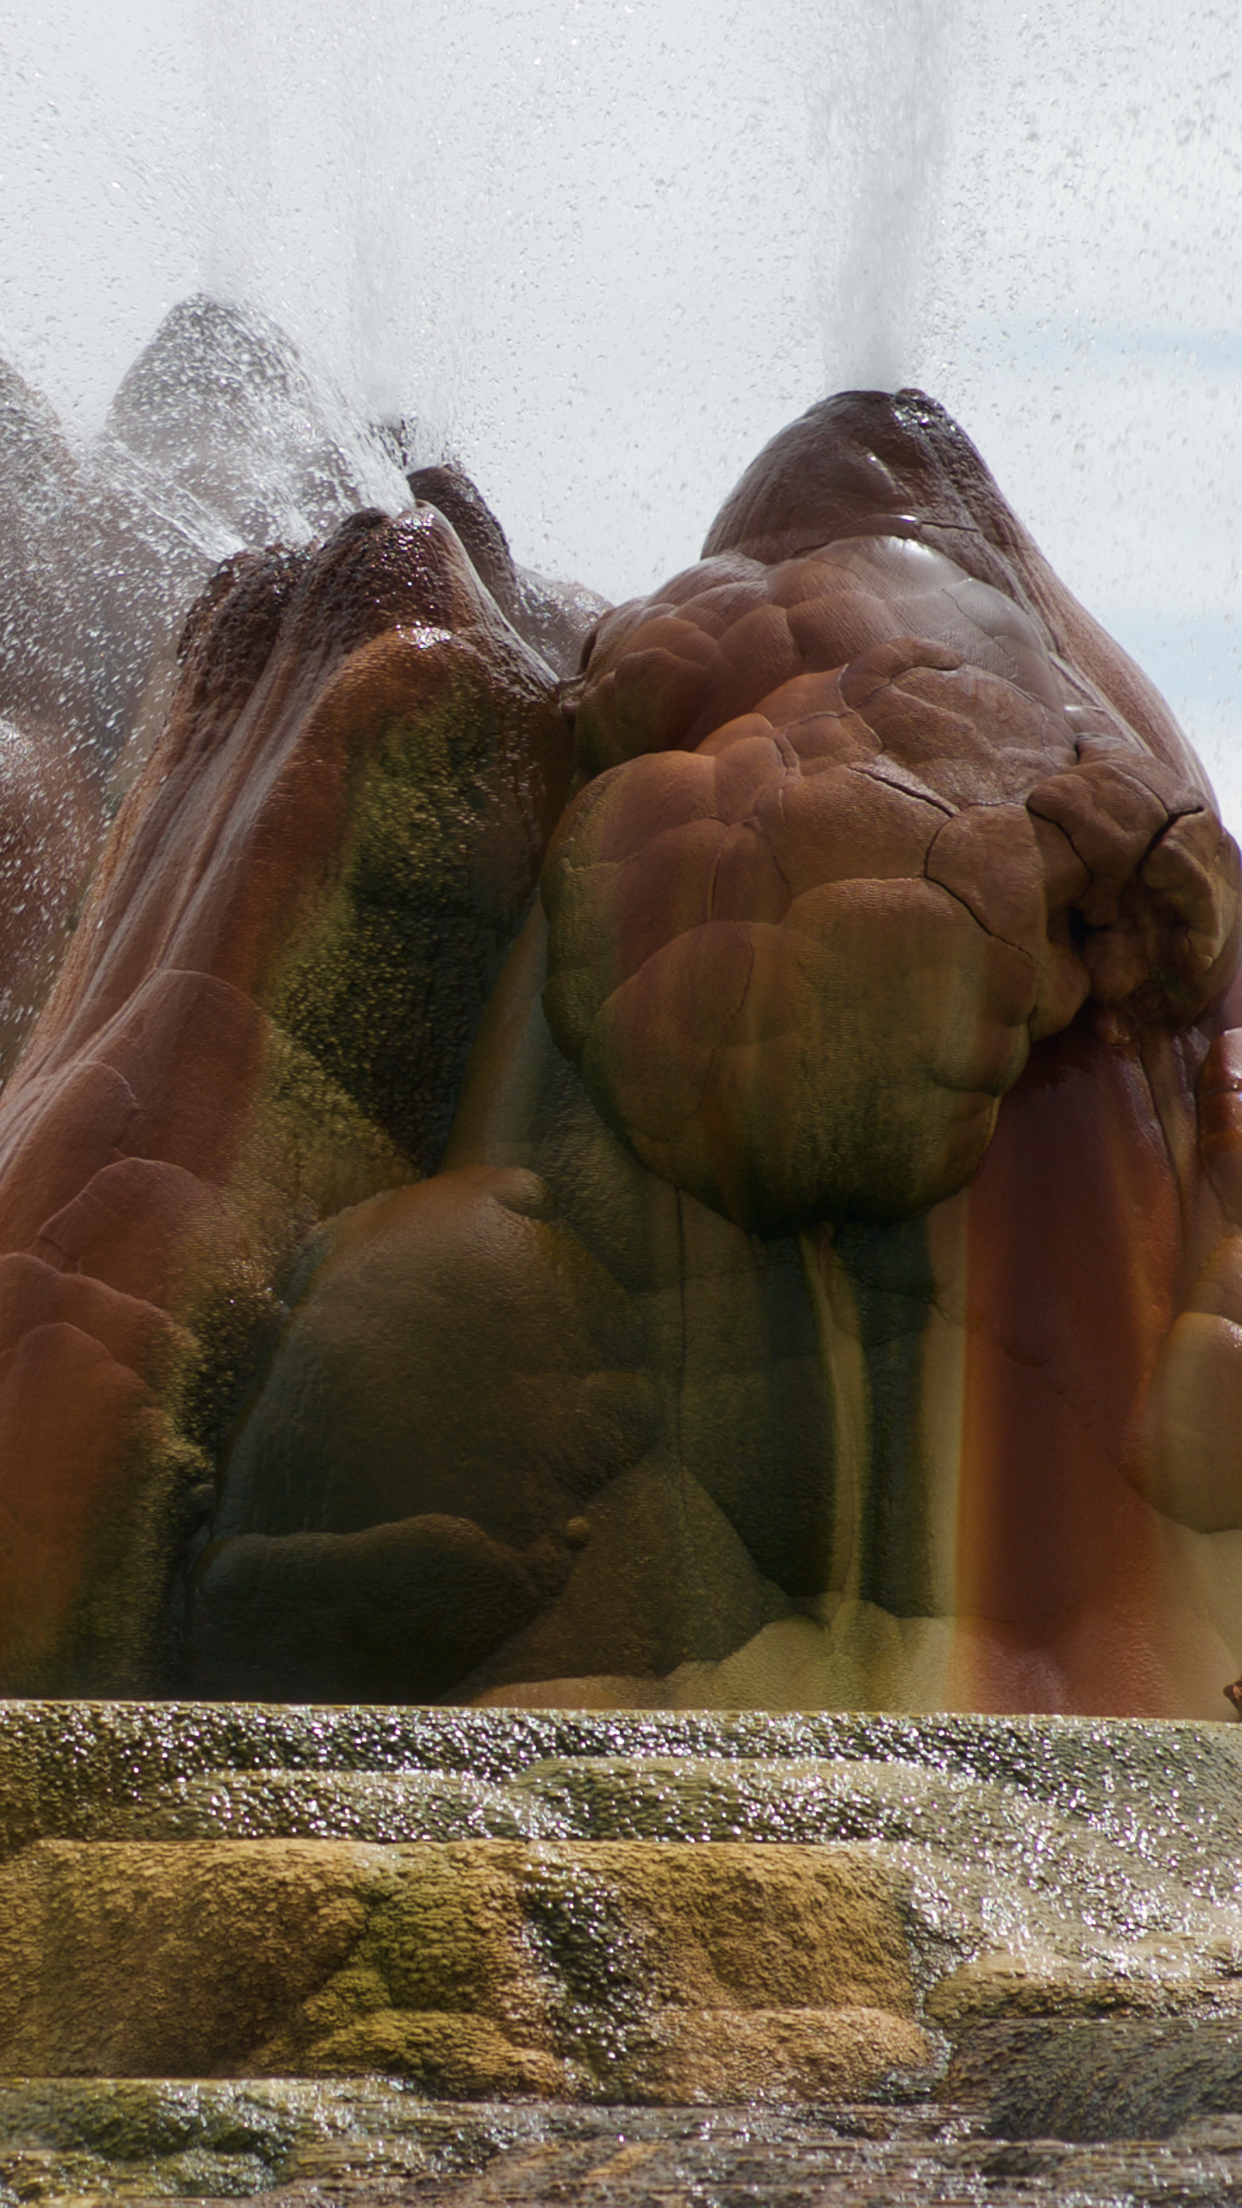
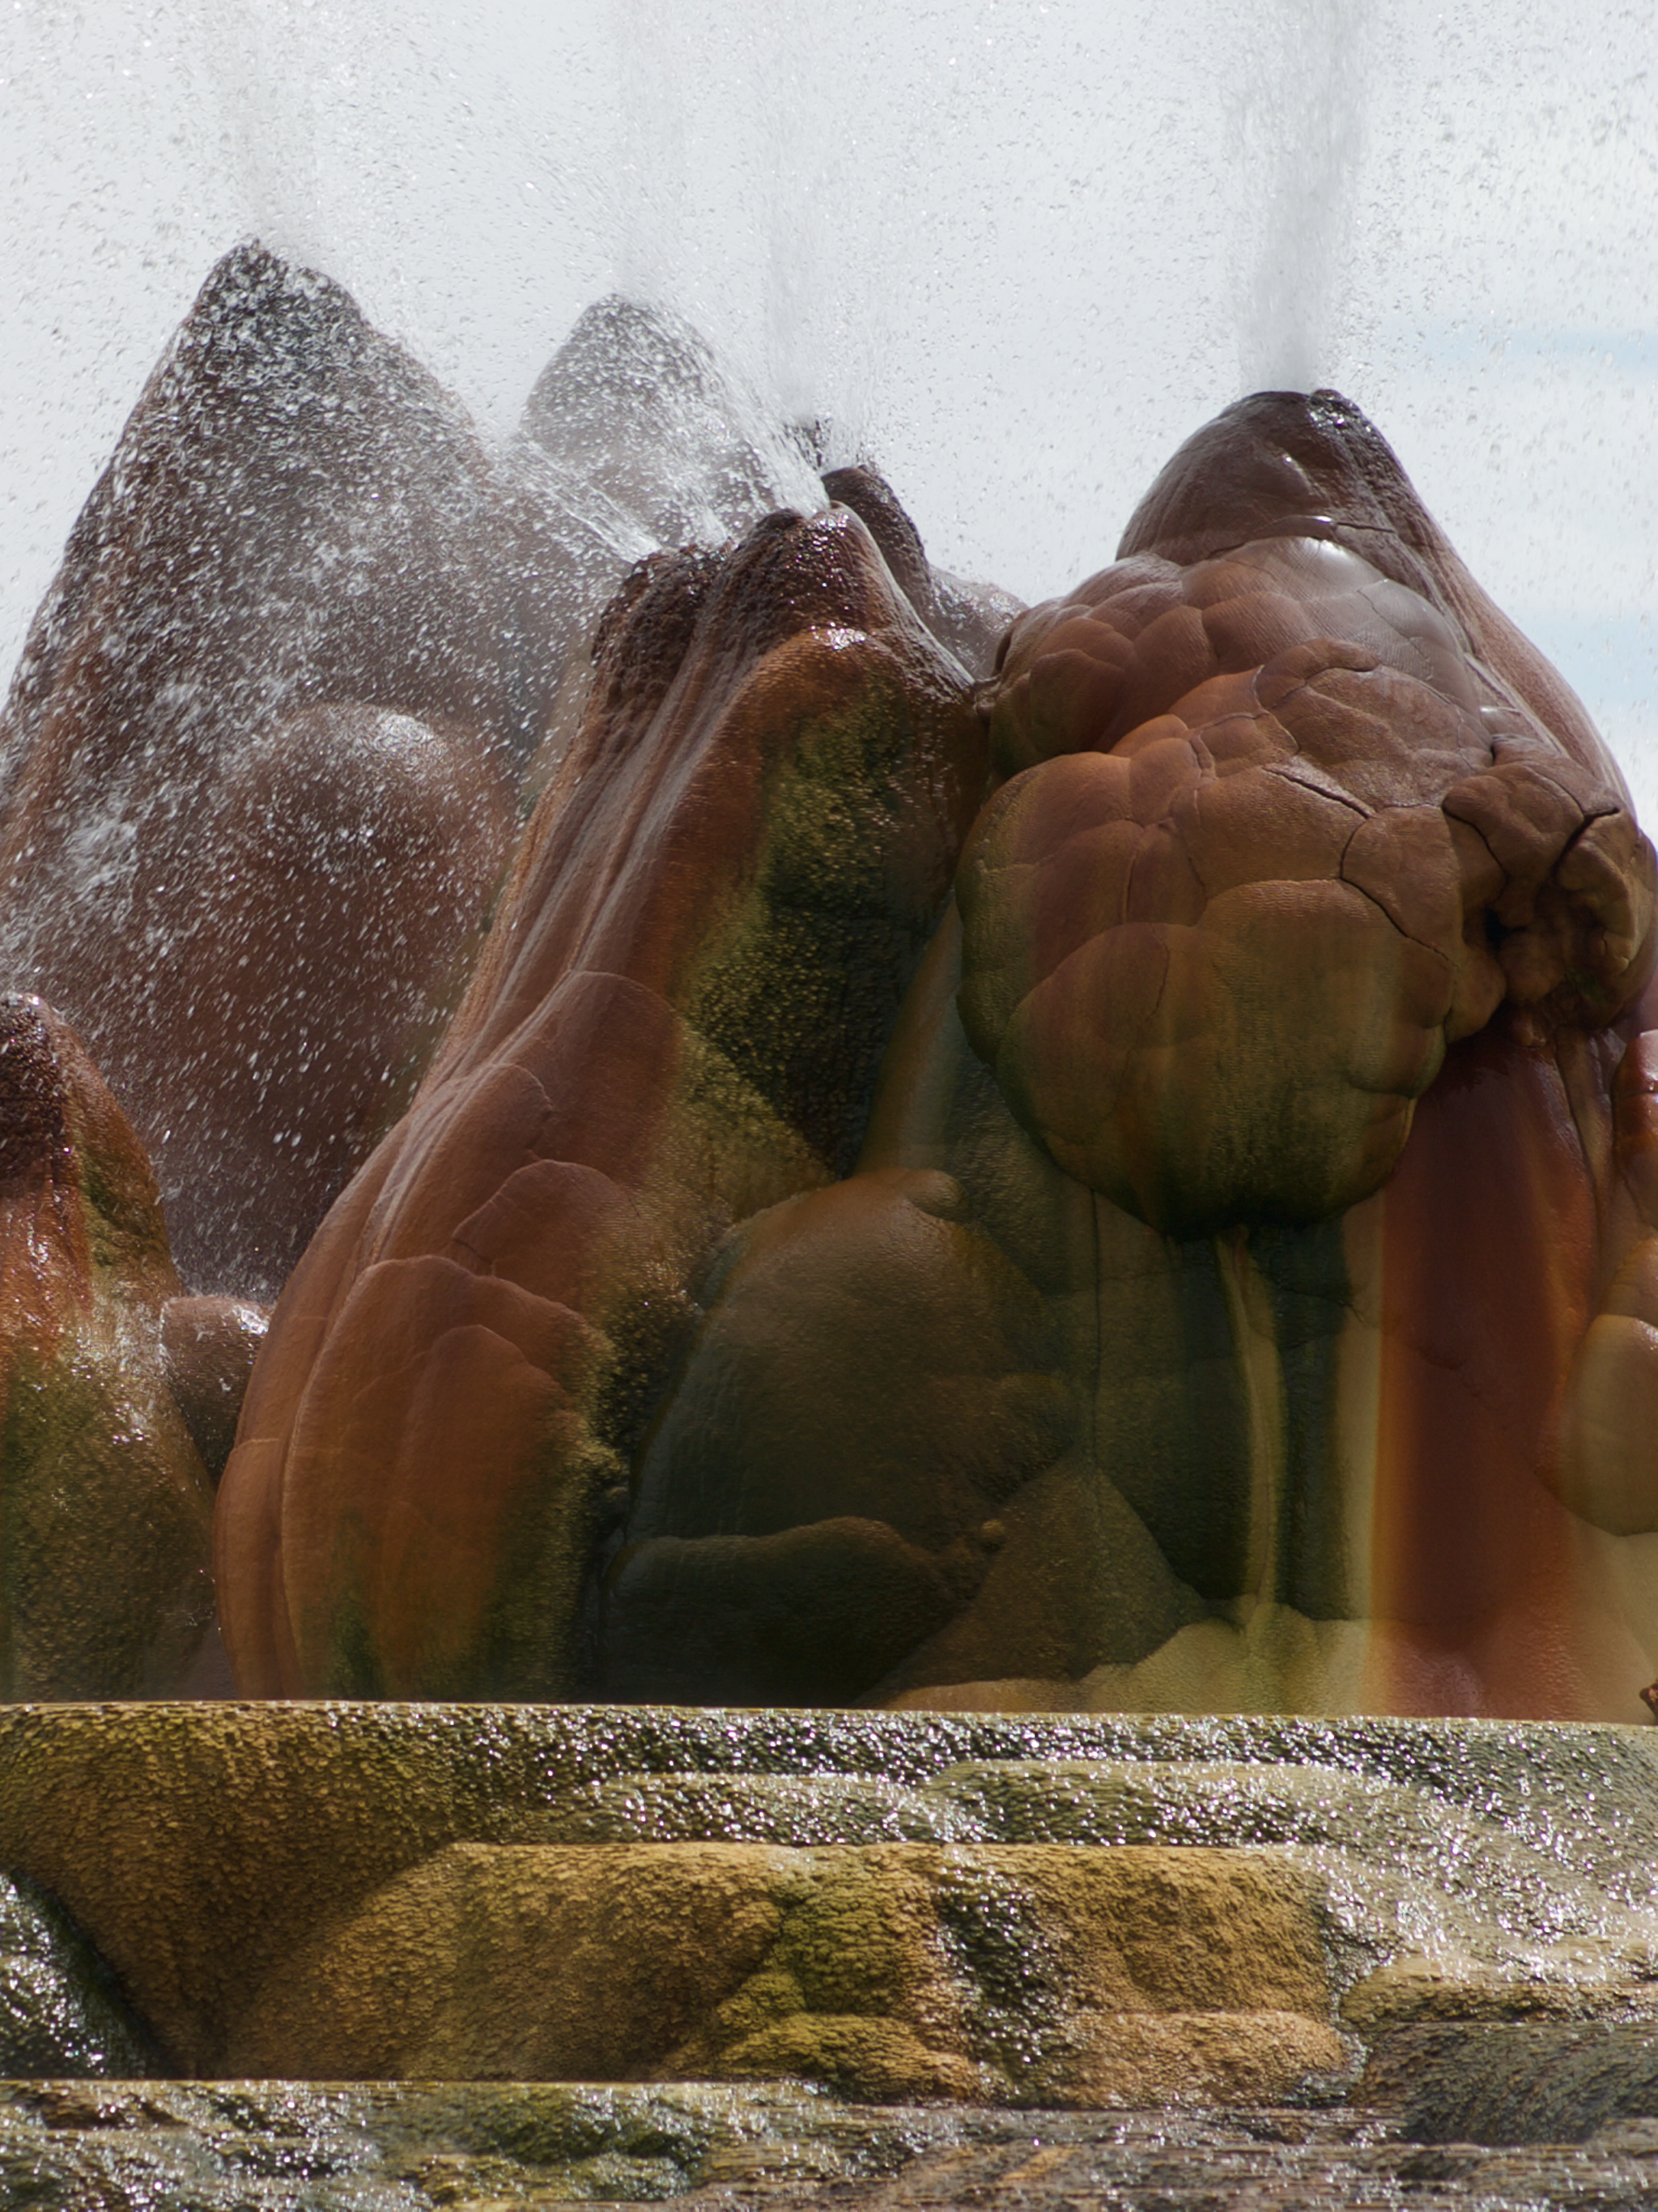
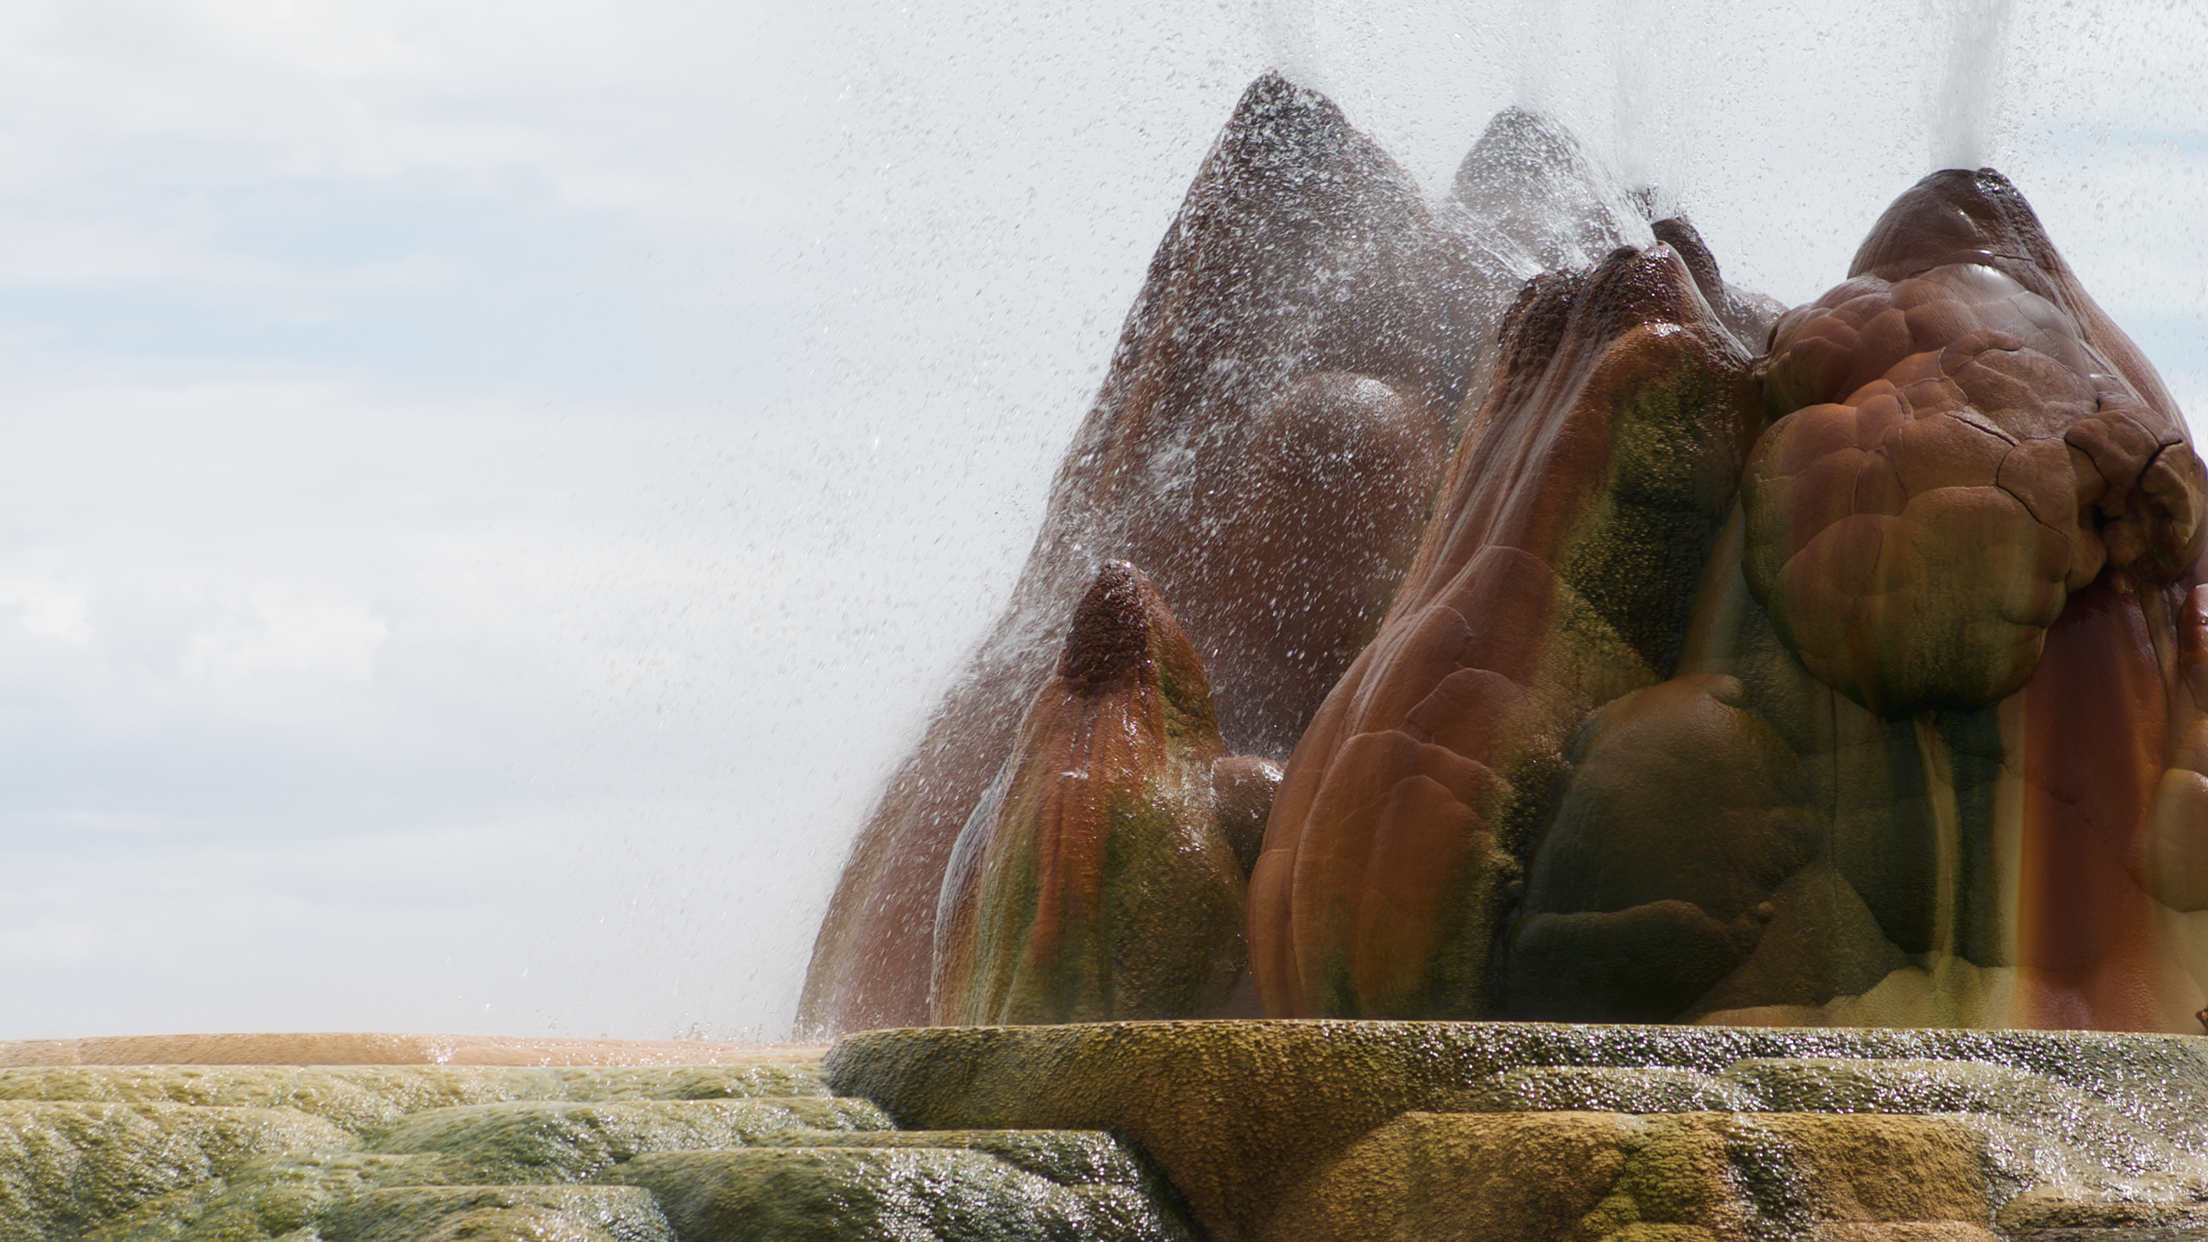
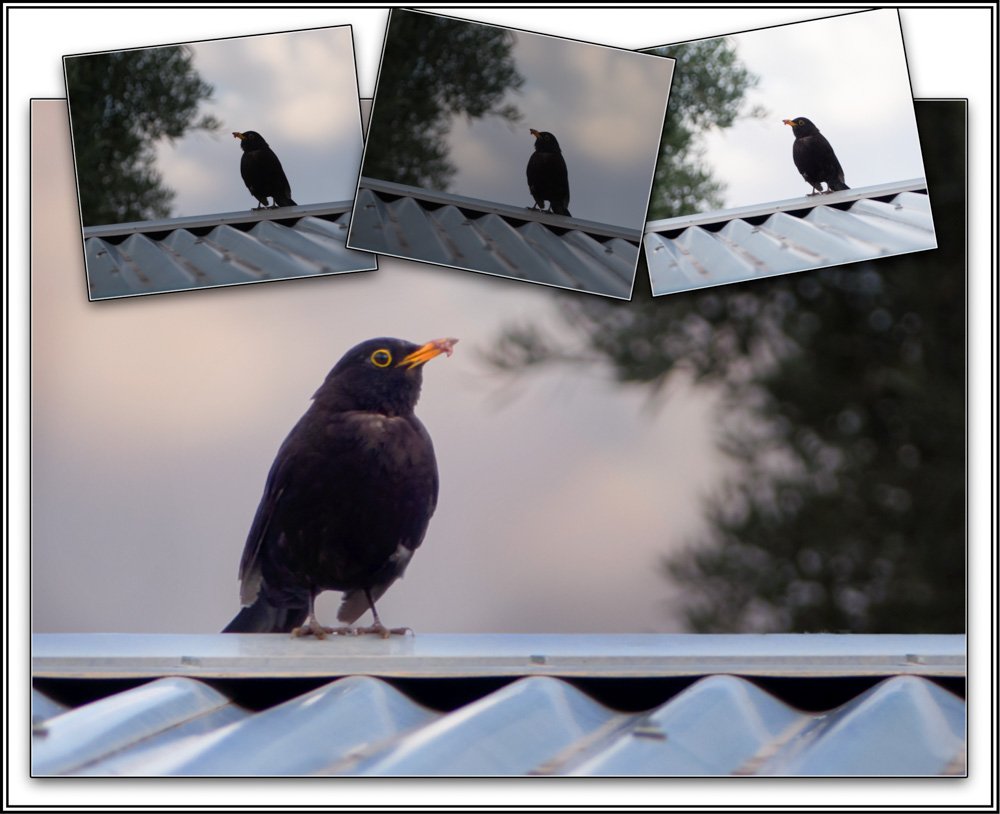
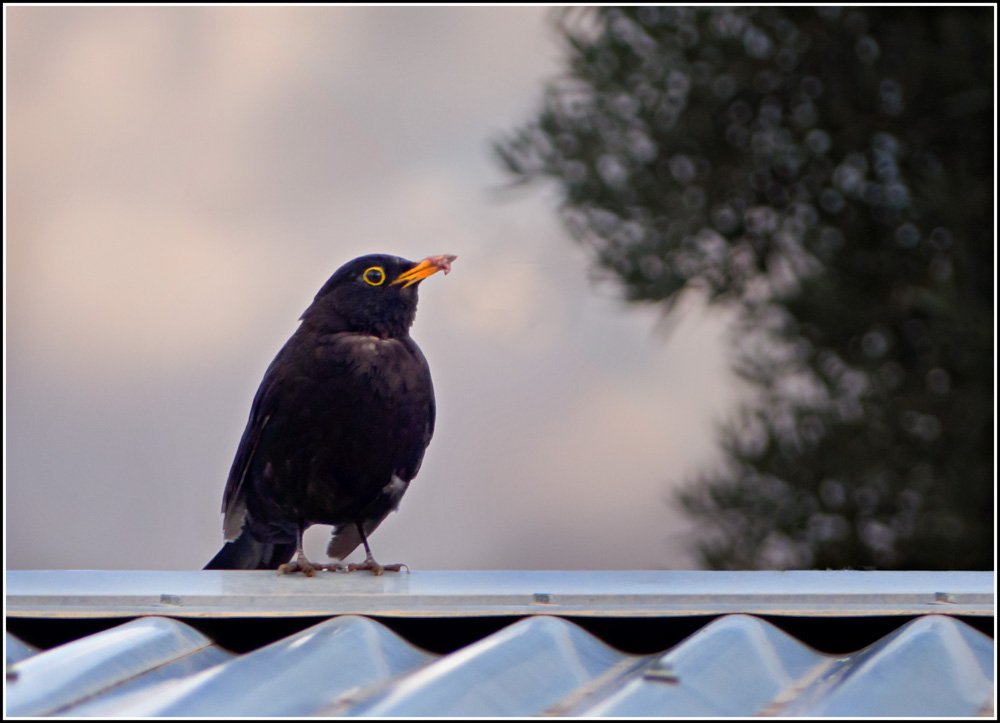
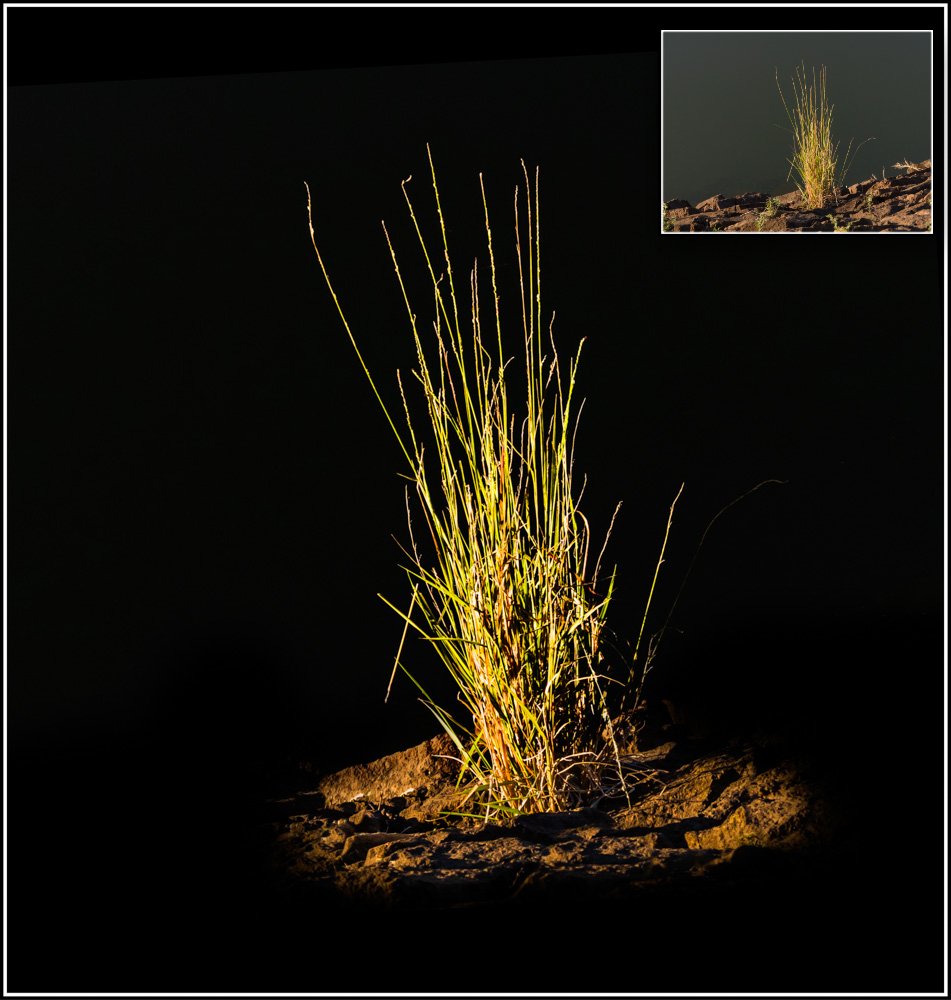
It's 44c hot here -- working up to 46c . the record is between 46 - 47c ; but will drop to a 28c tomorrow!! This is a true "grab-shot" that happened while doing other things. Made from the three bracketed files -- just time for one click with the camera held above my head. Honest comments and questions welcome as always
-
 Affinity Photo related: I´m looking for a feature or possibility like PS´ "match color" : www.youtube.com/watch?v=7je4T2dkRyQ I have 4 photos displaying 4 sides of an object I want to use as a texture for a 3d object. The light conditions vary for all 4 images - so I´m trying to get an overall look for the bold colours. Is there anything in AP or any hints aside from doing it manually - what I did already more or less successfully? Thanks in advance, Cheers
 -
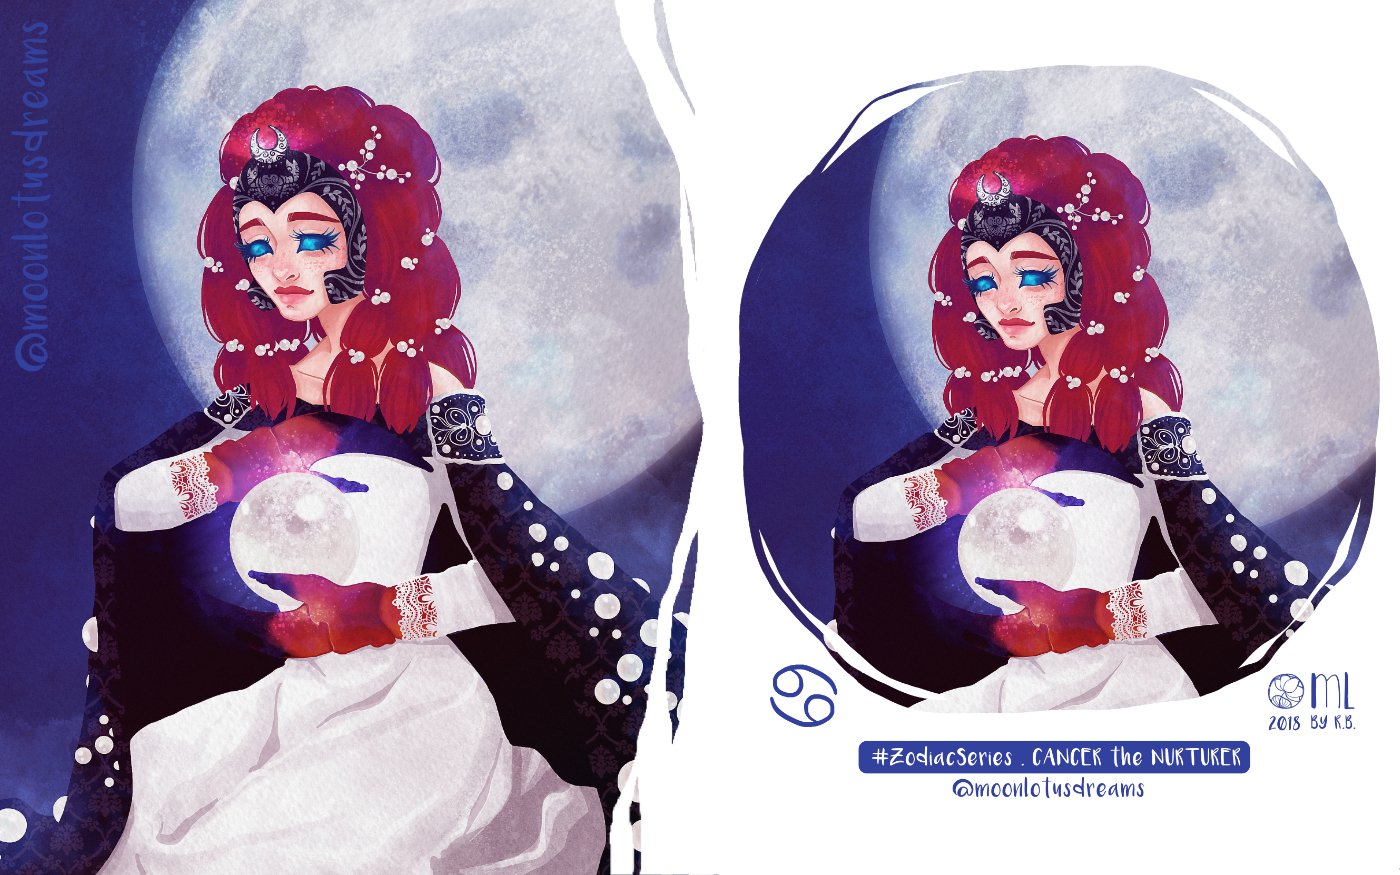
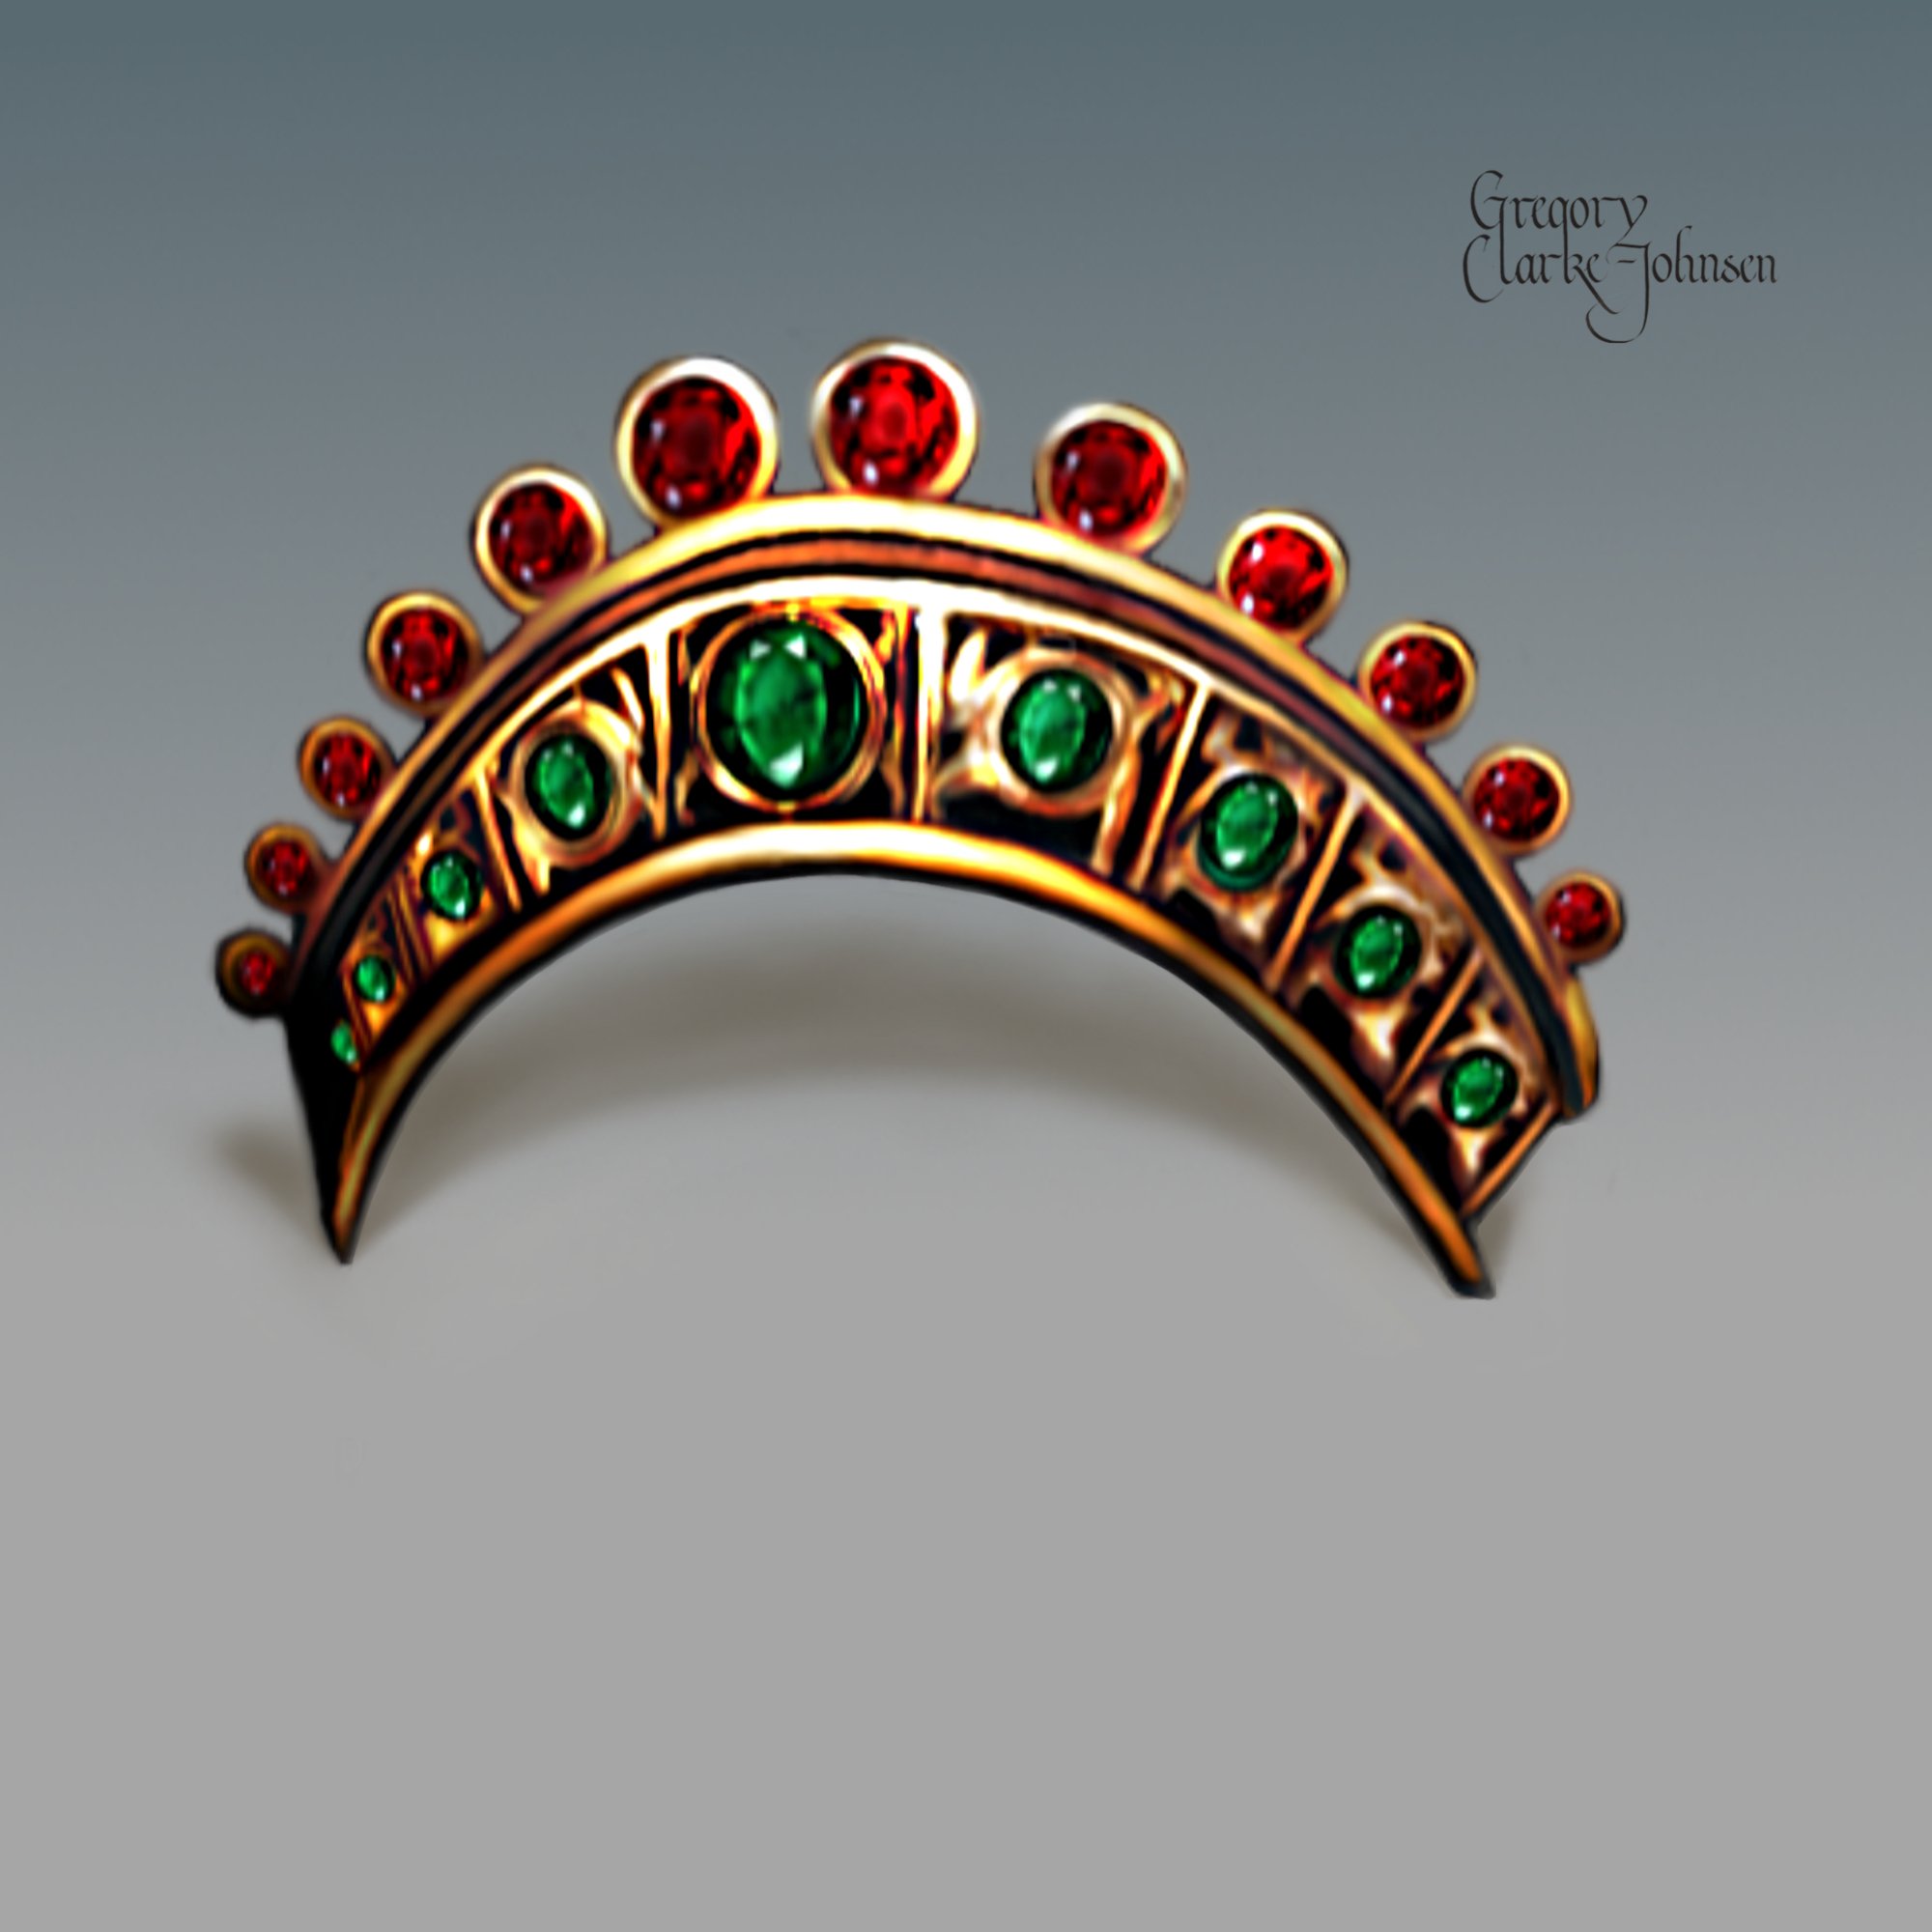
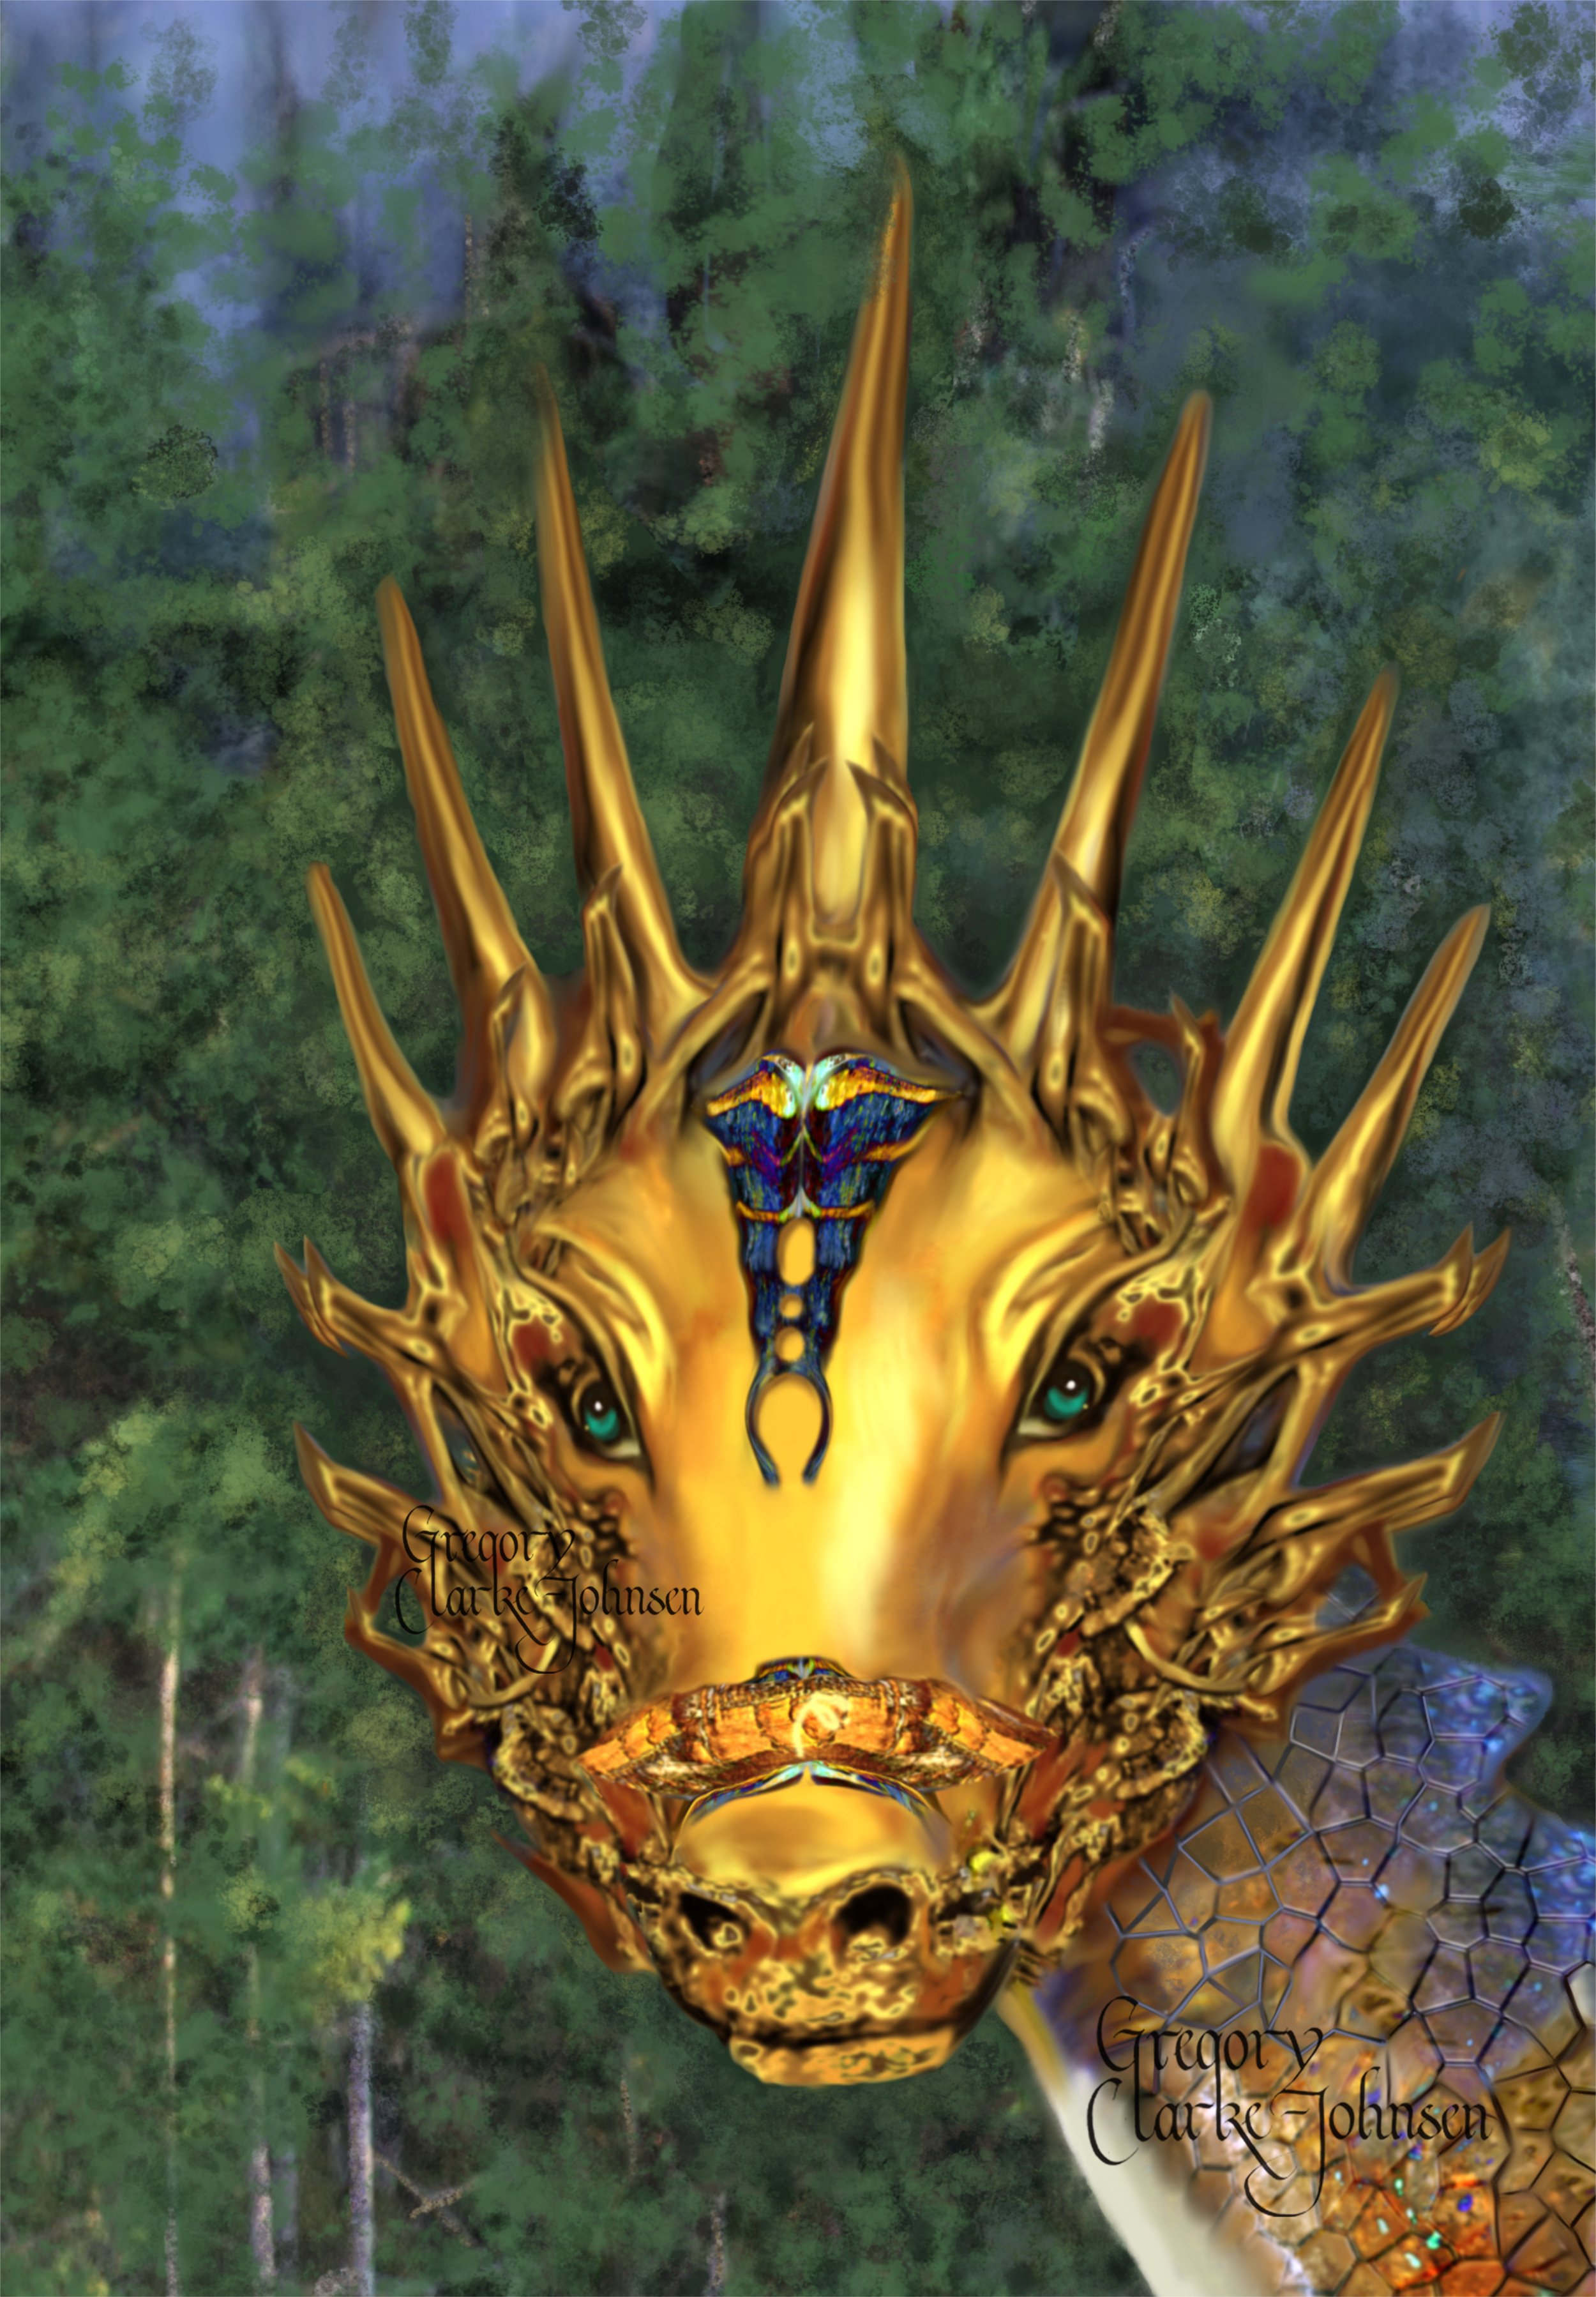
 Here is a detail of a golden tiara worn by female character in the latest painting that I am presently working on..It's painted in Affinity Photo. Comments welcome. View the tutorial here
-
Here is a detail of a golden Tiara worn by Mother Divine in the latest painting that I am presently working on. It's painted in Affinity Photo and although the comments are Affinity Photo specific, this approach to digital painting can be done in any digital painting program. Comments welcome.
-

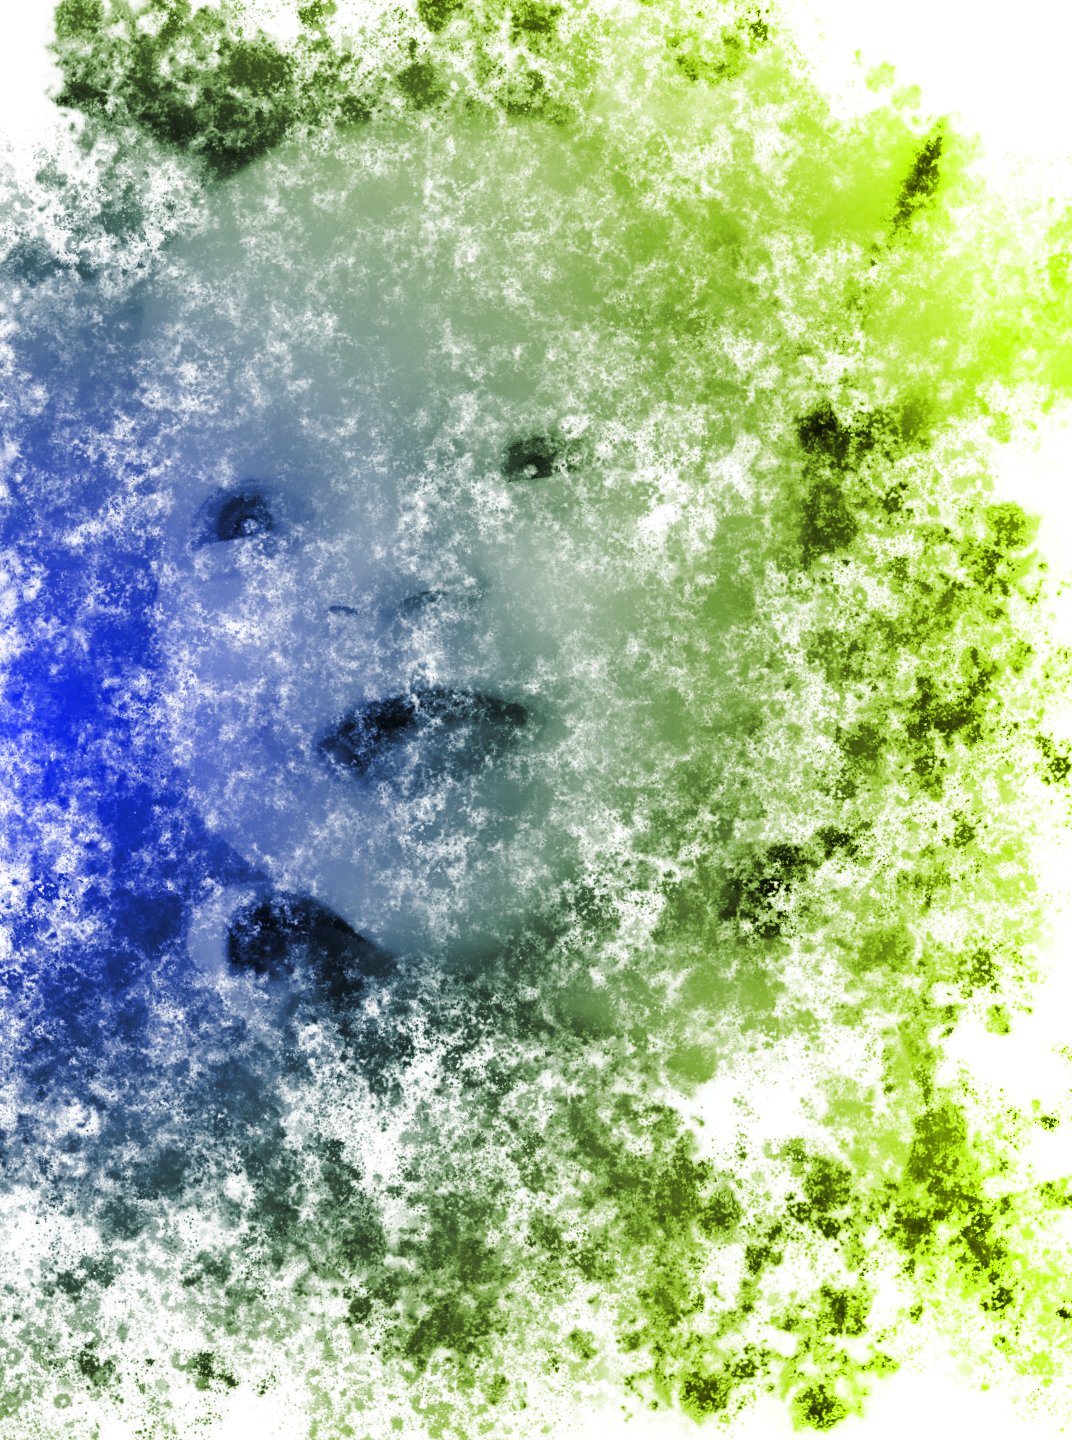
affinity photo A Newbie at Affinity - Paint Splatter Effect
melissak62 posted a topic in Share your work
I just bought Affinity yesterday (a Christmas gift from my husband). I did a paint splatter effect on a photo of our then 3-month-old grandson. I've been a long time PSP user but love this Affinity. I downloaded a free trial and decided to switch from PSP to Affinity. Of course, there are still lots to be learned. I'm looking forward to learning from others and growing in my photo artistry. BTW my name is Melissa
-
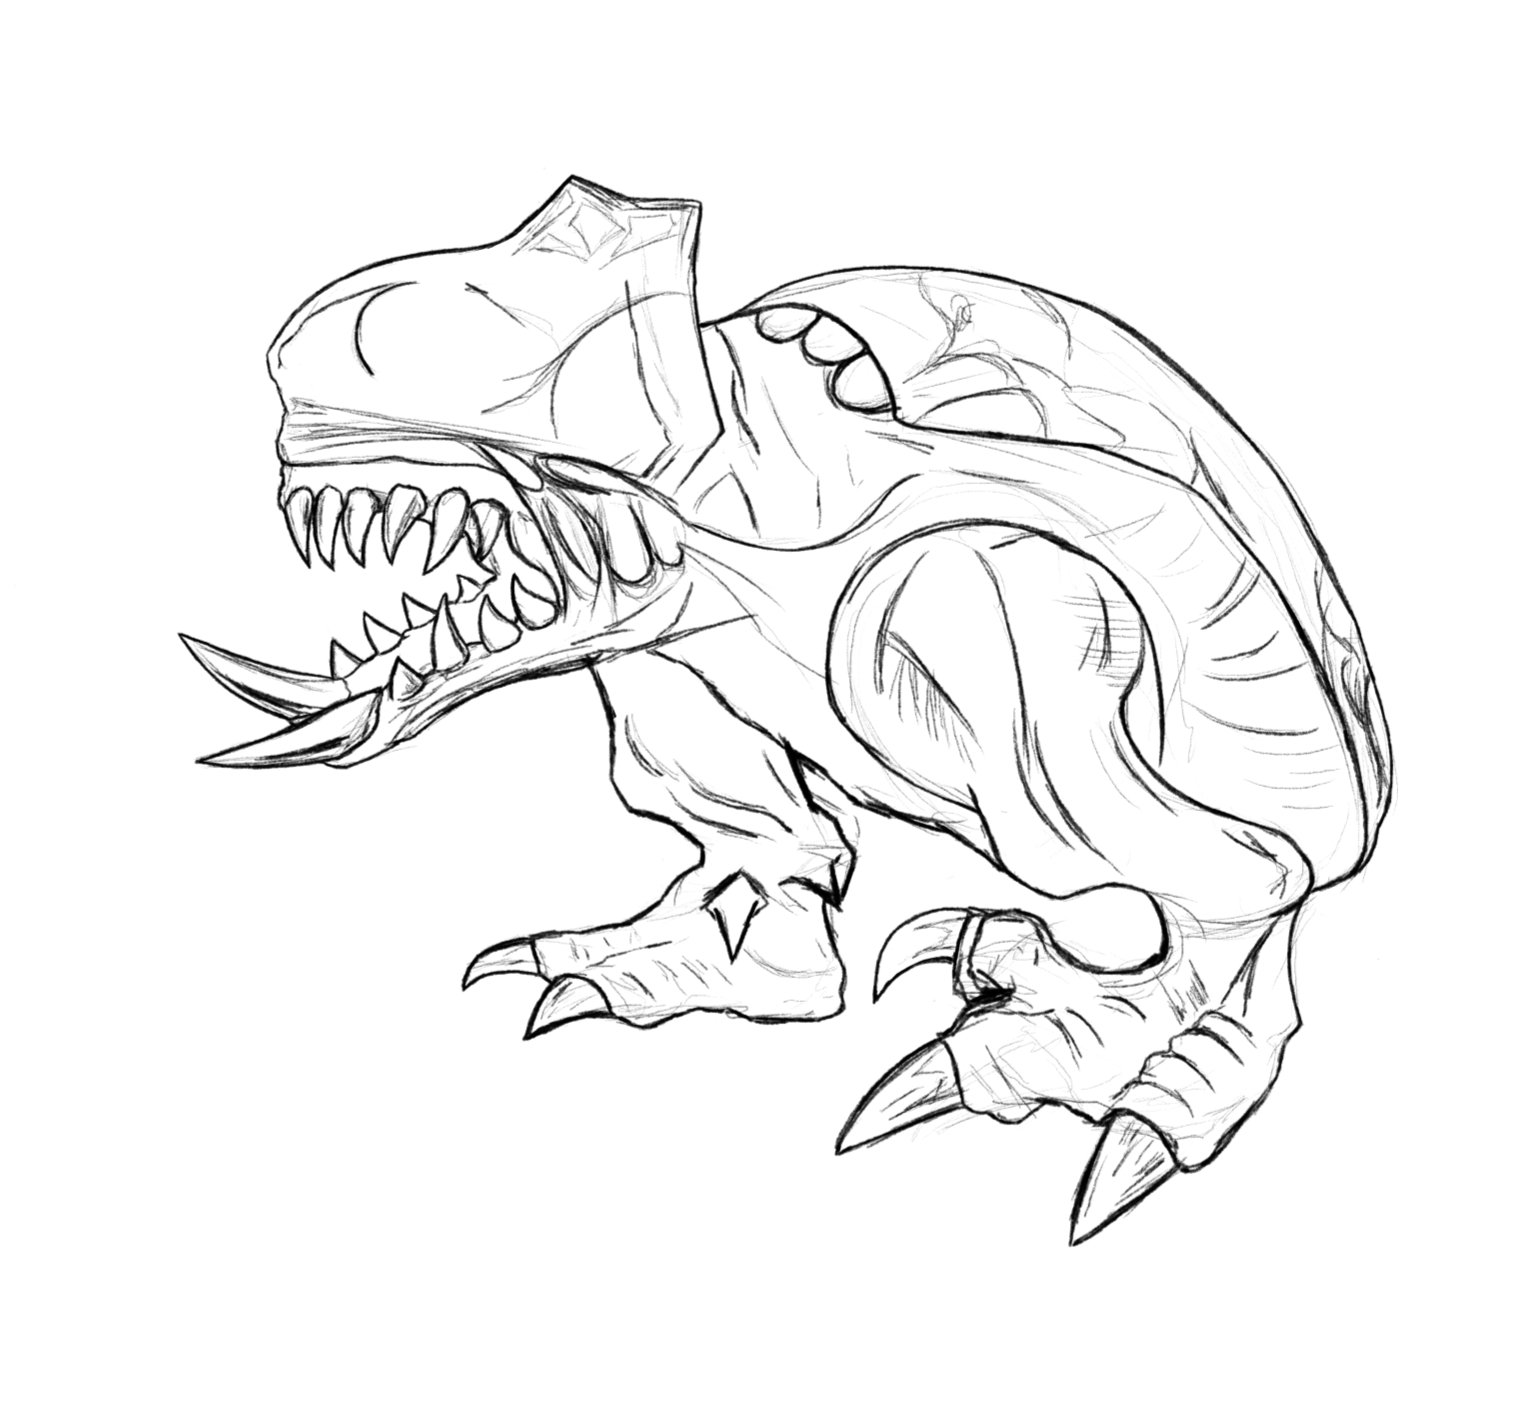
Hello! Thought I would share what I've been working on lately. I'm a fairly new user to Affinity Photo & Designer; my usual "go-to" is Sketchbook Pro, but the addition of Affinity has been awesome. I'm still learning the different brushes/ strokes/ and UI so it's taking me a bit to adjust. I'm quite a fan of the Metroid franchise and I love the artwork that's involved. Below is a freehand sketch of the "official" baby sheegoth creature, and I'm hoping to put my own spin on things when it comes time for colour. I've been alternating on my Surface Pro 4 & Wacom Cintiq, if anyone was curious to what I was using. Feel free to leave feedback; I'm always down for that :). Adrian
- 2 replies
-
- 1
-
-
- video games
- fan art
- (and 5 more)
-
Hi Everyone, Here is a detail of the dragon from my latest digital painting I am presently working on, entitled " Mother Divine on her dragon- This painting is done in Affinity Photo. Comments welcome! Enjoy!
-
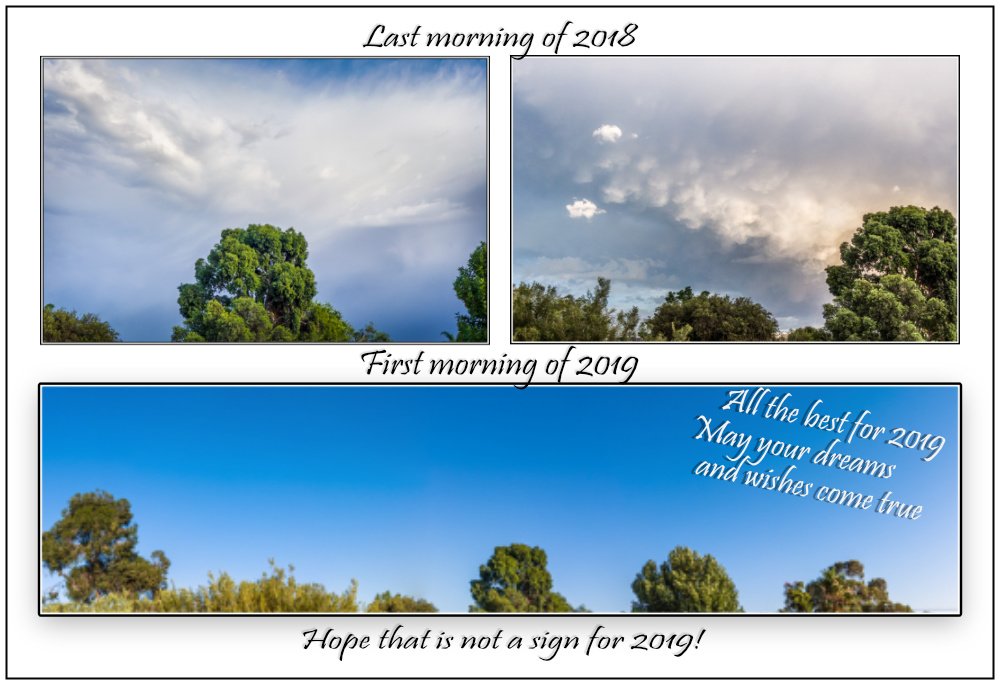
All the best for 2019mostly done in Affinity -- +Lr5. Not going to add too much here as I'm just putting a few thoughts to the test for better Panoramas and Manual hrd/blending as done in the top images. Hoping to share a few ideas sometime this year lol the panorama is west to east ; around 160 degrees. Around 6 -8 Pana Fz300 raw files . Handheld btw Starting to get the old head around Ap; yet there is so much I still need to get up to speed on Questions are welcome
-

affinity photo My first work with Affinity Photo
Omprakash Selvaraj posted a topic in Share your work
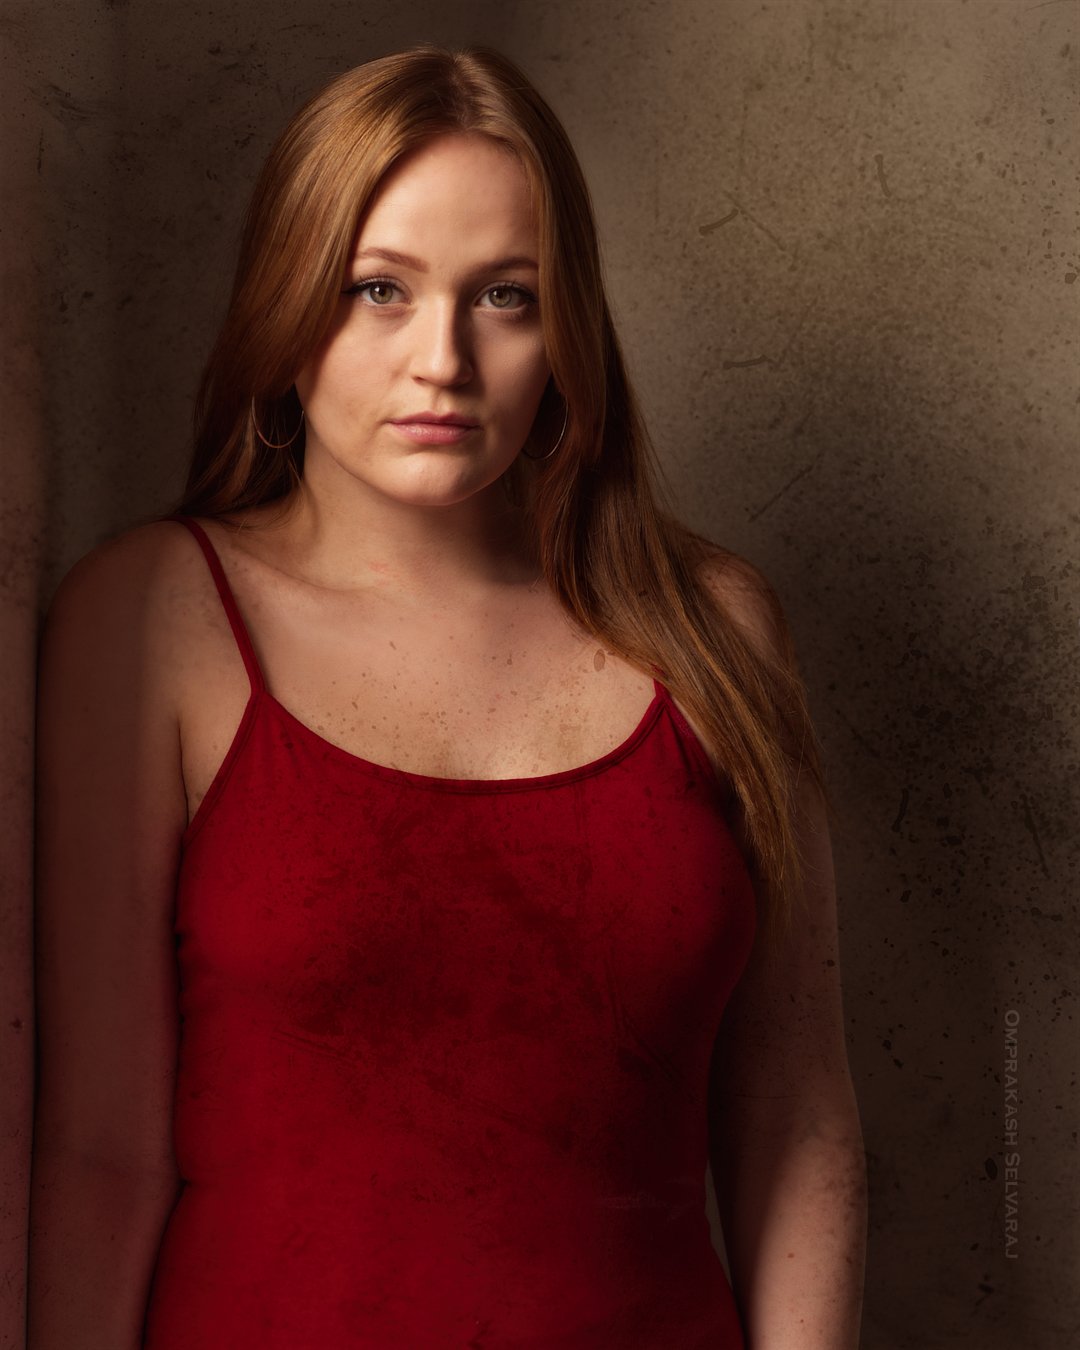
Version 1.7 beta is real power house. Love the realistic brushes and textures it provides.
-
I'm a day early, but you might be busy tomorrow! My New Year video, made in the usual way ...
-
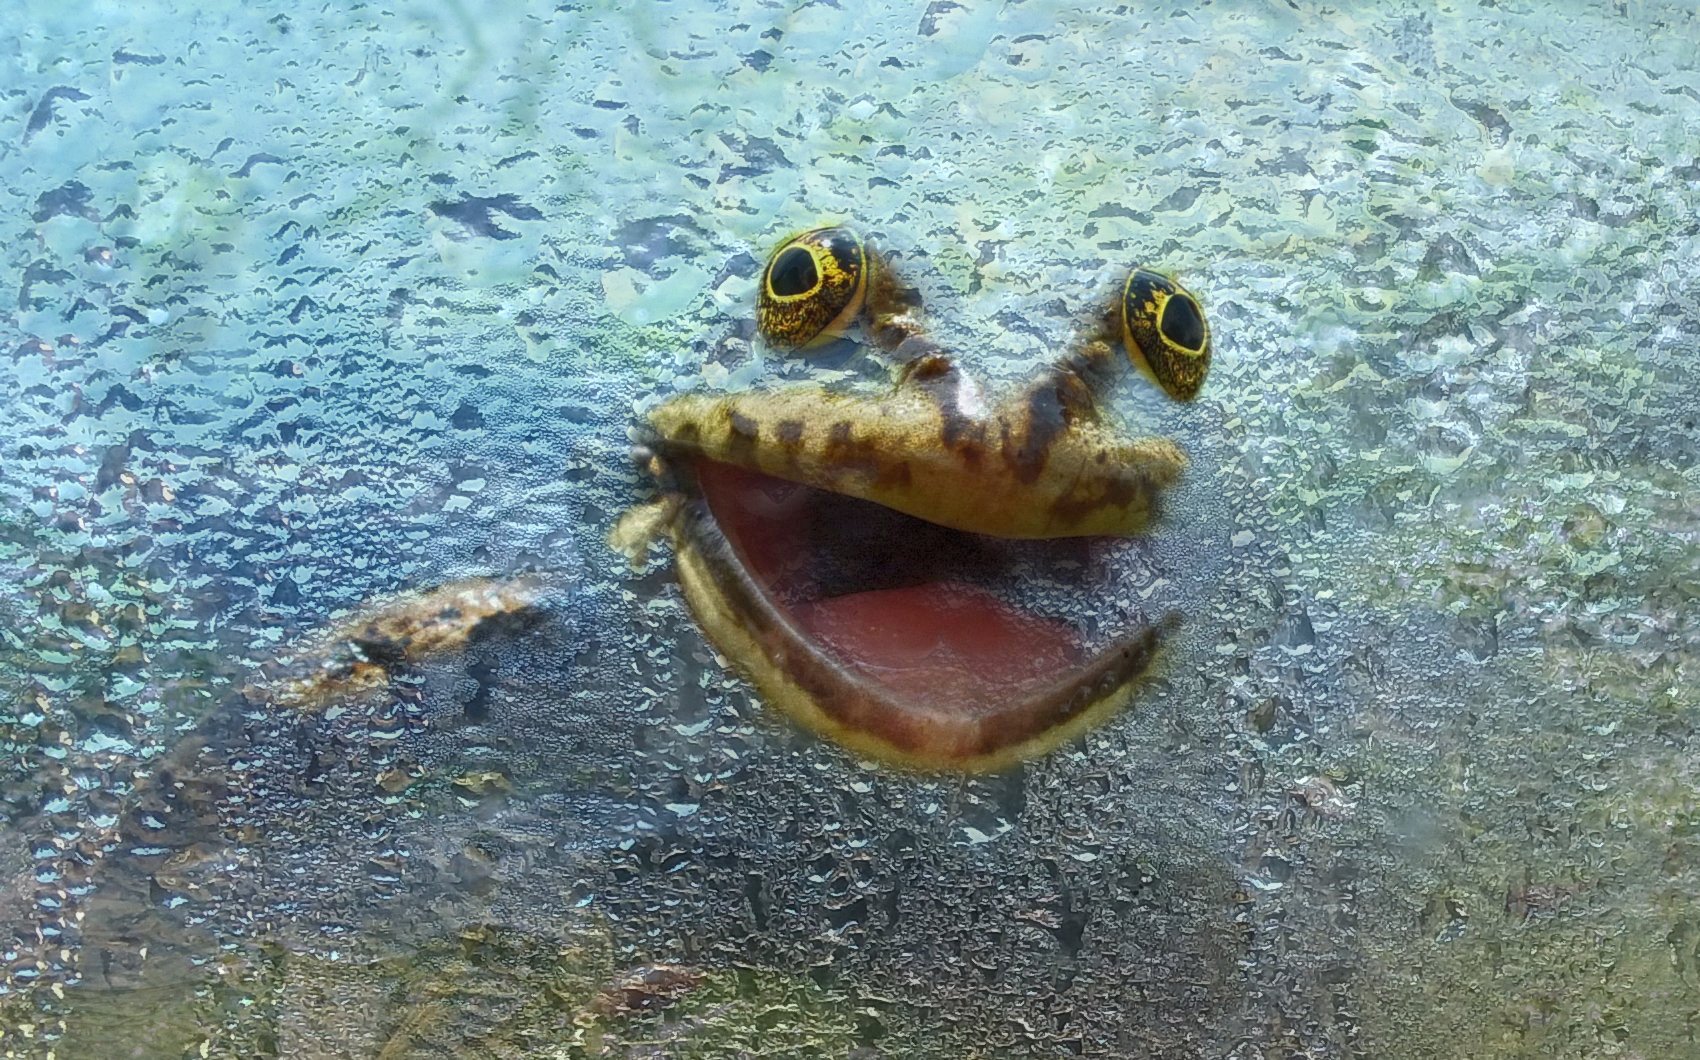
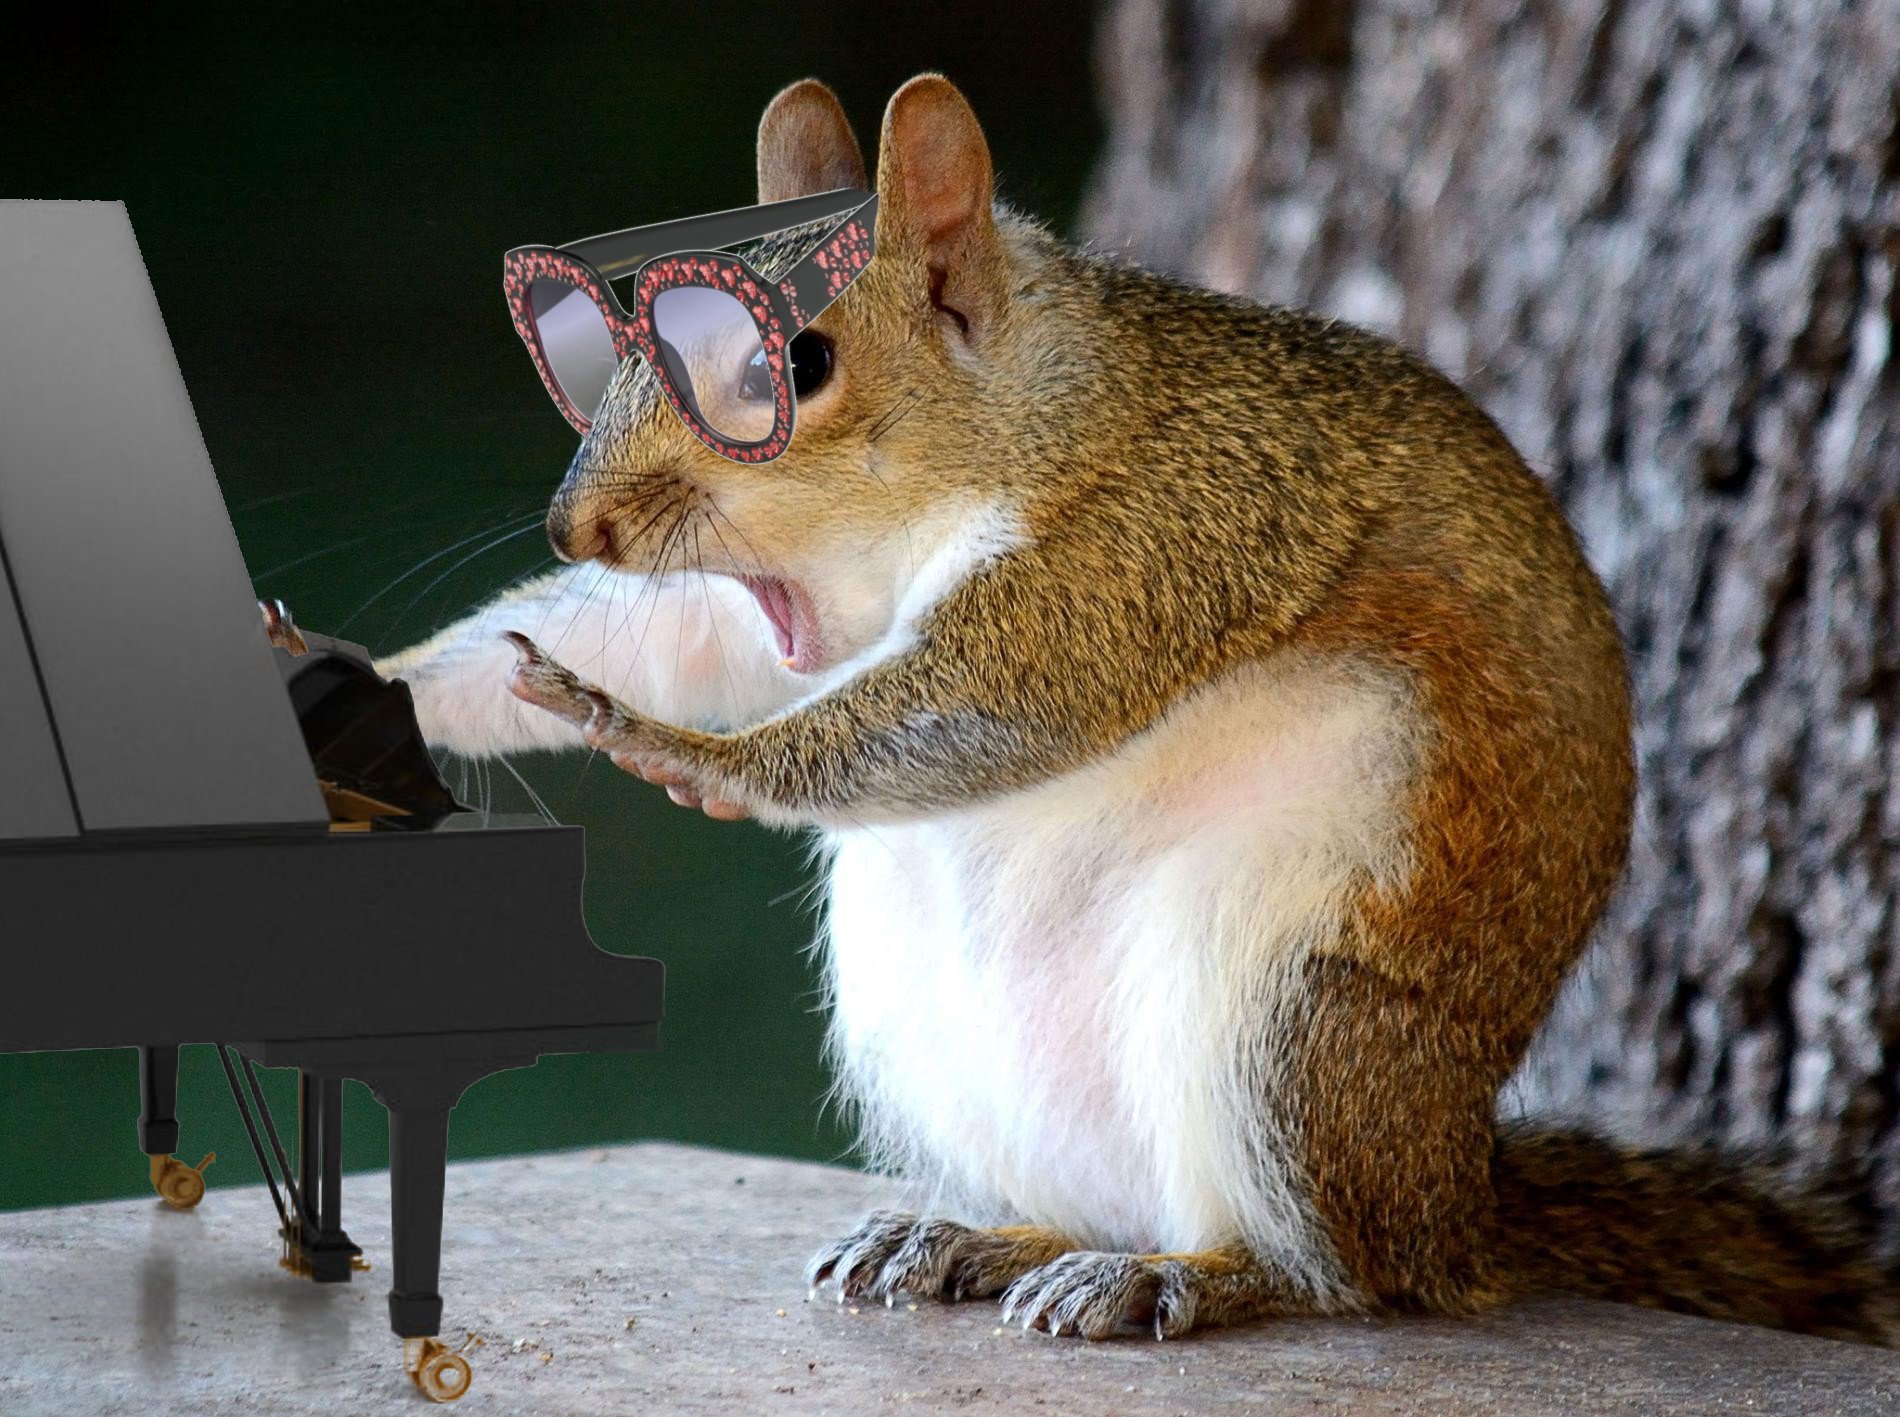
I watch most of the tutorials by Piximperfect on Youtube. He recently referred to a site called PSD Battles (http://www.psdbattles.com) where you can make fun edits to others' images and share them. I hit a funny bone with me when I saw what others were doing, and thought some here might like to have a go at it. It's currently in beta, and I'm not sure how it will eventually work but have a look. Here are a couple of images I submitted: A frozen frog and Squirrel Elton John
- 1 reply
-
- 3
-
-
 It's in Chinese because I made it for my grandparents in China. They know I'm studying games engineering so I thought it would be a fun twist to my annual traditional postcard Aside from the lack of indexed color mode when editing, my experience with Pixel Art in Affinity Photo has been a blast. Coming from Photoshop, I love the infinite zoom, the pixel tool and the snapping to whole pixels. Placing the colors feels very smooth and accurate as well. Anyway, here's the upscaled postcard, hope you like it ^^
-
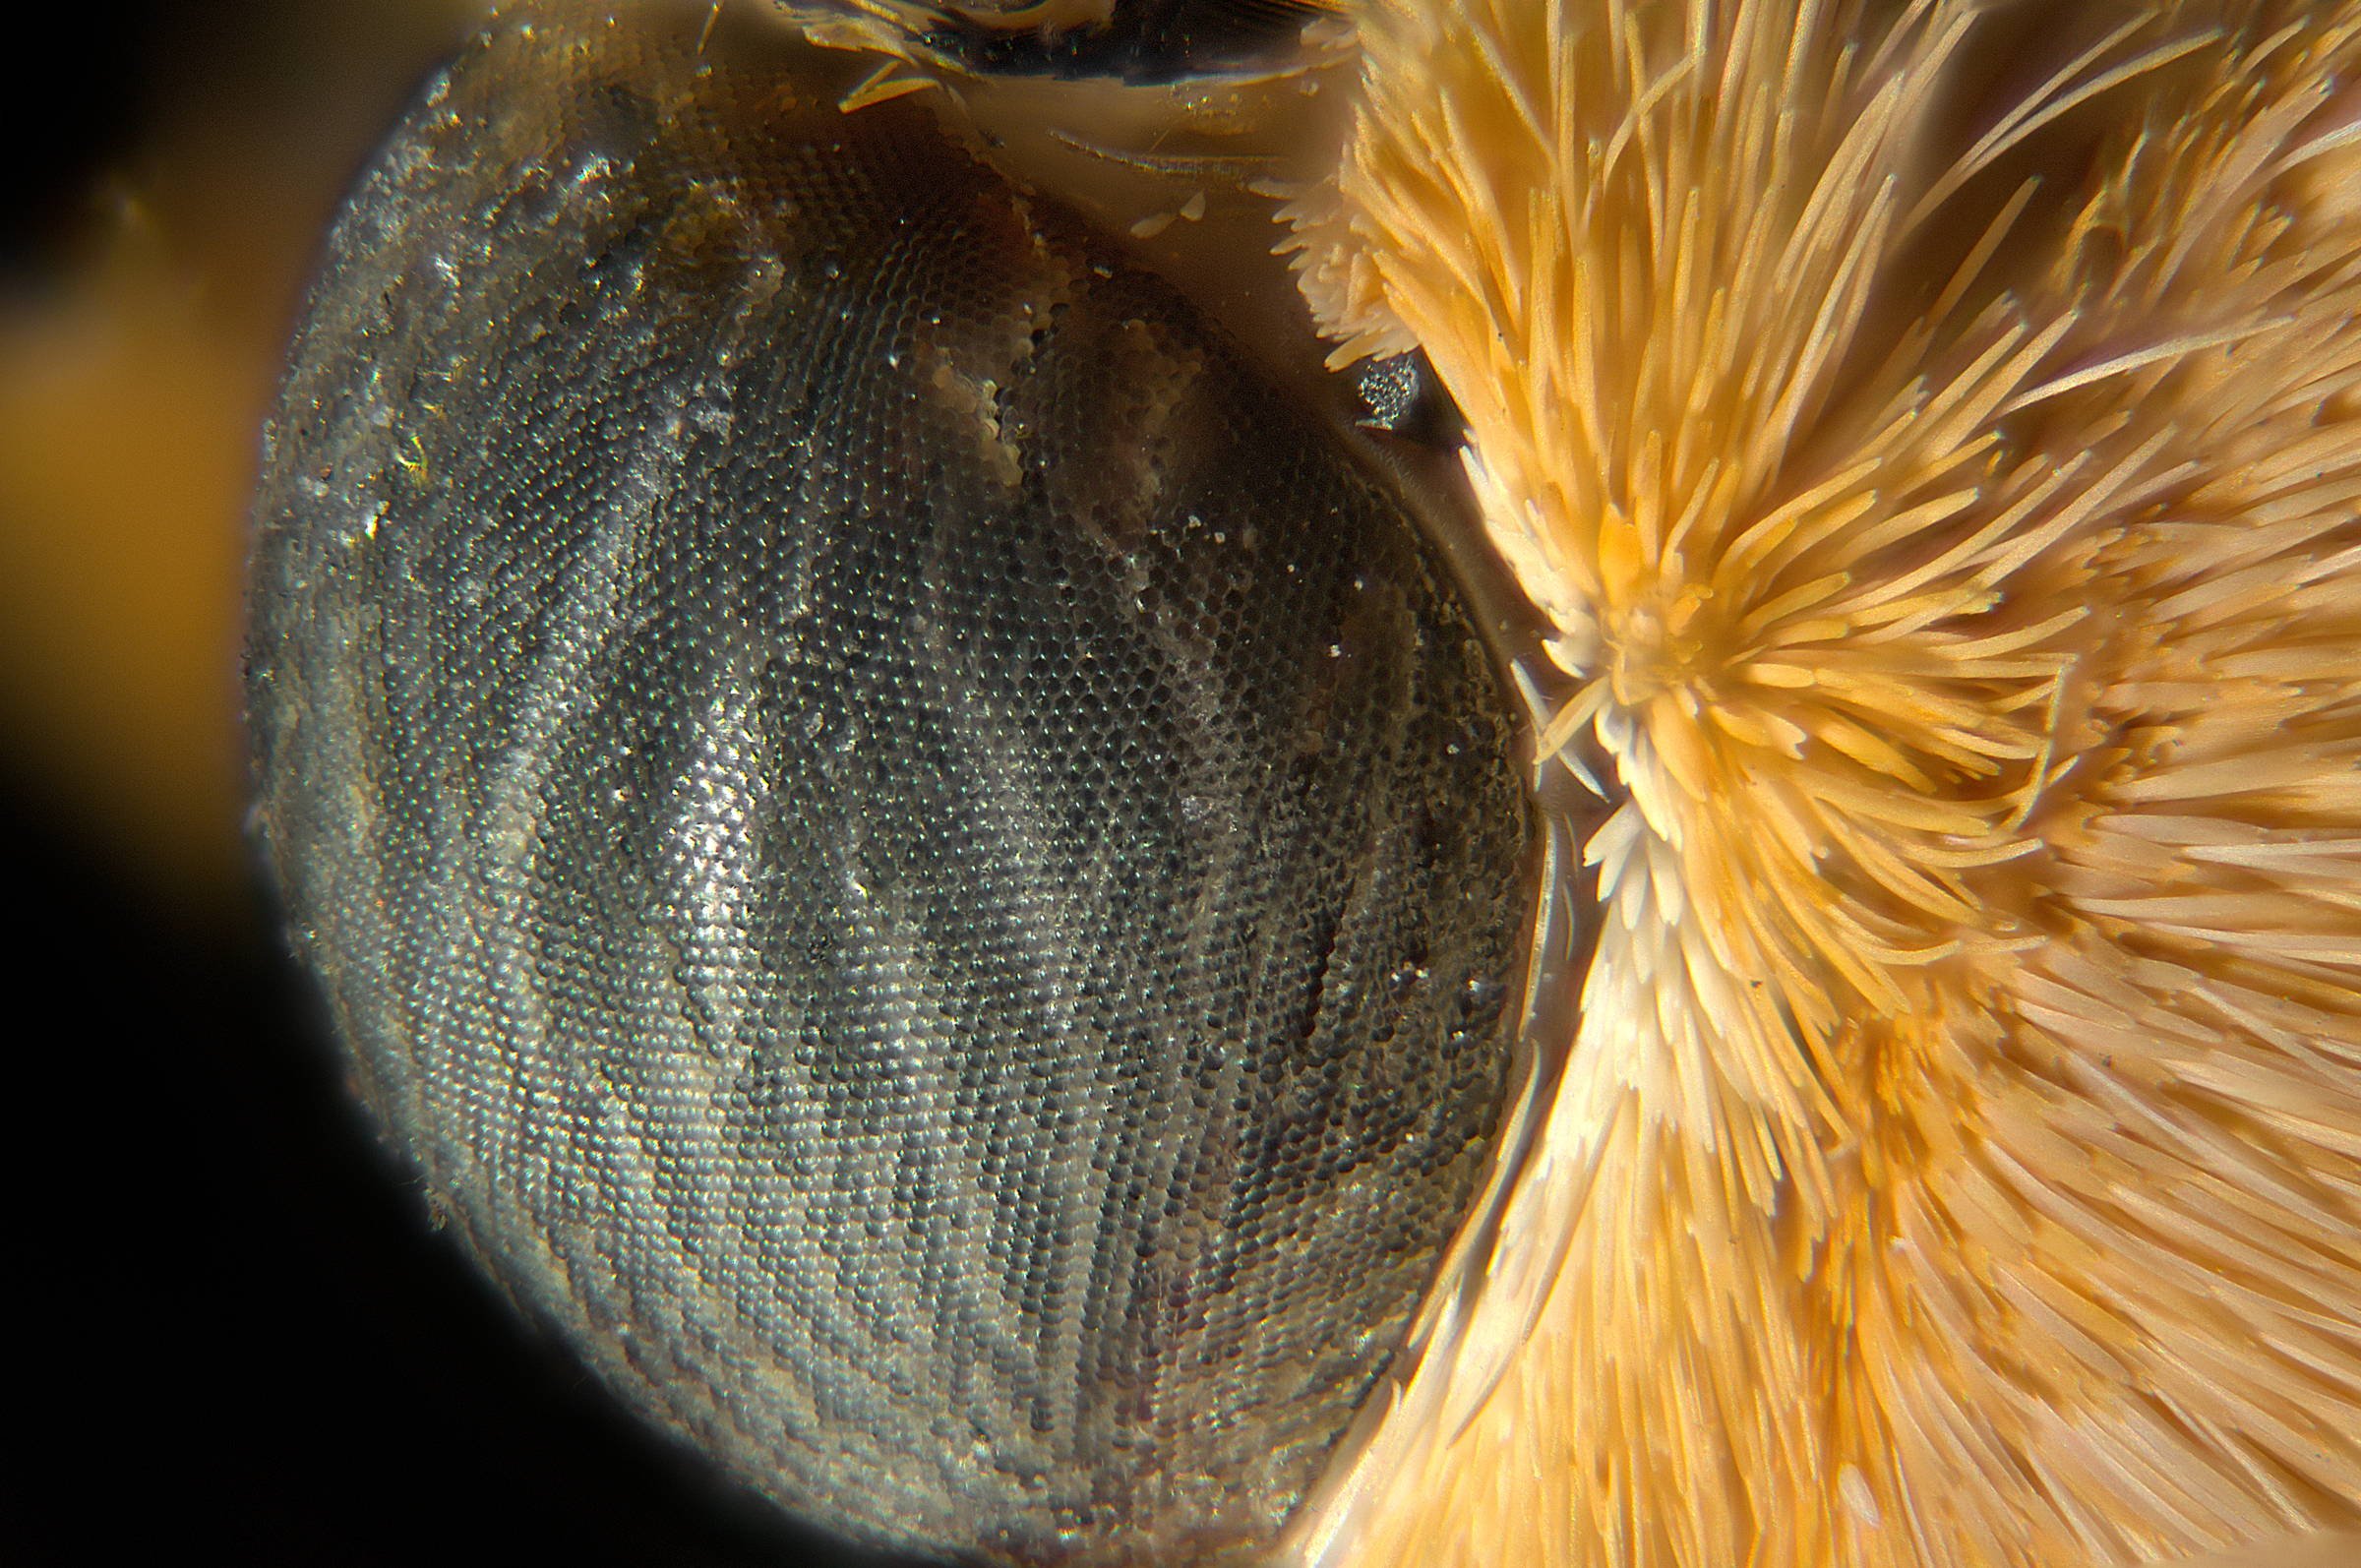
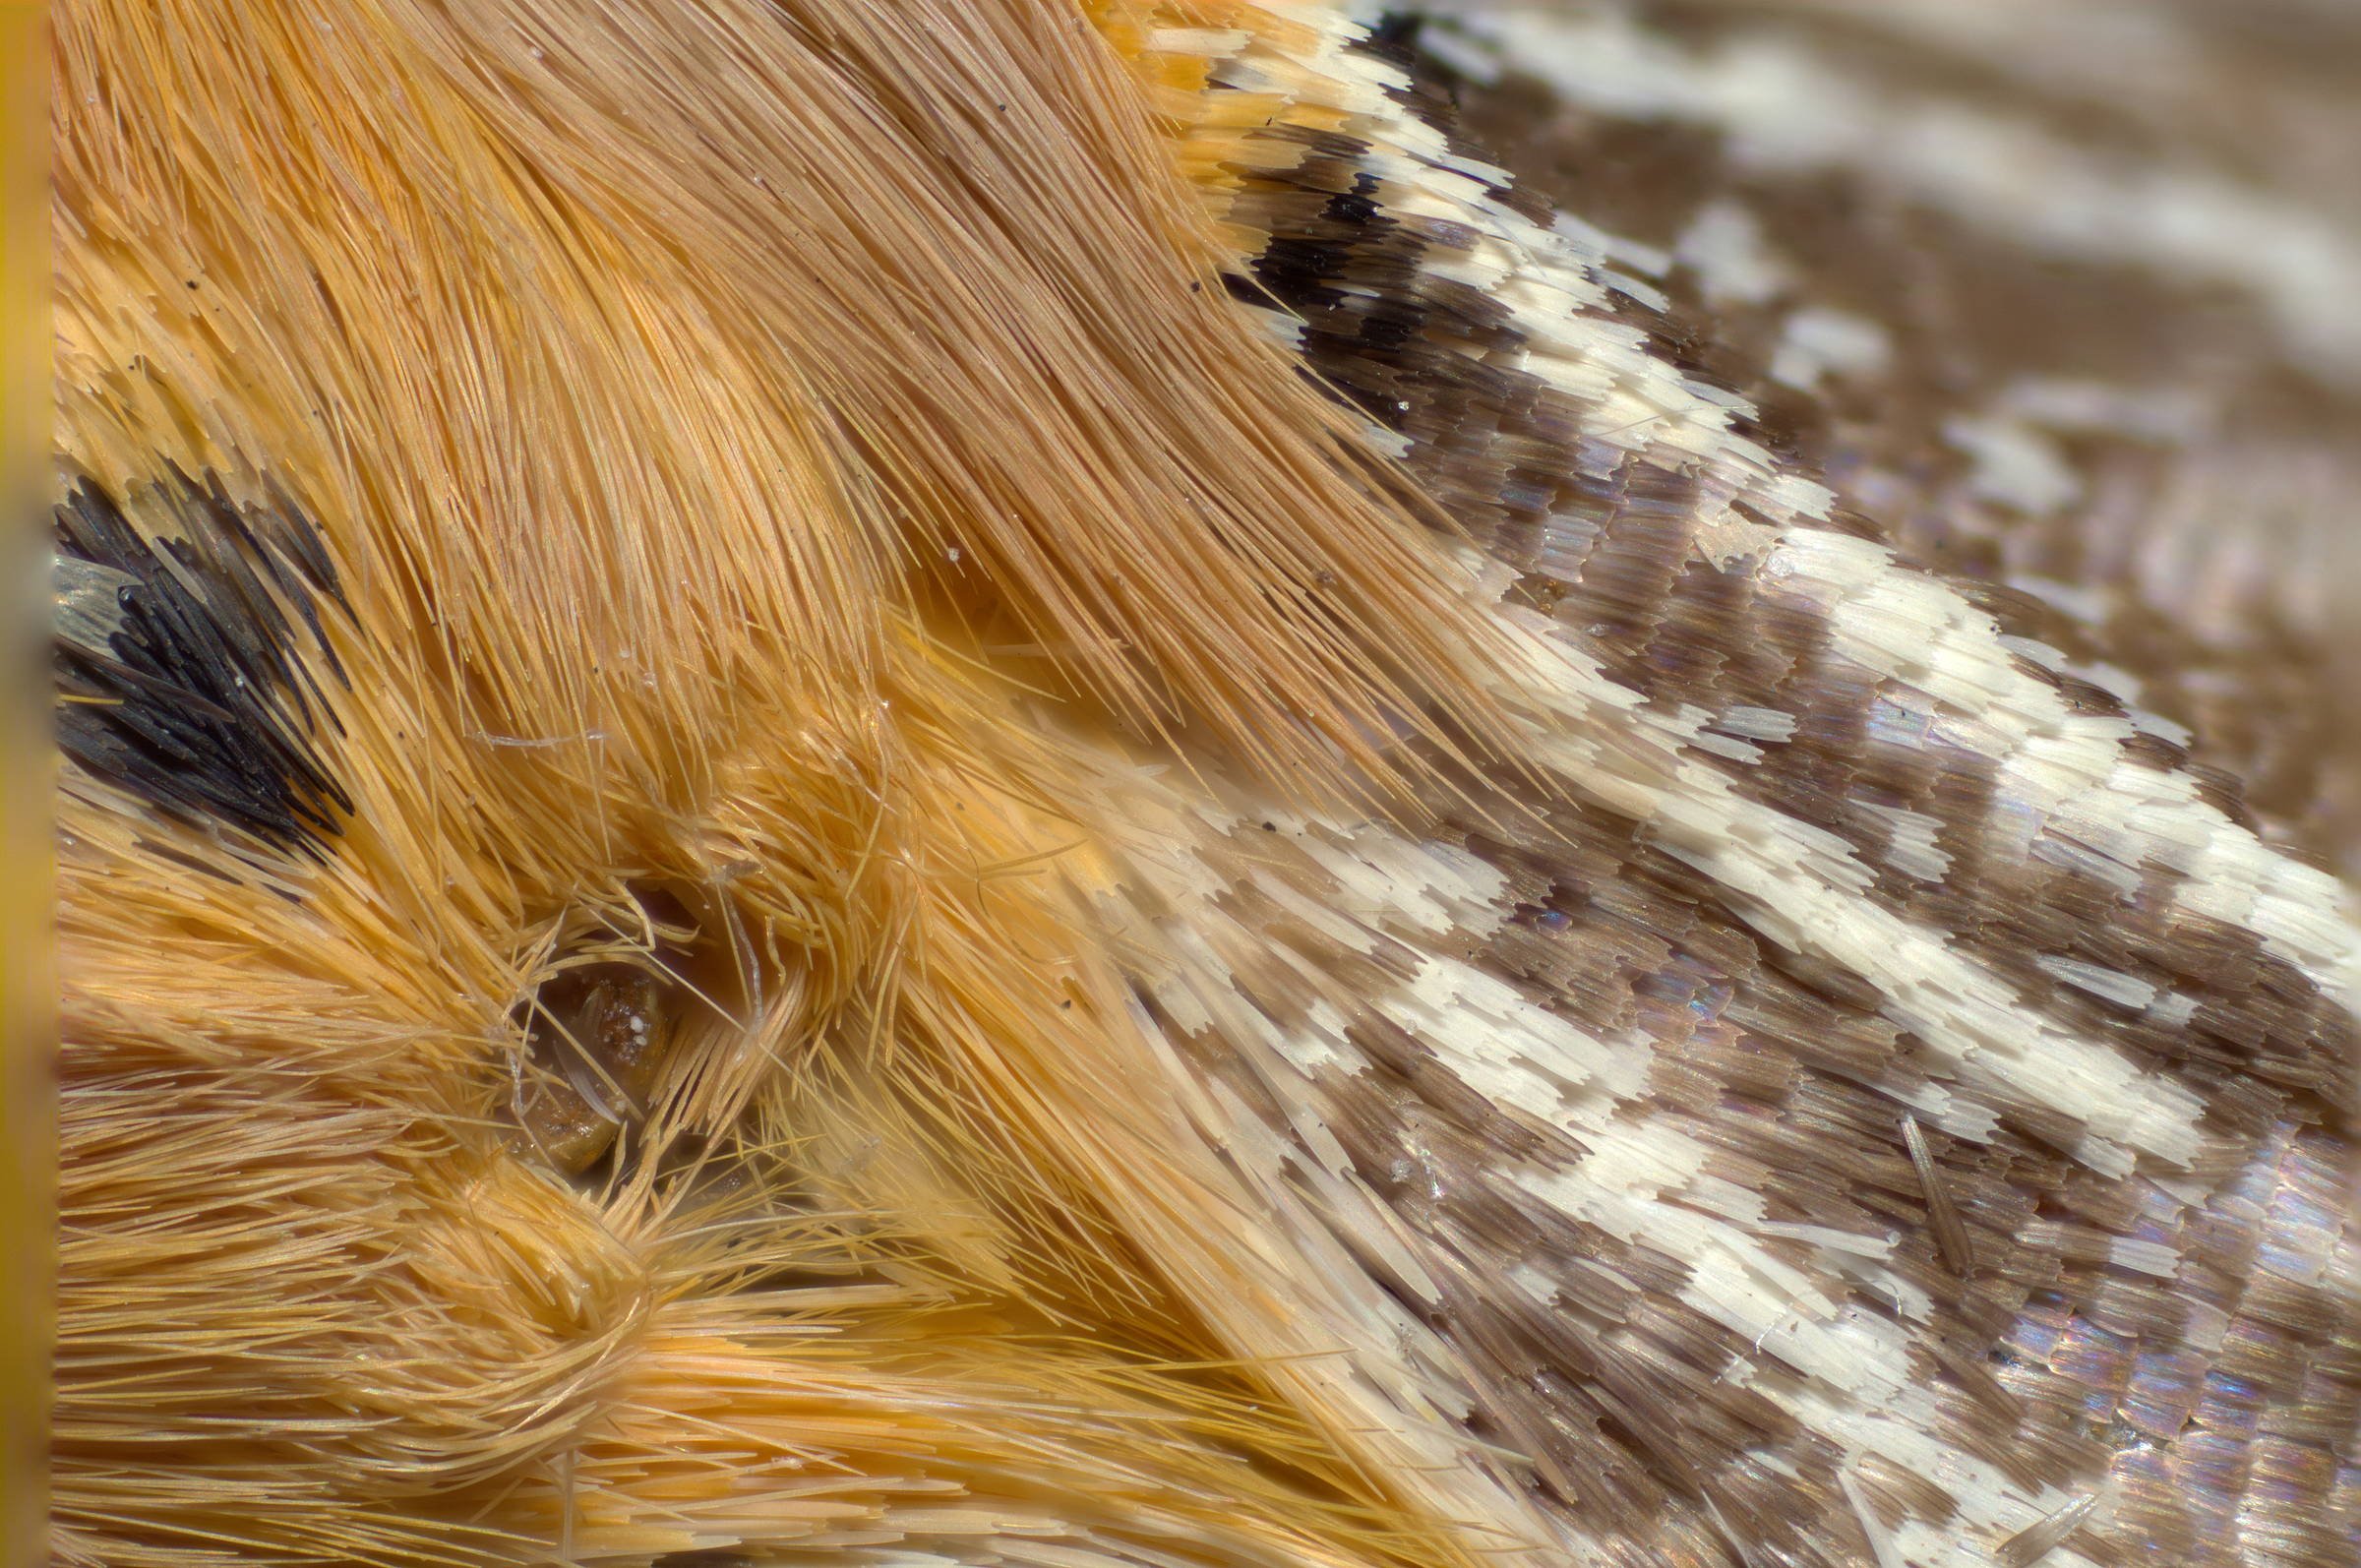
Focus stacking with AP. It took about 30 mts for each image. No cropping, only small trimming of borders. Minimal editing like enhancing contrast only done. Subject: a dead moth which I accidentally came across in the stairway. Magnification: The field of view for 5X objective is around 5mm X 3mm and 10X about 2.5mm X 1.5mm. From internet I see that the length of one scale is about 0.20mm and width at tip 0.035 mm and distance between the fine longitudinal lines on a scale about 0.001mm. So the smallest feature just visible is about 1 to 2 microns (0.001 to 0.002mm) and 5 micron features are clearly seen. Camera: Nikon D3100 with 5X and 10X Plan achromatic metallurgical finite objective. Lighting: One flash Godox TT600 triggered by hotshoe mounted wireless trigger Godox X1N. Powerlevel 1/128, no diffusers. step movement: Milling machine table , each step was about 15 microns, manual turning. More details of setup: https://forum.affinity.serif.com/index.php?/topic/70721-flame-of-the-woods/ 10X objective, 95 images stack( eyes) 5X objective, 47 images stack(hair and scales of wings) 10X Objective , 40 images stack(scales on wings)
-
Hi all, please add the option to create a brush from selection, I really can't see why we have to export a brush shape only to import it back in, it seems a very convoluted and needless process. Brush from selection would streamline the process of brush creation substantially.
-
- 3
-
-
- affinity designer
- affinity photo
- (and 3 more)
-
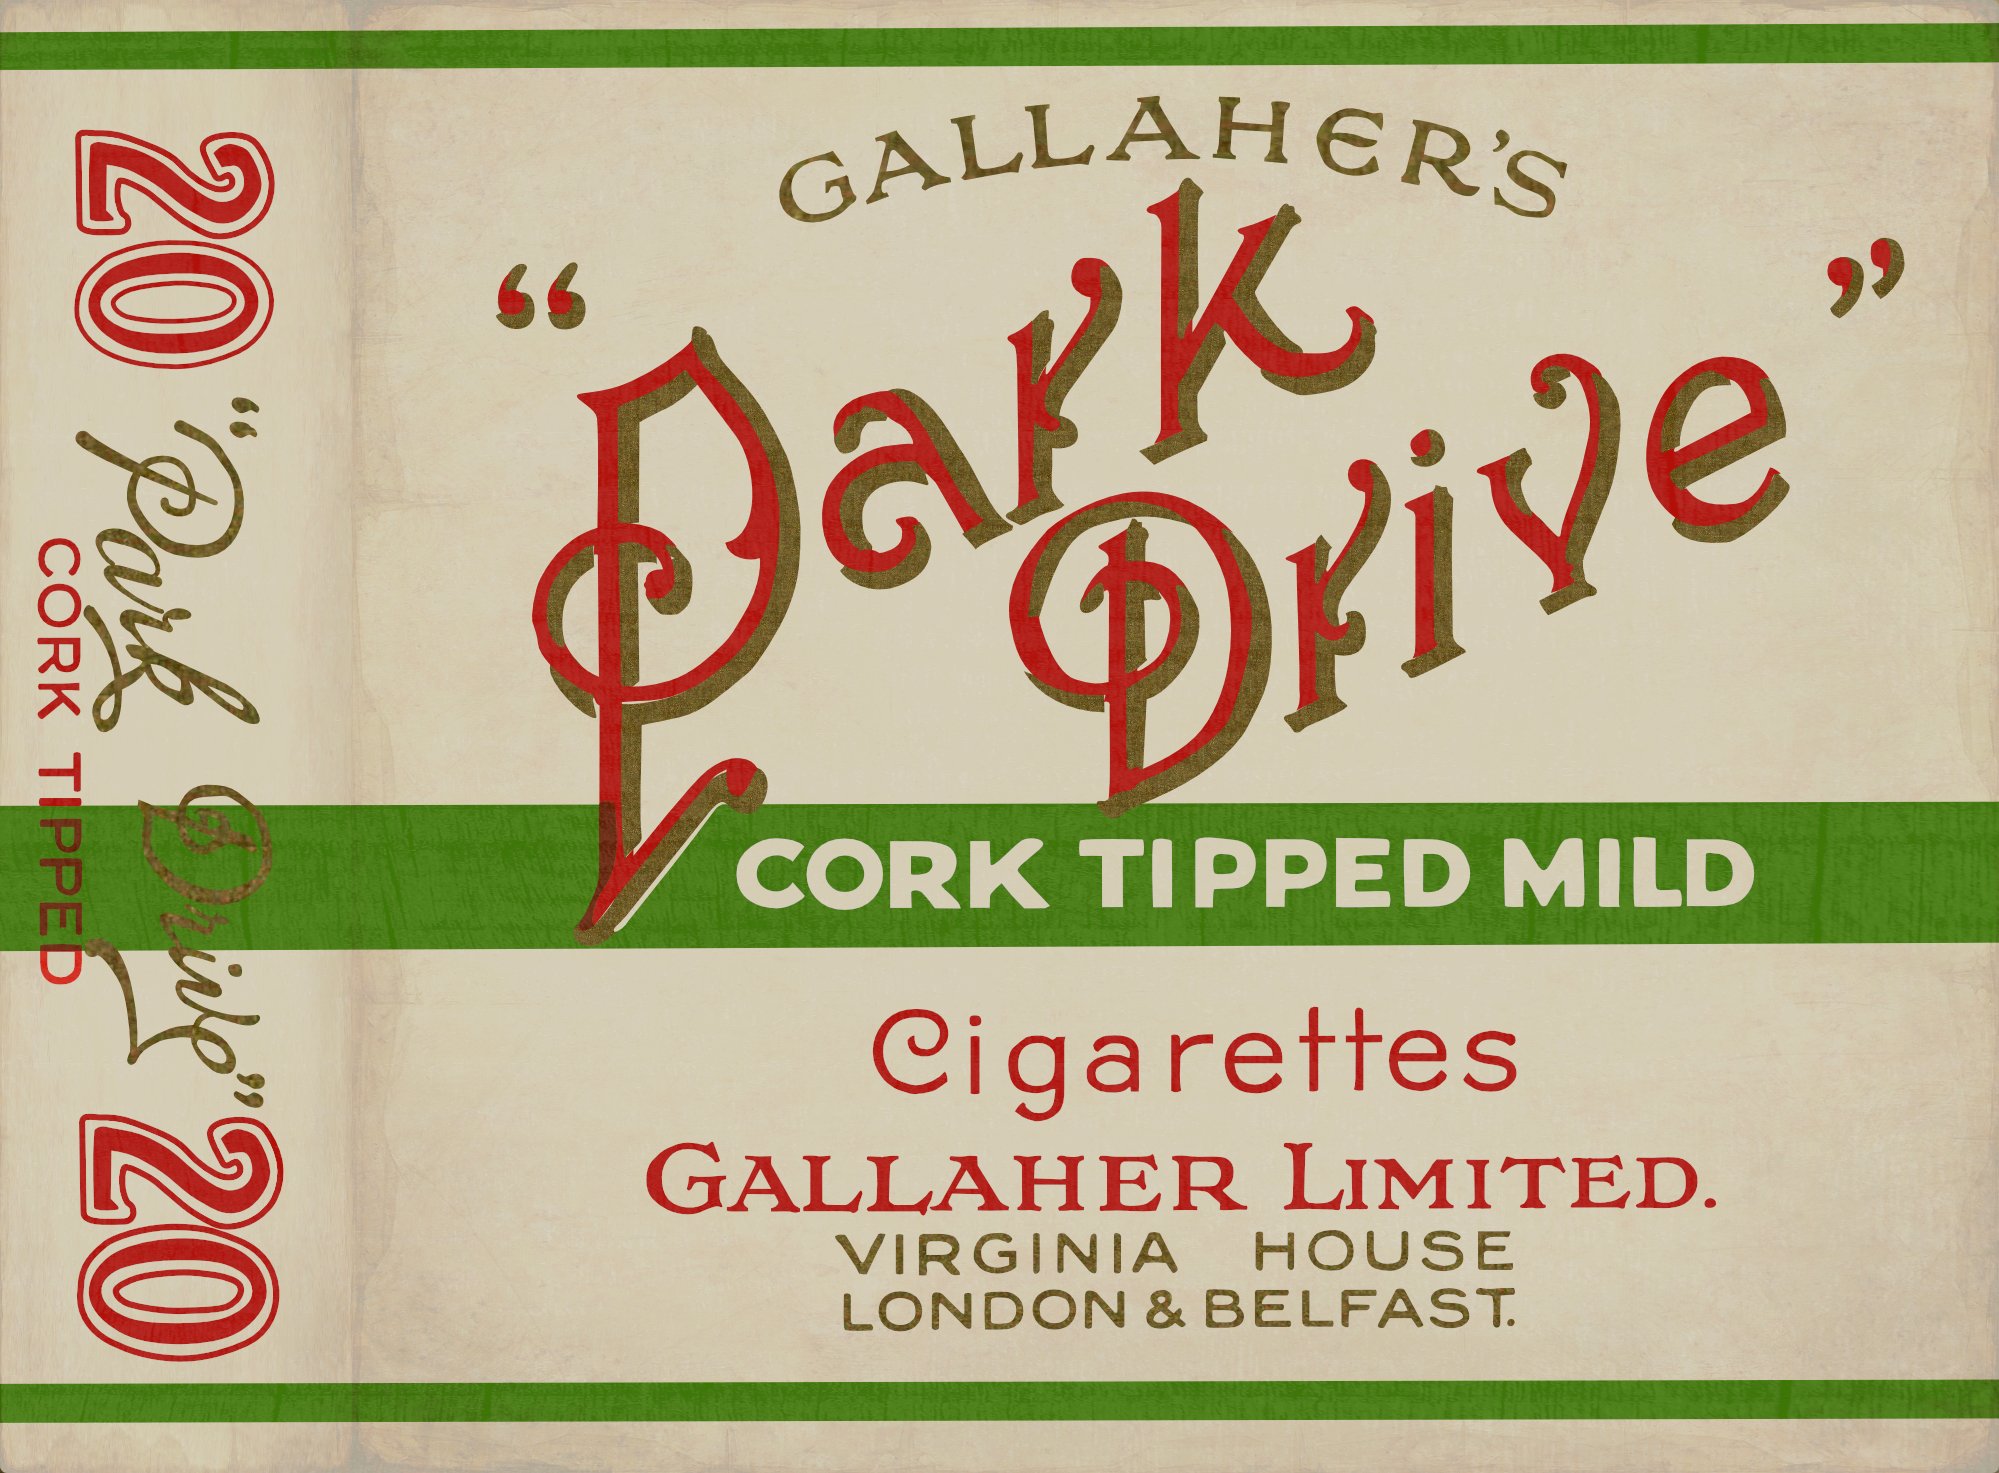
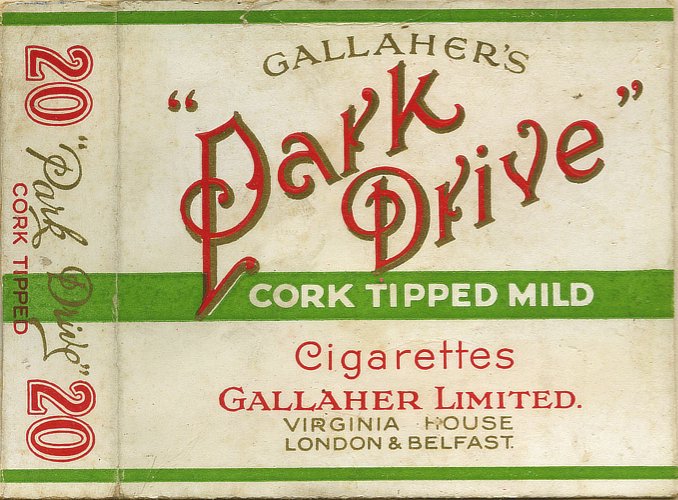
I said in an earlier post (https://forum.affinity.serif.com/index.php?/topic/75089-vintage-cigarette-packets/) I'd started a little project to reproduce some old cigarette packets (or packs, if you're on that side of the Pond). Here's another: Park Drive. Once again, I've used vectors to make the letter shapes, with a bitmap fill for the gold shadows, made by sampling the original image, and I've finished off in Photo with Merge visible and a couple of pixel textures to make it look a bit 'lived-in'. This time I thought I'd be a bit more ambitious... and try a twenty instead of a ten! And the original looked like this:
-
- 2
-
-
- vector
- affinity designer
- (and 1 more)
-
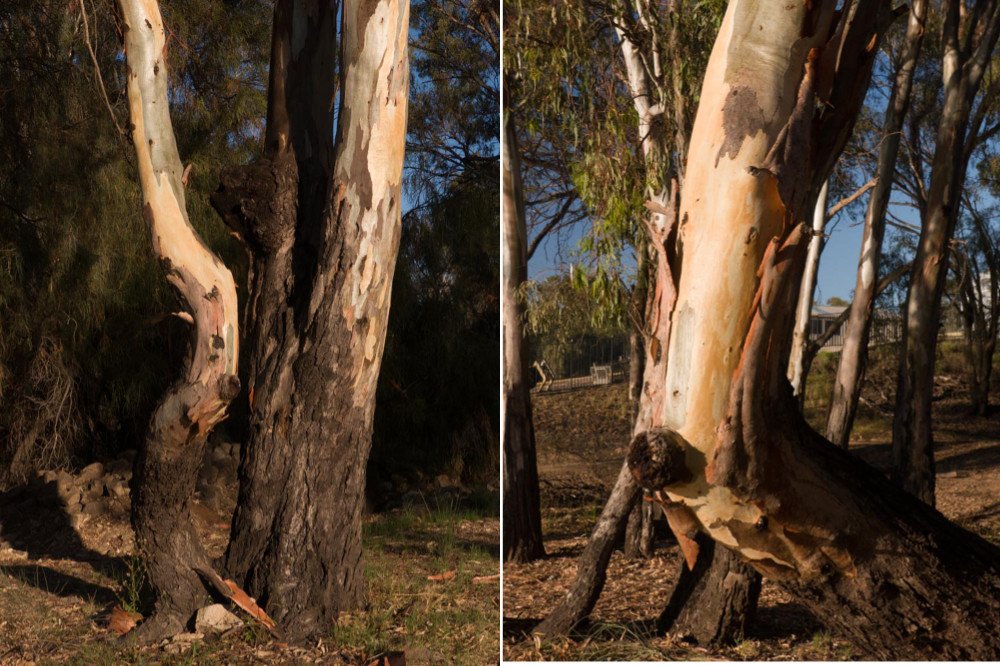
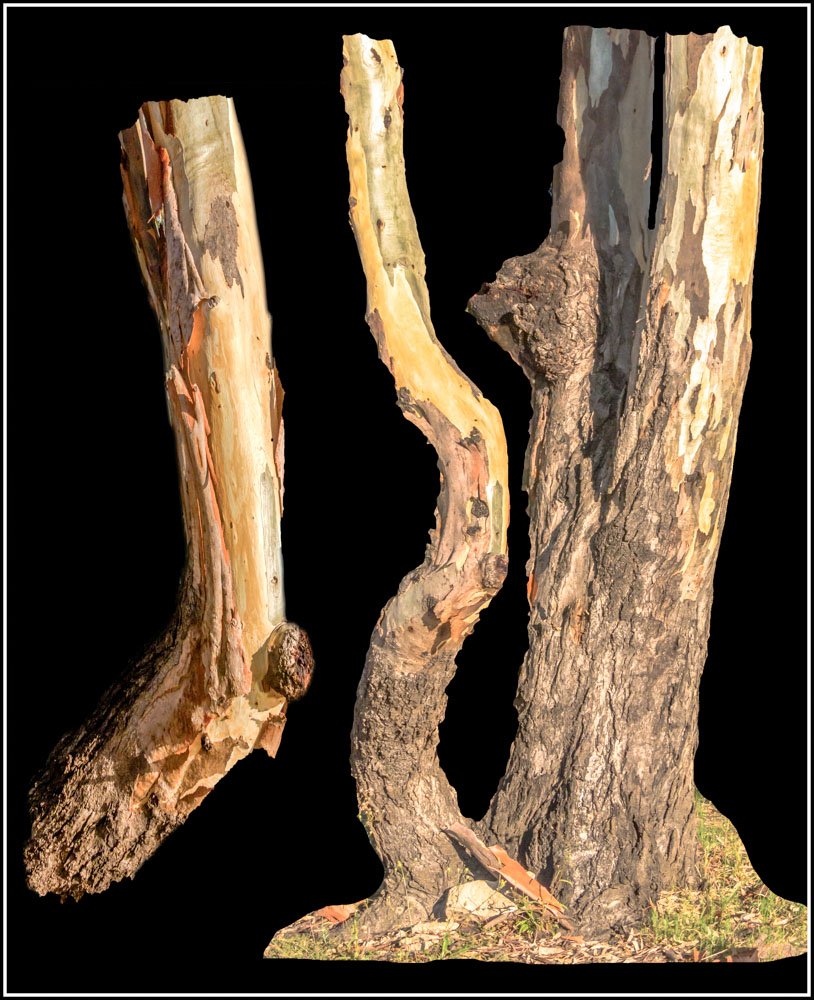
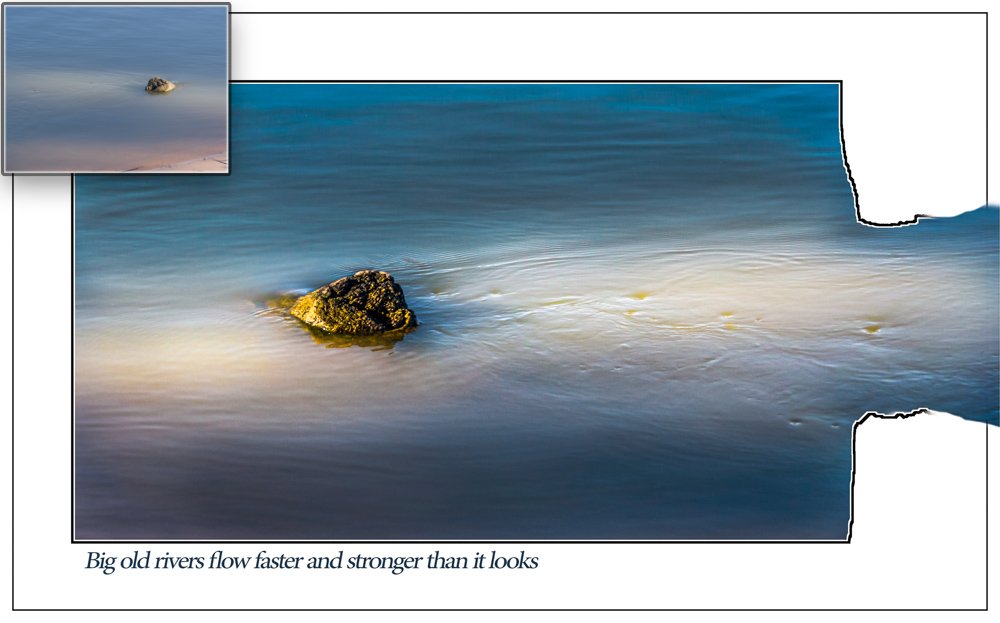
before and after -- these are the more advanced edits, however there are other new basic edited pics on my Fb page; photos by ian browne -- or Flickr how does it look with the original pasted onto edited photo? What is better ; one photo per thread or several as here? Pana Fz300 Questions welcome Grass in front of the river water The same tree
-
For printing or to set desktop wallpaper