Search the Community
Showing results for tags 'Affinity photo'.
-
A new drawing to train the fingers https://www.bodobe.de/magical-girl/
-
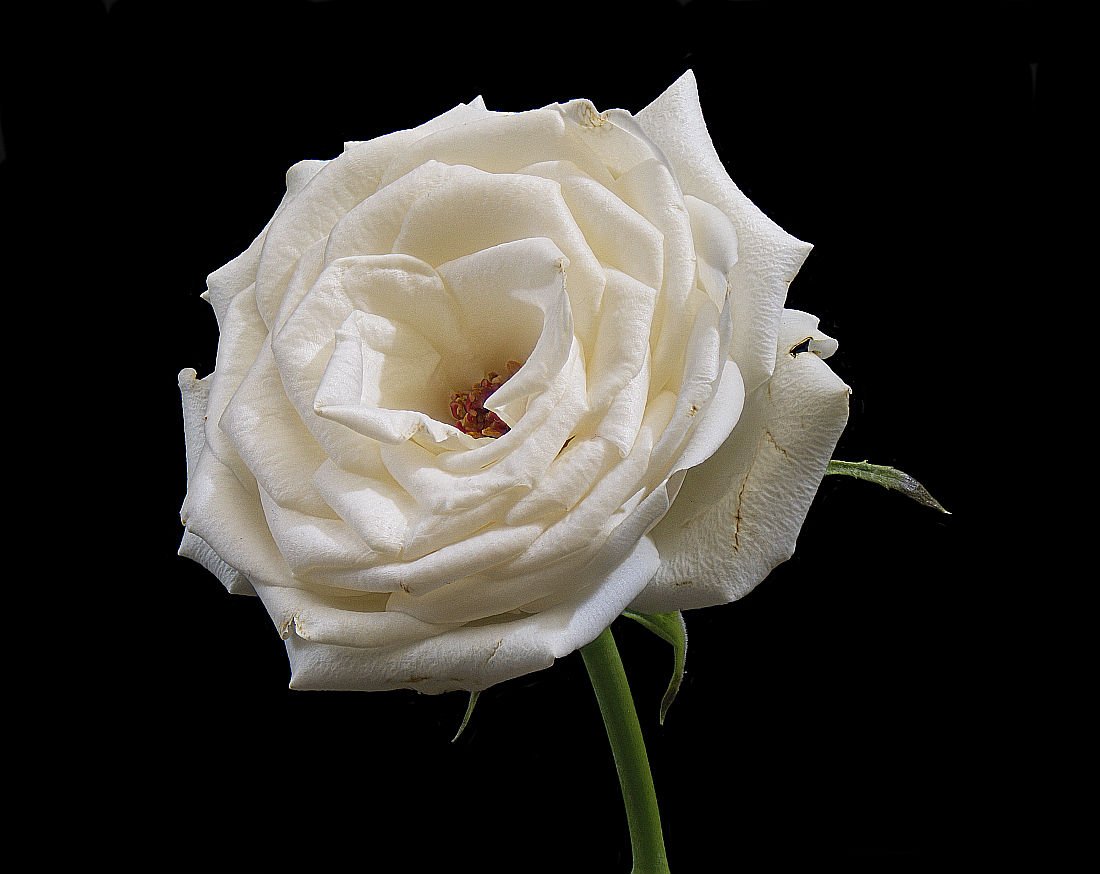
This is the first picture I attempted to post-process using Affinity Photo. This was finished a couple hours after loading the Demo software. I'm fairly new to digital photography editing and only used some other software for a couple weeks. When I discovered Affinity and loaded the Demo software, it seemed just perfect and immediately, I wanted to start learning the keyboard shortcut keys. This picture is not very creative and the image was captured in a few moments in front of my house just to test a new macro lens. The background blur (bokeh) is totally natural from the lens. The processing was to make a mask to separate and de-saturate the background and add a tiny bit of saturation to the curly twig. It was a fun first project with Affinity. Regards Ray
-
Composite of six exposures of the recent total lunar eclipse viewed from Connecticut, USA. Exposures ranged from ISO100, f13, 1/200sec for the full moon before onset of the eclipse to ISO400, f6.3, 3sec for the total eclipse. Baby, it was cold outside (-18F wind chill). I've just about thawed out though.

-

affinity photo Before and After Photo Enhancement Practice
uxdesignerwt posted a topic in Share your work
This is a photo enhancement tutorial that I found on Lynda.com. I learned a lot from it. I am starting to get faster and put things together on how to get certain results.
-

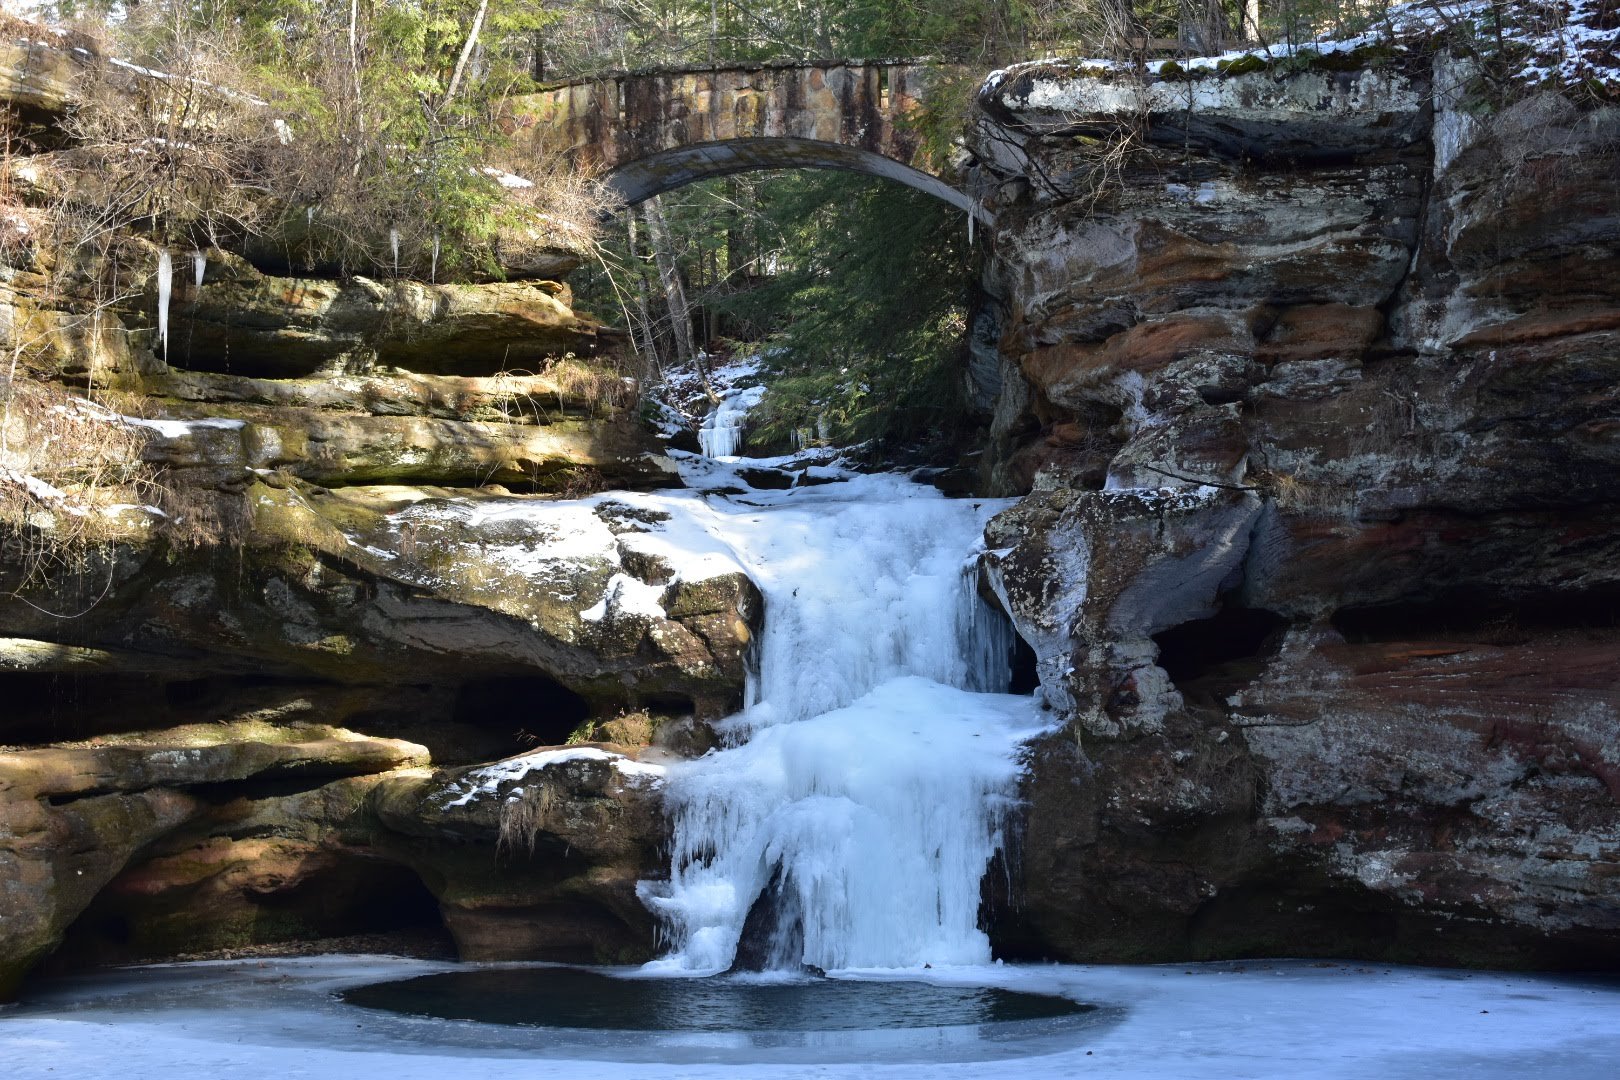
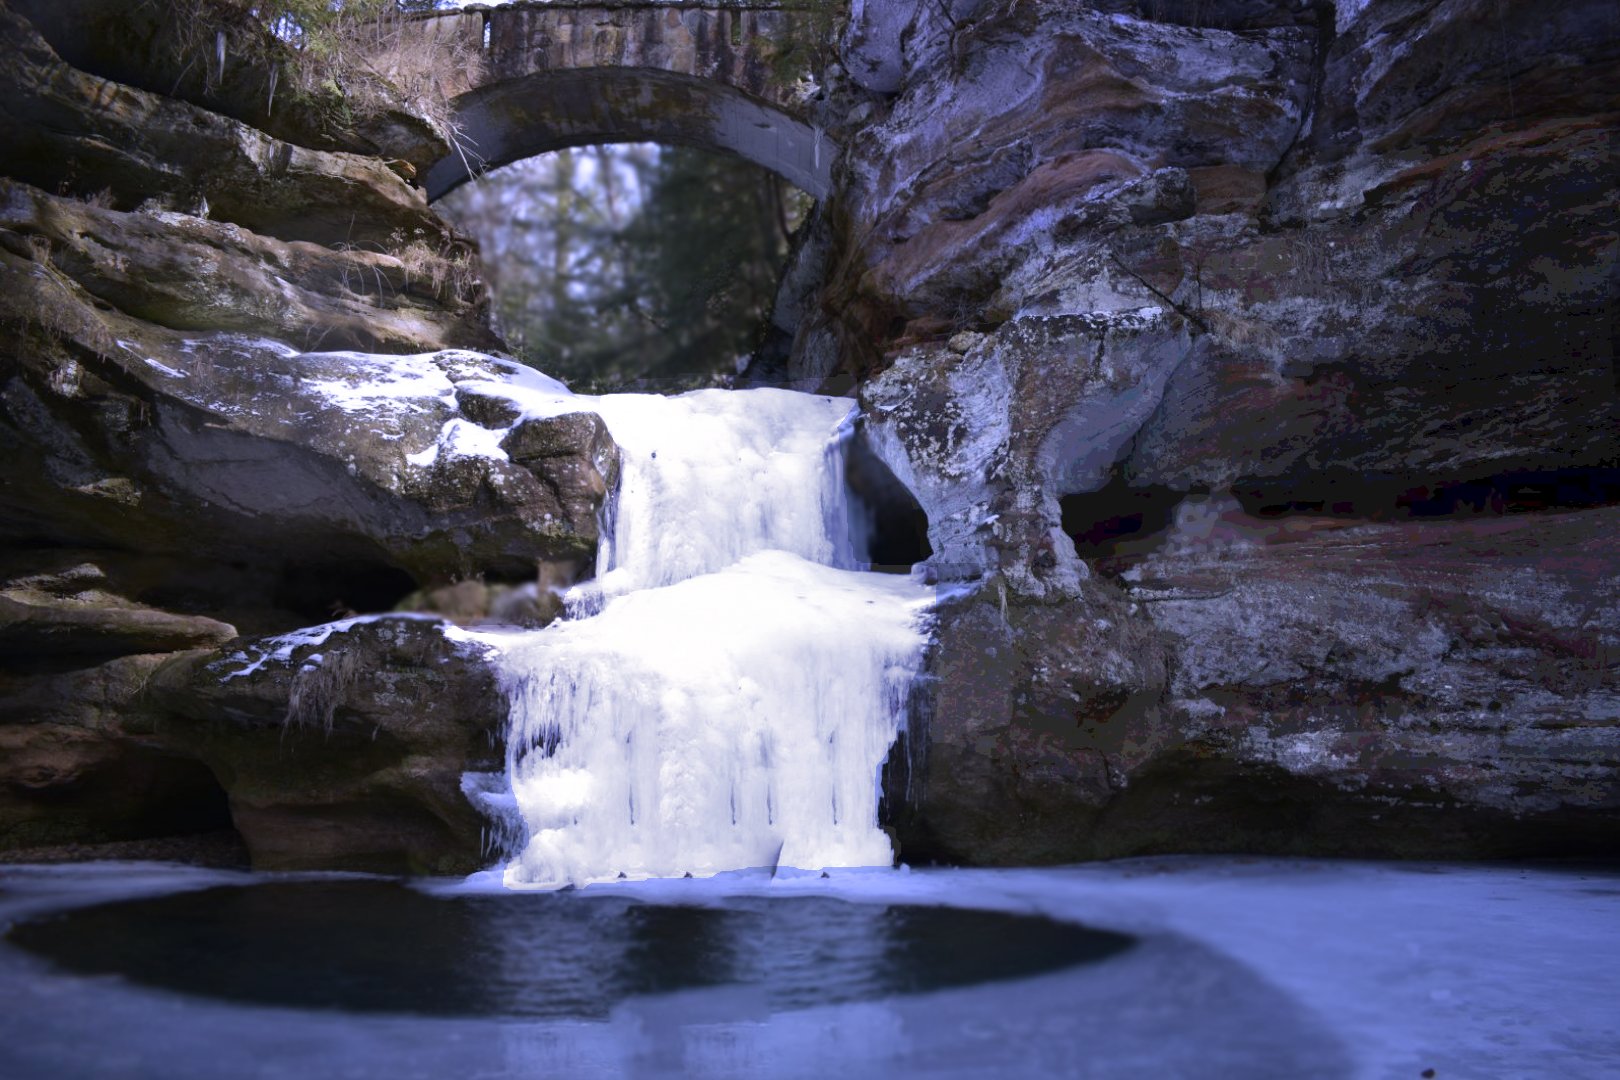
affinity photo Before And After Upper Falls Old Man's Cave
ClimbnRox posted a topic in Share your work
Little before and after photo editing from Upper Falls Old Man's Cave last year when everything was frozen.
- 1 reply
-
- 2
-

-
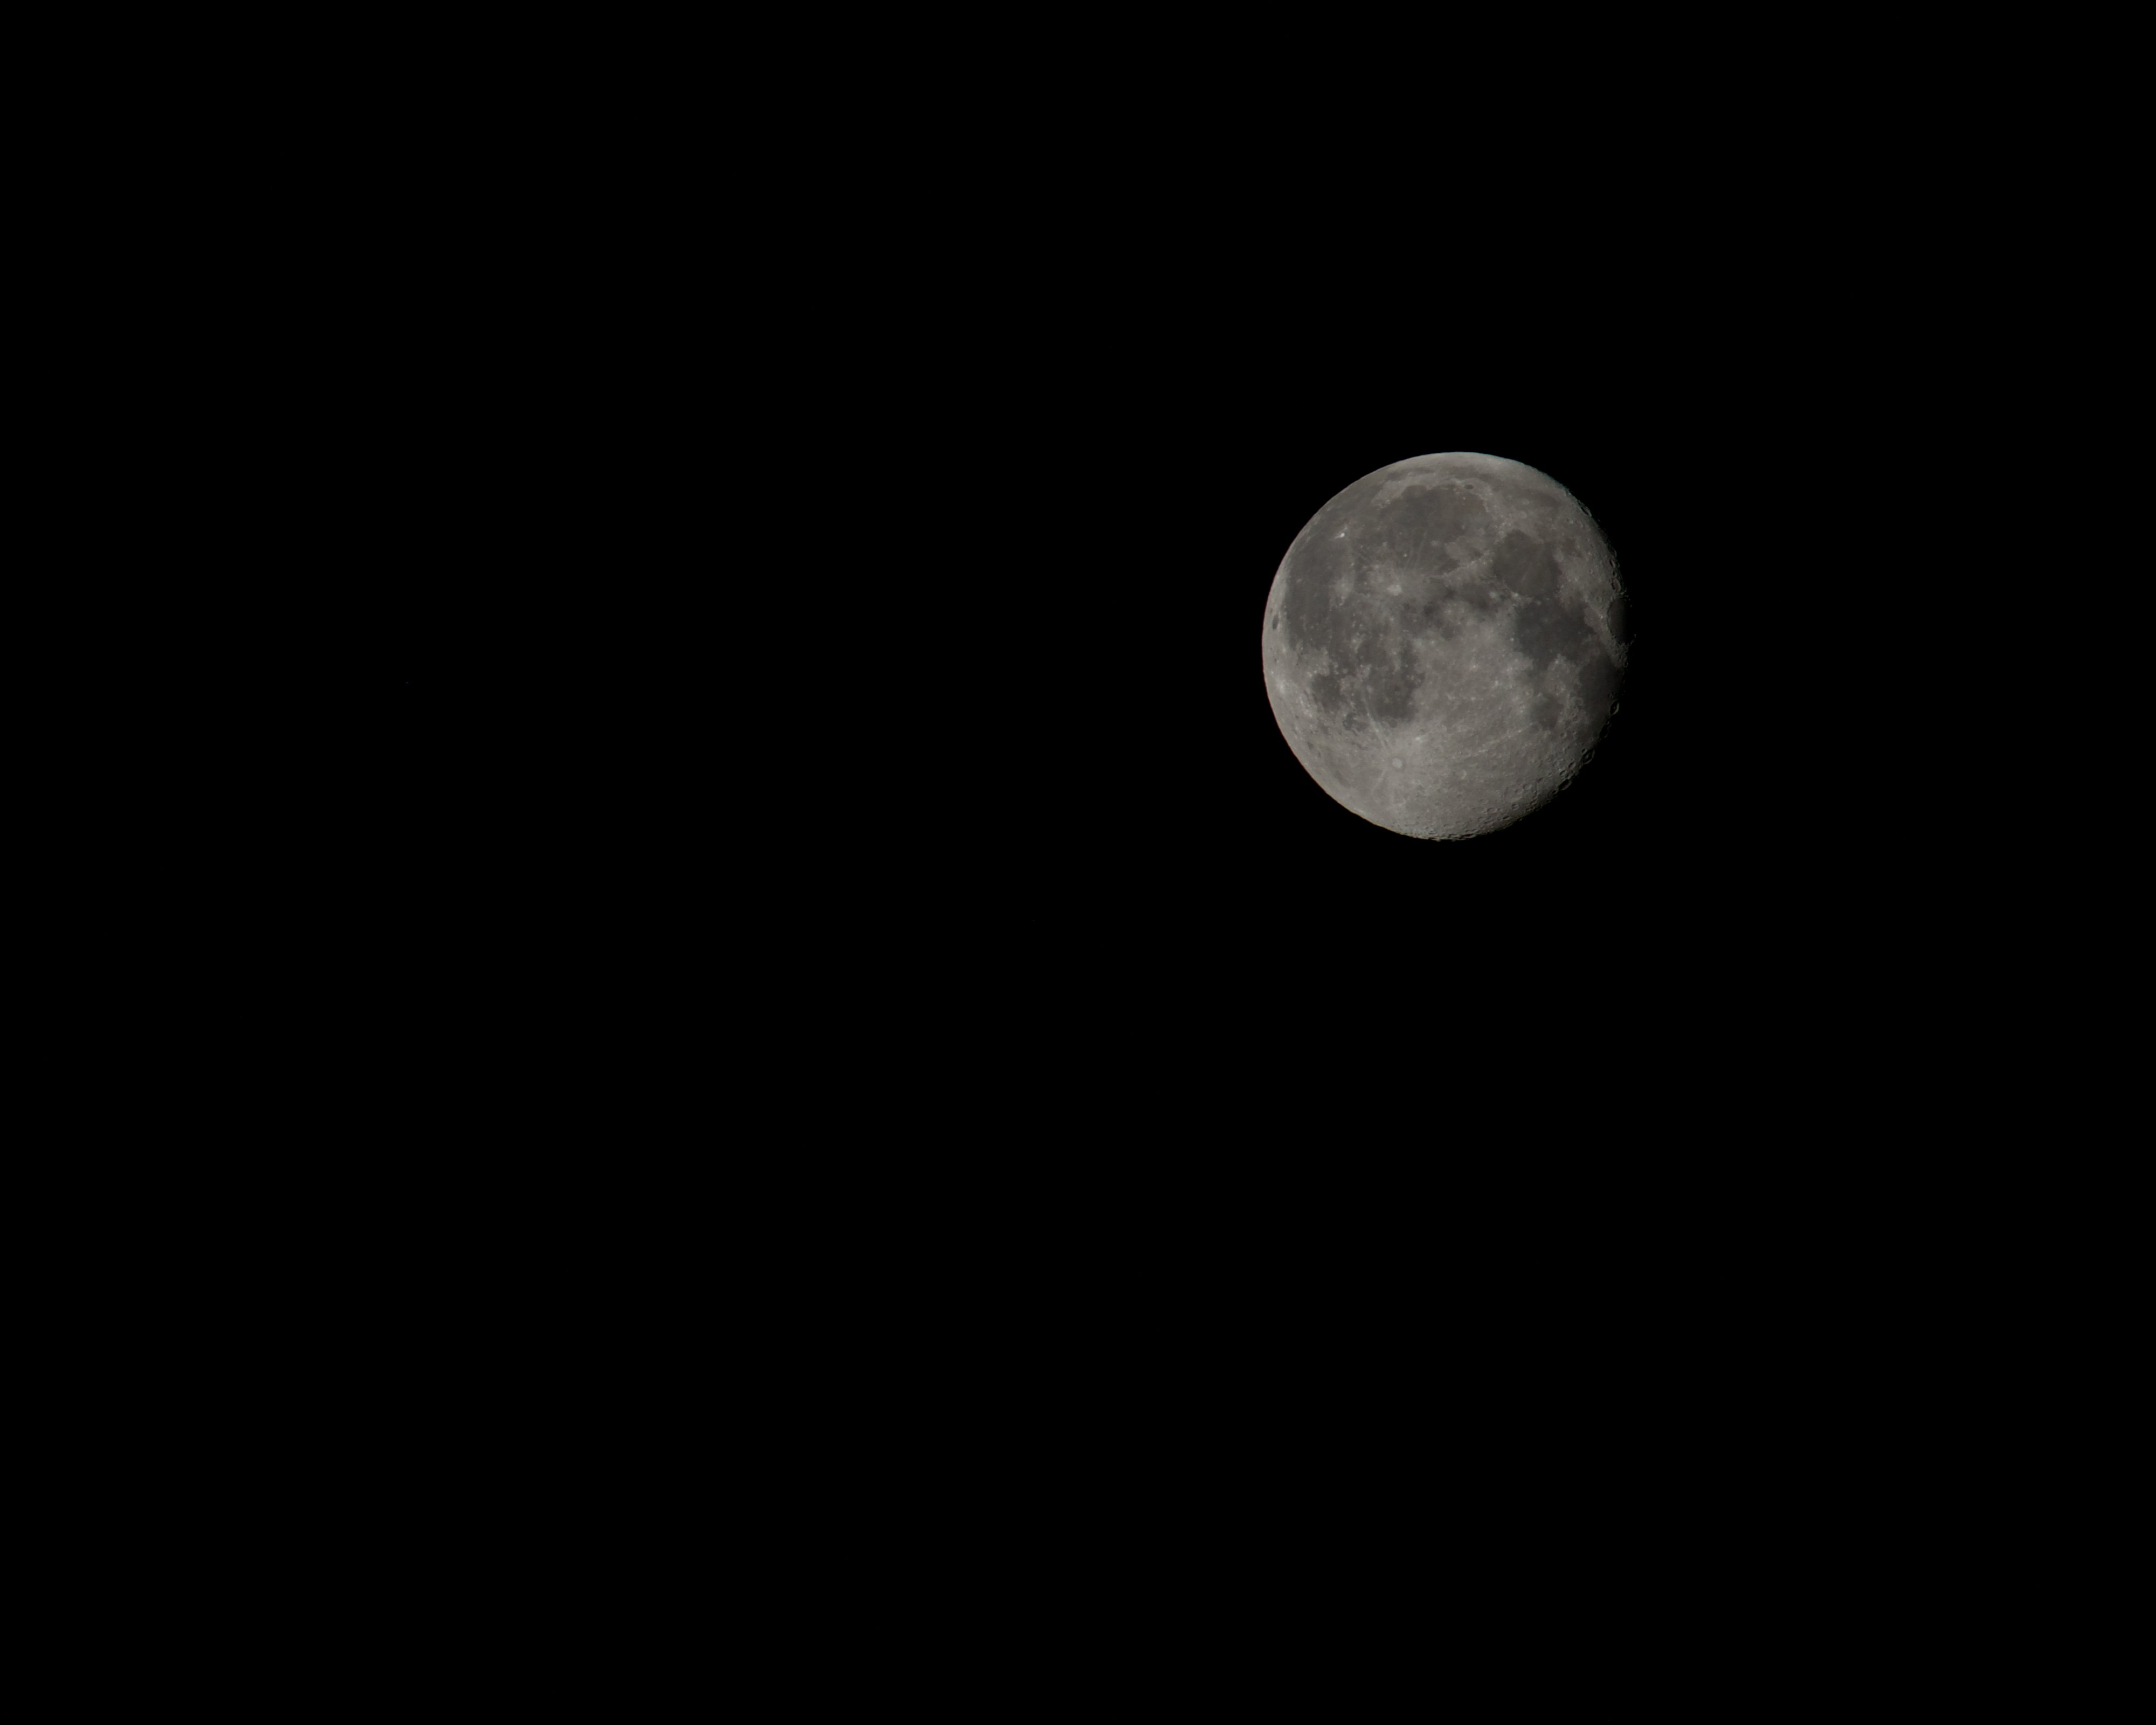
Just taken this image of the moon, handheld, it was lighting up my garden so I thought I'd check it out. Nikon D5600 1/250 @ ISO 250 300mm
-
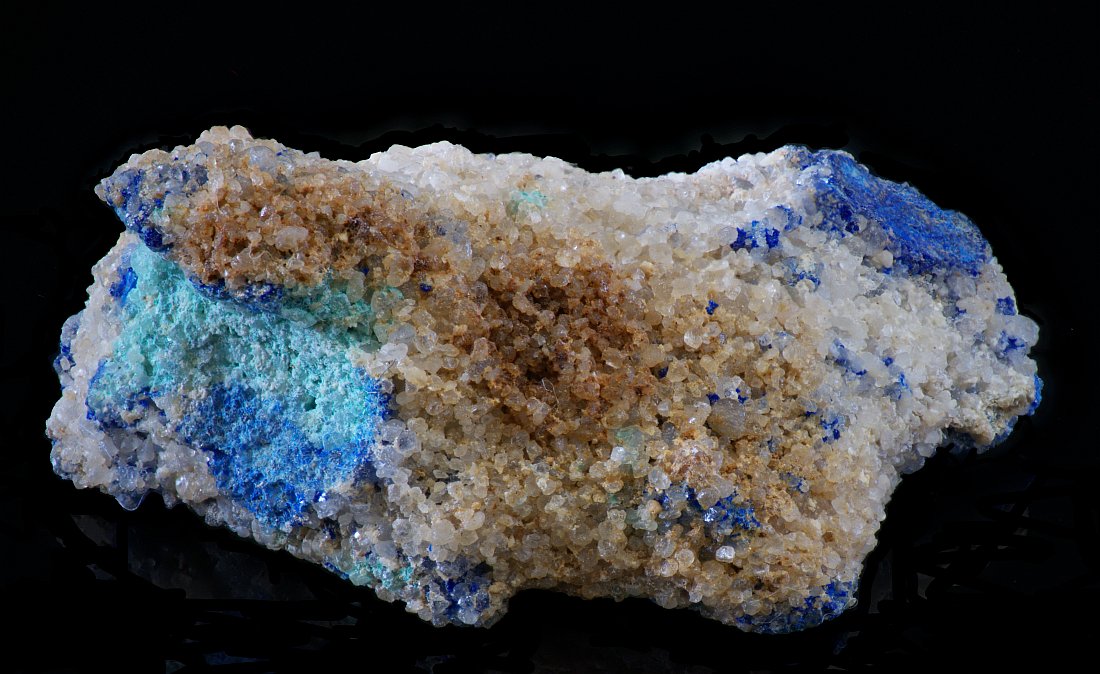
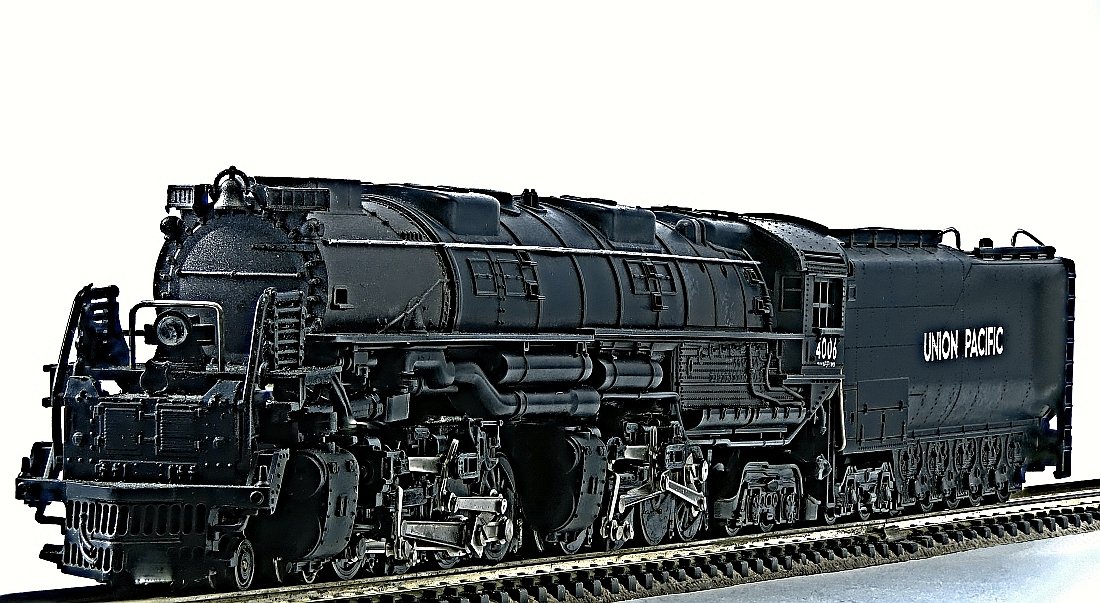
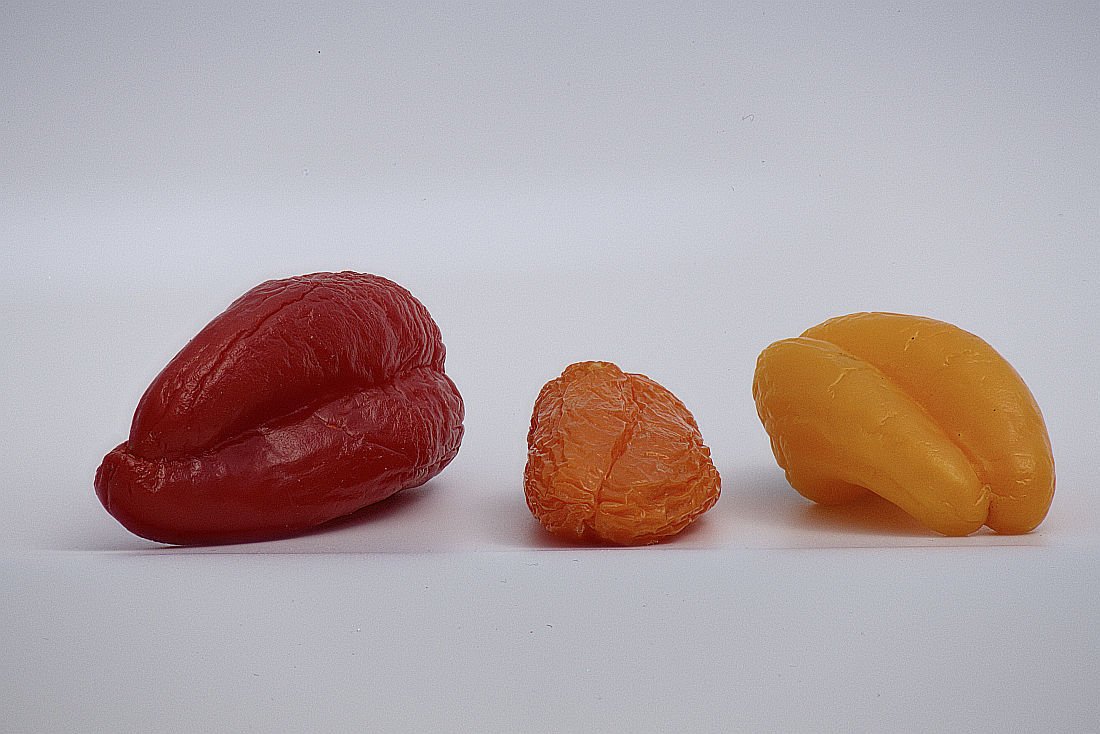
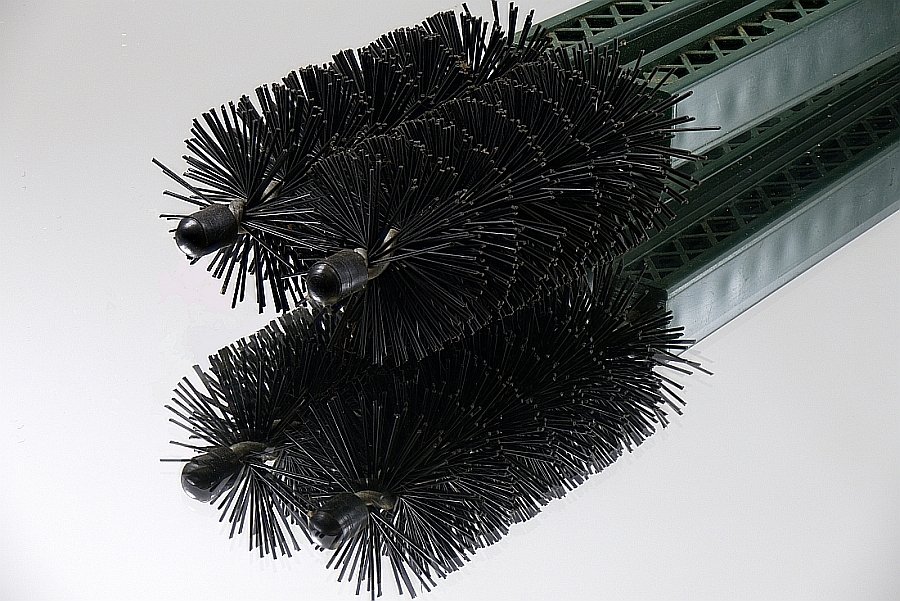
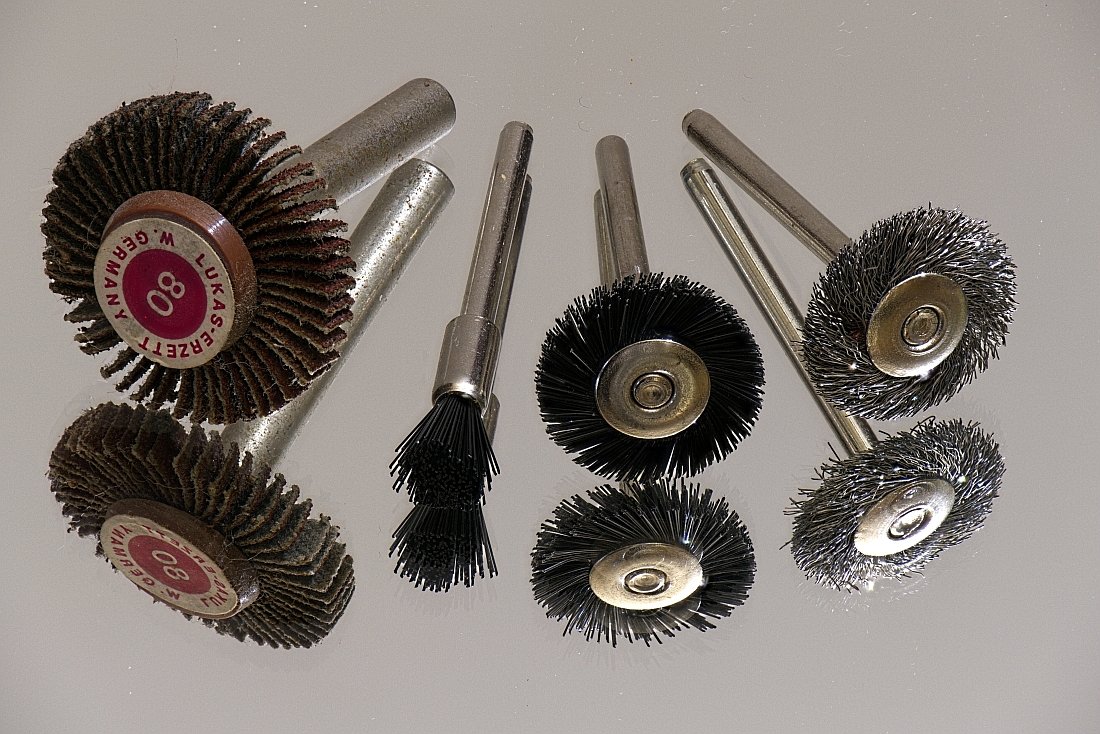
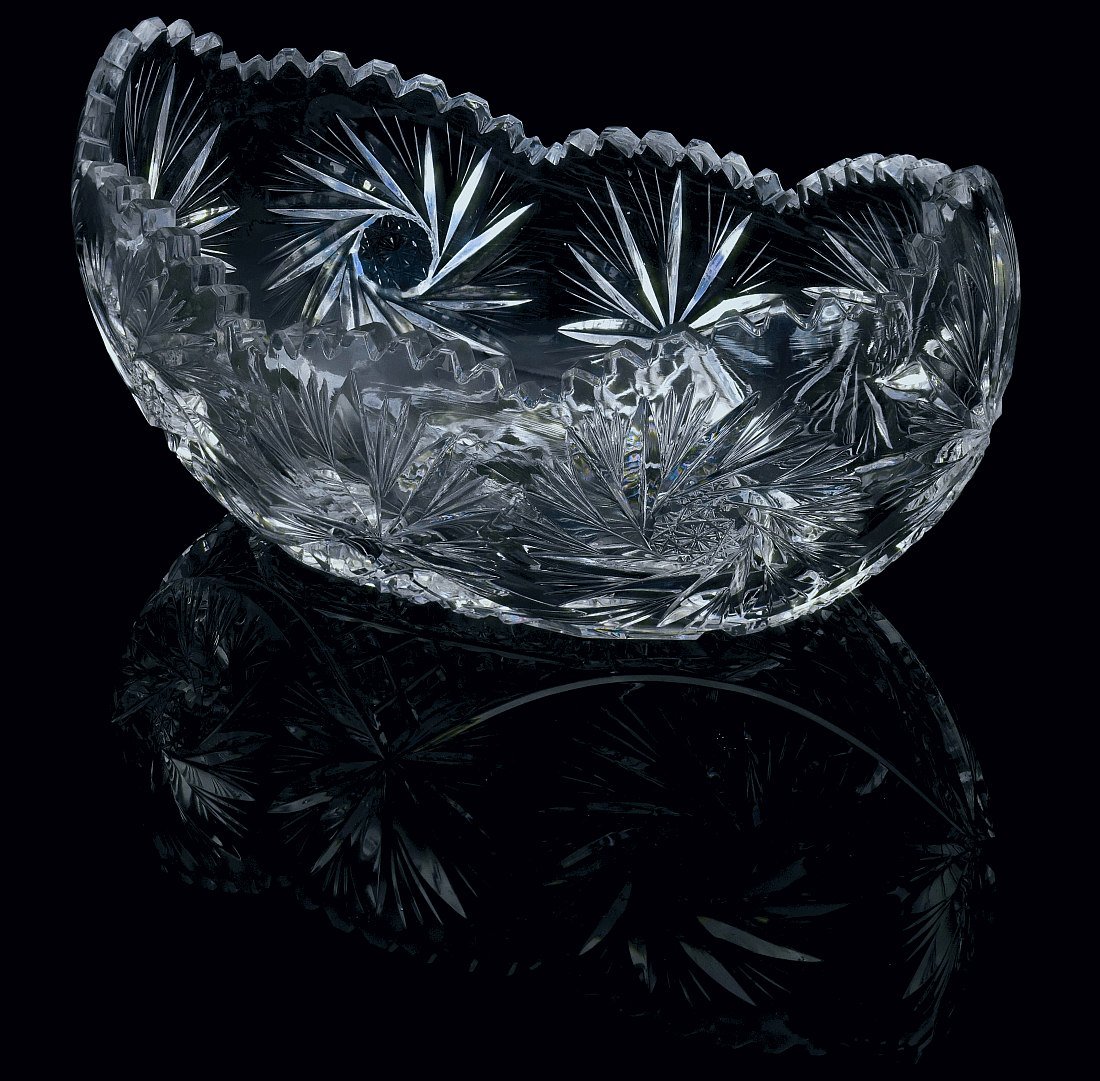
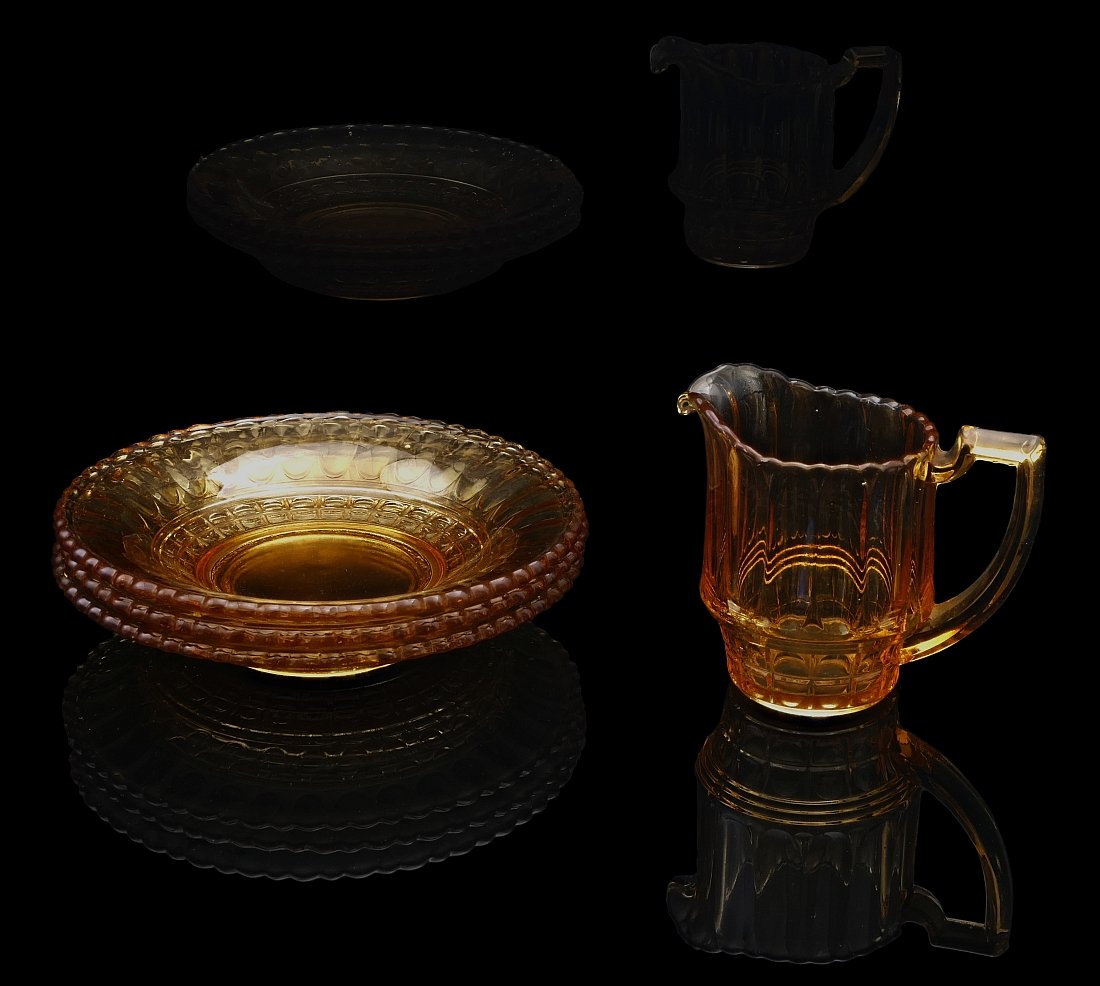
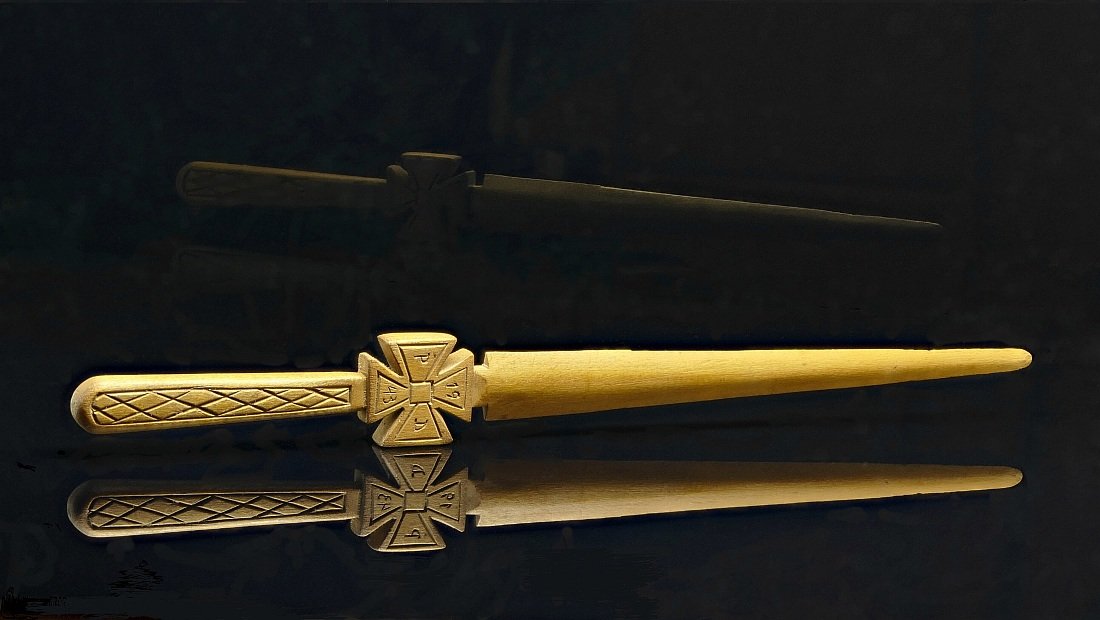
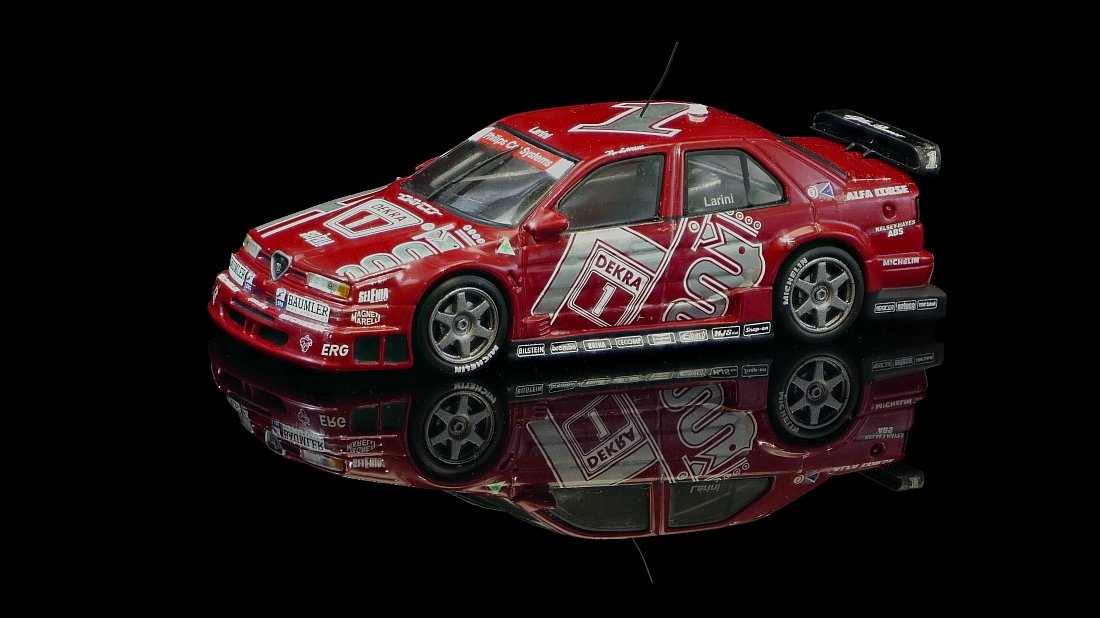
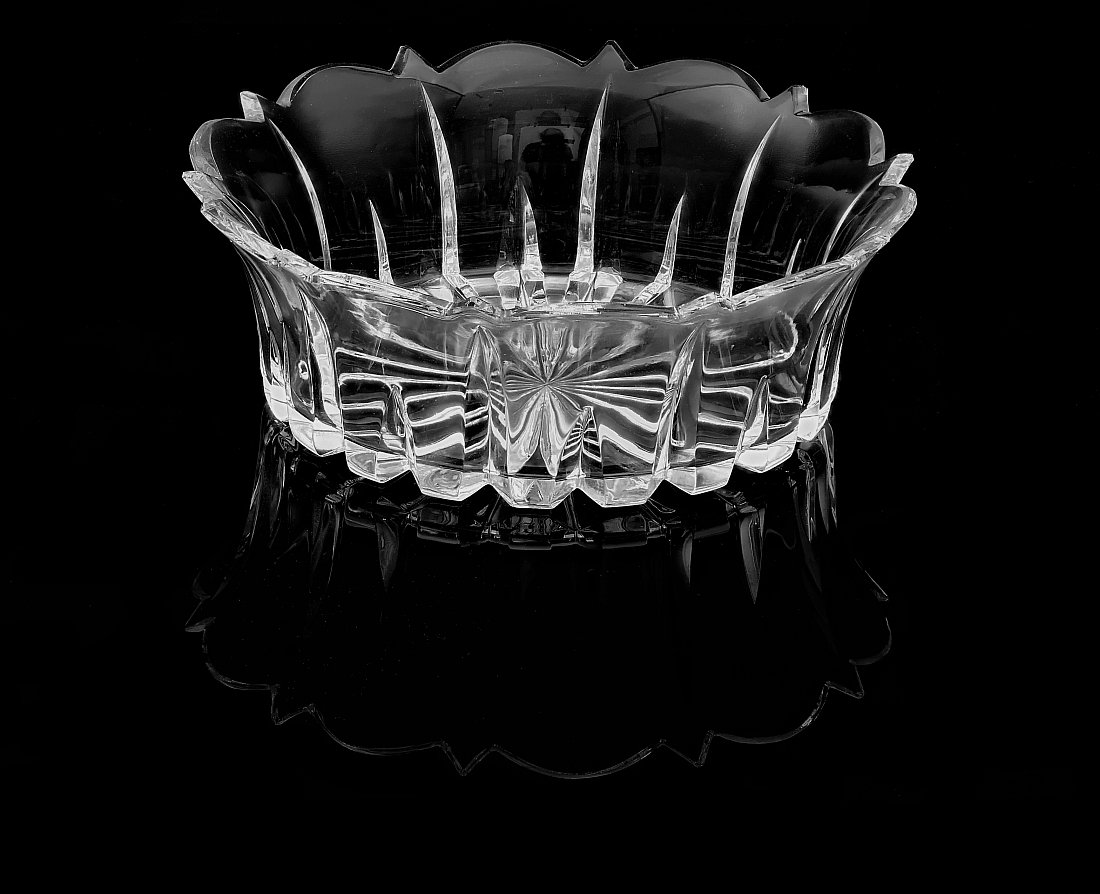
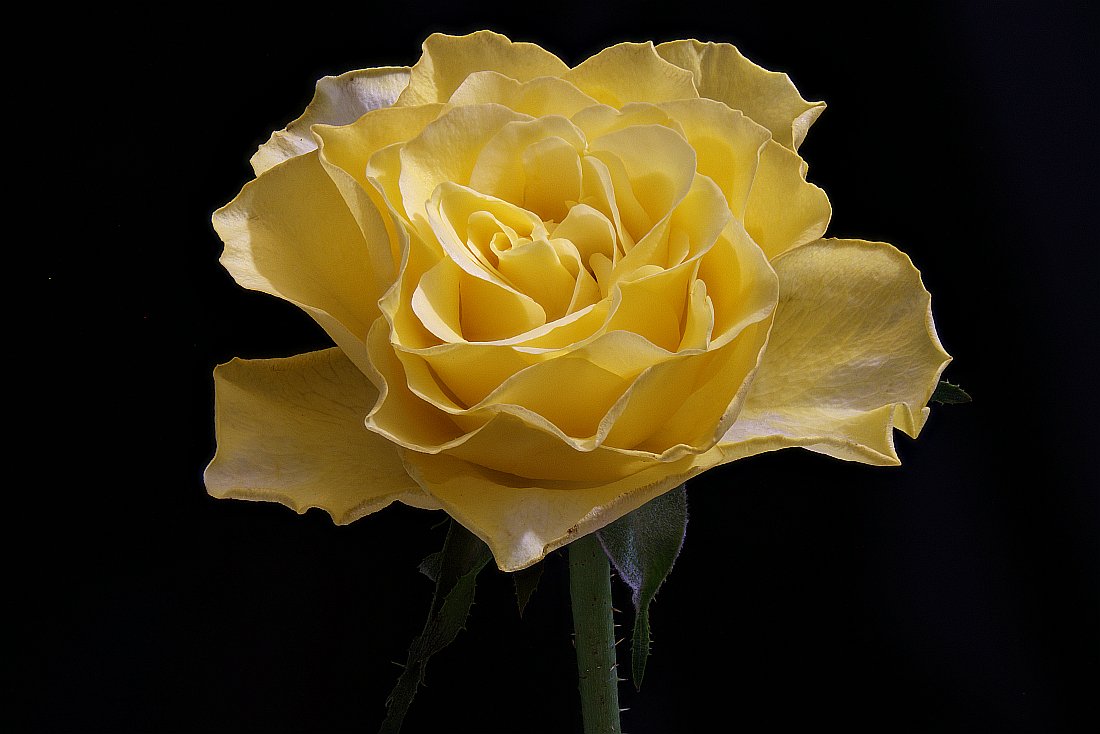
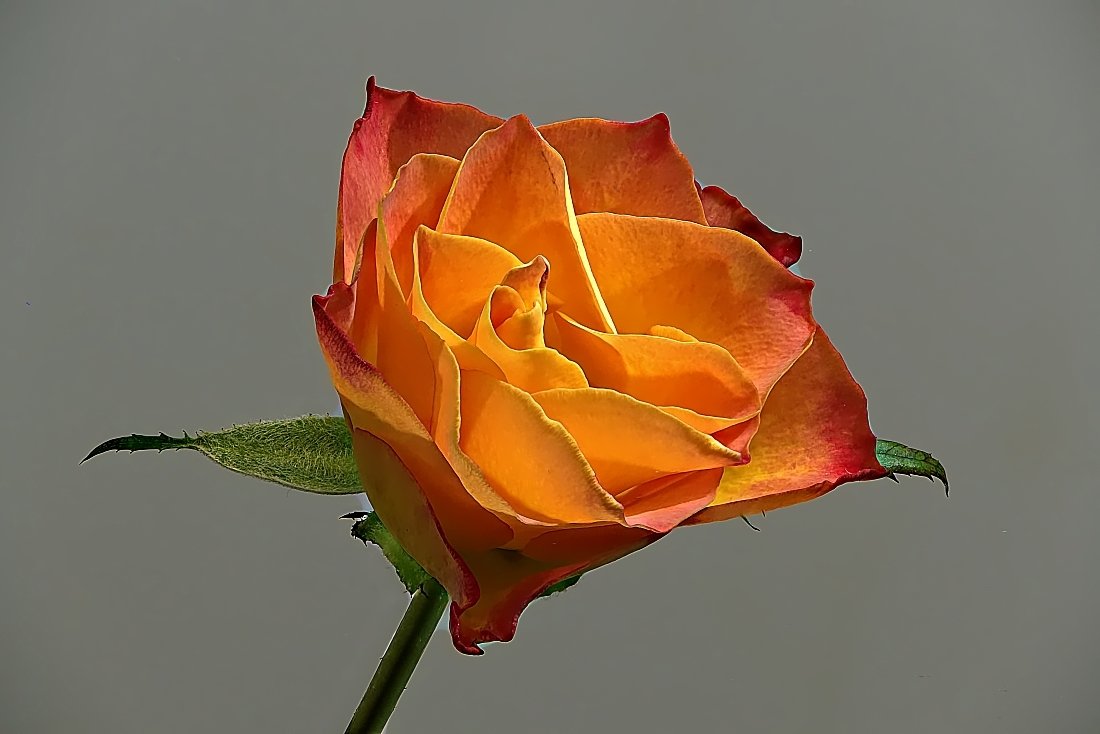
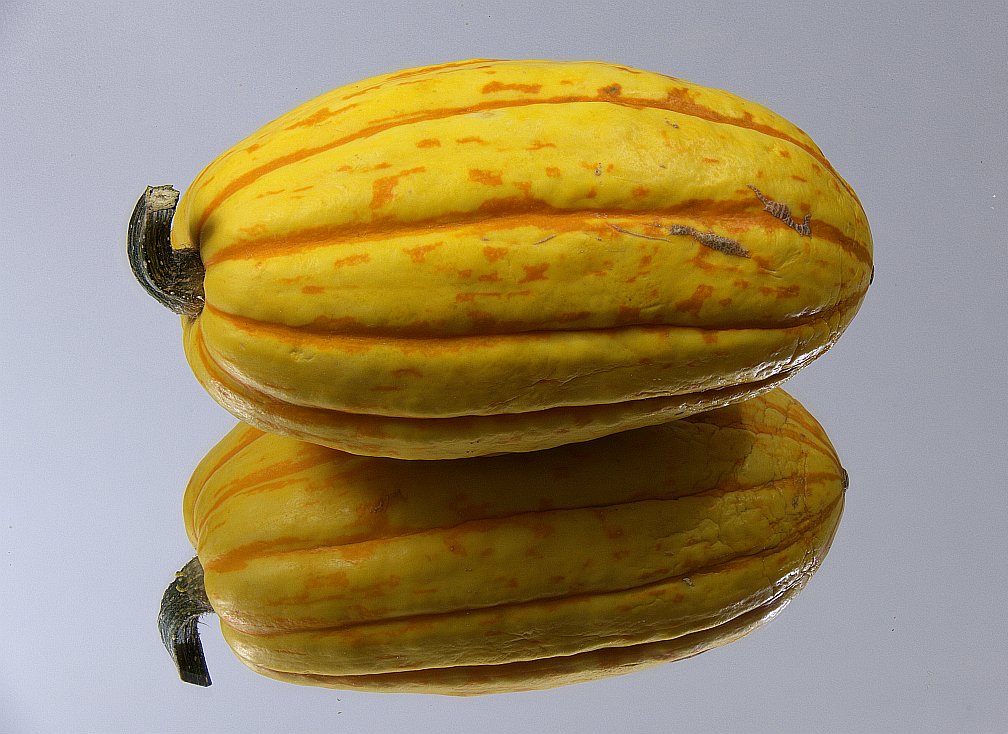
Its my hobby doing this with the FZ1000, Canon 500D + Raynox 150/250 achromats, two light tents, macro led lamps, and several under- and backgrounds as mirrors etc. Remote control when shooting series via Panasonic ImageApp and GSimpleRelease. Before AP I used Zerene Prosumer to get one photo from the staple. Here some examples what I'm doing. Sorry for my english
-
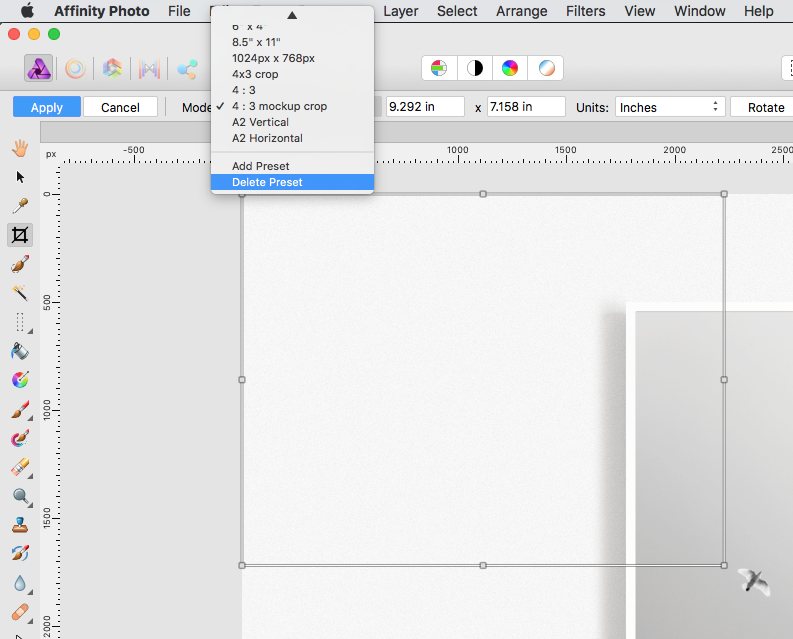
 It seems I am unable to delete crop presets in Affinity Photo 1.6.7. Clicking on 'Delete Preset' simply doesn't do anything... Is this something that other users have experienced and is there a known way around this bug?
-
 Here is how to do it on a Mac/Windows-PC: To select bright areas hold down (Ctrl)/(Cmd)+(shift) and click the thumbnail of the Darken layer. You select the luminance, recognizable by the ant columns ... But what do I have to do on the iPad to get the same selection?
 -
affinity photo Old Man's Cave Upper Falls.... Affinity Photo
ClimbnRox posted a topic in Share your work
Affinity Photo Old Man's Cave : Upper Falls
-
 I want to outline this album image (delete the fabric around the edge) and I can't seem to do it. I tried the wand at all kinds tolerances . . . I tried the flood selection brush at all kinds of sizes . . . Either it takes too much or not enough. "Add" or "Subtract" seems to add too much or subtract too much. "Snap to edge" is checked but it doesn't seem to snap to the edge. I understand about contiguity (I think...) and have experimented with that as well. Can someone tell me the steps necessary to cleanly cut out this image? thanks, lettergothic
-
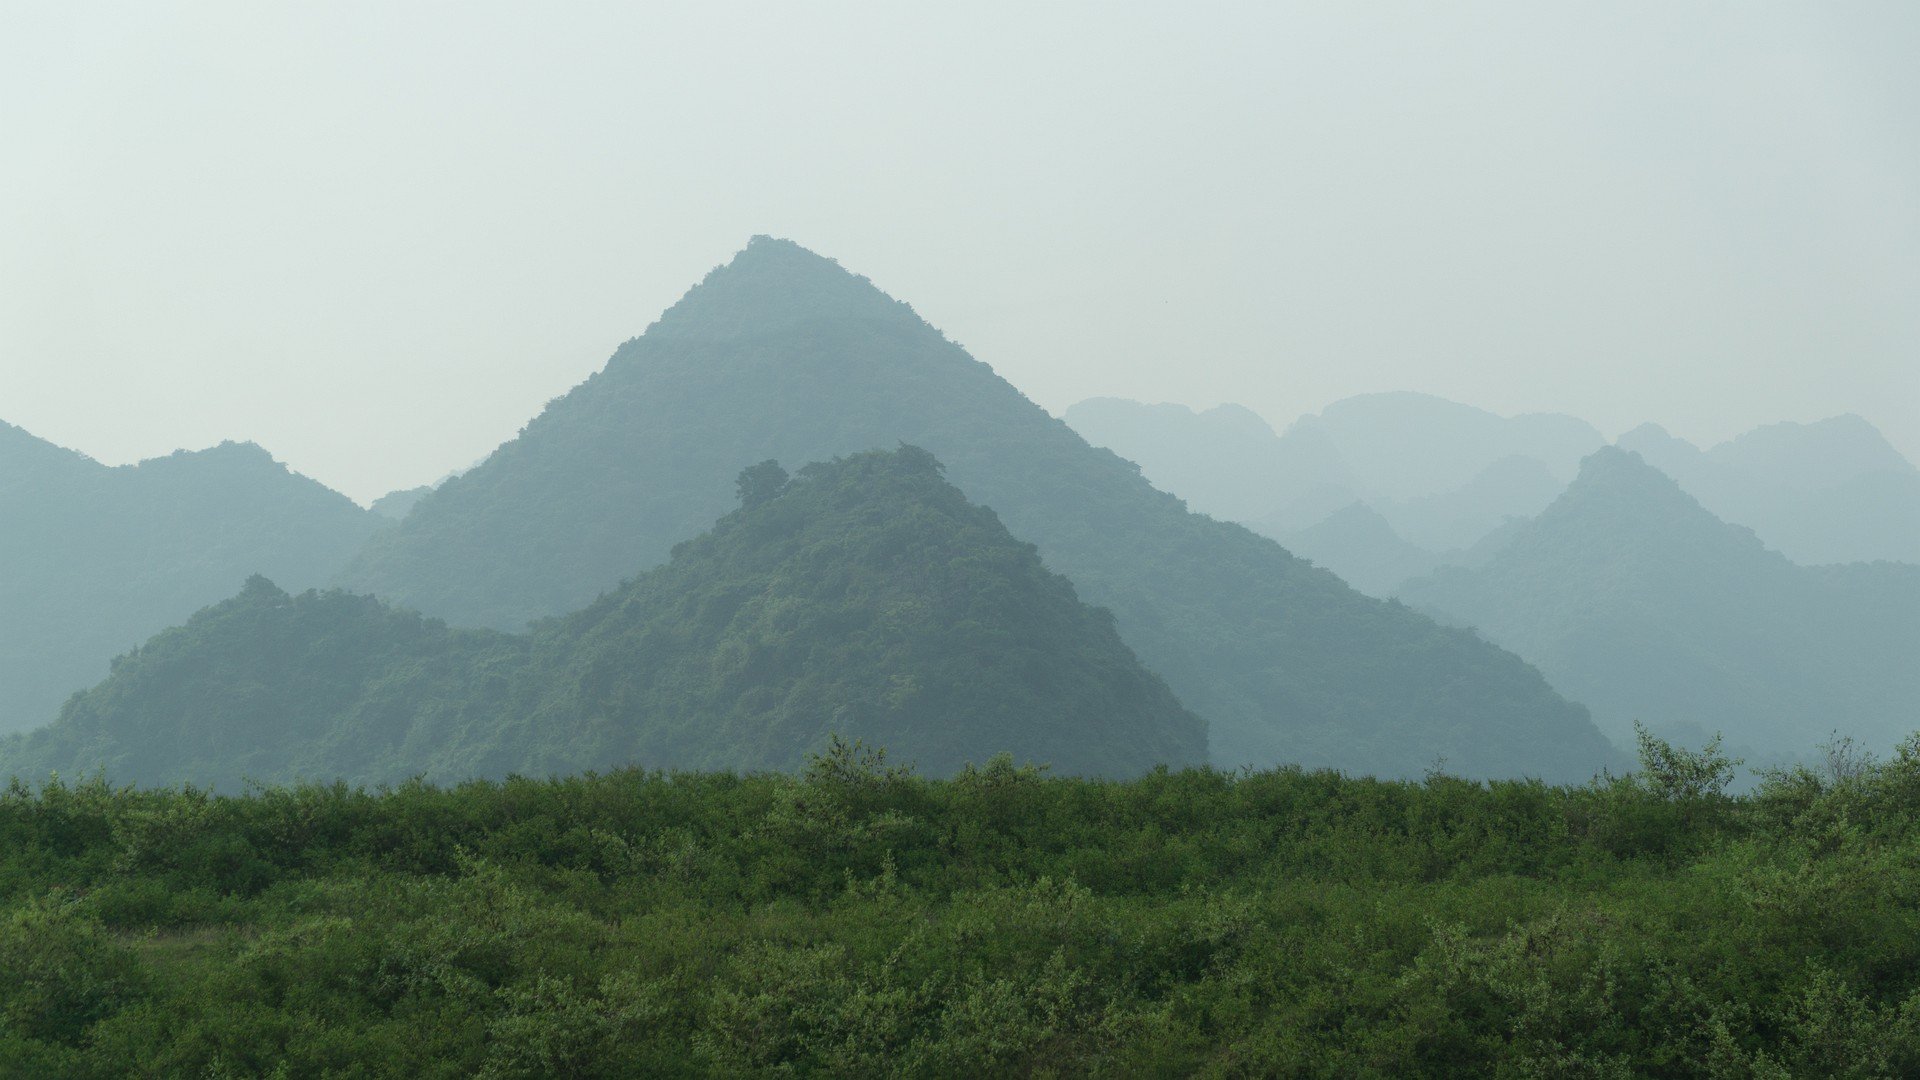
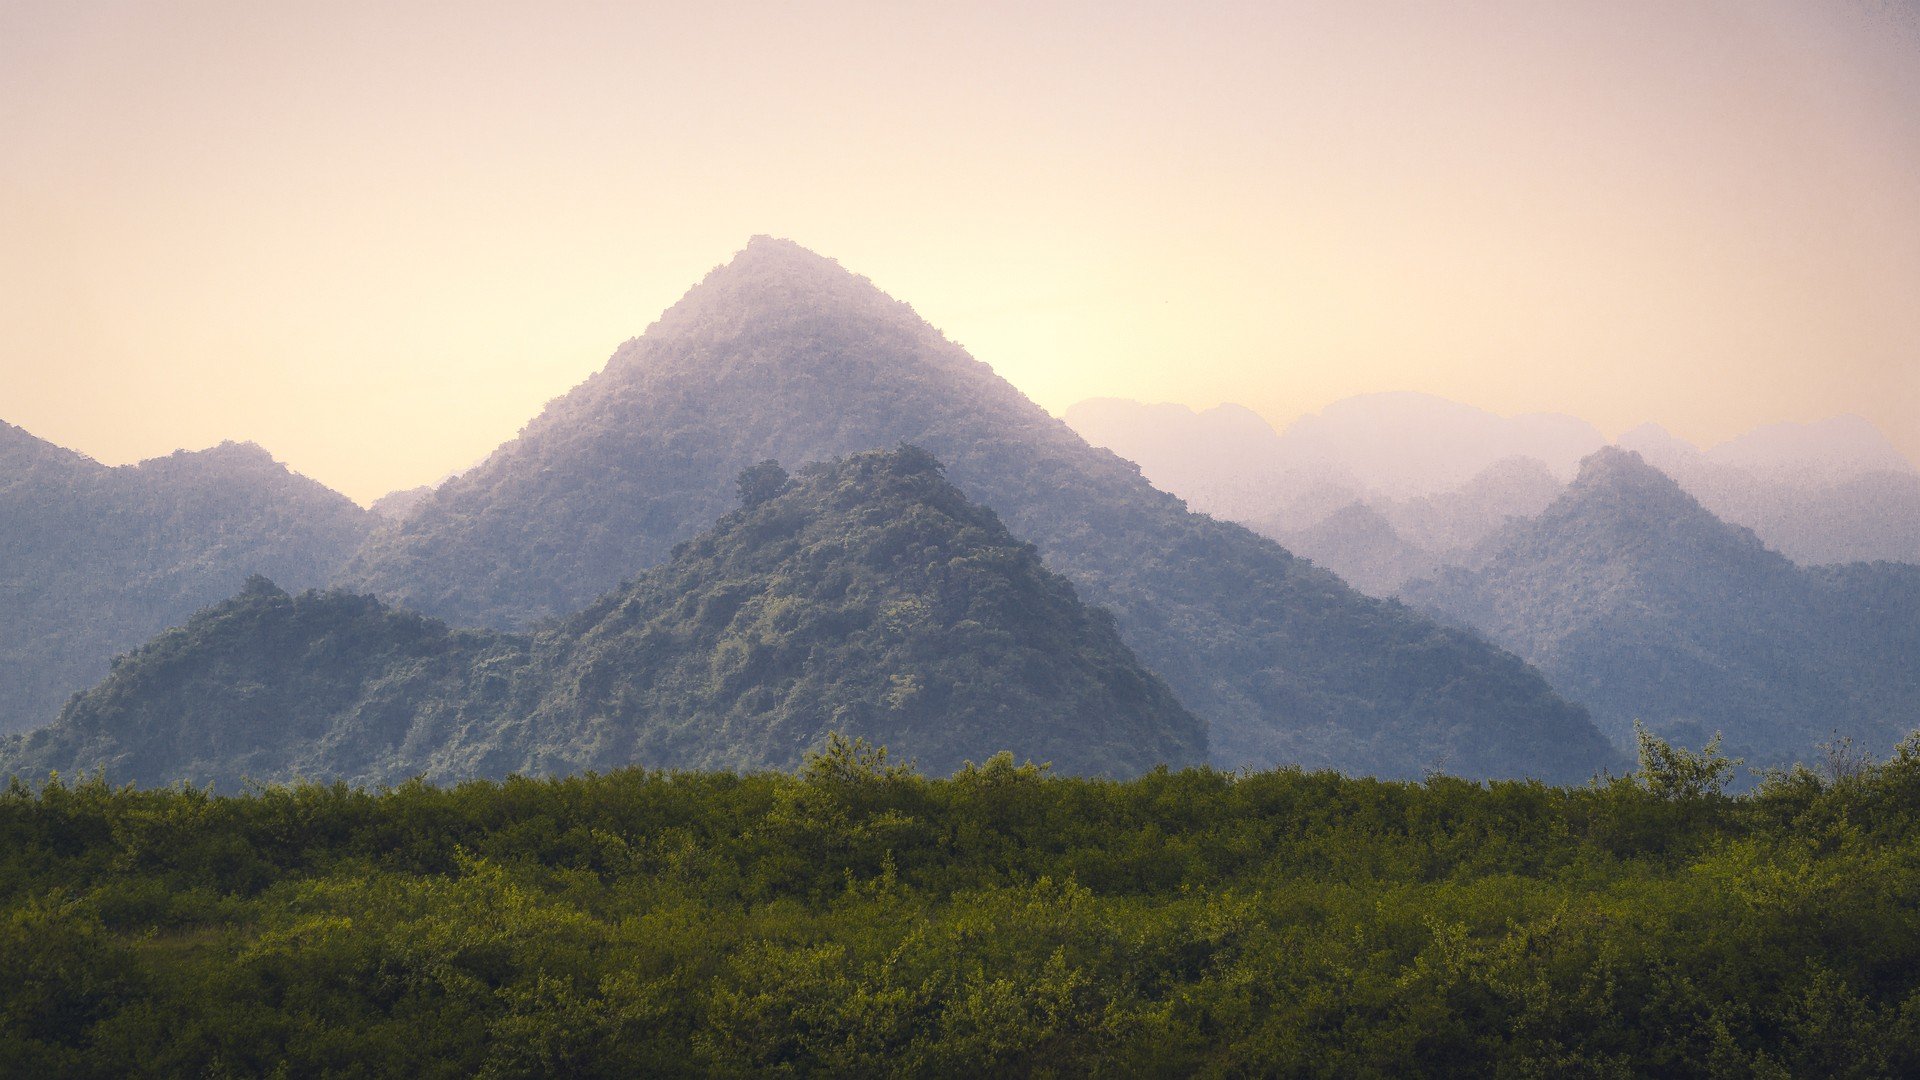
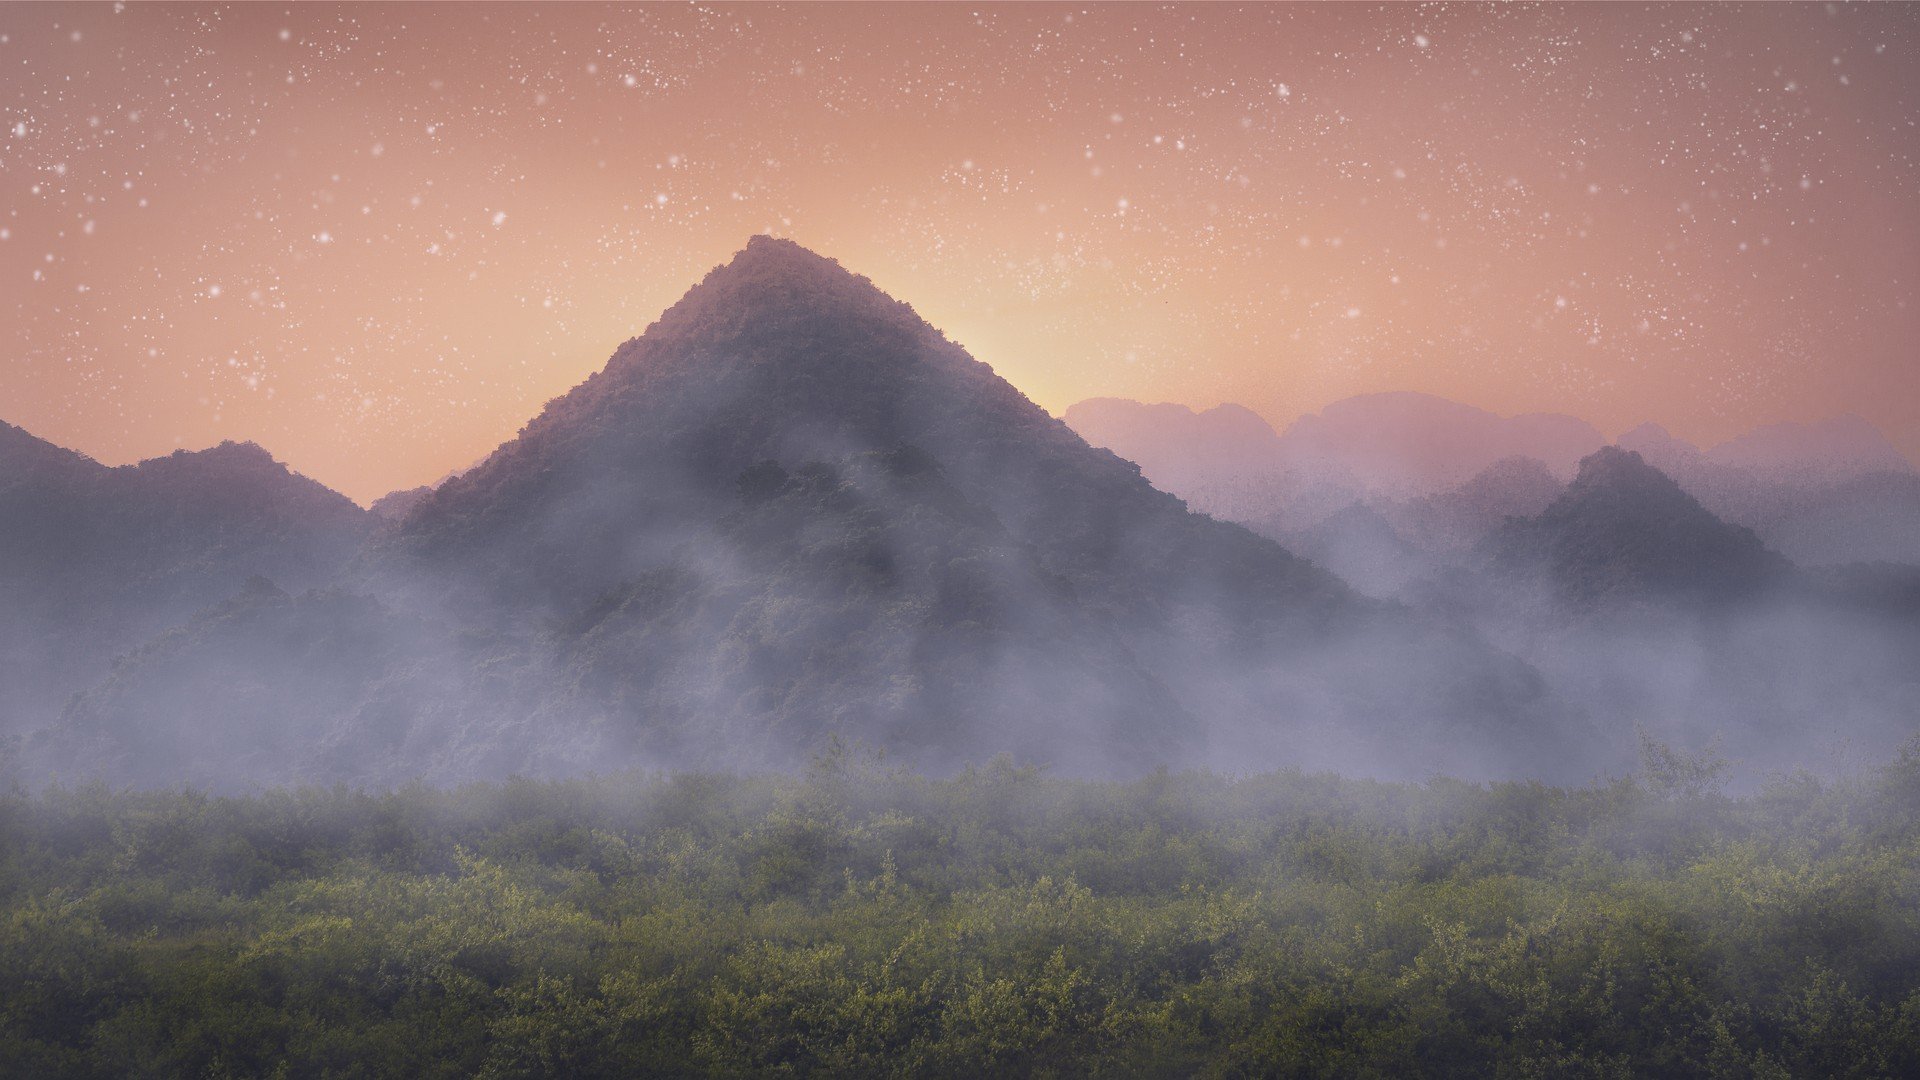
 Hey community, I am in my first week getting started with Affinity Photo and could need some advice from some Affinity Photo ninjas Here are my 3 workflow steps where I need help in the 3rd step/photo. 1. Out of camera: 2. "Basic" adjustments in Lightroom 3. Adding more adjustment layers, live filters, brushing in some stars and fog In the 3rd step I want to add more glow to those contrasting edges of the mountains - comparable with the edges in step two. In Lightroom I brushed in some negative clarity but I don't know how to do it in Affinity Photo, because in the current release there is no negative clarity (or I haven't found it yet ) - unluckily the diffuse glow filter doesn't give me the wanted result (maybe I am tweaking it wrong). Hope you can assist me so I can finish the photo and post the result here Thanks in advance, Marc
-
 With this free template you can use the cool symbols function from Affinity Designer in Affinity Photo on you desktop and on your iPad. Download This tutorial demonstrates the use of the template Have fun to draw your own seamless repeating patterns. Norbert
 -
just because I can be different even when I'm not allowed to be
-
 Hello, Are going to support the new WebP image format for the Web in a next Affinity photo release ? More info on this new image format: https://developers.google.com/speed/webp/ Thank you.
 -
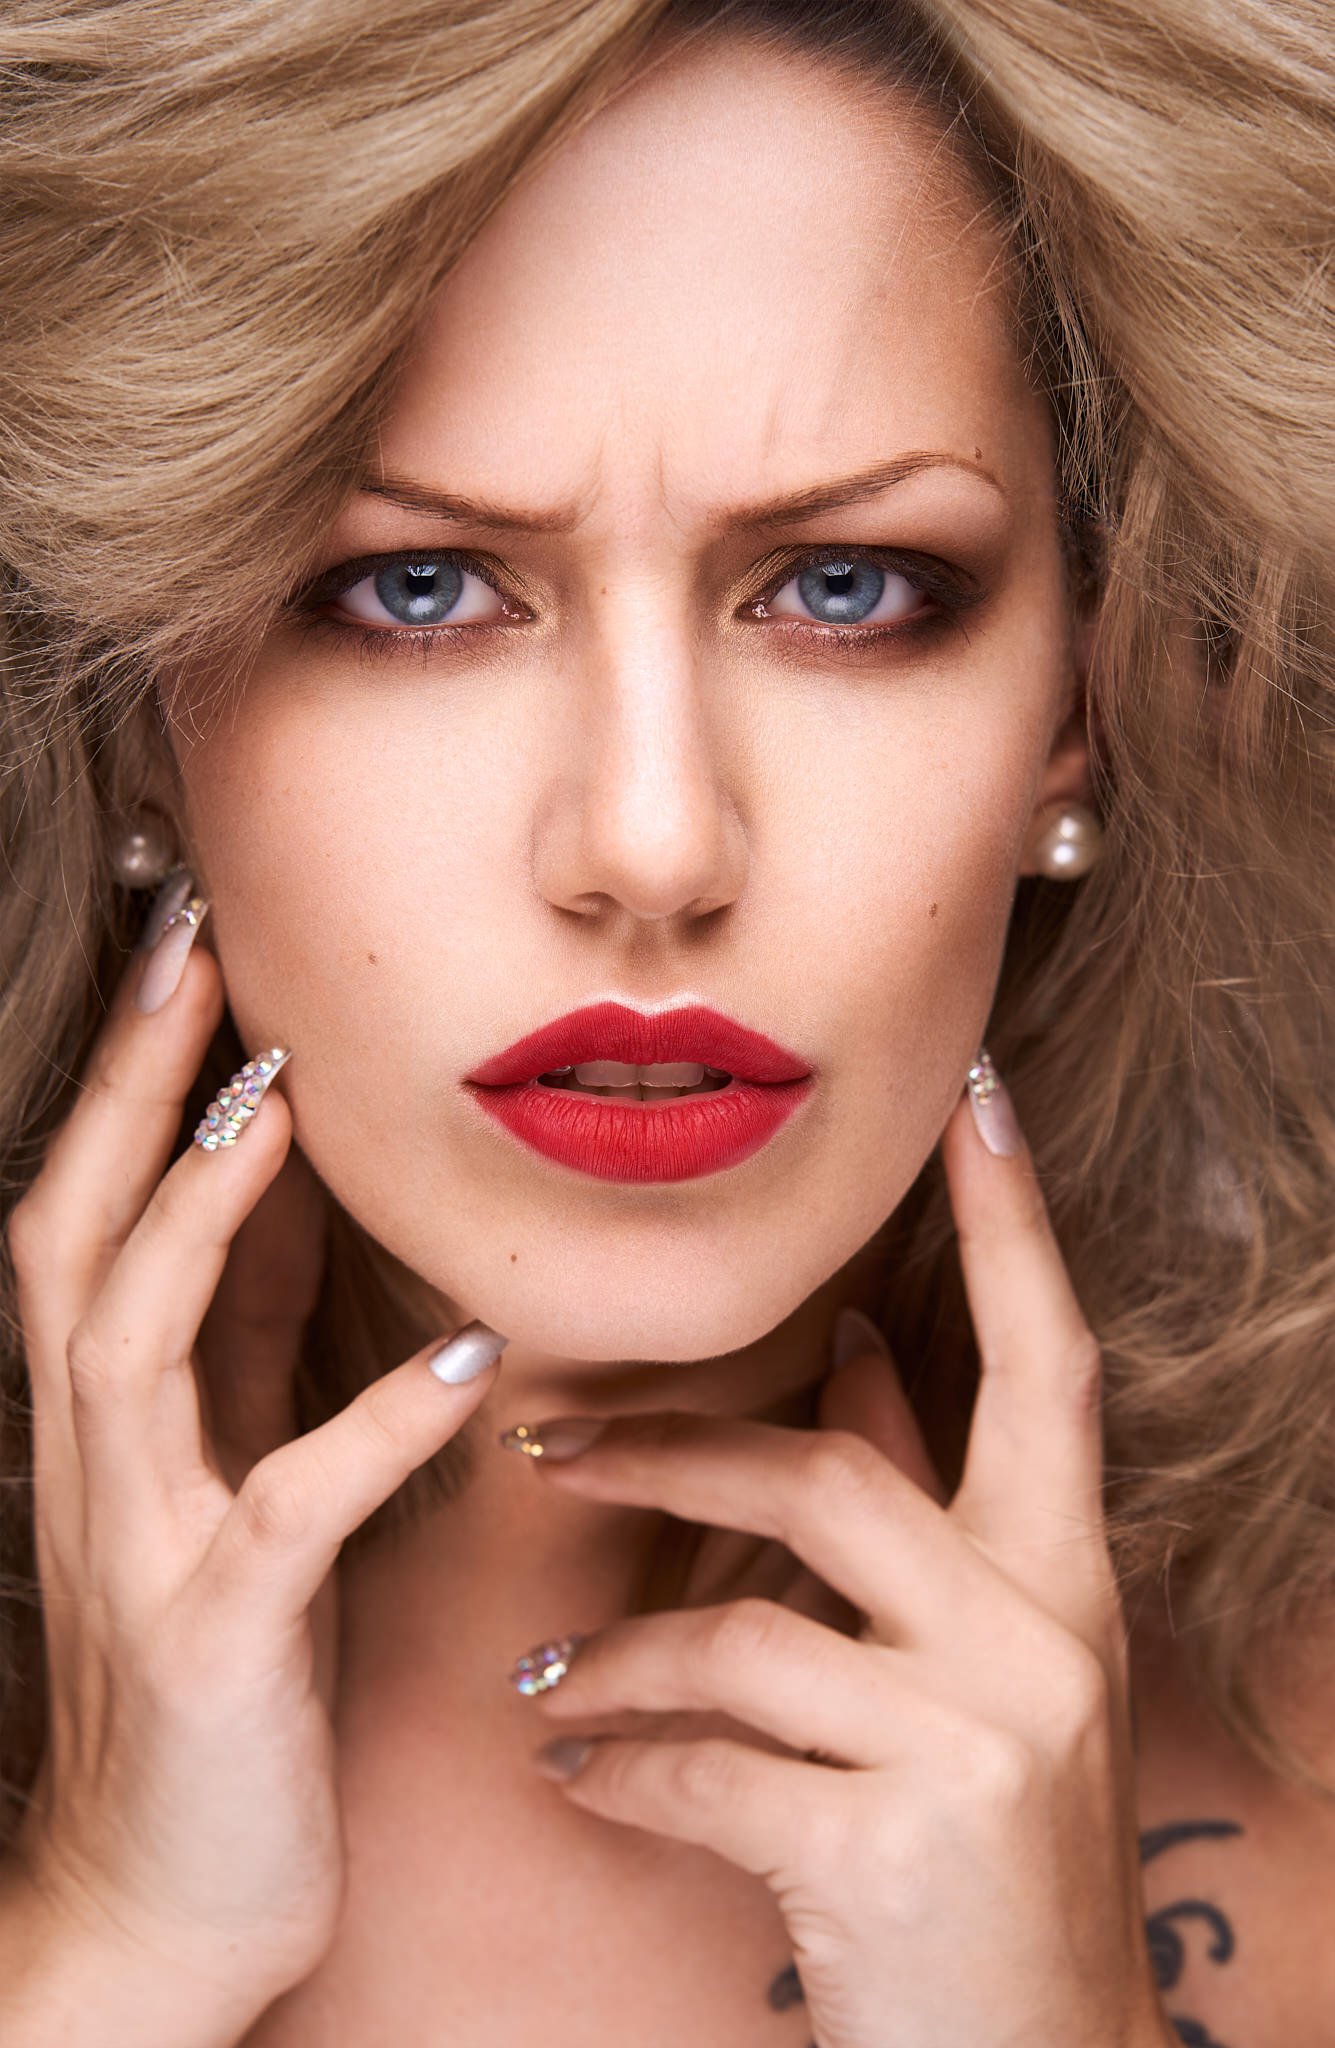
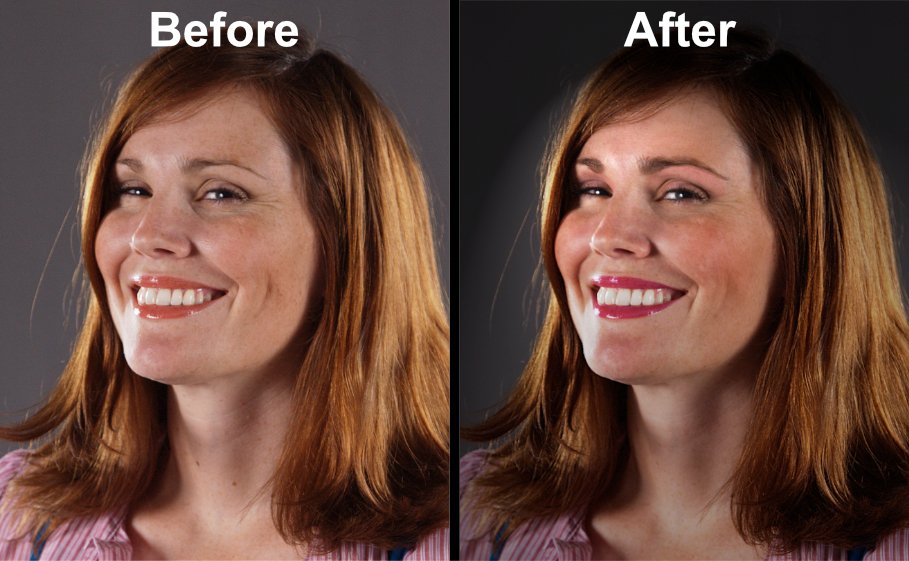
For a recent portrait, I decided to try out the Frequency Separation functionality in Affinity Photo to remove skin discoloration. Worked very well.
-
 EDIT: Nevermind! I figured out what I was doing wrong. Thank you, though! I'm using Affinity Photo. This is the scenario: I have an 14 x 9 inch (landscape) jpg of an advertisement that I need to edit to fit an 8.5 x 11 inch (portrait) page. I need to cut and paste parts of the ad around in order to do this. I created an 8.5 x 11 inch document. Next, I placed the image onto the document. Naturally, some of the image falls off the document. As an image layer, I am unable to select part of the image, cut it and paste it onto a new layer. What happens is the entire image gets pasted onto the new layer. So, I converted the image layer into a pixel layer. Now, I am able to select a portion, cut and paste into a new layer, but the rest of the image (the part that fell off the document bounds) has disappeared. It has been clipped to the canvas. Unclipping the canvas is pointless because although it now shows the entire image, it defeats the purpose of creating an 8.5 x 11 document in the first place. What am I doing wrong? In Photoshop, I'm able to create a document of whatever size, place or drag in an image of any size, and manipulate the image as I need to and the parts that fall off the document bounds are still there.
-
- 1
-

-
- affinity photo
- photo
- (and 5 more)
-
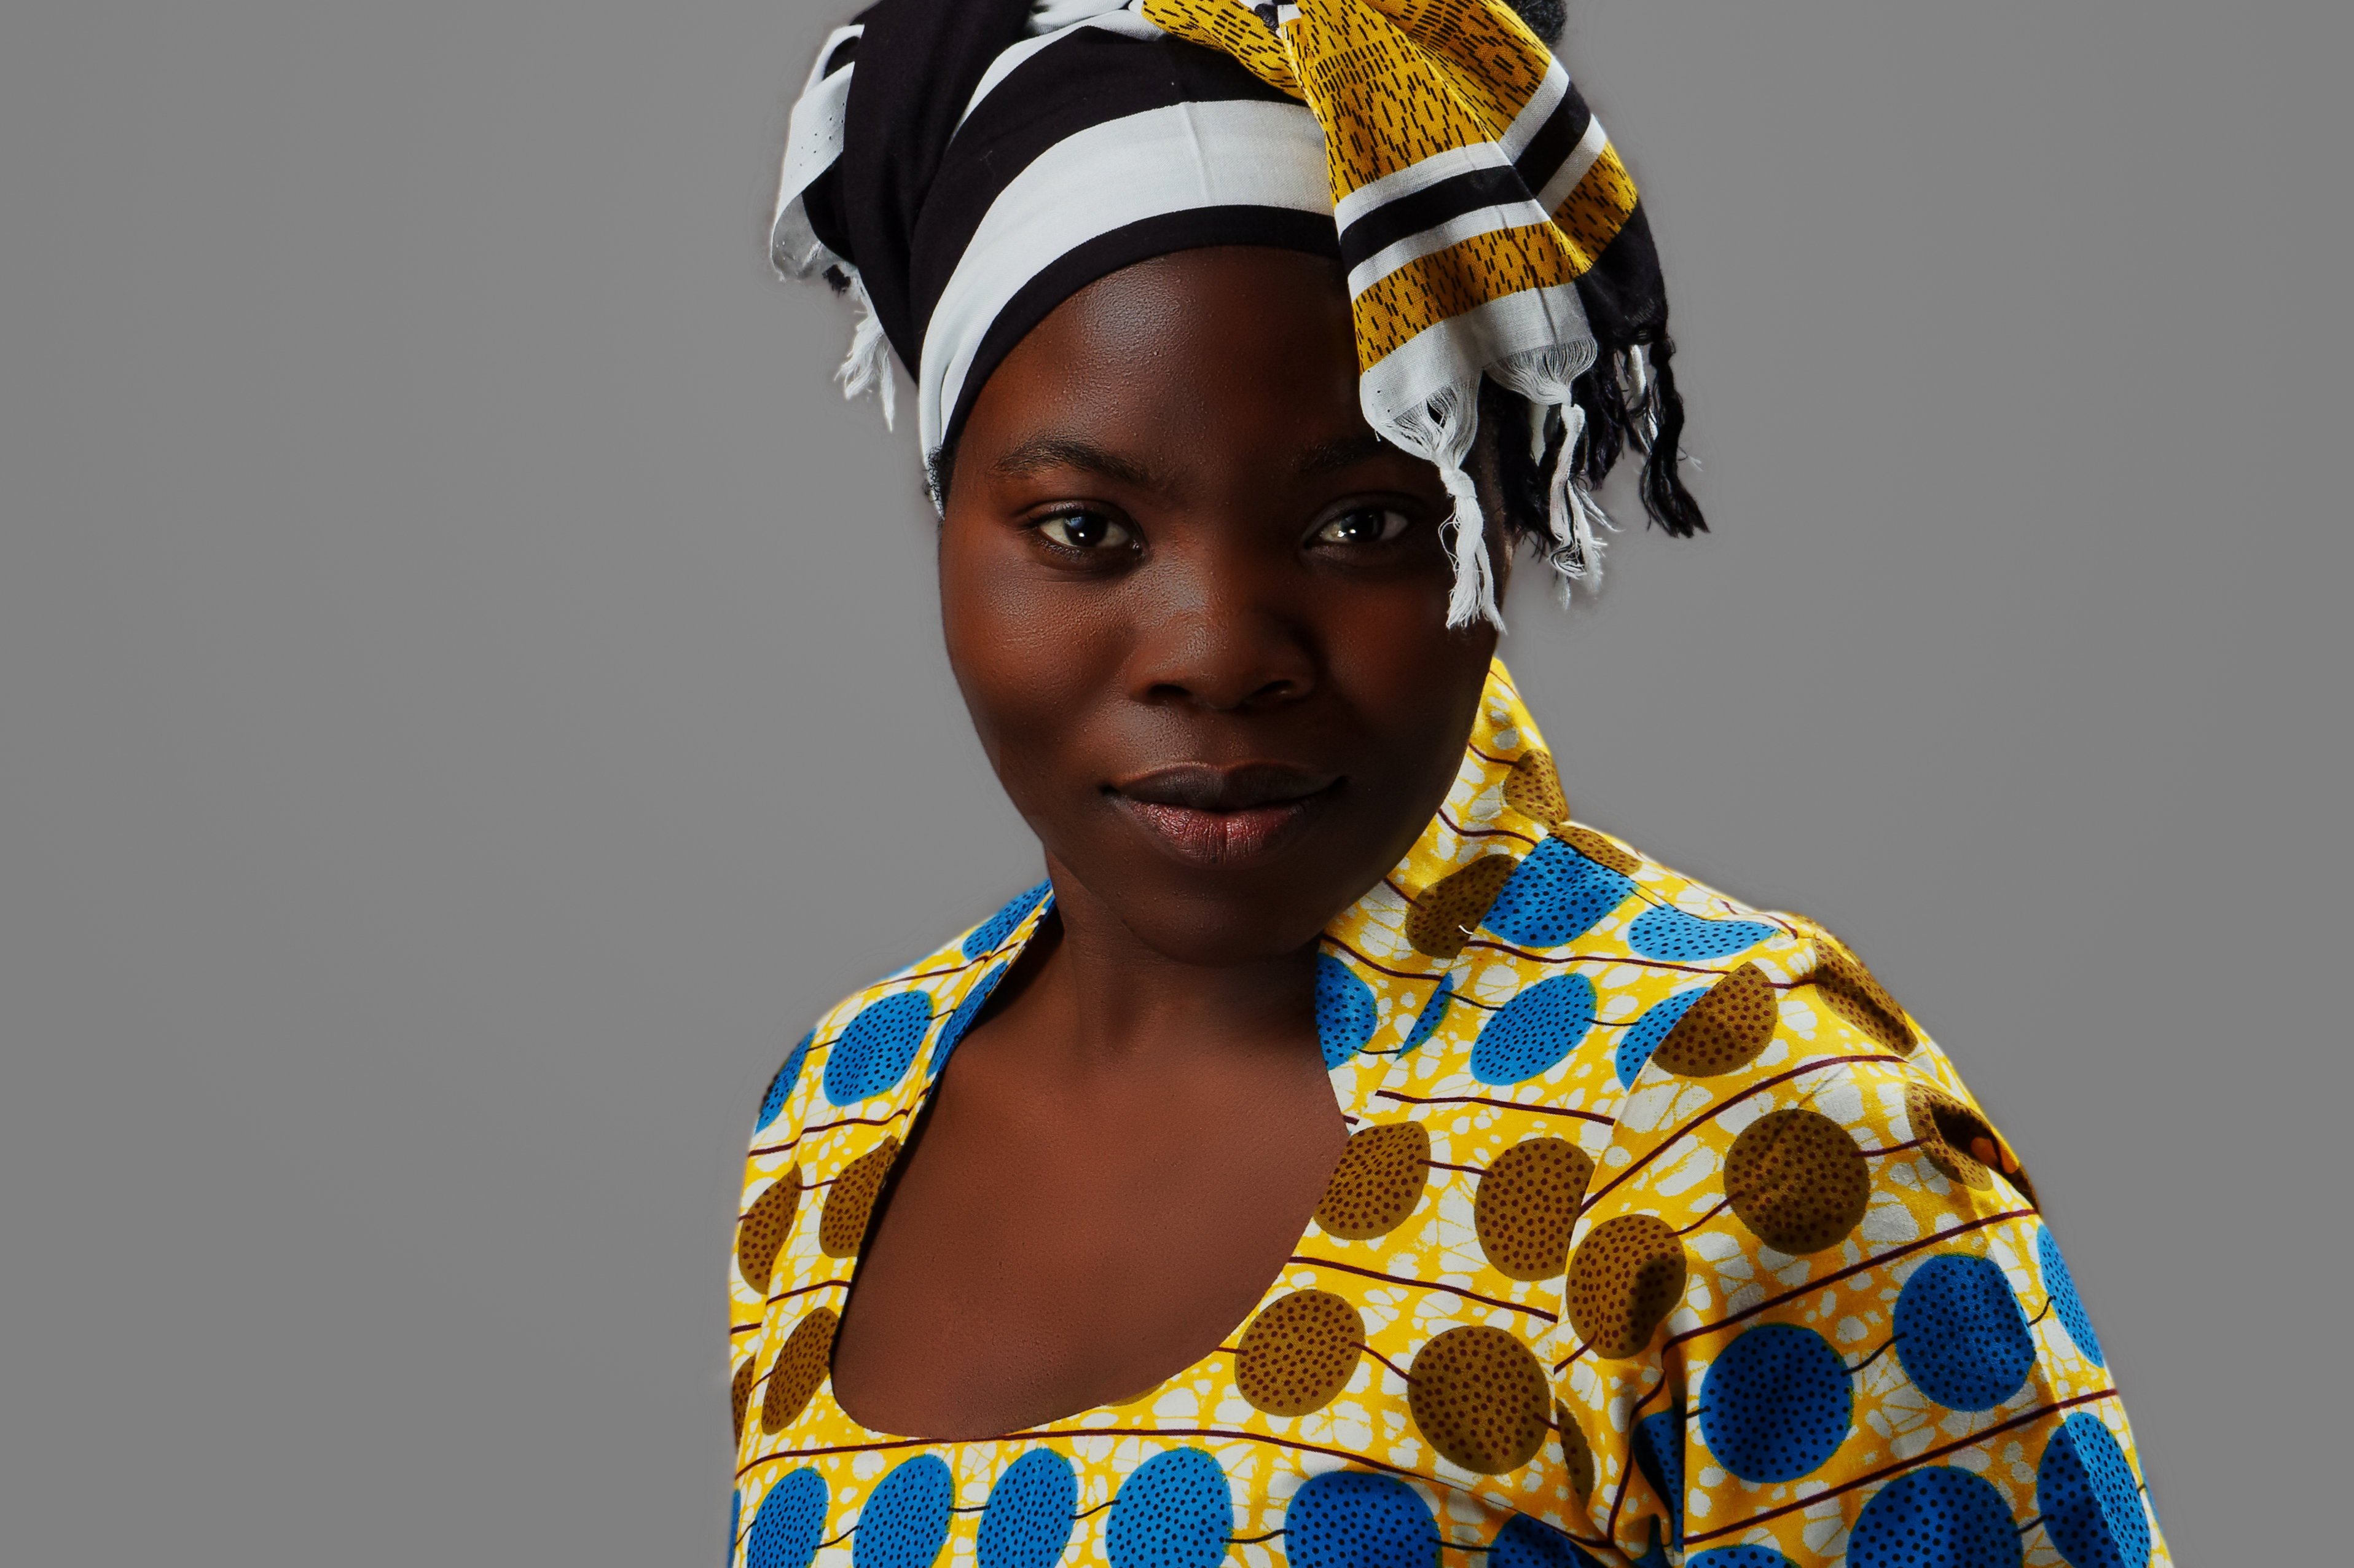
 I was testing my retouching, which i do normally in Photoshop to do in Affinity Photo, how do you like it? Feel free to visit my Instagram: @roman.hammer.portraits to visit more of my stuff.
-

affinity photo Learning Selections - Old Dog, New Tricks
Gerry Fraiberg posted a topic in Share your work
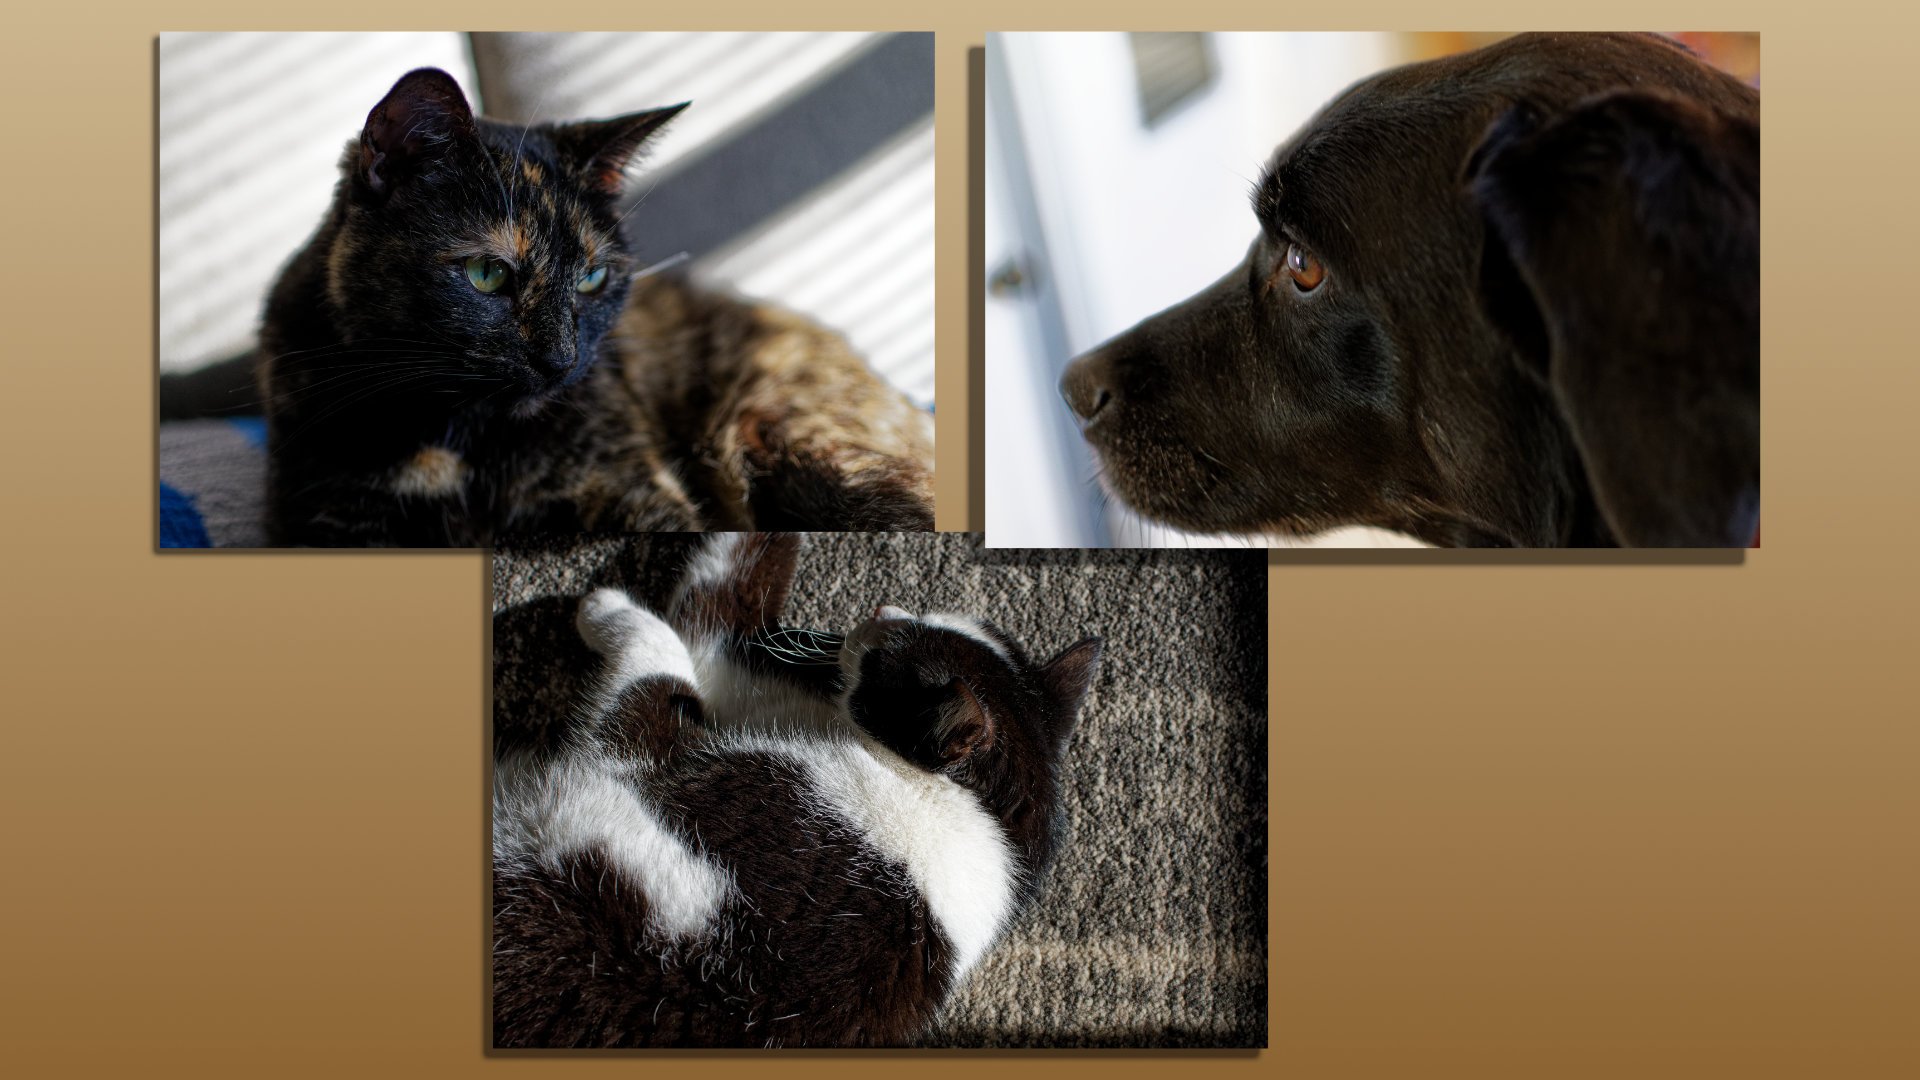
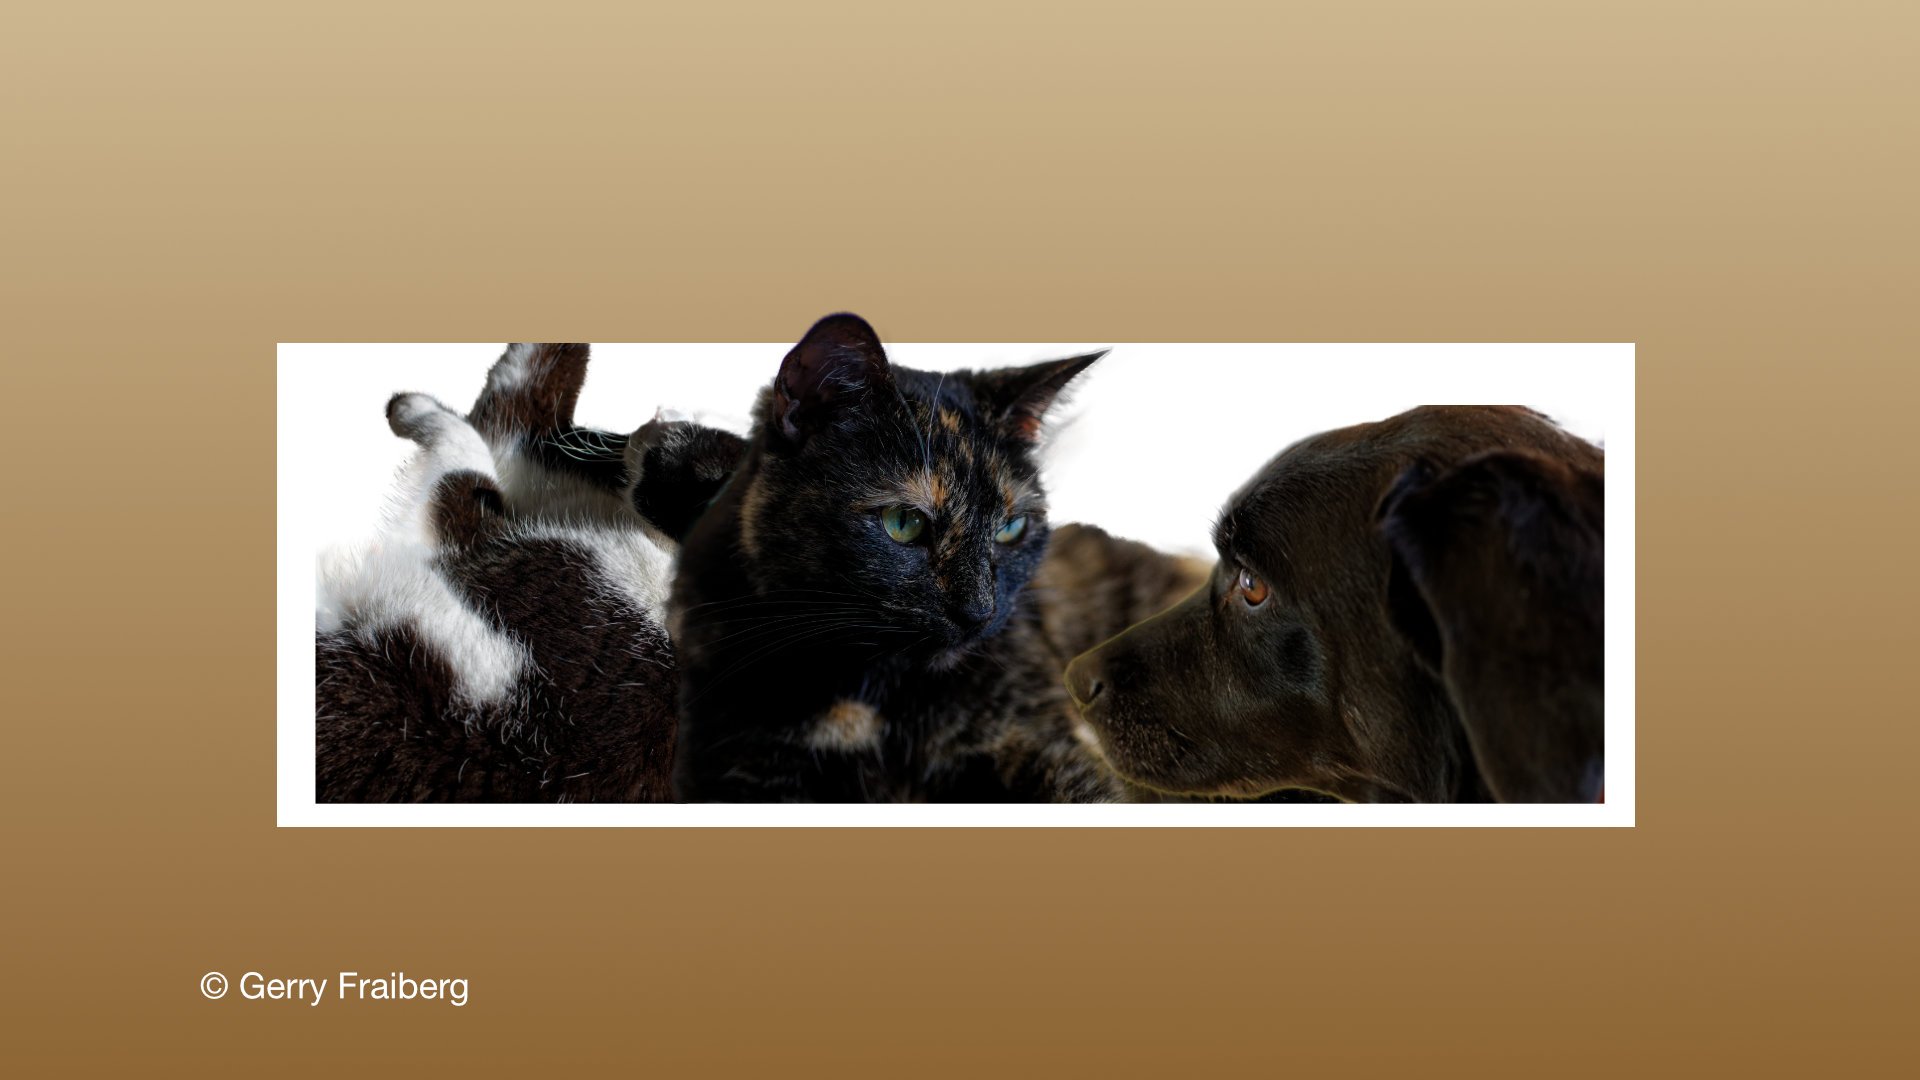
Twenty years ago it was suggested I learn Photoshop to make myself employable at the local community college. Well, I didn't and went on to other things. Now I'm learning Affinity Photo and I have to say I love the Affinity Photo Workbook. I find it's clearly designed, and the exercises are easy to follow. I've always found that I learn best by doing. The Help section is great, but having someone guide me along is very helpful. I'm early into the Workbook, learning about Selections. The first image shows you the photos I started with, the second is the composite made by Selections and saving with Transparent Background. I used a slight Glow effect around the dog to separate her from the cat, sampling the cat for the colour of the glow.
-
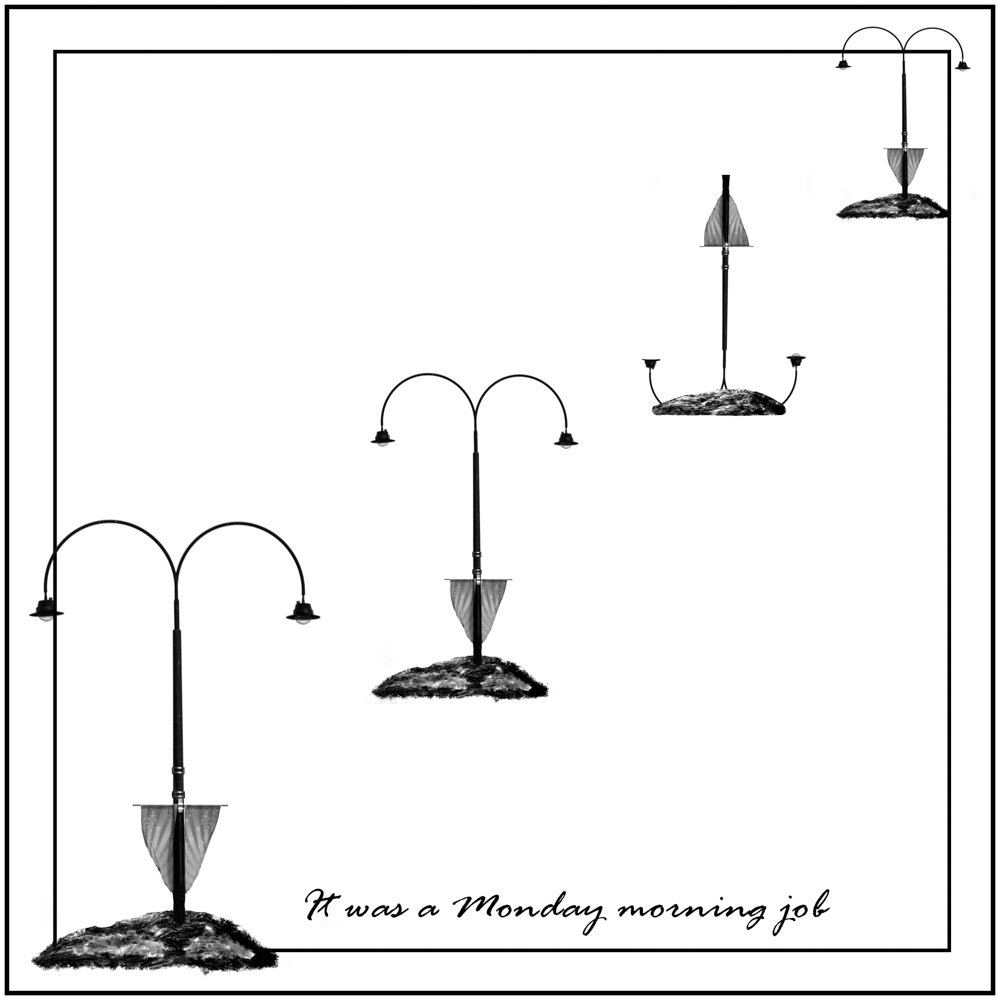
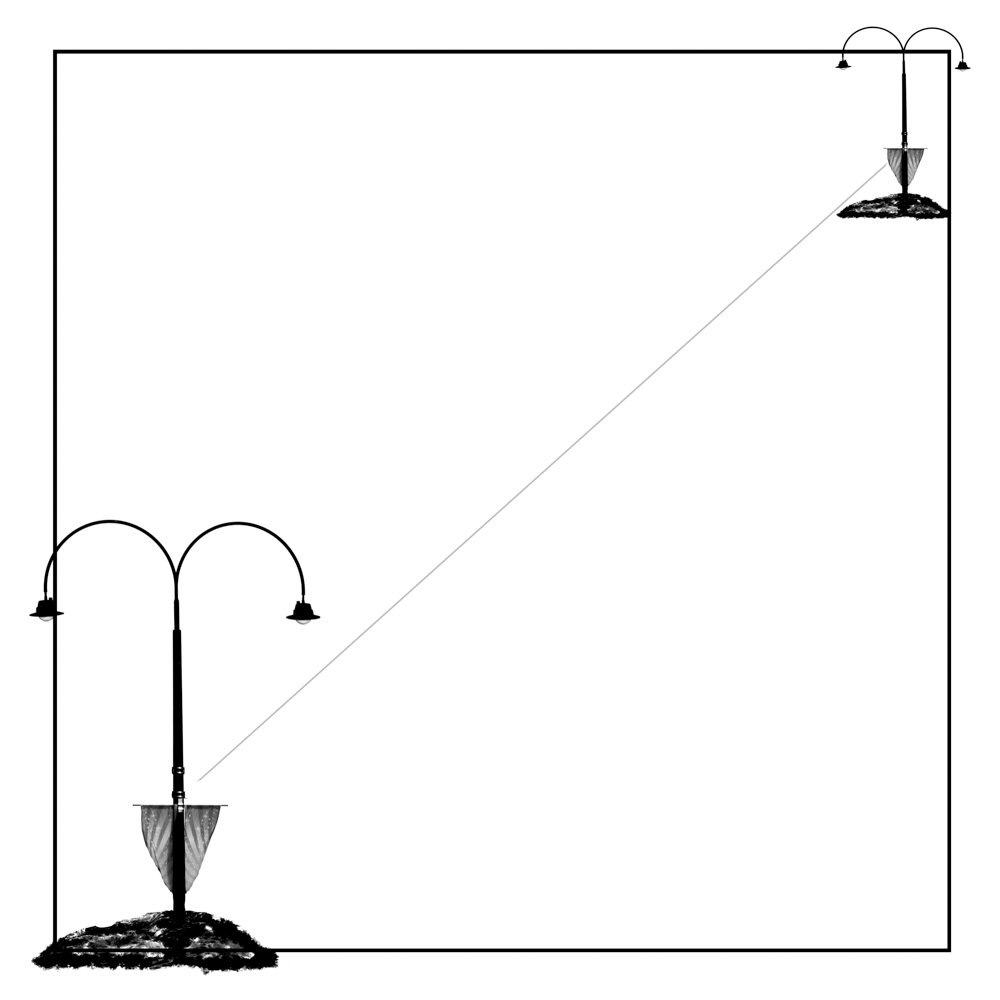
And how the light pole from an earlier "Inpaint brush" thread was used.Sharing more the ideas than the how it was done which was more a guessing as I go learning exercise, however I'm happy to answer any question when I can . "string line" is another variation while I was playing around. Pana Fz300 + Affinity photo Whoops; they ended up wrong way round
-
 Hi All, In Affinity Photo, there are default adjustments for most of the items in the Adjustment panel. These defaults are applied, well, by default. A right-click on these defaults displays a context menu, but both choices, "Rename..." and "Delete" are inactive (at least in my Windows 10 system). I've tried starting Affinity with administrator privileges, but the context menu choices remain inactive. I also see no way to assign a new, added preset as default. Is there indeed no way to delete or modify the default adjustments, or am I missing something? Thanks in advance! KE
 -
Here is a pano from atop the Rocky Mountains in Colorado at about 14,000 feet above sea level. It consists of 10 raw images all stitched together in AP and then edited. It is probably greater than 180 degree view so there is a bit of image warp that I didn't do much with. But it does give you a really beautiful view of the Rocky Mountains and what you would see as you look around.
-
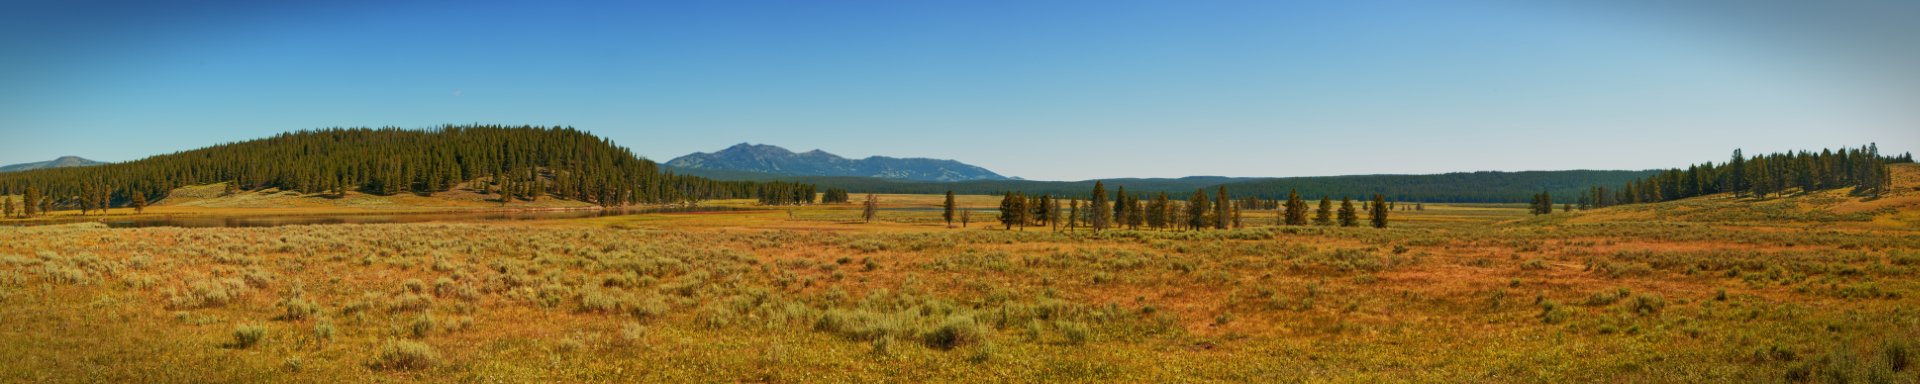
Here is a landscape panorama photo of Yellowstone National Park. This was made from 7 RAW images (hand held) all stitched together in Affinity Photo. I must say that AP did a fantastic job of stitching these together! I then made a number of adjustments in the Affinity Developer. I need to get my monitor color calibrated because I can't really tell when I develop them, if they actually look good. Nonetheless, below is the panorama.
-

daubbrushes DAUB Pigmento - 84 Natural Media raster brushes
paolo.limoncelli posted a topic in Resources
Hi! Pigmento is a set of 84 raster brushes carefully handcrafted for digital painters Designed for Affinity Photo and Designer, this set offer natural media look and feel. Acrylics, Gouaches, Oils and more with expressive colour dynamics and tablet responsiveness to speed, pressure and direction. Now updated with DAUB Spatula set (12 new tools for Paint Mixer Tool) and a new classification: you'll find them in different categories, hopefully now it should be easier to spot the correct tool! Check this video for a quick sample! This set is fully compatible with Windows and iOS Version of Affinity. This is a quick concept done using one of the included tool, to show the colour dynamic and blending features. Some Tips DAUB Grunge Acrylic 4 This is a brush that creates nice textures with a glaze effect and continuous tone modulation using pen pressure. You can use it as a pure cover changing the blending mode to Normal. Do you know that with Pixel tool presets if you press CMD key while painting you can erase using the same preset? Get it here I'll improve these tool with free updates, so if you want those please add your real email to the purchase page. Happy Painting! Paolo- 45 replies
-
- 18
-
-
- natural media
- brushes
- (and 2 more)
-
I am pretty new to Affinity Photos and design in general... I just wanted to get some opinions on this poster that I made, any tips or ideas that would be helpful! Thank you! Sicily Poster Information.afphoto


klein.jpg.ac277bd5f30b7610196da13151fc7a2f.jpg)
klein.jpg.6b33d71e936e313e71d20e275e48e9cc.jpg)
klein.jpg.14c1ea6678a44951320e9b5bda3c9db5.jpg)