Search the Community
Showing results for tags 'Affinity photo'.
-
 Here is a quick look at using mockups within Affinity Photo and Designer. Slightly different from using PS, but still possible and a great way to display your's or a clients work. Allan https://youtu.be/aOKsS9HqsEk
 -
Hello guys, first post here. I want to show you couple of 3d renderings I've done recently. I used Affinity Photo to make postproduction work. In my opinion Photo is pretty neat! There are some small things that will be nice to incorporate in future versions in order to speed the postwork process in 3d, but i think Photo is full equivalent of PS. Here are some images i did: Thanks!
-
May we have a crop tool that has Width Height and Resolution in inches and metric. Thanks
-
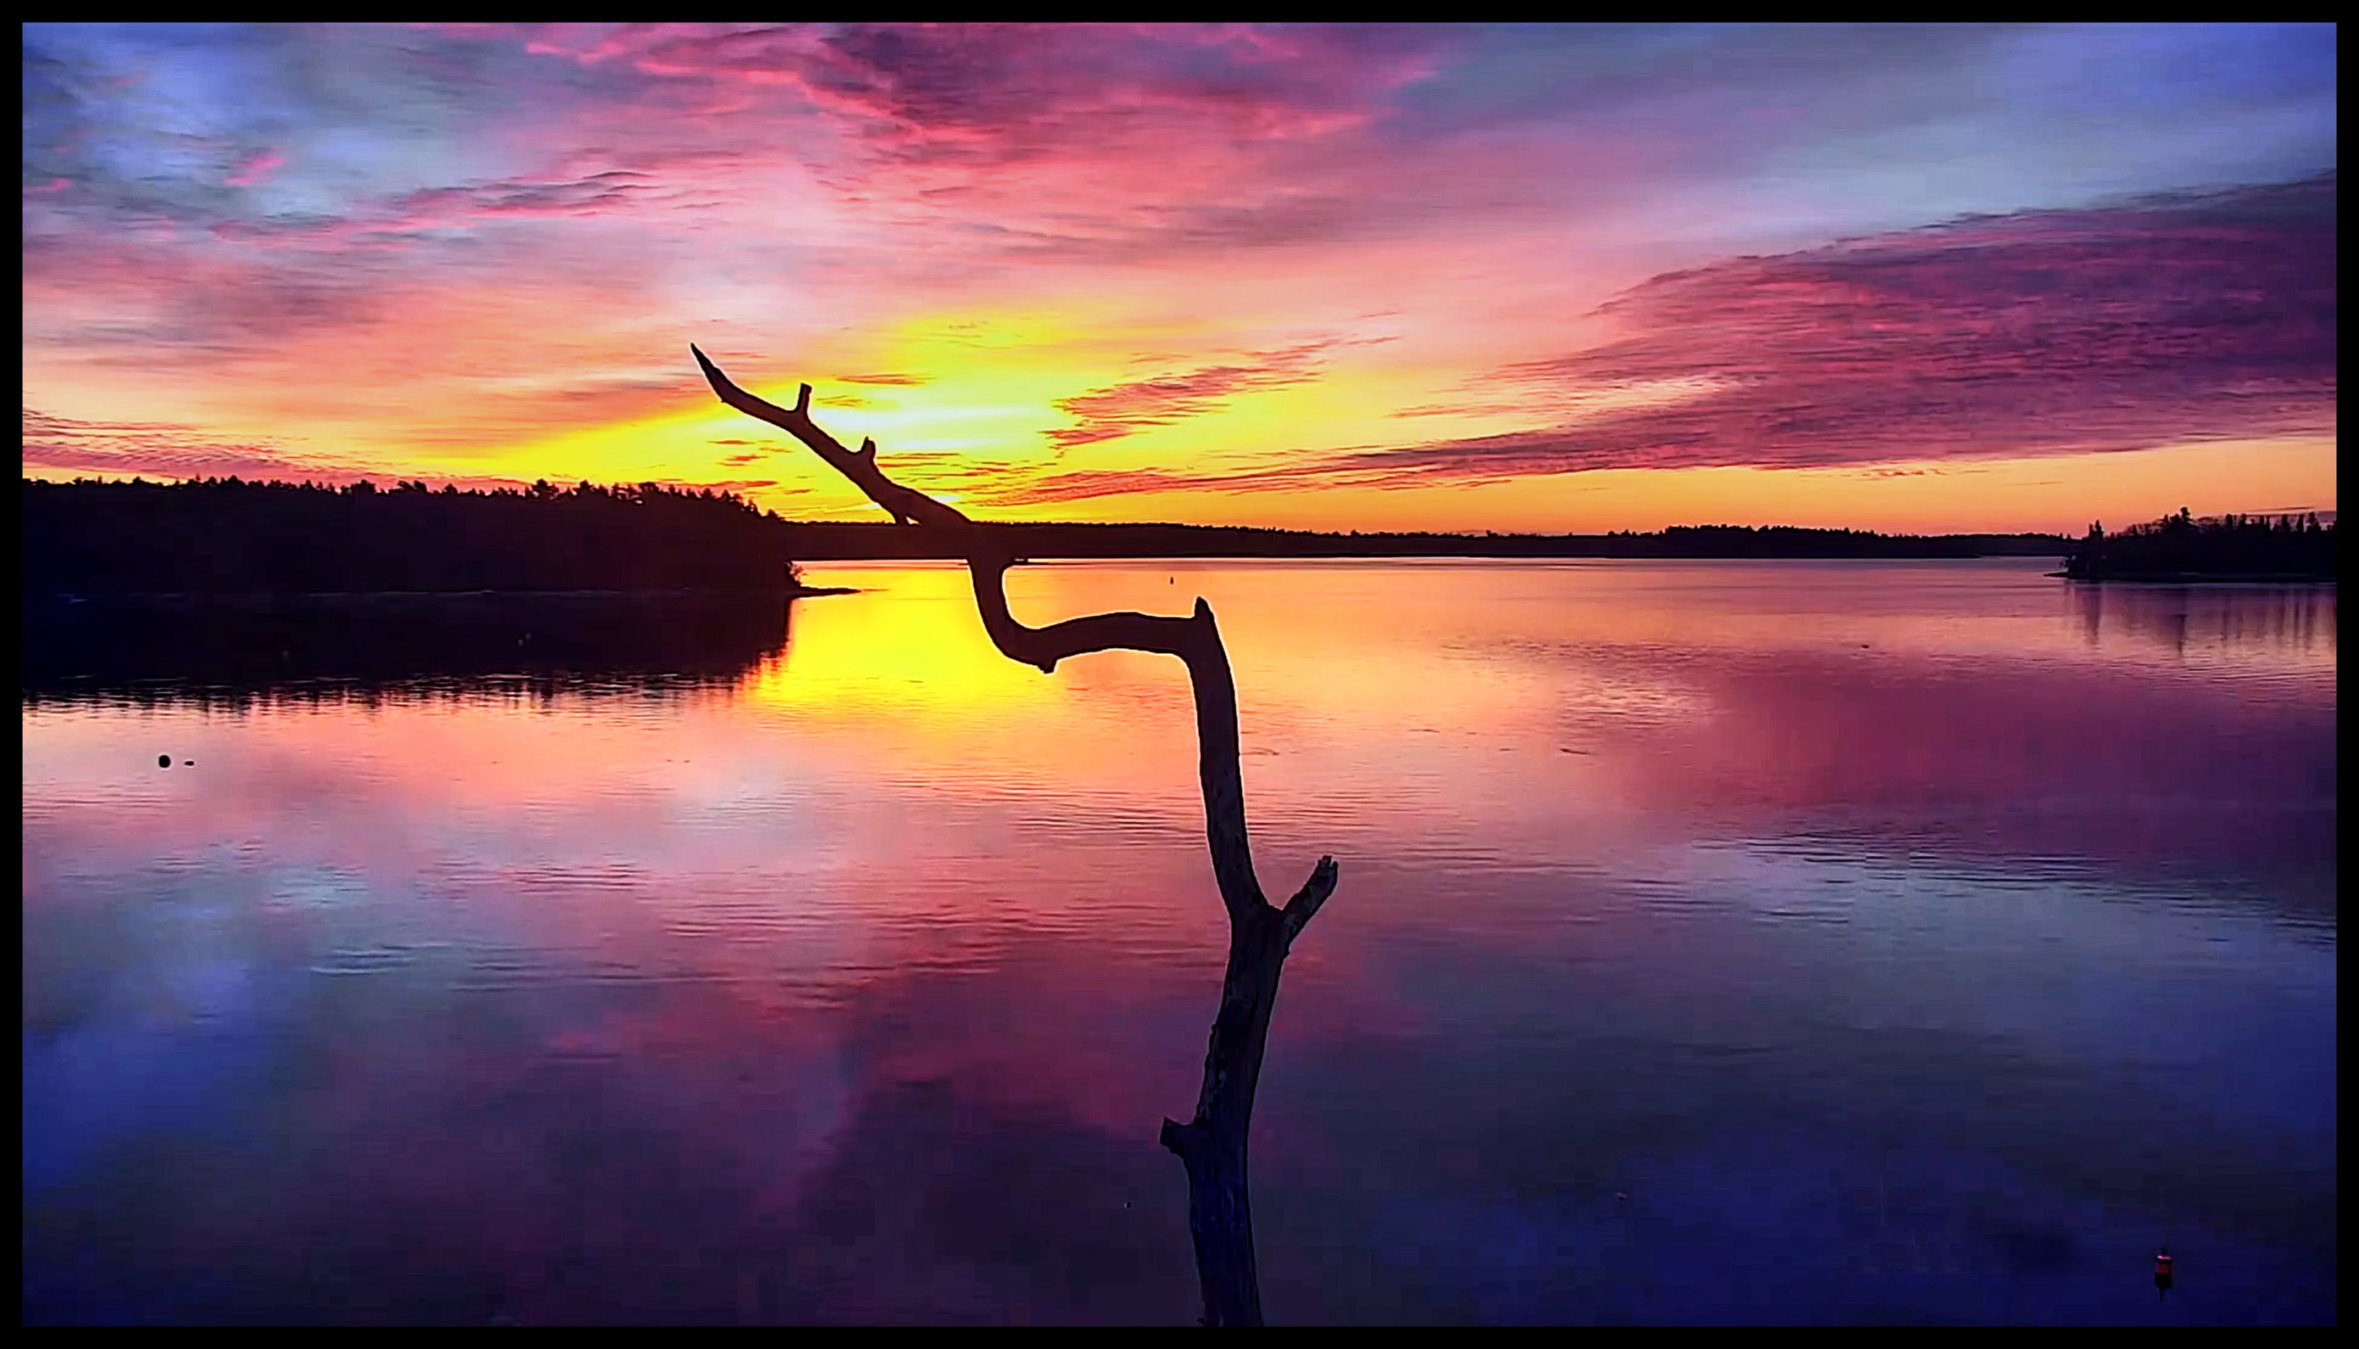
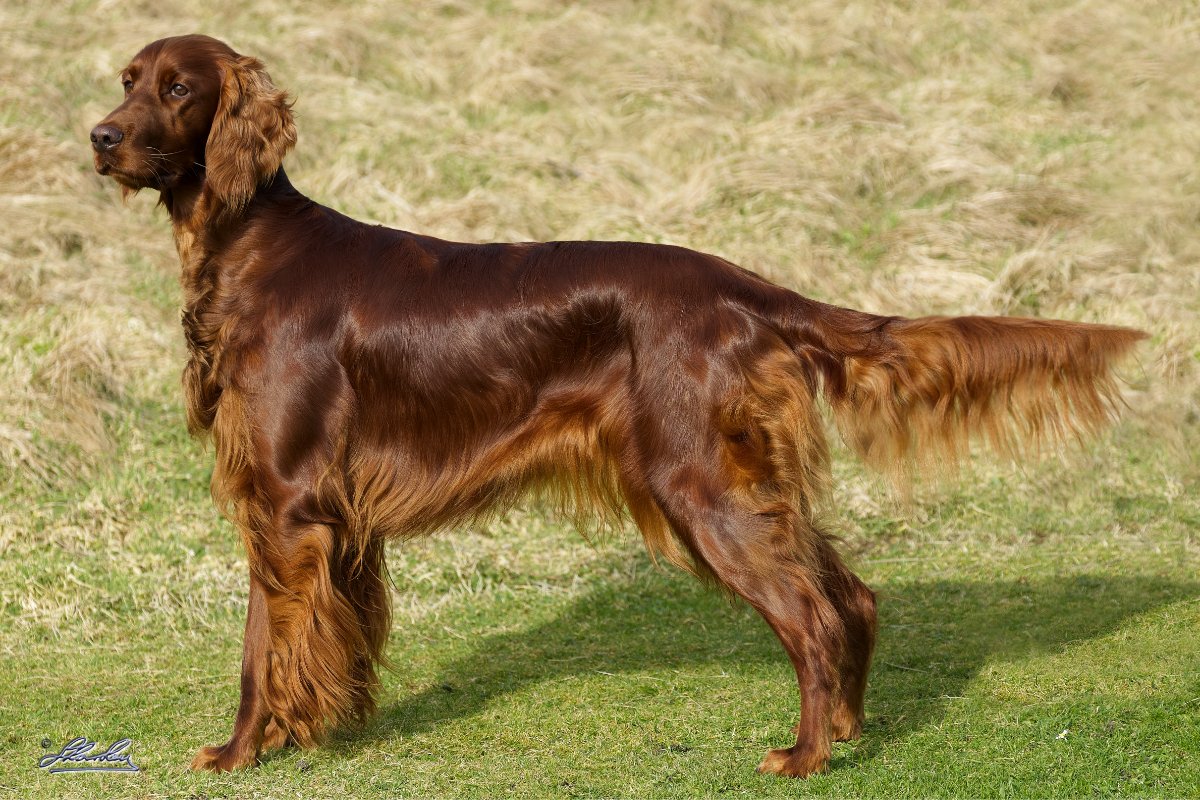
bit of spit and polishing ; and still ''without care in the world'' 1] original raw file -- just as well I have some idea about editing 2] as edited yesterday 3] orton effect and background colours added in Affinity (yep; used the graduation tool Pana Fz300 I have used the Orton effect for years and there many way to do it; however this is based on James's video click Little trick to add shadow under log ONLY >add FX shadow to dog/log section >deplicute >remove Fx from bottom layer >add mask to top layer >brush away top layer to leave only the bottom part of the log and the shadow --- something I taught or perhaps retaught myself today . You could paint in the shadow but that didn't work for me suggestions comments questions welcome

-
.thumb.jpg.6800ee623273eed4cf93a311483f65f9.jpg) The intelligent stitching is awesome when it works -- though I've found a few cases where it doesn't, particularly when dealing with ambiguous cloud/sky in a multi-row layout or forest where treelines may be appear _very_ similar without more context. It would be awesome to have an option to see the proposed/determined layout prior to completing the stitching and be able to manually change the proper ordering (drag the image(s) to define where in the overall layout they belong).
The intelligent stitching is awesome when it works -- though I've found a few cases where it doesn't, particularly when dealing with ambiguous cloud/sky in a multi-row layout or forest where treelines may be appear _very_ similar without more context. It would be awesome to have an option to see the proposed/determined layout prior to completing the stitching and be able to manually change the proper ordering (drag the image(s) to define where in the overall layout they belong). -
I have recently been developing a macro to create ripples in a reflective water surface. Here is an example using the screes besides Wastwater in the English Lake District. The original was a scanned very old slide (with the accompanying loss of quality), but I thought it lent itself to this treatment. I flipped the image of the scree and applied the ripples macro to it before merging the two. John
-
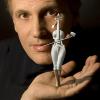
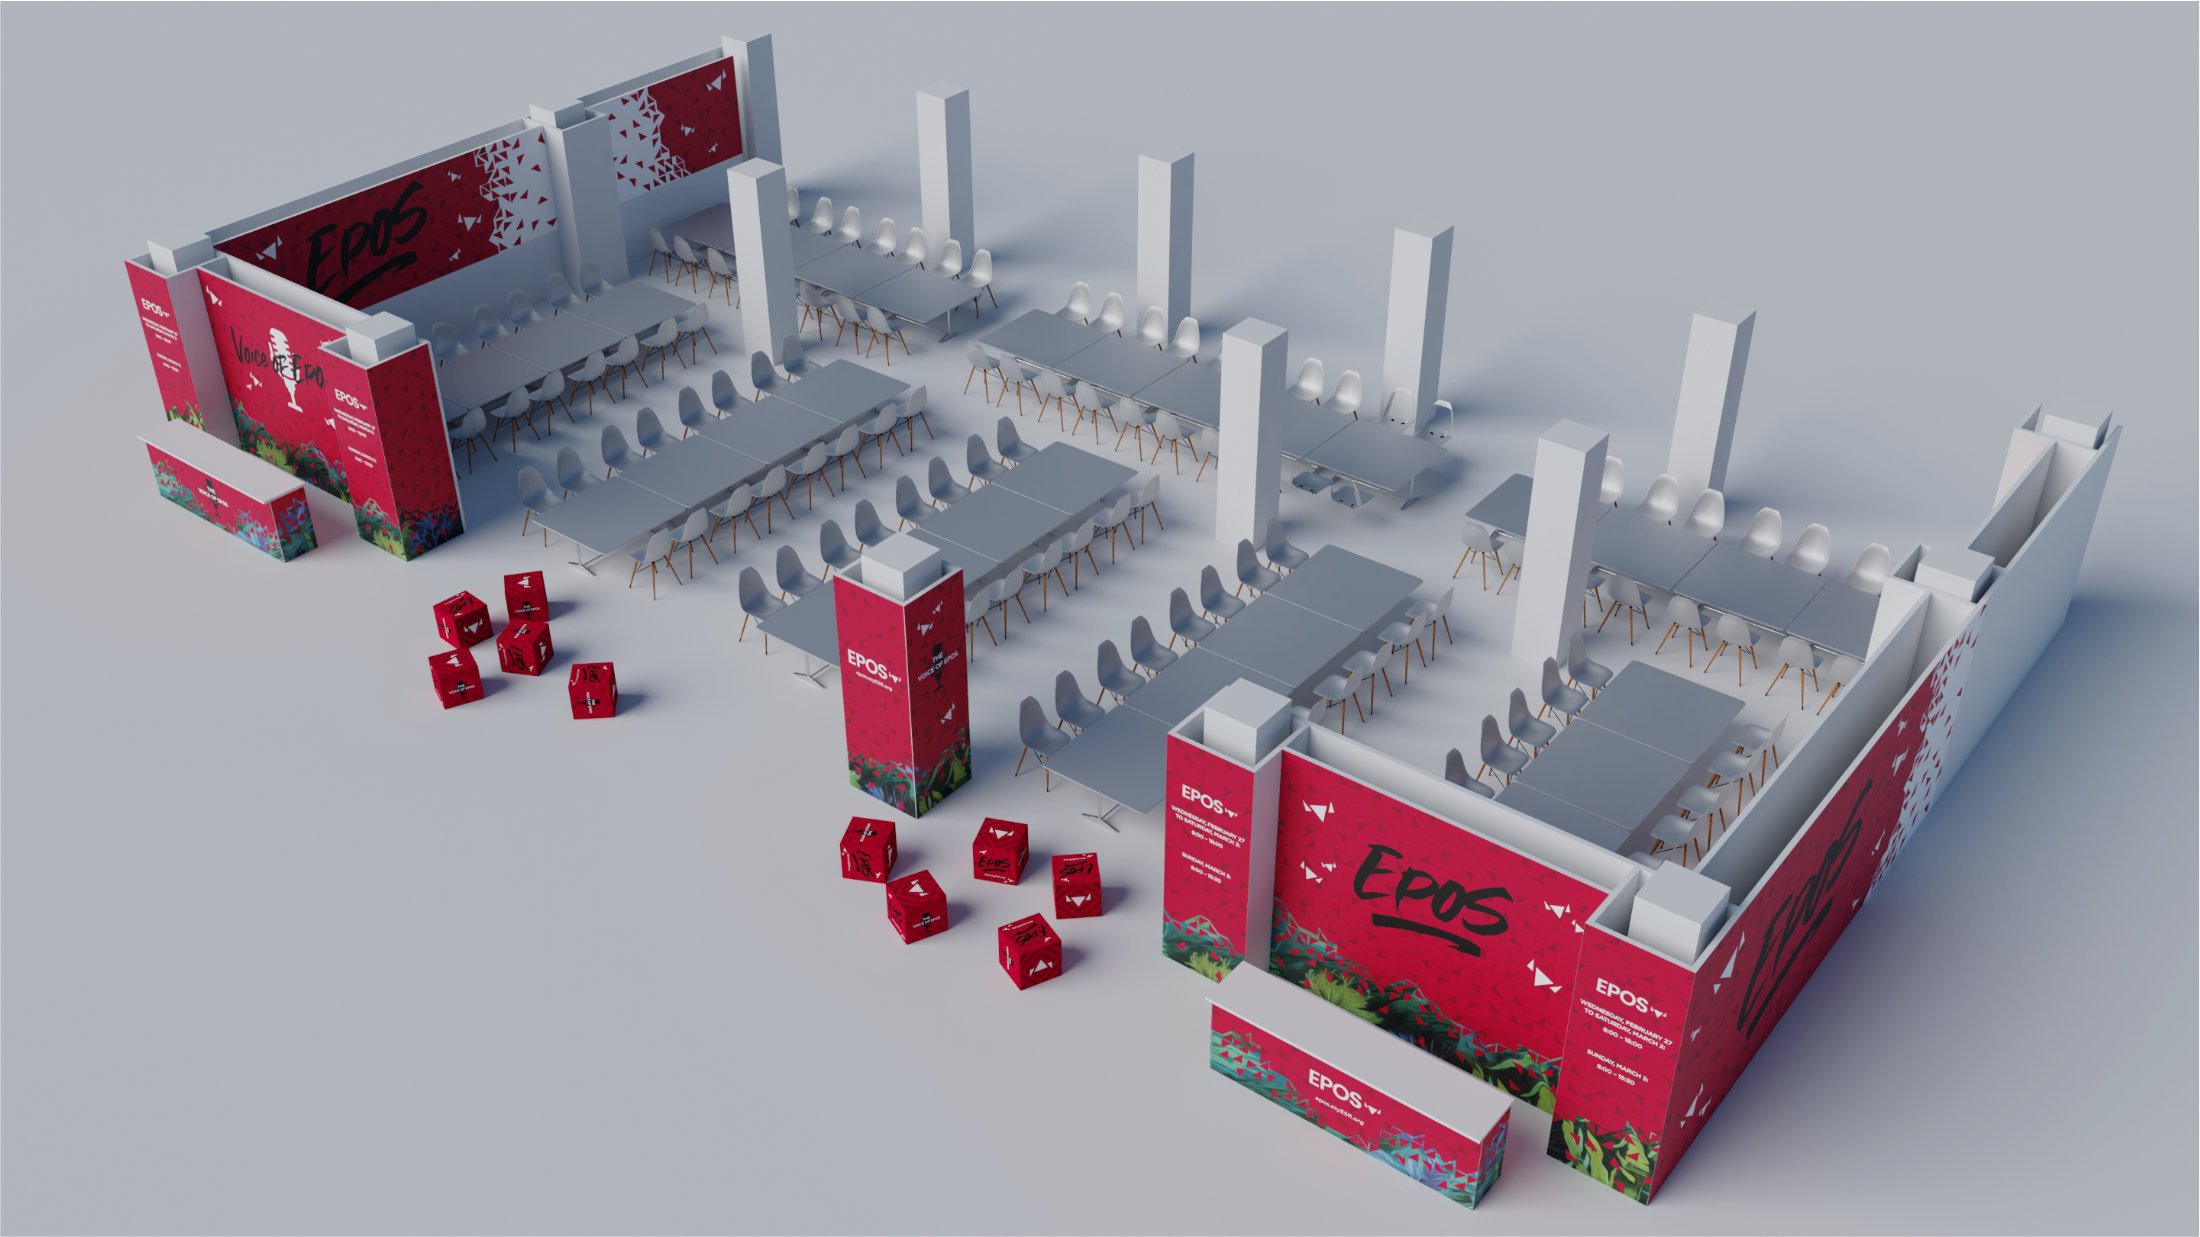
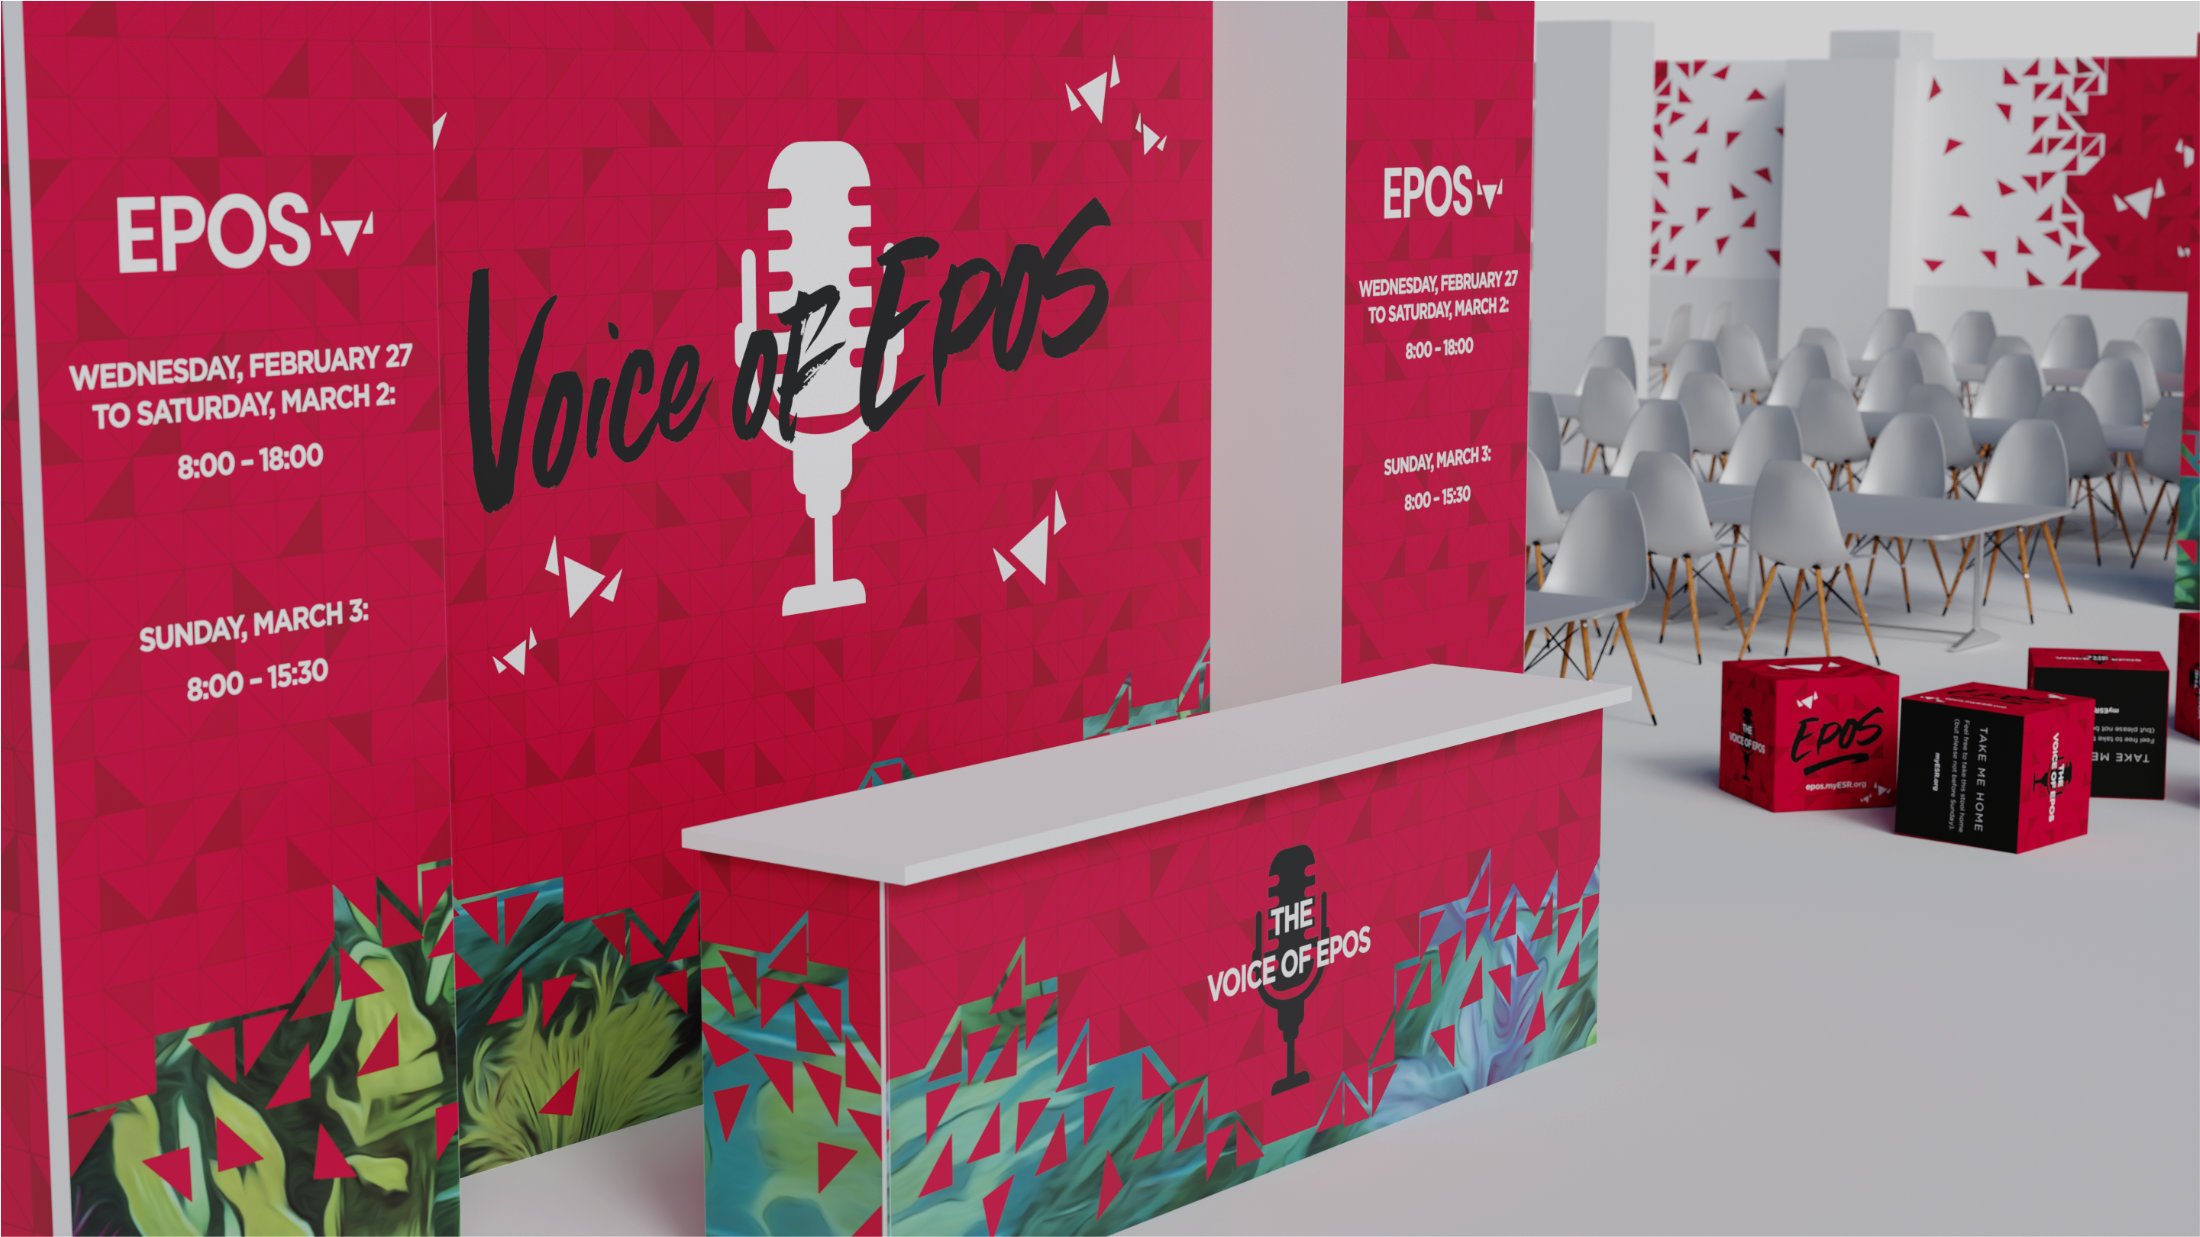
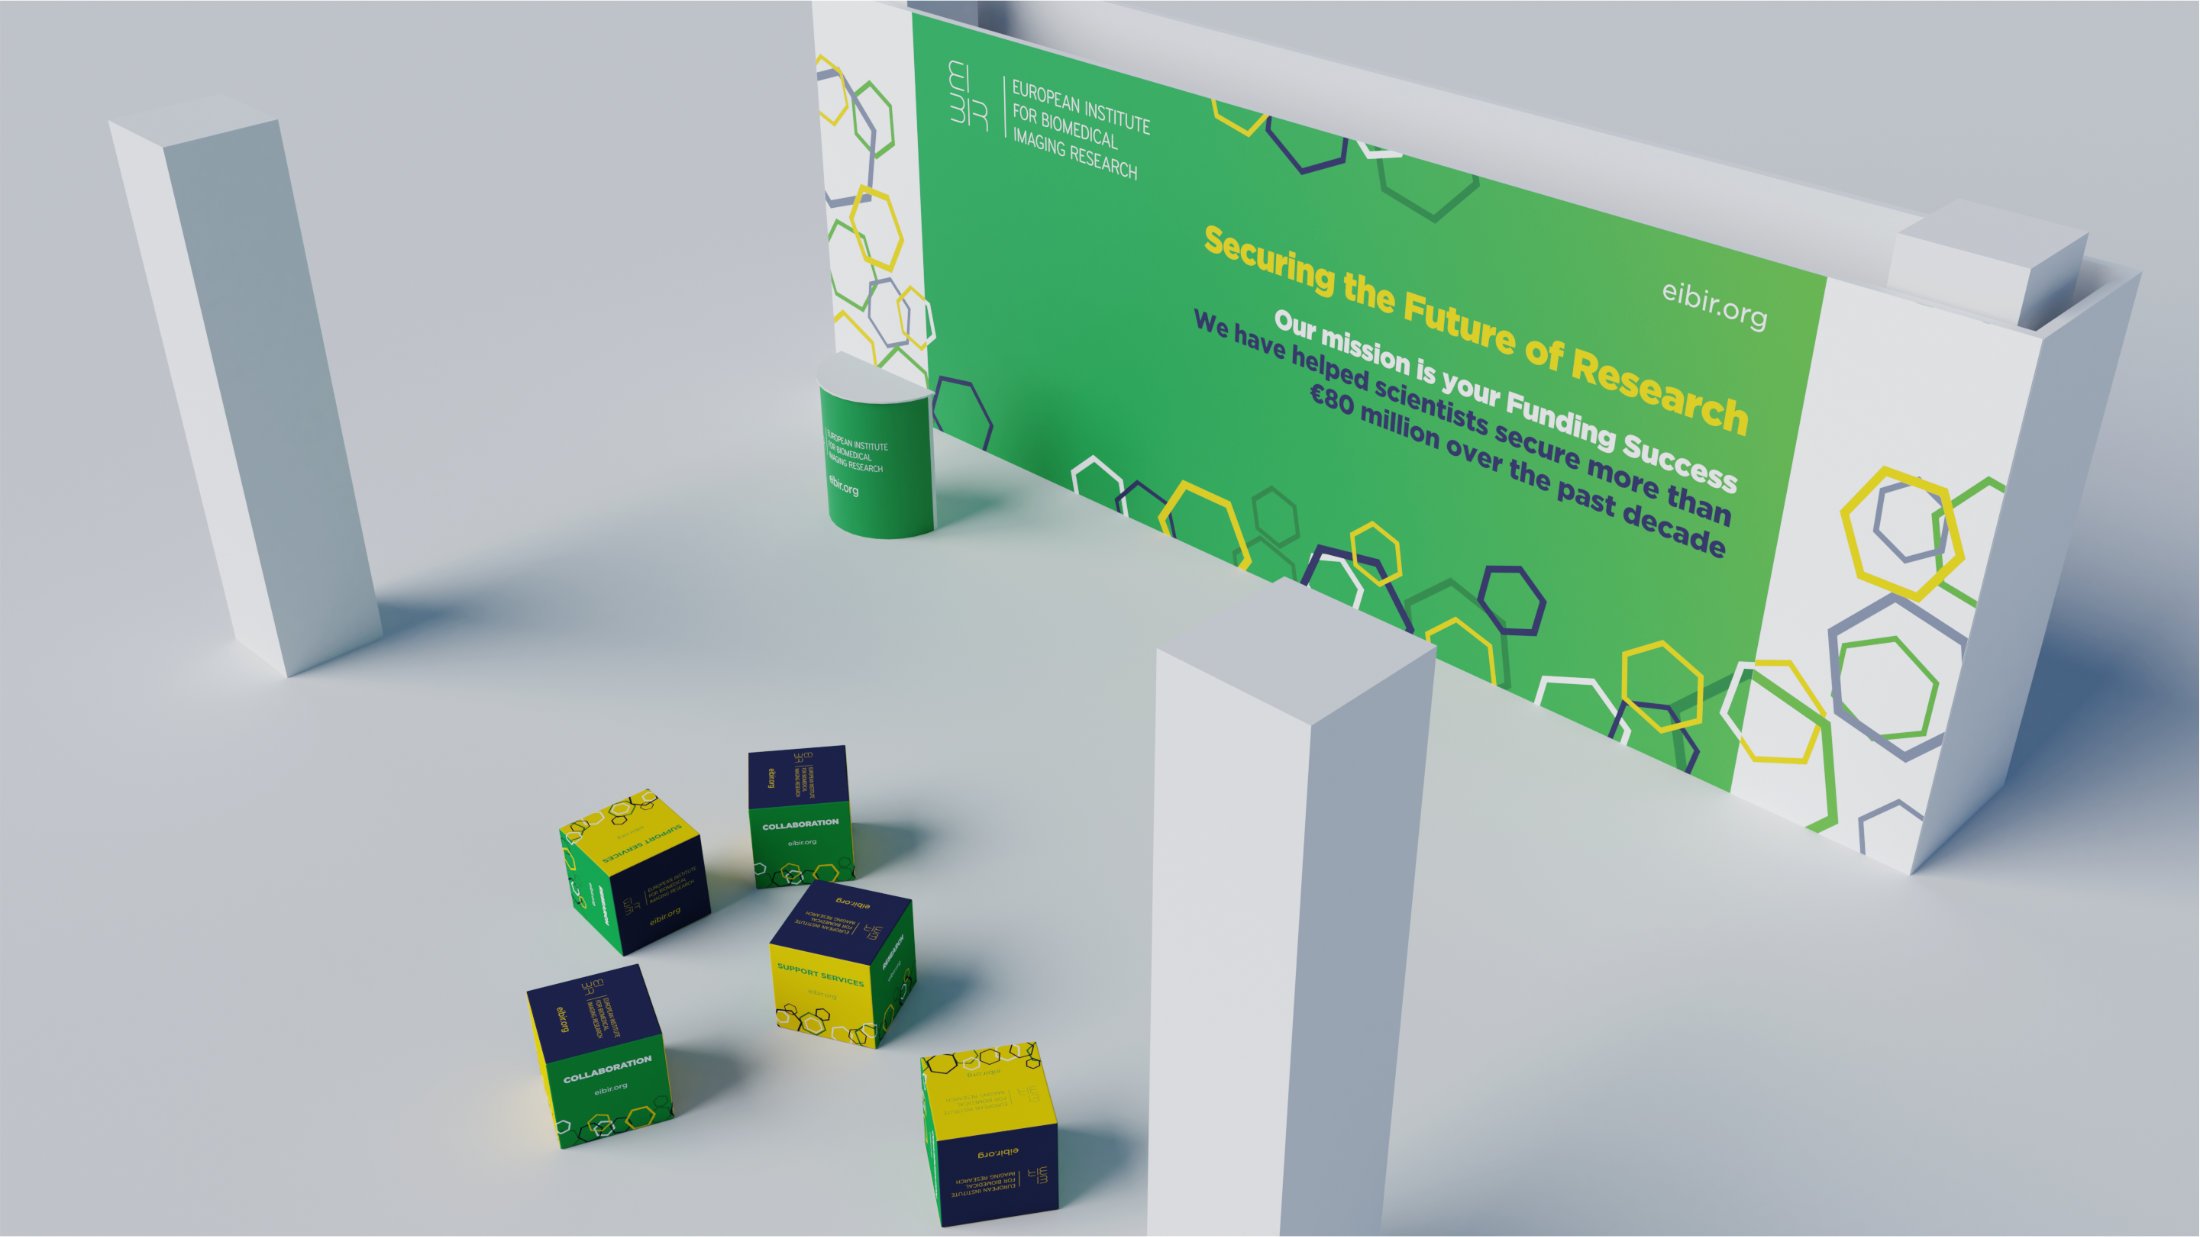
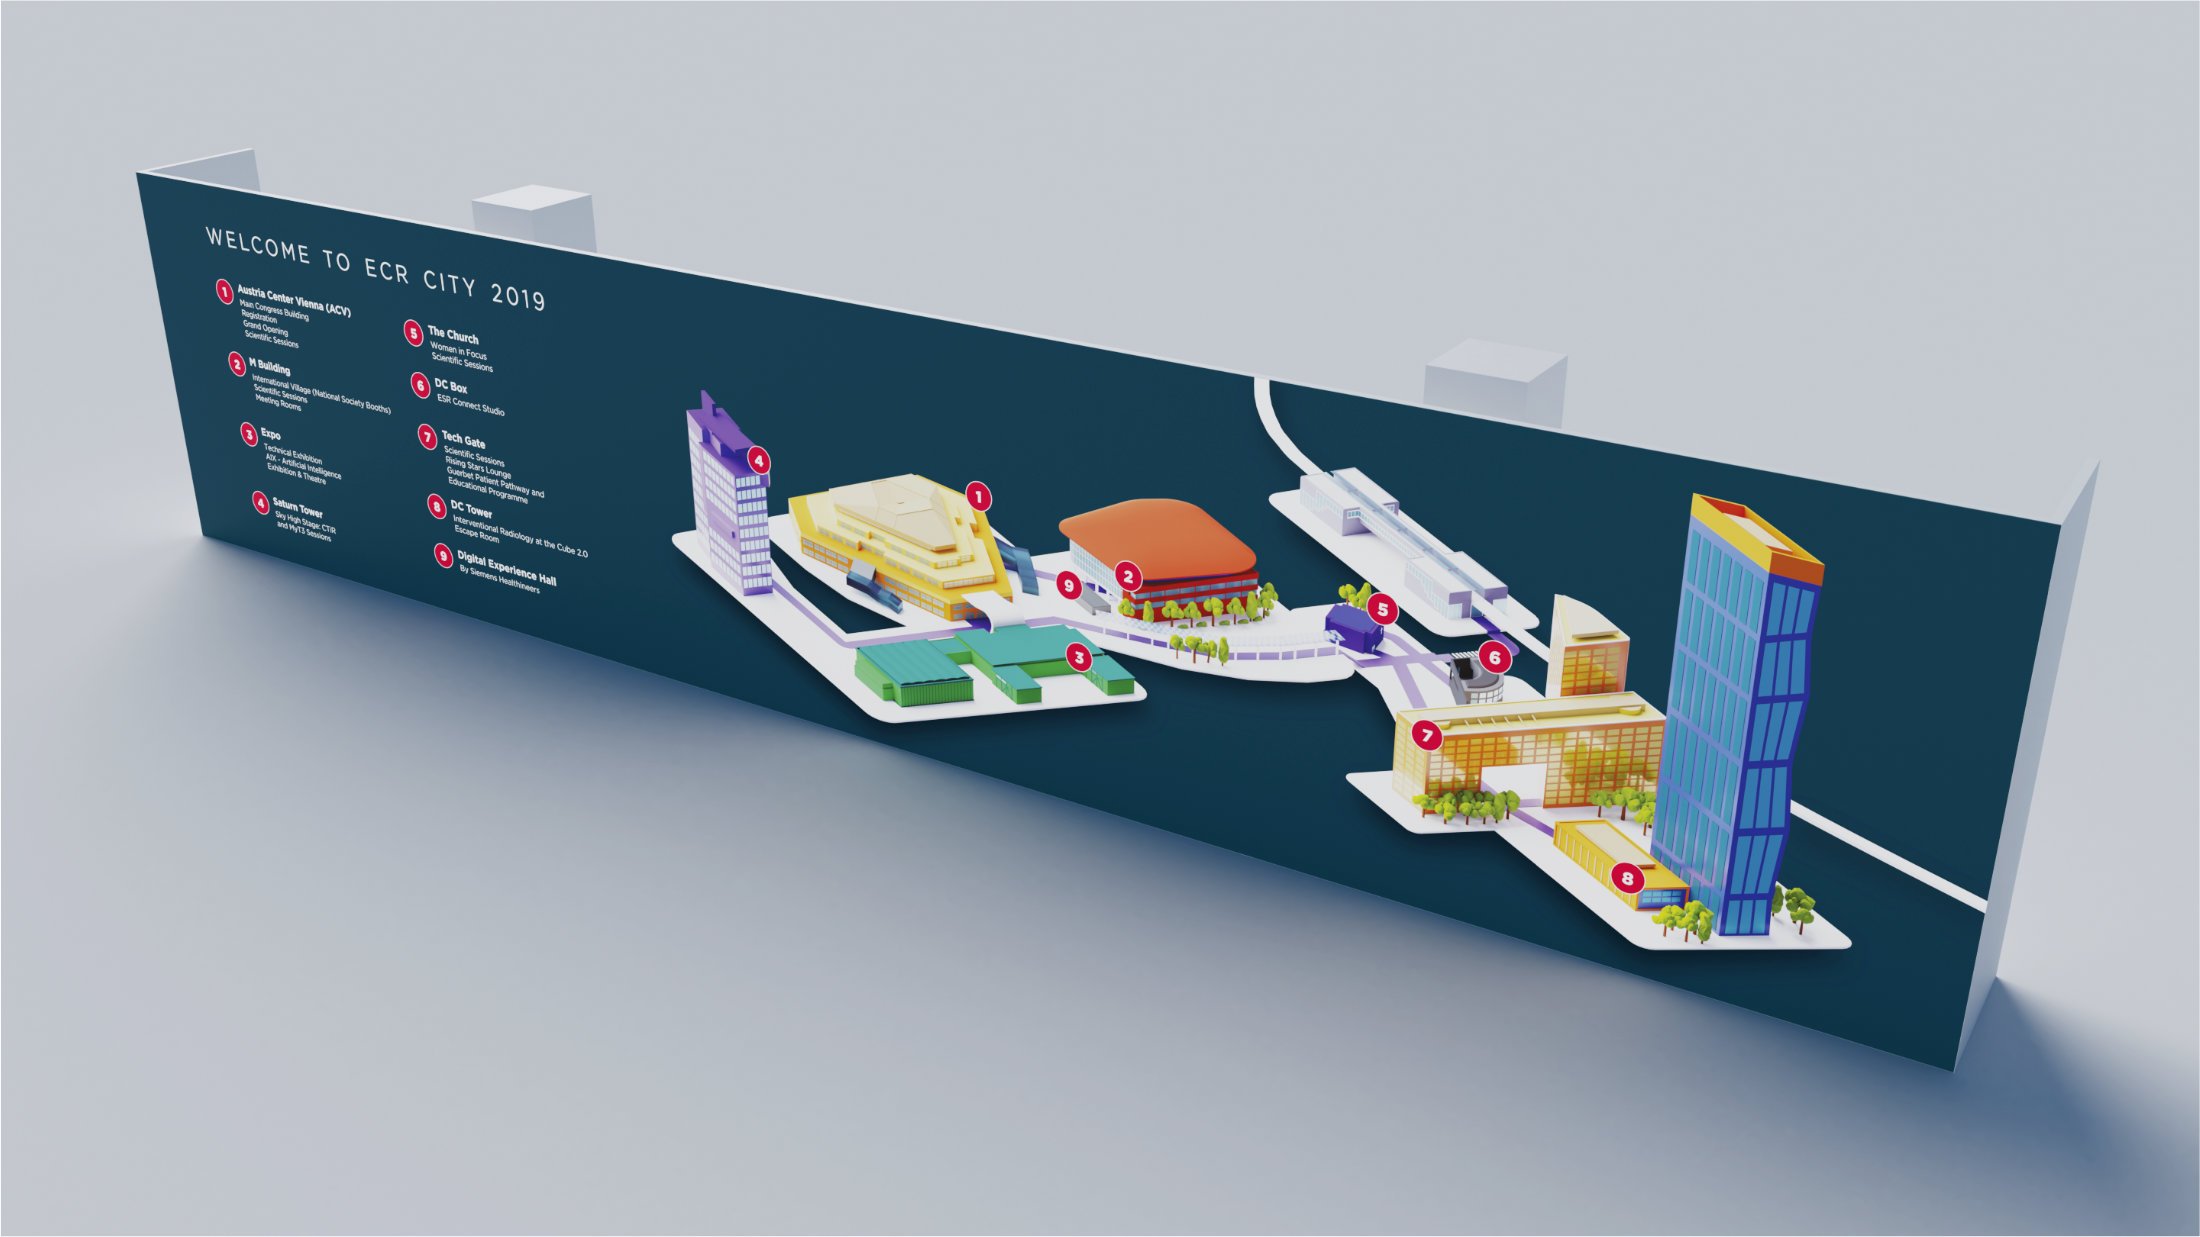
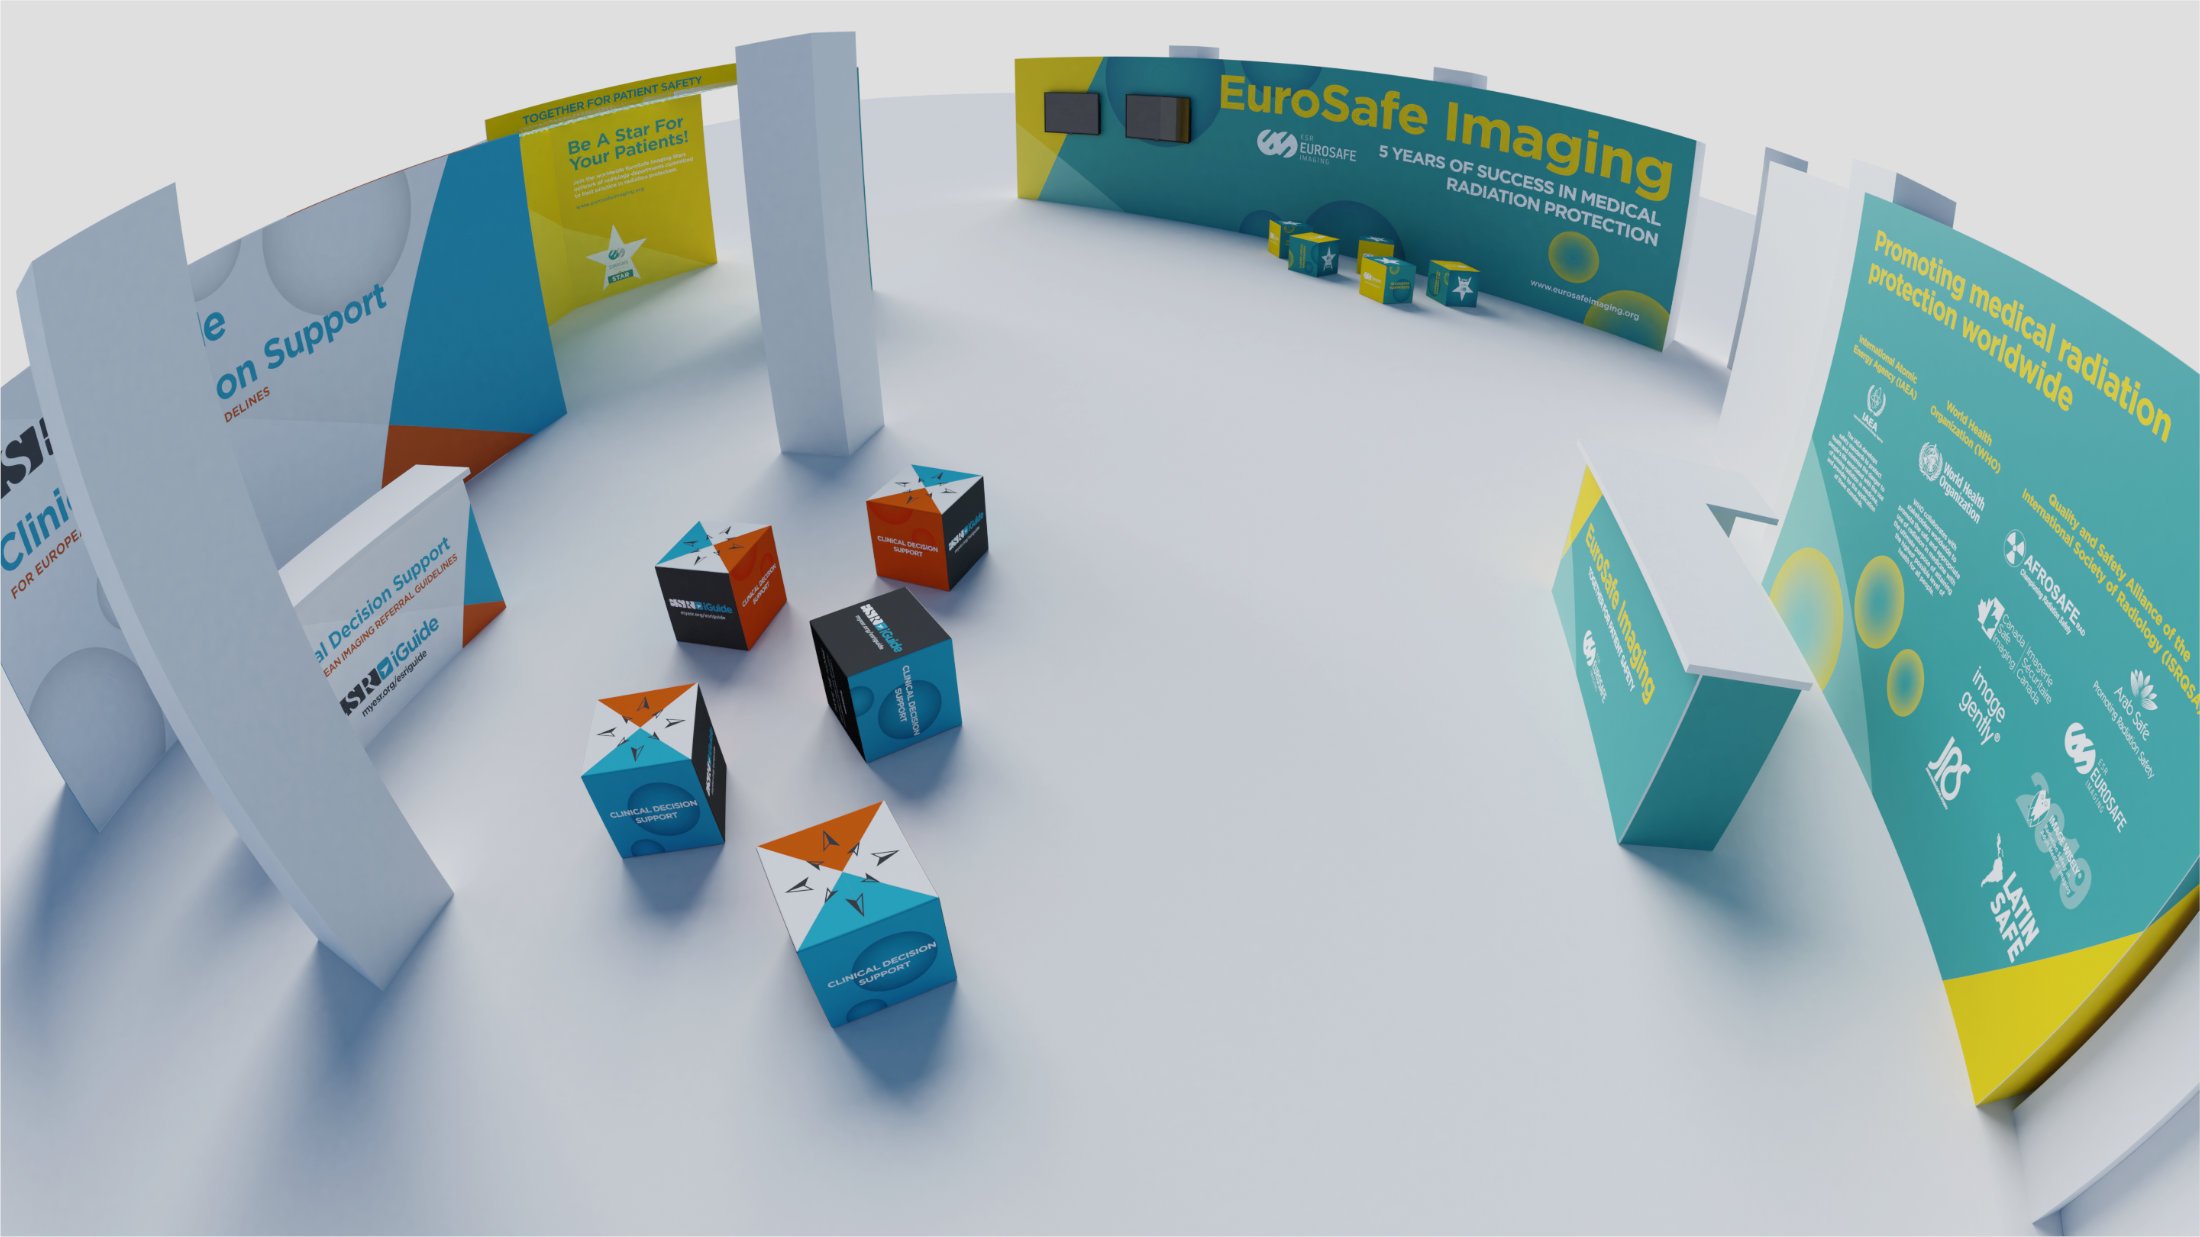
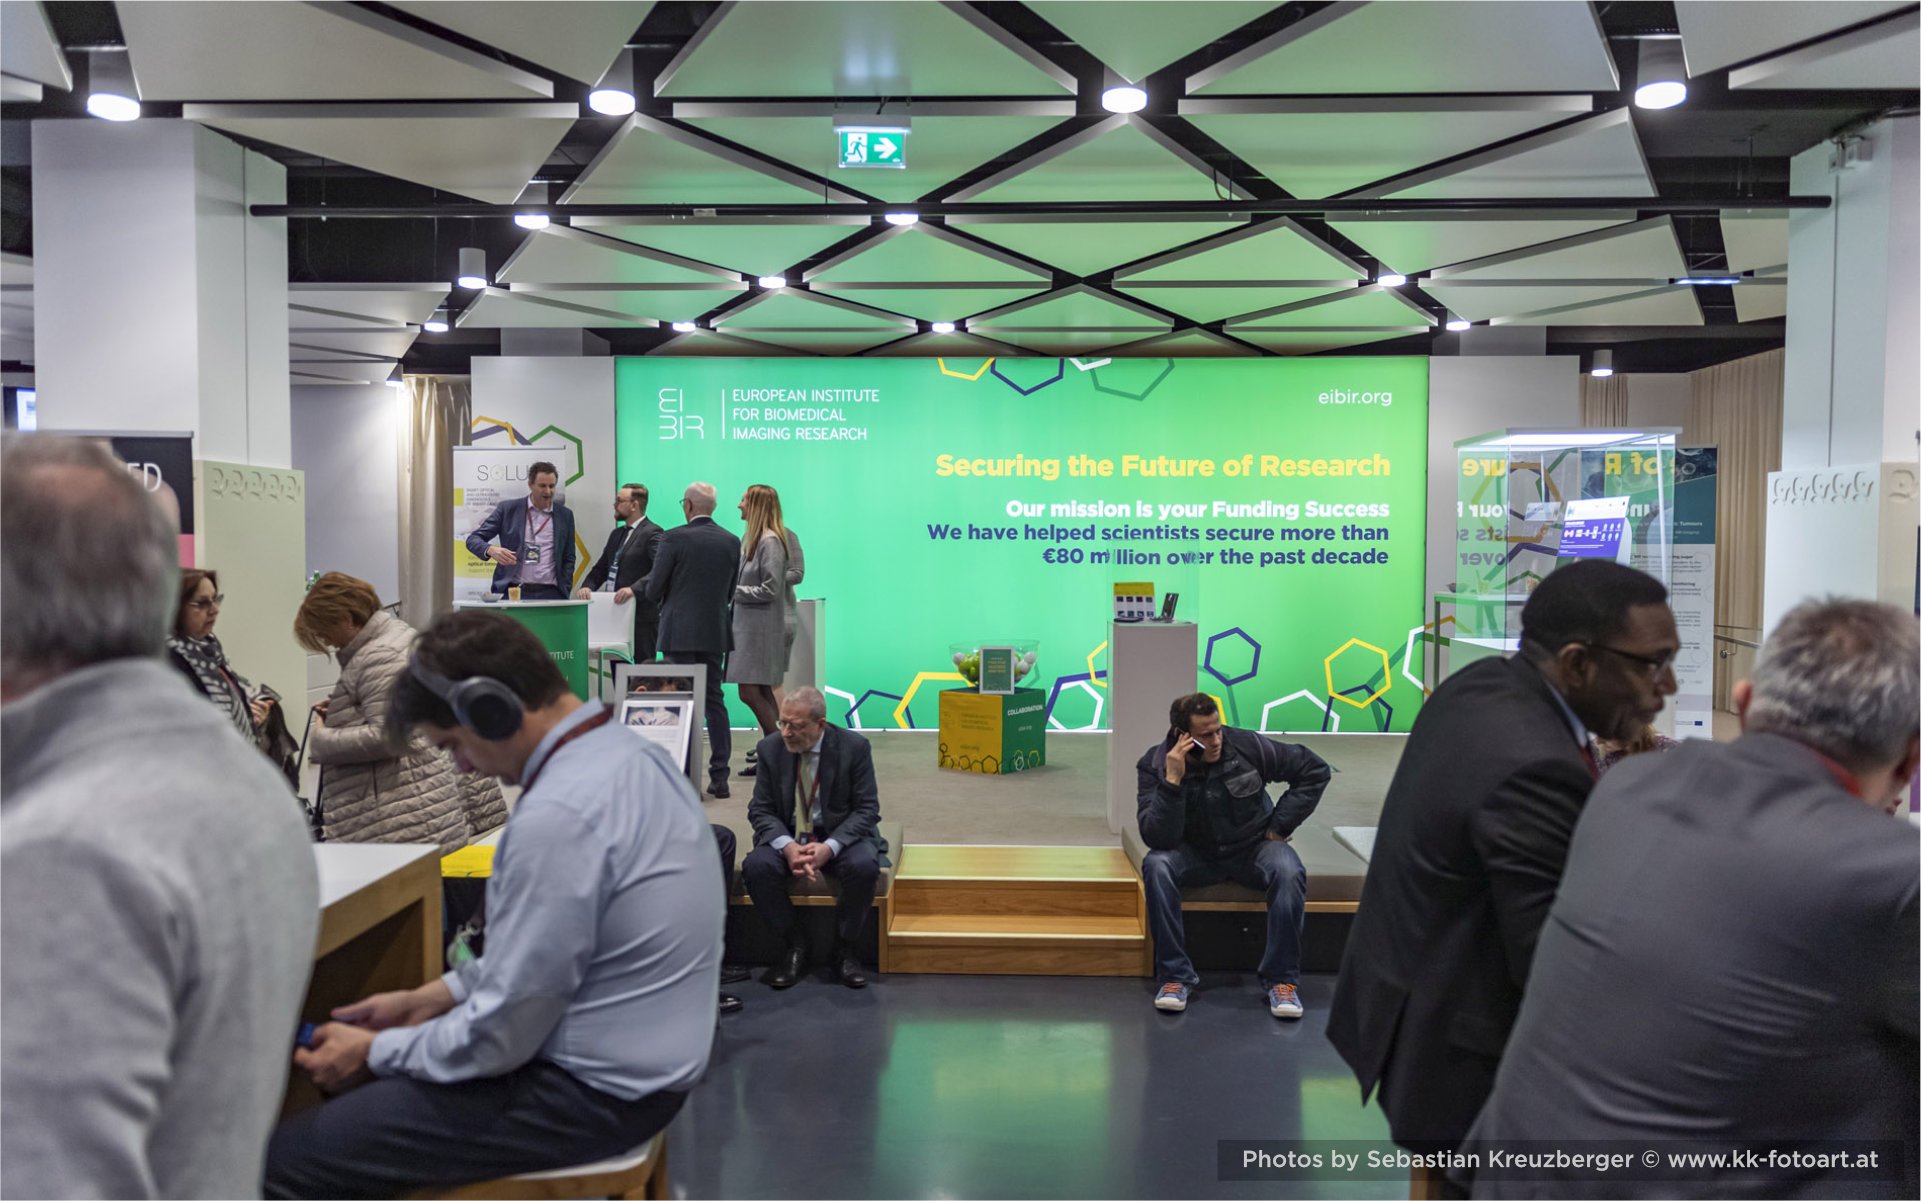
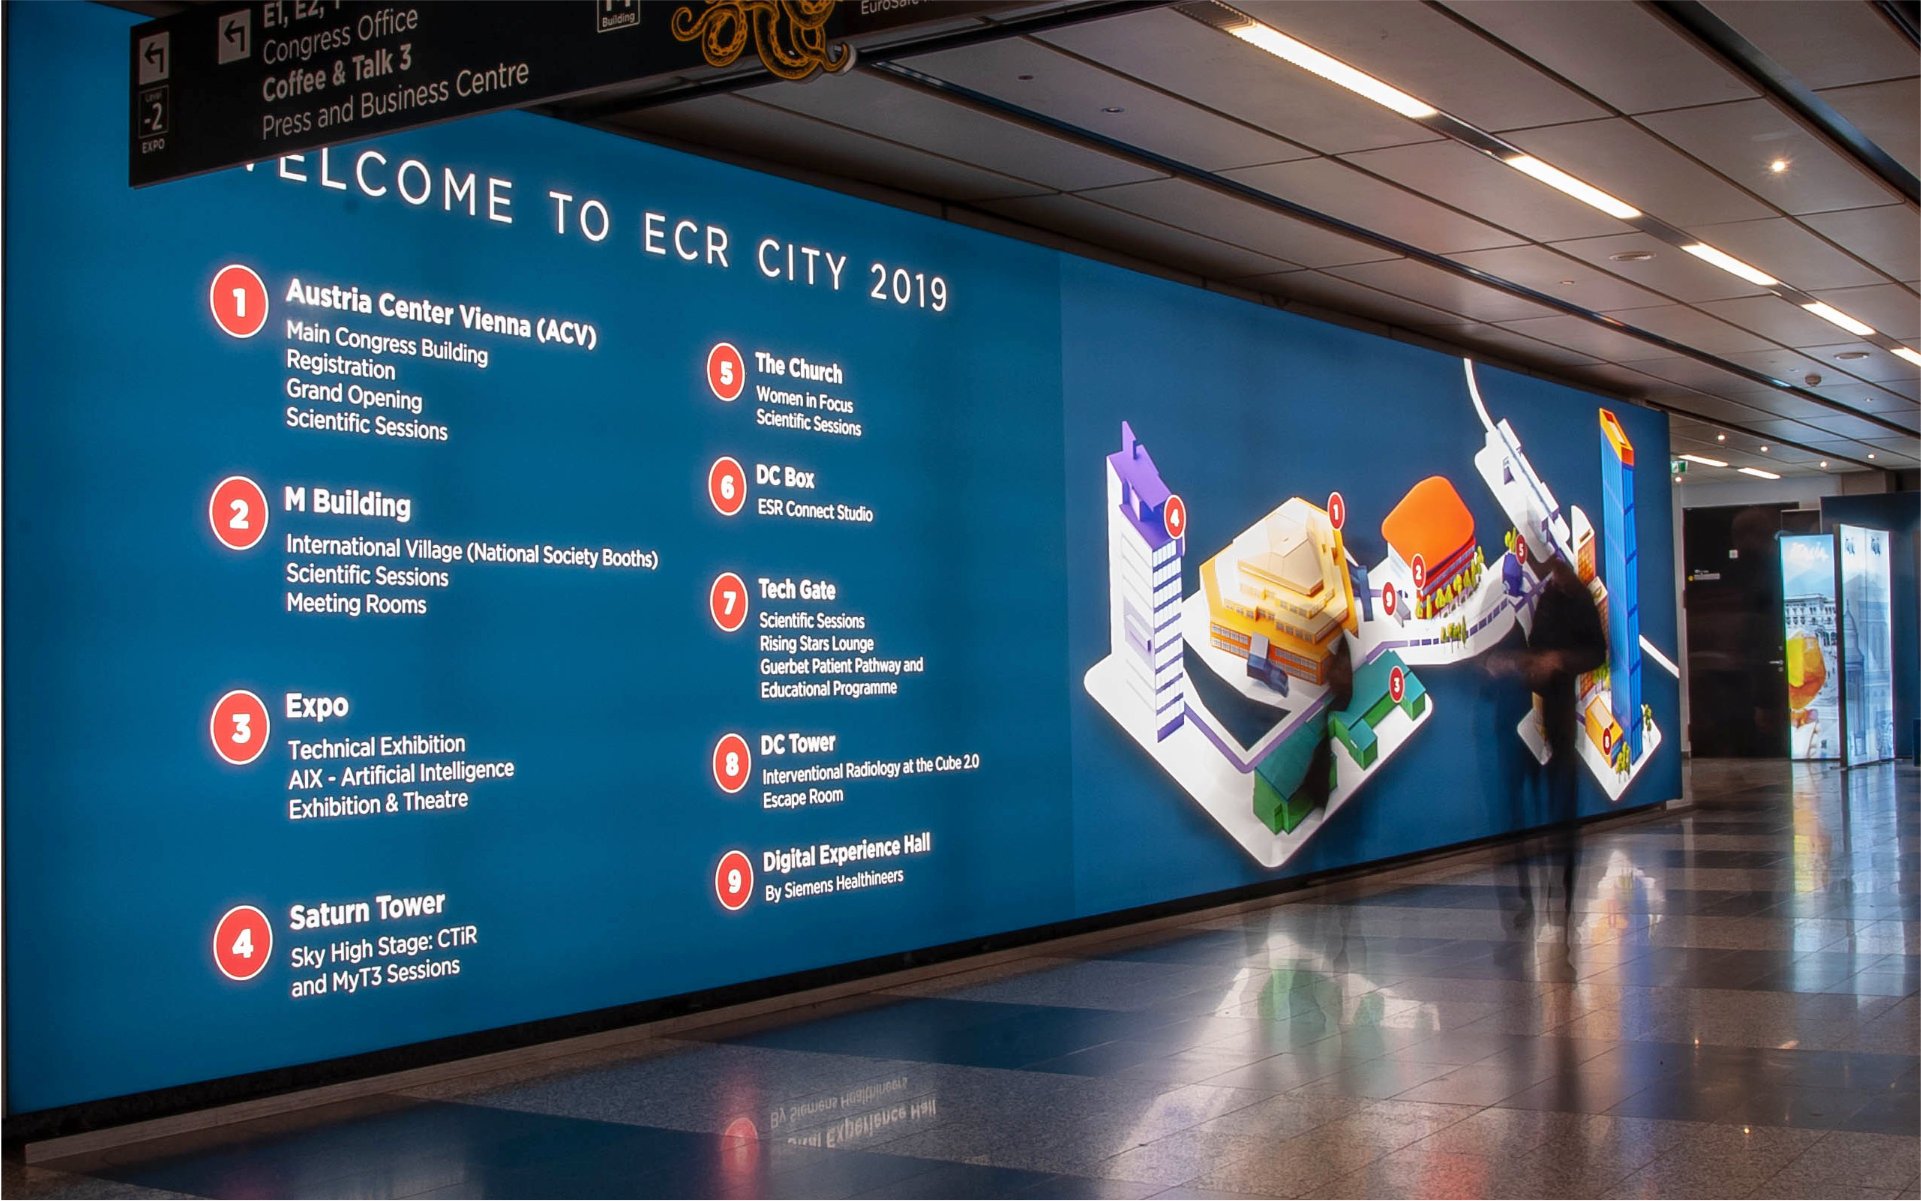
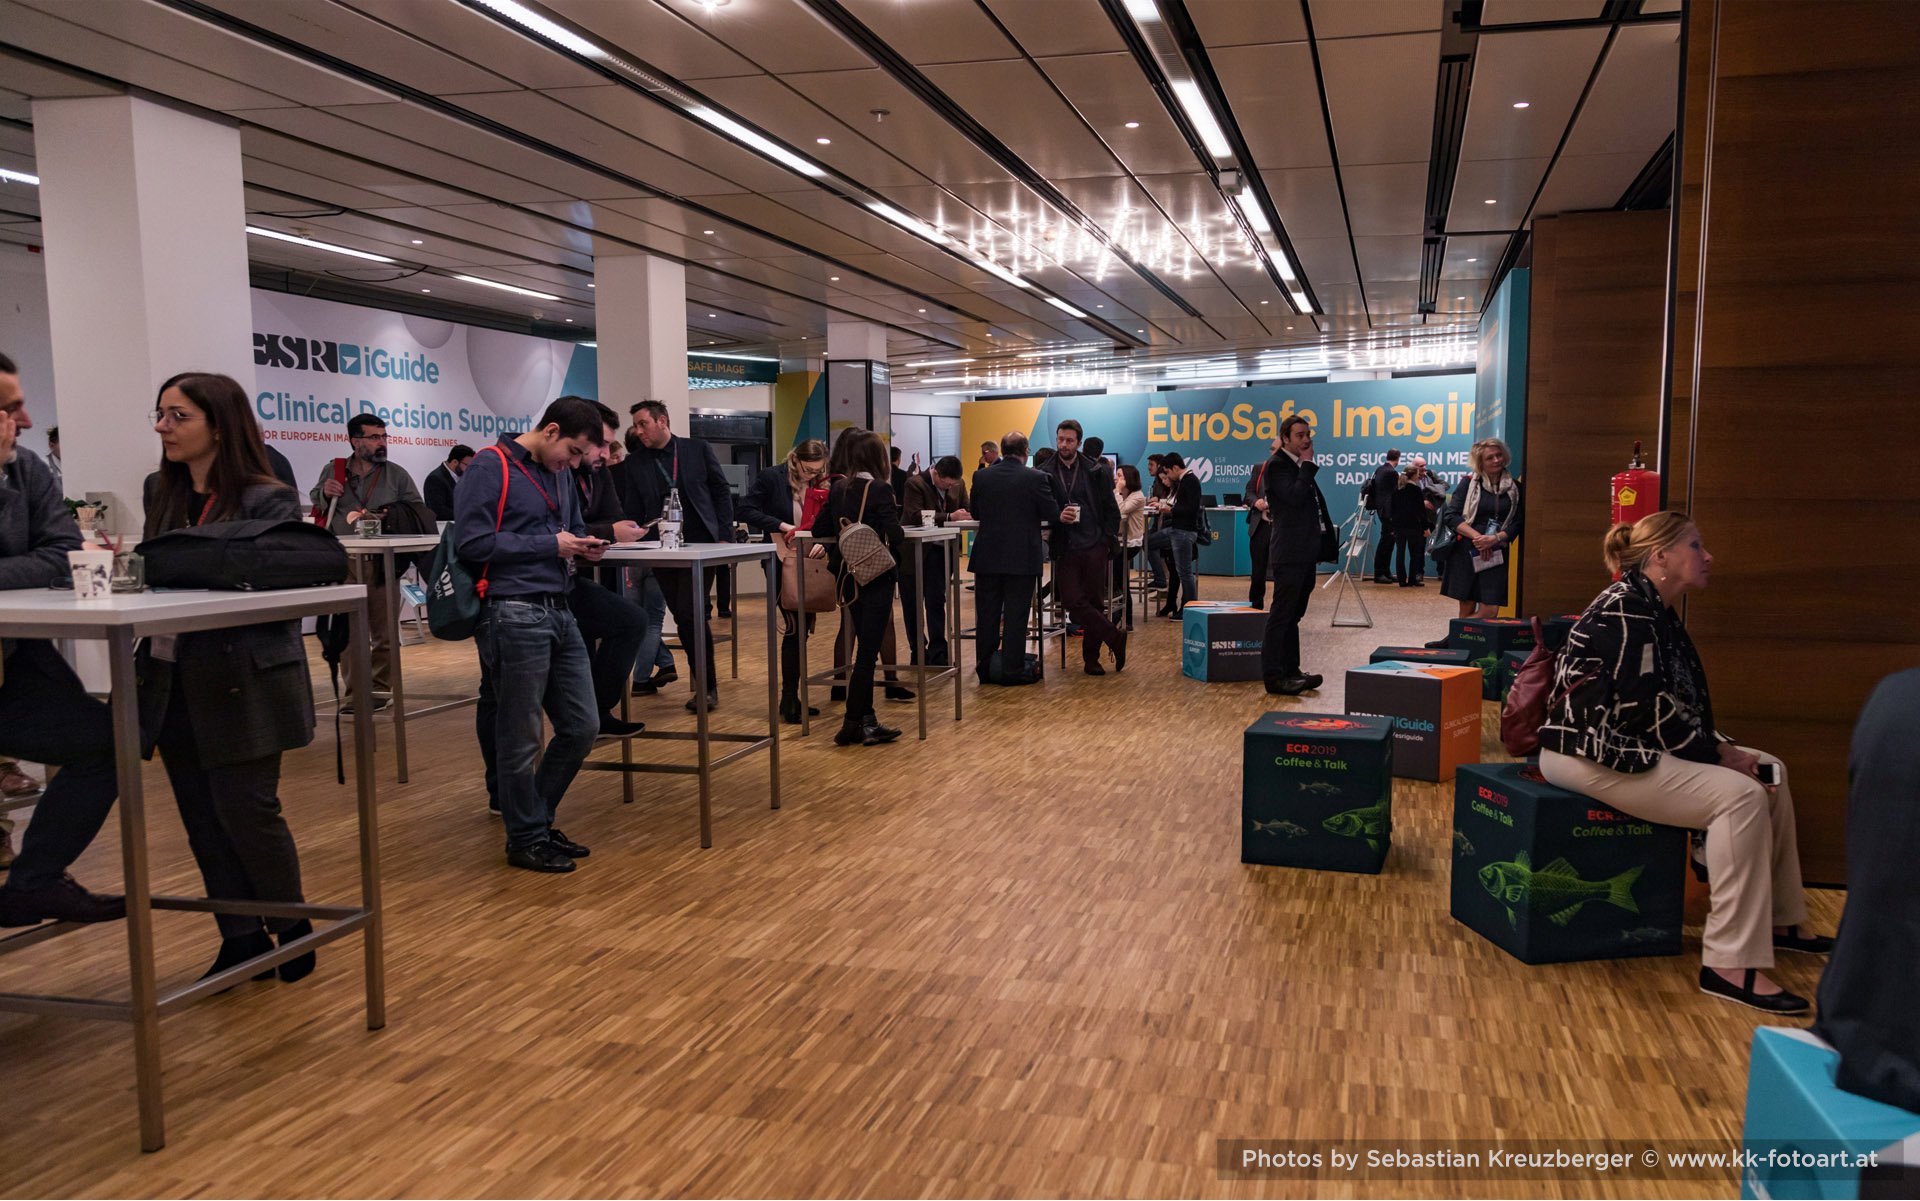
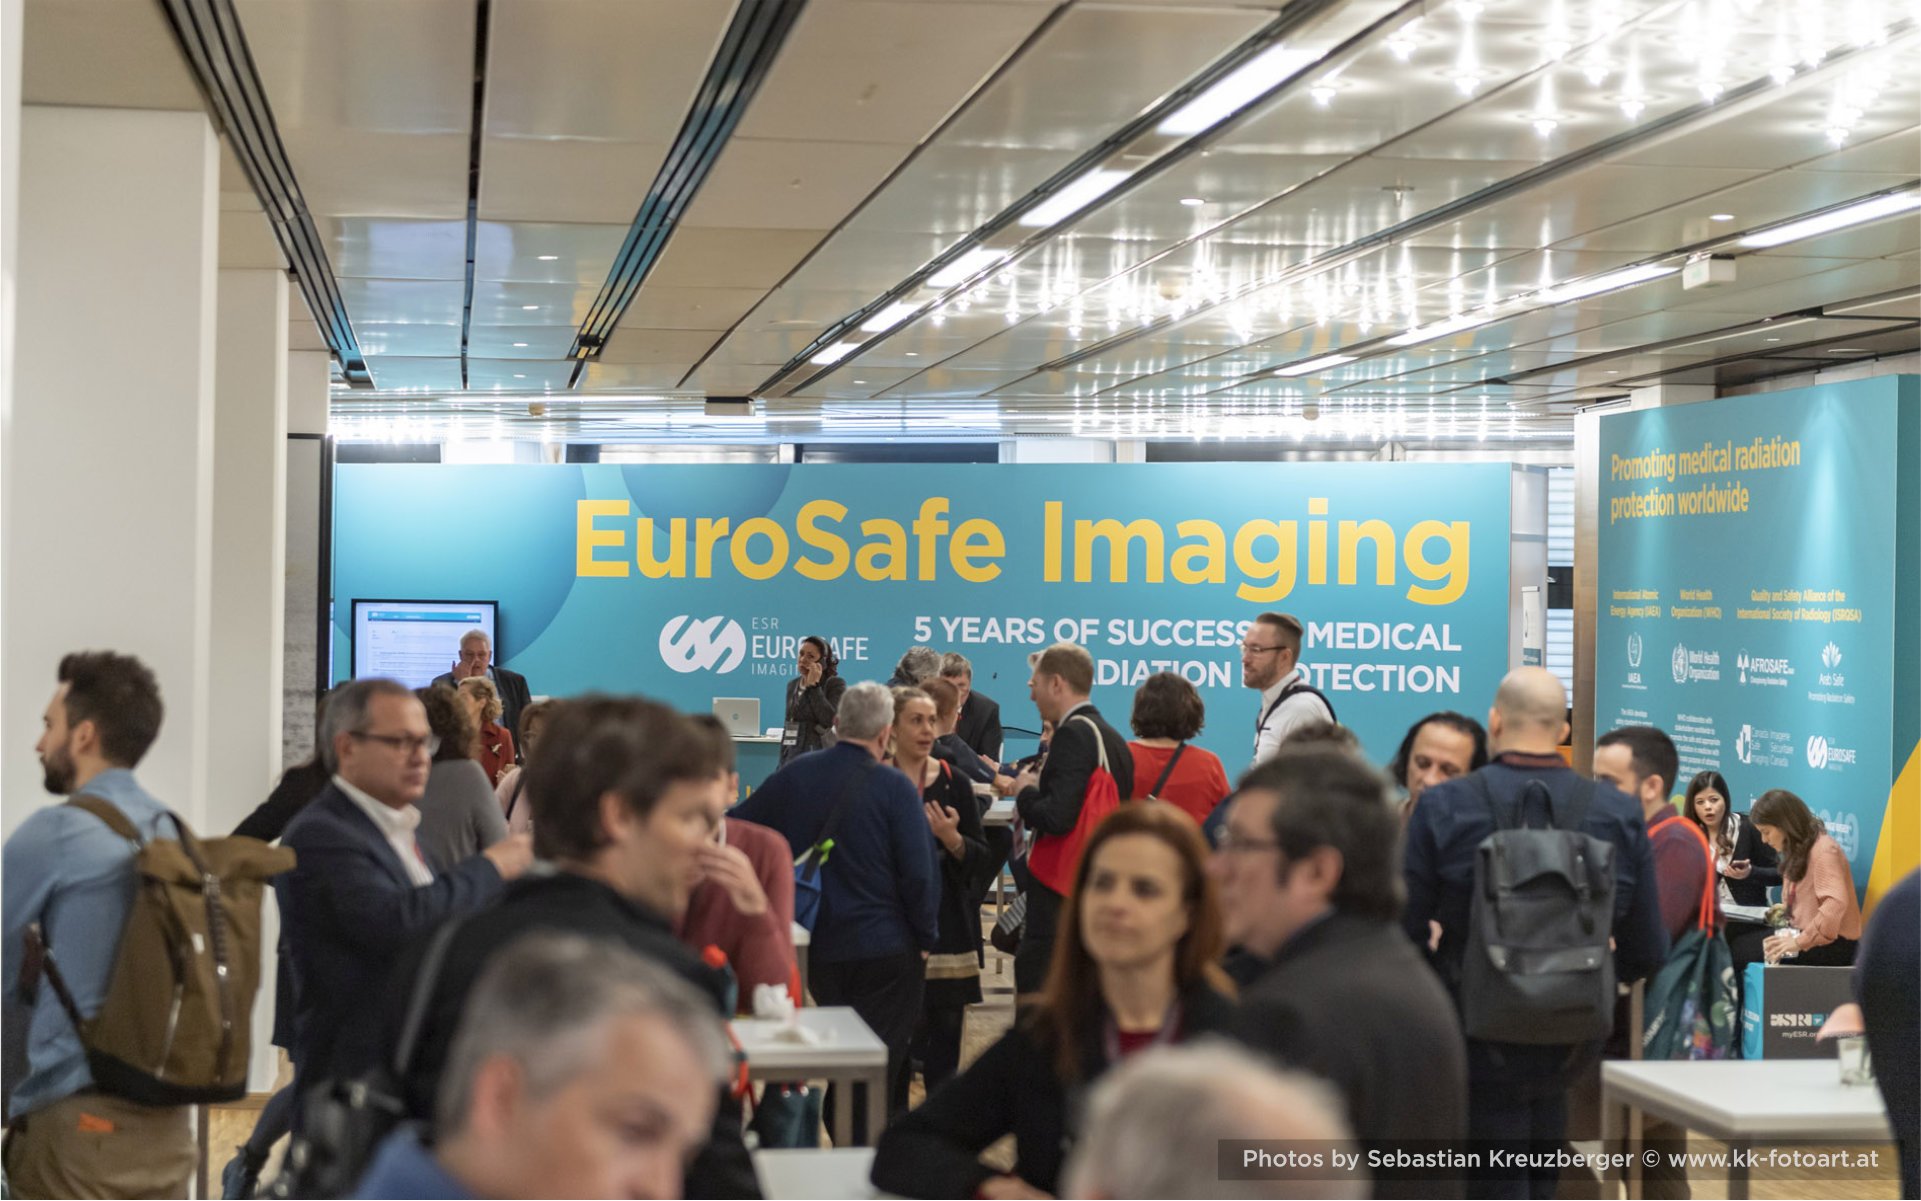
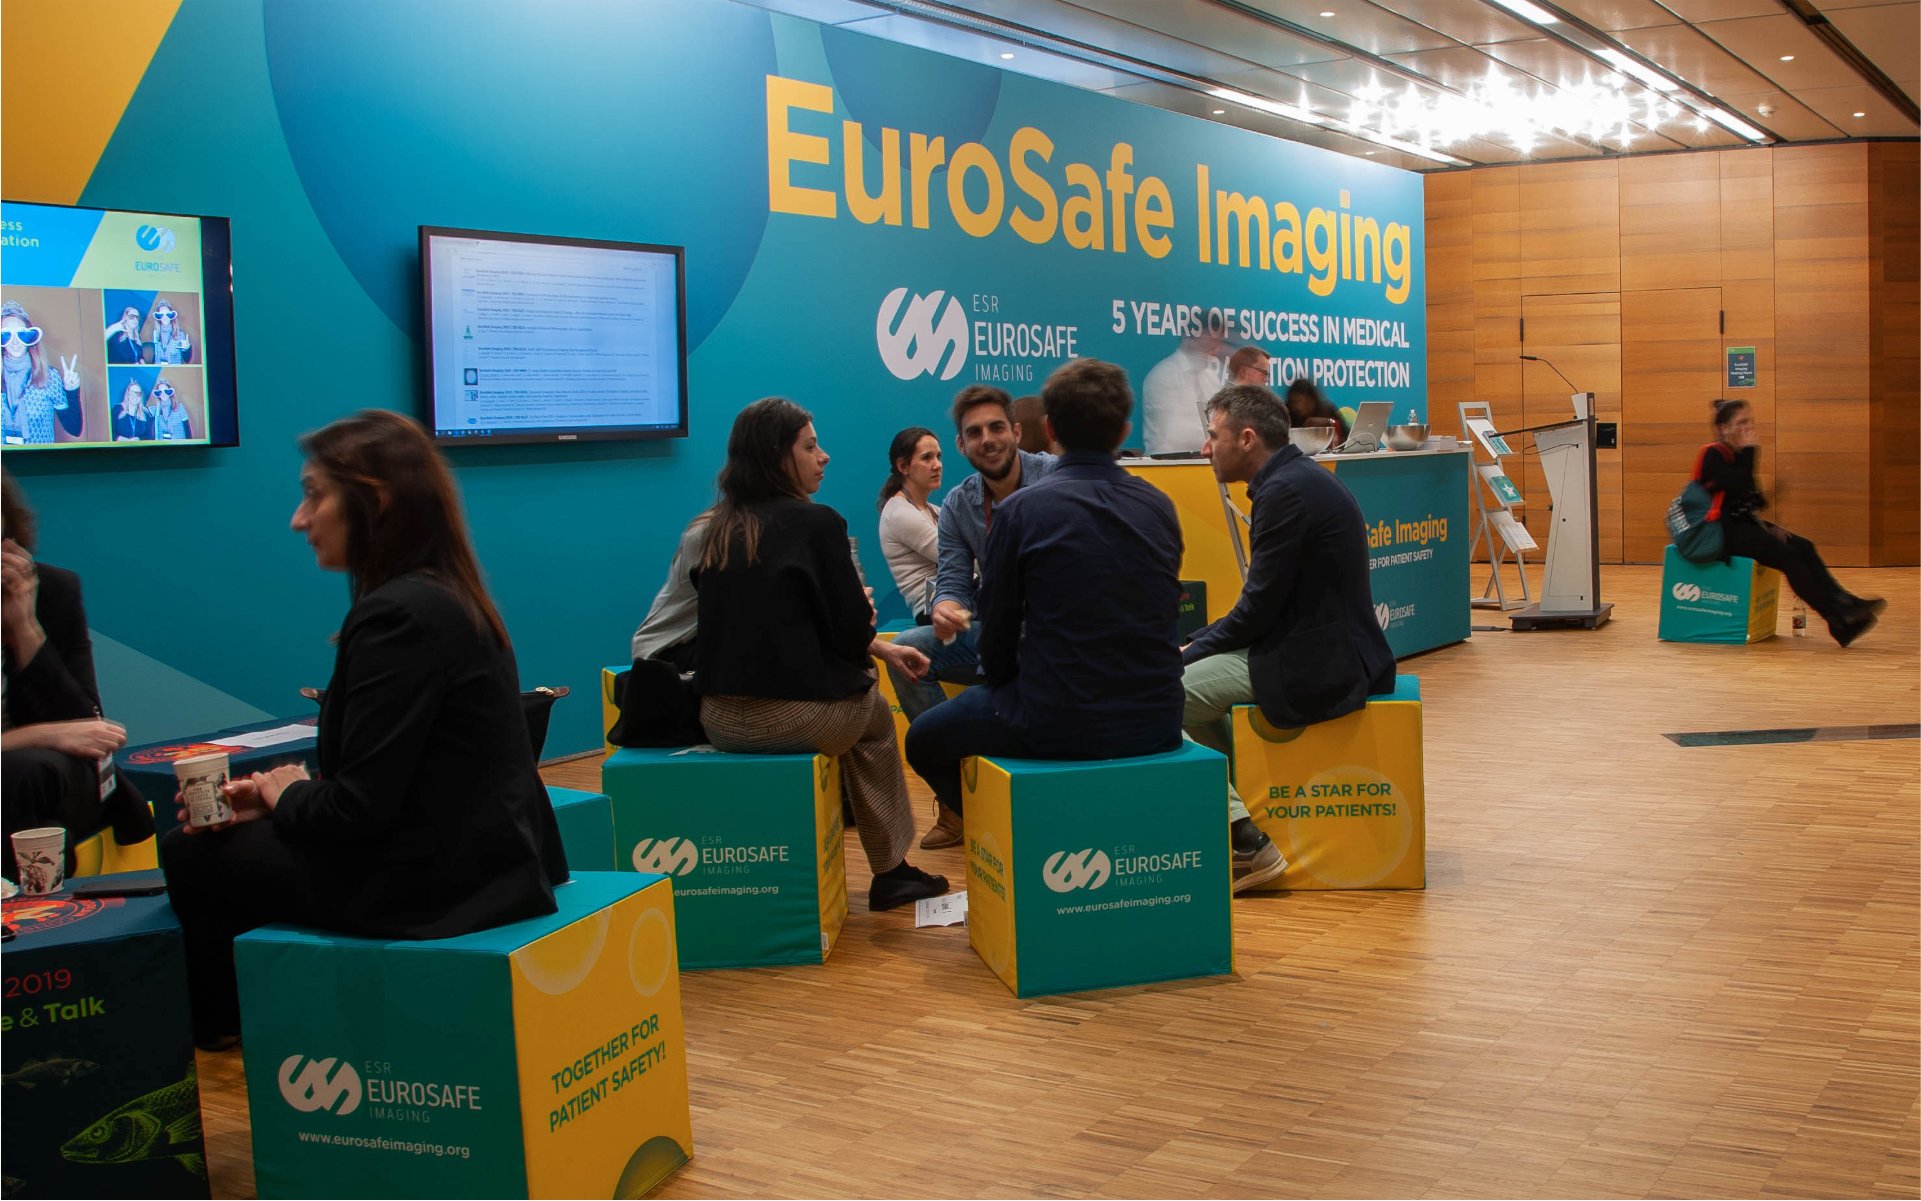
Hi everyone, I want to share my very positive experience working with Affinity Designer and Photo. For the past 4 months I have been working on designing large booths, walls, signage and other printed materials for a huge congress with over 30 000 participants. We had tight production deadlines from our external suppliers plus I had to design all the proposals, manage communication and do several revision rounds and after that export print data. All went very well thanks to Affinity Designer and Photo. These programs handled big oversized artboards, gigabytes of TIFF images and export so smoothly I couldn't believe it. The best thing I liked was having one document per one lounge with many many different artboards which gave me flexibility to make a huge wall and small flyer with the same design in one application. Also the ability to export print ready PDFs and some JPGs in Export Persona was a huge time saver! Exporting 2400DPI PDFs was just smooth. Most of the work was done in Affinity, very very small percentage in Illustrator and 3D stuff in Blender. Here are photos and renders of some of the things which were produced. To me this was quite a successful journey. Thanks Affinity team for great products and keep going!
- 10 replies
-
- 13
-

-

-
- affinity photo
- affinity designer
- (and 1 more)
-
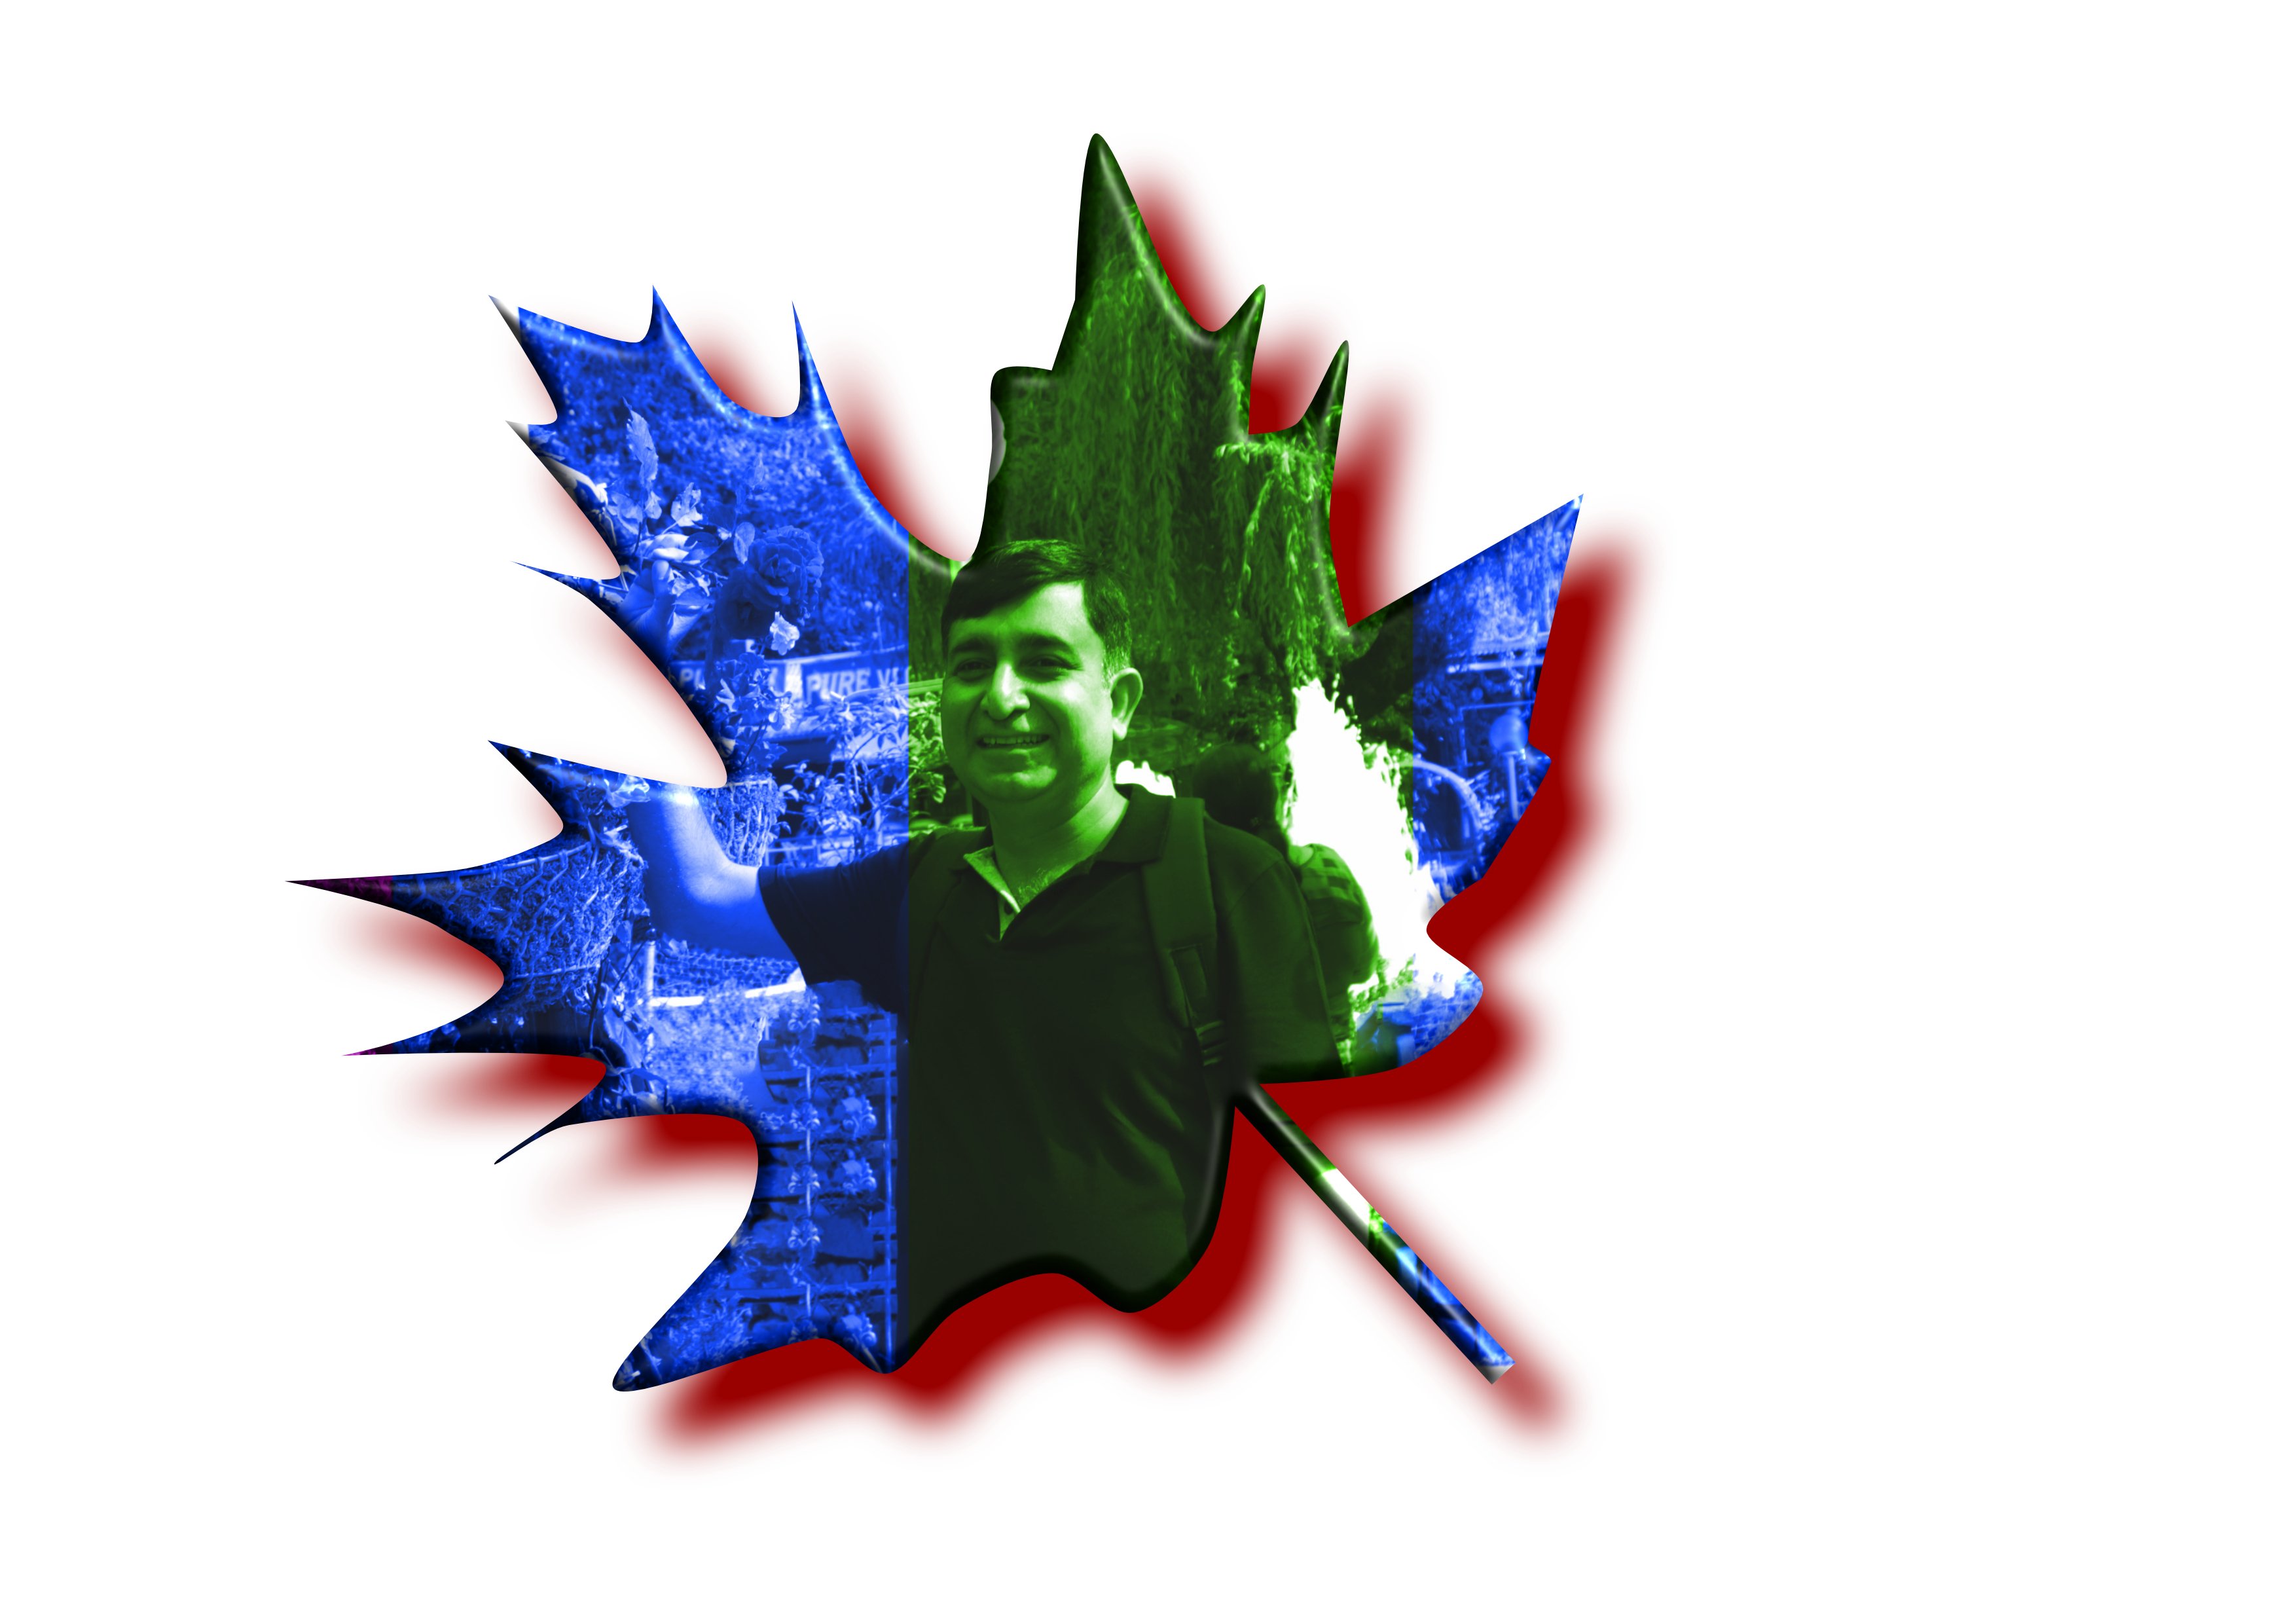
Just Embed My self in chinar tree leaf
-
 I'm big into pixel art, but I can't quite figure out how to set Affinity Photo up to do pixel art. Can anybody help?
 -
I purchased it recently and have made several thumbnails for my new Youtube channel but I know I can do so much more with it. I am really having alot of fun using this and watching the turtorials, bet money I have spent in a while. here are a couple of my thumbnails
- 1 reply
-
- 2
-
-
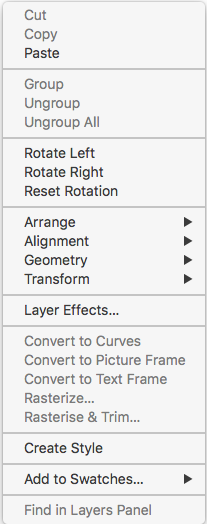
 I am admittedly a newbie here and this is a newbie question. I have noticed that sometimes, I get a menu when I right click and sometimes I don't: Under what circumstances, when I right-click, should I expect to get a menu in Affinity applications?
-
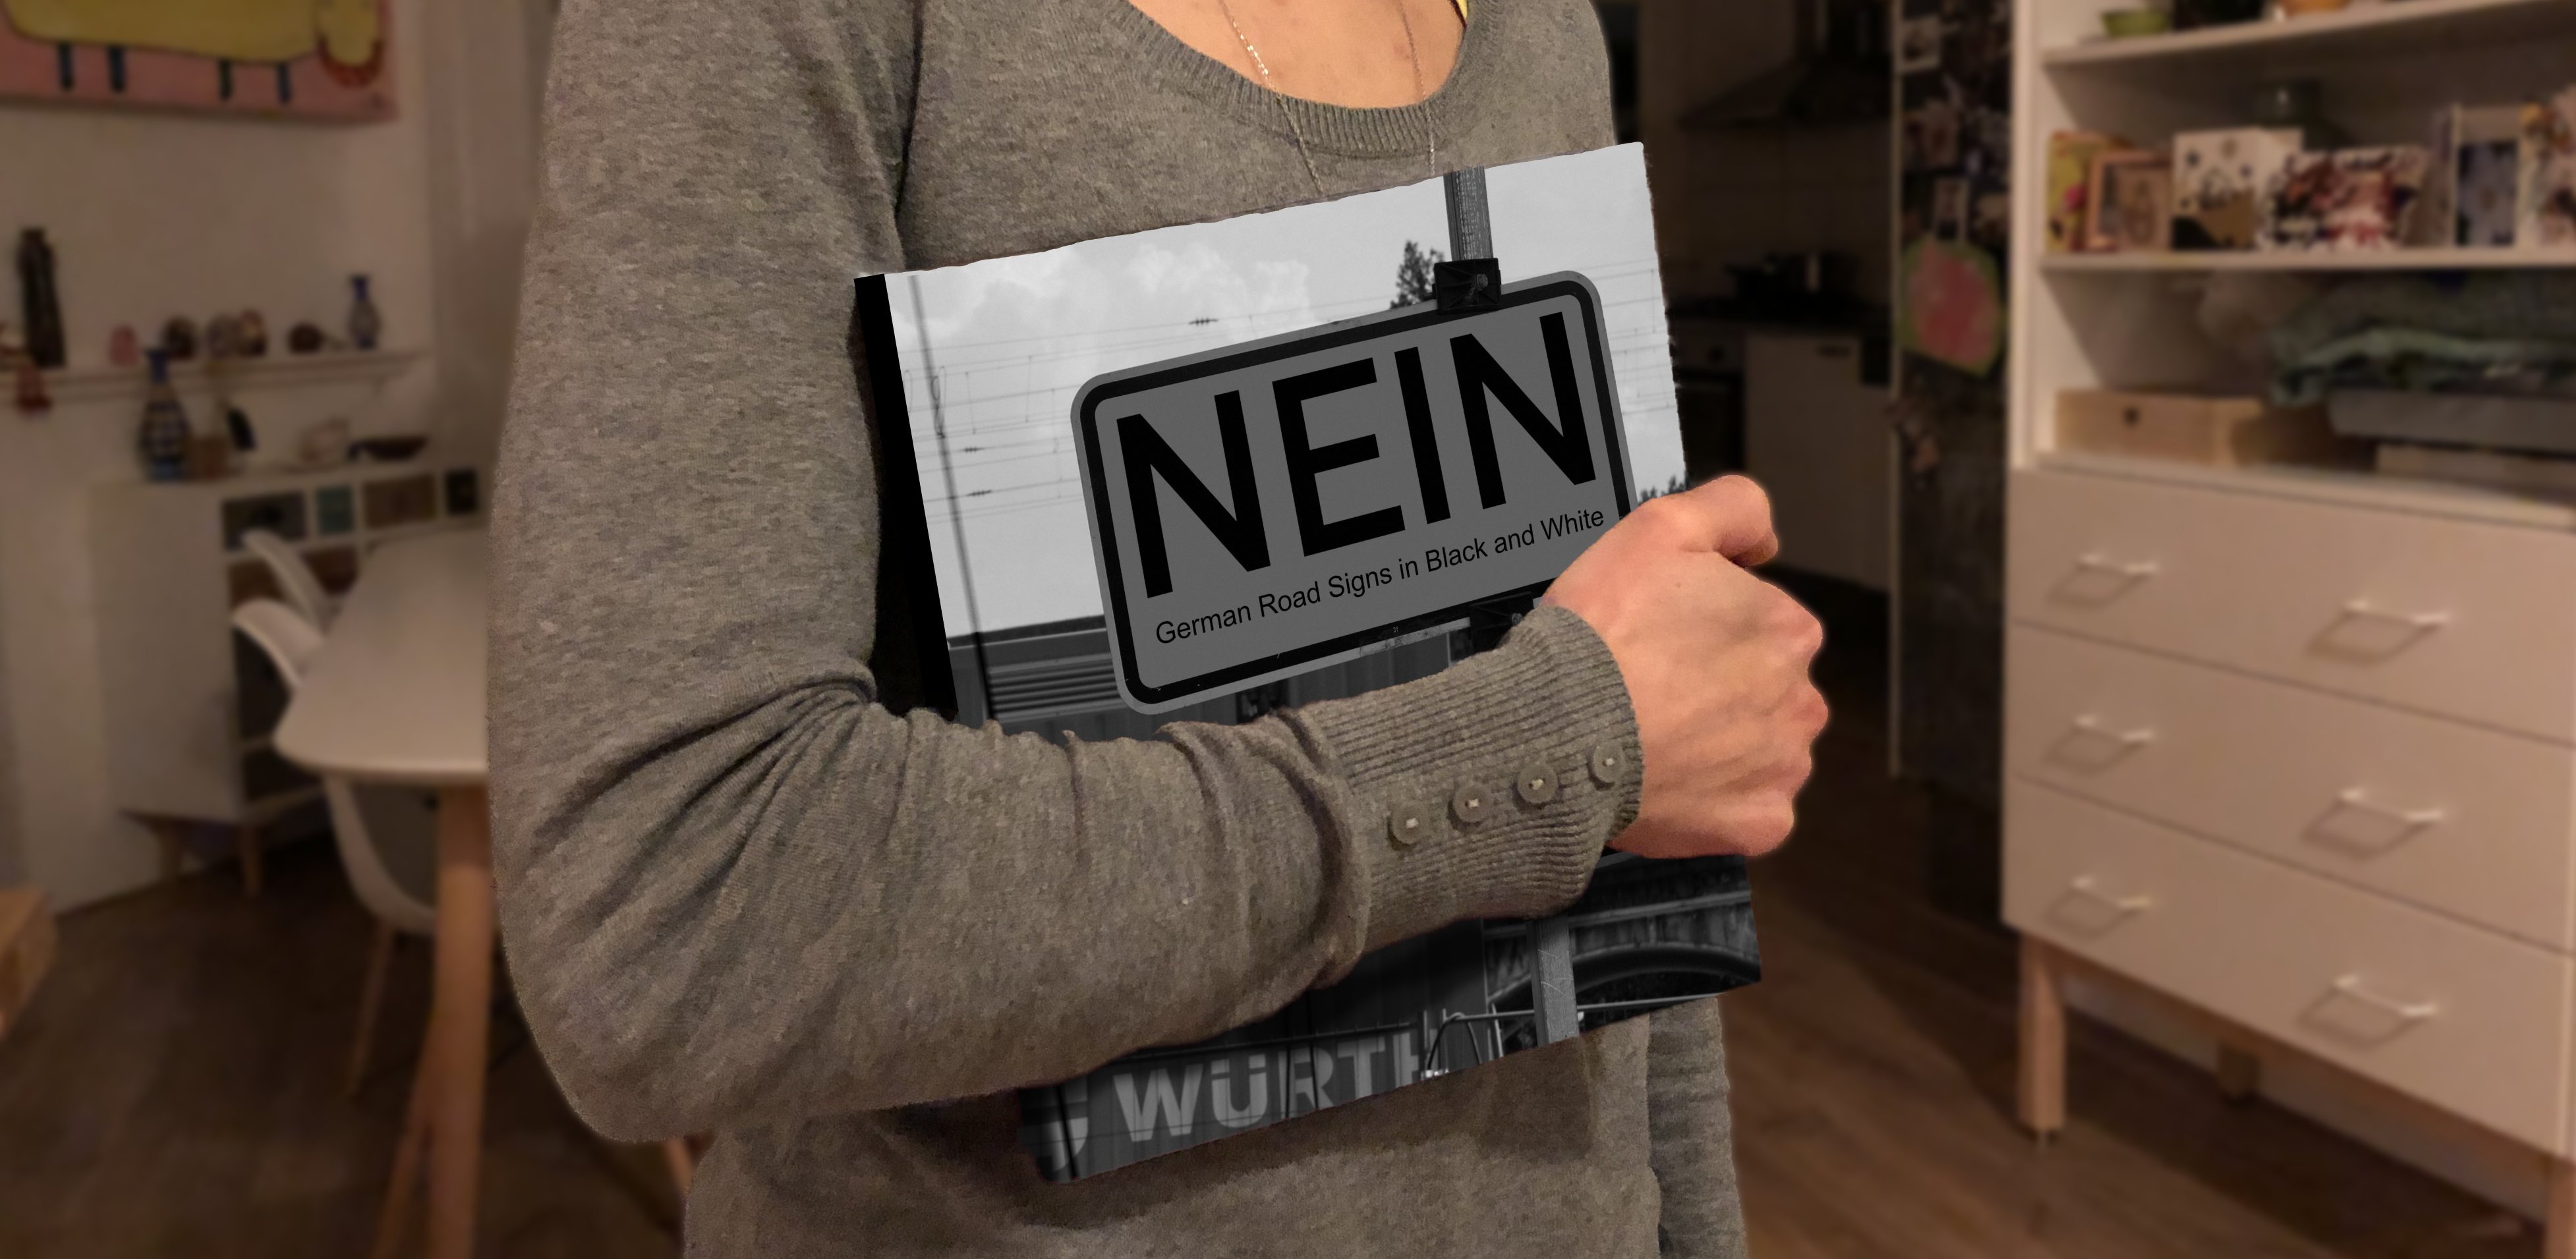
Just for fun I made some photos of German signs and converted them to hard black-and-white. I even made some book-mockups (10 points if you can see which book I used as stand-in ). Looking forward to hear your feedback! The mockups are made with affinity, some black-white conversions where done with the Apple-Photos plugin of Affinity. I've added the mockups below, some more info is in my blog-post and all black-and-white-photos are here.
-
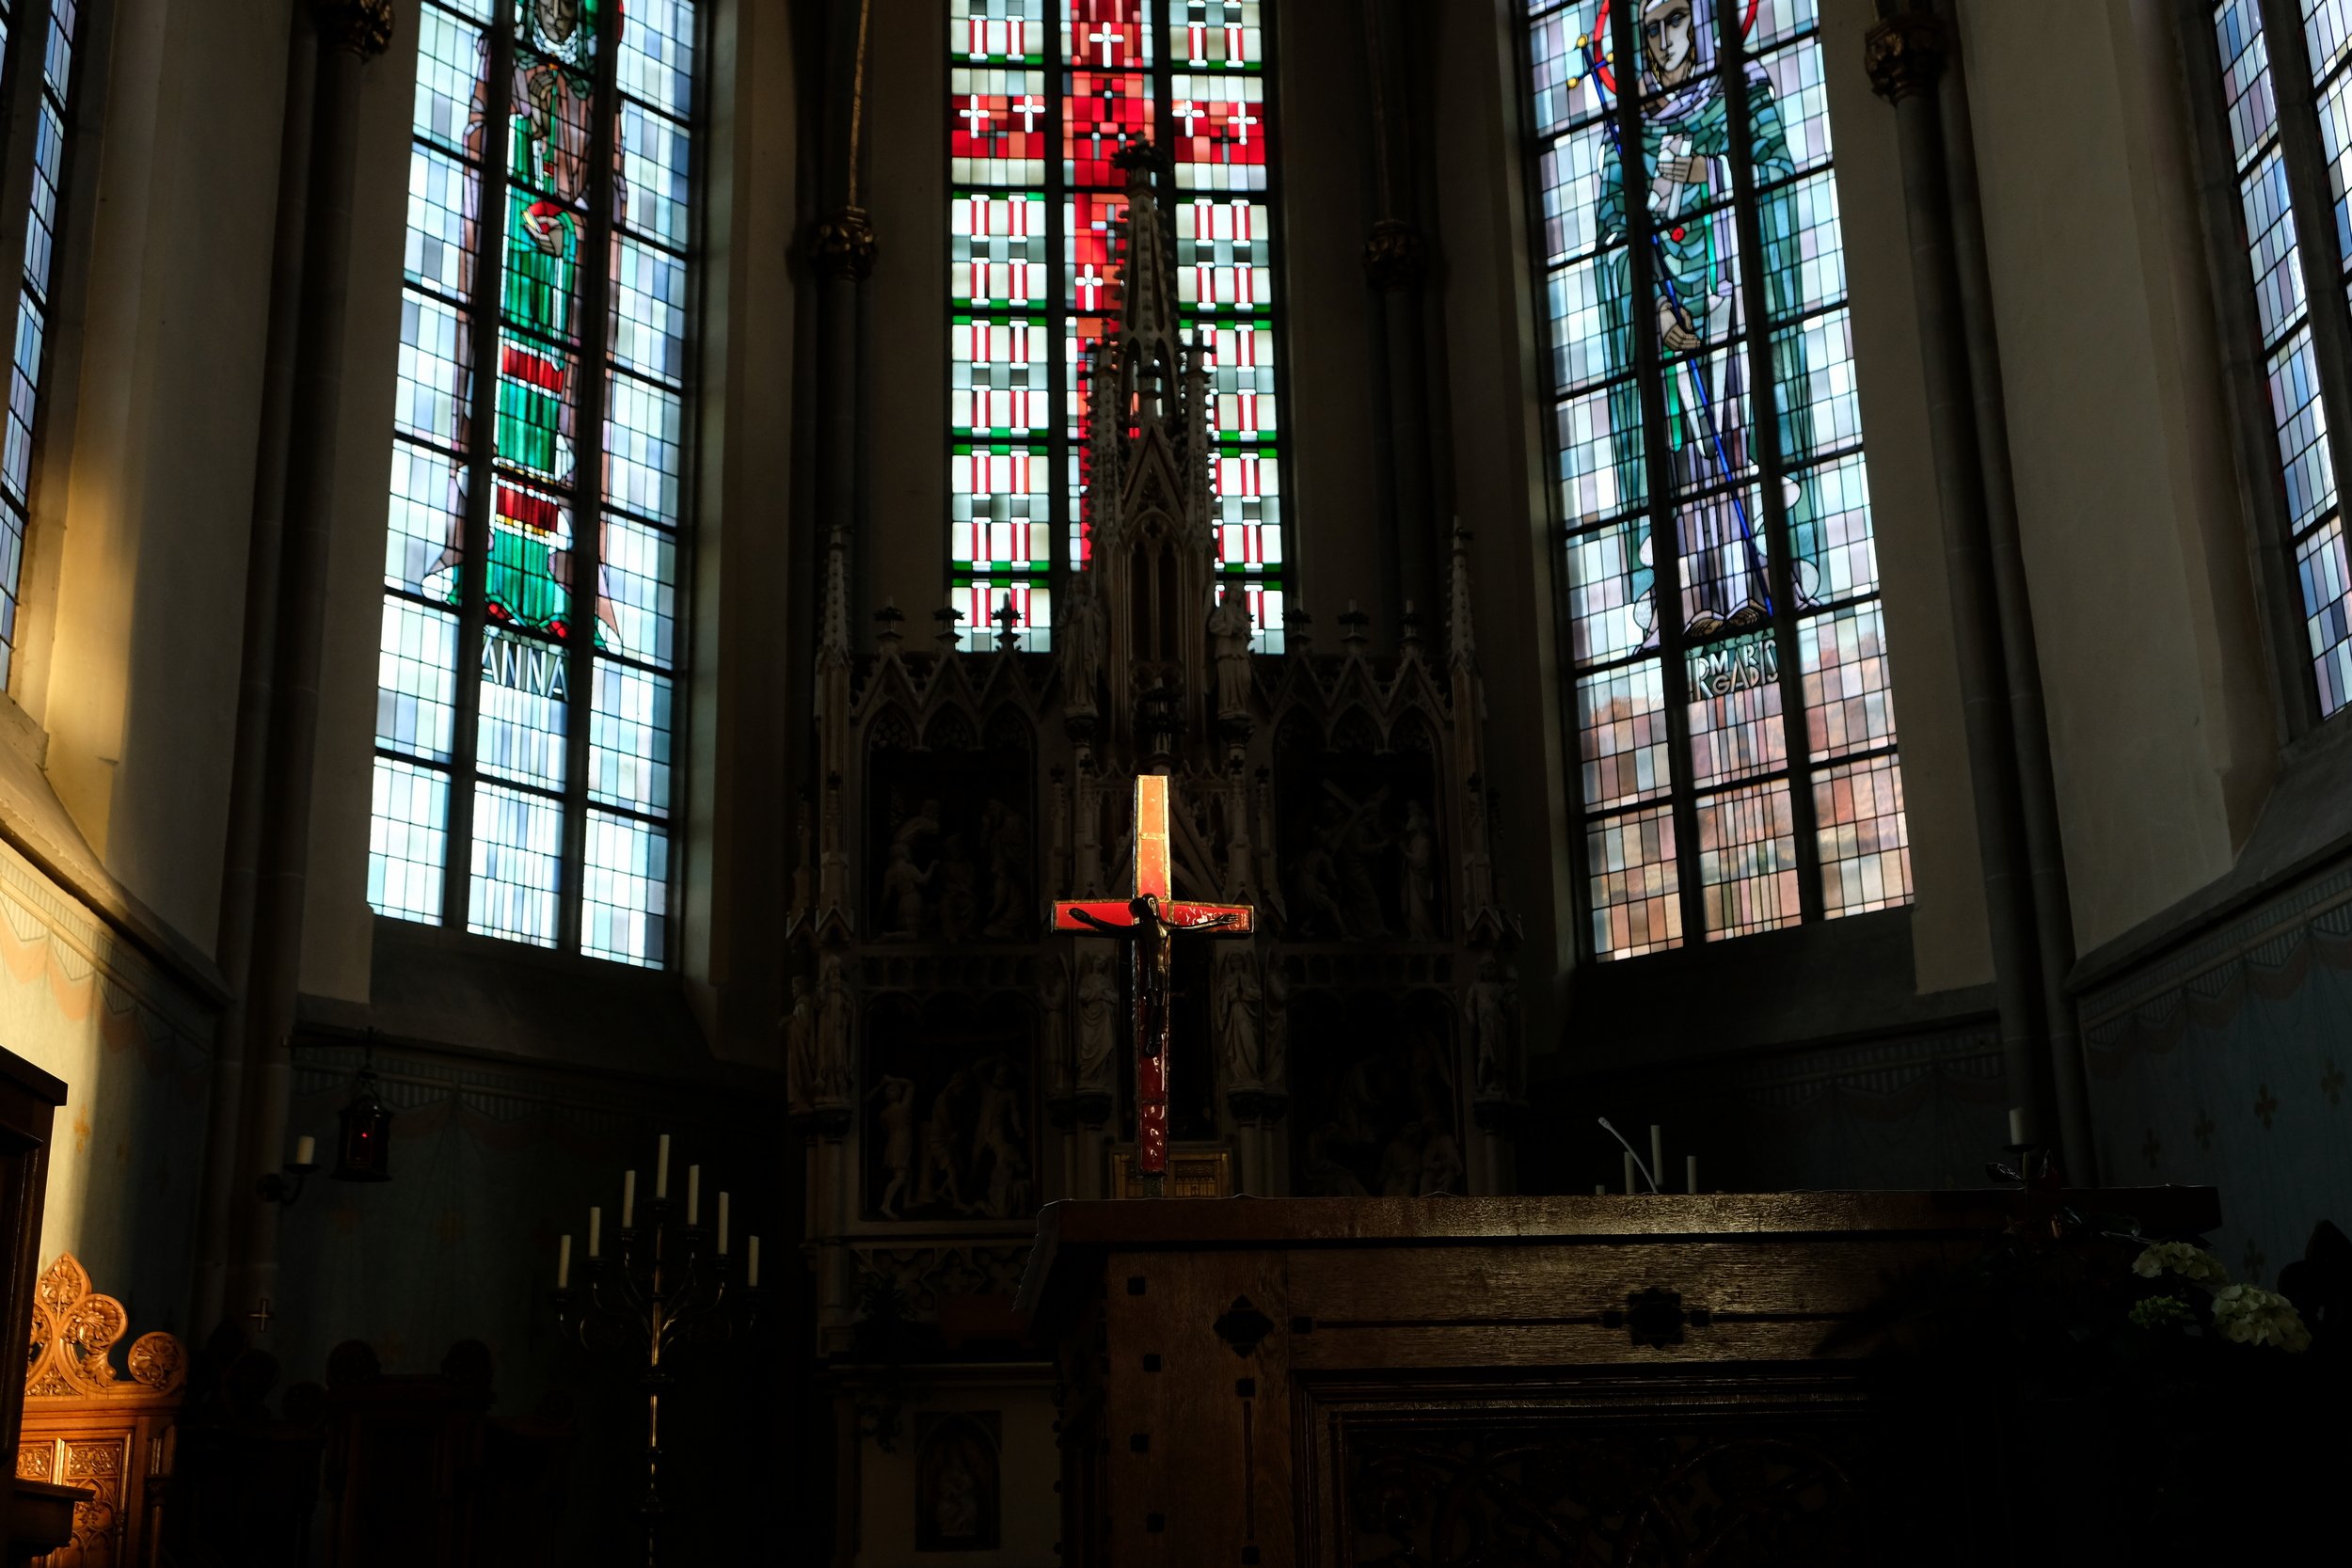
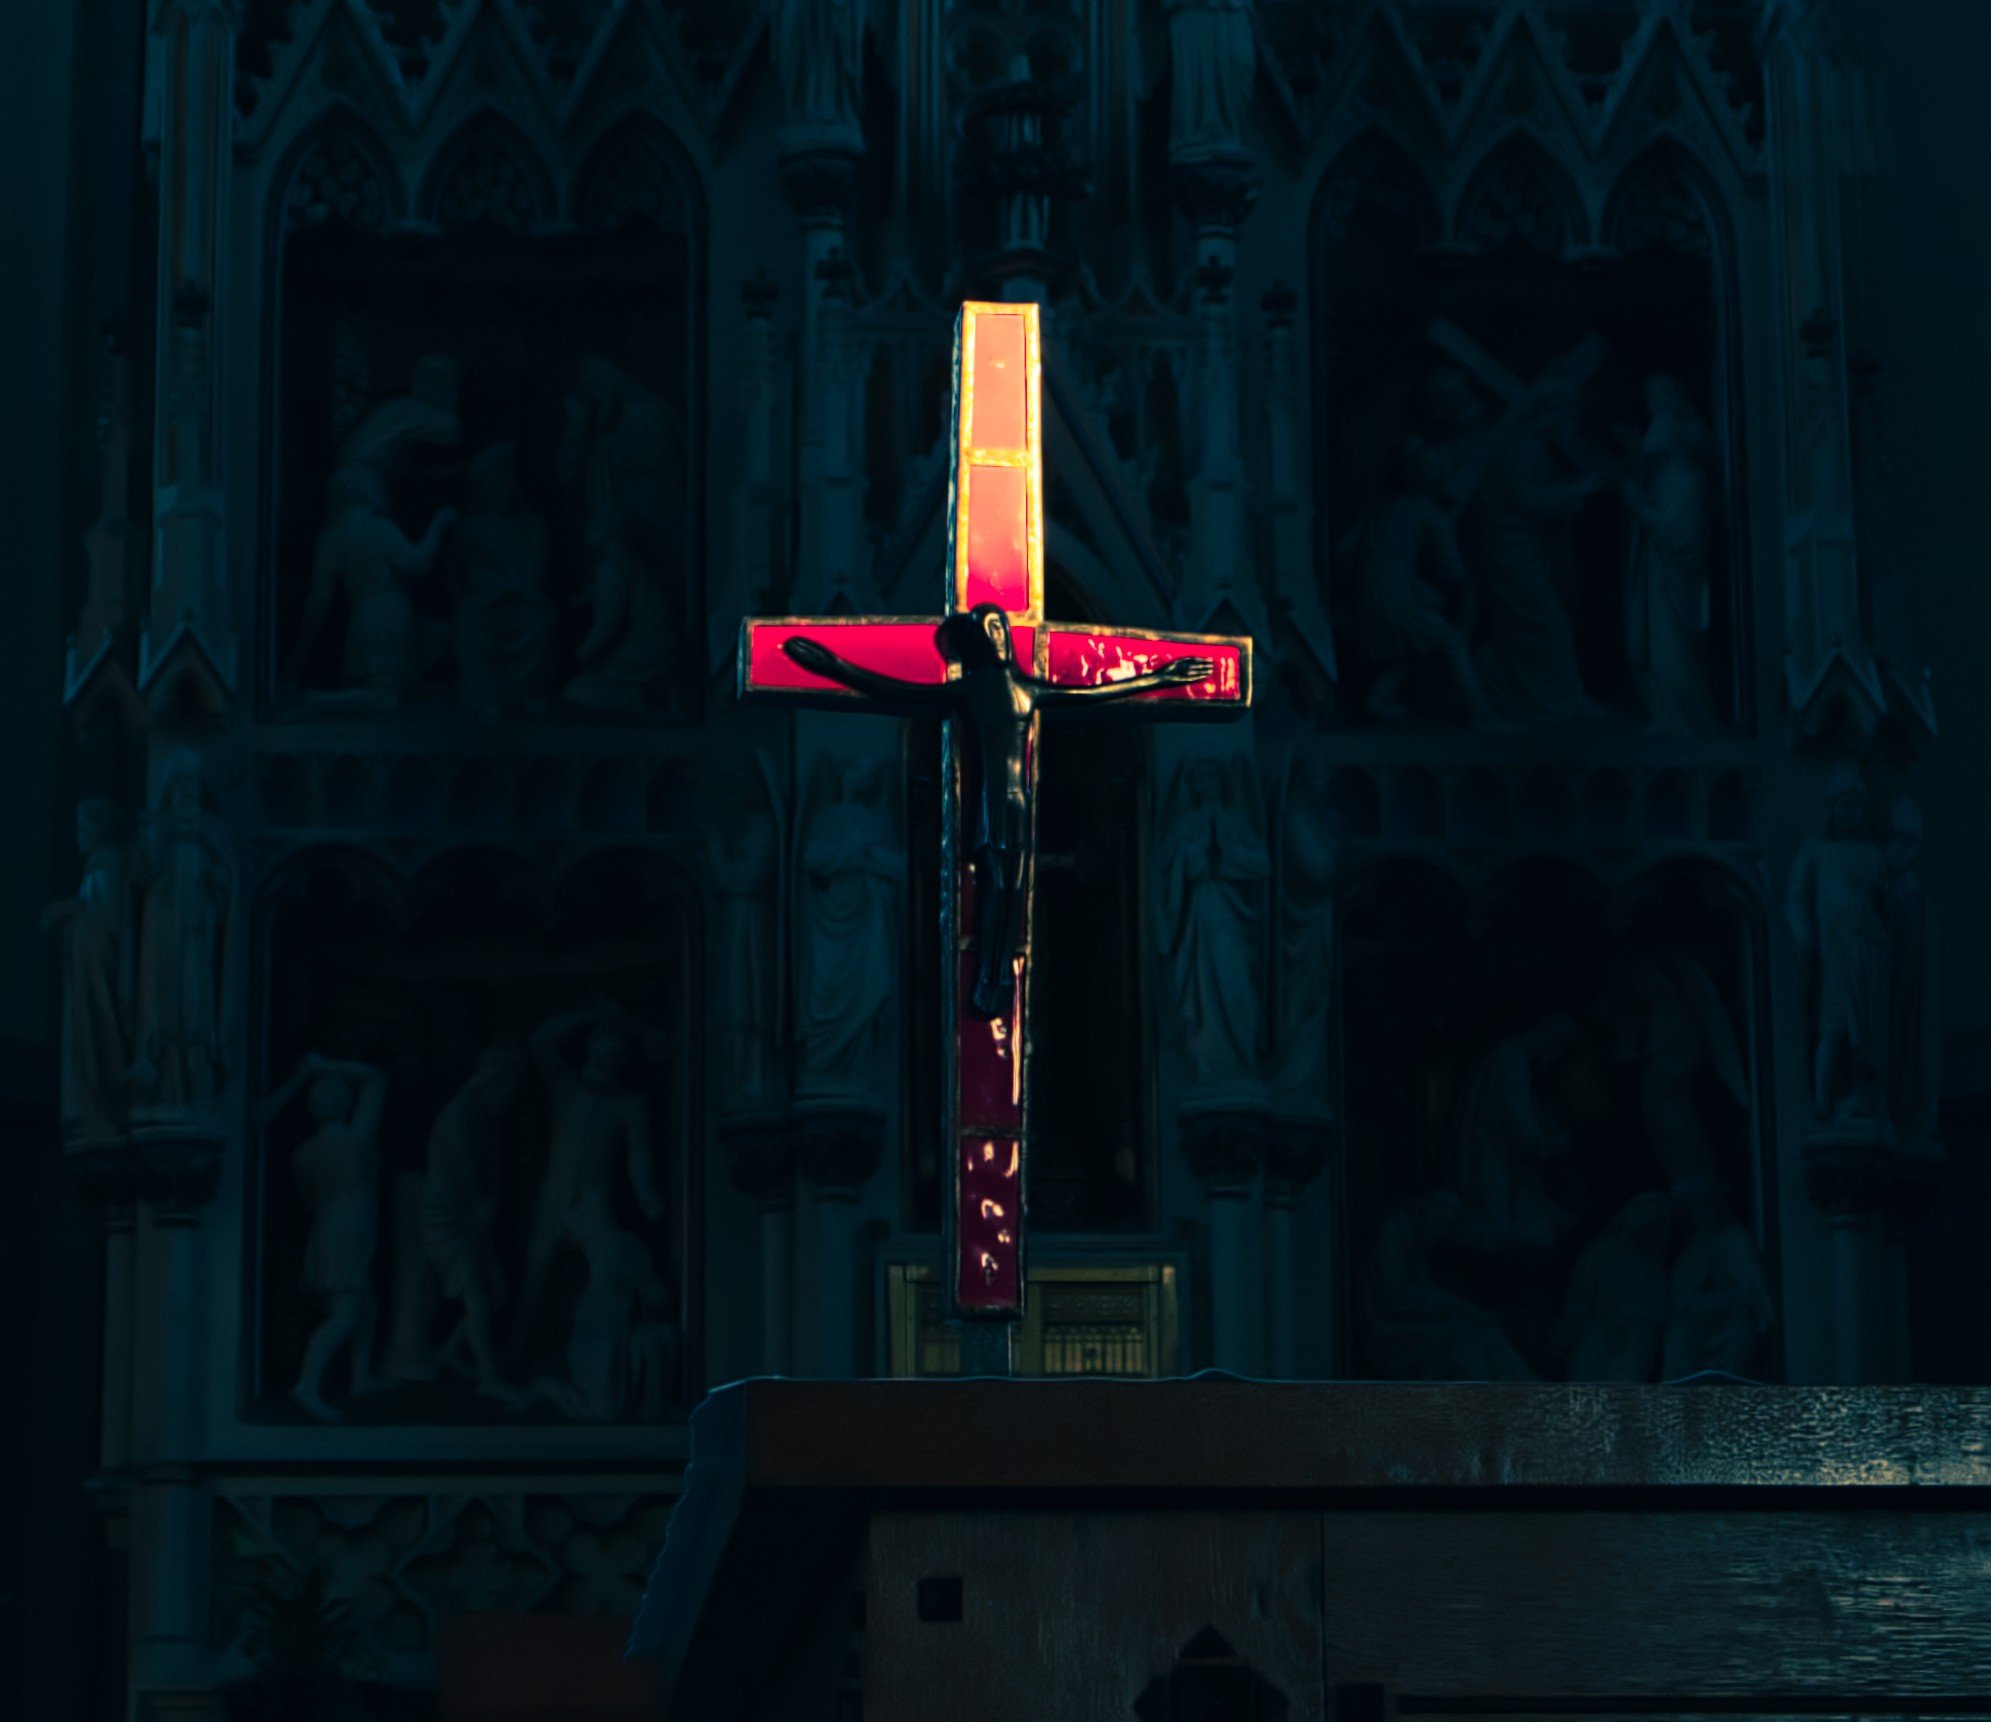
First, I found Look Up Tables pretty boring and useless. I changed my mind. Two pictures of the "St. Georg" church in Haldern, Germany, before and after LUT application and some more editing. Fujifilm X-T20 + Fujinon XF 18 – 55 mm
-
 Hey, just a quick question. There are some mobile laptops/tablets that support being on a 4G LTE network but run using an ARM-based processor. Are there any plans to have Affinity Photo and Designer be compatible with that type of processor since it is more mobile than a typical laptop?
- 3 replies
-
- 2
-

-
-
- arm
- affinity photo
- (and 3 more)
-
This image of the Patagonia Logo was created from 18 separate 26MB jpgs, each taken with a Fuji X-T3 ( on a solid tripod, at1/250sec), a Fujinon XF80mm f/2.8 Macro at f/8, and a Godox AD200 strobe at 1/2 power (with barndoors) bounced off a 10' white ceiling. After the merge in Affinity, I save and export as a .tif. Some final post-processing and file reduction is done in photoshop, prior to publication on my site at www.totalqualityphoto.com. Affinity Photo works flawlessly with my iMac. Thank you!
-
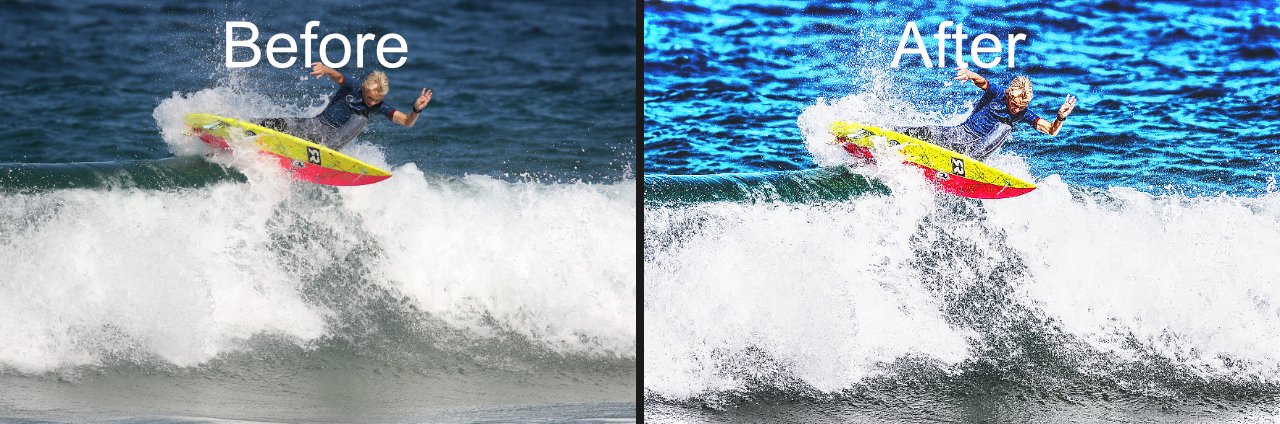
 In this video, We will learn, How to restore color contrast easily in just a few seconds with Affinity Photo. I hope you will love this video.
-
- 1
-
-
- affinity tutorials
- easy way
- (and 3 more)
-
 Can we have industry standard - Illustrator/Vectronator/Inkscape name it. Brush selection? For me as a user would be good to change my brushes FASTER. Now when I'm drawing with a brush I need to unselect everything and go to the brush settings panel to change it. Would be much better to change a brush with a selection tool. When I select something brush changes automatically to the selected object - like it does on illustrator and other industry standard software. And maybe I don't understand something, why you've decided to complicate UX so much and why it is so unintuitive. Its the worst "feature" of your software and it's stealing my time and efficiency!!. Its so ODD. Why?
 -
 Using the CTL + Drag to clone objects produces multiple clones when it should just make one duplicate. CTL Drag Clone.wmv
 -
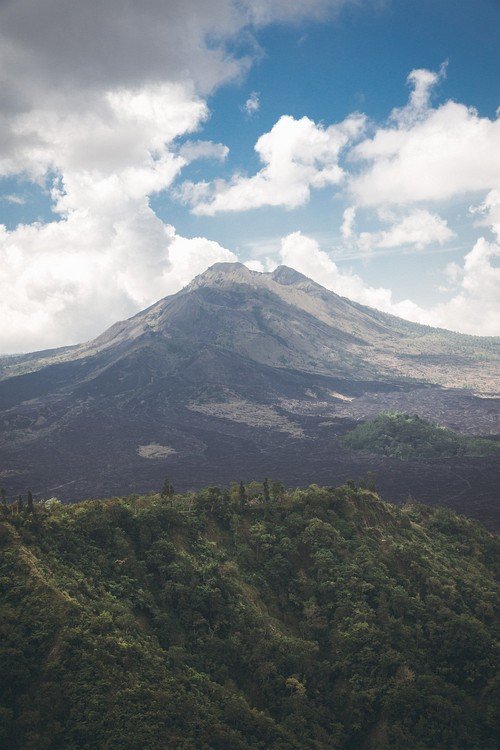
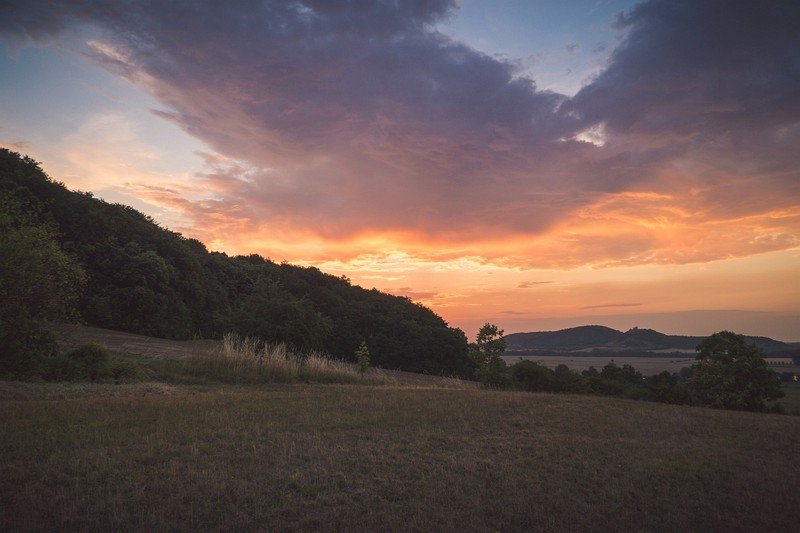
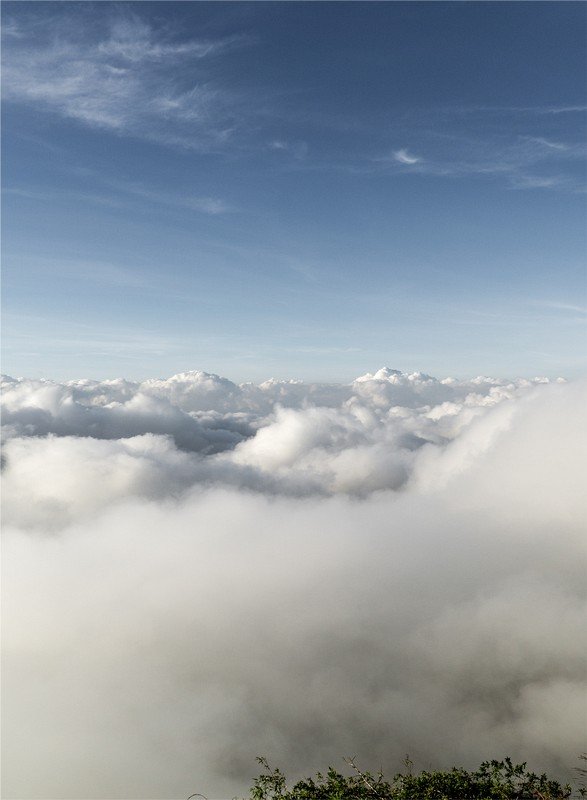
Hey folks, back again with a small composite made of three photos from last year's trip to Bali and some burning sky stuff I shot during summer. Result: It could need some more finetuning for sure, but I am pretty happy with how it turned out. What do you think? Sources: Cheers, Marc
-
Used Affinity Photo.
-
In this video, We are going to show you, How to apply gradient color lighting effect on a landscape photograph in Affinity Photo. In this tutorial, I used some HSL adjustment with blend mode as "Add" and fill gradient color using Gradient Tool. I hope you like this video. Thank You. #affinitytuts #affinityphoto #photomanipulation
-
- 3
-
-
- affinity photo
- photo manipulation
- (and 2 more)
-
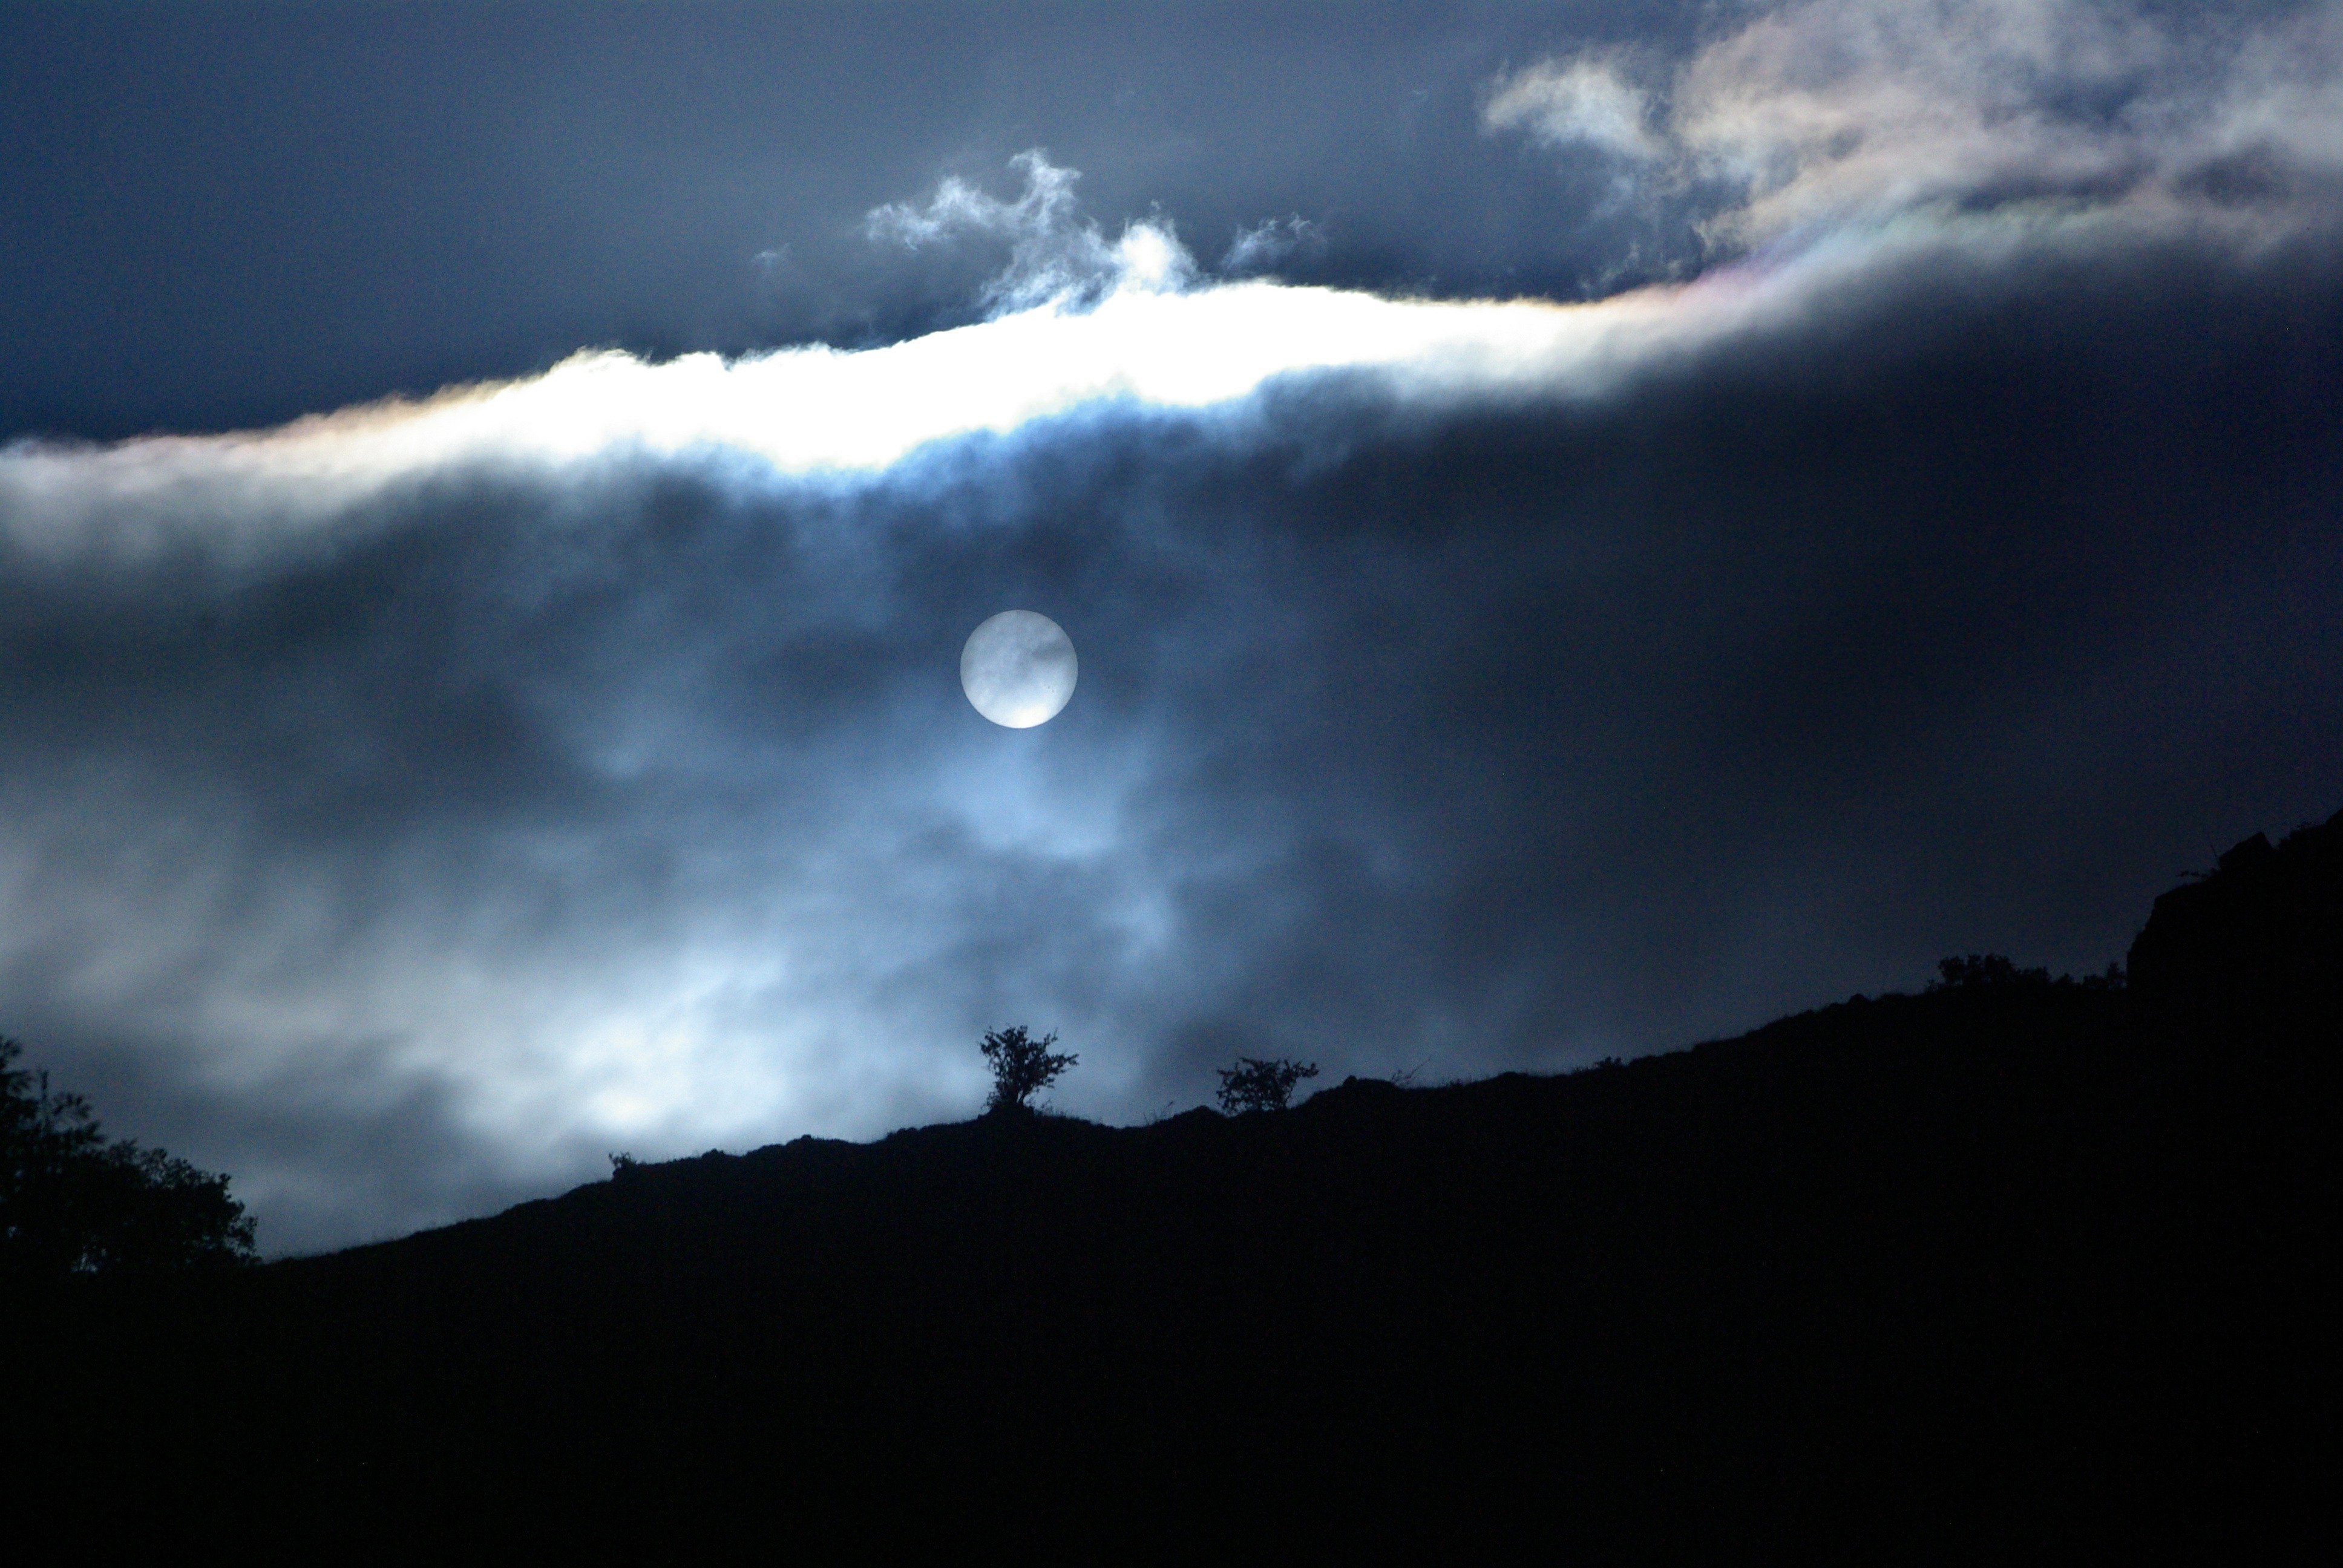
A screen shot, from an Osprey Cam, in Maine, this morning
-
Very dramatic!
-
 I was doing some experimenting with Affinity Photo. There are so many ways to do things and workflows. Also, everything is objective as far as taste. It's hard to tell if what I am making is good or not. Sometimes it feels like I'm just pressing buttons. I would appreciate your feedback. I am just starting out with photo editing. Some of you pros out there can help me develop my skills. Warwick_BA.afphoto