Search the Community
Showing results for tags 'Affinity photo'.
-
 Hi affinity photo often crashes on iPad with random tasks, one that ha-pens every time is when I choose multiple raw images from iPhoto’s and try to focus stack them. How it goes is 1. Open affinity photo 2. Click new document with focus stack 3. Select raw images to stack from photos 4. Apply.......shows processing .....then.....crash... no matter how many times u try and no matter how many files u choose even if it’s just 3 files it won’t work. it’s really sad that this happens... also u need to make some way for being able to manually adjust focus stack after its done. In the past once u focus stack the images it shows as just one image in affinity photo. It’ll be great if it comes as layers and then we can manually make adjustments if required..the AI in affinity is not the smartest...😊 FullSizeRender.mov
 -
This is a Polish car that was produced until 2002 (photo on the wall _) ... and my conceptual design from 2020 😊 Regards, Maciej

-
 I'm having trouble locating where the "Switch between Stroke/Fill (or Color 1/Color 2) color selectors (Color and Swatches panels)"/"Toggle Fill Content" in the Keyboard Shortcuts. The original shortcut is assigned to X. I want to assign it to a different key, but a warning triangle shows next to the shortcut, indicating X is already being used for "Toggle Fill Content", but I cannot find where this shortcut initially is located.
 -
In a recent posting @skitchy enquired about shifting pixels using Procedural Textures. I was not able to help, but I realised that you could perform an Affine Transformation (Filters > Distort > Affine) using Equations (Filters > Distort > Equations) instead. I used two parameters which control the horizontal shift and the vertical shift. Here is a photo before applying the macro: and after applying the macro: The horizontal shift was around a half, and the vertical shift about 0.8. Here are the equations: x= irem(x+a*w,w)y= irem(y+b*h,h) As I said, they do not do anything that the Affine Transformation would not do (in a macro), but I offer them here as an alternative which might be more convenient within the context of a more extended procedure. Here is the macro, and the macro library: Macro: Affine Transform.afmacro Library: Affine Transform.afmacros John
- 13 replies
-
- 2
-

-
- affine transform
- macro
- (and 1 more)
-
 Created this flag style logo on design on iPad. How do I make it look like it’s moving or give it ripped texture thanks in advance
-
Come check out the Speed Art! https://youtu.be/6Te59DlAE9M
- 2 replies
-
- 1
-
-
- affinity photo
- affinity designer
- (and 1 more)
-
 Hallo, nach dem Erstellen einer Maskierungsebne kann ich diese nachträglich nicht mehr durch einen einzeln Klick auswählen. Es wird immer auch die darüberliegende mit ausgewählt. Ist das Vehalten so gewollt? Danke Almtaler
-
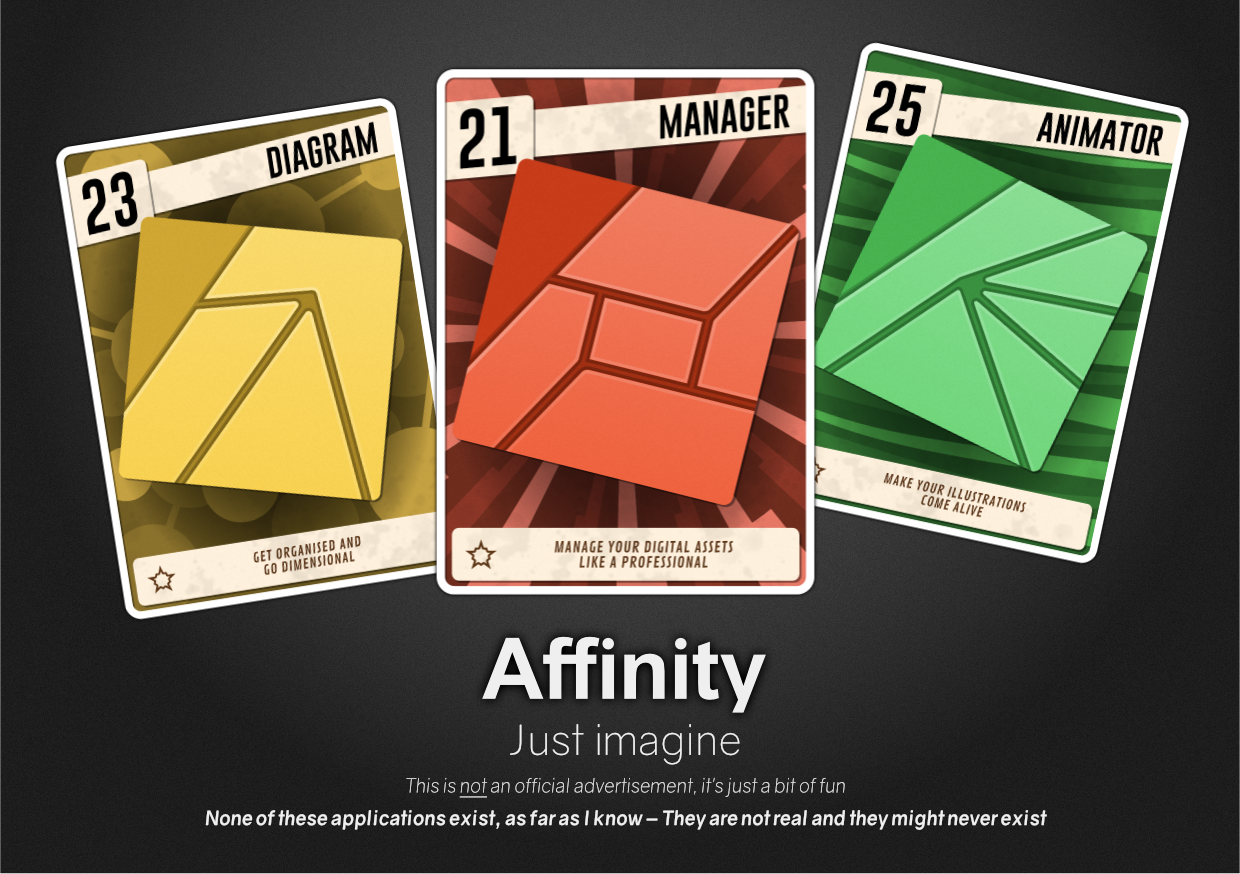
Here’s a little experiment I’ve been playing around with lately. Mostly done in Designer, with a little help from Photo. It’s not exactly how I imagined it was going to be at the start but I’m reasonably pleased with it. Useful suggestions and comments are welcome. If I get some good suggestions for improvements I might make an updated version. P.S. The ‘ratings’ on the cards are not meant to be any kind of critical review of the software. I just had to use different ‘scores’ to make it look a little bit more interesting. P.P.S. Kept getting a -200 error on upload so I had to upload a fairly low-res version.
-

affinity photo Back In Time . . . What Have We Thrown Away?
Smee Again posted a topic in Share your work
This is something I used to spend a lot of time with before my heart attack back in 2015 and it's a subject that is dear to my heart. This effort was done between phone calls today, so it was a rush job and I'll likely rework it when I can get a decent sized set of images. Some of the old architecture was so much more appealing than today's cookie cutter rubbish. Being born and raised in the New Orleans culture, there are lots of old structures that were removed to "modernize" the downtown area. by removing the old buildings that gave the city character and putting up some of the leggo looking structures that some folks see as an improvement. This is a composite of an image from the turn of the 20th century (Southern Railway Station at the corner of Canal St & Basin Street, New Orleans, LA), an image from Google Earth (taken from about the same point on Canal Street as the old image). I combined the images using layers and masking, then I added some "colorization to the building matching what I was told the building looked like(I purposely did not colorize the people in the old pic). I personally did not get to see it because it was torn down and hauled away in 1958, less than a year after my birth it was no more. On a side note, Basin street was a one lane road designed for carriages with parking on one side, thus the street along the building has been narrowed accordingly. Only posting it as it may inspire someone else to do similar work in order to remind people of what they've thrown away in the name of progress, maybe even convincing some modern architects that buildings can be beautiful --- it just takes a bit more work than drawing different size boxes and connecting them. .
-
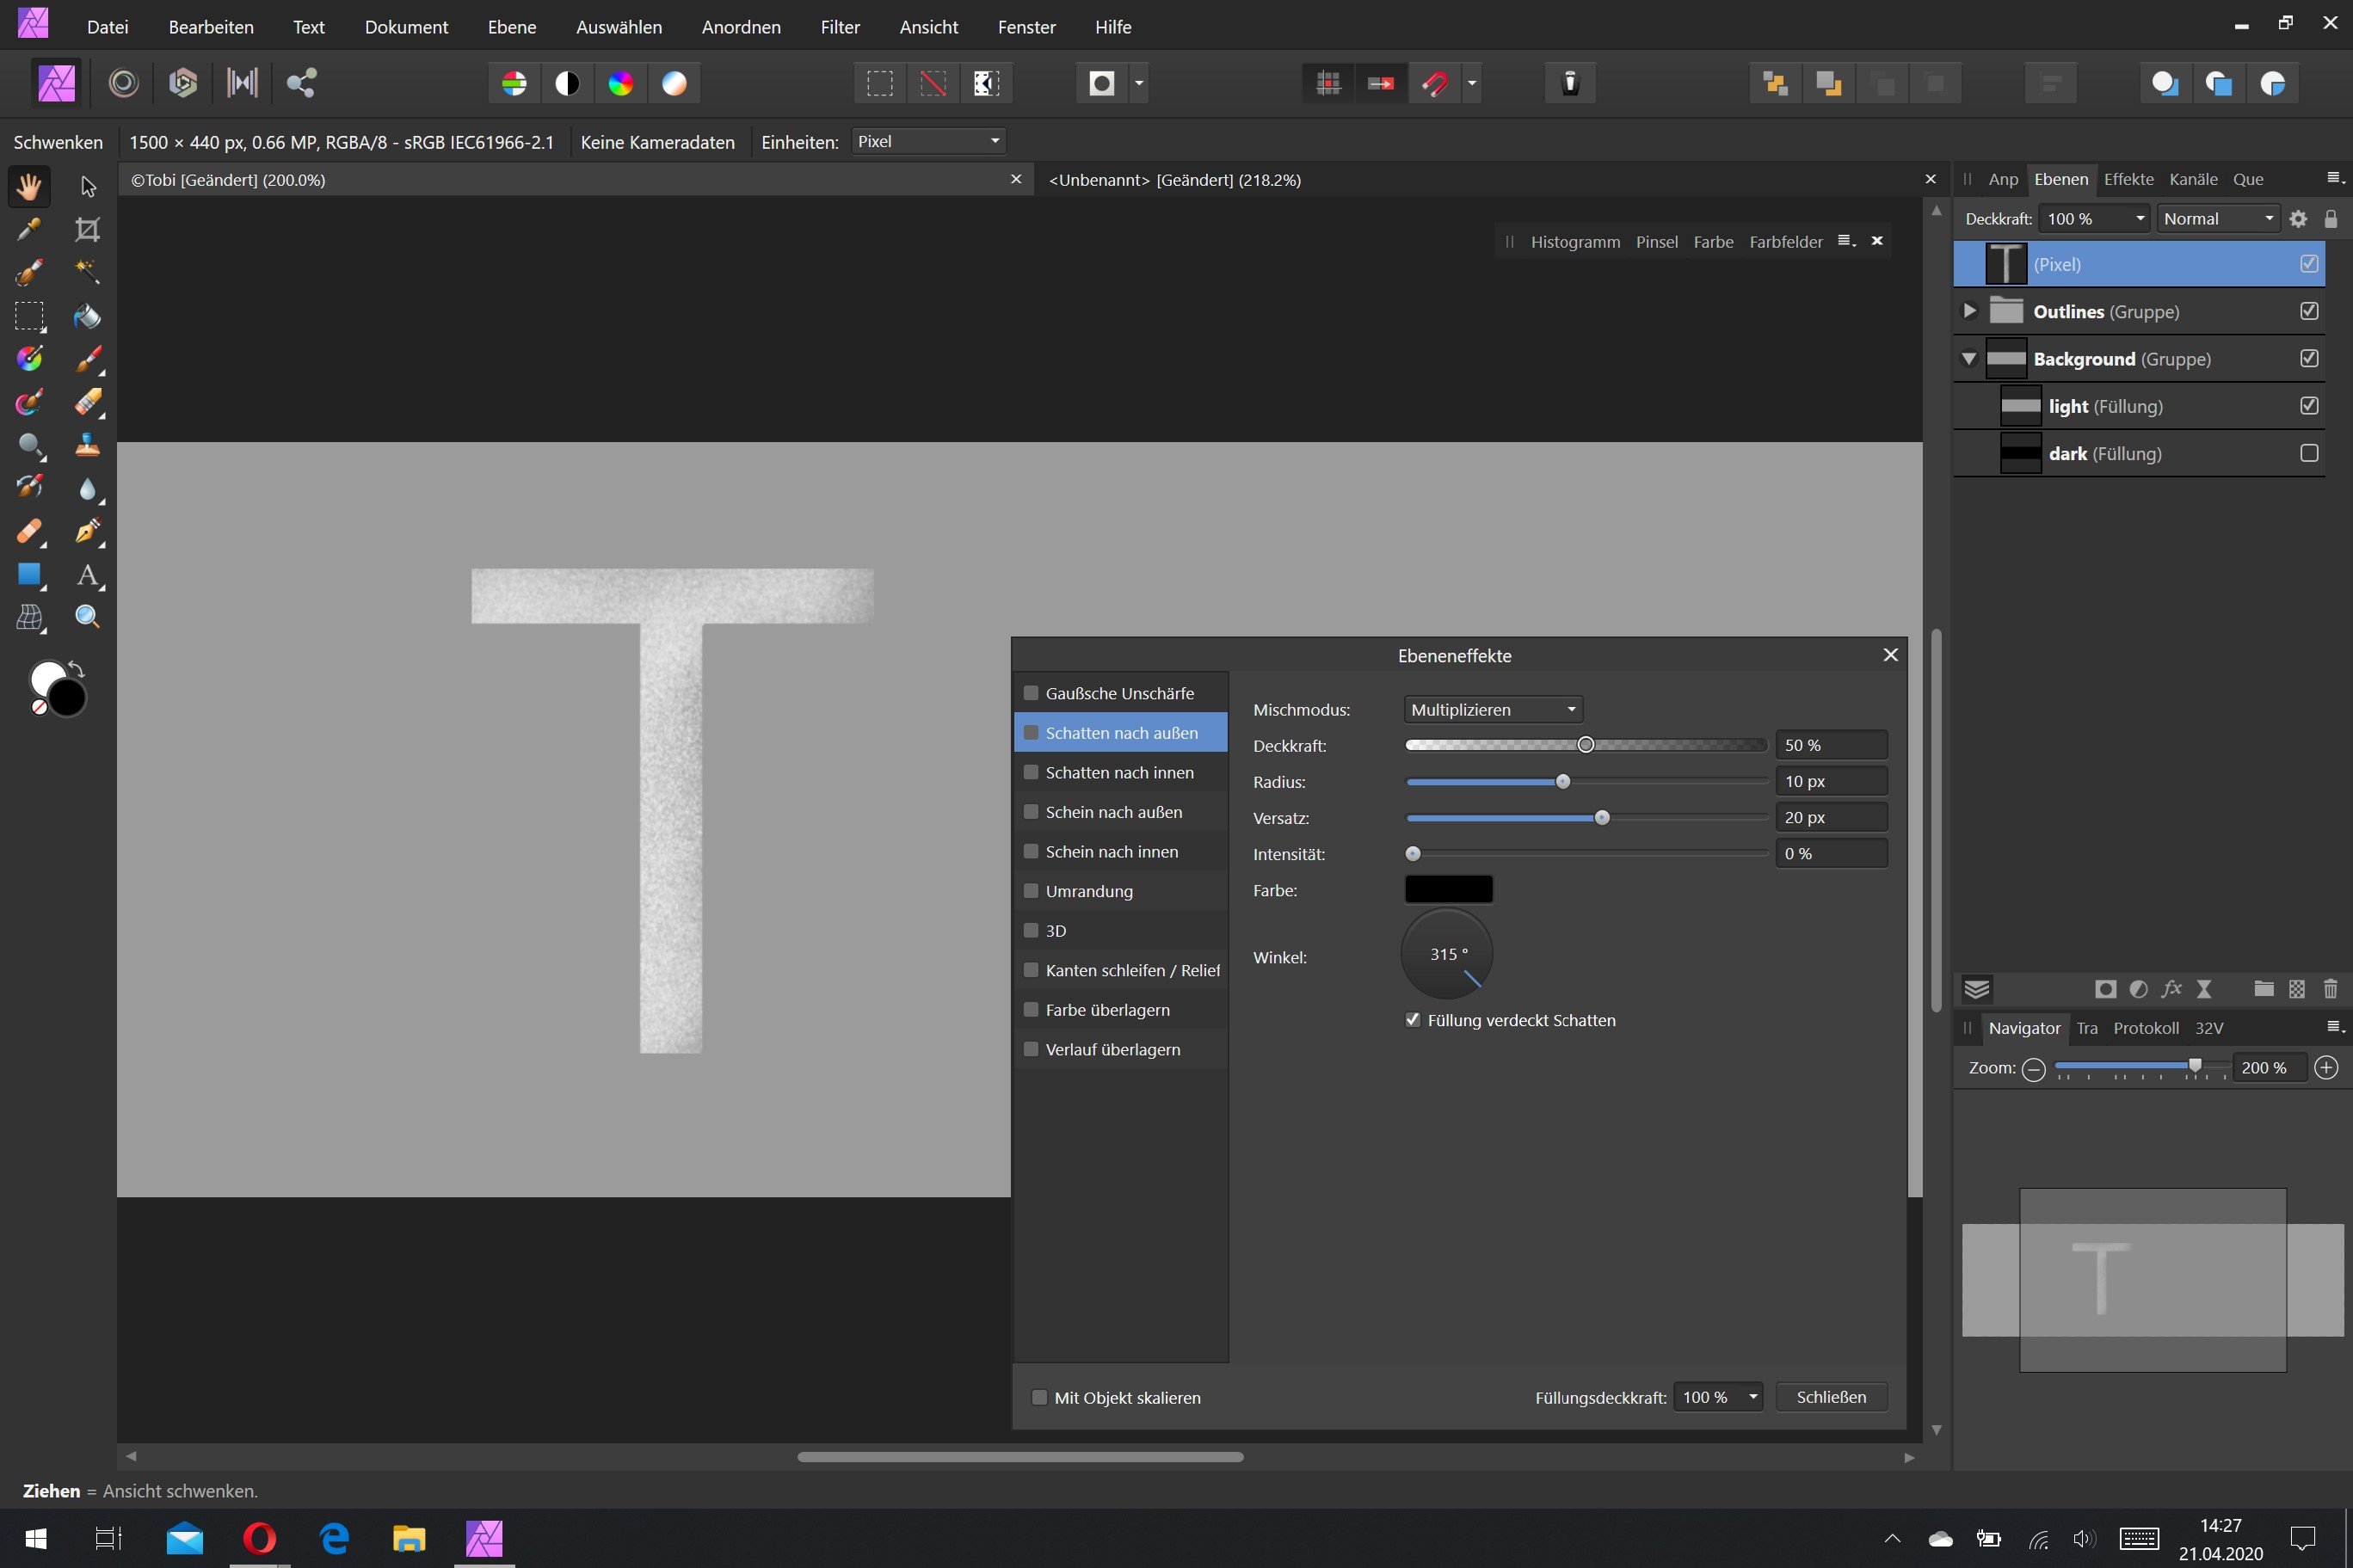
 Hi all, Having some issues in understanding, how the layer effect "outer shadow" works. According to the manual: "Fill knocks out shadow—when checked (default), if the fill is semi-transparent, the option prevents the effect from showing through the fill and contributing negatively." From that description I would assume: When drawing a fill, which is semi-transparent (e.g. a brush with soft edges or comparable) and not solid (e.g. plain white), the outer shadow should not shine through the semi-tansparent parts and should be only visible at the edges?! I tried this out on the latest version of AP on Windows in every possible way I could imagine, but it simply won't work for me. What I did: Painted some semi-transparent fill Go to the layer effects Choose "outer shadow" with: Radius: 10px Offset: 20px all other settings: Default, inklusing "fill knoks out shadow" (turned on) I can see the outer shadow (or drop shadow, if you like to call it like that), which is fine. BUT: I can see the shadow of the fill shining through the fill itself as well. Which is not fine.. Ticking the checkmark for the option "fill knocks out shadow" does not do anything, it's always looking the same way: shadow shines through the semi-transparent fill. So, either I am misunderstanding the way that effect/function works or I am simply doing something wrong here. In both cases: help is aapreciated very much! Thanks all and kind regards! Attached, some Screenshots: Just the semi-transparent fill (drawn with a brush), no shadow Outer Shadow turned on, with knock out option ON Outer Shadow turned on, with knock out option OFF
-
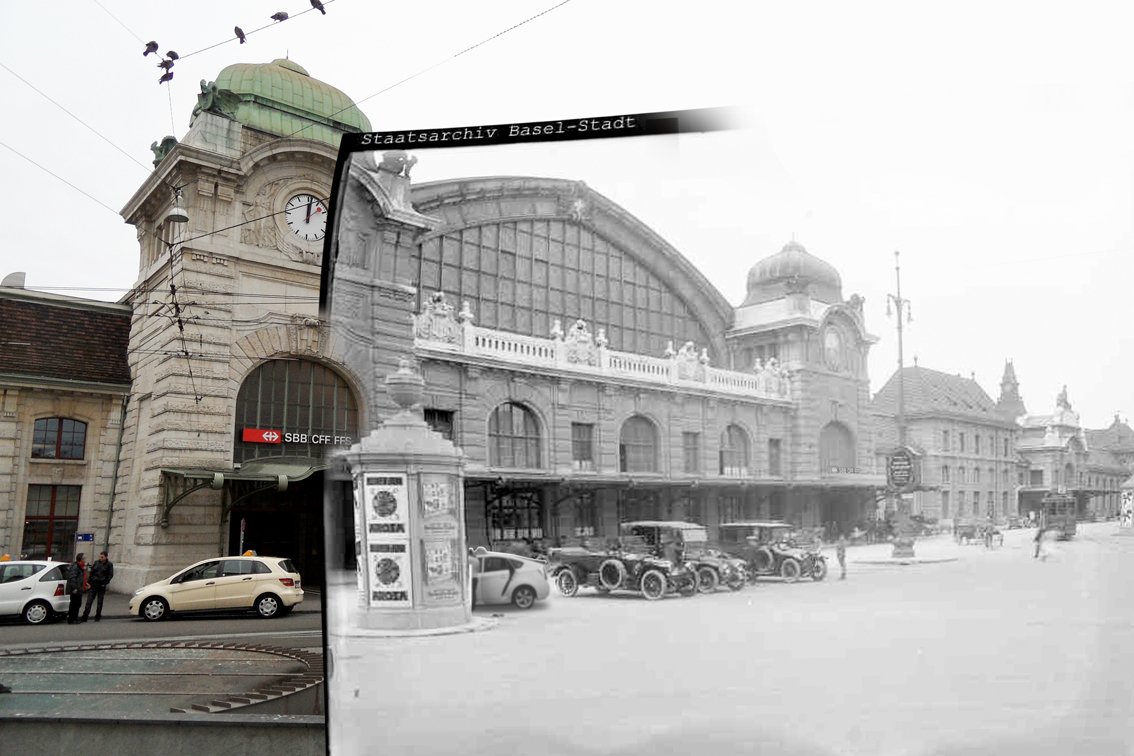
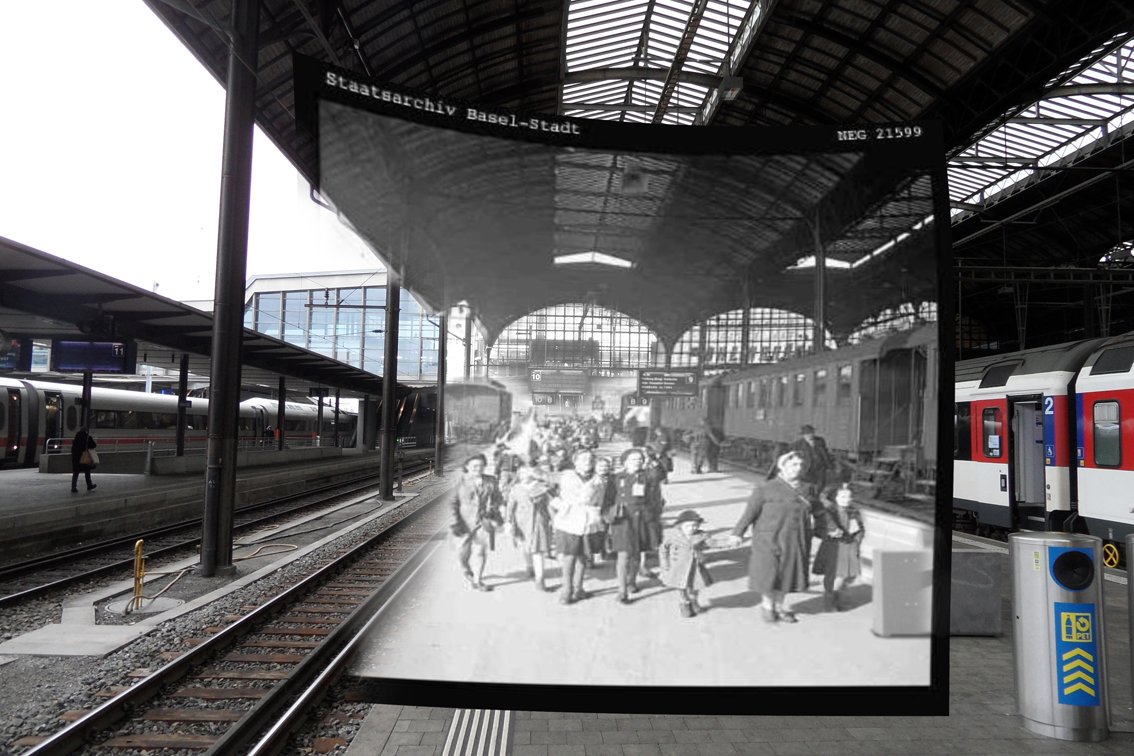
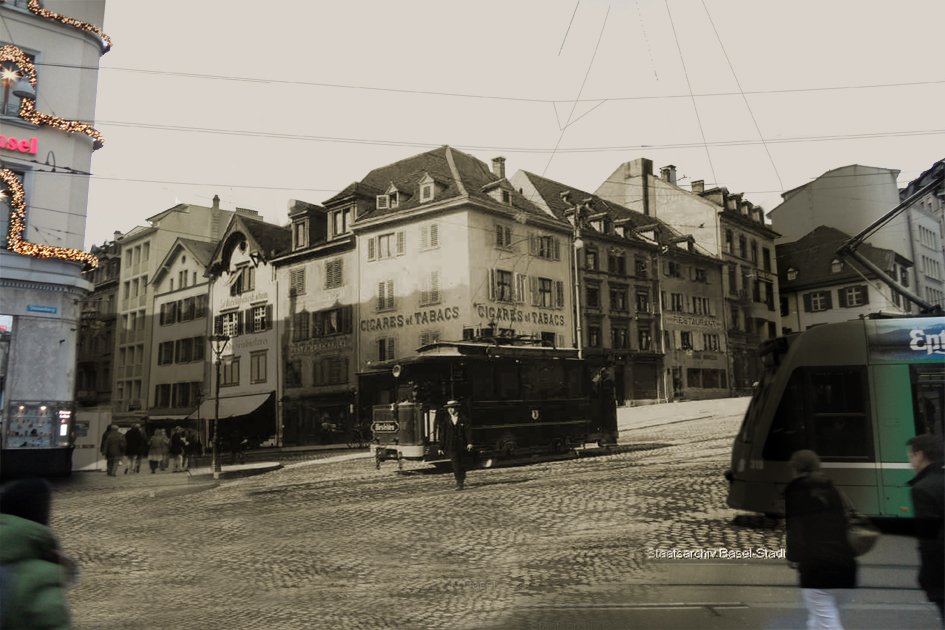
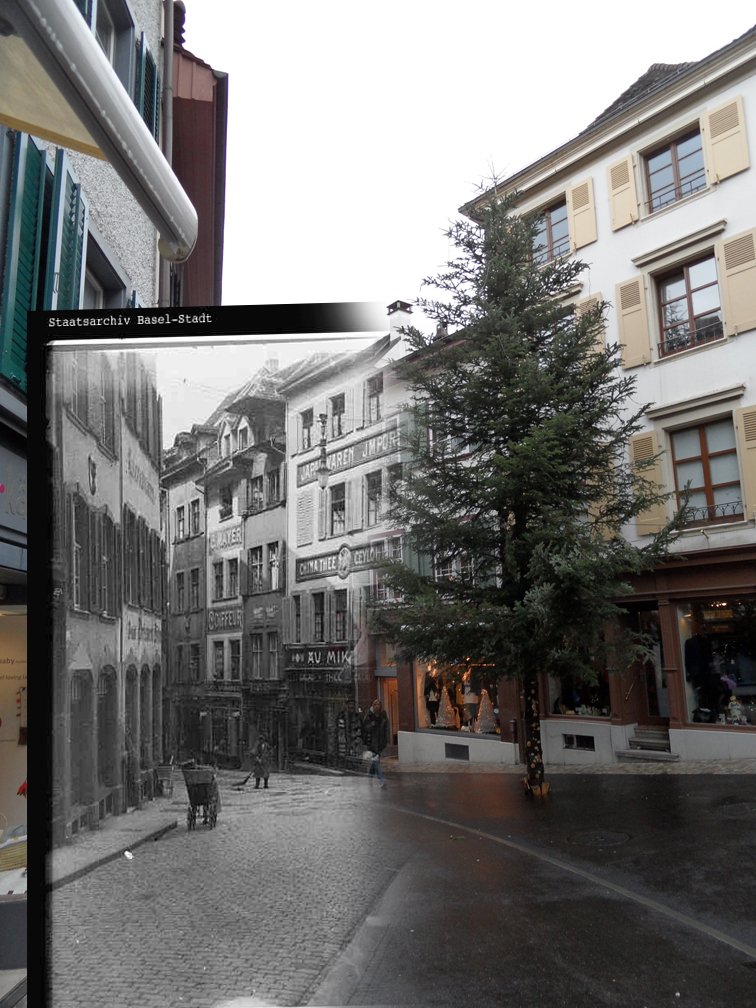
One thing that I like to do is a merge of old pictures into new ones. These are from the beautiful Swiss city of Basel. There in the Stadtarchiv you can find digitalized pictures and photographic collections by the oodle. Then it´s just a case of taking the new picture at the same angle and compensating for the different optical properties of the different camera´s used, in my case an i-phone in the case of the original photographer something out of a steampunks´ wildest dreams. To emphasize this I have left the distortion of the original image in the frame.
- 9 replies
-
- 12
-
-
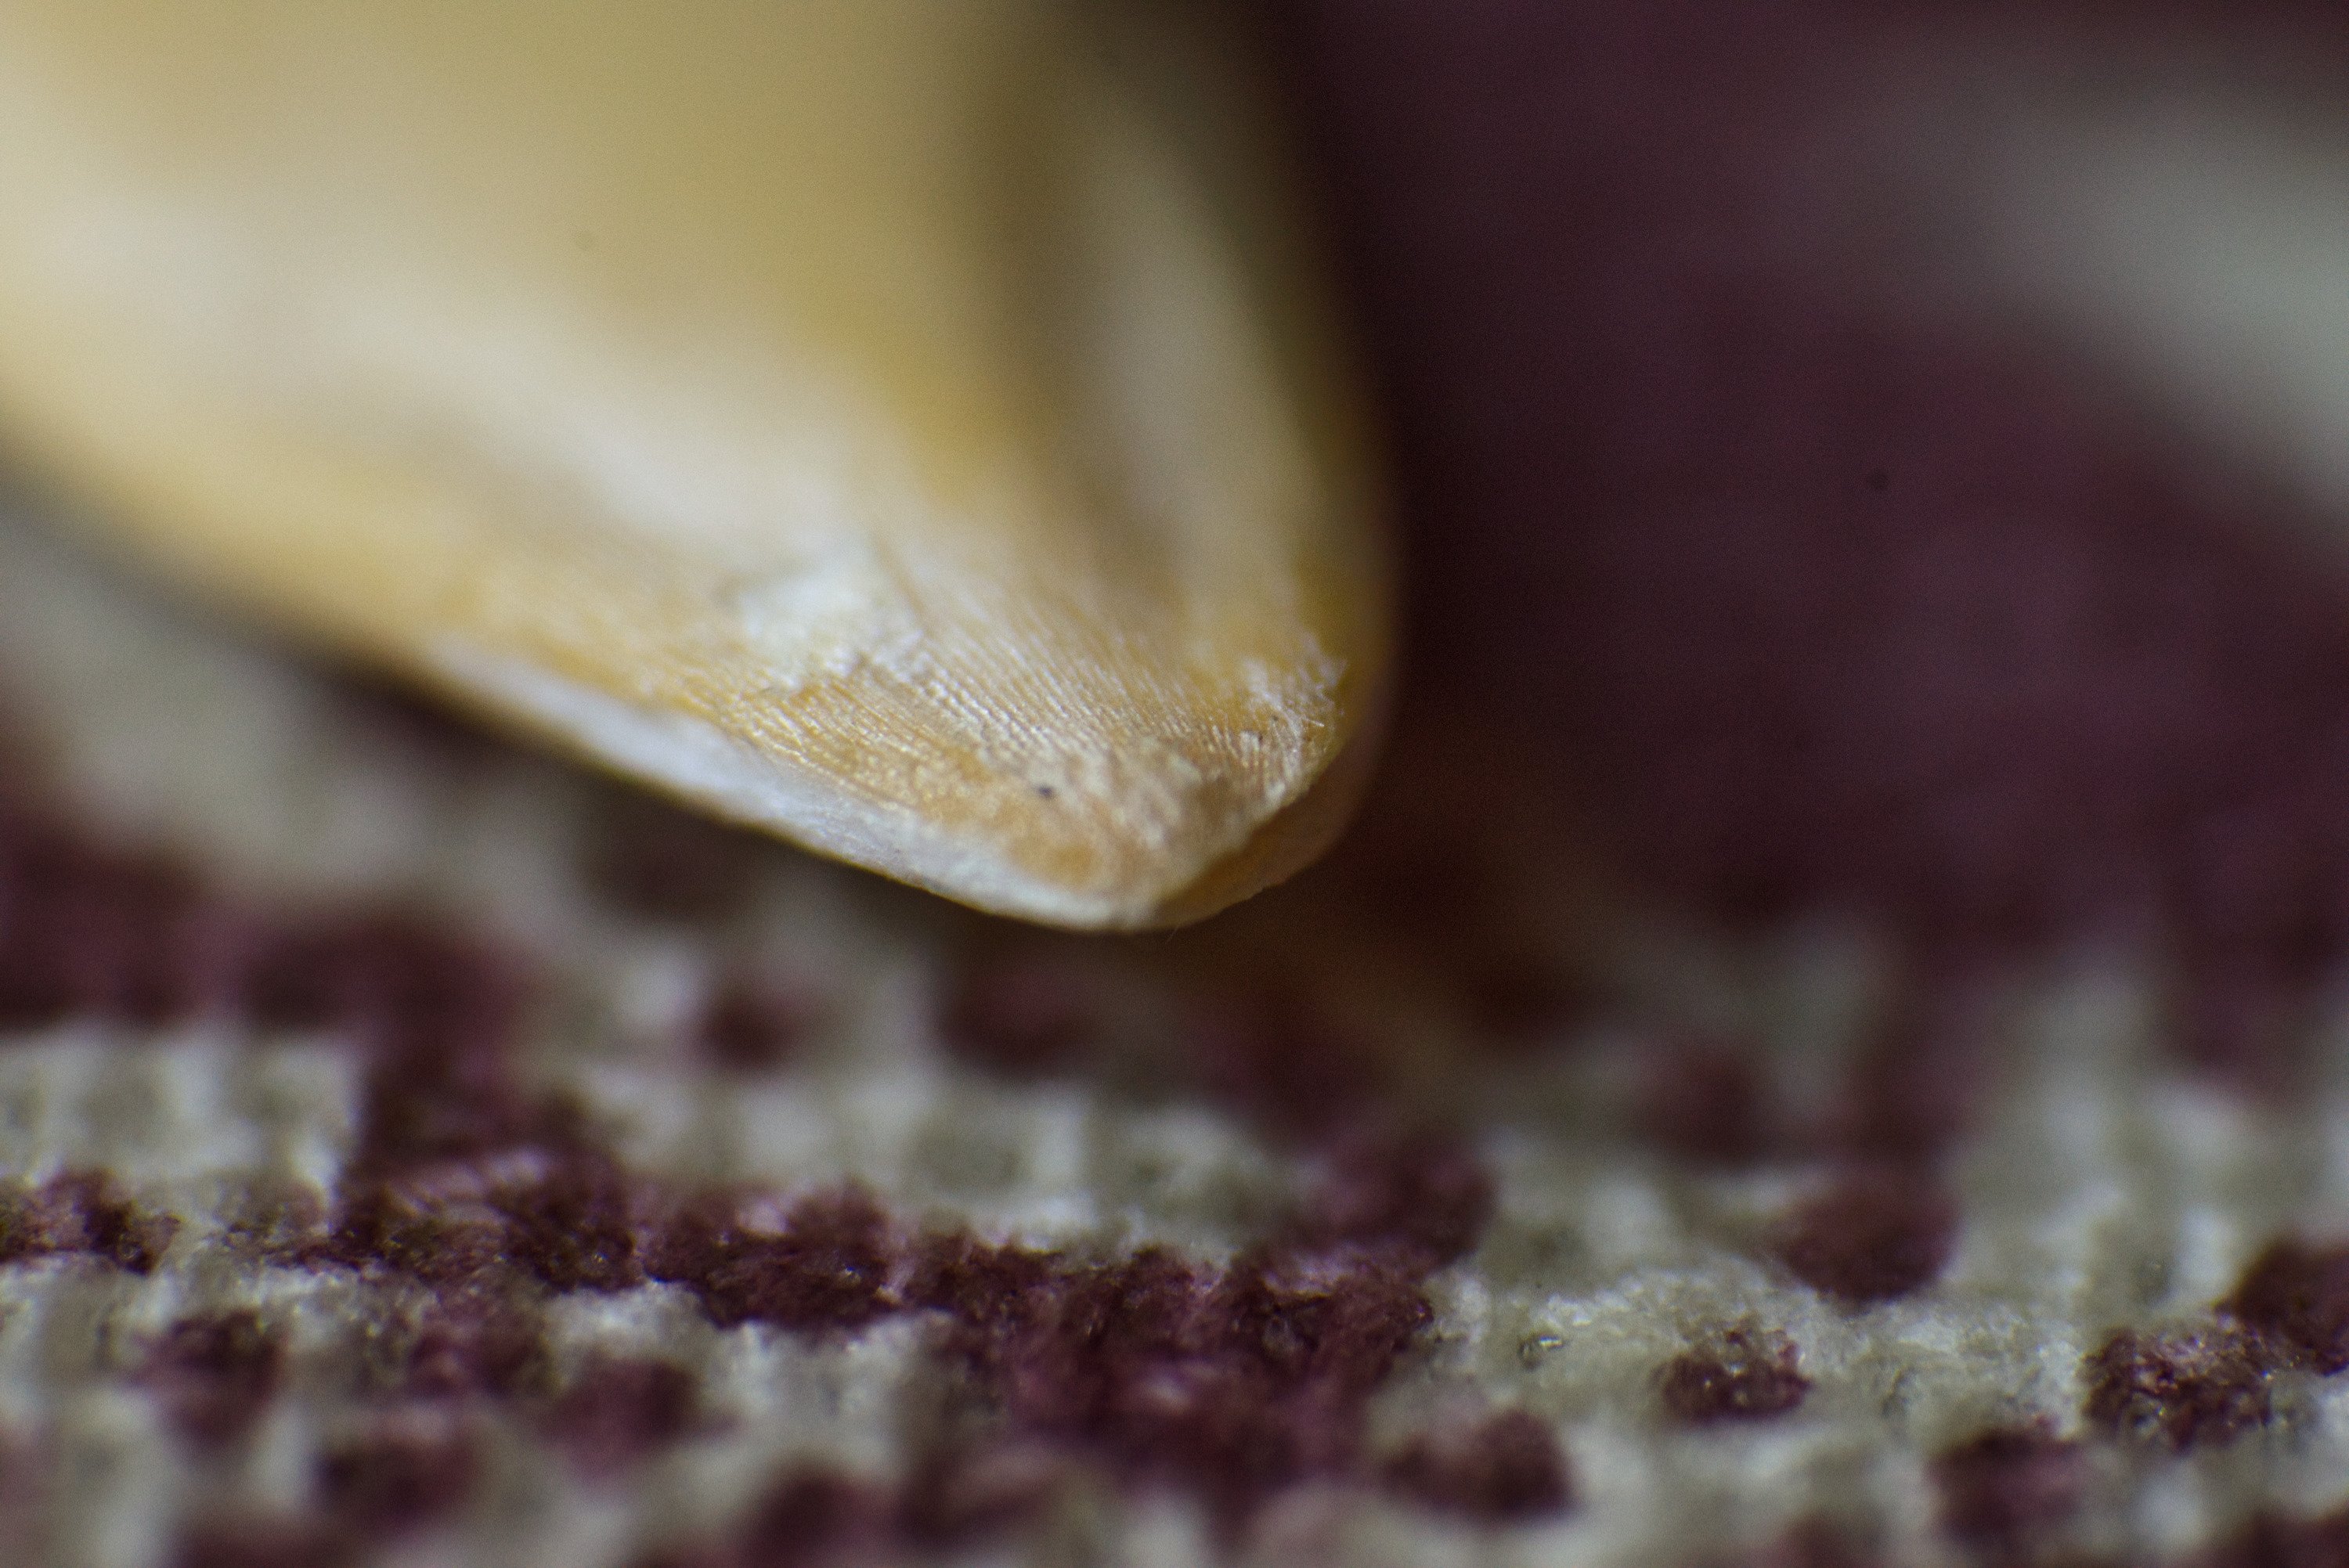
 It was taken by reversing my AF-S DX NIKKOR 18-105mm f/3.5-5.6G ED VR Nikon lens. Camera: Nikon D5300 File format: RAW (that's how I got the amazing tonal range)
-
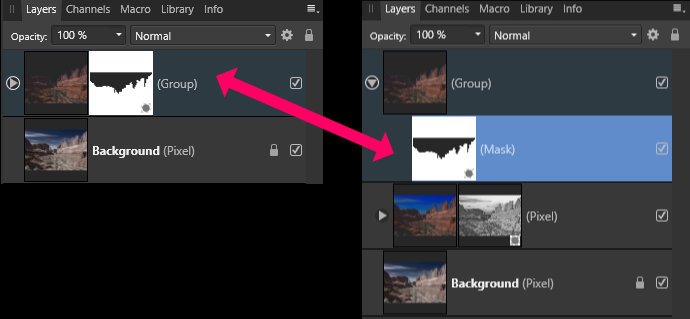
 I'm having trouble editing masks. FIRST: In the following example, how to edit with levels the layer mask from the group? I know that I have to select Alpha to affect the mask, but I don't know where to put the levels adjustment so it affects only the group mask. I have tried different positions but with no luck. SECOND: I can view the mask by pressing the ALT key. But when I open levels (Ctrl+L) the mask disappears. So, how to edit a mask with levels while viewing the mask? Thanks in advance.
-
I use the live defringing filter all the time. However, I have found it takes a long time to flatten it. Is this a bug or is there a way to resolve this?
-
 Add, in the Title Subject, a change to add the “Most Appropriate” Affinity Application and OS in Title Line. Serif, if capable, format forum menu fly outs to allow users to click on application and OS. If deemed necessary, as some have suggested, too accommodate users unsure unsure of the Application/OS or is considered general to all Affinity Applications and OS, create have fly out for all.
 -
 Affinity Photo on iPad seems to colour-manage correctly but only displays results clipped to the sRGB gamut, not taking advantage of the wider P3 gamut on the iPad Pro display. The result is that wide gamut images do not appear correctly, and colours outside the sRGB gamut are not visible. Steps to reproduce: Use an iPad Pro model with P3 display. Create a new document with Display P3 as the colour profile. Paint some pure red (255, 0, 0) onto the canvas. Take a screenshot (sleep button + volume up). The screenshot will be in P3. Import the screenshot into Affinity Photo. The imported document will be in P3. Sample the red with the eye dropper. Instead of P3 (255, 0, 0), the colour will be P3 (233, 51, 35), which is sRGB (255, 0, 0).
 -
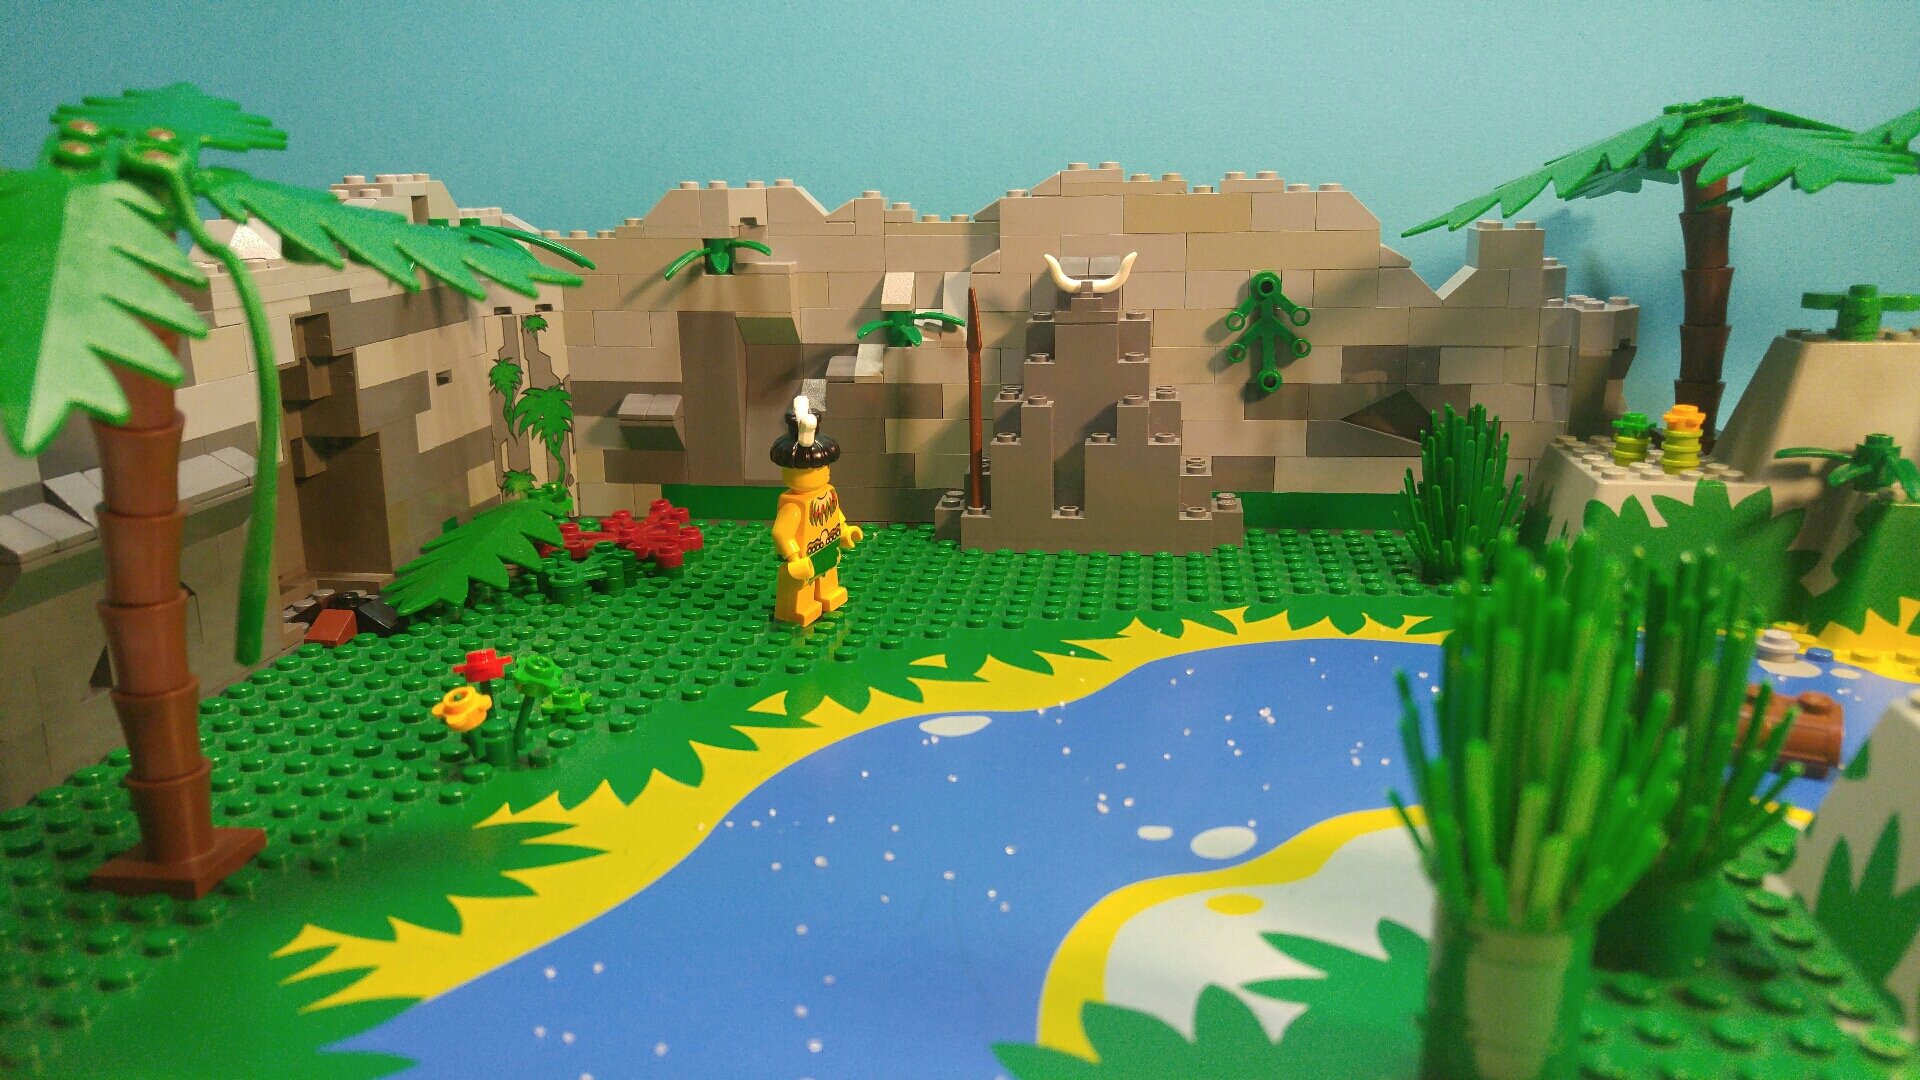
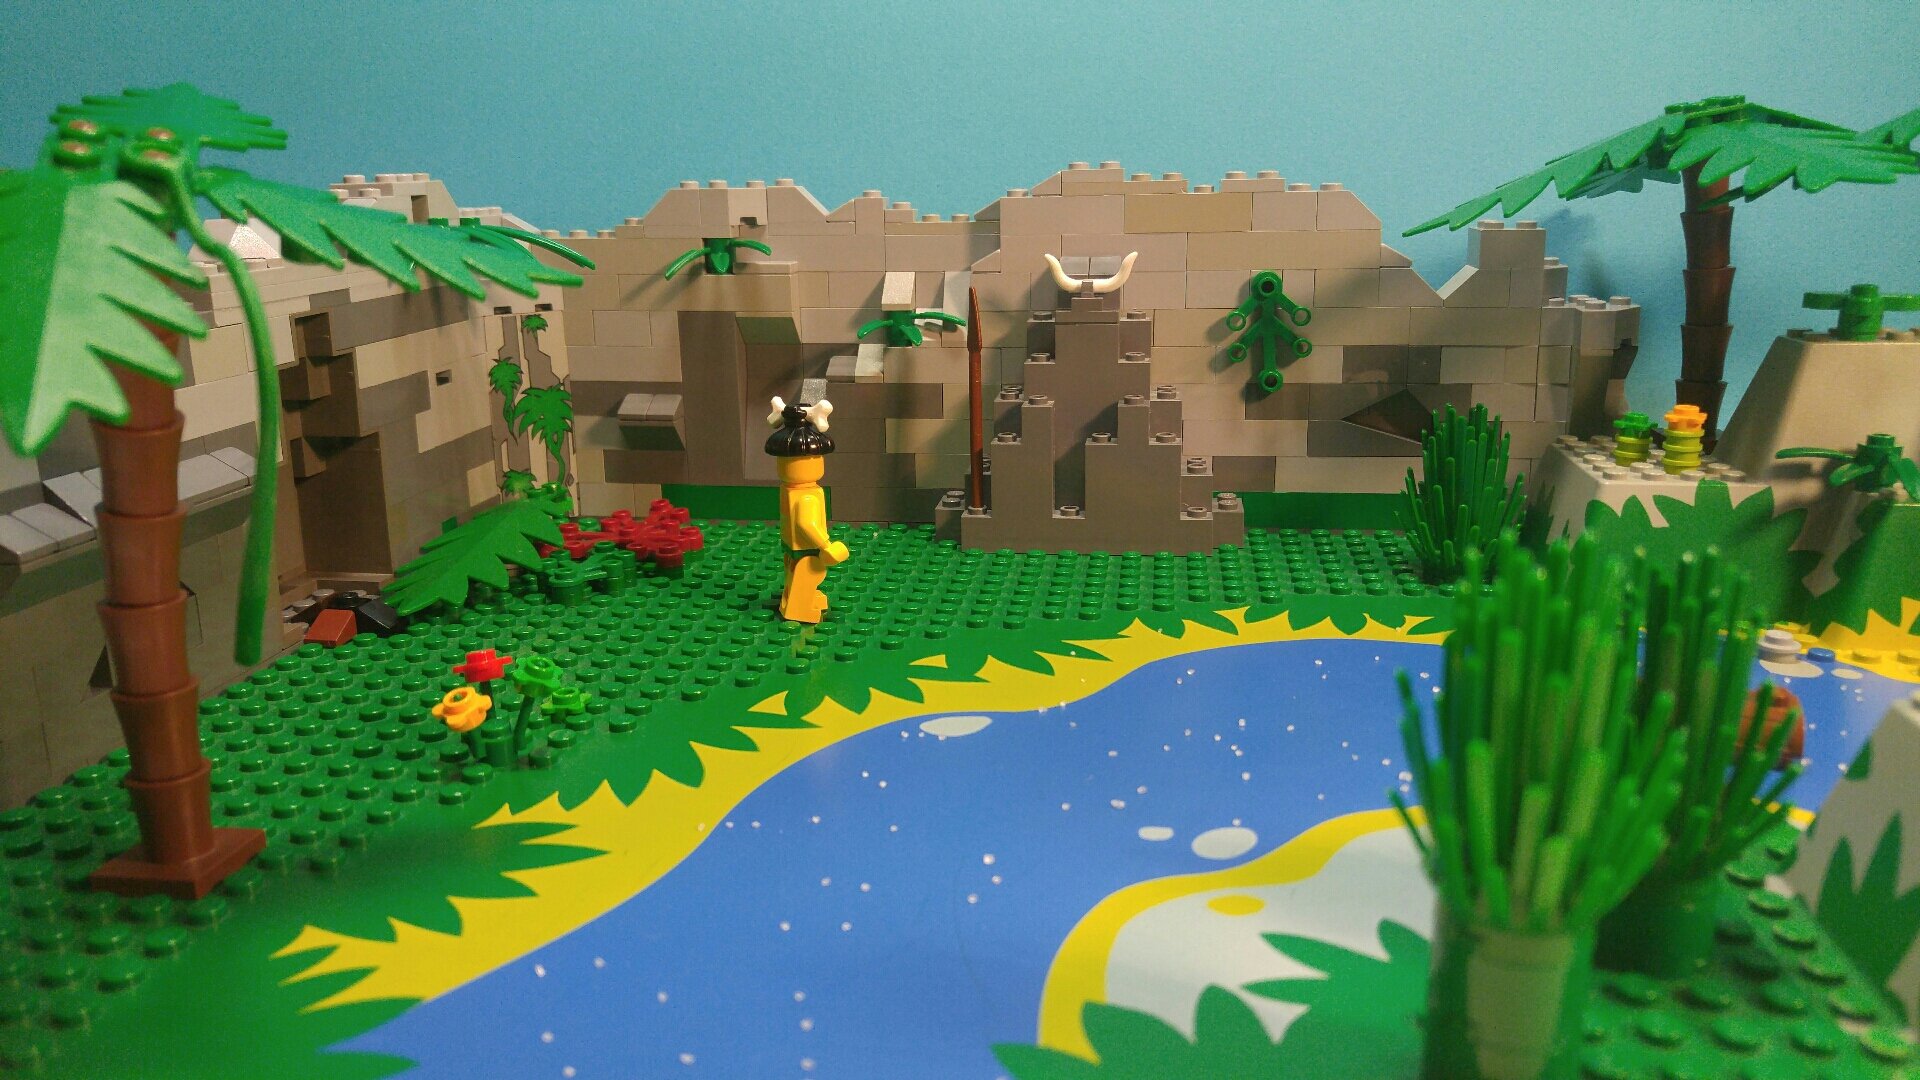
 Hello, I have hundereds of photos made for stop motion animation. The following photos looks practically the same (tiny one frame movement only). The problem is every photo has a slightly different brightness because of light flickering during the job. Is there any (as quickly as possible) way to equalize the level / brightness of following photos? Maybe there is an automate way to equalize one photo to another comparing two photos or layers? Two pictures attached. Thank you in advance for help. Regards, Domin
-
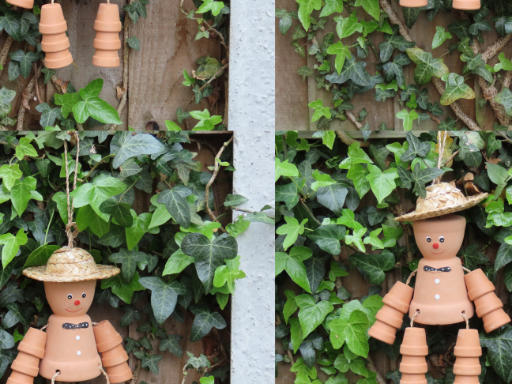
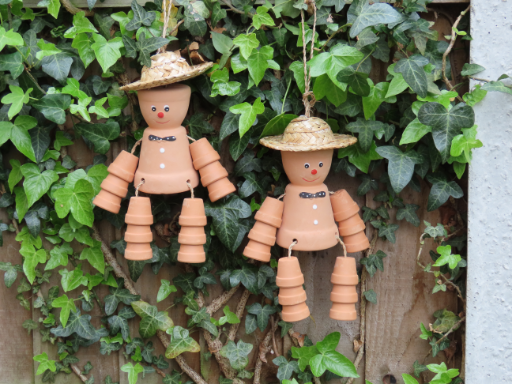
 Is a fence ruining your shot? Easily remove a fence in Affinity Photo in 4 simple steps !! 😮 In this tutorial, we will utilize the power of the inpainting fill feature to remove the fence after creating a selection with the Paint Brush Tool. 🖌 To finish it up I will show you how to use several Healing Tools to remove the shadows of the fence and make final corrections.💉 Stay home, stay healthy, stay creative!
-
- 4
-
-
- remove fence
- affinity photo
- (and 7 more)
-
 Hi. I've got this png shape of a chain link. I'm trying to slightly bring the ends of the broken sections, a little bit closer to the centre link. So that the appearance can be that it's almost removed the gaps. I think just stretching the ends parts of the chain on the left and on the right, closer to middle link, will be sufficient for it to look closed. I want it then to be a new png image. Does anyone know the best way to achieve this please? Thanks chainlink.afphoto
 -
 Can you help me set the Touch Ring on a Wacom Intuos Pro Medium so I can change the brush size by sliding my finger over the ring? The default doesn't seem to work. Update: I need the app's keystrokes for changing the brush width and then map them to the Touch Ring. So I guess my real question is what those keystrokes are or where I can find them. I should be able to find out by myself. Update: The default keystrokes '[' and ']’ didn't work, but changing them in the preferences menu did.
 -
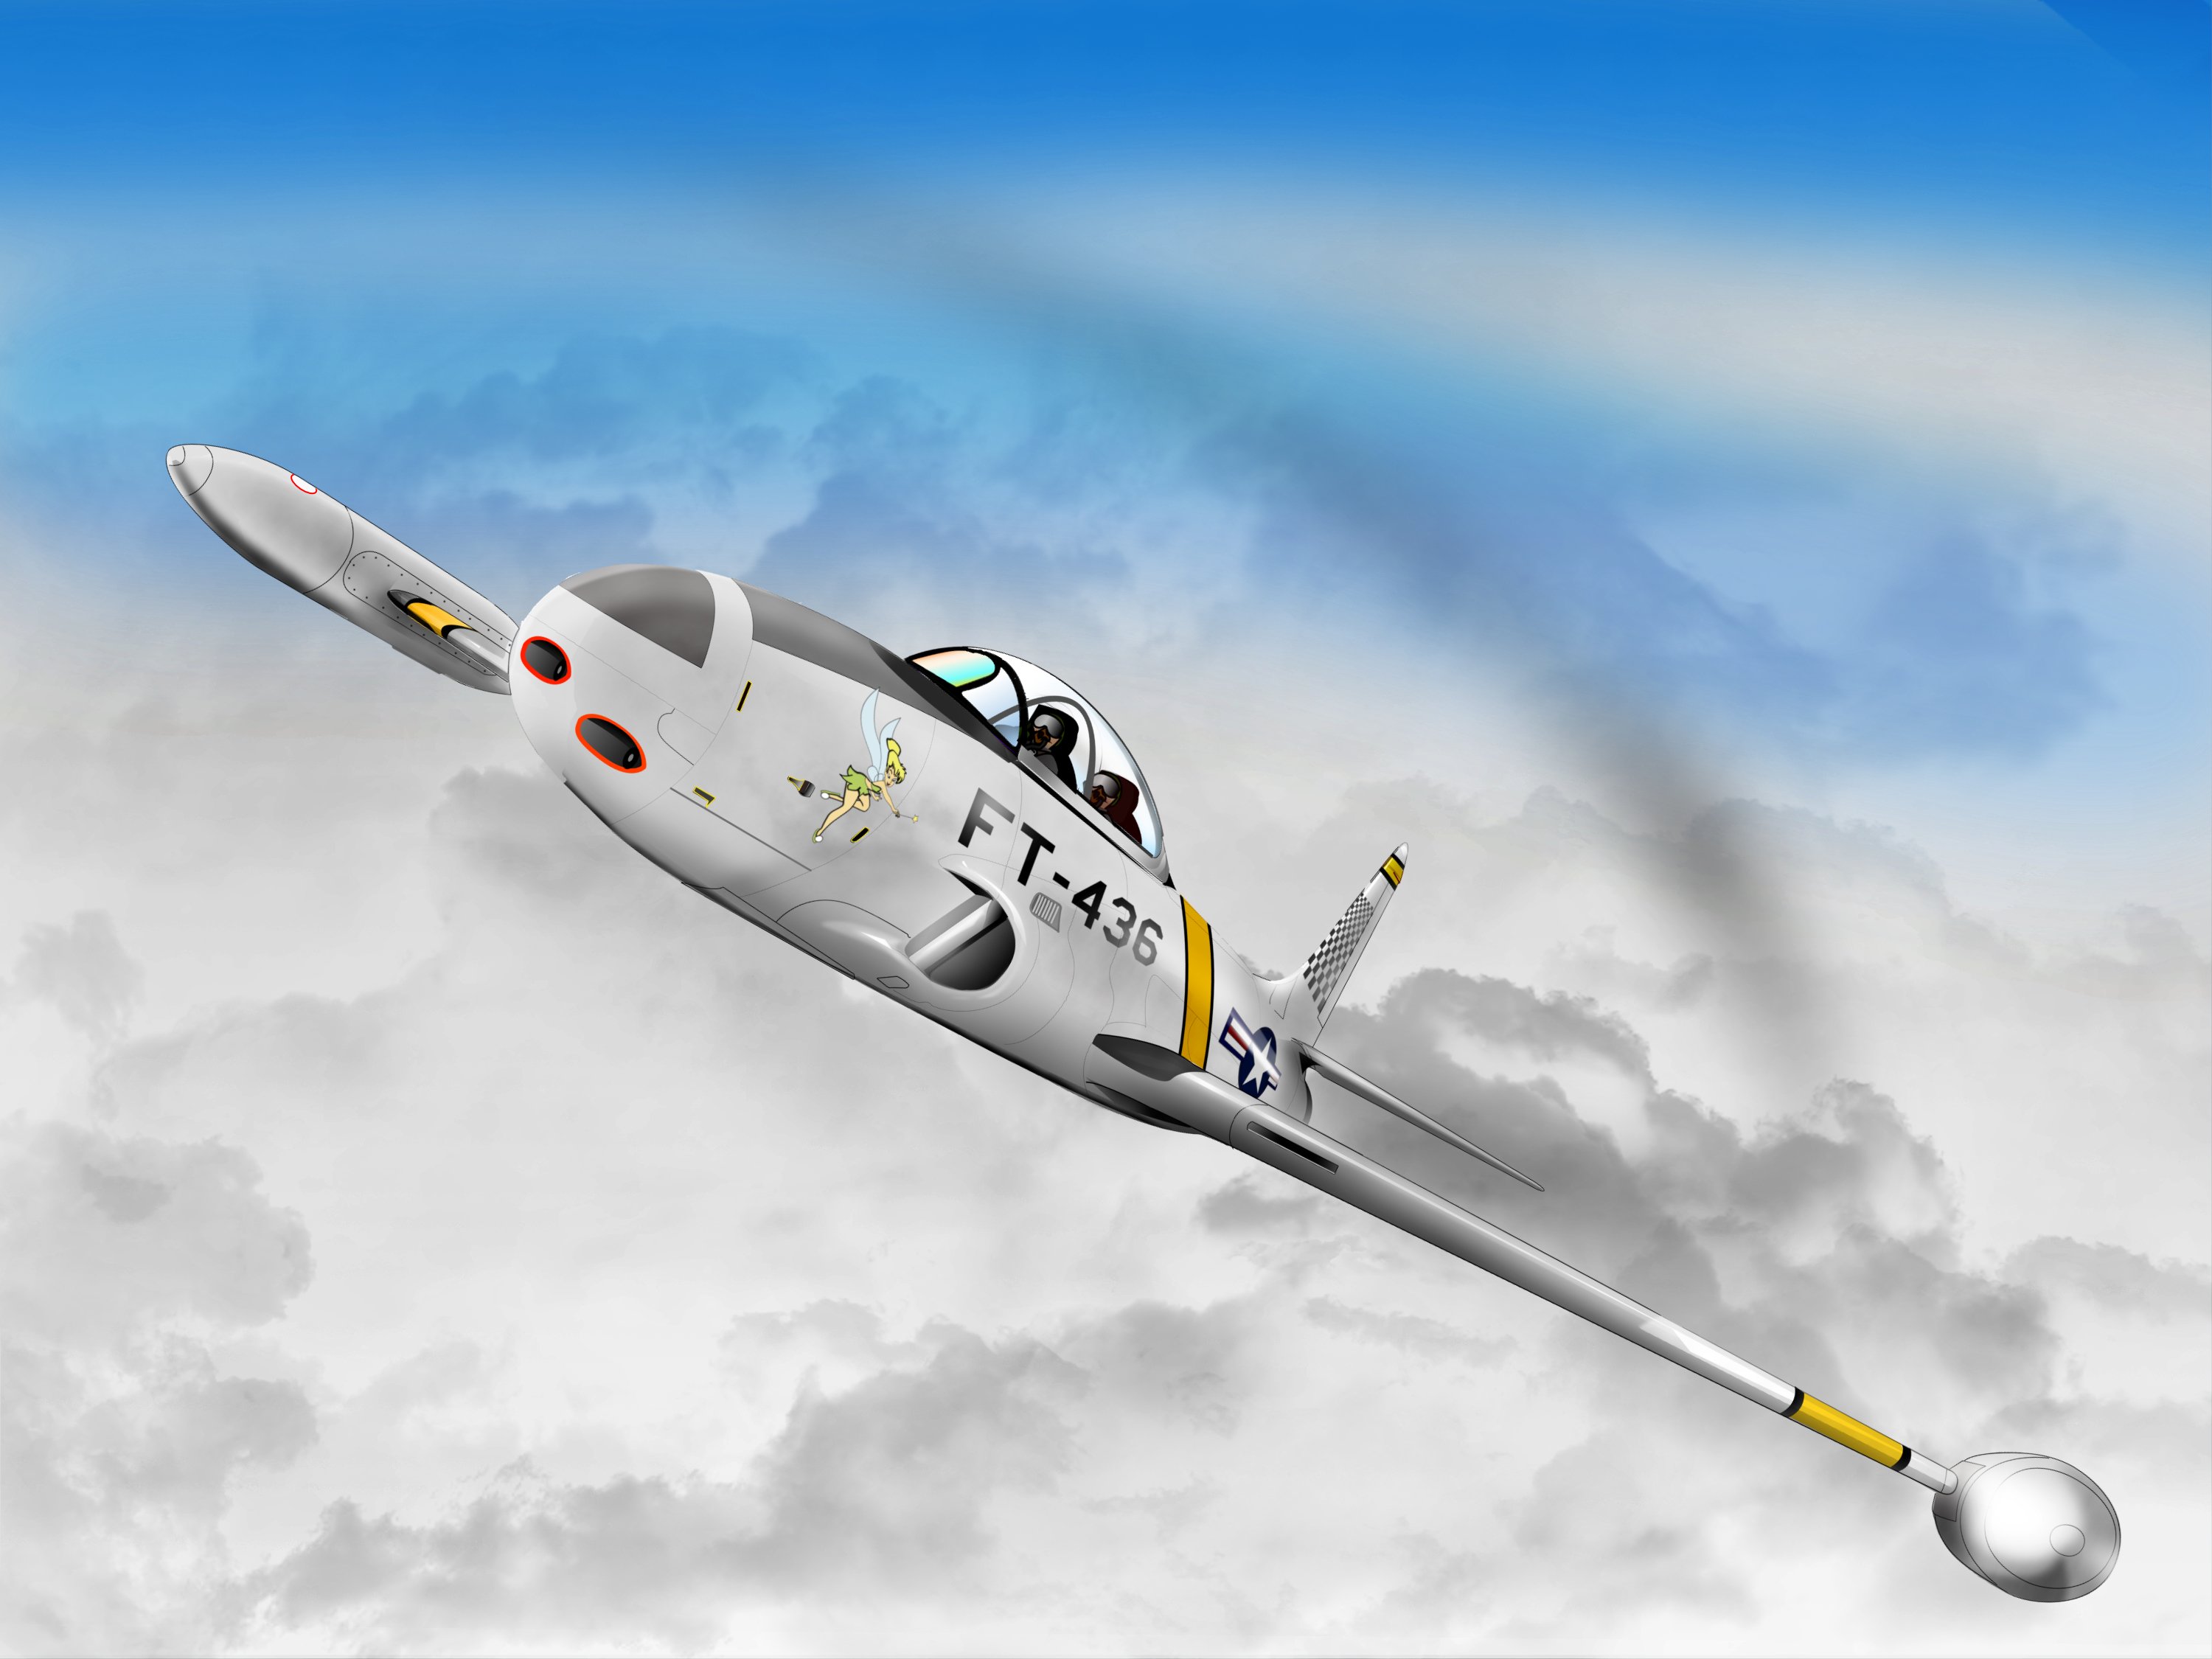
I have always liked the clean lines and the form of America´s first jet fighter, the Lockheed P80 Shooting Star. This has been done by switching between Designer and Photo and I am getting the shading the way I want to, but I really need to keep the layers under control, after the first 200 I lost track.
- 5 replies
-
- 5
-
-
- scratch build
- affinity designer
- (and 3 more)
-

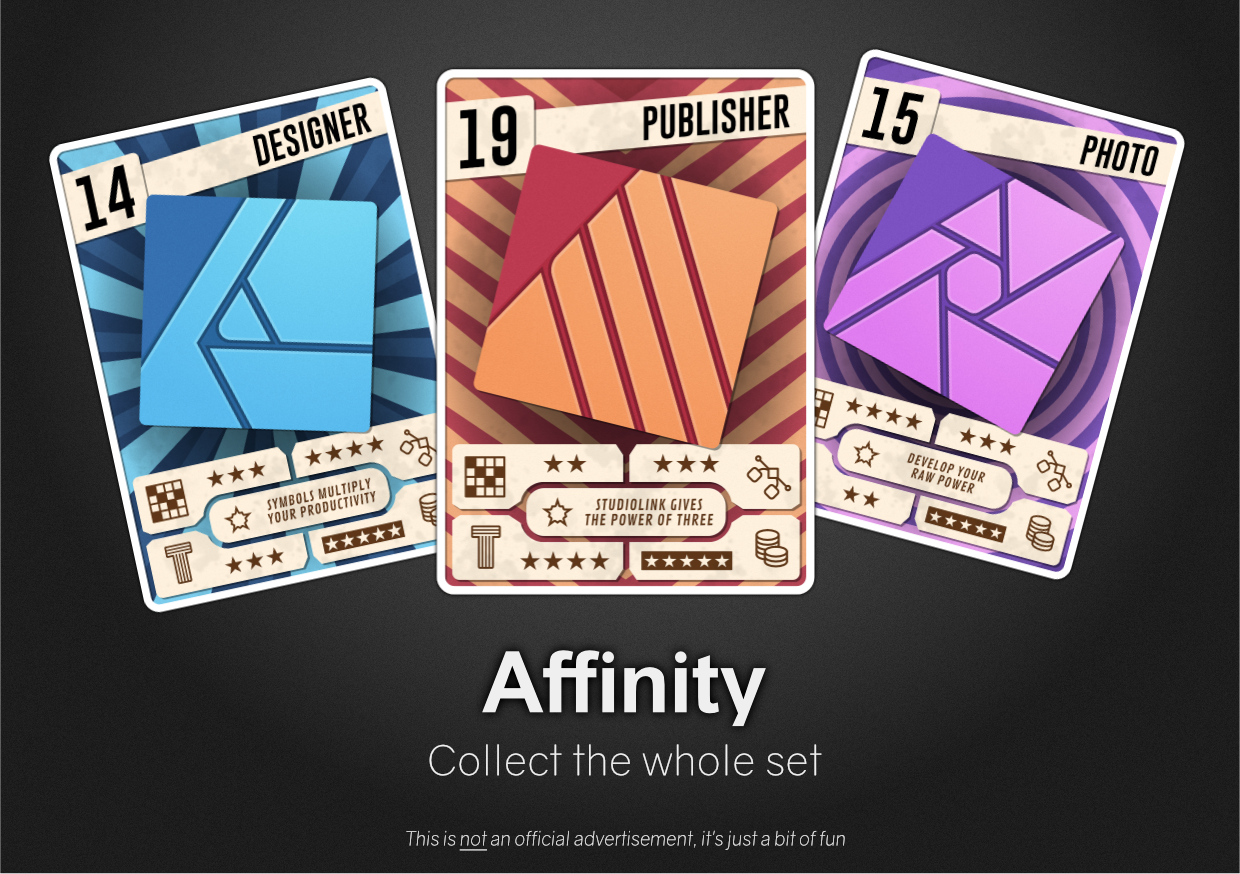
affinity designer Affinity Trading Cards – The Imaginary Set
GarryP posted a topic in Share your work
Alongside my earlier trading cards, here’s a cheeky little flyer for some totally imaginary Affinity applications that might, possibly, maybe, perhaps, hopefully exist at some point in the future, in the fullness of time, if all goes well and the wind is behind us. As with the other set, they’re just a bit of fun, done as an experiment and nothing more than that.
-
 Hi there, I’m trying to use the mixer brush in a different layer than my original photo and so far it’s not working. I’d like to know if I’d be able to this or not. I want the painting version of my photograph to be in a different layer. So what I do is: I duplicate the original photo layer and in between the 2 layers I create a new pixel layer. I then decrease the fill of the top layer of my original photo to 1%. Then I merge it down with the pixel layer I created. The other original layer of my photo is moved up and opacity decreased, so I can see what I’m painting. I set the primary colour to none, so the mixer brush is clean all the time in order to use the colours of my original photo. I then check the brush to be wet. When I paint to this merged down layer (1% fill original photo + new pixel layer) nothing happens. There are pixels in the layer and the brush is not getting them. Can anyone give an insight on this? Thanking in advance!
 -
Hey i really like the affinity designer and photo and i want to buy them but before i will do this i need to know if i will be able to install the programs on my mac an my pc for the same licence? From what i founded i had understand that not able cause mac dont use key codes but i have start my trail on my mac few days ago and i have got a key code for the two programs
-
It is great that Affinity products our one off purchases. The simple pricing system has won over many people including me. I am a big fan. However, I was wondering if the purchase price includes all future updates for life. I ask because I don't remember seeing any limitation on updates. I know with some software I have bought in the past it was a one off purchase, but within a year or two of purchase they released version 2, then version 3, that meant version 1 was no longer updated, and you had to pay to upgrade to version 2. While I understand software development is probably an expensive business. It would be good to know what the situation is with updates. Thank you.