Search the Community
Showing results for tags 'Affinity photo'.
-
 I am probably missing something obvious here, but when I am exporting from AP, the preview thumbnail is quite small. If I increase the size of the preview window, the image itself does not zoom in so I can't properly assess the image quality prior to export. Can somebody tell me what I'm doing wrong?
 -
 Hello commmunity! How do I delete the selected area in Affinity Photo for iPad - like pressing the del key (since two-Finger-tap is undo)? Unfortunately I cant find any Option to manage this. many thanks for your help!
 -
 Hi guys, here's a video about how to apply any color to object without having to do selection in Affinity Photo. I hope you enjoy this video, thank you!
- 1 reply
-
- 3
-

-

-
- affinity photo
- tutorials
- (and 4 more)
-
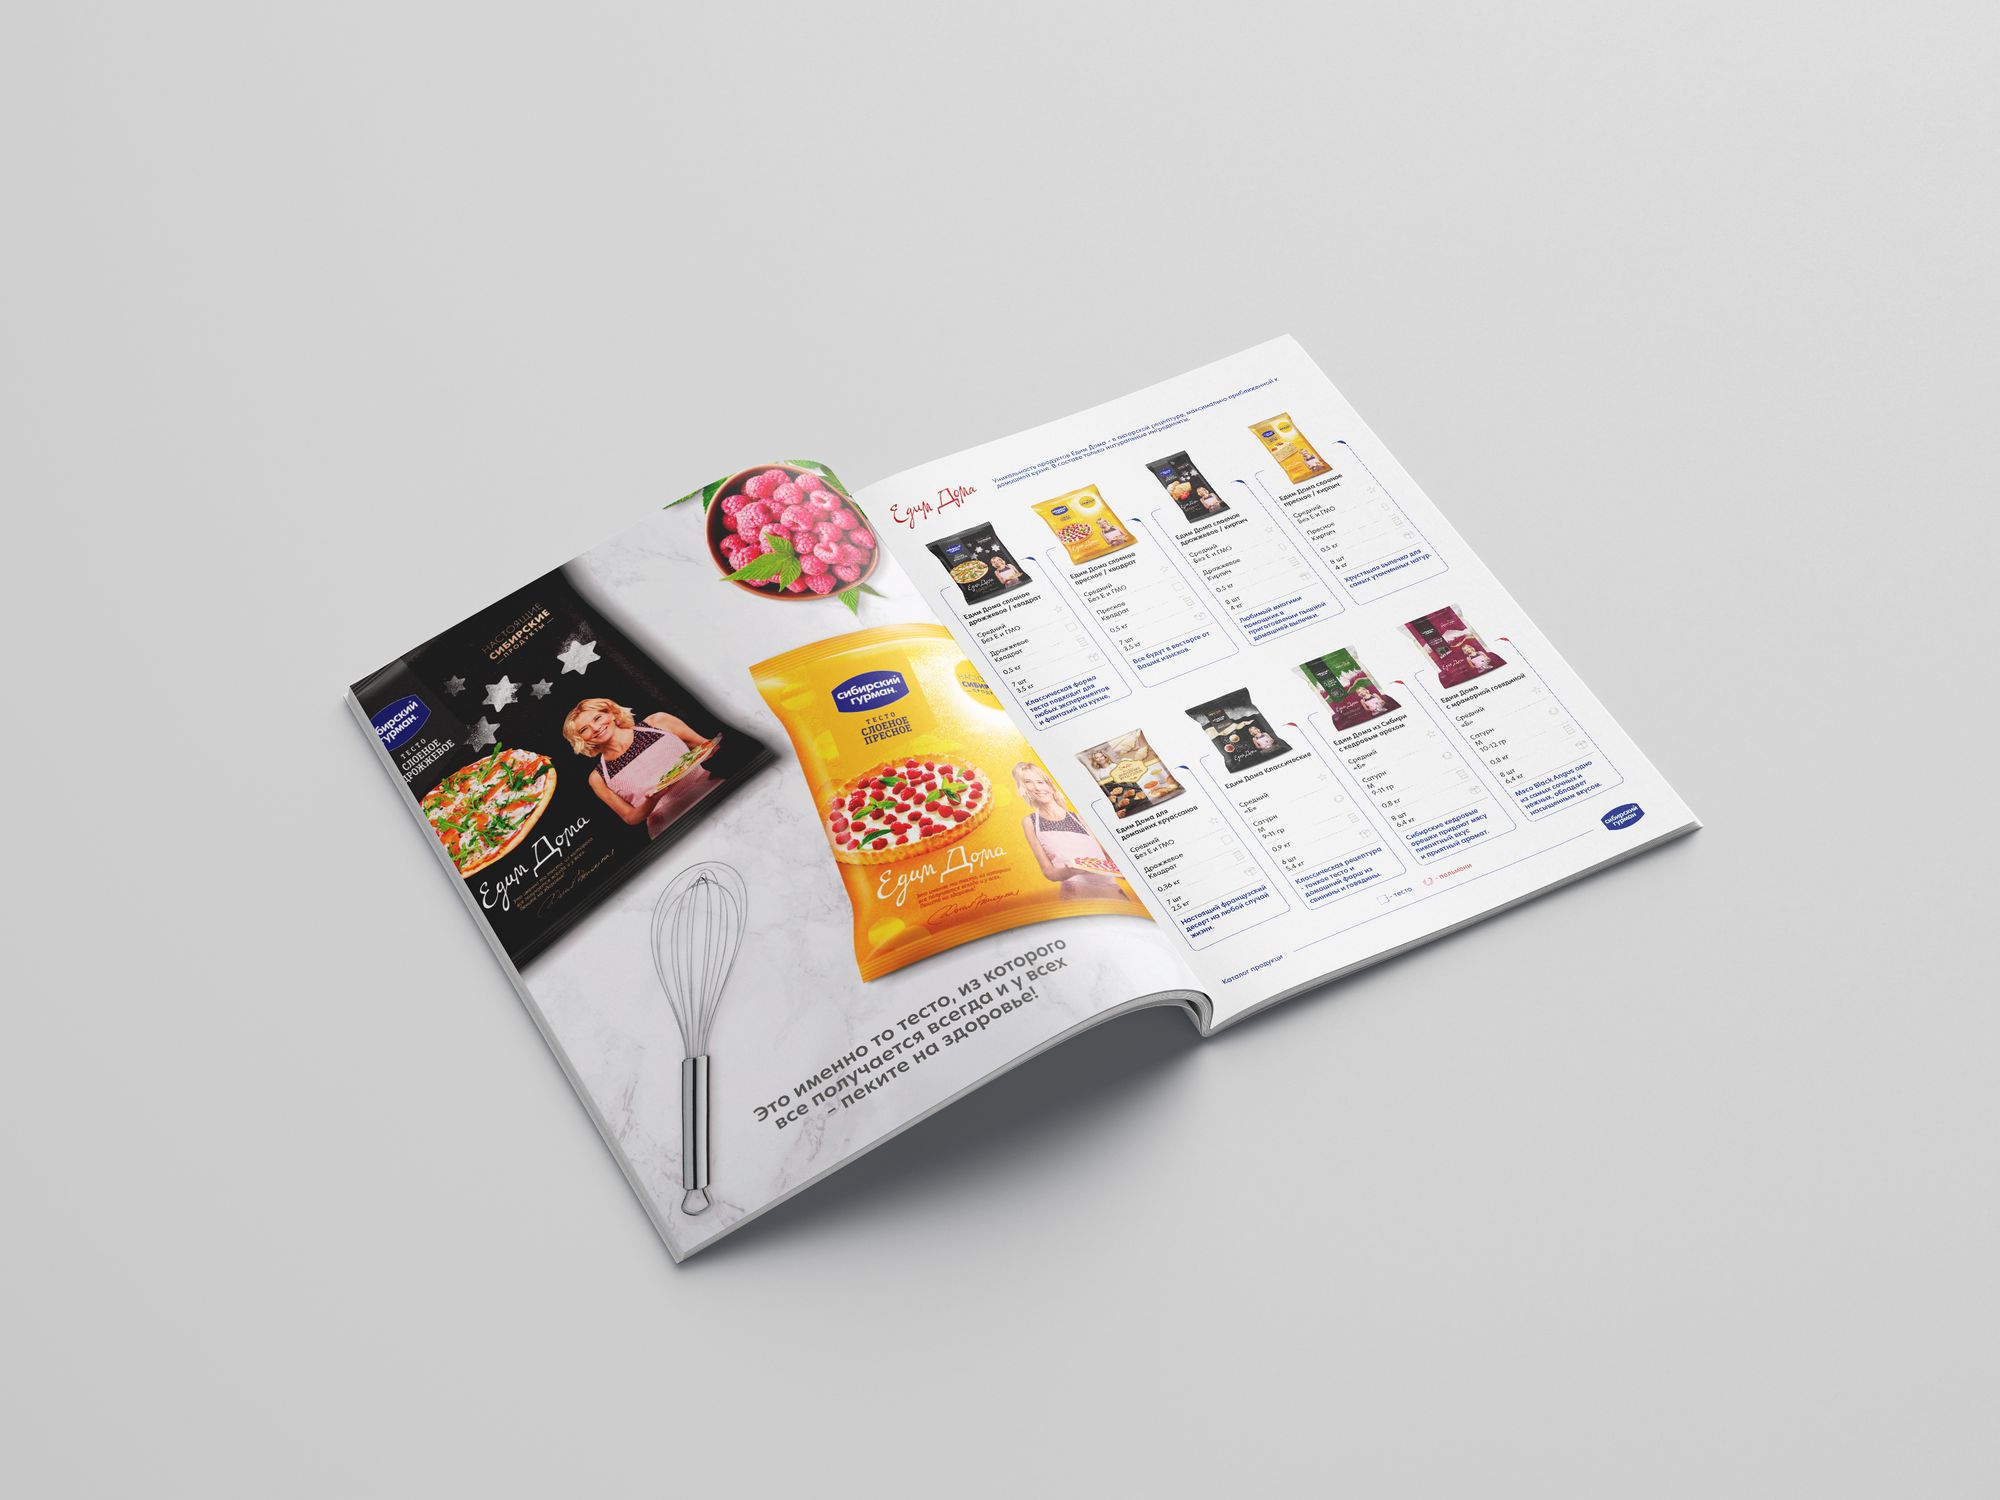
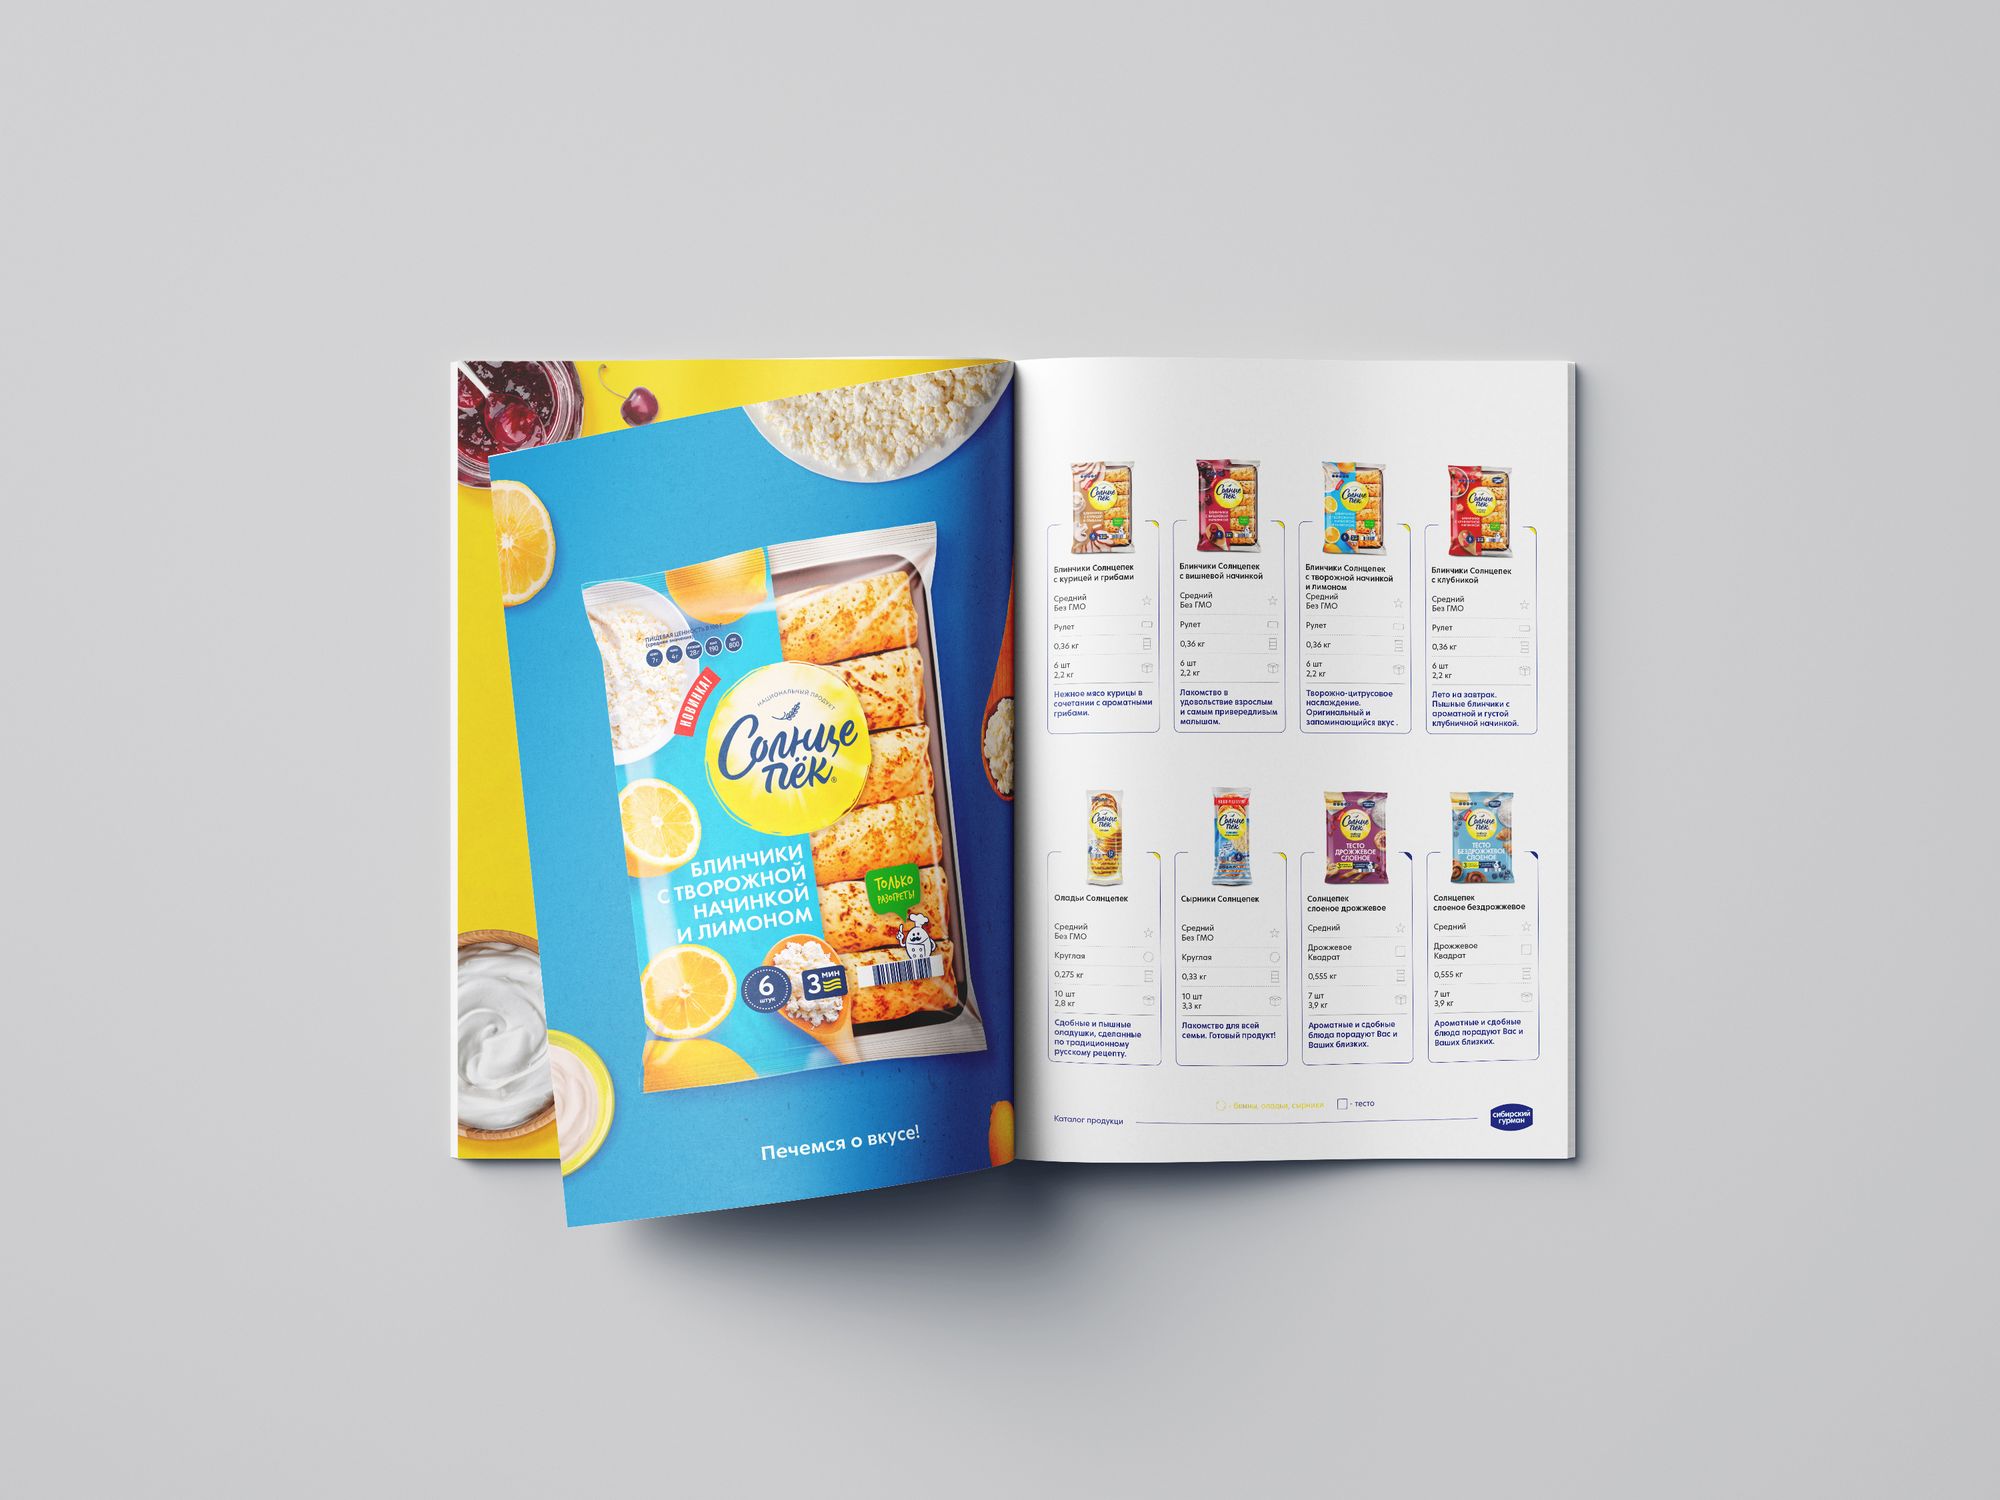
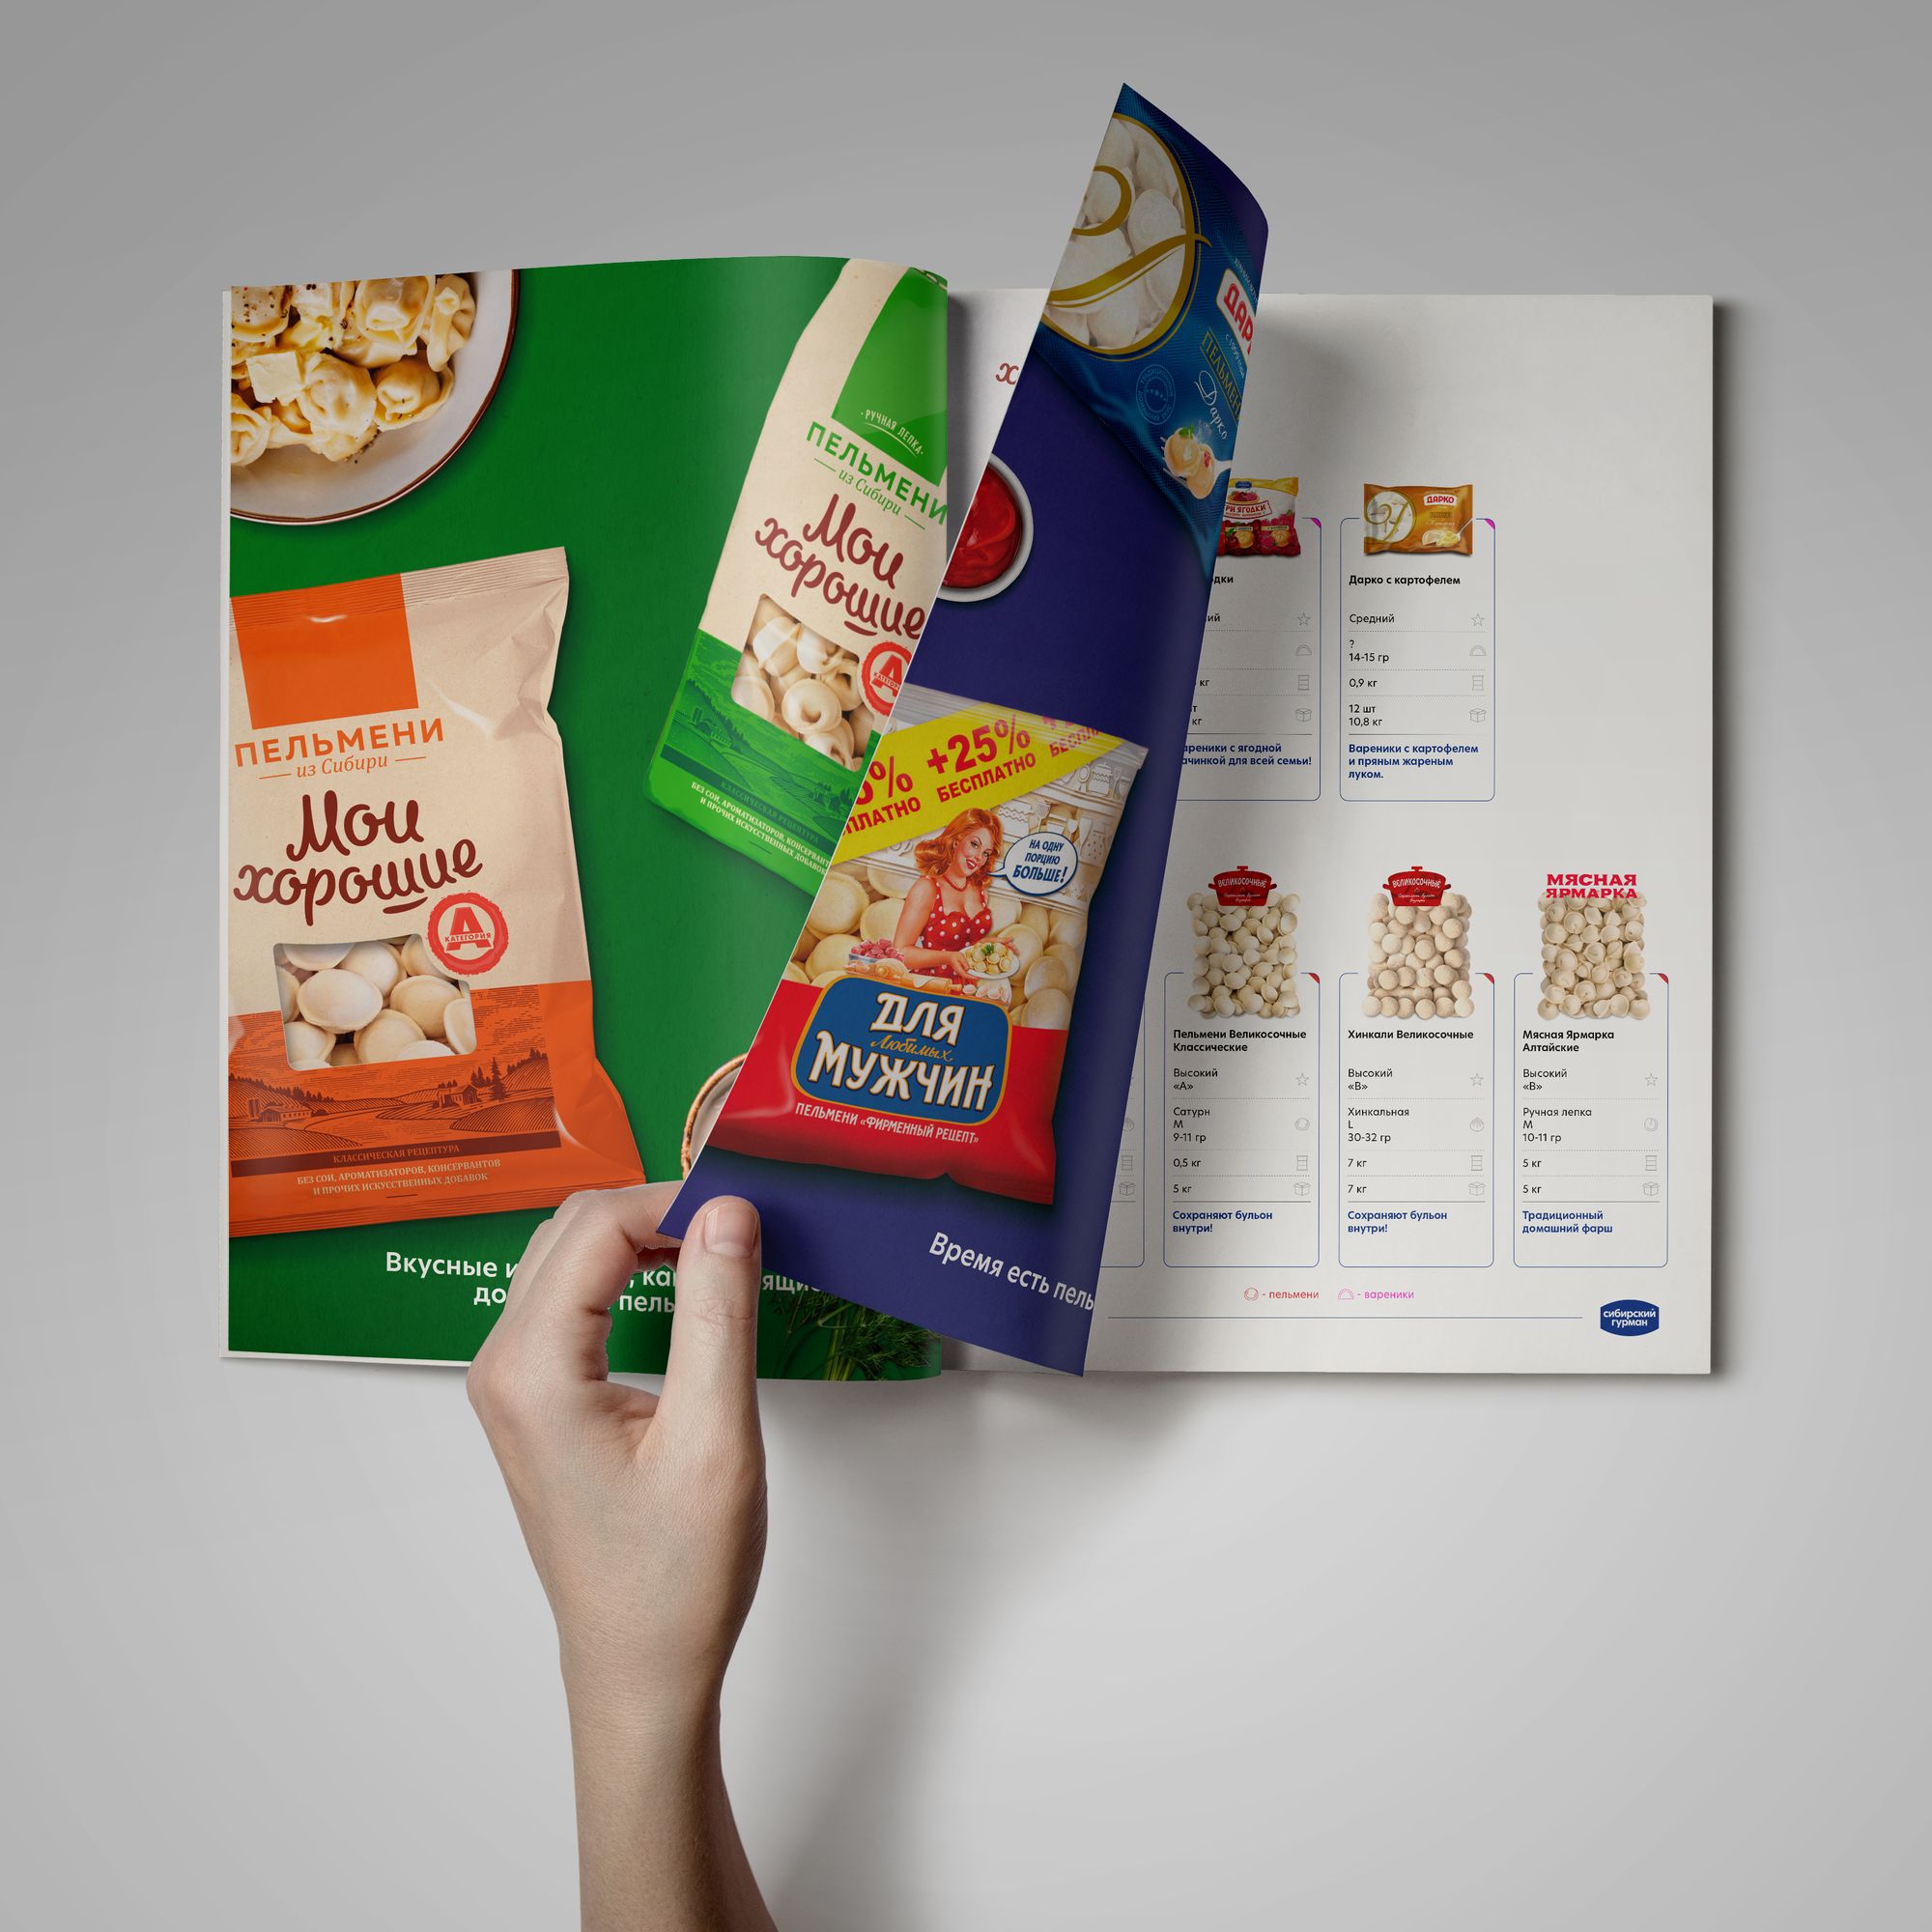
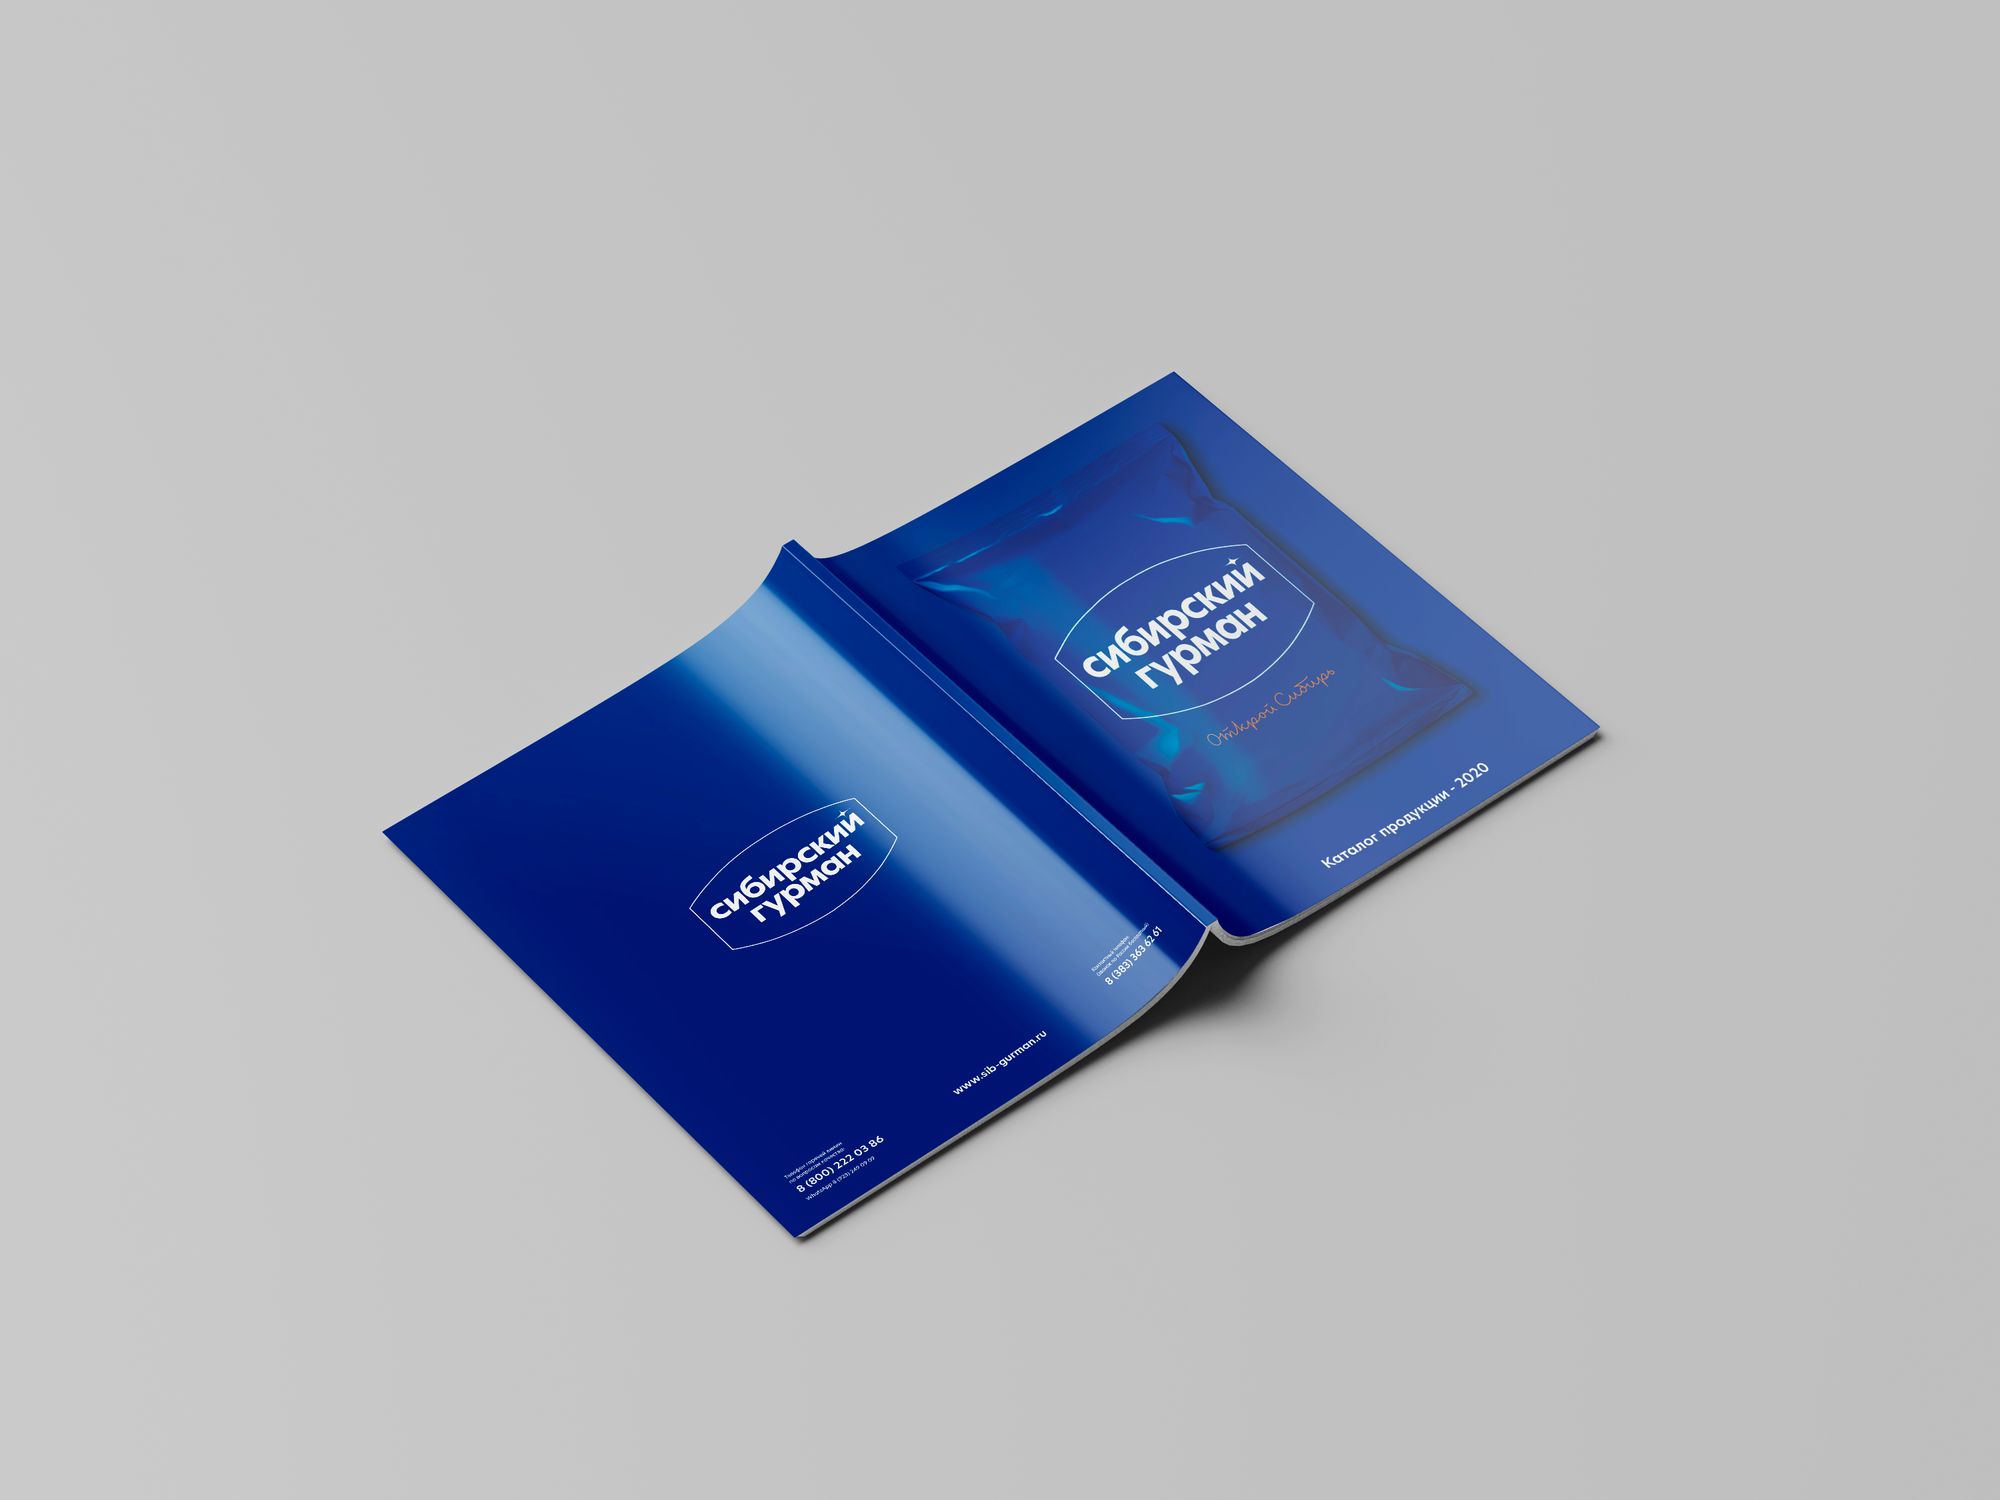
 I don't know how, but this randomly popped up in my head this morning.
-
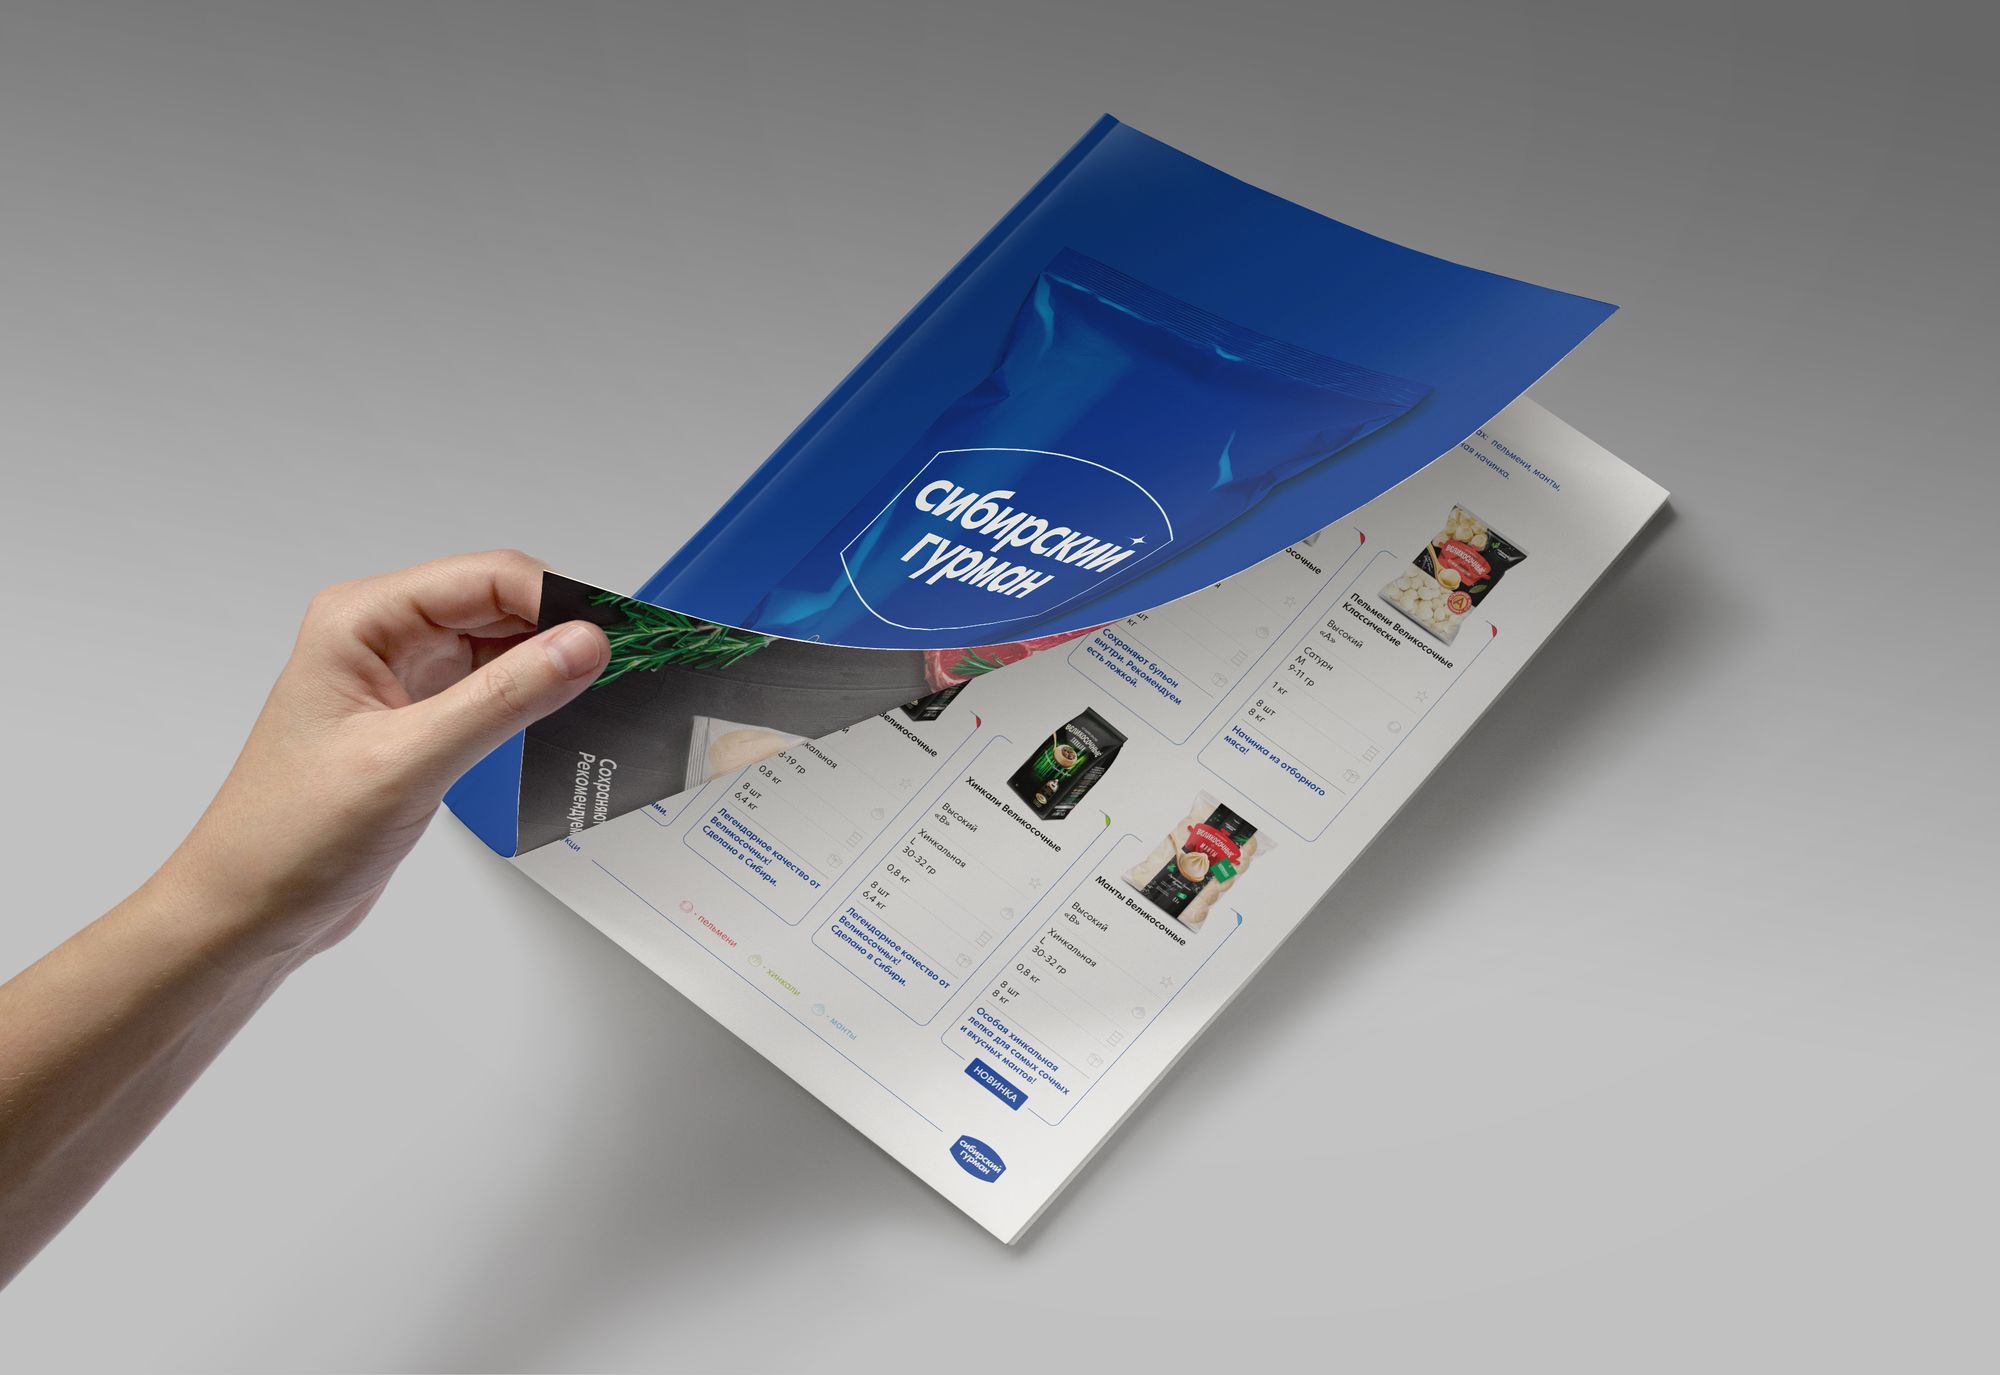
While working on this catalog, I used all the programs from the Affinities package.
-
- 11
-
-
-
- affinity photo
- affinity designer
- (and 1 more)
-
Commercial project completed for the customer I am currently working on.
-
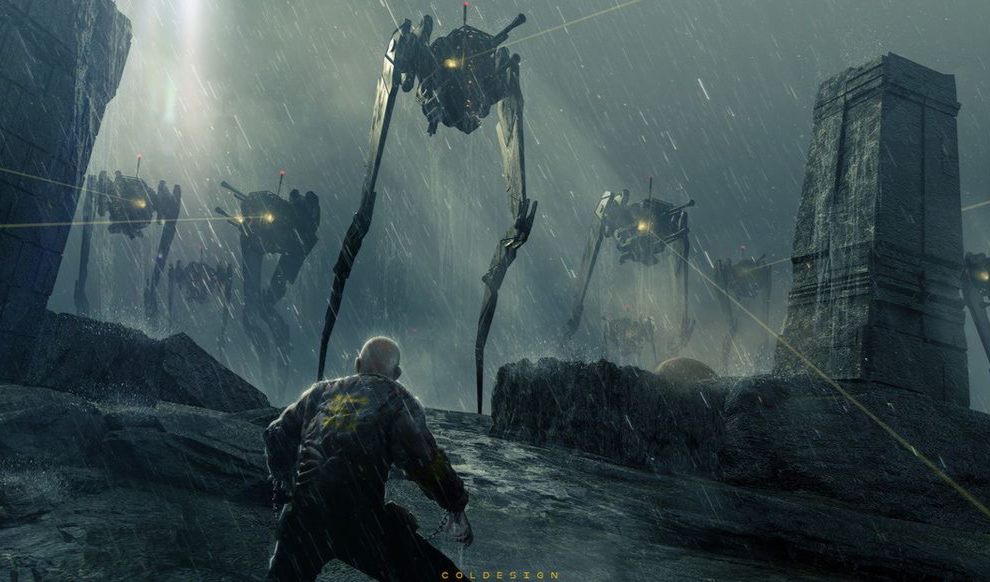
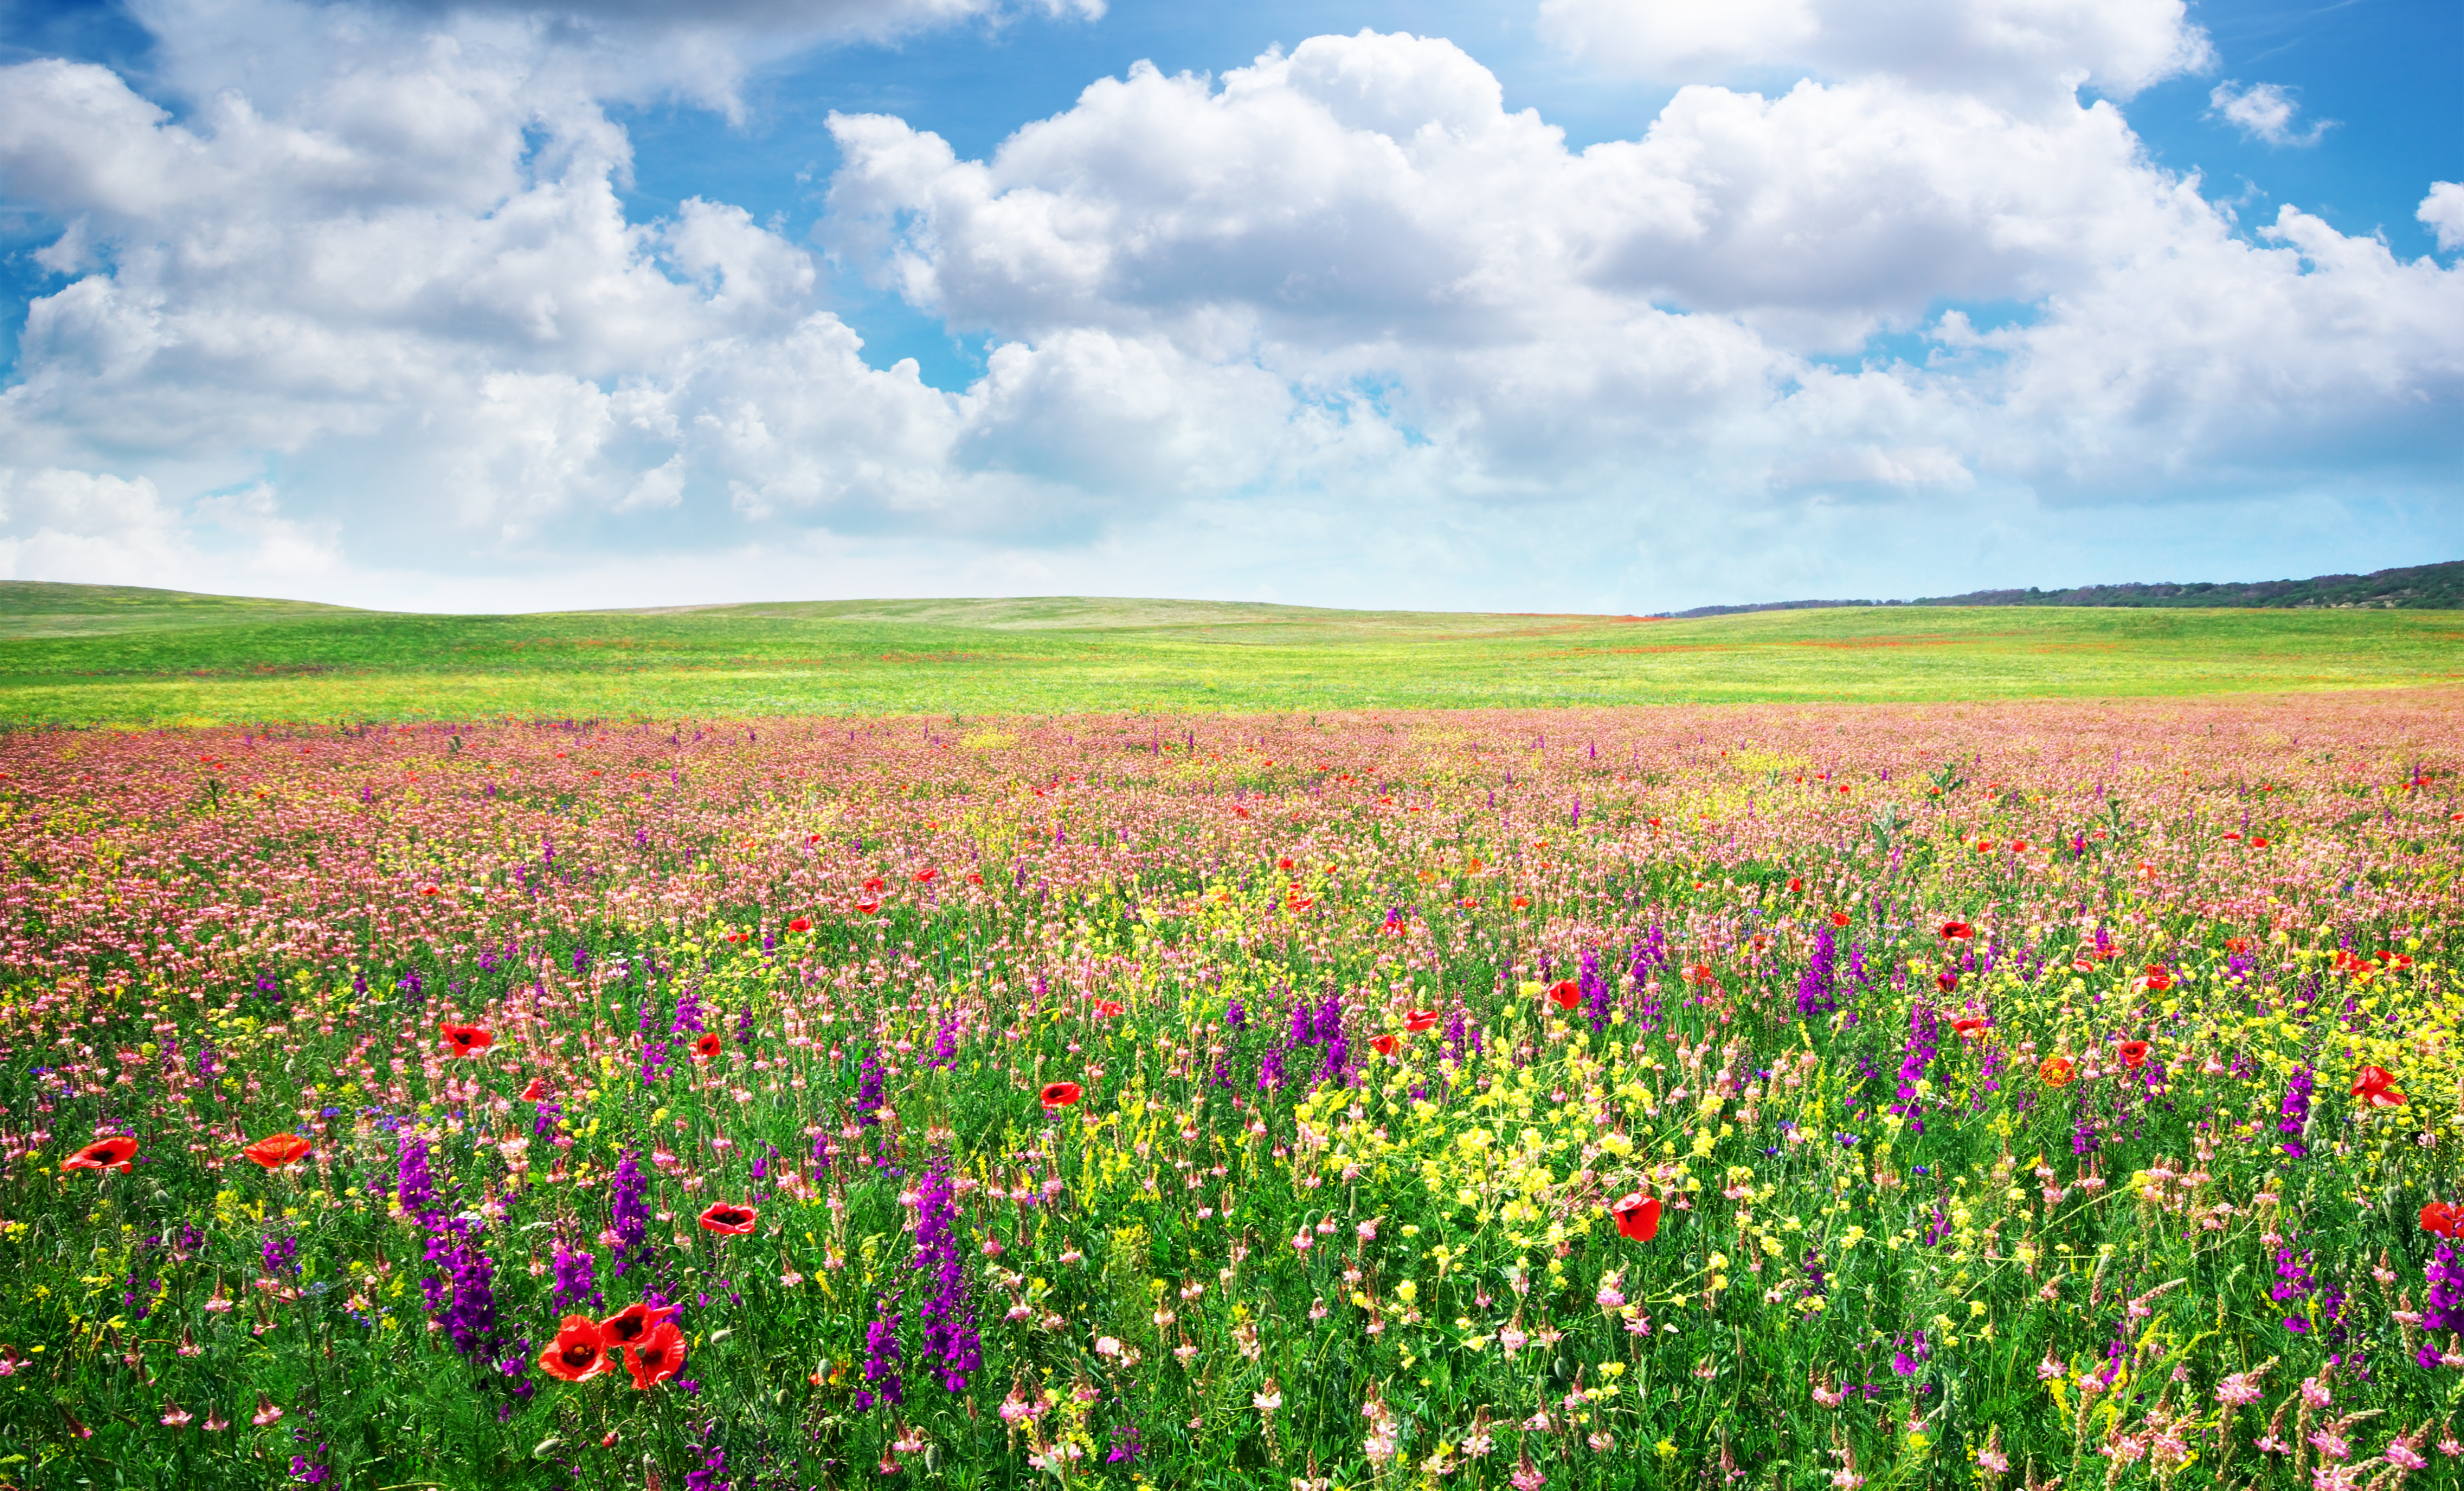
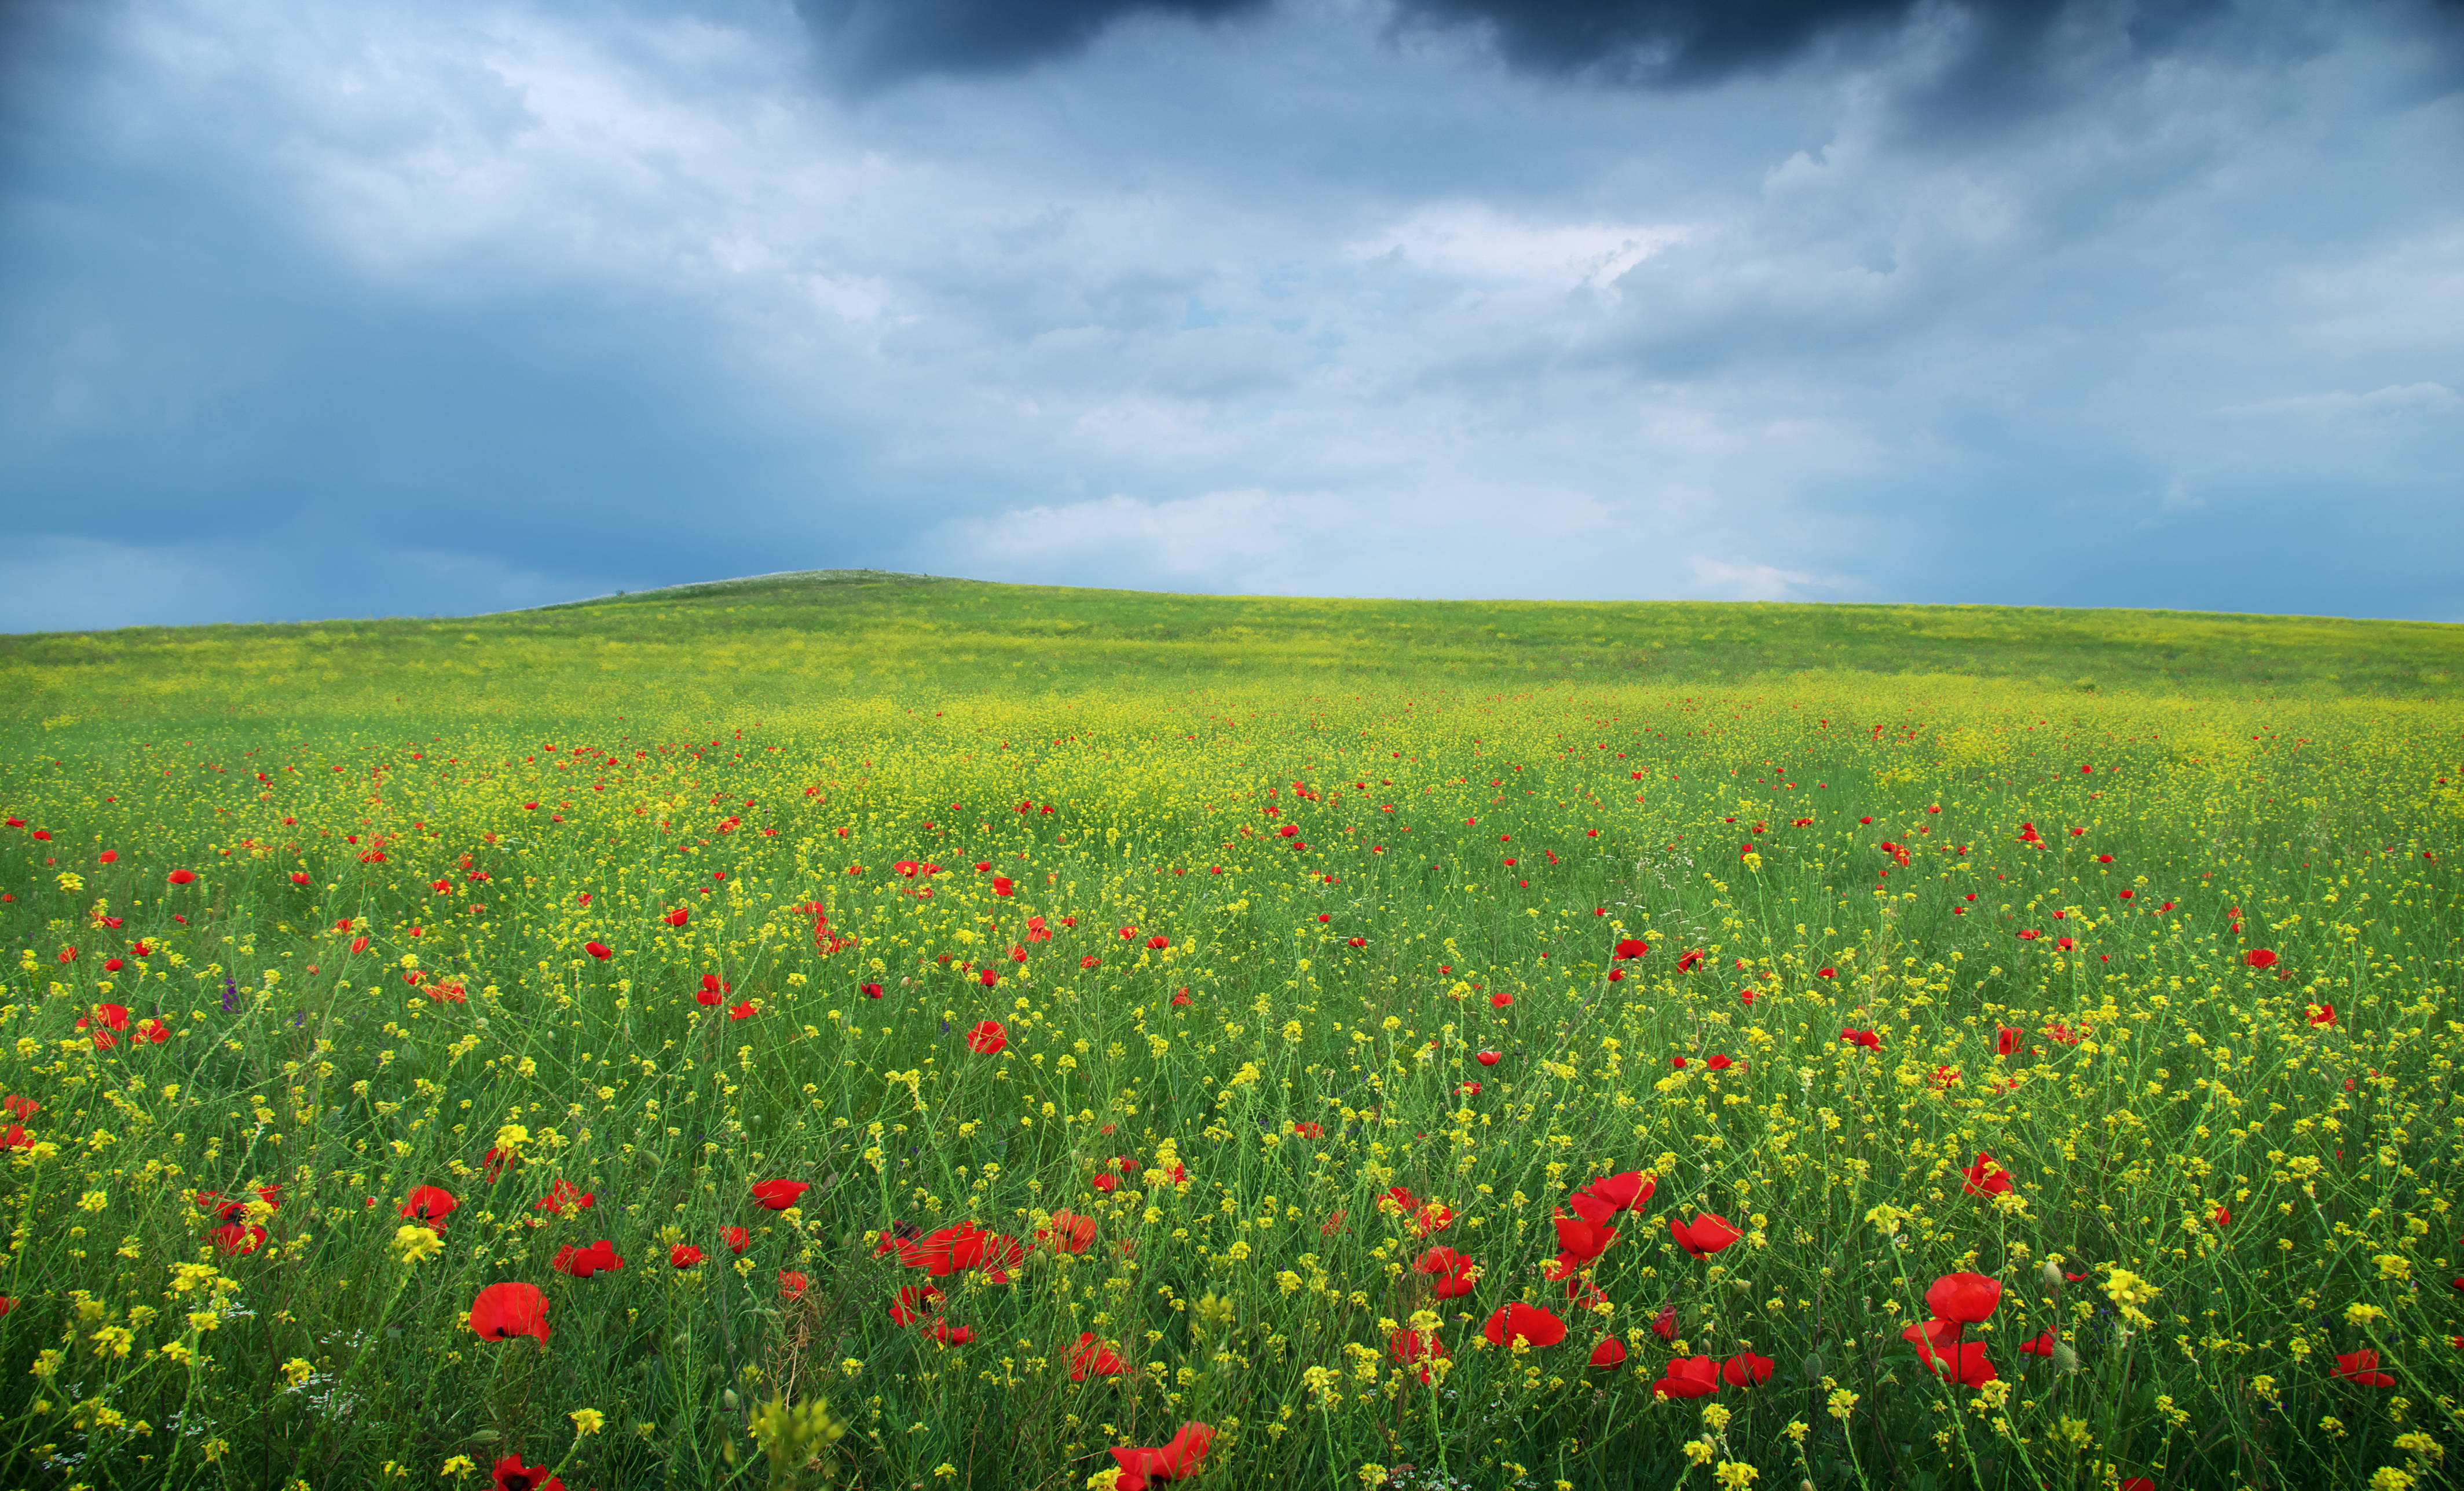
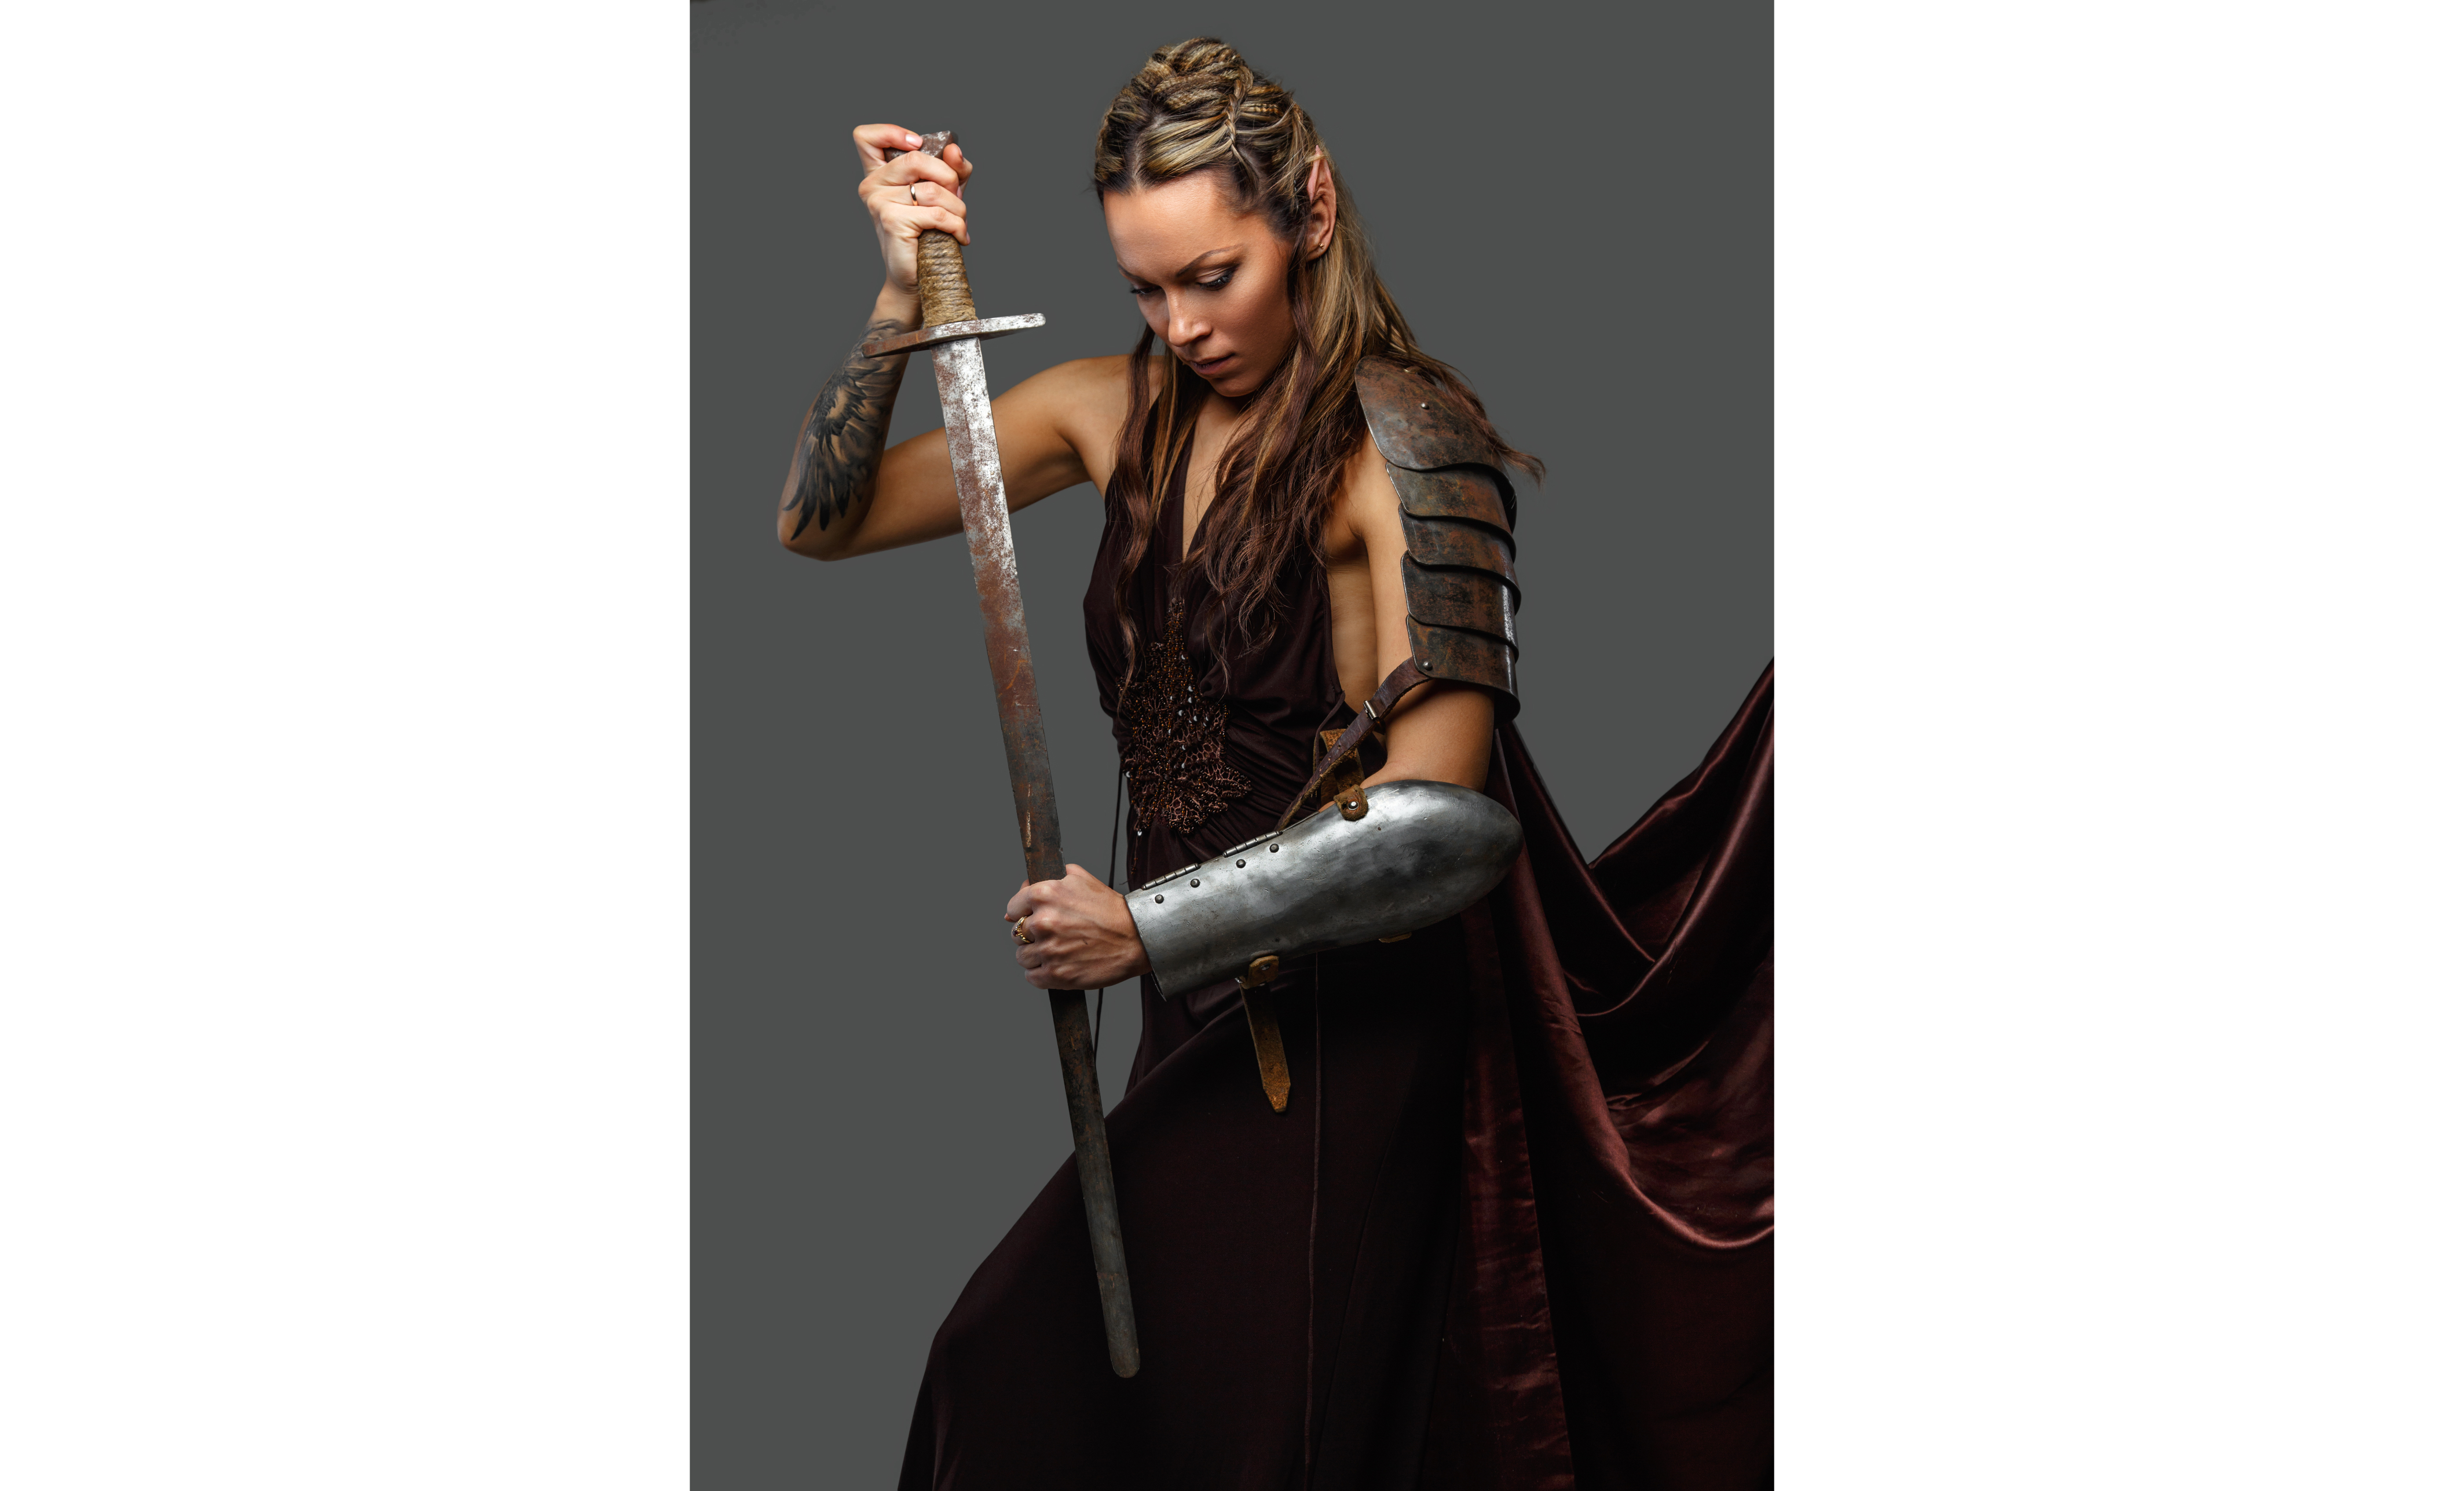
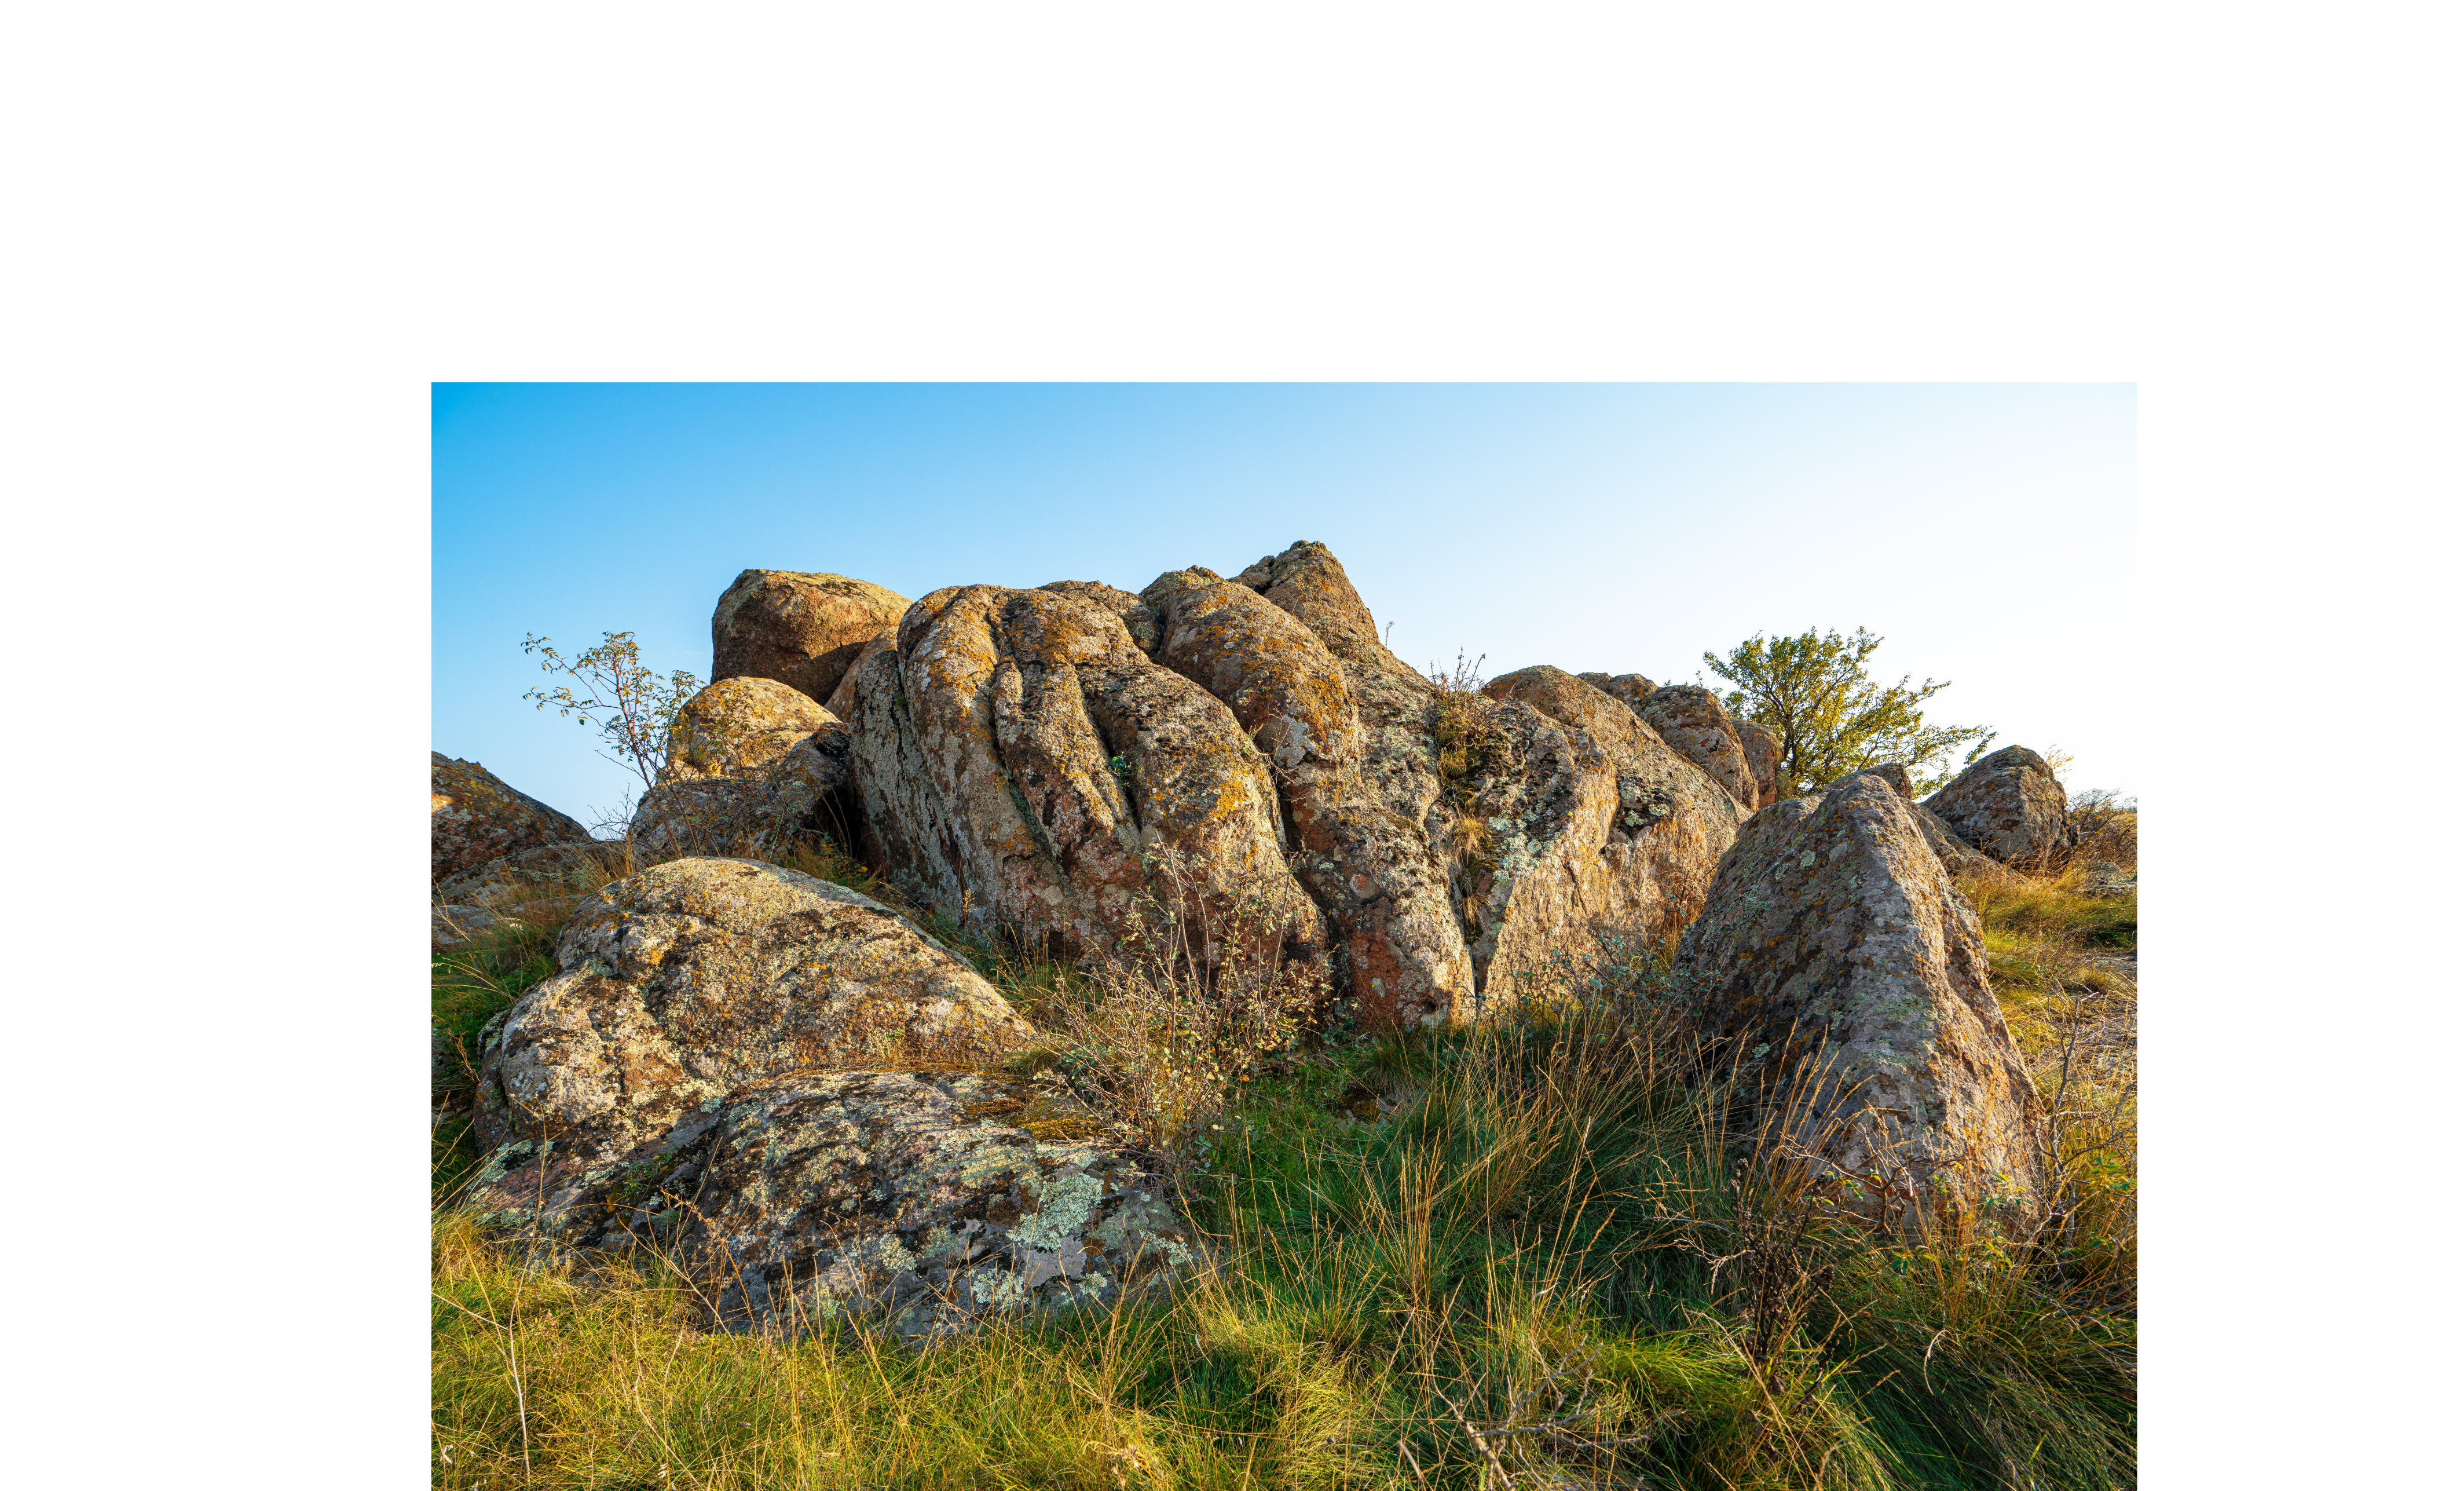
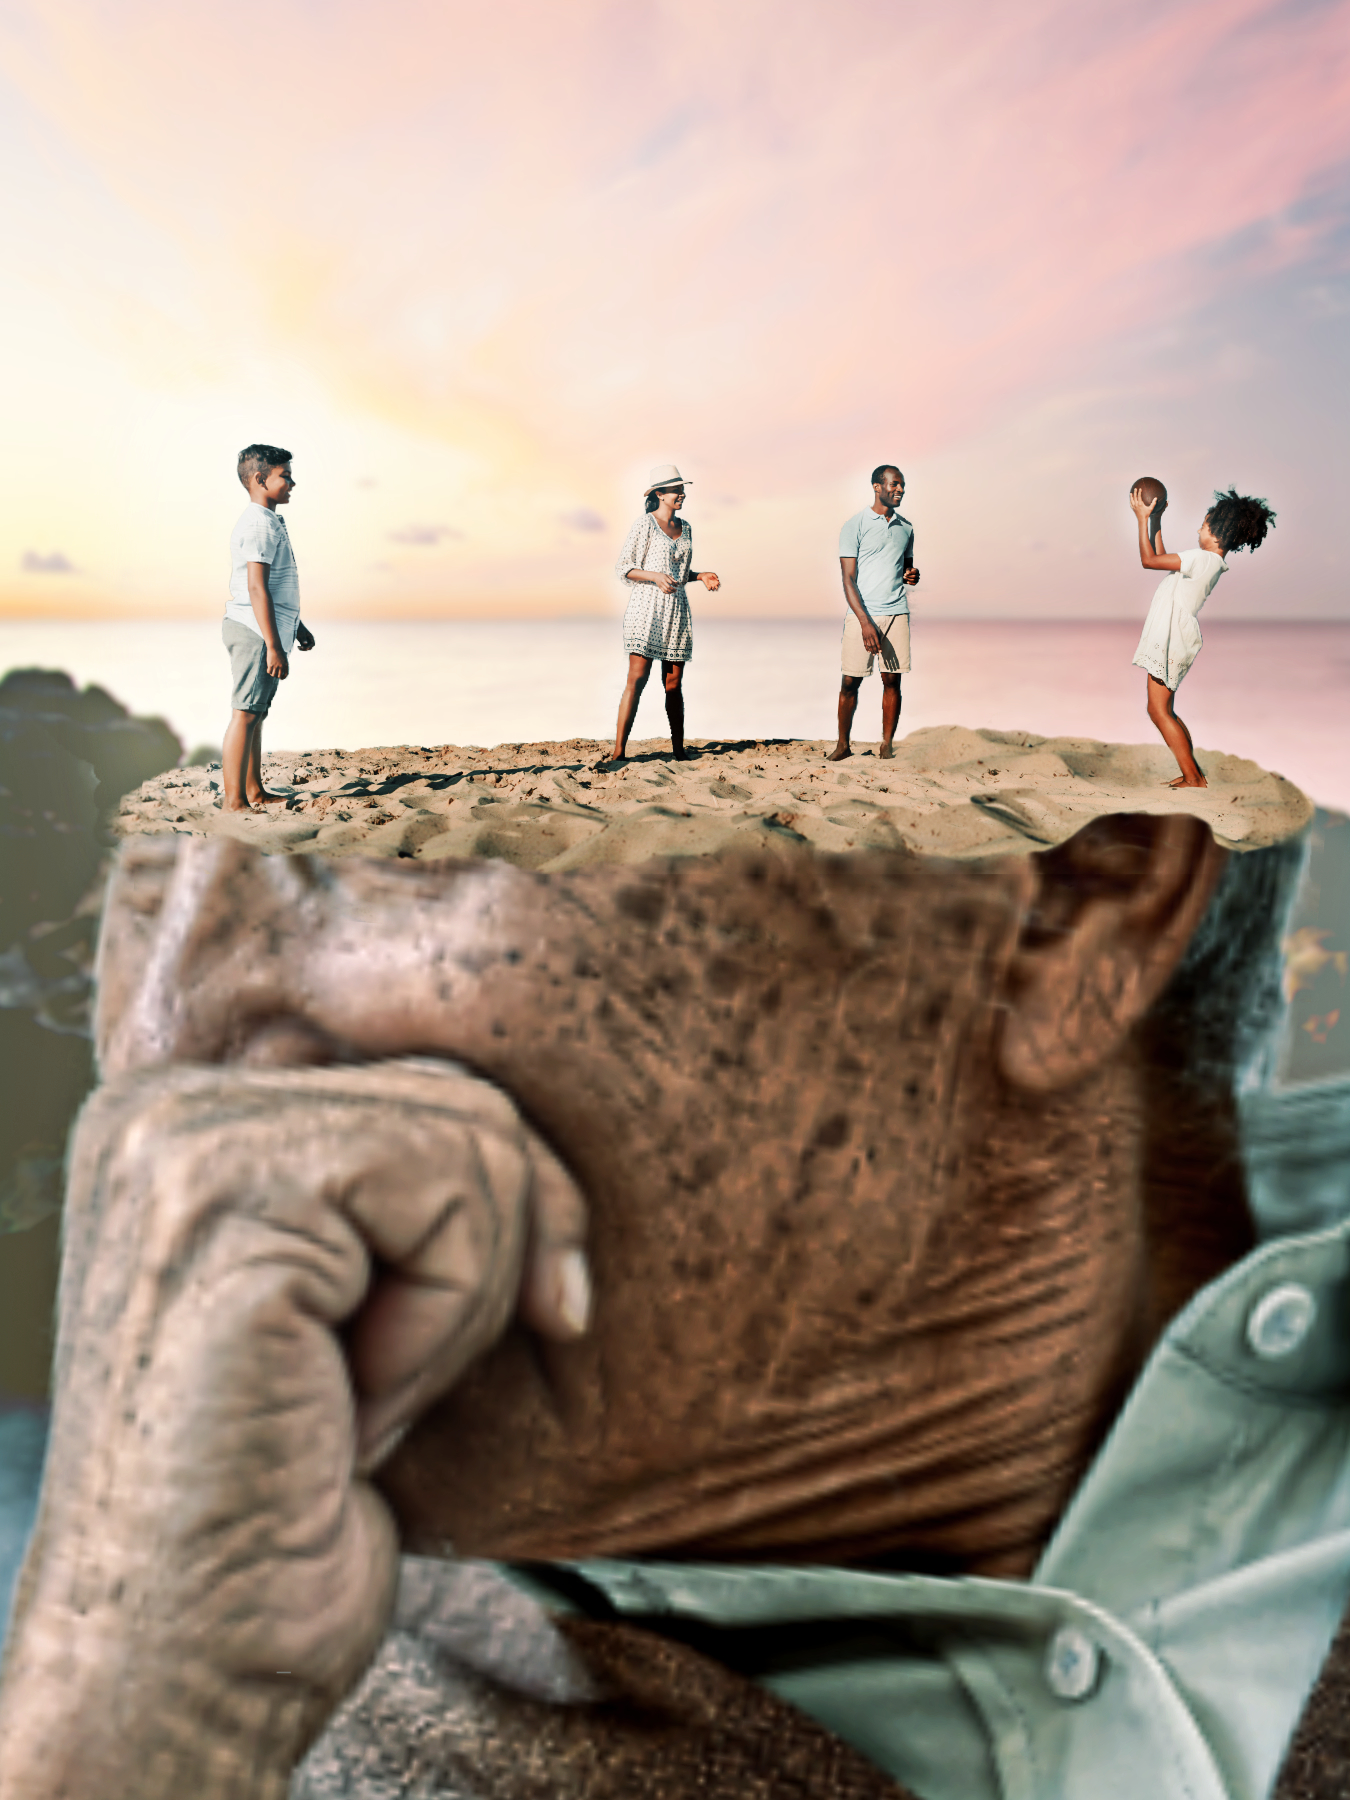
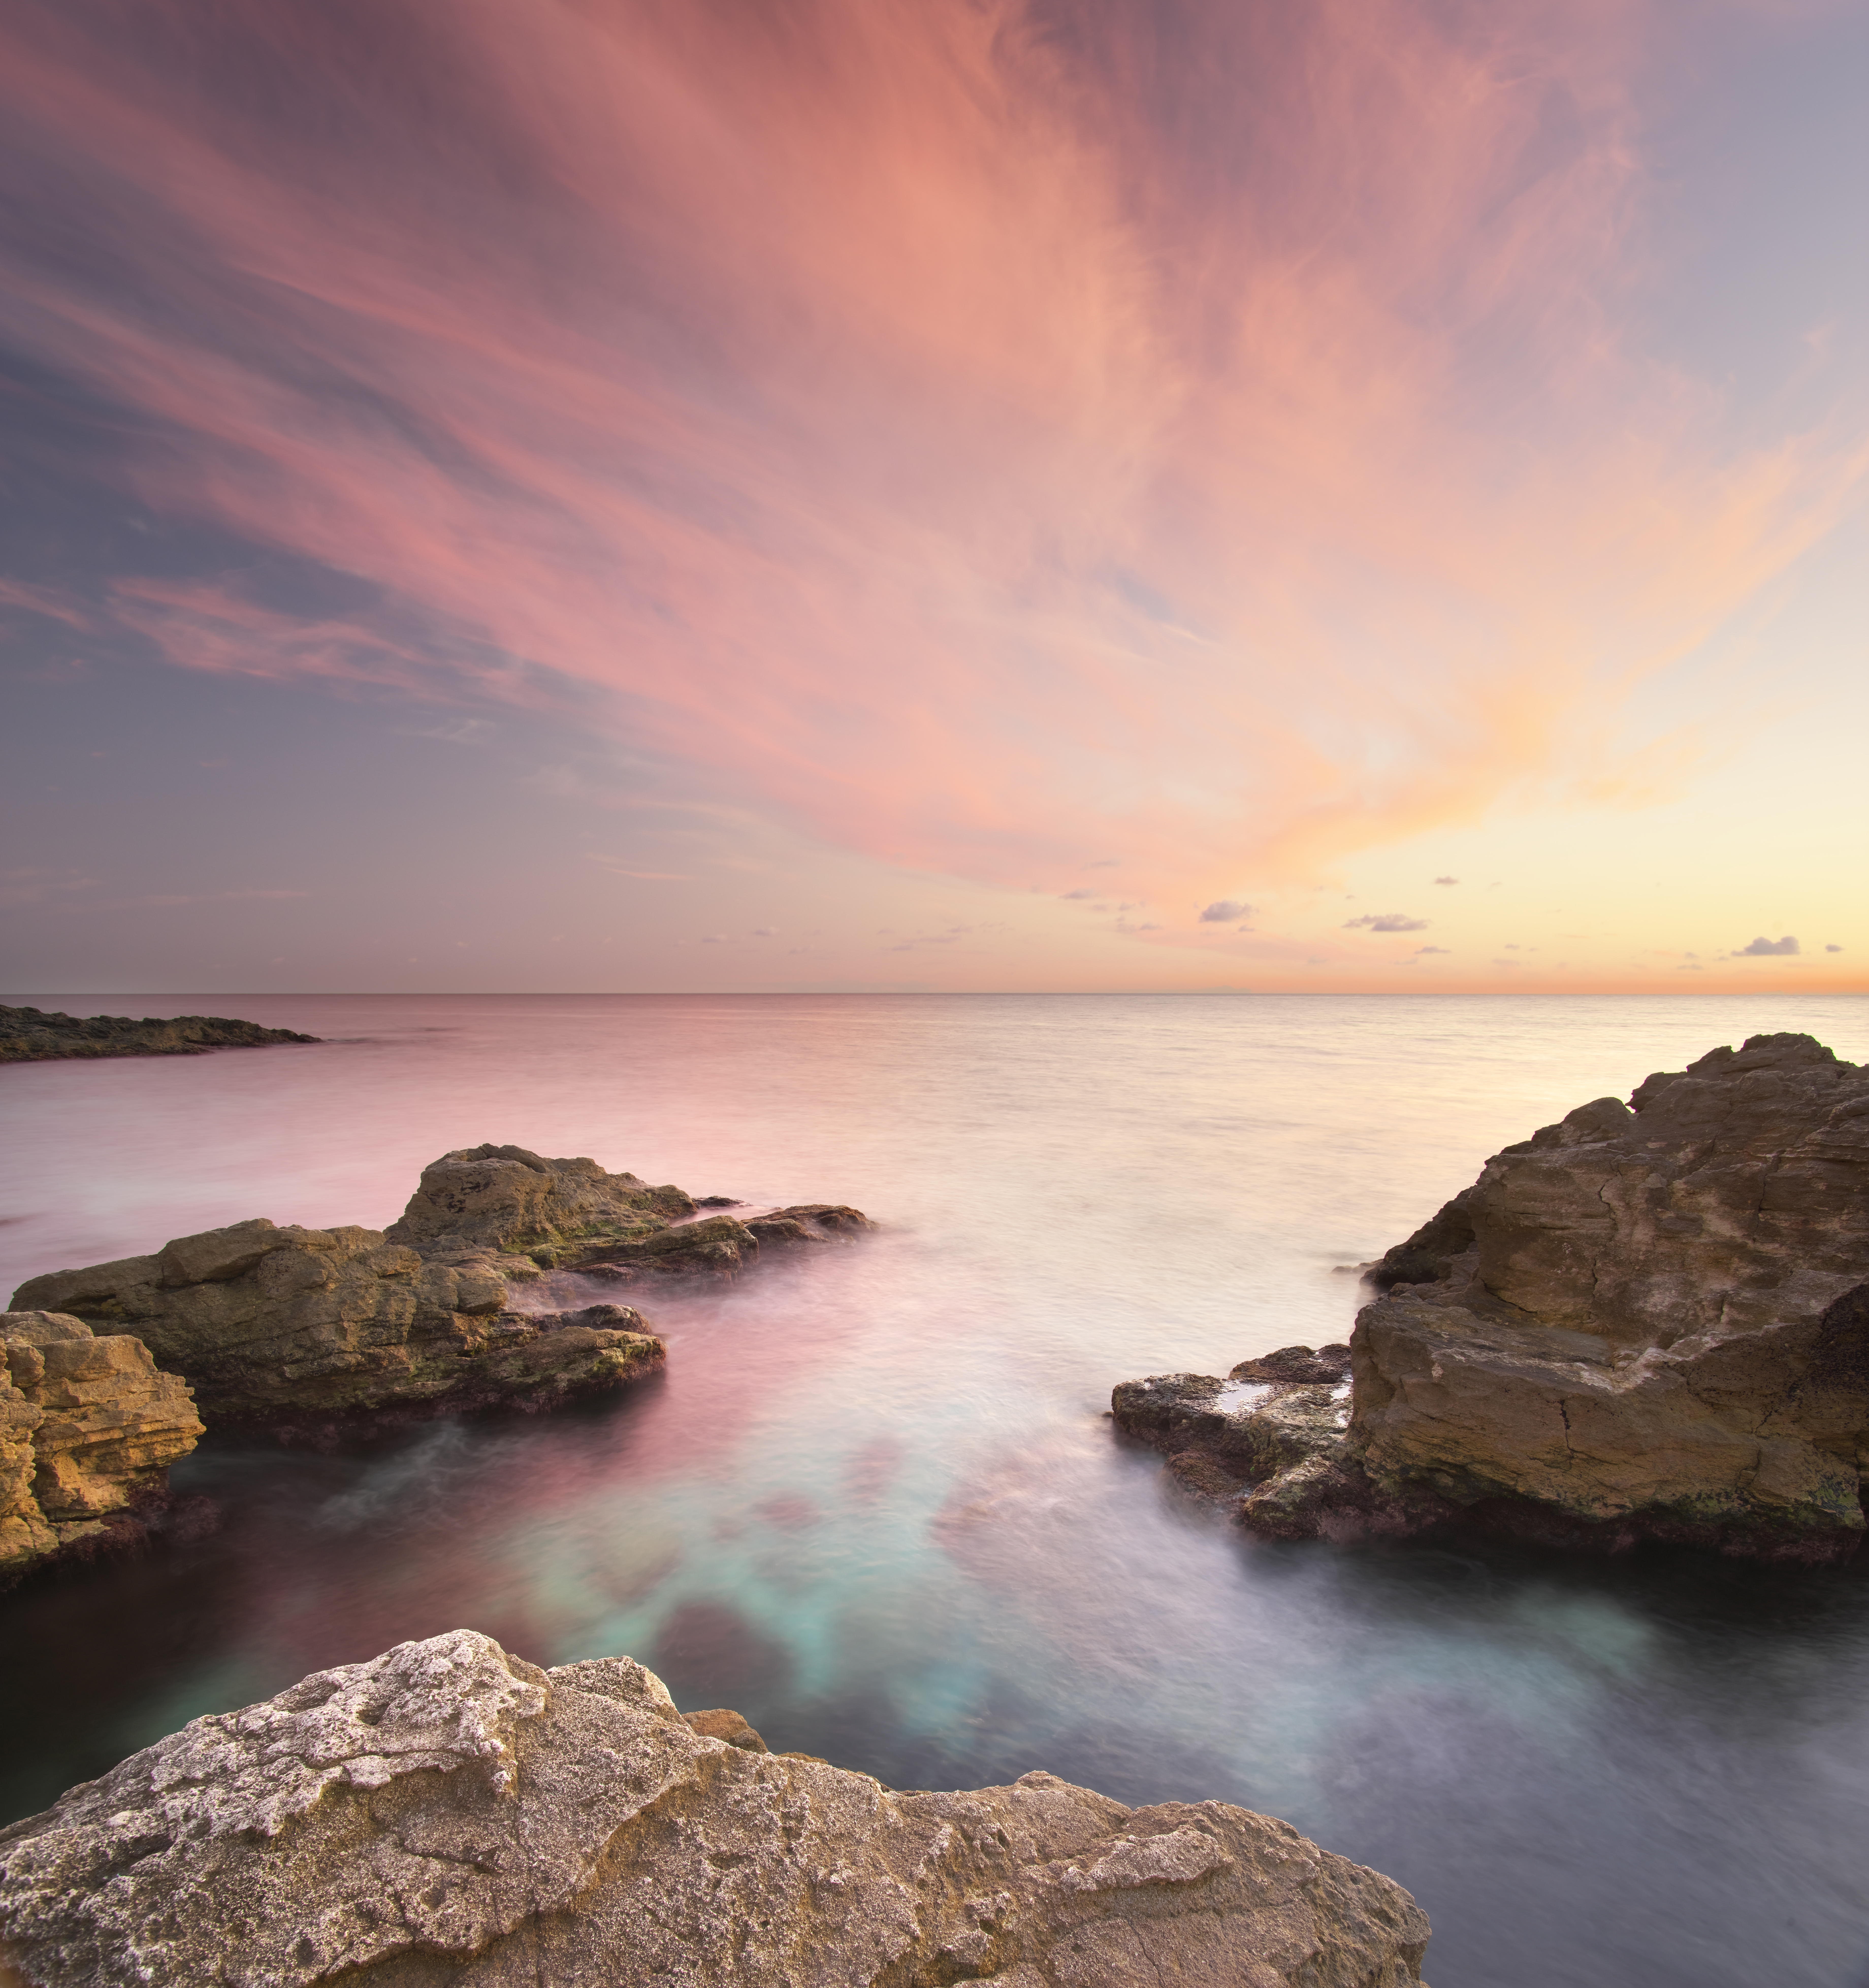
Specs iPad Pro (2020 Model) 12.9” iPad OS 15.2 Affinity Photo 1.10.1 Paid Photoshop Course followed: Kevin Carden Sword in the Stone Originals:
-
 Hello, Would anywone be aware of a plugin that would allow asinh colour stretching, as used in astrophotography? I read this plugin exists for Photoshop, and PS plugins should be compatible with AP (or am I wrong?), but I have absolutely no idea where to find the plugin. Is it integrated in the original PS setup? As an aside, would functionality like asinh find its way in AP's set of astrophotography tools...? Many thanks for pointers. (edit: Just discovered James Ritson's astro macros. Some of them handle the arcsinh stretching.) Cheers, Dom
 -
 I have come across something a little odd that has got me baffled and hoping I can get some insight as to what is going on or if this is a bug. Basically when I use the eraser to remove a portion of an image and then use the flood fill tool to change the colour of what remains, it fills it in but also brings back the section that was previously erased in the new colour. Steps to recreate. 1. Create a new pixel layer and paint a big blue circle 2. Create a second pixel layer on top of the first and paint a red circle inside the blue circle 3. Change to the eraser tool and erase a portion the middle section of the red circle creating two half circles 4. Switch to the flood fill tool change the colour to yellow 5. Click the flood fill onto one of the red half circles. Both the two red half circles change to yellow but in addition the middle section previously erased re-appears also yellow. I would expect that if something is erased it is erased? Thanks
 -
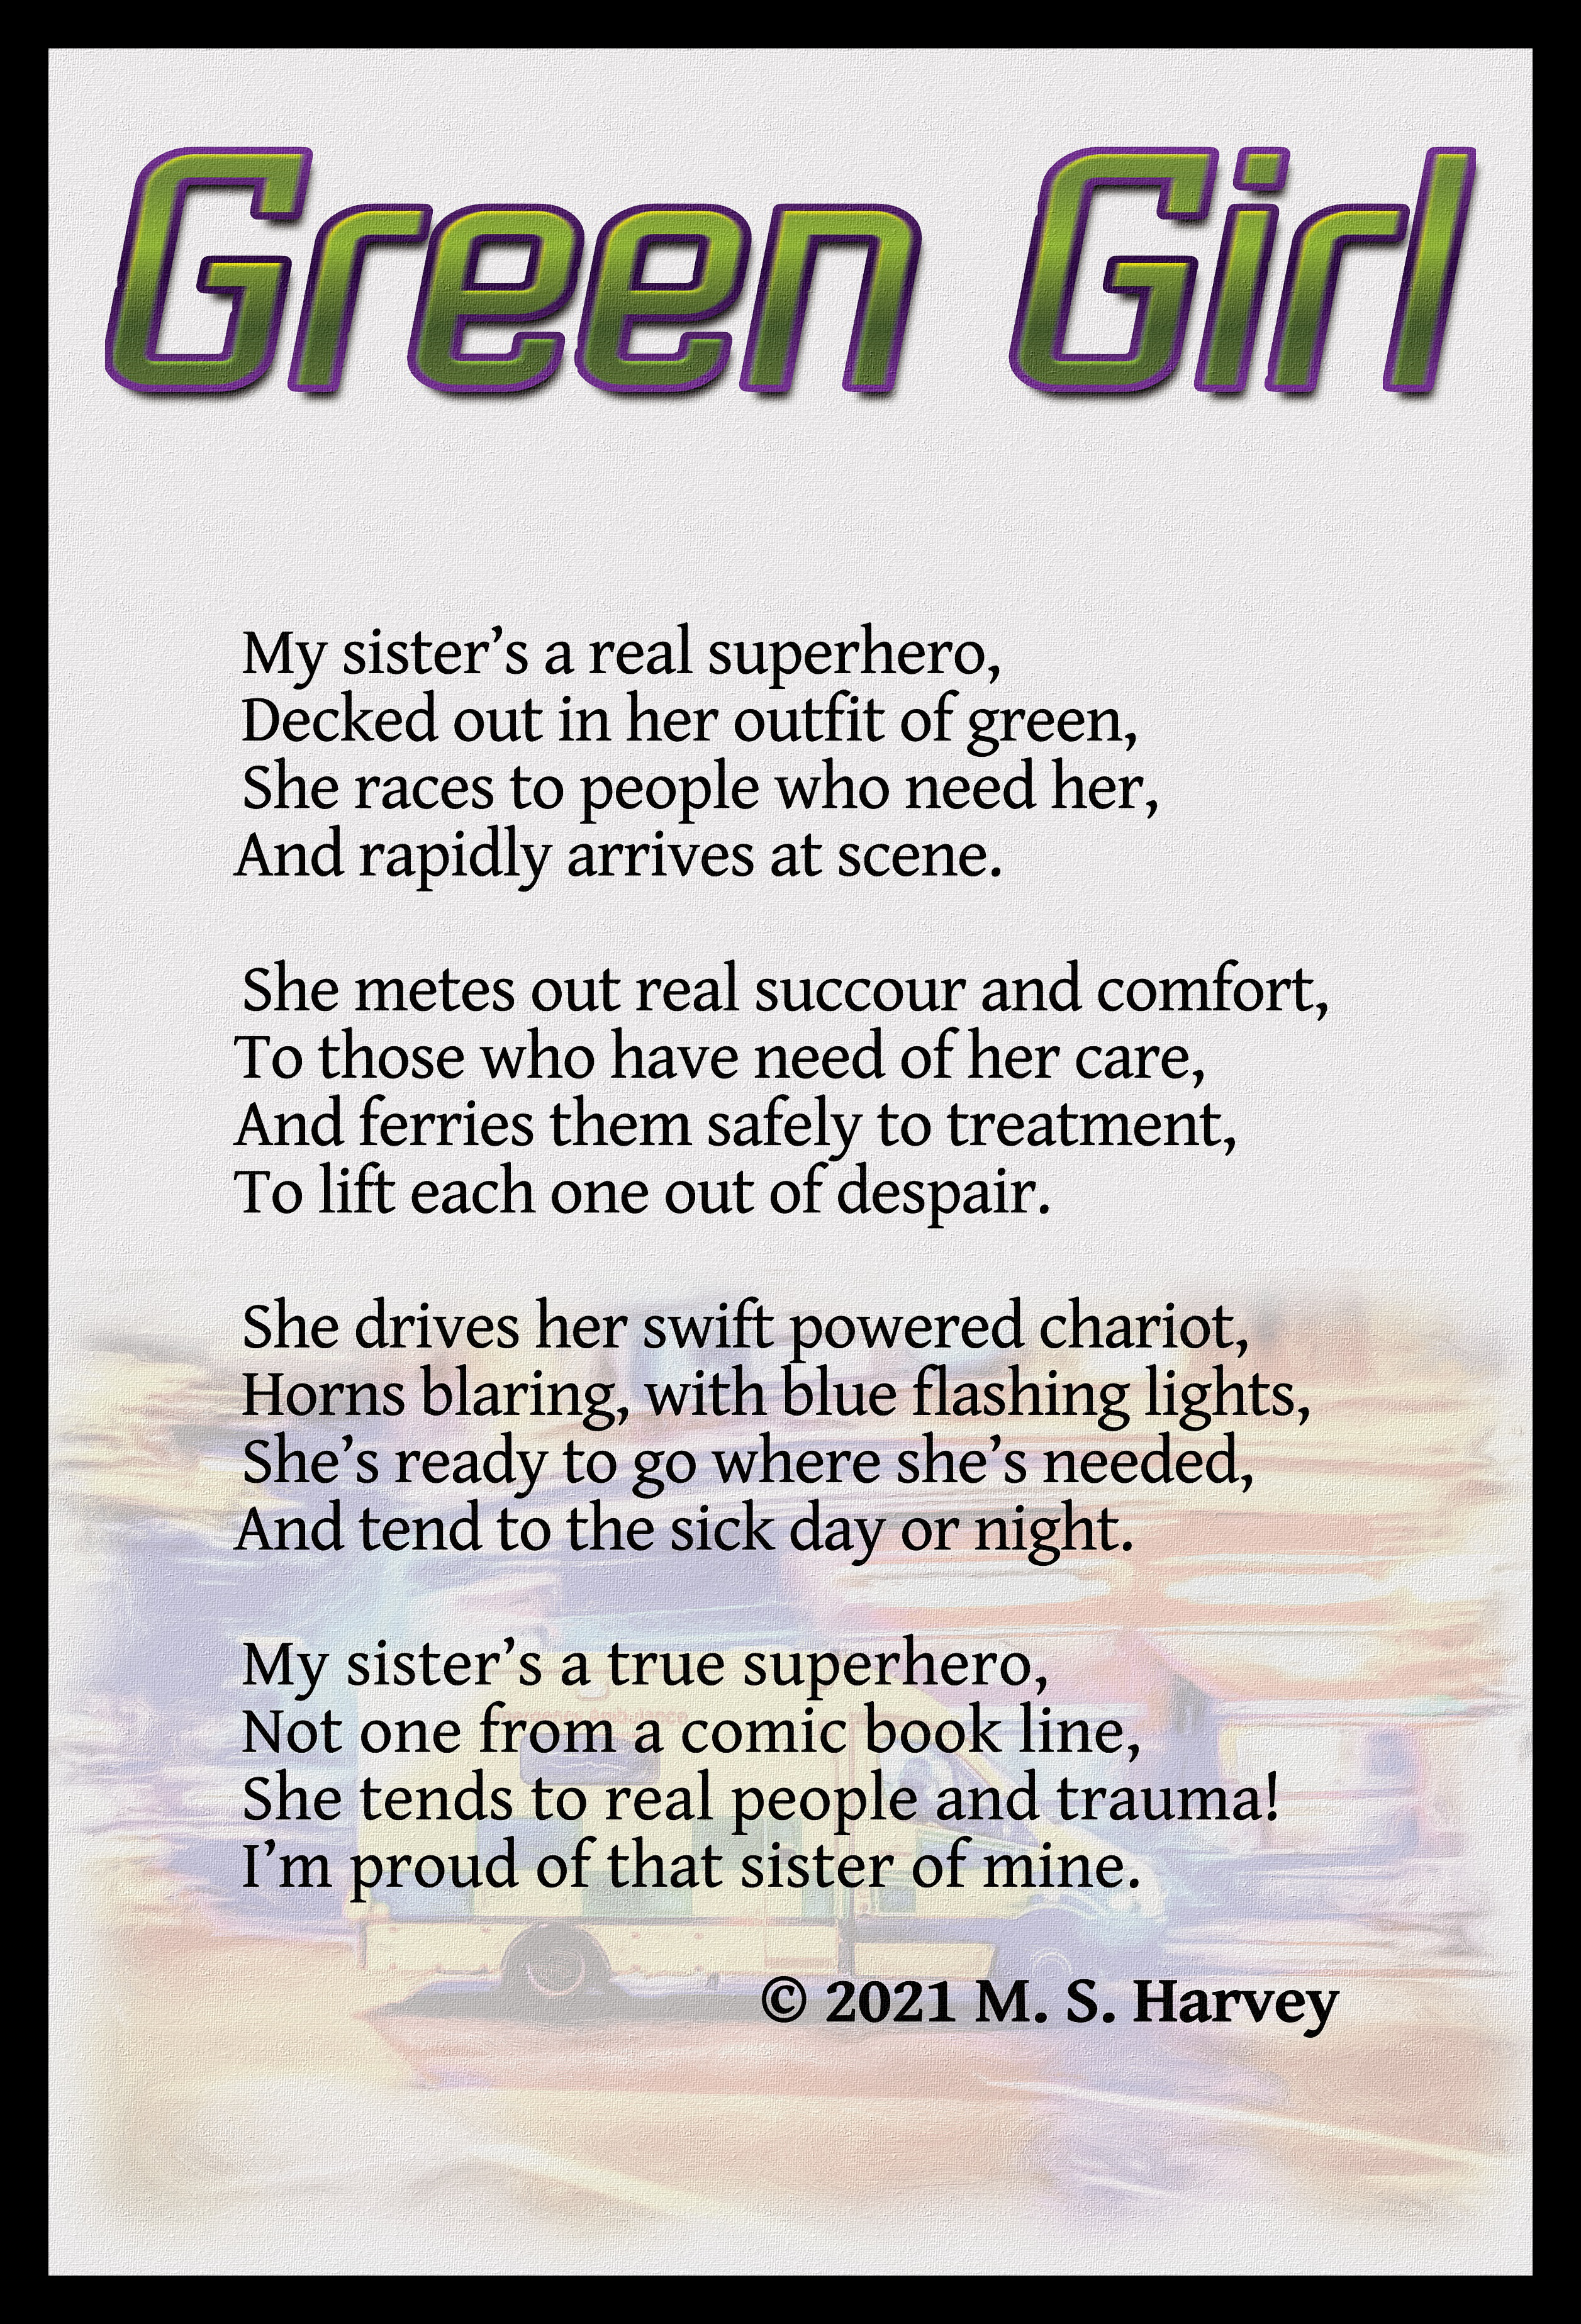
Here is a piece of work I created in Affinity Publisher to honour my sister's commitment and work as a paramedic. I used Fotosketcher and Corel Paint It! to create the artwork in the background, which I then enhanced in Affinity Photo using the tone map facility. I am waiting for the finished canvas to come from Vistaprint. However, here is a representation of the finished artwork with frame. Text editing was done in LibreOffice Writer. I hope she enjoys the gift.
- 35 replies
-
- 3
-
-
- fotosketcher
- corel paint it!
- (and 1 more)
-
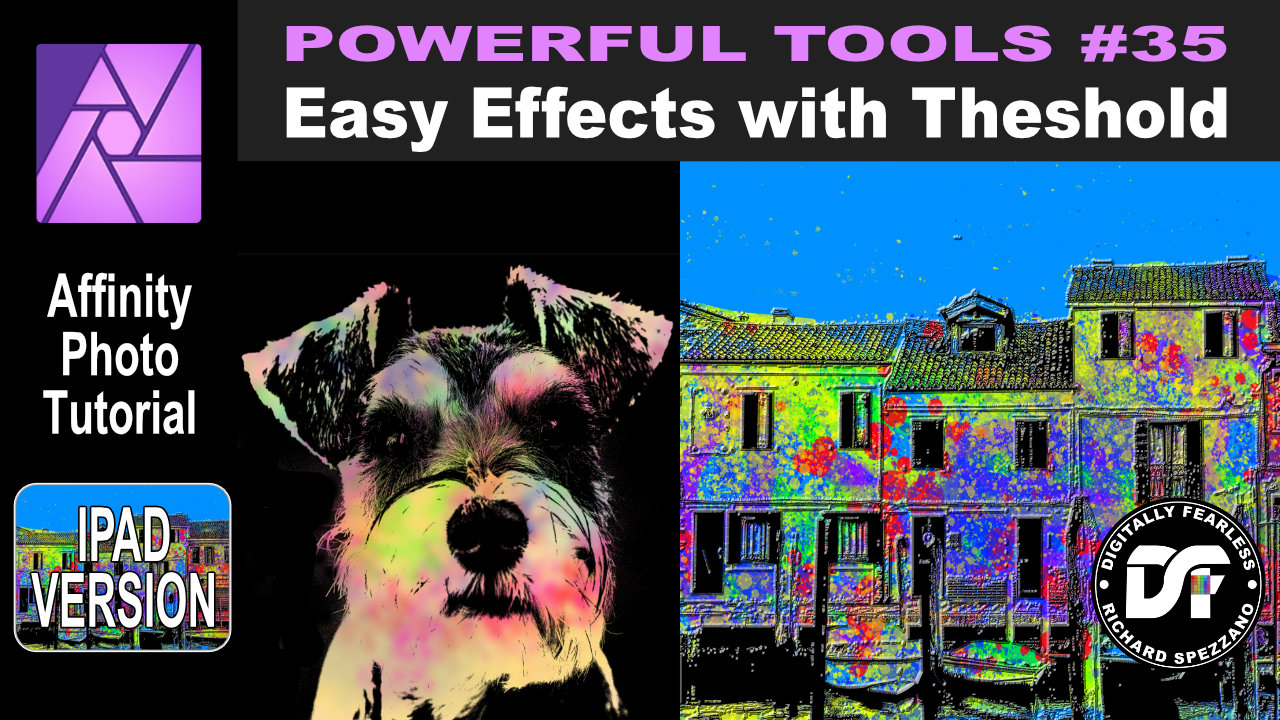
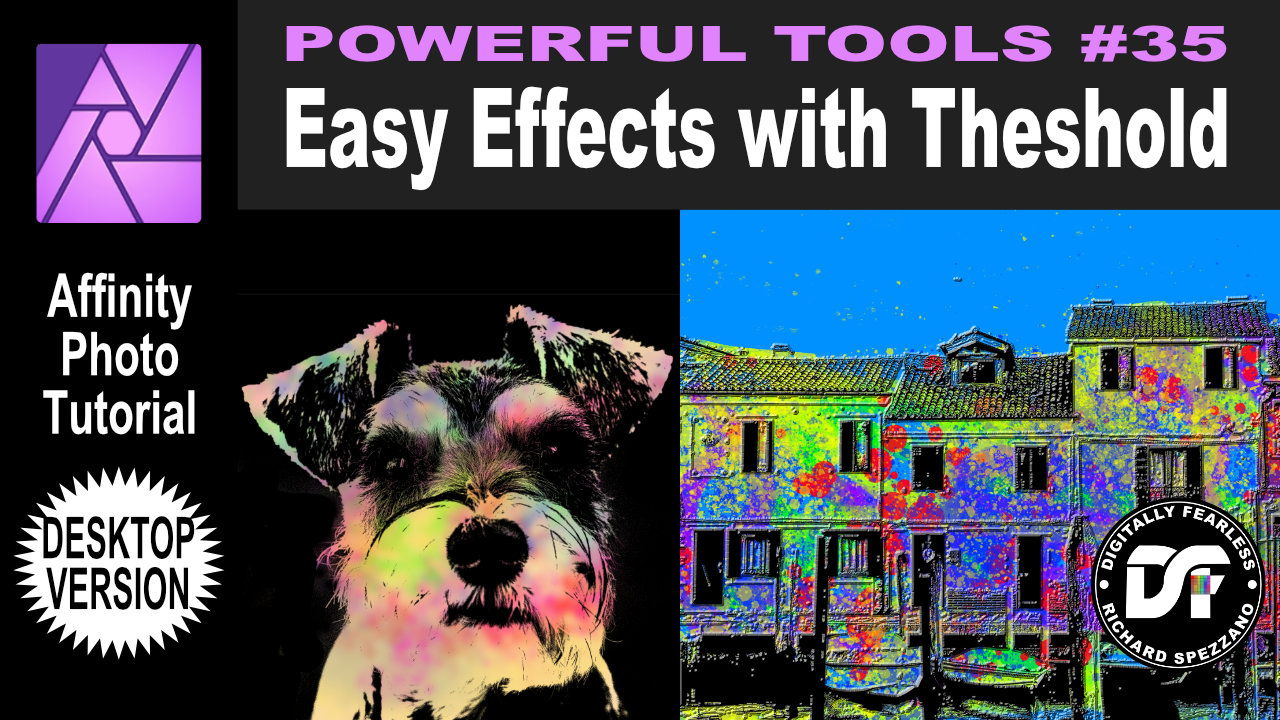
 Affinity Photo beginner tutorial photo manipulation. In this beginner Affinity Photo tutorial I use the threshold filter to create some interesting photo manipulation effects. This is number 35 in the Digitally Fearless “Powerful Tools of Affinity” series. The links to the iPad and desktop versions of this tutorial in the video description and below. iPad version of this tutorial: https://youtu.be/OzVzMuVw5zw Desktop version of this tutorial: https://youtu.be/4RNqDk6qpIk
-
 Have used a few adjustment layers on a photo. Got it looking just right, saved then exported to jpeg at 100% quality. When comparing the .afphoto and .jpeg files side by side the jpeg looks washed out. Tried replicating by turning off some of the adjustments but couldn't - looks like something just did a global desaturation/cooler white balance adjustment. I've attached screenshots from within AFPhoto. Any ideas of cause and correction. Thanks Paul
-
 Got the course from this site: https://kevincarden.gumroad.com/l/WlvZzB My Piece: Originals:
-
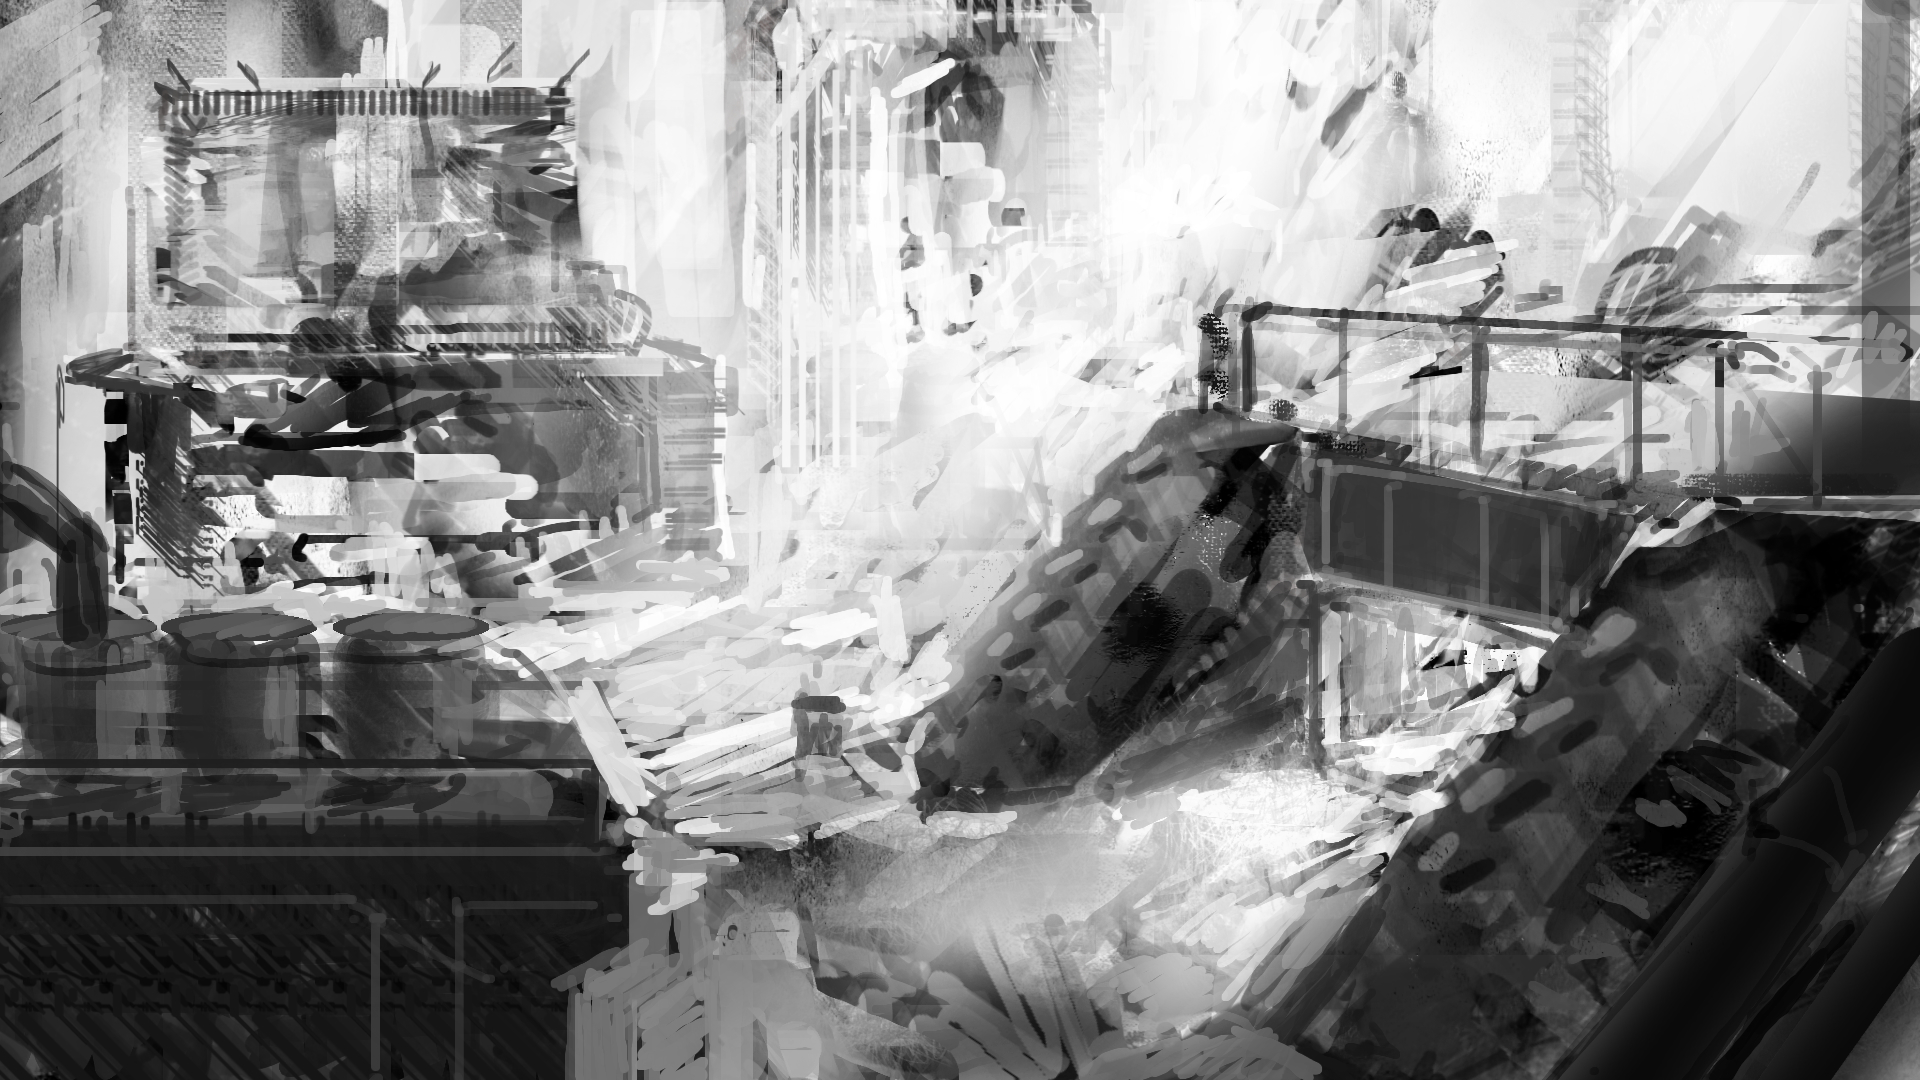
 I use Affinity Photo Version 1.10.1 on my Mac Book pro and on my iPad Air 2020. When I try to import a picture (Raw, PEF, 45,5) shot with my Pentax K-1 Mark II on my iPAD Air (iOS 15.0), I cannot see the picture, I only see a white and grey pattern, not the original picture. When I import the same picture on my Mac Book pro (mac OS Big Sur Version 11.6), there is no problem, I can import the picture file in Affinity Photo and edit it without any problems. What is the reason for the different behavior of Affinity Photo on iPad and on Mac Book pro? Uploaded: Test Foto IMGP3015.PEF
 -
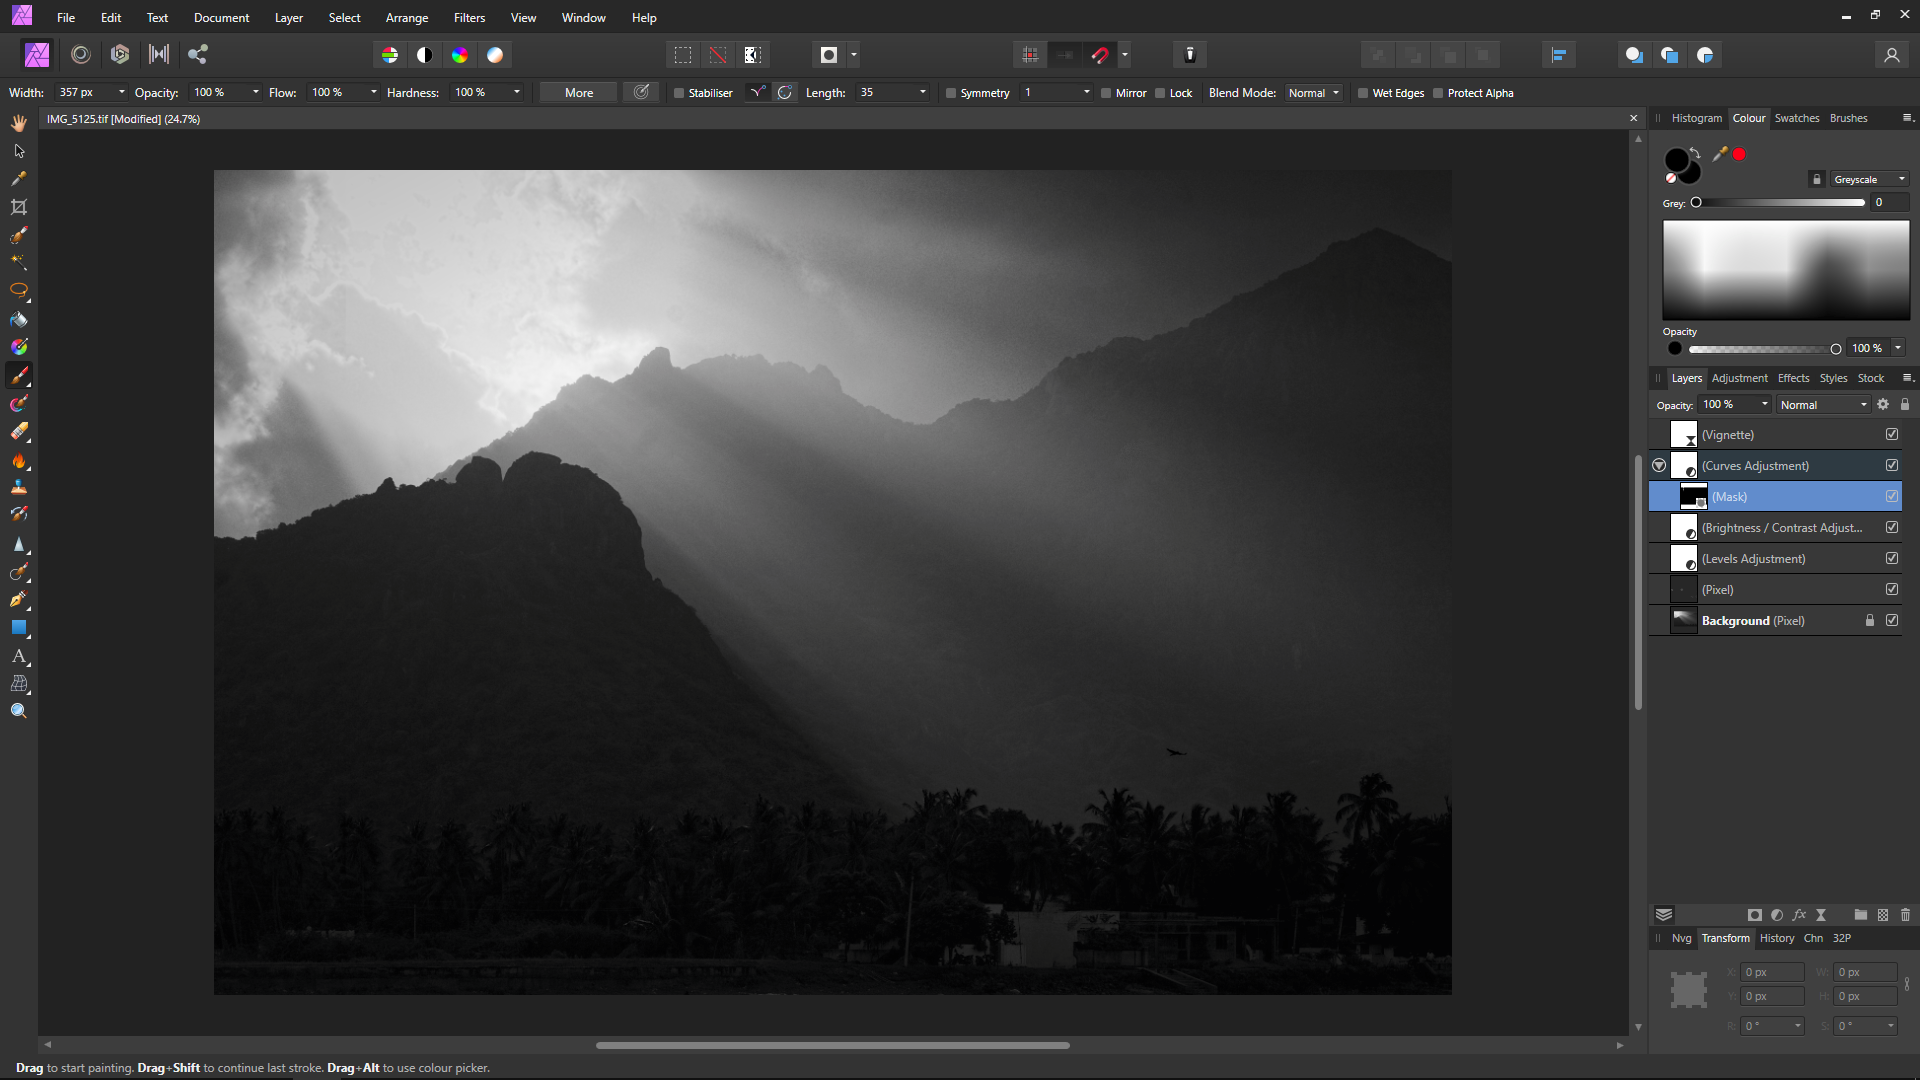
 Hi, I imported an image, cropped it. Then applied curves adjustment with a mask to apply the adjustment on a specific area. I re-cropped the photograph to include more area. The adjustment layer is incorrectly applied on the newly accommodated area, because it was never included in the mask. So when I'm cropping out, the adjustment is automatically getting applied to the accomodated area. Steps to reproduce: Step 1 : Import image Step 2: Crop the image Step 3: Create an adjustment layer with a mask Step 4: Edit the adjustment layer Step 5: Re-crop to include more area Step 6: Check if the adjustment layer is not applied on the additional area included in Step 5 I want the mask to remain the same and not allow the adjustment layer in the newly accommodated area. Any help or directions in this regard is appreciated. Edit: If I select the mask and paint black over the unapplied area, the adjustment layers vanishes from that region. But are there any other ways to do this automatically when we expand the crop? Regards Gokul
-
Hey folks, I have painted an item card for a trading card game we are developing in class - entirely in Affinity Photo! Constructive criticism is always highly appreciated!
-
i’m taking a course, it’s on photoshop, but i follow along on my affinity photo ipad. the instructor pulled up something called an offset tool located in the the filters - do we have some like that? because i cannot find it. thanks.
-
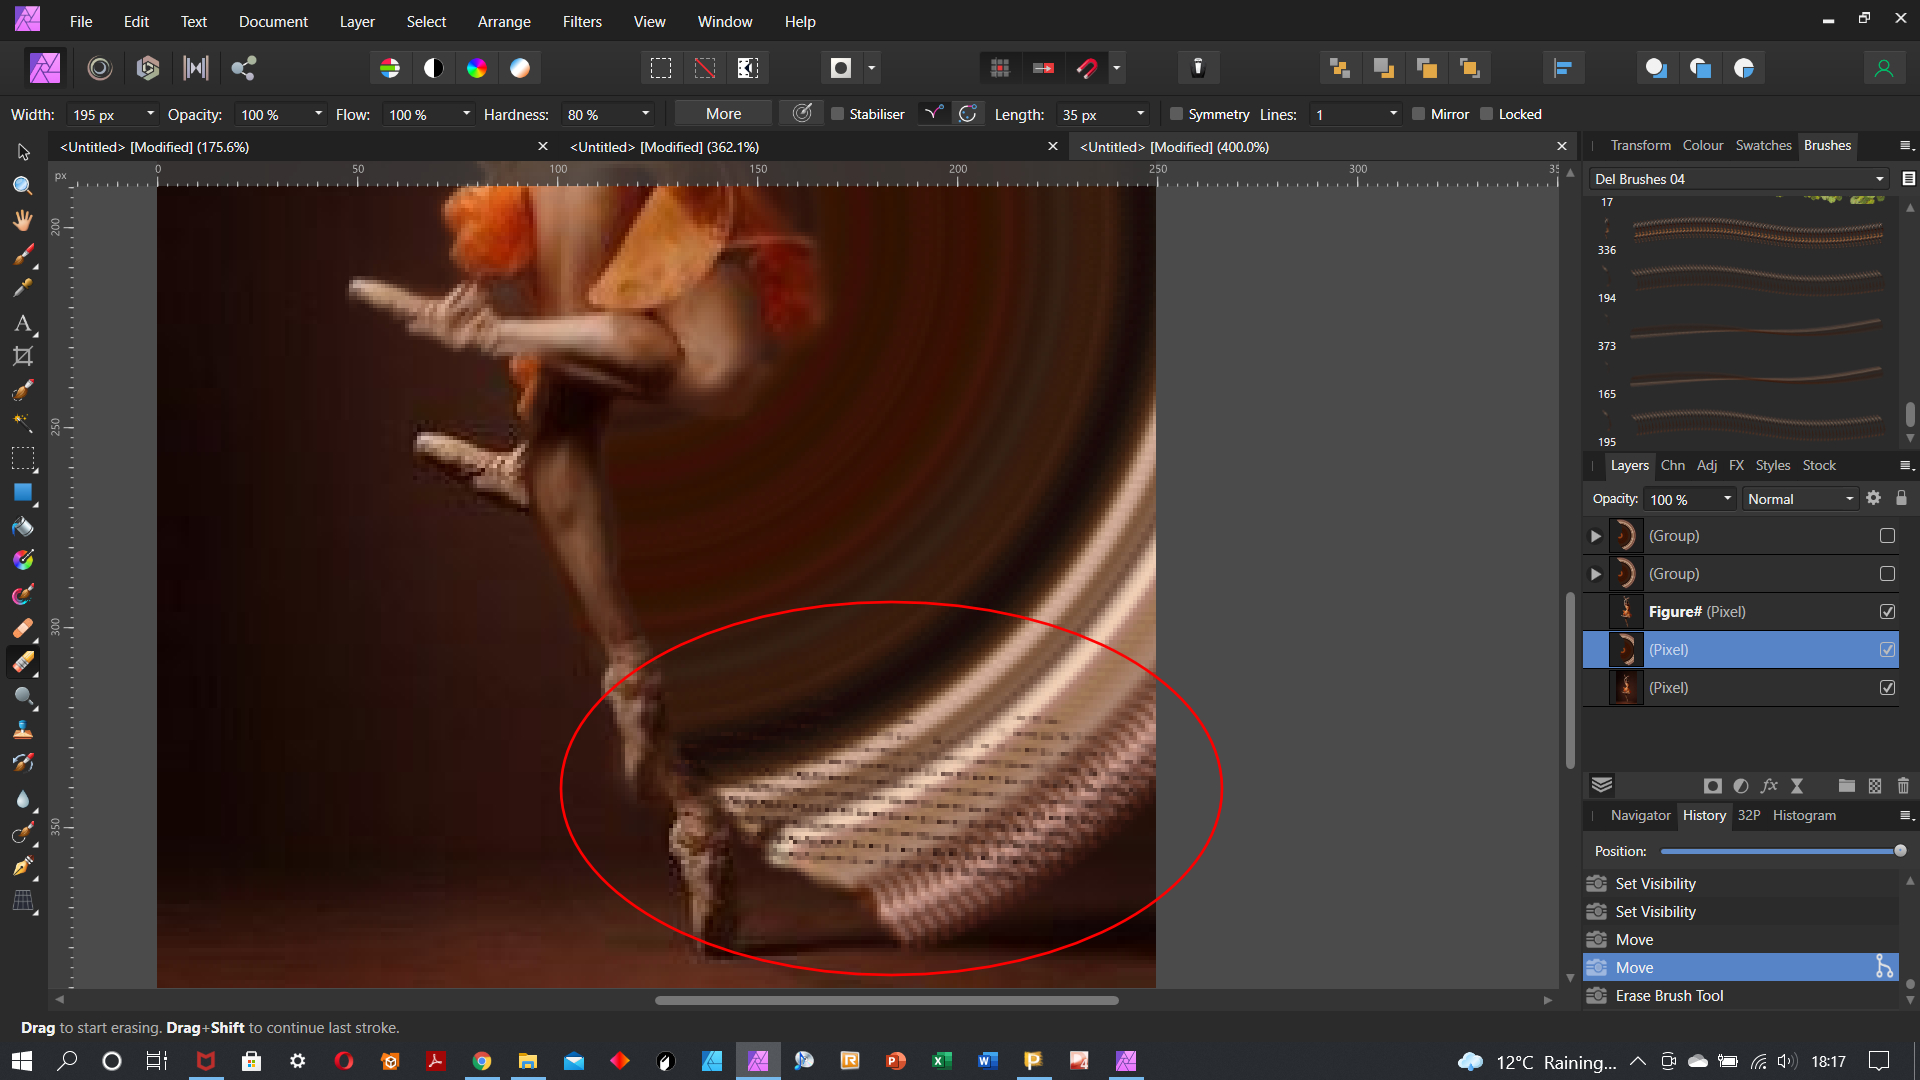
 Hi, I have been creating an image (just as an experiment, really), to recreate in Affinity Photo the effect of movement and colour of a figure in motion that I have seen on Pinterest, so I grabbed an image of a figure in motion so that I could see if I could recreate it - its not for commercial use, just to see if I could do it, really - and have been quite successful in recreating it. However, when I wanted to erase some of the colour/motion layer, I find that an image on a tool I have used previously has been somehow applied to the Eraser tool - and it keeps changing. Its like it has acqured an image that I have been using previously in the Eraser tool settings and I can't get rid of it or solve it. Resetting the tool doesn't seem to work I have included a screengrab of the effect and highlighted in red the problem with the Eraser tool... I wonder if anyone can help with this because currently I am unable to use the Eraser tool because of it. I am using Affinity Photo version 1.10.1.1142/ Thanks.
-
Hi guys, if you are using Adobe Photoshop or used it before, you must have seen the FILL option often right. It's located below Opacity in Layer Panel. So some of you might be wondering about the difference between Opacity & Fill Opacity because if you look at it, both Opacity & Fill Opacity do the same thing, controlling the transparency of a layer. But then, why bother to create the same feature, there must be a difference right. So in this video, I will explain the difference between Opacity & Fill Opacity, and where Fill Opacity is located in Affinity Photo. I hope you enjoy this video, thank you!
- 12 replies
-
- 5
-
-
-

-
- fill opacity
- opacity
- (and 4 more)
-
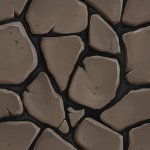
Hi guys. I want to take part in help for Affinity Photo. Here is custom make grass brushes and example, that was made by me. If you have any comments or ideas to add/fix them - i will adjust/update them. Each brush - it is not only one image, but at least 3 different variations of it. So when you draw - it draws in series 1,2,3,1,2,3,....like frames in movies - so the grass texture looks more natural and random. The brush rotates according to drawing direction/route. If you don't need it - got to brush settings Dynamic/Rotation jitter - and set it to ZERO % 2017.12.24 - Version updated to 0.2. See attached pictures for explanations Also i attach small palette for green hues. 2017.12.18 - They are 4 brushes. First 3 - intensity brushes, and last one - image brush. Antony - Grass v.02.afbrushes Antony - Grass.afpalette
-
iPad version Retro TV Pop-up Affinity Photo tutorial photo manipulation In this iPad photo manipulation in Affinity Photo, I create scanned lines and show a girl jumping out from a retro tv to real life. Halftones makes shapes and the pen tool are used. The link to the desktop version of this tutorial is in the description. https://youtu.be/j9qjXu0vqxQ
-
Retro TV Pop-up Affinity Photo tutorial photo manipulation. Desktop version. In this photo manipulation in Affinity Photo (desktop version), I create scanned lines and show a girl jumping out from a retro tv to real life. Halftones makes shapes and the pen tool are used. The link to the iPad version of this tutorial is in the description. https://youtu.be/EKR7IdFw6Os
-
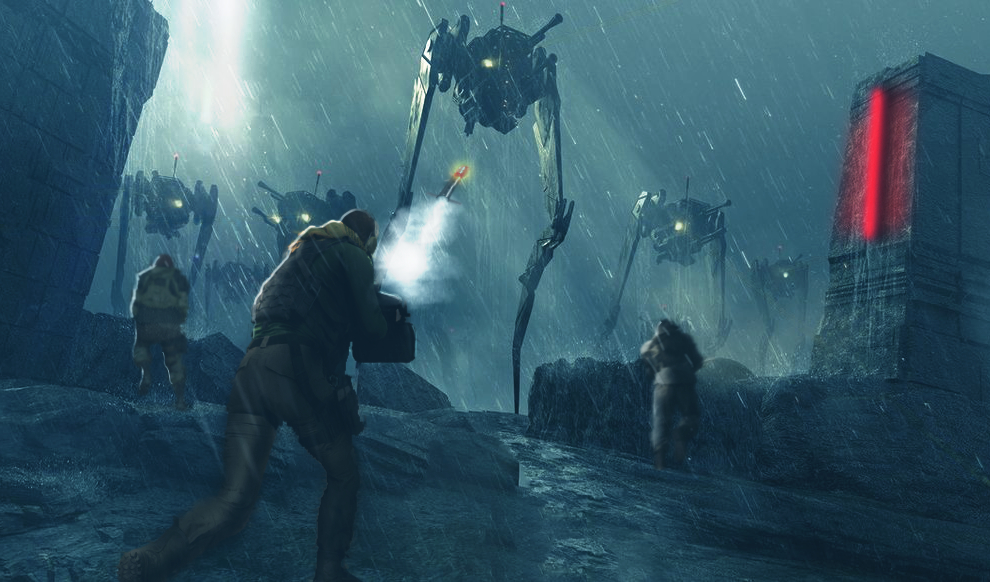
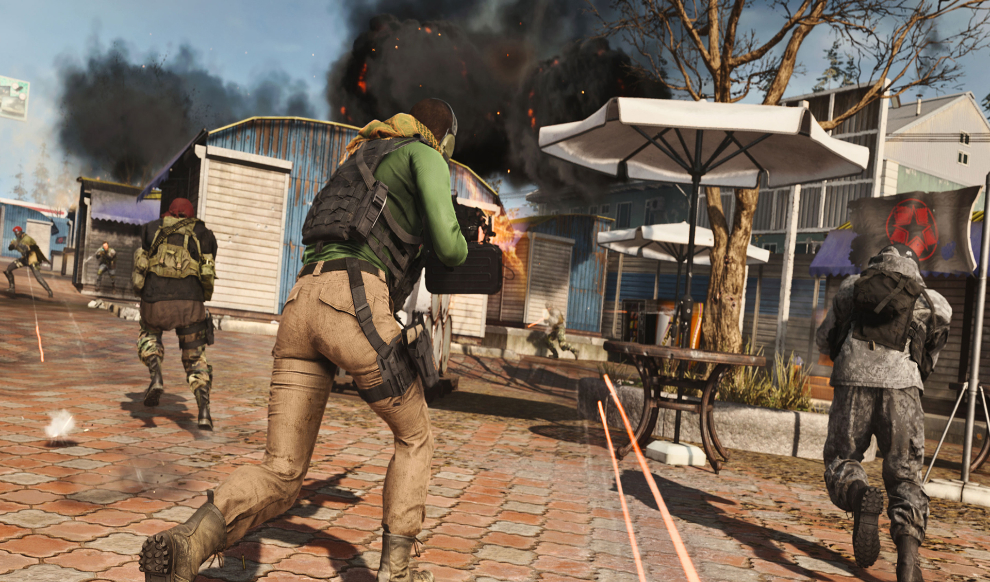
Specs iPad Pro (2020 Model) 12.9” iPad OS 15 Affinity Photo 1.10.1 Still learning… framing of composition to guide the eyes rim lighting atmosphere mood Grateful to have this on my iPad. Look forward to the future powerful updates Serif has in store. My Piece: The Originals:
-
 I have tried to develop a photo (with about 8 total files open in the program) and usually the program crashes, since the 1.10 update (1.9 and 1.8 did not do this, even when I had over 20 files open). Only one file is being developed at a time, and Affinity was even the only program that was open and running on the computer. I don't know how or why this is happening.


.png.859c452686736c4d9051fa6527c2ce1d.png)
.png.f7d52b02379c70591b575d85dbf73451.png)