Search the Community
Showing results for tags 'Affinity photo'.
-
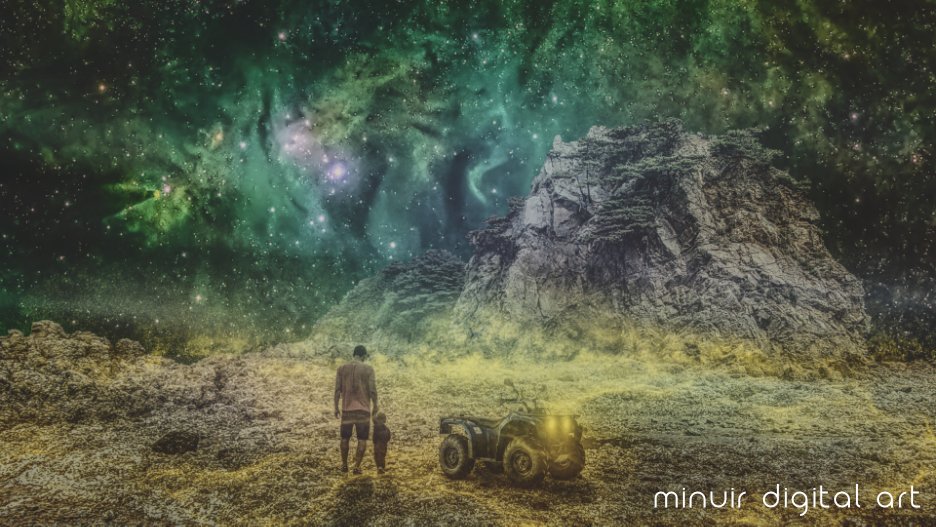
 I imagined that if I had a baby, I would go on a space trip together, so today I made an image of it~ "Walk in a Strange Place" speed art : https://youtu.be/7eYe8s2q5zU
-
- 1
-

-
- minuir
- digital art
- (and 2 more)
-
 Hello, I bought a few year ago Affinity Photo and Designer. Now I have a new Mac Mini and want to download the programs. The are not available in the App Store . I looked also in the update part of the store as suggested. Also Command R for updating the update page dit not show the Affinity programs. How can I download the programs. I have a lifetime licens. Regards, Chris Gerrist
 -
 Is there a way to convert a Pen Tool path you make into a selection. There is a selection from layer I can do, but I would like to just convert the path into a selection, without having to create extra layers.
 -
 Hola, llevo un tiempo buscando la forma de deformar objetos en affinity designer, hoy he visto que desde designer puedo editar la capa en Photo mediante "deformación de malla" y volver a pasarla a Designer, pero me la transforma a pixels, hay alguna manera de hacerlo manteniendo el objeto en vector, por que a menudo necesito curvar algun logo o forma y me resulta muy extraño no poder hacerlo manteniendo los nodos. y tener que salir a ilustrator para hacer esto me fastidia la verdad. Lo utilizo para adaptar y cortar logos que van pegados en superficie curva y engañar a la vista manteniendo la forma del logo. Gracias
 -
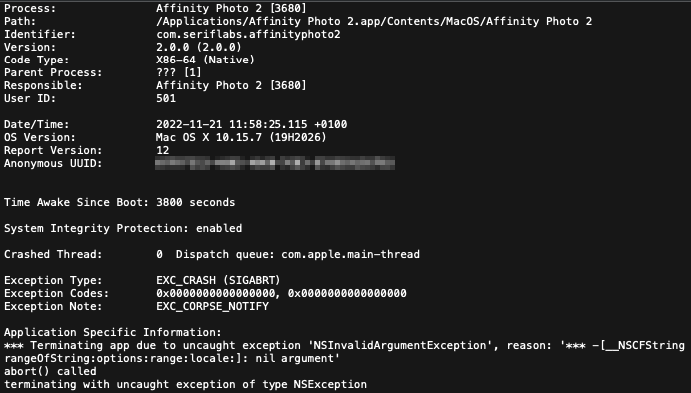
Hello. I bought and installed the "Affinity v2" suite, and I'm almost satisfied with it, except for a problem with the software crashing when I try to open a file. I'm on macOS 10.15.7 and, when I do: "Right click" > "Open with..." > "Affinity Designer 2" / "Affinity Publisher 2" / "Affinity Photo 2" on a file (PNG, JPG, SVG, PDF, etc.), the software open before crashing immediately. Now when I open "Affinity Designer 2", "Affinity Publisher 2" or "Affinity Photo 2" directly, sometimes it works fine and I can open my file, sometimes it crashes immediately (regardless of the file type I tries to open). I was therefore forced to reinstall versions 1 of "Affinity" (which work without any problems) in order to be able to launch my software. Do you have a solution to solve this problem? Do you need the crash reports generated by macOS? Awaiting your reply. Best regards.
-
Playing with Blender 3D to create this mockup for a fictional brand of potato chips. Textures done with Affinity Photo and Designer Here's also a Turntable animation. https://www.instagram.com/p/CniJqVVhImy/
- 3 replies
-
- 9
-
-
- affinity photo
- affinity designer
- (and 1 more)
-
Australian "digger" wearing the "slouch hat" leans against the wall of a typical Libyan roadhouse, giving his feet a well deserved break. The wall has been decorated with an advertisement for Griffith's tea made by an obviously most talented Autralian sapper. Also leaning on the wall is the superb British .303in. Bren machine gun. Pretty far away from home... The graphics is a wild mixture of coloured photo (digger's head), ArtPose body, Bren gun scale model image and own drawings.
-
 Question: In Affinity Photo Export Persona, is it possible to set the export path relative to the source document? Issue/situation: I have a small AppleScript setup which creates a predefined folder structure for most of my commercial photo work, and once I'm done editing an image I will need to export it in multiple resolutions. The exported files are always placed in a fixed location relative to the source document and it would be great if there were an option to then export relative to the source document. My folder structure looks as following: Project folder name – 01 Source –– 01 phocus capture –– 02 capture one –– 03 other – 02 process –– 01 focus stacking –– 02 retouch ( export from retouch folder into low res, high res and website ) –– 03 assets – 03 export –– 01 low res version ( low res versions folder, always relative to the source document in 02 process / 02 retouch ) –– 02 high res version ( high res versions folder, always relative to the source document in 02 process / 02 retouch ) –– 03 contact sheet –– 04 website version Operating system: OSX Catalina 10.15.3 Affinity Photo: Version 1.8.3 Any help or input on this matter is much appreciated, as I'm considering moving from other editors to Affinity Photo. Thank you in advance. PS: if this post is in the wrong forum, then please let me know, and I will submit it in another.
 -
If I give a layer a different blend mode on the iPad, go out of layers, then deactivate the layer and again reactivate it = the blendmode is not preserved and has to be re-entered.
-
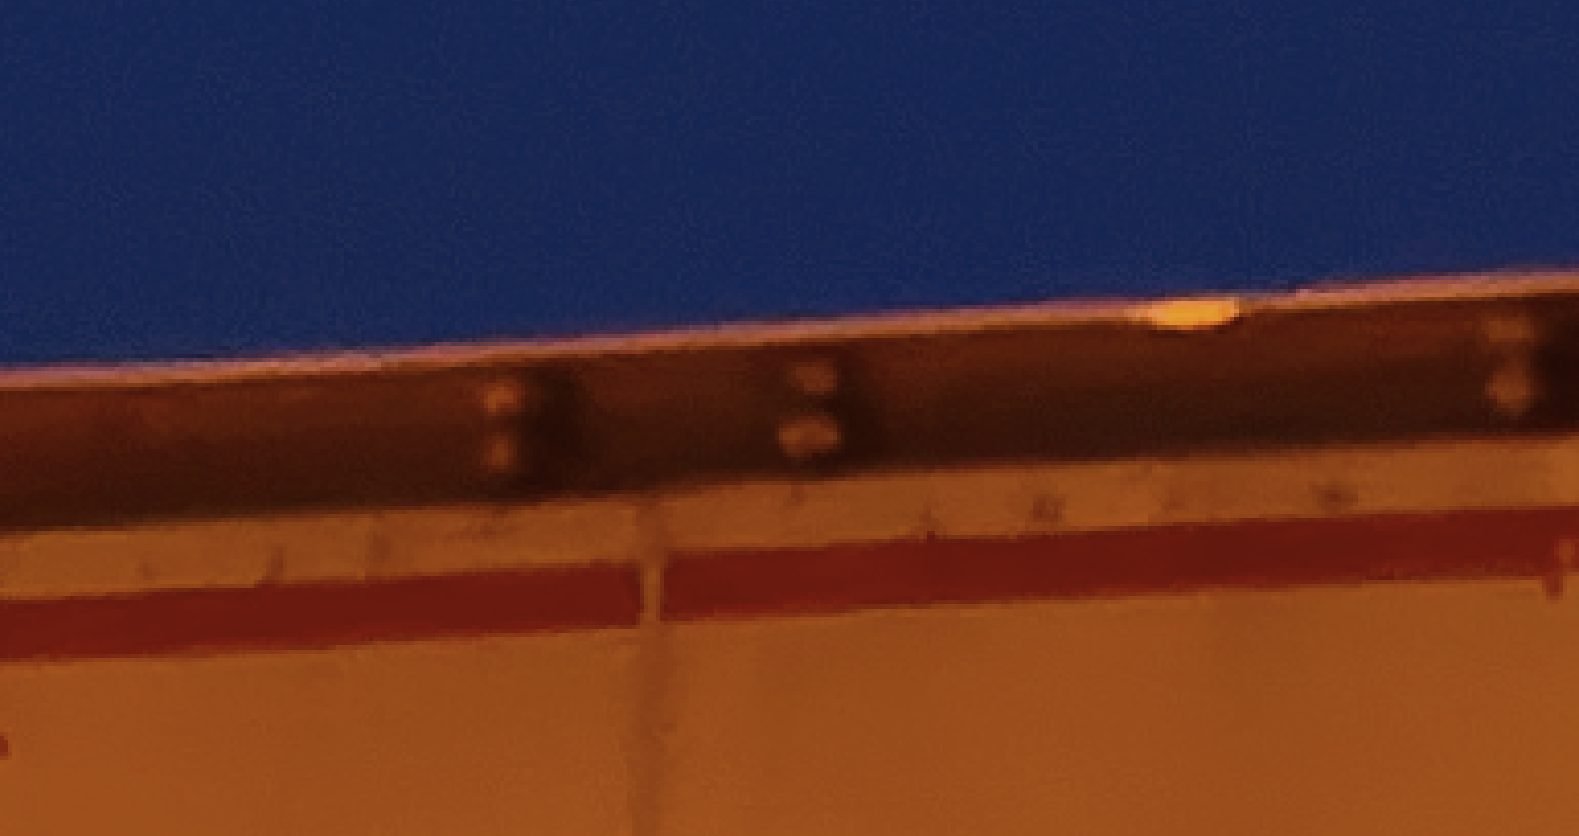
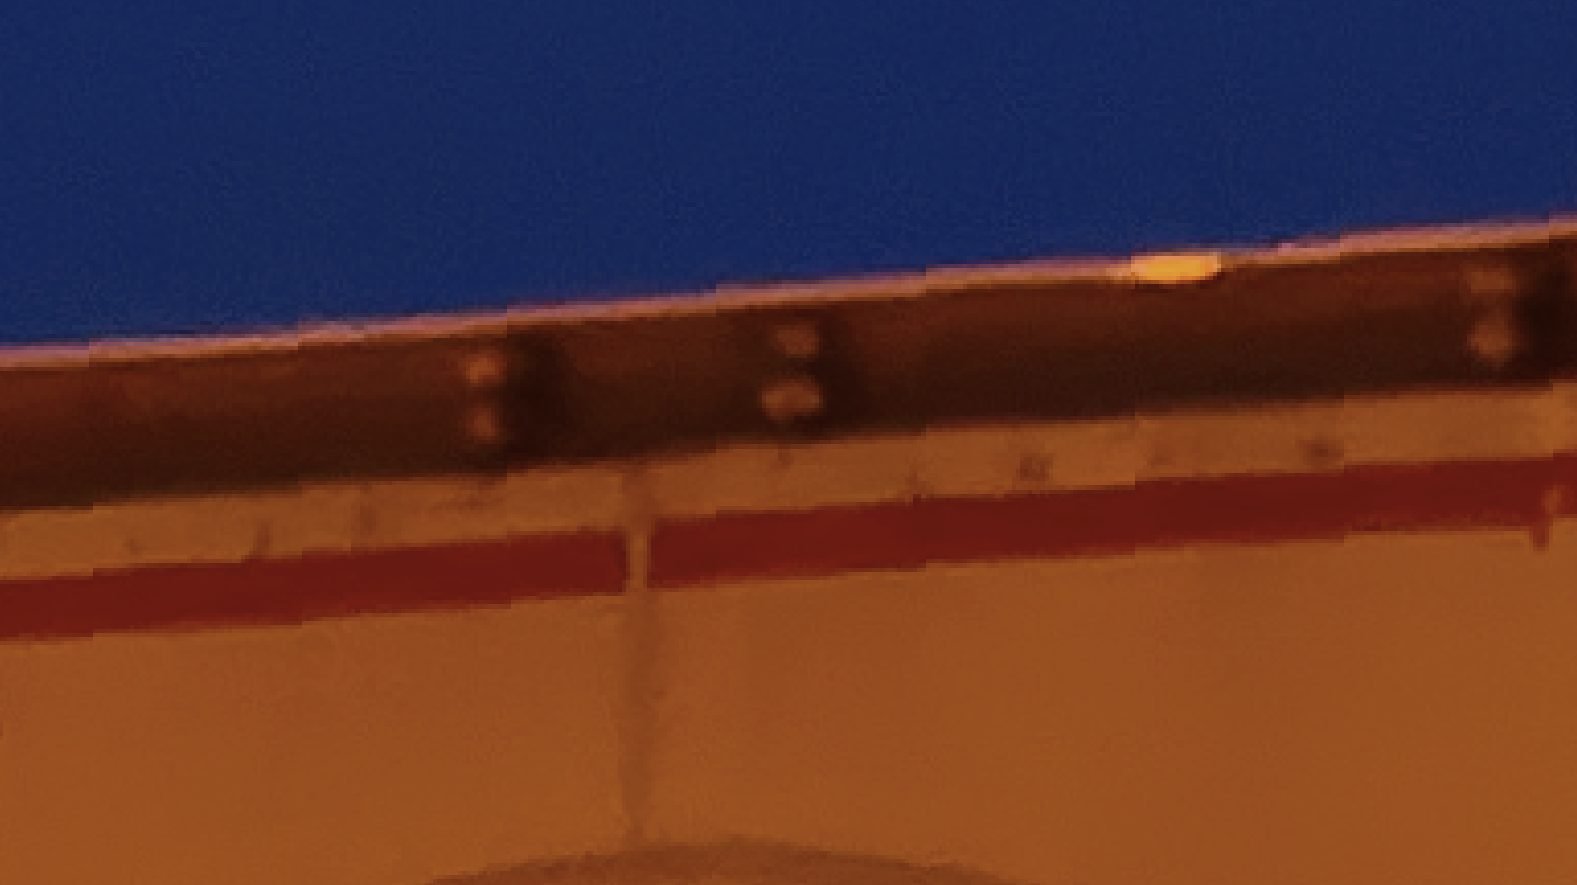
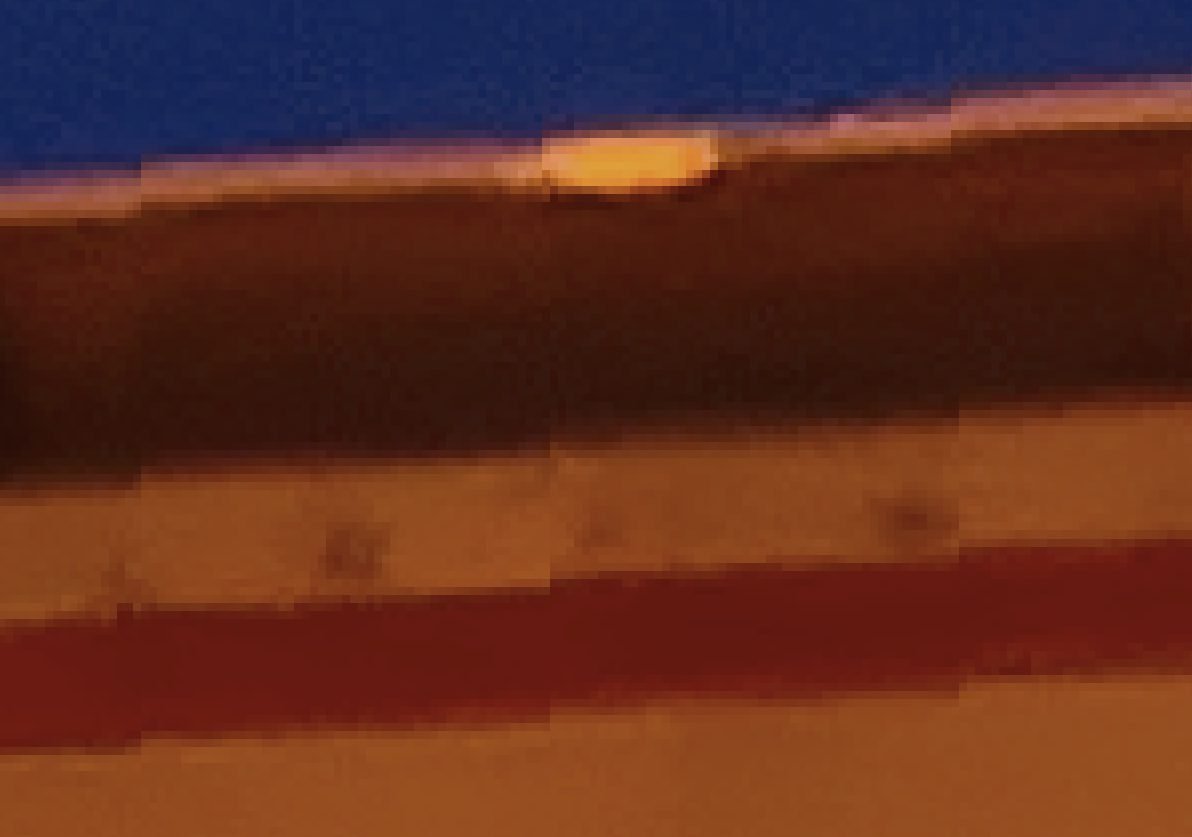
 Dear Community! After rotation of images in Photo diagonal lines show edges. But it's not only edges. It seems that small areas (looking like columns) are shifted (s. screenshots, seen by 410% magnitude resp. 800%; 1. unmanipulated, 2. rotation 1,1°, 3. like 2., enlarged ). Theese edges are already seen by 100%. How could this be avoided? Screenshots derived from an afphoto-file, so they do appear after export RAW-file (Sony-ARW). With increasing degree rotation th areas become thiner. Further tech notes: Affinity Photo 2.04, Windows 10 Pro (22H2), ATI Radeon RX550/550 Series Has anybody a solution or workaround for this problem, please? Best regards Paul
-
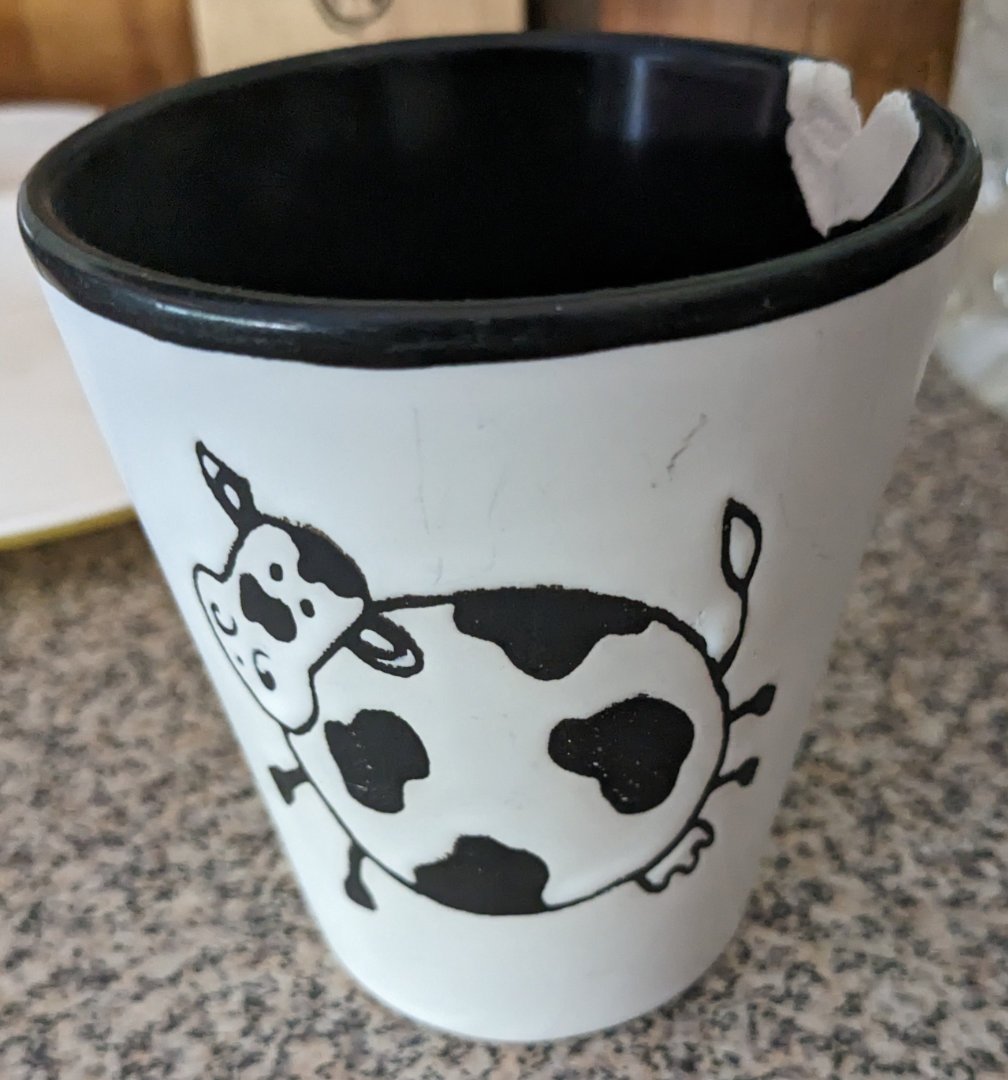
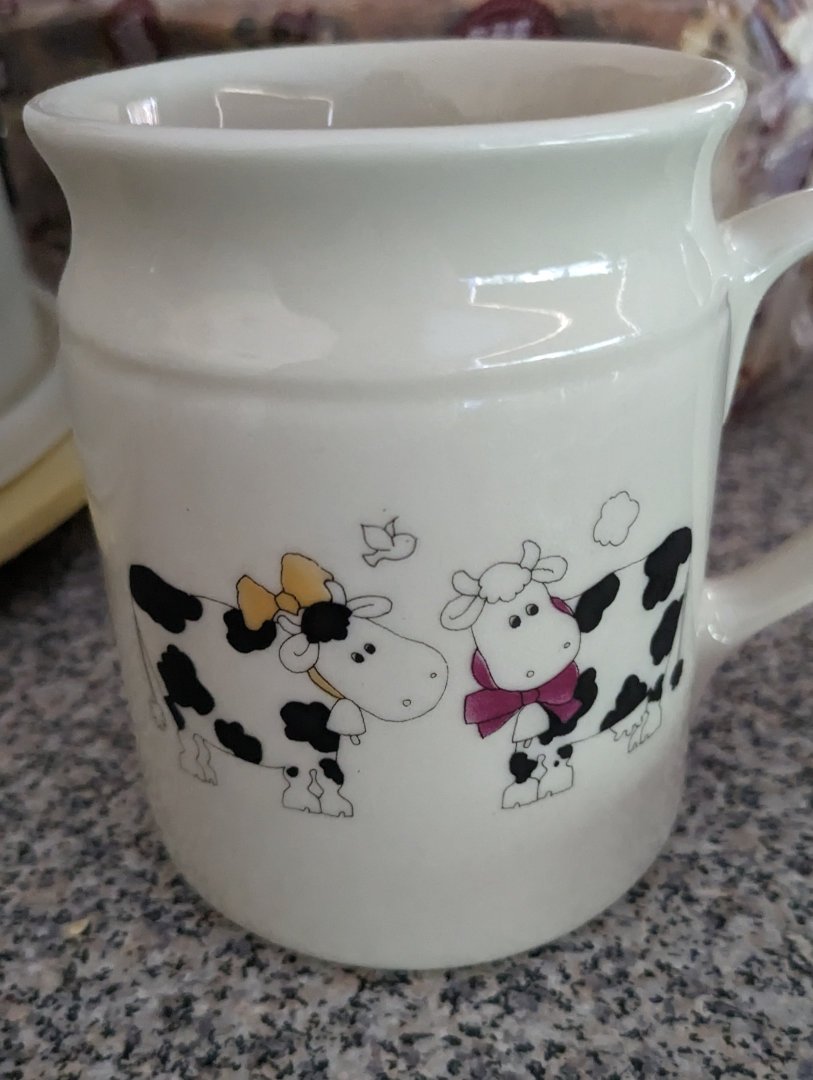
 Hey everyone! So this sort of a two parter, and the first one isn't strictly under the purview of this forum, so I guess you don't have to help with that part if you wanted to (but I'd like if you did!) In case it wasn't obvious (just look at the username) I'm sorta mad about cows. And drinking vessels that can contain milk. So to get to the point, I broke one of my mugs but I love the design on it, I want to have a copy of that (odds it'll be used as a desktop wallpaper: decent). Like most mugs, this one isn't flat, so I'm not really sure how to best photograph it and then how to best warp it. I also have some cylindrical mugs which I'd love to get the designs off (there are a couple of broken ones somewhere around here, but a whole one was a whole lot easier to find. I haven't been trying to work on those particular photos, just a couple of quick snaps with my phone to illustrate the mugs in question. So, with as little further off-topic ado as possible: Question 1: How to get the glamour shot? Don't worry, I'm not one of the people so delusional that they think they know everything about photography just because they bought an ILC. The bad part of that is that I don't know everything about photography. I know a tilt/shift lens may or may not be useful here, but it's a moot point since I don't have one. What I do have is an a7 iii with 18mm, 50mm, 24-105mm lenses and a 105mm macro lens (not macro only; actually a great general purpose lens when I need something that long). Also have flashes (both regular and ring) that I'm not afraid to use. And for what it's worth, a Canon G7X and my phone. Any hints on what's the best lens to use and how to shoot it or anything? Question 2: The one about Affinity Photo (warping, or not, this is why I'm asking for help) I've taken more front-on shots of them (just took the above ones quickly to better illustrate what I'm working with) and played around with the mesh warp tool, and a little bit with the perspective tool, and all I can make are warped pictures which look like they should be in a modern art exhibition. My excuse is somewhat reasonable (very little spatial reasoning ability due to developmental problems) but I don't need an excuse, it's just something I can't figure out, so if anyone could help me, that'd be great
-
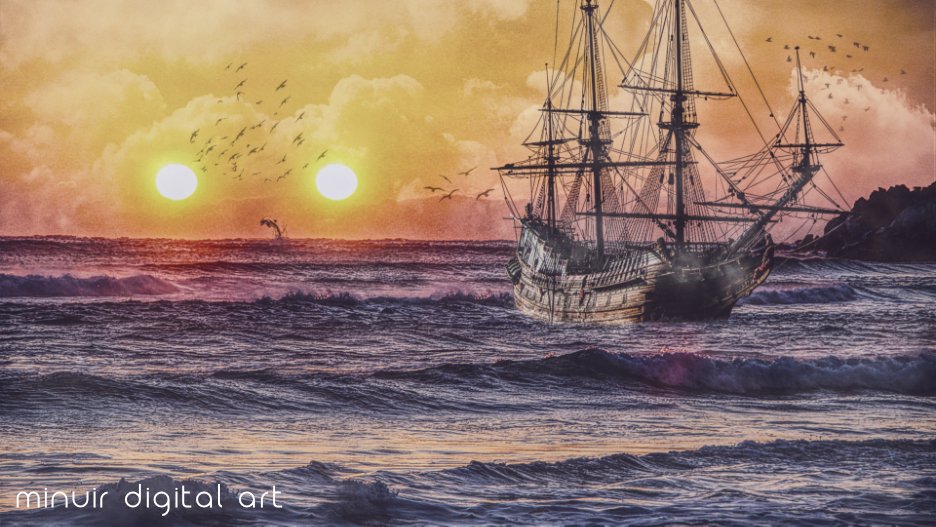
I saw two suns in my dream so I wanted to make an artwork like a beautiful landscape painting. But the meaning of two suns is "Confusion" in the dream interpretation. That's why I put the title "A Beautiful Confusion" "A Beautiful Confusion" speed art : https://youtu.be/coRmX5__vkU?list=PLaYwL68IKsHT621IiqxrLp3tVp2xYHc7W
-
- 3
-
-
- minuir
- digital art
- (and 2 more)
-
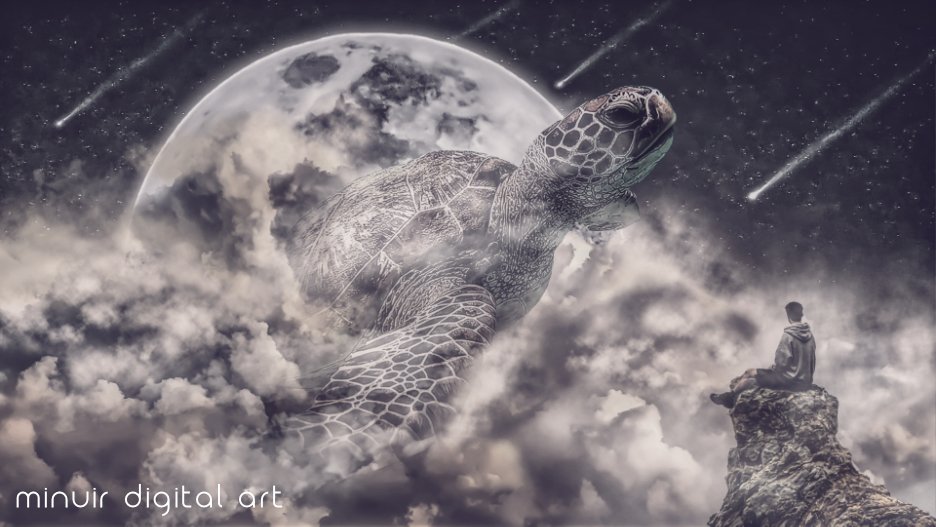
affinity photo Affinity Photo Manipulation - Fly High Turtle
minuir posted a topic in Share your work
This photo manipulation artwork is "Fly High Turtle," which I made to cheer for myself. I'd appreciate if you enjoyed watching it. "Fly High Turtle" speed art : https://youtu.be/8CPjNYaDLxE?list=PLaYwL68IKsHT621IiqxrLp3tVp2xYHc7W
-
- 1
-
-
- minuir
- digital art
- (and 2 more)
-
 I am using Affinity Photo 2. It was working well but certainly experienced, the app is crashing while editing a photo in develop persona and using either Temperature or Tint effect. The app immediately crashing without saving the file. Need fix.
 -
 I have a circle in a photo that I need isolate, much like in the thread below. I am fine doing so with either Elliptical Marquee tool or Ellipse tool, as long as I can adjust the size and placement of the "selection" and then convert to a mask of a given layer. I tried making an Ellipse, but this makes a layer over my target layer. I tried making a mask layer, clicking it and then adding selection with Ellipse marquee, but when I adjust the size of the ellipse the pixel layer above changes too (stretches). I've come close by trial and error, but it always ends up fudged in some way. GOAL: Make first a rough select, then refine it, when convert to mask so that everything around the circle disappears. EDIT: in addition, I'd like the edges of the circle to be smooth, no pixelated. The video below shows what I want, but I don't quite follow the finger taps and there is no text description of the final solution. Thanks!
 -
Hi, Starting from the below video done by GraphicalFinity I made two dithering templates, vertical and horizontal. Each template has the same structure: 1. background image, named Replace me!. Put your image above this layer, then delete it. 2.Channel Mixer Adjustment, make any tweaks needed for your image. 3. Dithering layer, hidden by default. If you want to apply any effect to it, make it visible. Apply any effect (see video), then make the Pattern dithering layer (see video). Before that, delete the initial Pattern dithering layer (4). 4.Pattern dithering layer, see video how to create it. 5. Treshold Adjustment, no tweaks needed. dithering-H.aftemplate dithering-V.aftemplate
-
 I apologize if this has been mentioned before, but I couldn't find it in a search. I have had a problem fairly often when trying to make re-adjustments to an existing live filter or adjustment layer in a document. I click on the layer icon to open a previous adjustment (Curves, Unsharp mask, High Pass, or whatever) and the adjustment window briefly blinks into view, then disappears, making it impossible to readjust my settings. I try again and again, but it always vanishes, at least once this problem surfaces. Other adjustment layers in the same document may open fine for re-adjustment, but the layer in question won't allow me access. I've tried repositioning the layer as a child layer, a parent layer, or and individual layer with no parent and child, all to no avail. The only solution I've found is to delete the layer and recreate it. Sometimes, I need to shut down AP and restart it, then it works fine for a while. This usually happens after working with the program for a period of time. More often than not, reopening and readjusting layers works fine, as expected. But, this problem happens often enough that it is very irritating and forces me to delete and recreated the layer, or reboot the program. I don't know if that is a bug in the program itself, or whether there is a conflict with other programs, utilities, the O/S, etc. I'm running a 2017 MacBook Pro, 15" Retina display, OSX Monterrey 12.6. BTW, I've held off installing OSX Ventura because I have read of some issues with v2 software. I'd like to upgrade to Ventura. Is the Affinity Suite working okay now with Ventura, or should I continue to hold off? I don't want to upgrade the OS if it will cause more trouble. Thanks, Lou
 -
Created in Designer and Photo...
-
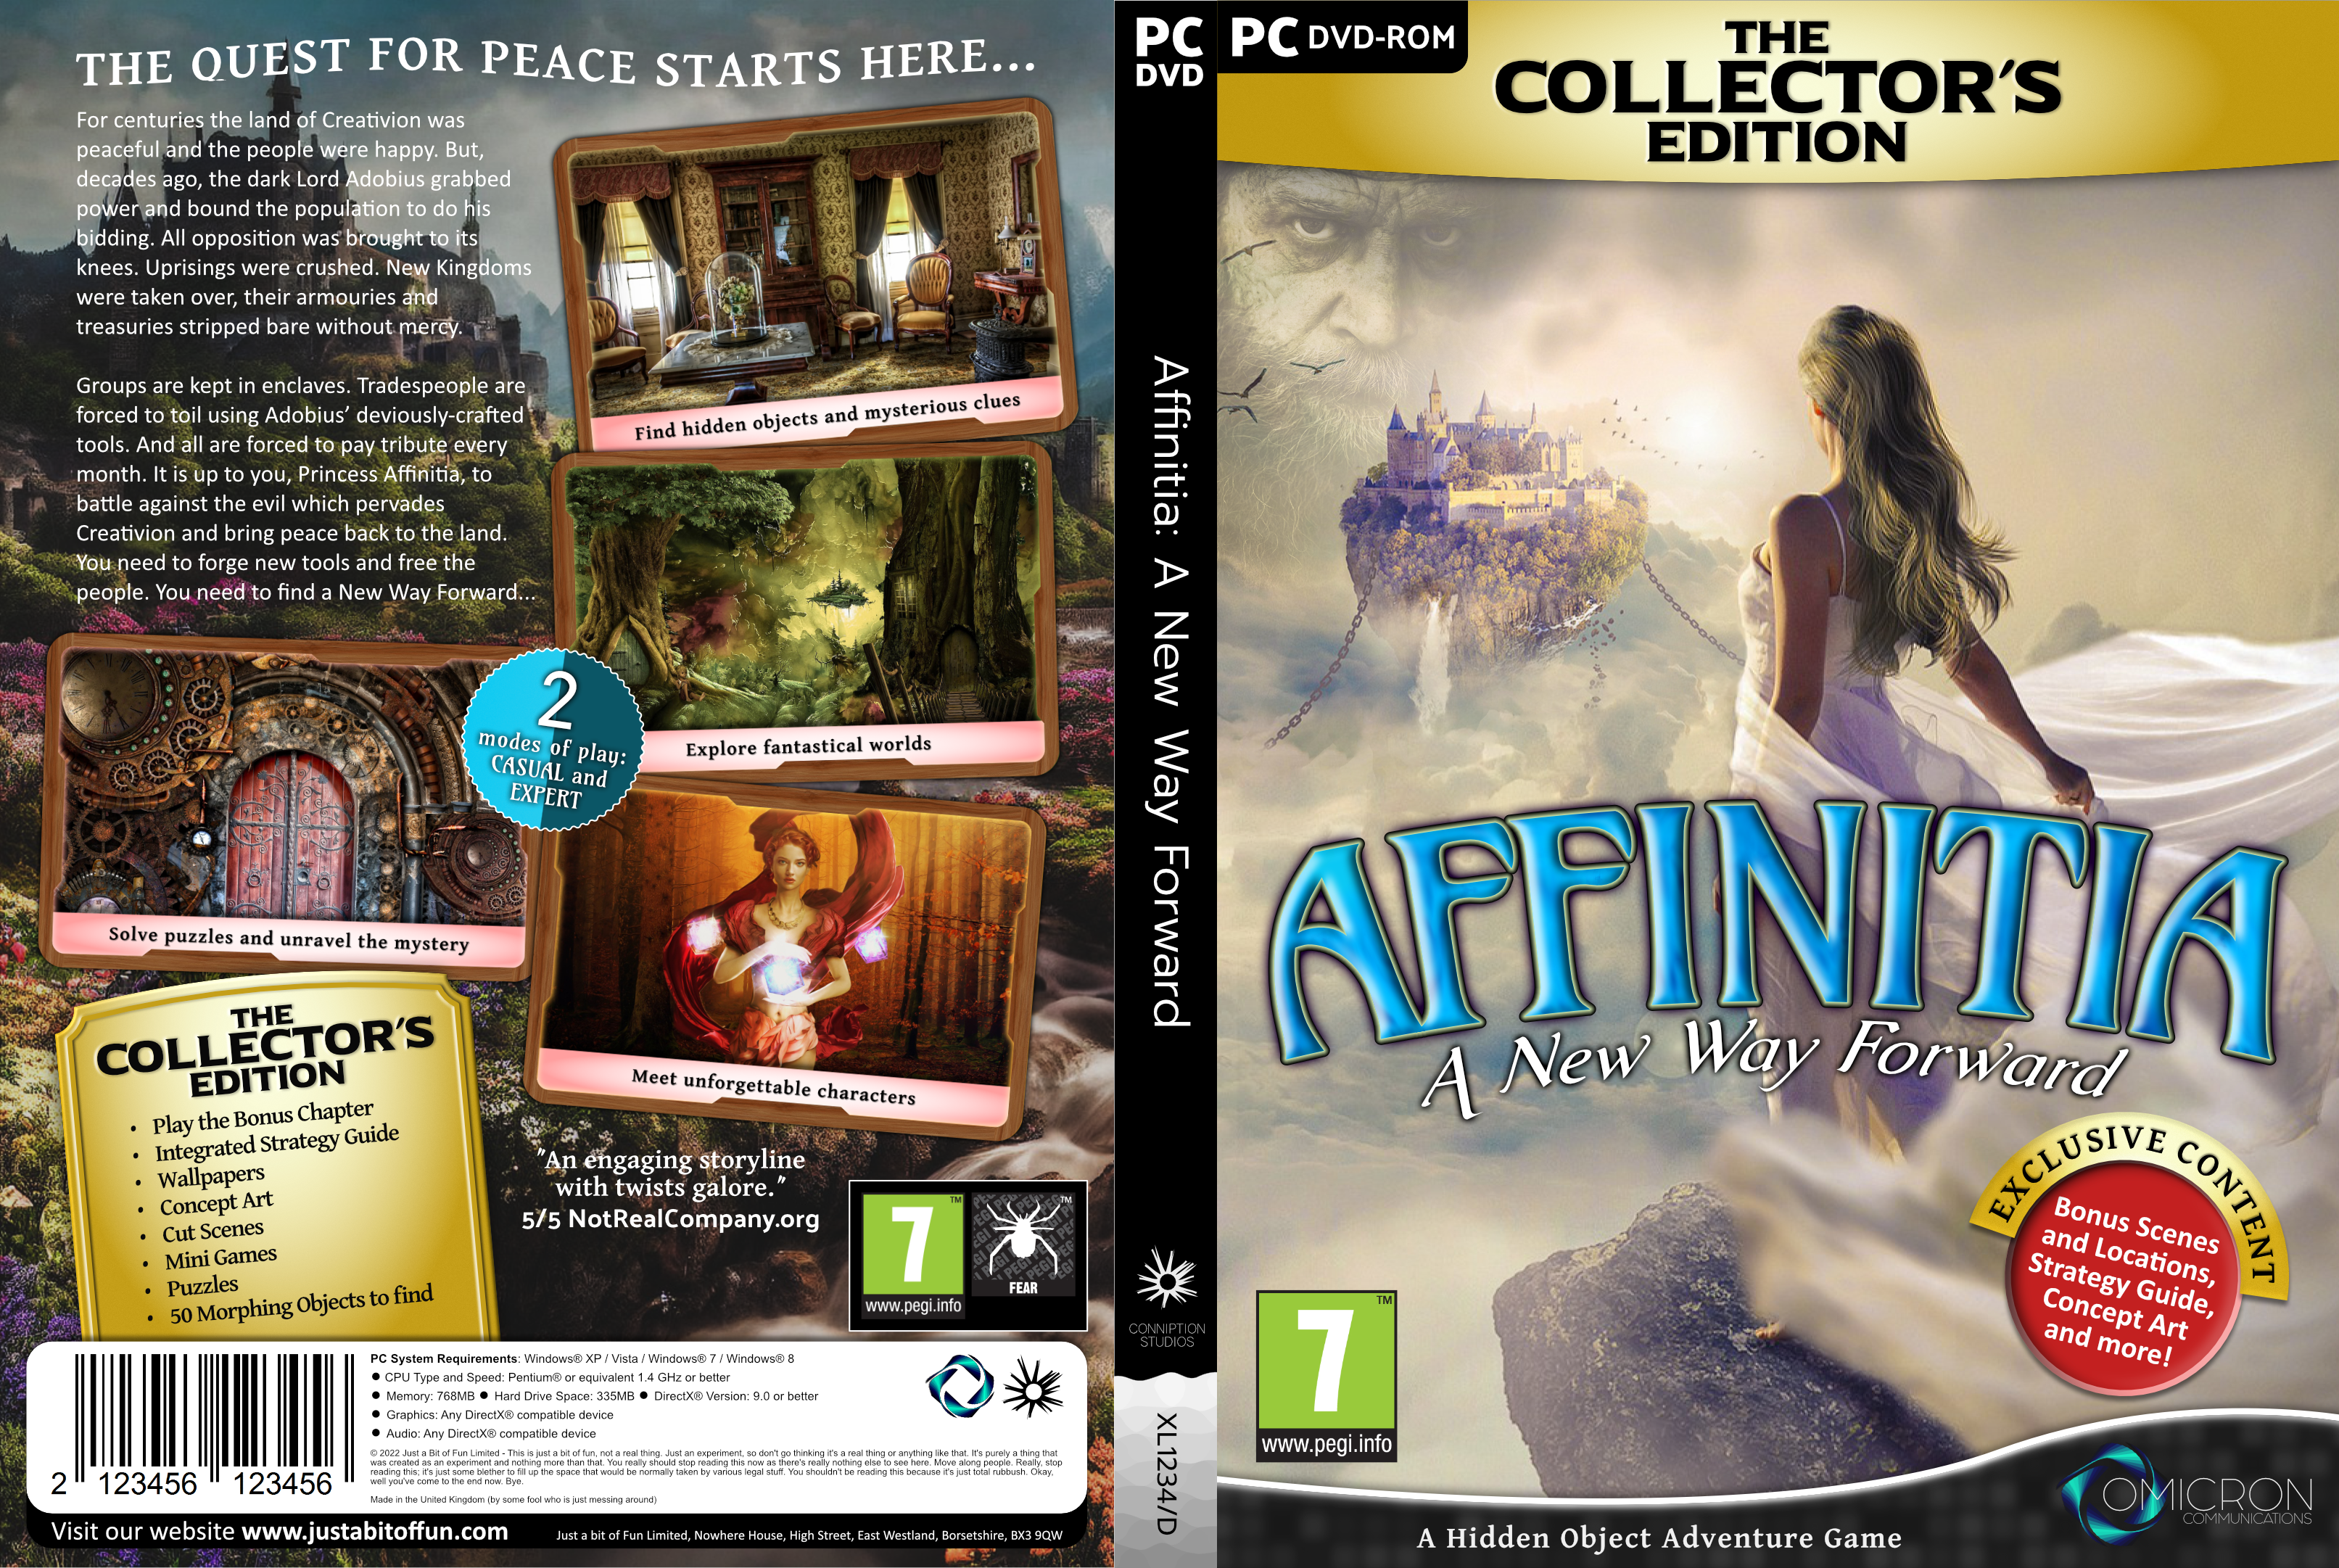
I think I’ve probably ‘faffed about’ with this for long enough so it’s time to ‘release it into the wild’ and “go out and do something less boring instead” (as the song, which some members of a certain age might remember, goes). All done – except for certain stock images – in Affinity Designer and Photo. It’s just an experimental thing, not a real product. (You may need to click on the image and zoom in to see more detail.)
-
Is there any way to change the radius of the color picker you get with the bottom modifier of the brush tool? I want to blend between different colors without having to switch between the actual color picker tool and the brush tool, but I only get a 1x1 px sample area.
-
 Greetings, Affinity Photo 2.0.3 Steps to reproduce: Take any raster layer, 8bit, sRGB Add Live Filter "Gaussian Blur" with eg. 10 px radius Change the opacity of Live Filter to 1% Change blending mode of Live Filter to "Overlay" Until now, everything seems to be fine. You are seeing an almost unmodified layer content. Now, change the Live Filter opacity from 1% to 0% First bug: Despite that blur itself is actually not visible, obviously the image is being applied to itself in Overlay blending mode, while You should be seeing unaltered image. For reference, You may want to convert the document to CMYK FOGRA39, and check there (it behaves correctly). You are still in sRGB. Grab the "Radius" slider and move it randomly. Image is being divided into semi-random areas, similar to screenshot below. Try to "merge" the Live Filter. The artefacts are likely to be embedded into layer pixels. This procedure takes "gaussian blur" as an example. Same glitchy beaviour occurs also when using different Live Filters. KR,
- 4 replies
-
- 1
-
-
- live filter
- affinity photo
- (and 5 more)
-
-
- 1
-
-
- affinity photo
- affinity designer
- (and 2 more)
-
 Since Apple released macOS Ventura (13.x), they have removed the ability to access Albums when opening images from Apple Photos through Finder. Instead, a folder will be presented with all images from your Photos Library, which can be sorted using the default Finder controls. This affects all macOS apps running Ventura and unfortunately there is no way to re-enable this functionality at this time.
 -
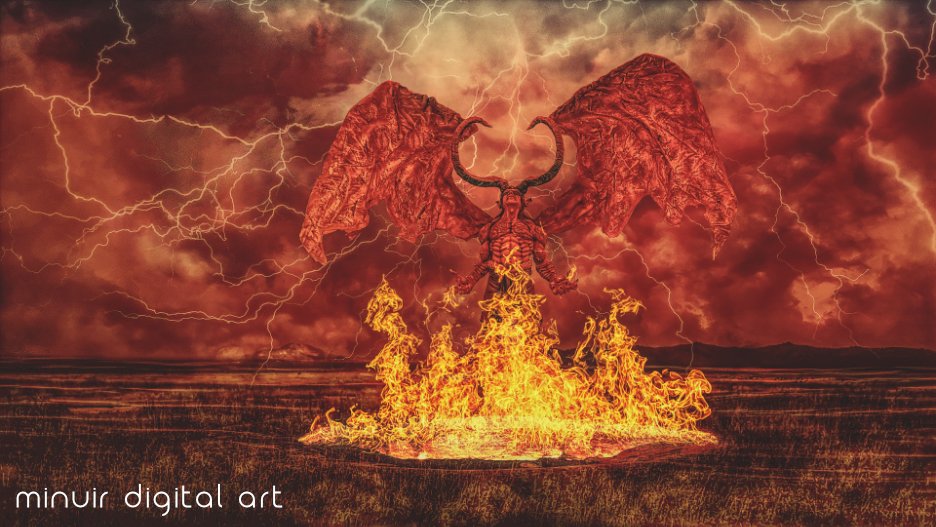
I really enjoy watching Netflix's Strange Things Season 4. It was so exciting, and it inspired me a lot. So this photo manipulation was done with the atmosphere of "Stranger Things Season 4" "Awakening of The Dark Lord" speed art : https://youtu.be/cvvUGIaUdNU
-
- 2
-
-
- minuir
- digital art
- (and 2 more)