Search the Community
Showing results for tags 'Affinity photo'.
-
 Is it possible for a bitmap to follow a path? For example, I have a vector of a 2D string and I need a repeat logo to follow it as a path. I'm not sure how I can do this without manually editing the perspective of each logo, which I don't have time for. I'm really hoping this is can be done via bitmaps, but any suggestion is welcome!
 -
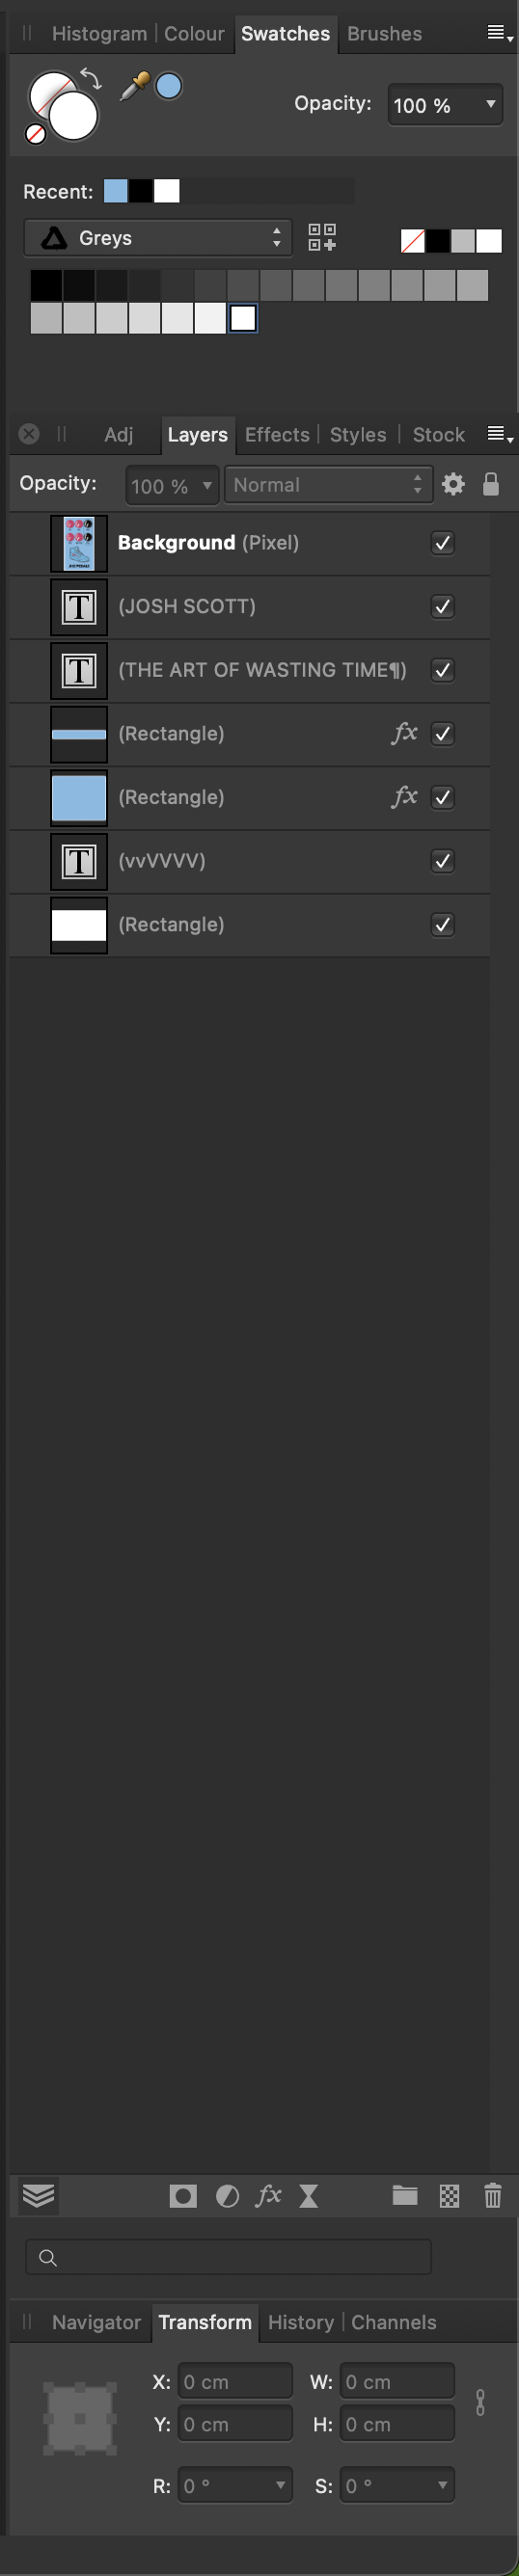
 Hey everyone, I'm in the middle of a project and I've hit a snag. I'm trying to remove the background from a person's image. For the smooth parts of the silhouette, like the general body and clothes, I'm using vector shapes, and for the more intricate details like strands of hair, I'm using pixel-based masks. (That's how I've always done it.) I thought I could use the compound mask option to combine these two masking techniques into one neat mask. However, that doesn't seem to be possible right now. I want the vector shape to stay vector at all costs for better editability. In the past, for projects like this, I've rasterized the vector shape as the last step, but I'd like to avoid that now. I thought the compound mask would be the perfect option for the task. Has anyone else come across this issue? (Sorry if I missed the thread; if there's one, feel free to point me in that direction.) Maybe this is something that the devs are already working on? I'd love to hear your thoughts or any solutions you might have! Cheers! Dennis *I've attached the masks as a file for testing purposes. Masks.afphoto
 -
Just playing with the perspective option.

-
 Hello, I would like to test the plugins from Retouch4me (retouch4.me). The plugins are designed for Photoshop. I have installed the software but not sure how I can active the plugin in Affinity Photo. Any idea ? Thanks Philippe
 -
 I have tried the next step to completing my composite image by trying to hide the original stuffed animal from the original image. Here is what I have with just taking the original image, and used the inpainting of the fill option in the Edit Menu Then I masked in what parts I wanted visible.
-
 Hey im wondering why it isn't possible to include the following features in Macro: Record Layer ordering/movement Apply a Tonemapping Persona Preset Is this a hard thing for developers to include? Thanks Phil
 -
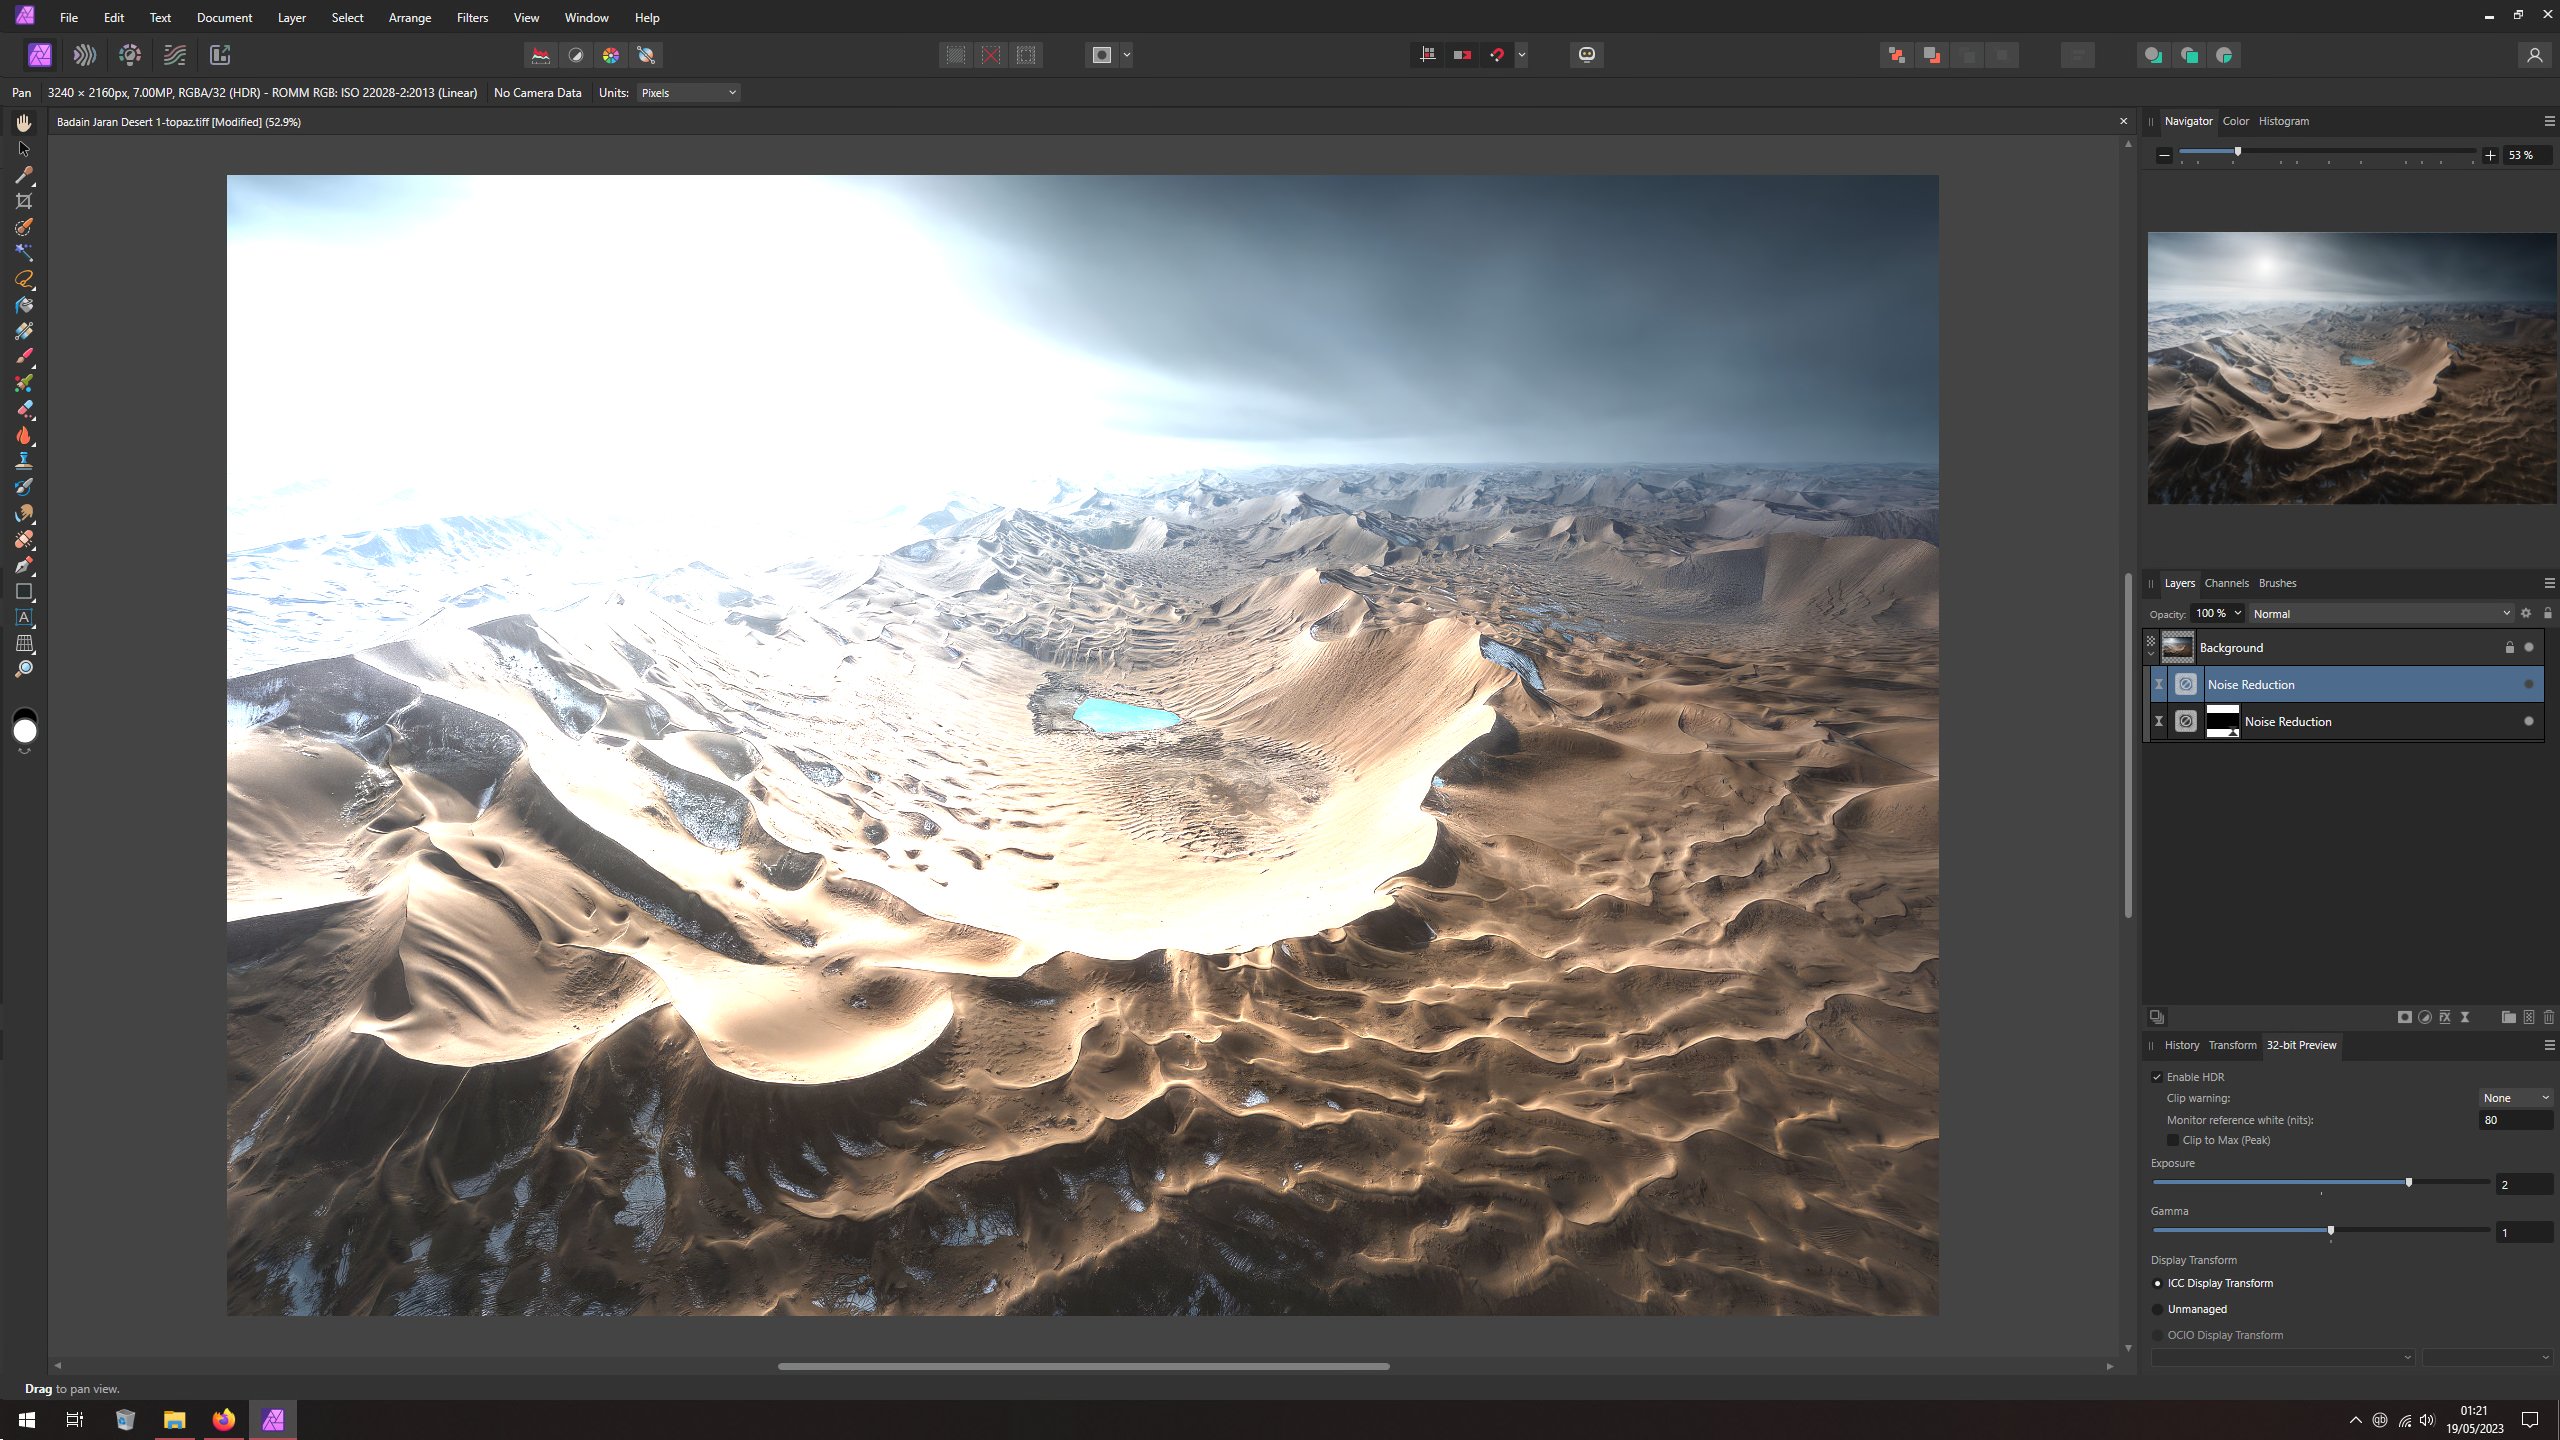
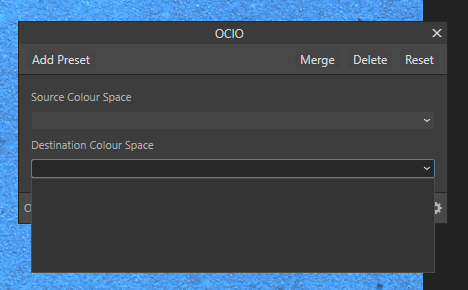
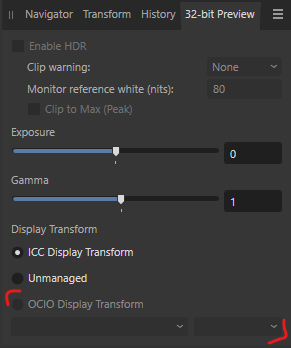
 Hey, recently I transferred to a new workflow that includes using a different Display Transform (AgX) for my images. Since AgX is compatible with OpenColorIO, I tried setting a destination for an .ocio profile (in the Colour preferences settings) both in Photo and Designer, then restarted the programs to apply the new settings, but **nothing seemed to change**. Later, I tried to do the same with Filmic's ocio, ACES' ocio, different ocio configs (v1.0 & v2.0)... No luck, still no change, all ocio setting are still greyed out. To be more specific, both the OCIO Adjustment layer and the 32-bit Preview windows have all the associated settings greyed out (shown in screenshots), as if there was no ocio config set. I looked around forums looking for a solution, but after hours of research, I have not found a solution, nor haven't encountered someone else having this specific issue. (This is the exact config I am trying to import: https://github.com/sobotka/AgX-S2O3) Any ideas where could be the problem? Thank you!
-
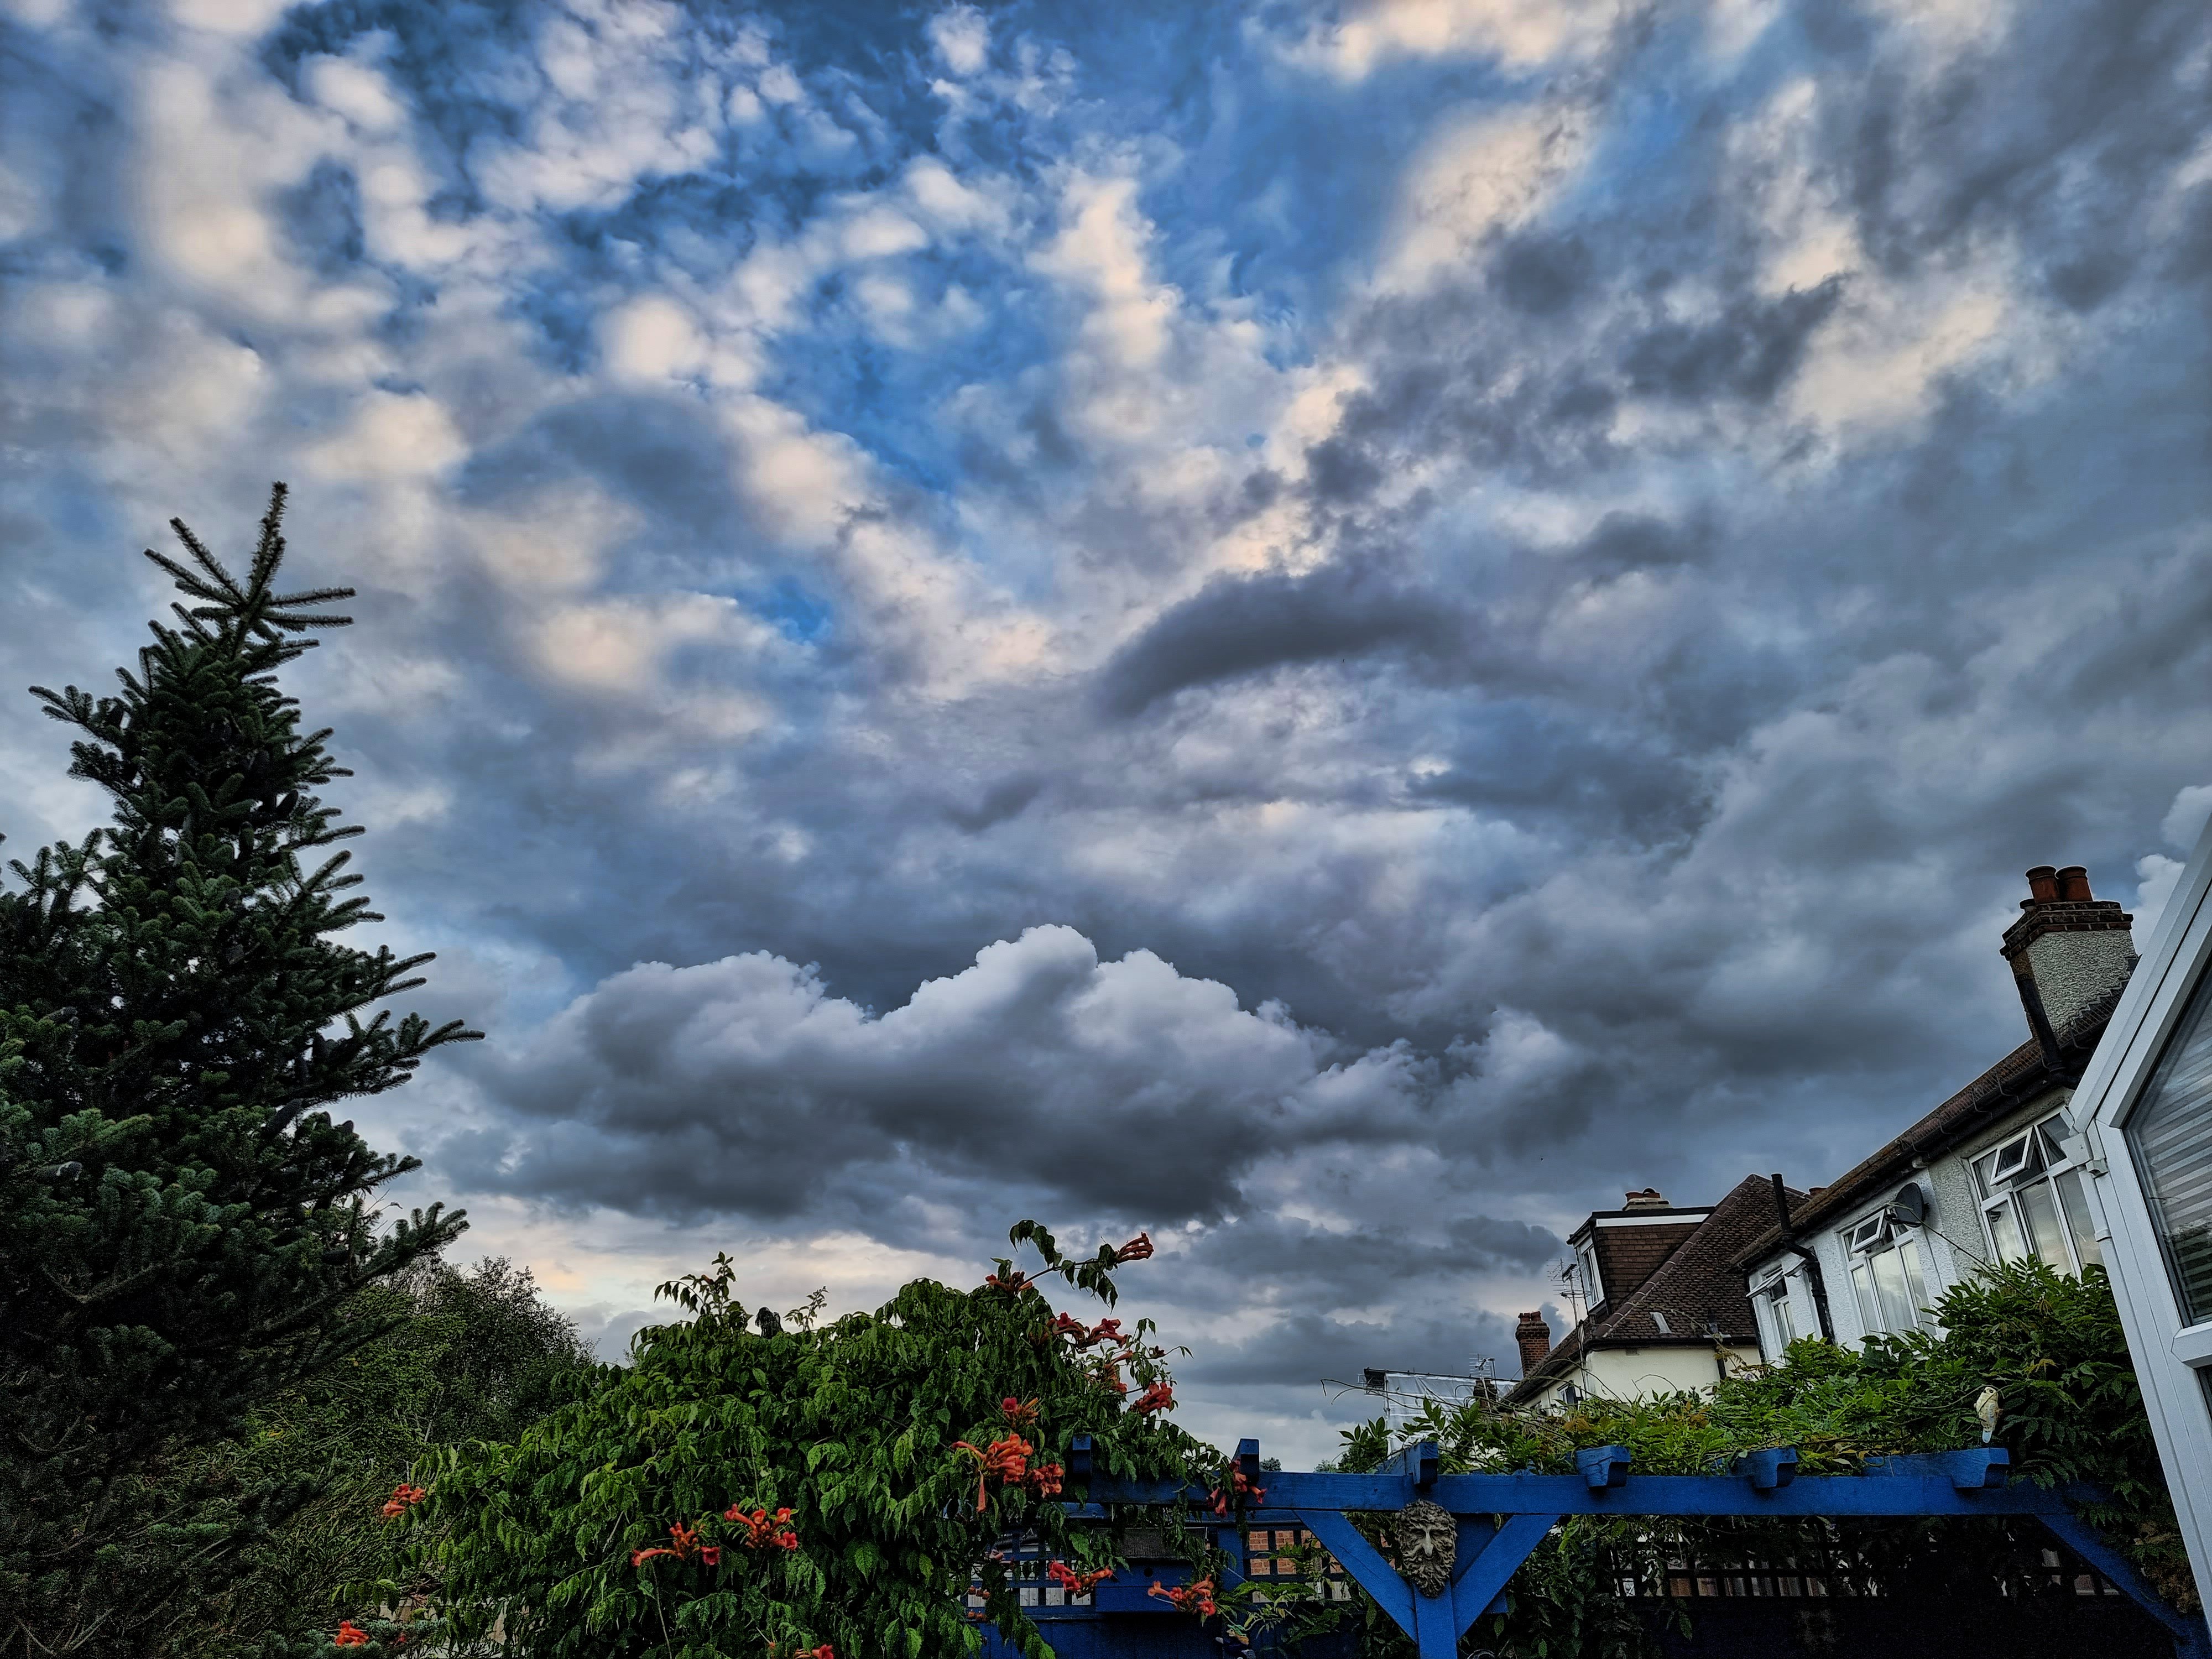
Chessington Surrey UK this morning. Samsung Galaxy S21 Ultra. f1.8, 1/122, ISO 50. Just played around with a bit adjusting the intensity of the clouds in APver2
-
 22 minutes total from 4 and 6 second exposures Loosely followed processing method from https://www.youtube.com/@AstroFarsography titled "Astrophotography Editing Tutorial With Affinity Photo" exported and processed with "AstroSharp by Deep Sky Detail" (AI shrpining) opened in Afffinity Photo for another curve adjustment and also applied "Shadow Stretch" and 60% "Enhance Structure" from James Ritson's "JR - Astrophotography V15 (16-bit)" free macro package. bortle 6, fair seeing equipment: C8 > IRc ut > Ds10c/imx294 Exos II PMC-8 mount
-
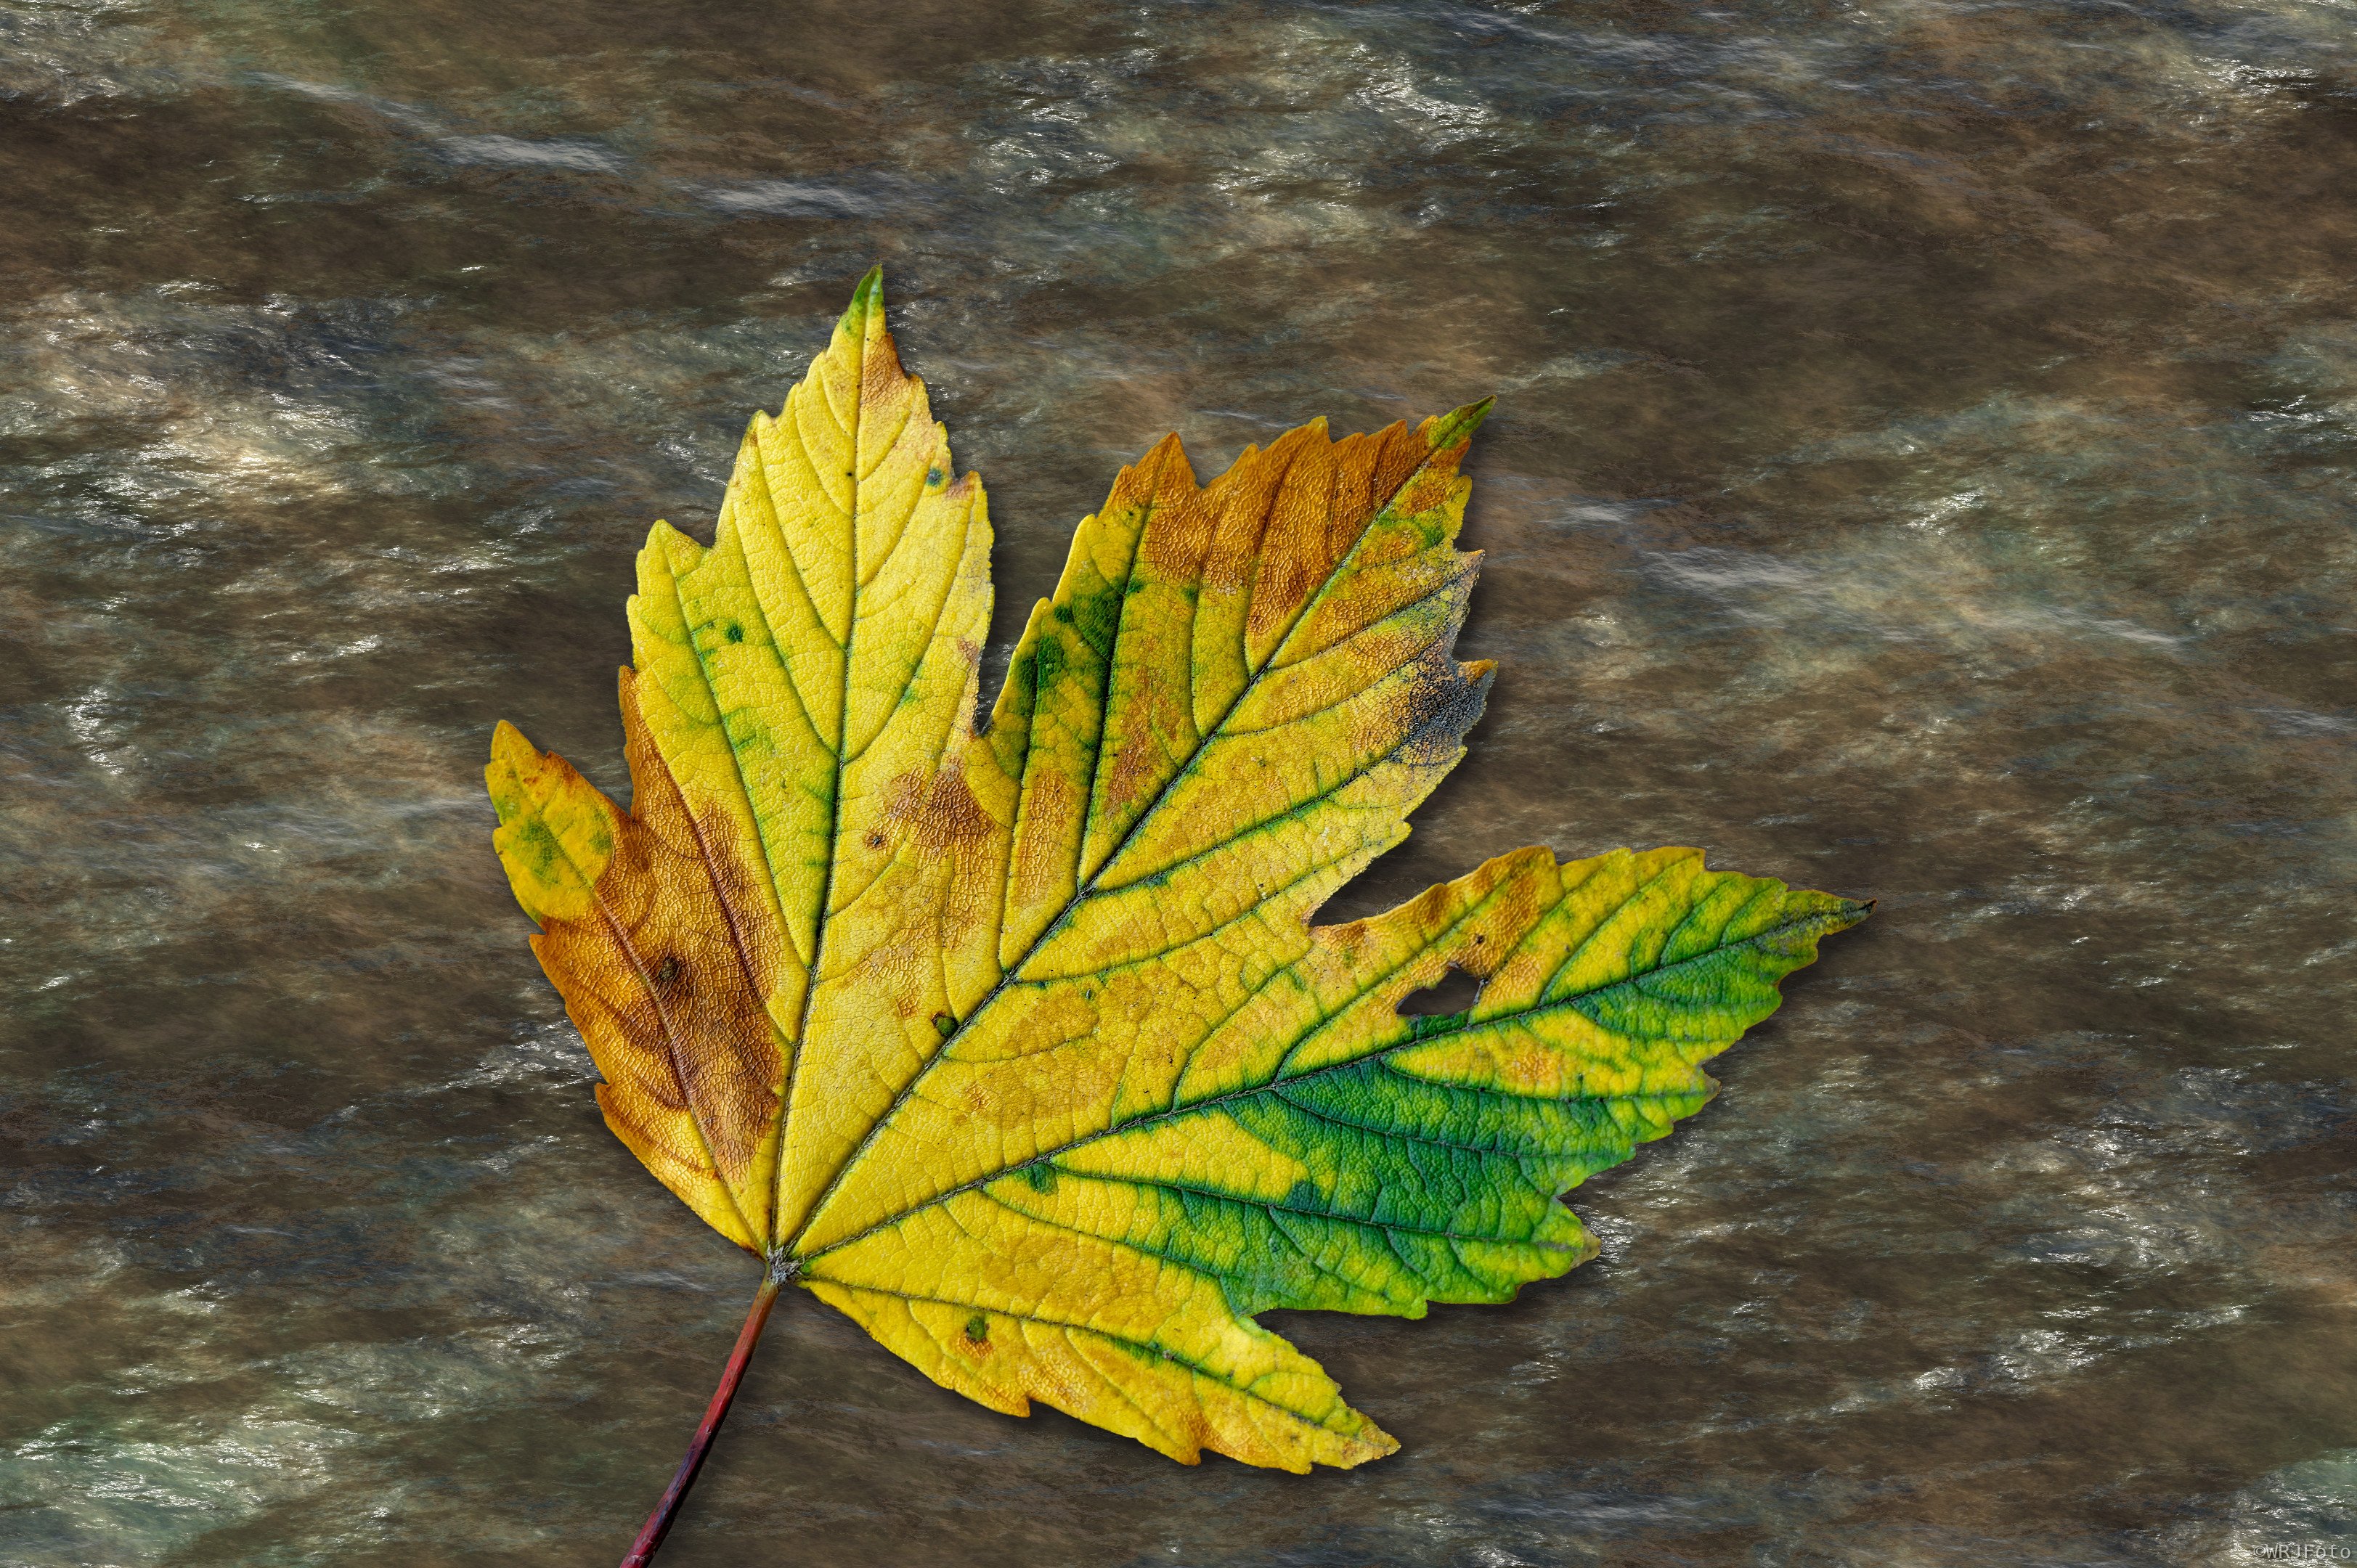
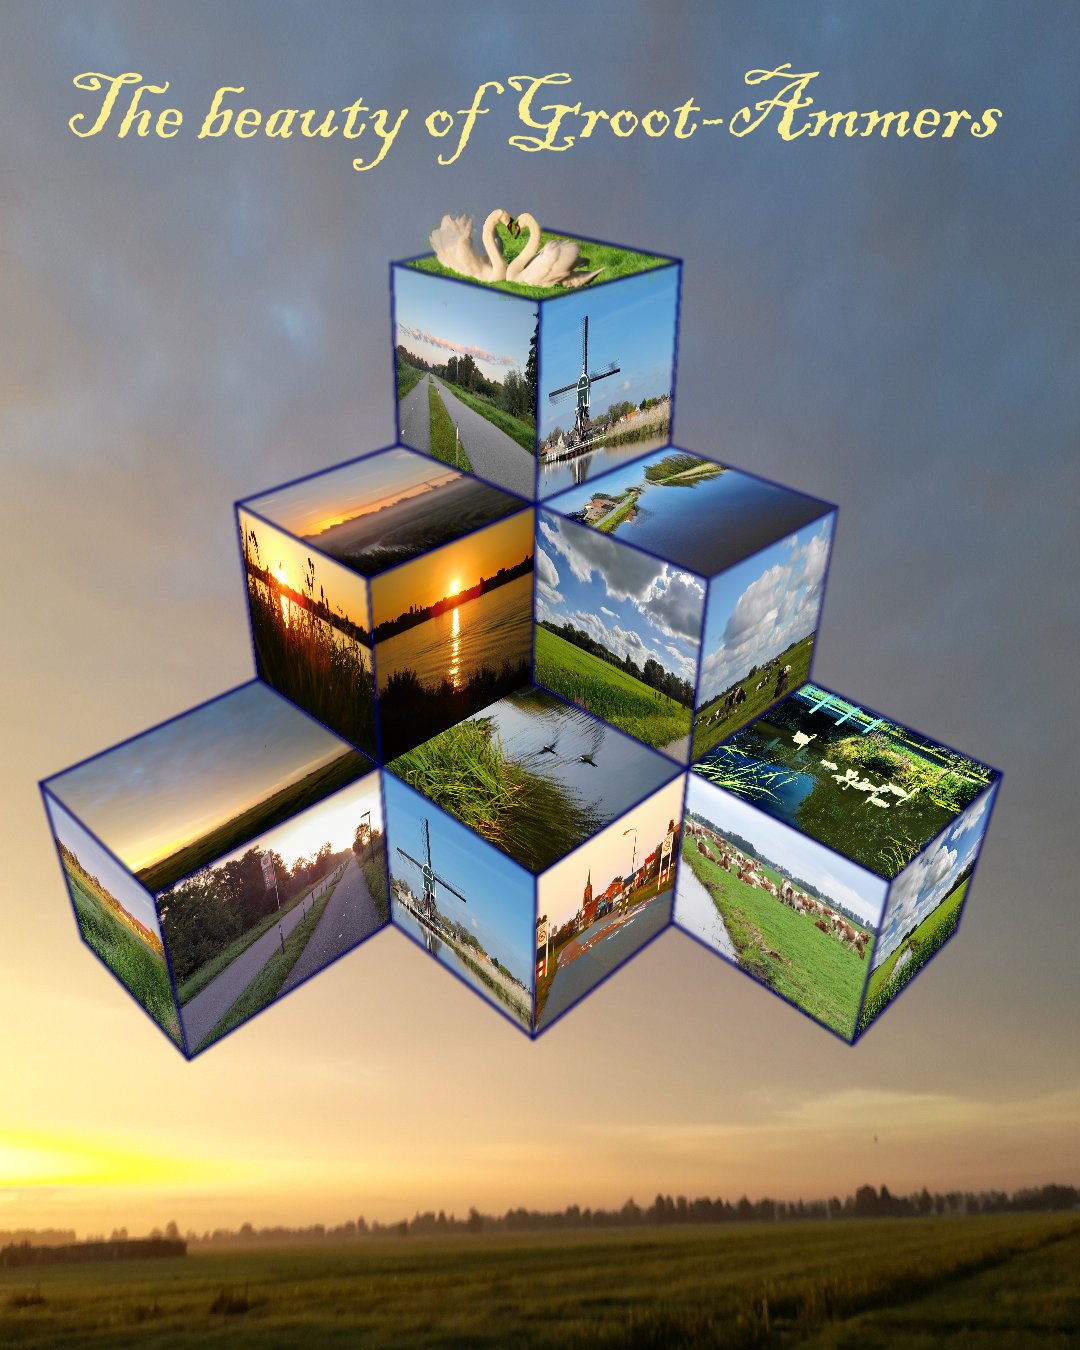
Pictures were taken by phone. Duplicated layer, added Screen or Multiply blend, adjusted opacity between 25 and 80%, then added Enhance Red, Enhance Yellow, Subtle Enhance Blue/ Yellow macros by James Ritson, adjusted opacity between 40 and 70%. Location is Groot Ammers Gelkens, Wilenweg, Sat 5th August, 6 ; 30 am
-
 Welcome to our channel! In this tutorial, we'll show you how to effortlessly achieve a mesmerizing glossy text effect in just a matter of seconds using the powerful 'Macro' feature in Affinity Photo. Whether you're a beginner or an experienced user, this step-by-step guide will take you through the process of creating a professional-looking glossy text effect that will add a touch of elegance to your designs. No need for complex editing - let the 'Macro' feature do the work for you! Join us as we explore the wonders of Affinity Photo and unlock the potential of this time-saving tool. Watch now and take your text designs to a whole new level! Don't forget to like, subscribe, and hit the bell icon to never miss an update. Let's get creative together!
- 4 replies
-
- 4
-

-
- affinity photo
- text effect
- (and 6 more)
-
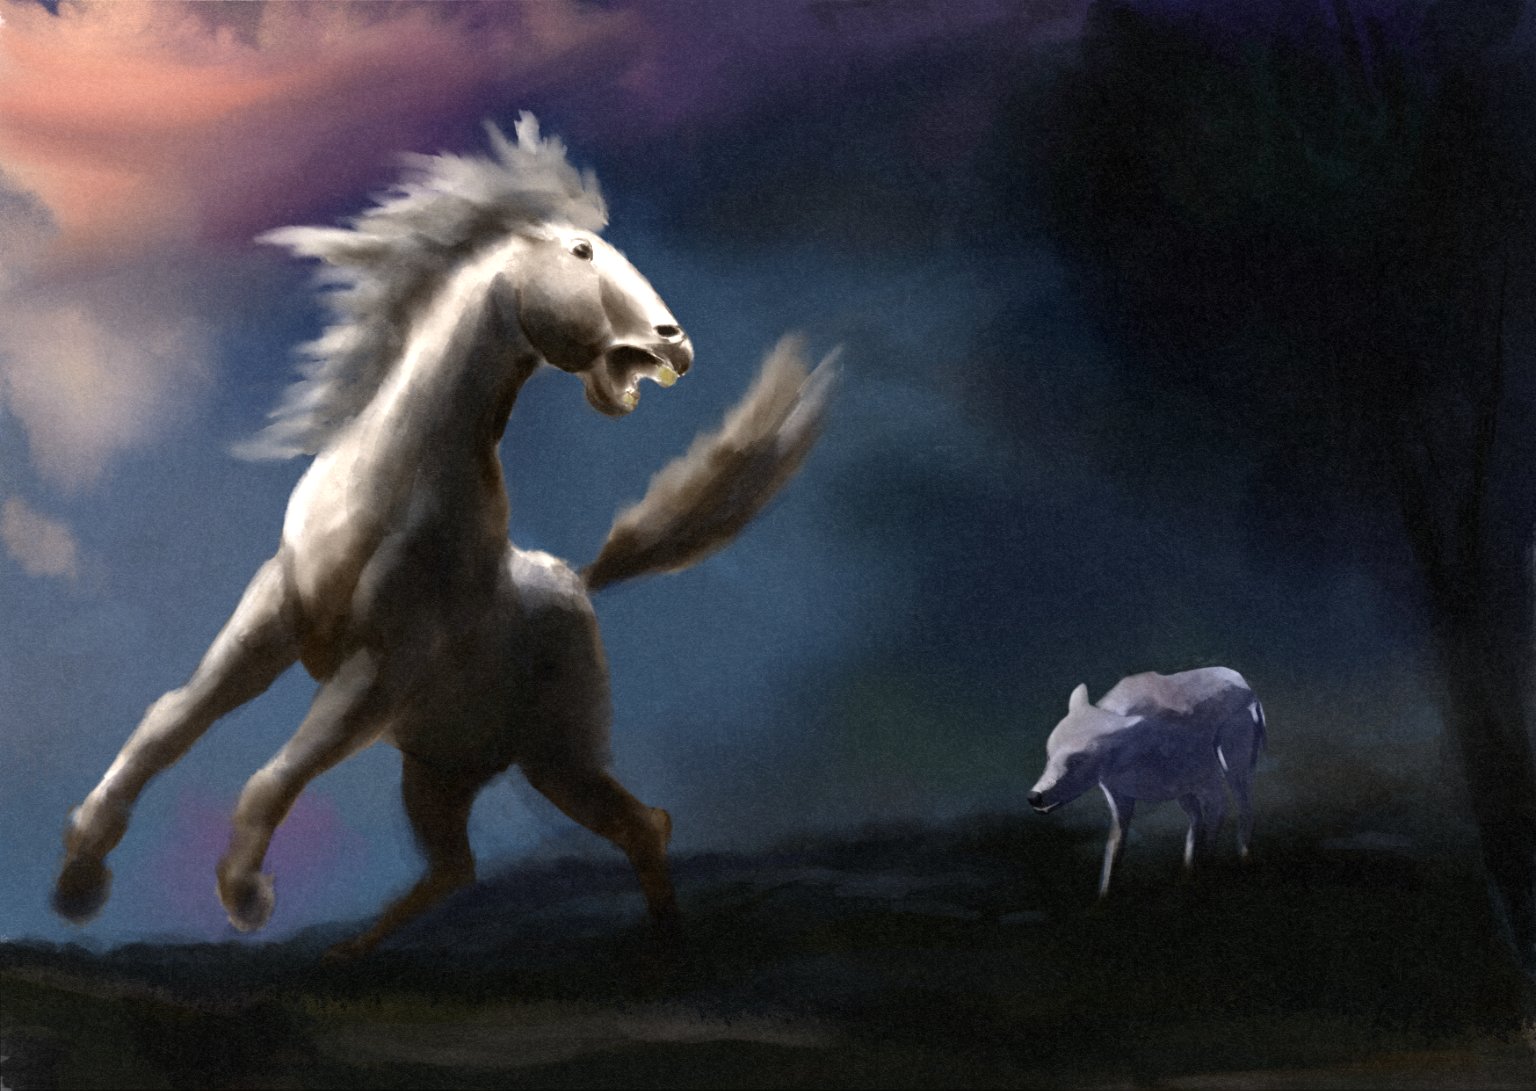
Just playing with my imagination...
-
 Hi, Just wondering if somehow knows about a way to increase the Voronoi Live Filters cell size beyond 500? Just typing in 1000 reverts back to 500. I don't quite understand why that 500 limit is there.
 -
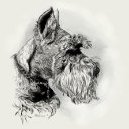
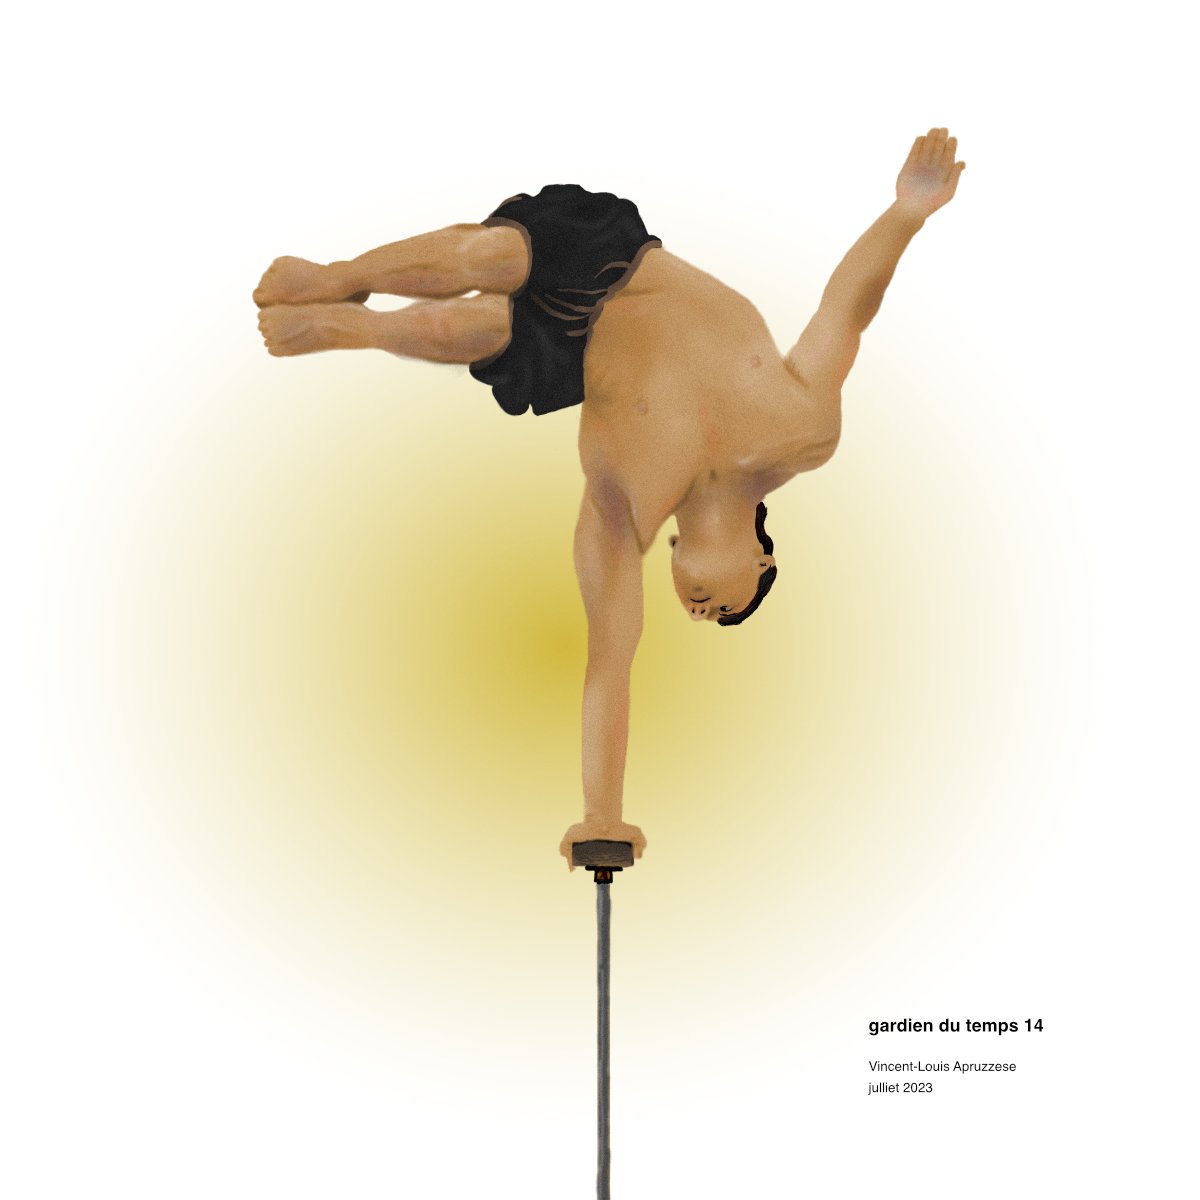
I have been drawing acrobats for maybe 15 years now using different techniques and with quite a few different apps including the serif apps. I decided to go back to my old draw everything in greyscale layers then recolour and add more detail on top of that since i have never tried that in Photo on the iPad and went nicely.
-
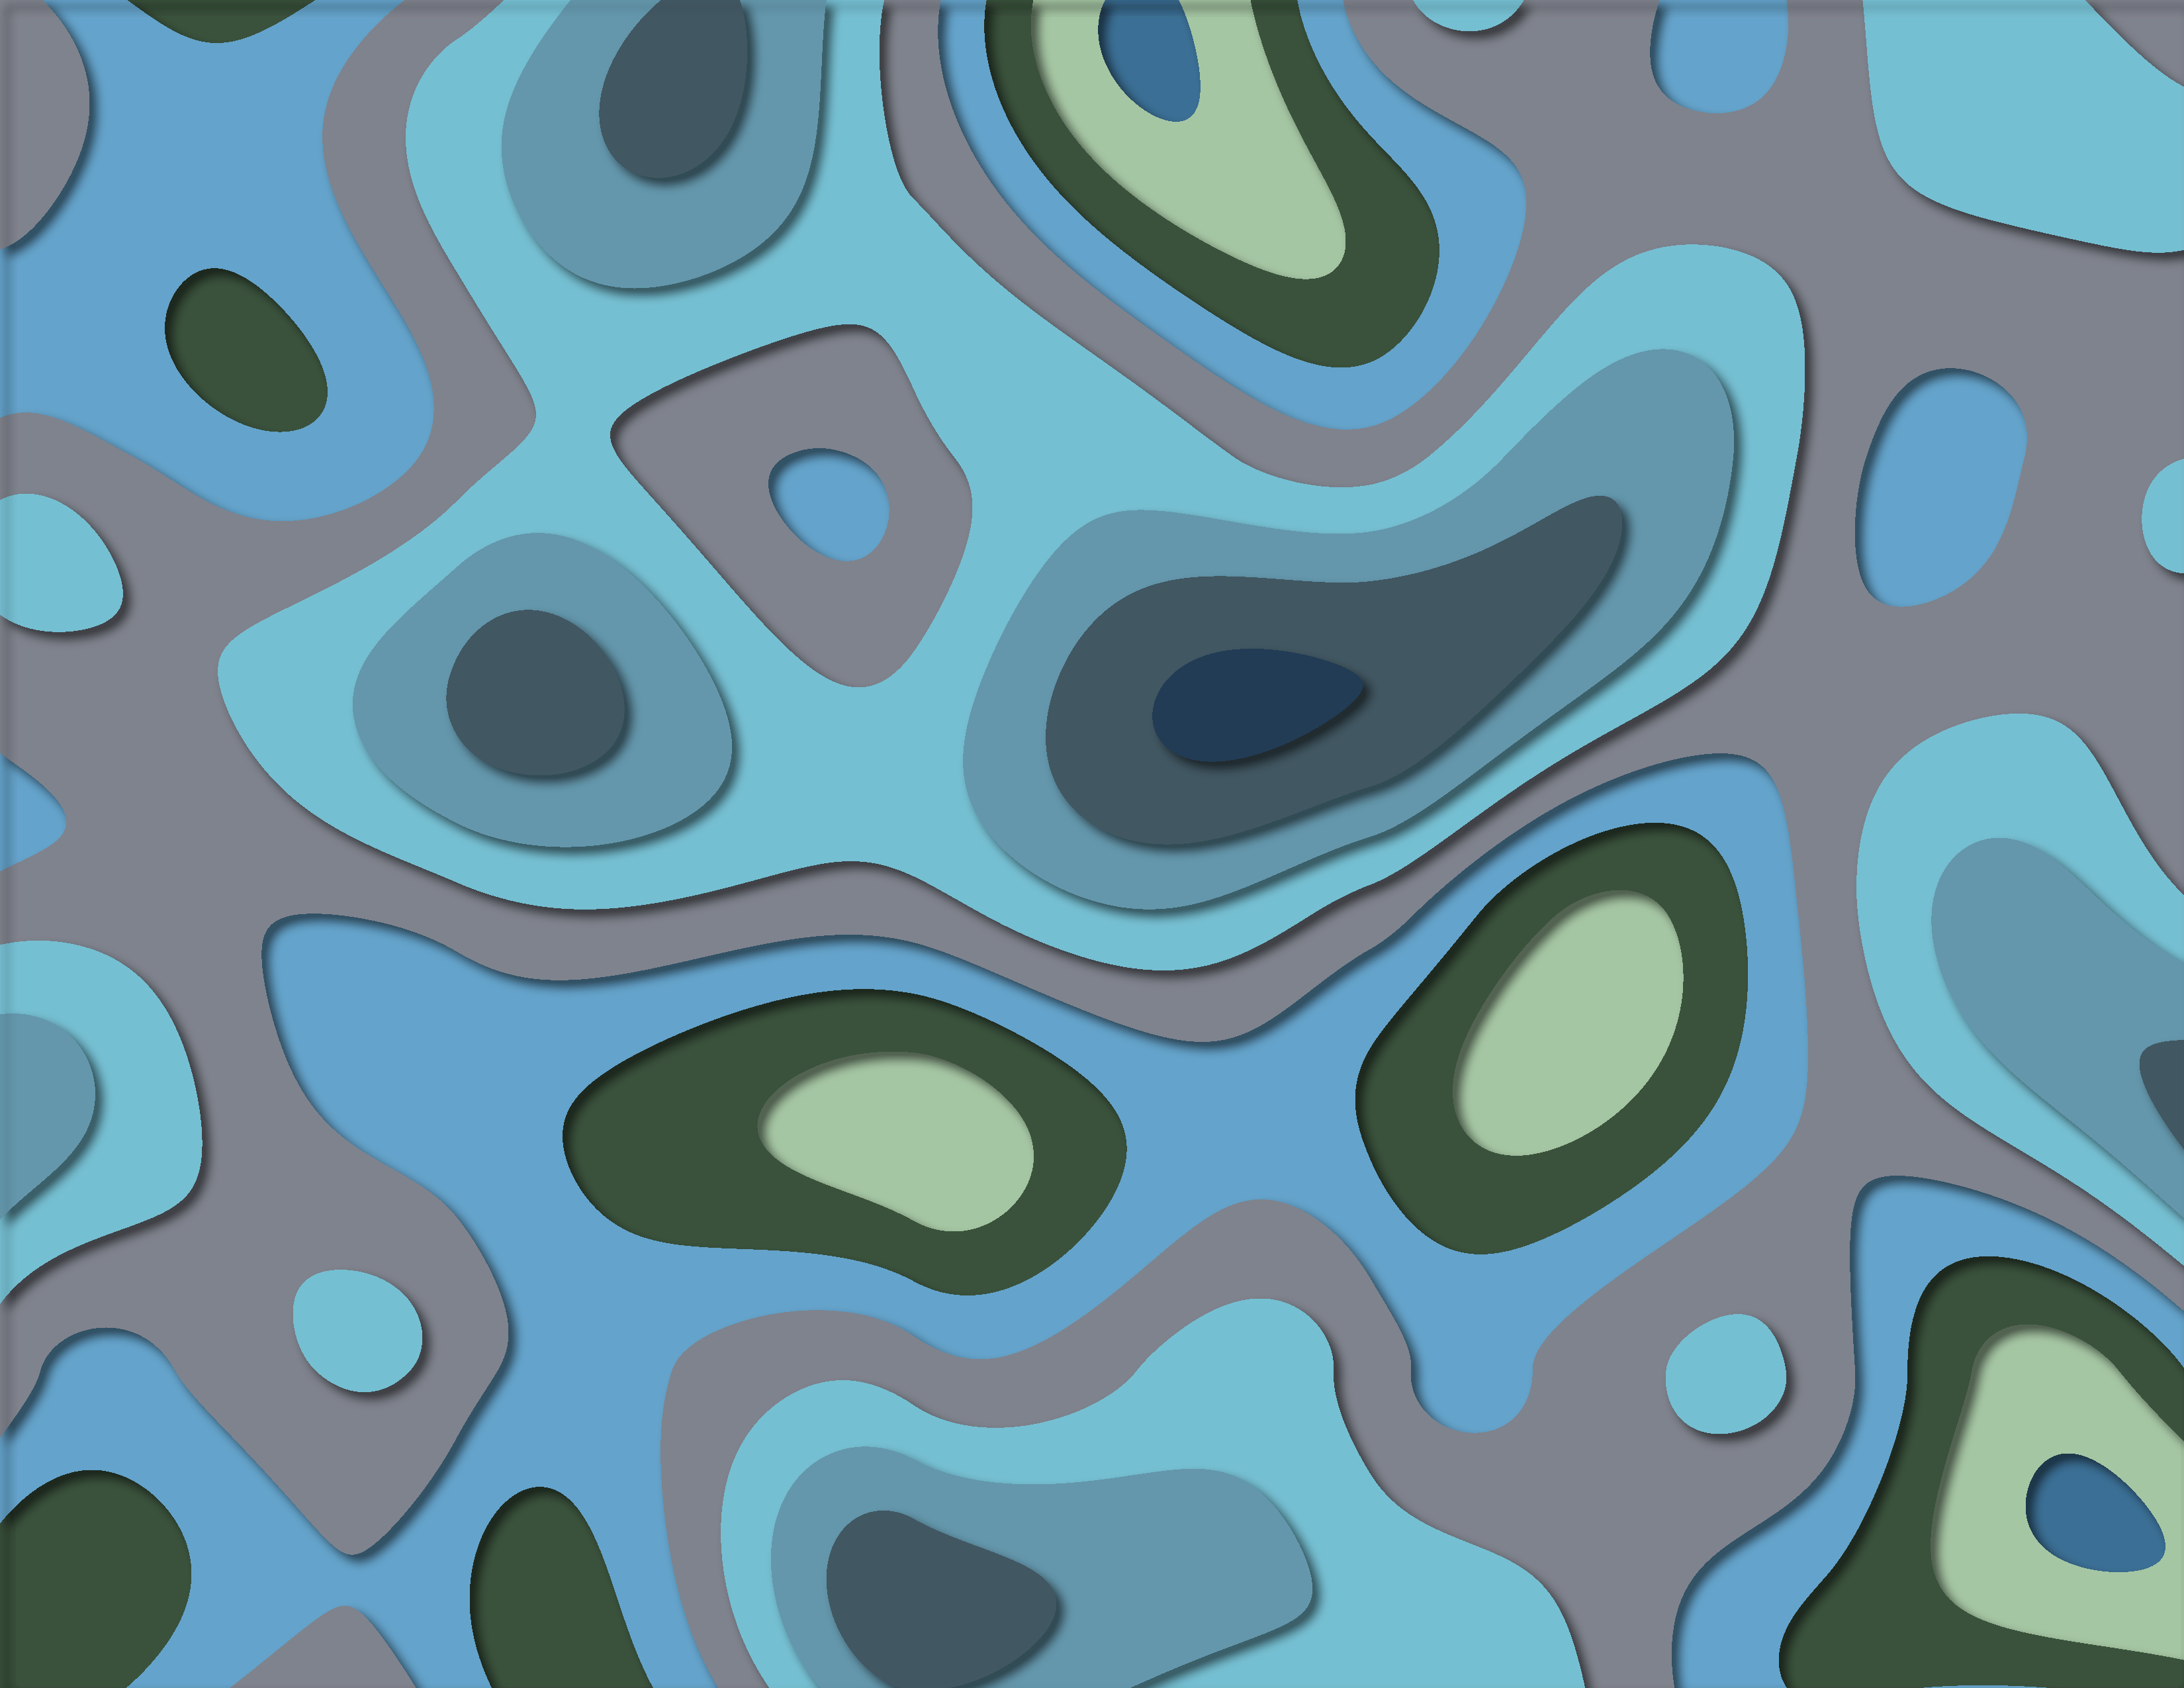
What I am trying to do/accomplish I am trying to find a way to get a vector graphic/ curve layer from an image I made in affinity photo. If I could either use an outline as the curve/path such as tracing the outline with the vector brush or filling my selection as a vector shape that is what I am trying to figure out. What I have tried Convert to curves - This has been greyed out on the pixel layers I have been trying to convert Designer flood fill - can flood my layer or selection but doesn't allow the shape to be converted to curves Creating an outline to convert to curves Masking a vector shape. Selecting the pixels of the pixel layer and using that as a mask over a basic shape. Selecting pixels from layer and using the vector brush to fill in selection A bit more info on the shape/ pixel layer I am trying to convert. I have taken a layer of perlin noise and have a posterize adjustment layer over the top of it. I am trying to make the shapes from each layer of the posterize. I can get to selecting the different layers, filling them and adding an outline but can't find a way to make them vector shapes without a third party program to vectorize each layer. ---> This is the image that I have been working on This is just one of the layers. This is what I have been trying to convert to a curve. If there as another way to generate these same kind of patterns (I need something organic) please let me know. I was also looking at Procedural Texture from this tutorial Affinity Photo : Perlin Color effect tutorial how to - YouTube
-
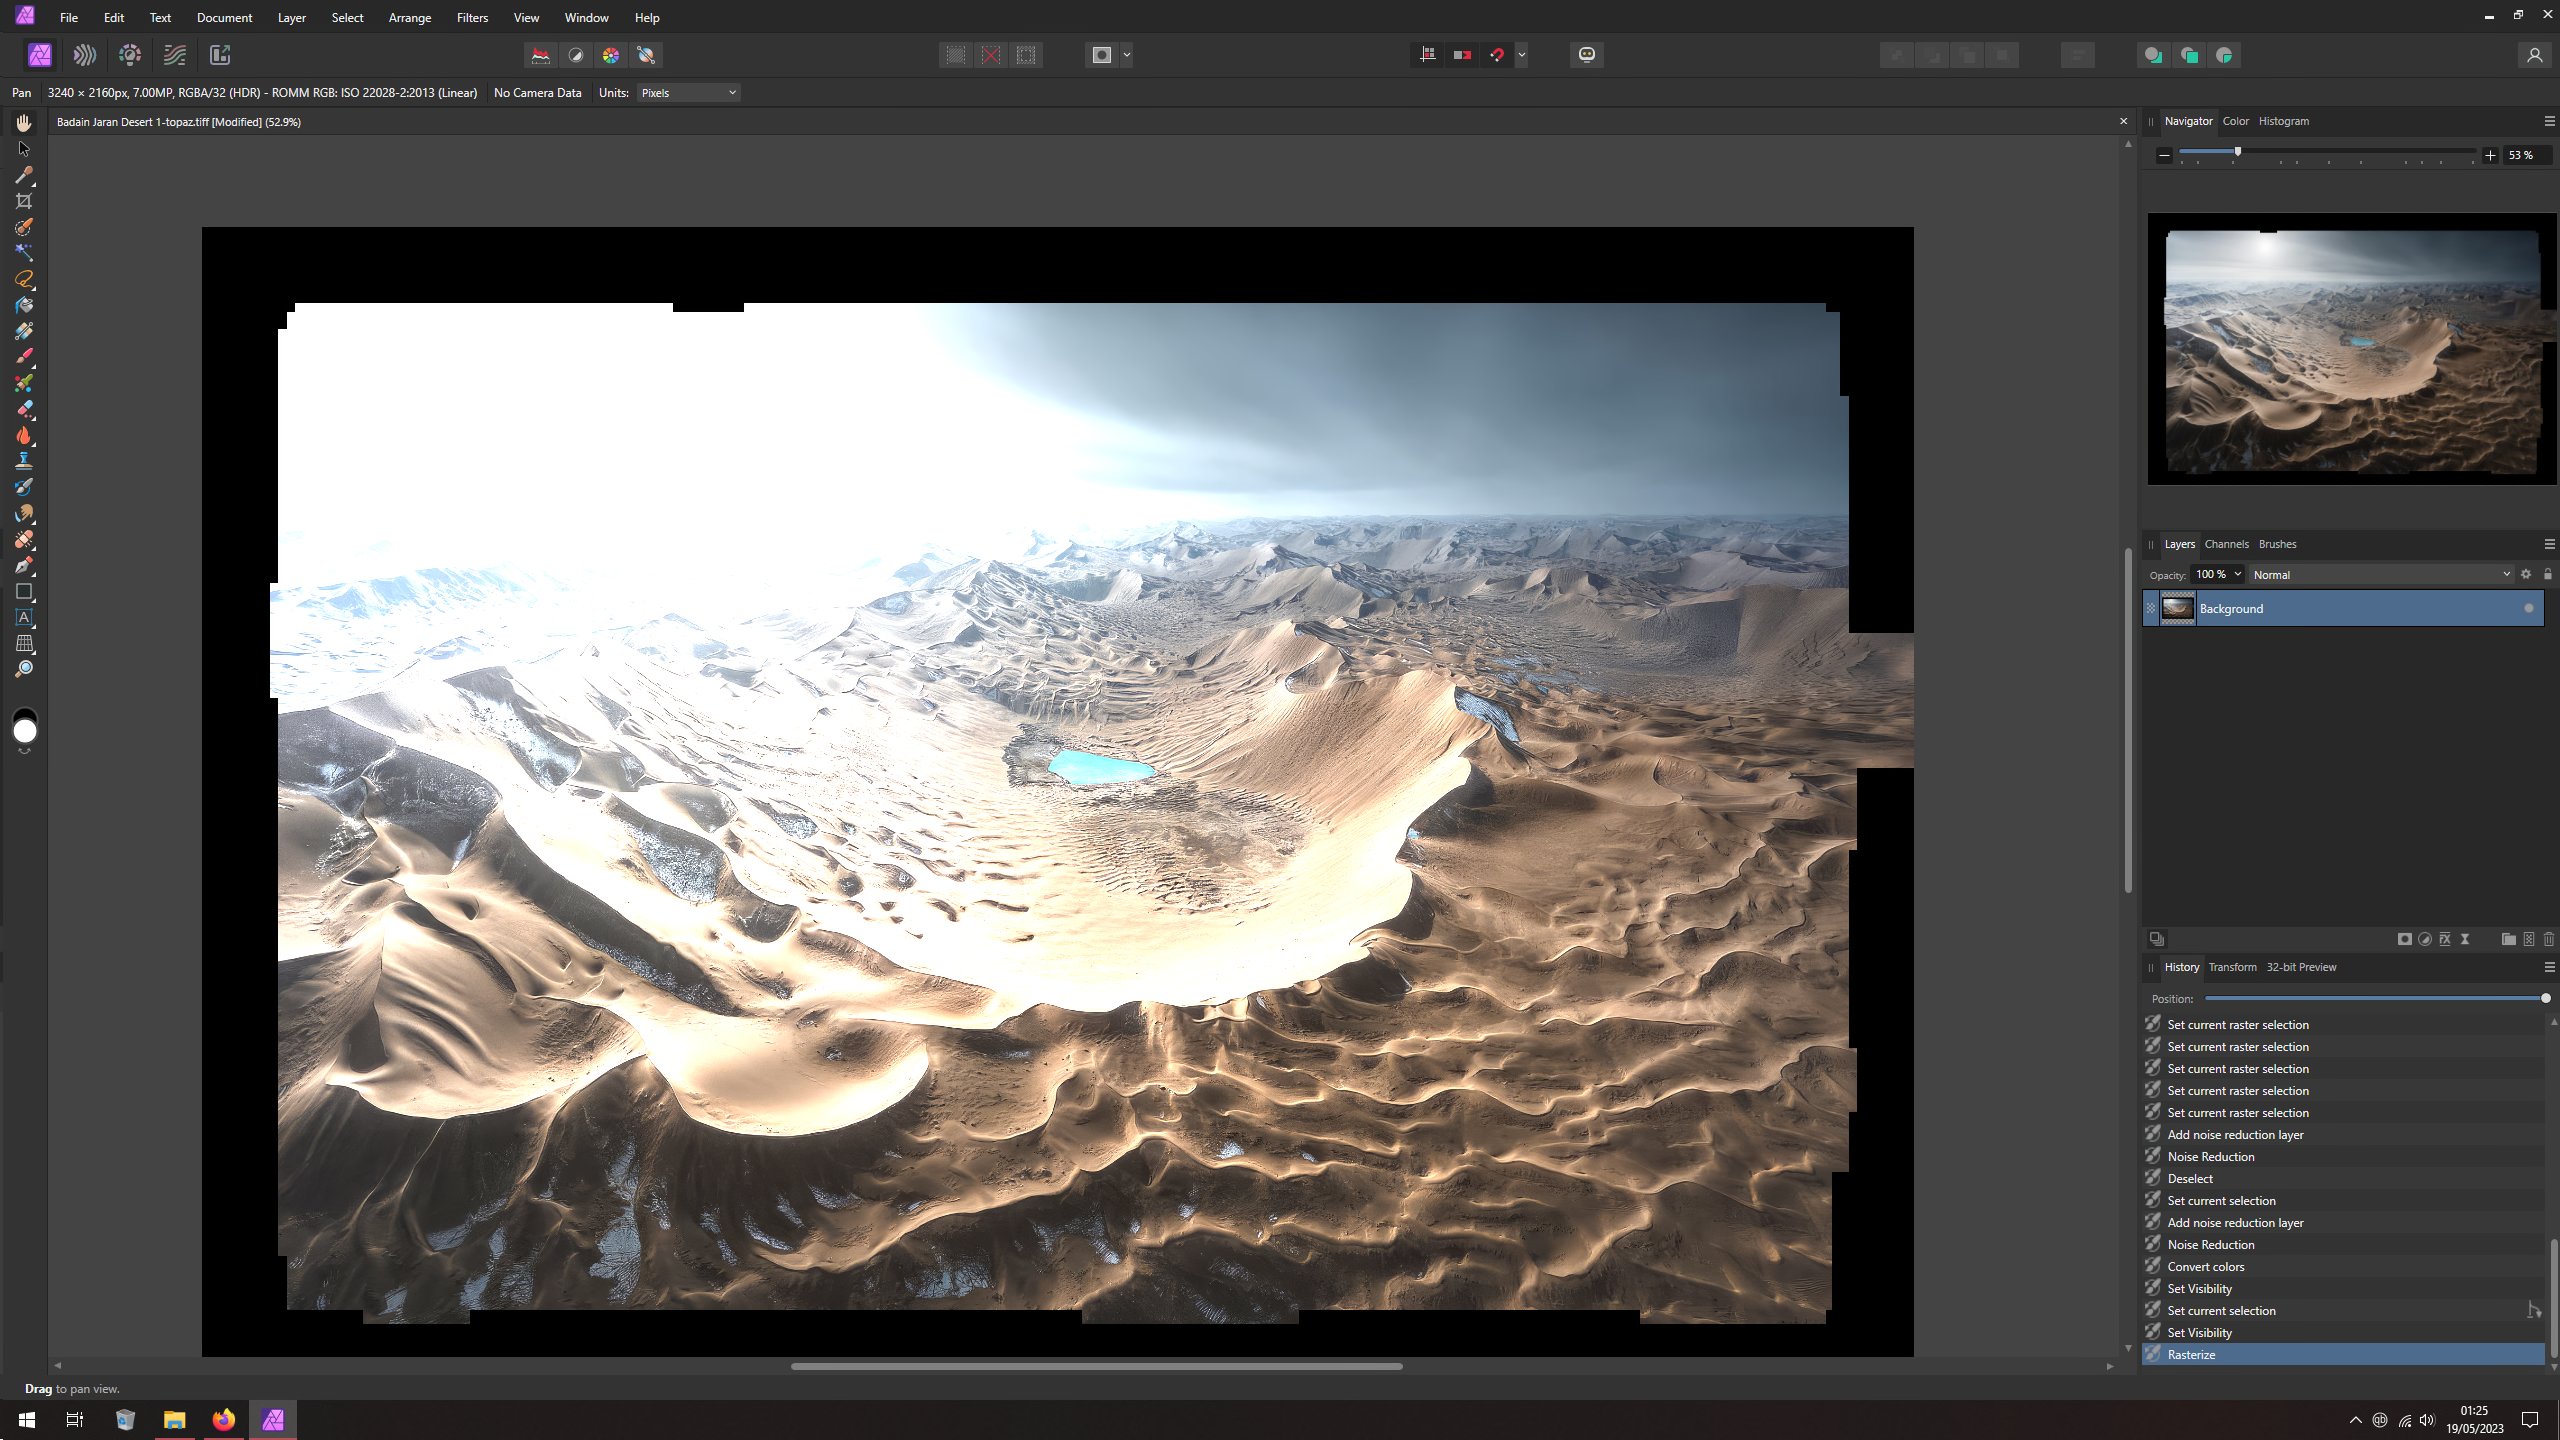
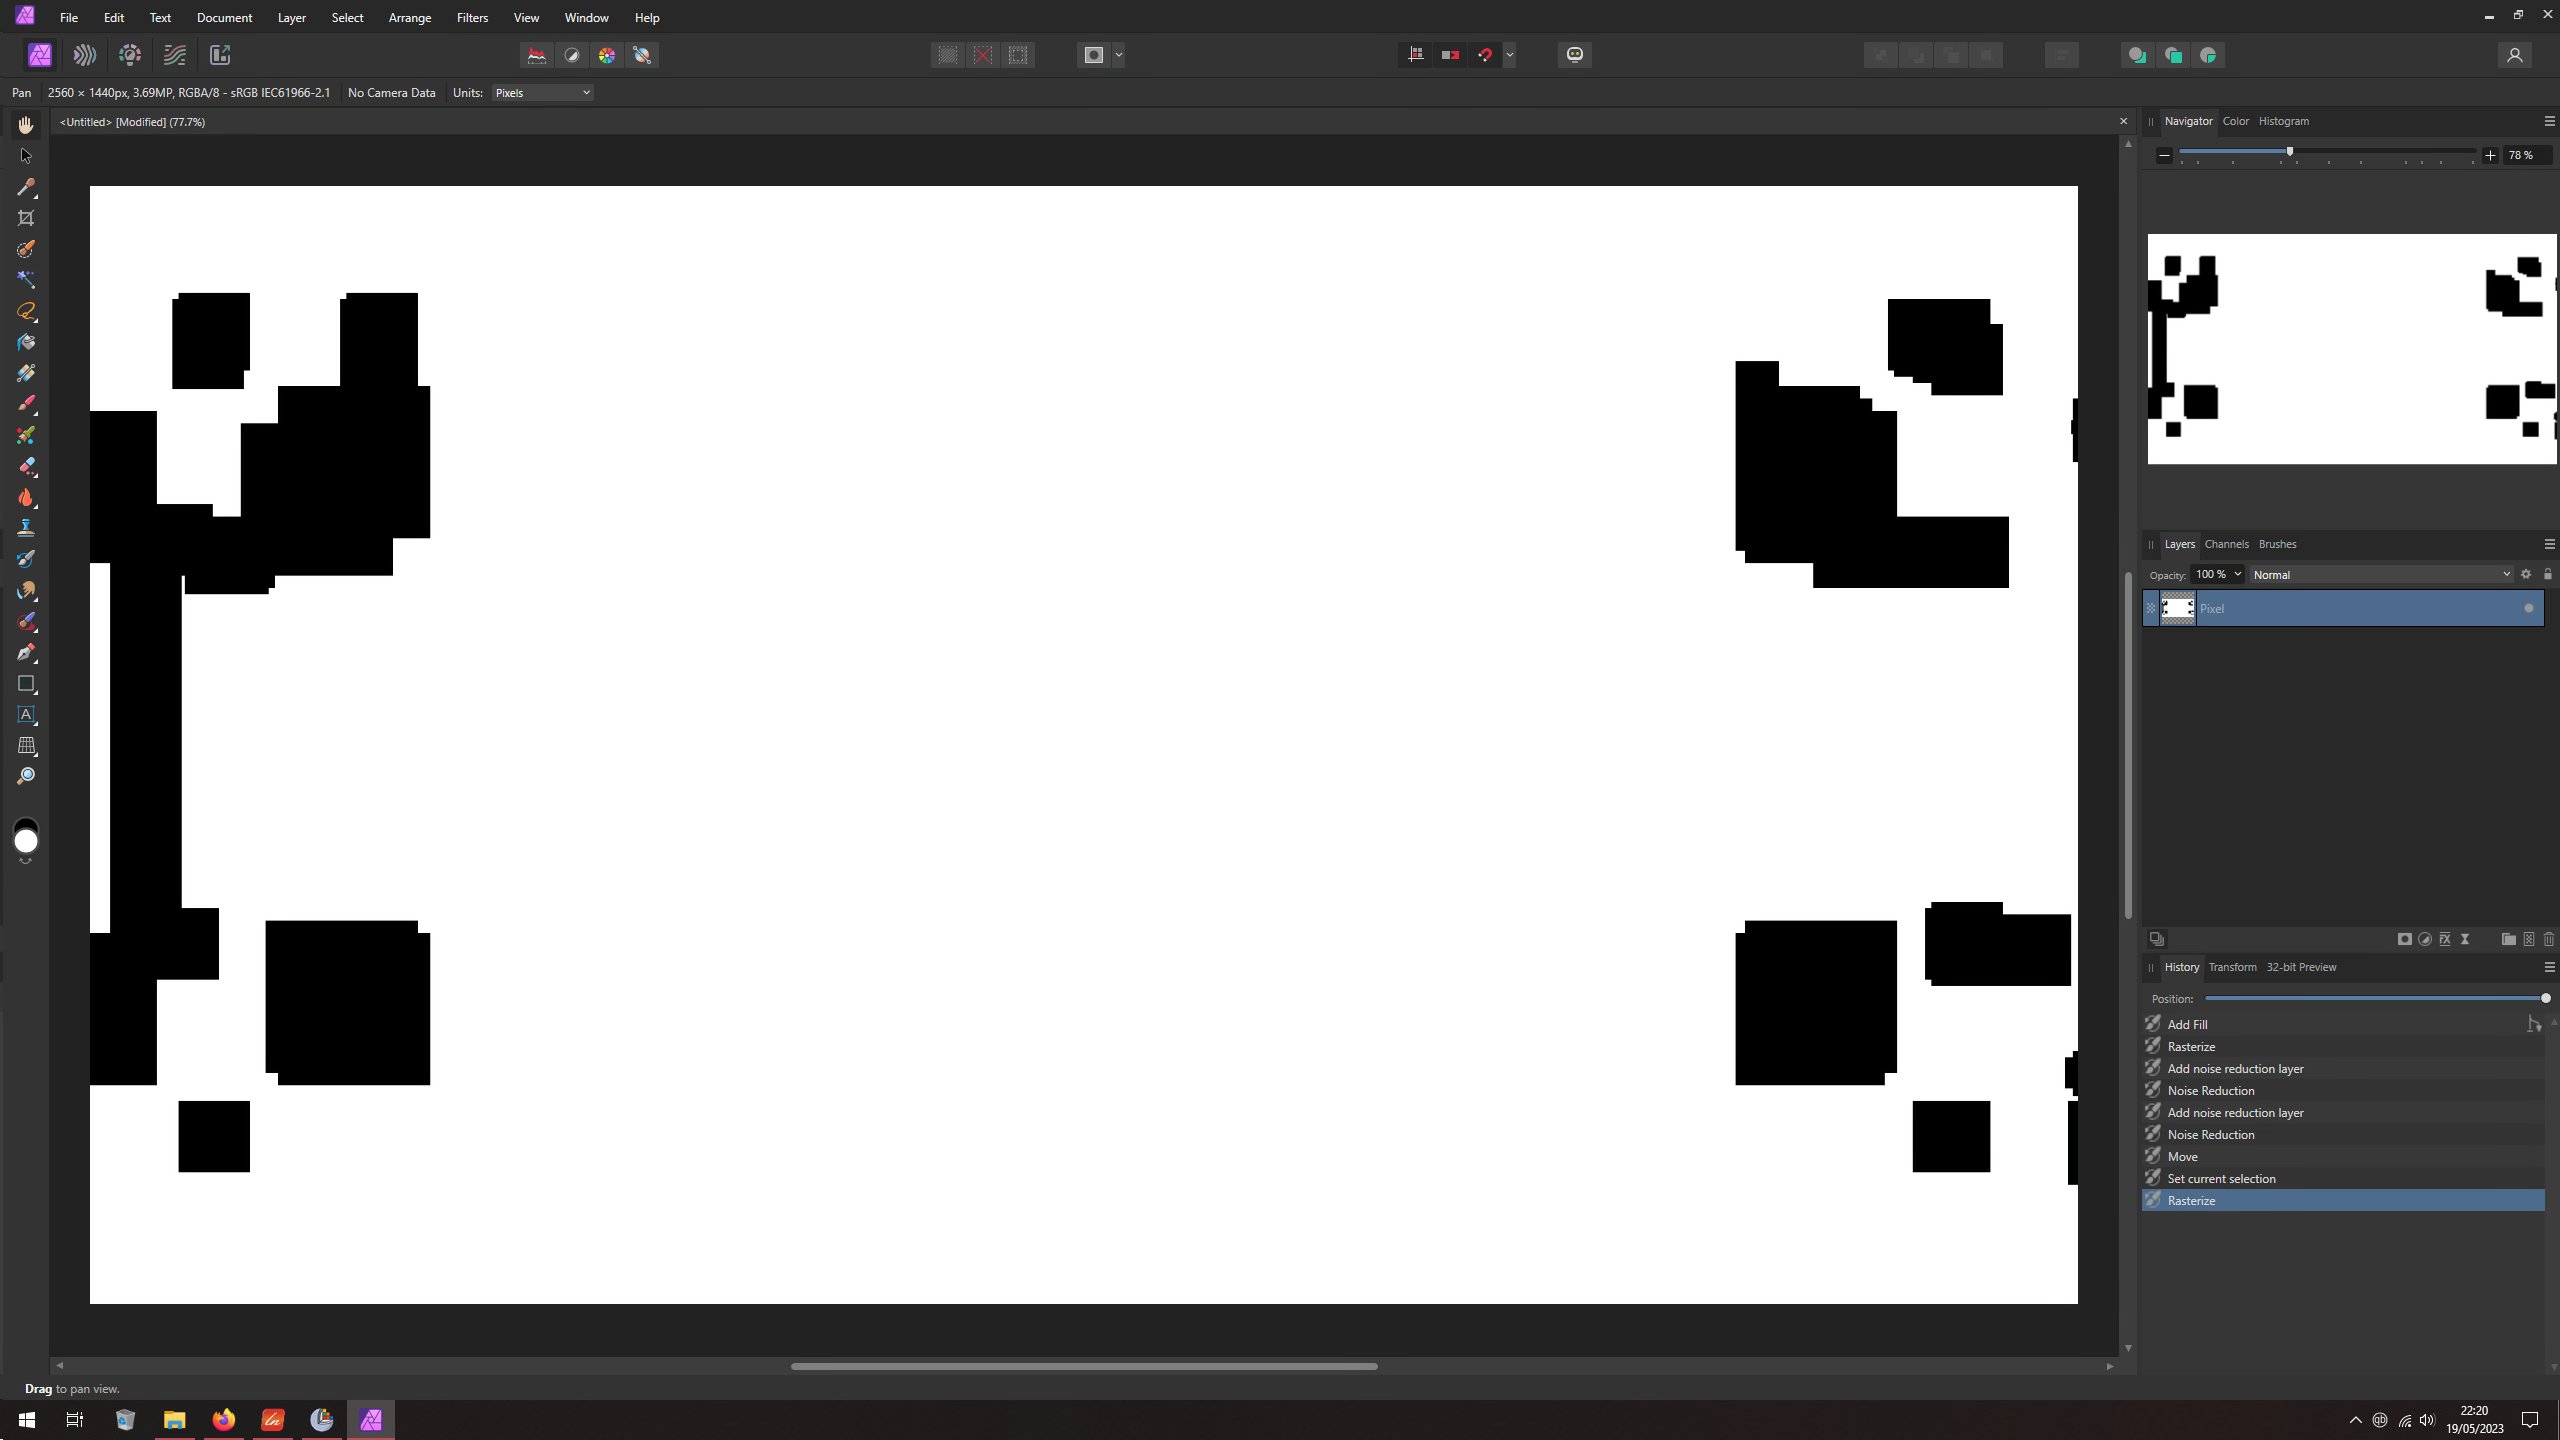
 The Denoise layer can cause glitches that remain even after rasterizing. This can be reproduced when using two separate Denoise layers: Example files attached: Buggy 1.afphotoBuggy 2.afphoto However, a single Denoise layer can also cause this behavior. When applying Denoise to a rasterized Fill layer ( just using a normal layer doesn't "work" ) I get this: Example file: Buggy 3.afphoto Turning off OpenCL acceleration "fixes" these issues. System info: Windows 10 22H2 ( HDR enabled ) Affinity Photo 2.0.0+ ( currently 2.1.0 ) Hardware acceleration enabled ( Radeon 5700 XT, recent drivers for each AP version, currently 23.5.1 )
- 2 replies
-
- 1
-
-
- affinity photo
- denoise
- (and 2 more)
-
 Affinity Photo Beta 2.2.0 (1903) 1. Create new document or open existing 2. Place JPG 3. Replace image (select another JPG, click Open) 4. Crash macOS 13.4.1 / ARM-64
 -
A little composing made with Affinity Photo from various sources, Pixabay, Pexel, and my own photos. Maybe it's too warm in the sea ...
-
 I've been using Affinity Photo 2.2 beta since build 2.2.0.181. Currently, the program is updated to version 2_2_0_1903 (the prugram informed about the update automatically after starting. Everything works fine: image processing, developing RAW files, plugins, creating a new document. Exporting a file pre-processed in DXO PhotoLab 6.0 to Affinity Photo works without I installed both versions from the exe file My system: Dell Inspirion 14" 5490 Intel(R) Core(TM) i7-10510U CPU @ 1.80GHz 2.30 GHz 20 GB RAM Window 11 HOME 22H2 I with all updates) Wacław
 -
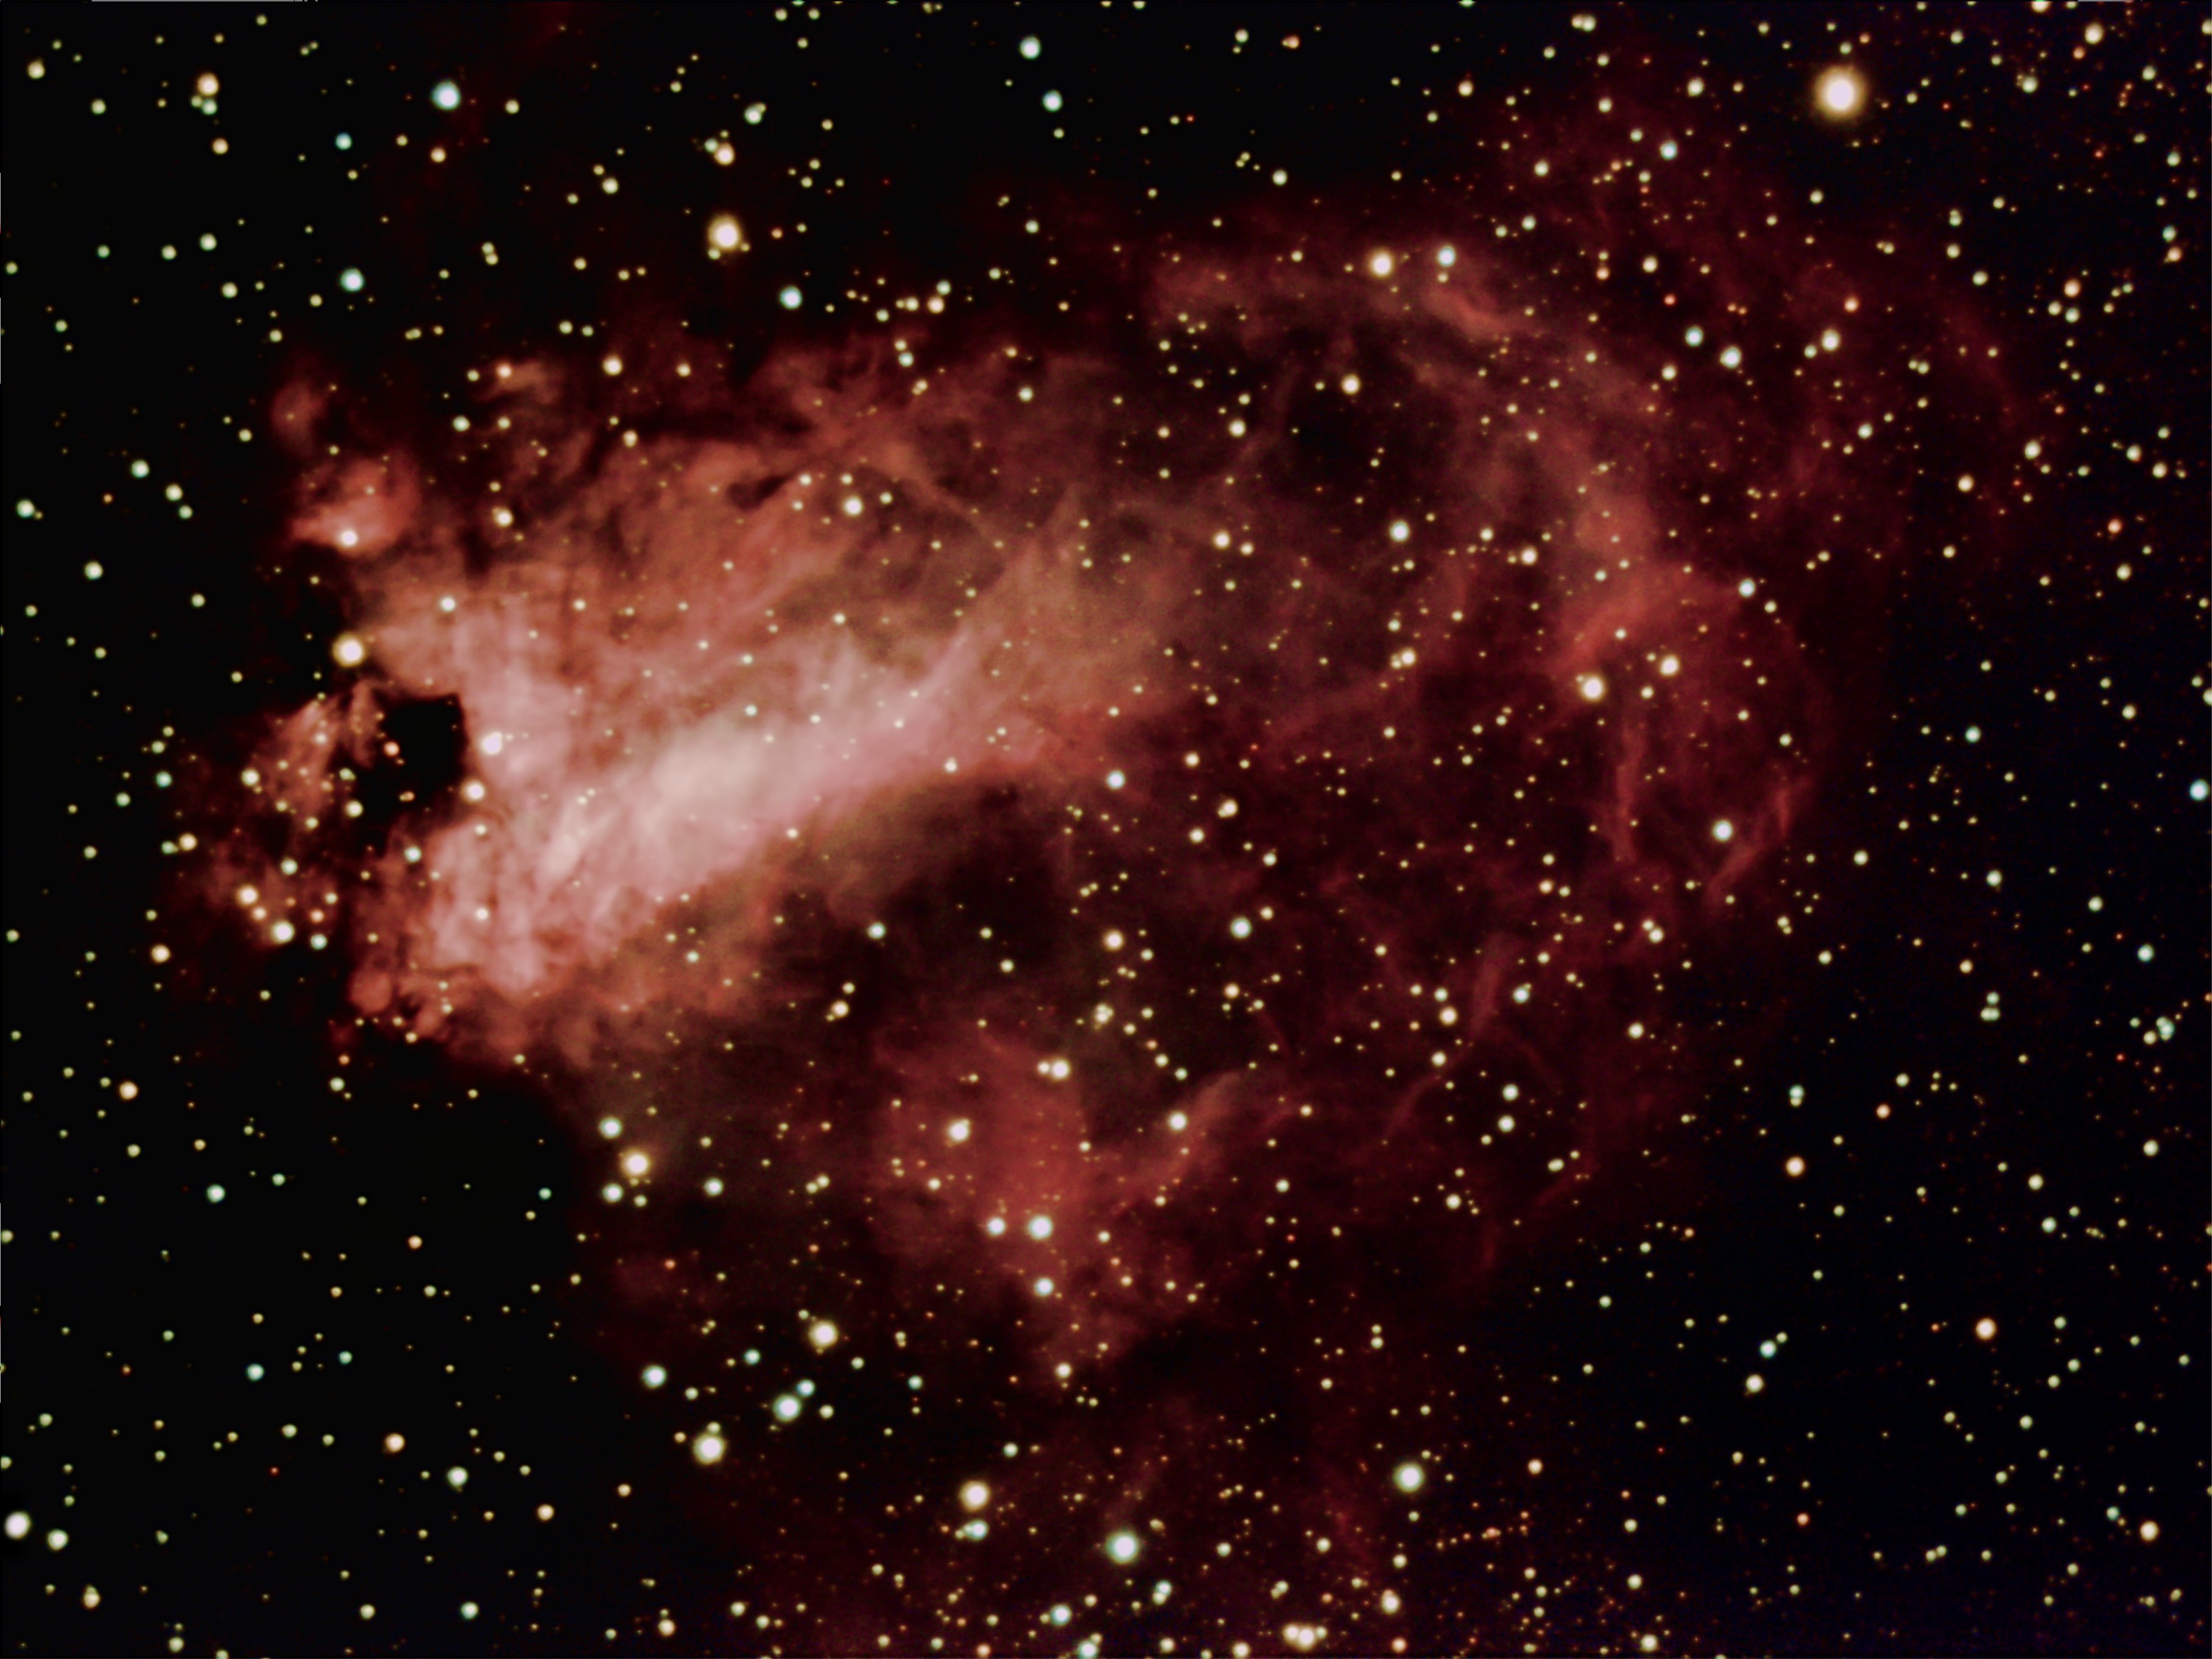
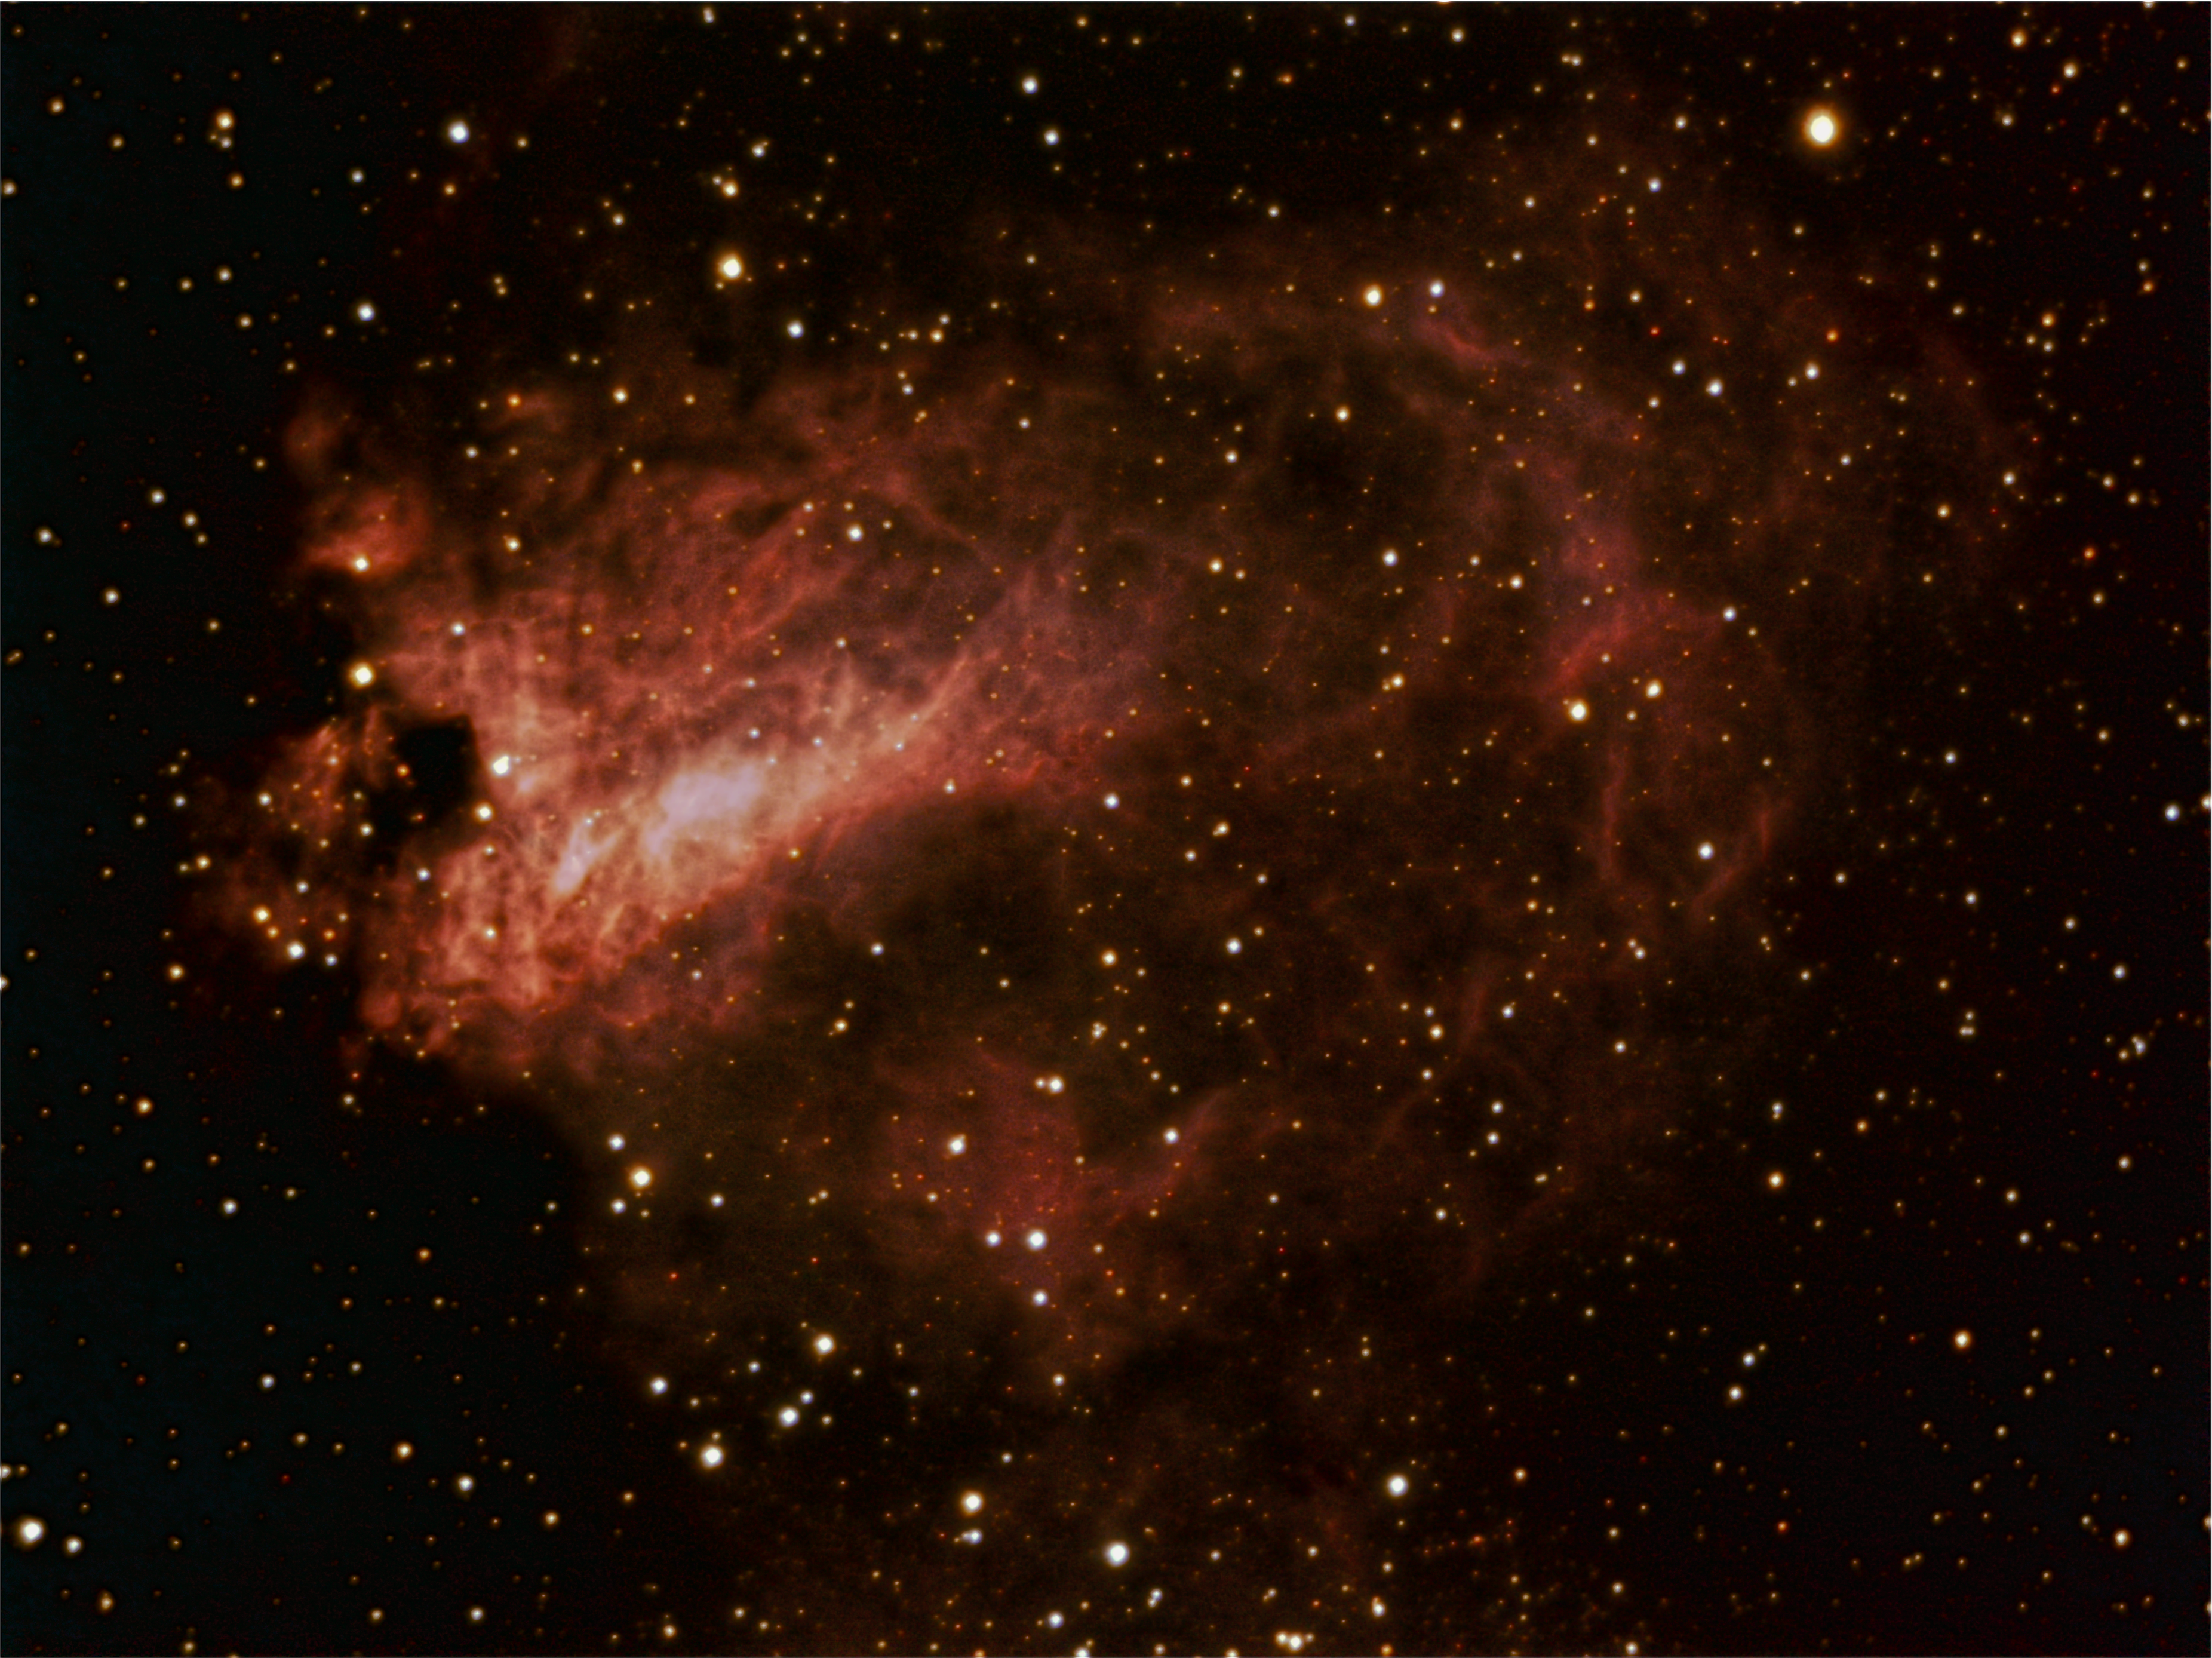
Just bought and installed affinity-photo-2.1.1 and used it to do some layer masking and develop persona for curves VERY Nice! This was captured with an 8 inch SCT telescope in Calabassas, CA over a 2 hour period last month using a Sony IMX294 camera sensor, stacked with DSS. Info about M17 from https://en.wikipedia.org/wiki/Omega_Nebula
-
 I cannot find the character panel on either Designer or Photo. Where is it? How do I make it visible? Everything I read says it should be here, but there is no sign - unless it's right in front of me and I'm not seeing it. The aim is to work with kerning.
-
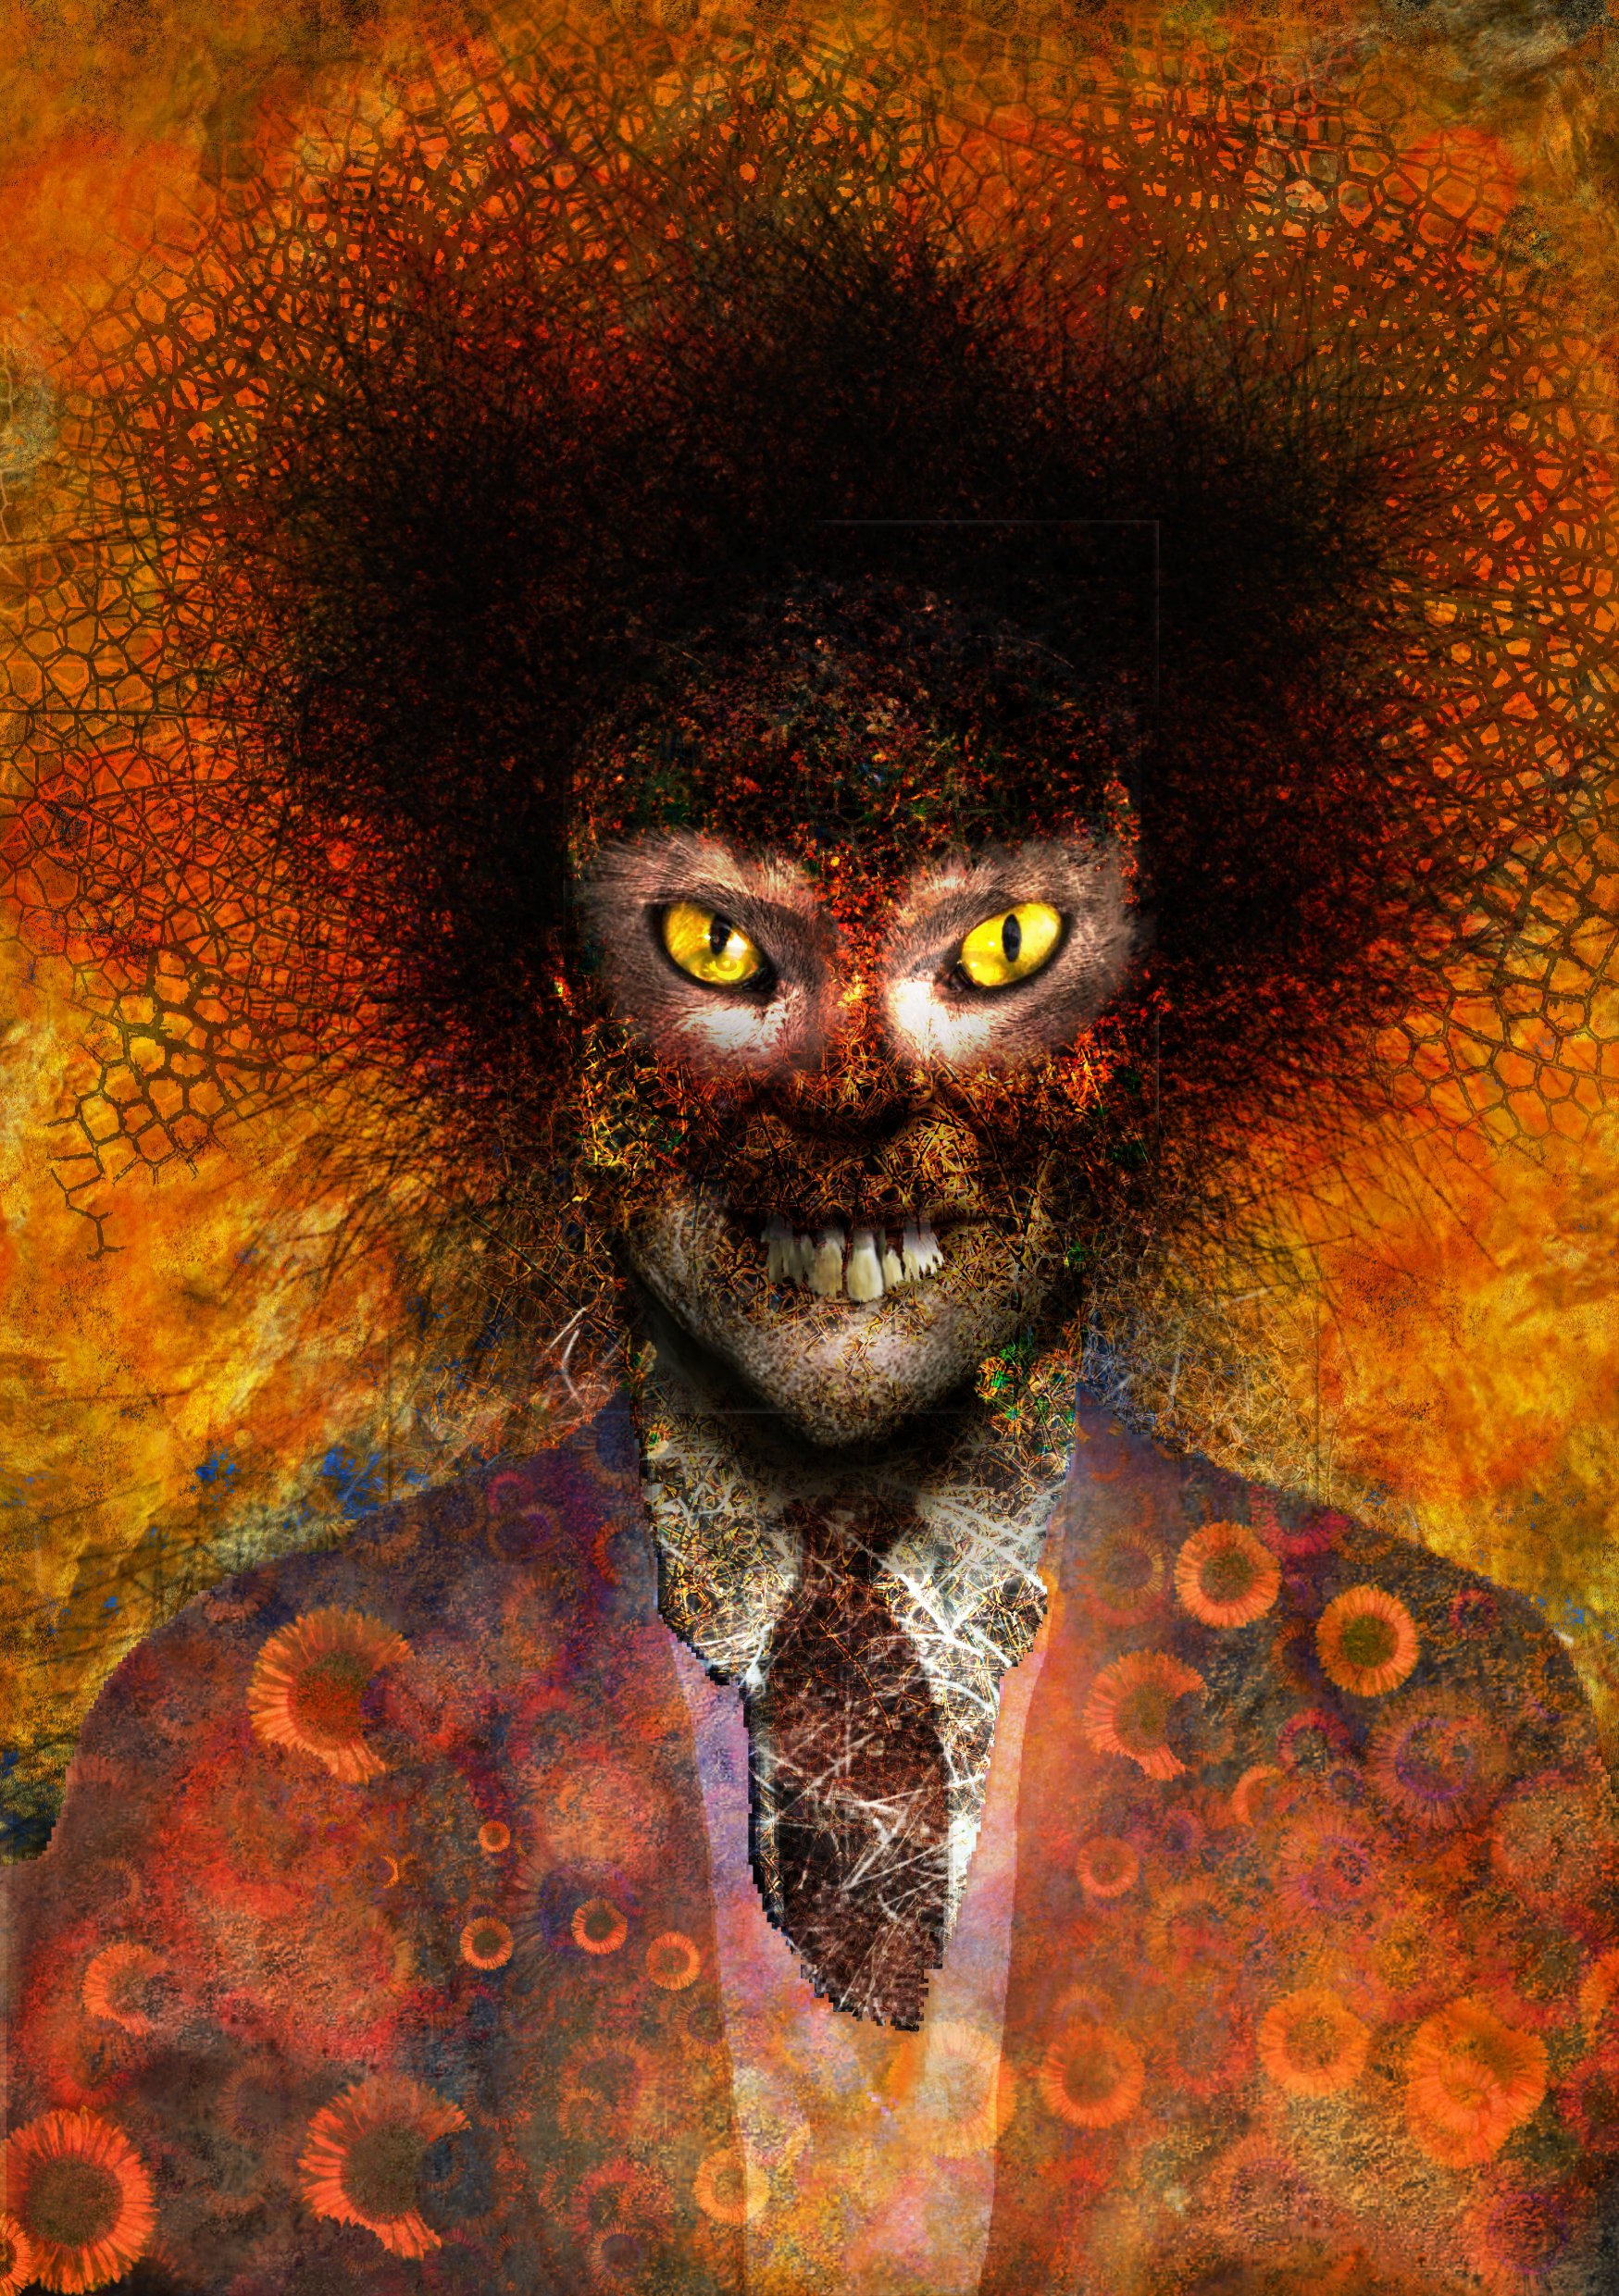
 I've been checking out AI-generated art like Dall-E 2 and Midjourney, which I love. Its so dark and nightmarish. So I thought that I would do a kind of 'role reversal' in Affinity Photo and create an image in the style of AI-generated art...
-
-
Just testing to see how many filters, adjustments, blend modes, etc I could use before crashing the latest Photo and Designer Betas. Couldn't!


.jpg.a4e7ea68965fd4d253ed661382cb4619.jpg)
.jpg.749a140b373f5f845b02b5cbf526c713.jpg)
.jpg.32902a9a8cb4435366500ea454ce0c29.jpg)
.jpg.648decf439b026c1d9e222e50a26a764.jpg)
.jpg.c9653caa1eecdcb637a8897bc72ac55f.jpg)
.jpg.1c92c1a7f6a362489e0eb5e32d25cf27.jpg)
.jpg.e3eae037c57db089e493b56b208e5cc5.jpg)
.jpg.945baff5d32035f3138eb501cec38807.jpg)
.jpg.76061e03b8d2570b9d4a0724589e3dbd.jpg)
.jpg.e19d4120b45c943f857cf28742f34866.jpg)
.jpg.a59821970476fecc44a5e64e562fa7d9.jpg)
.jpg.162159e2e6426c14ffb90d806b6d5b01.jpg)
.jpg.dac367708cee9b1c83f583d7b1e3c0cc.jpg)
.jpg.2486aba5c6acd466a9188ee00af9395c.jpg)
.jpg.4c2360f7418e21ff0f0c9298ac7a79d6.jpg)