Search the Community
Showing results for tags 'Affinity designer'.
-
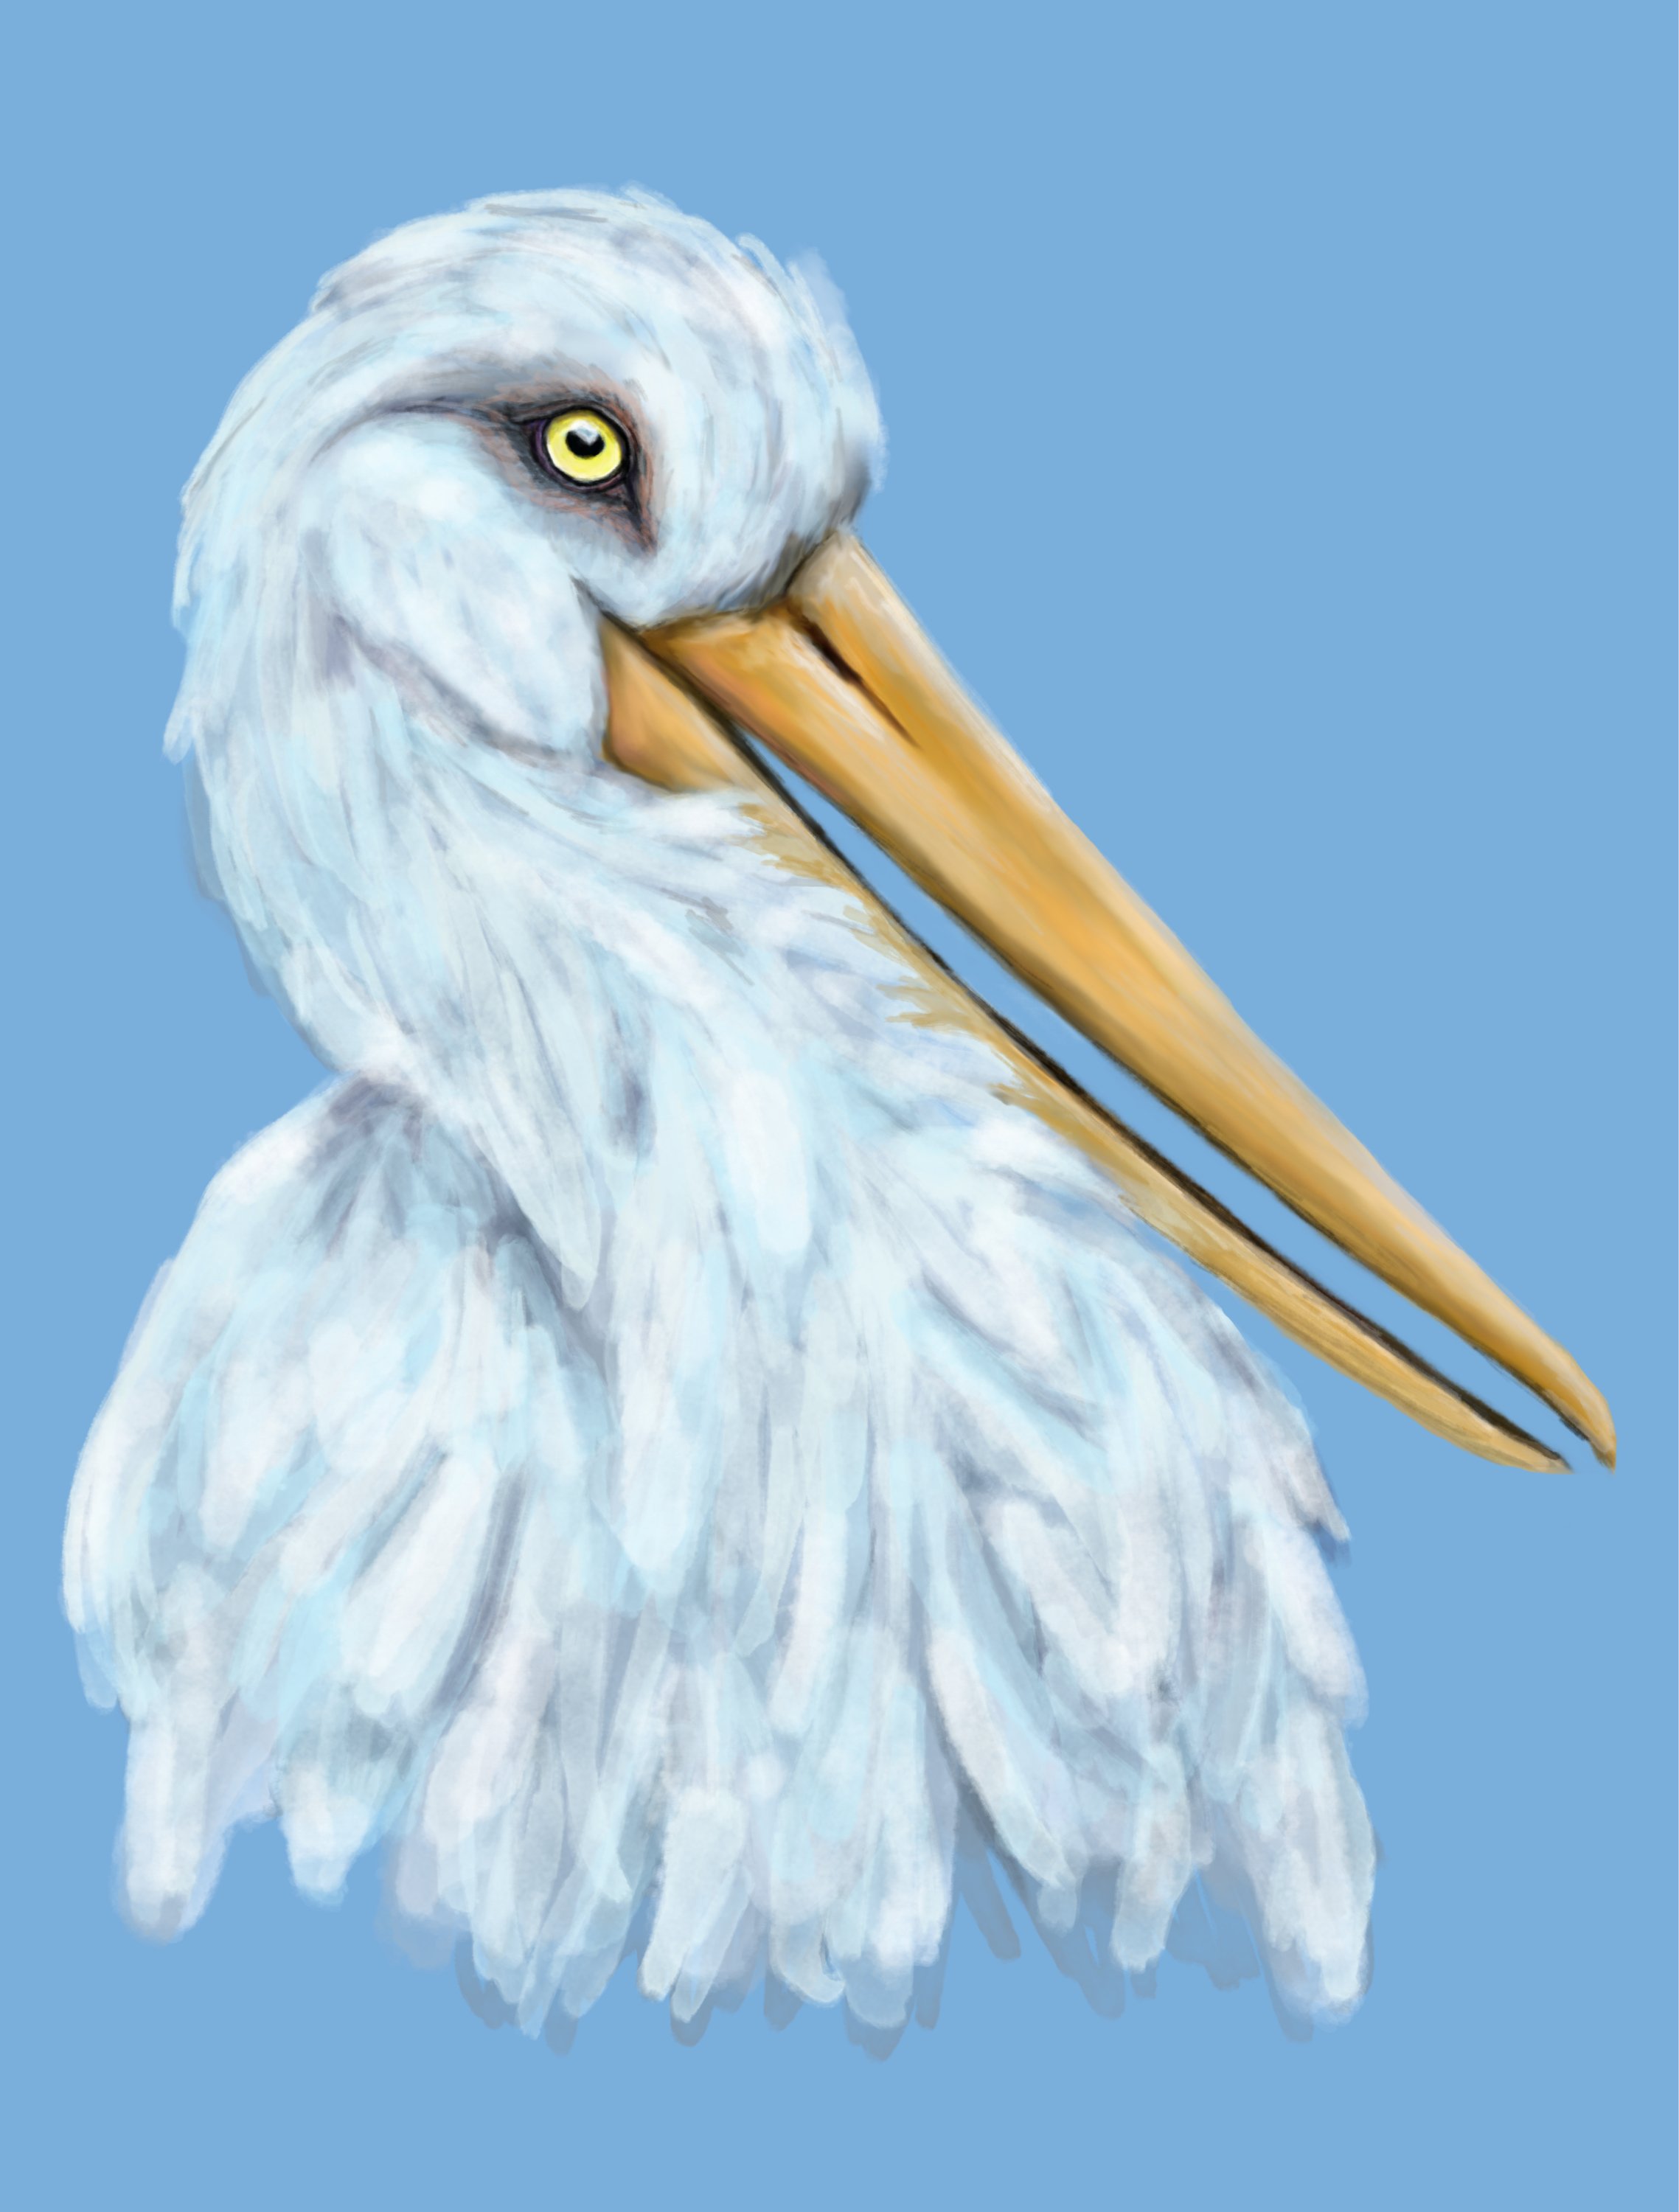
I have done digital paintings in photoshop for longer than I like to admit. I got this program to be able to do vectors, but I may now be able to ditch the obnoxious photoshop subscription. I am going to try the photo program that Affinity has to see if I like it, too, but I was quite happy with painting in Designer. This is not as realistic looking as my normal digital art, but it was fun and only took an hour or so. I can see that when I don't feel pressed for time before the trial runs out I could really go crazy with it and get more detailed than I did today.

-
 Yes! I've been working hard last weeks creating an Interactive Christmas Card for everyone free to share with friends & family. All graphics happily created with Affinity Designer (except for a little piece, made in Blender)! Love vector, love the interface, love the export persona! It speeds up everything so much and makes designing so much more fun! 😎 The card really talks 😀 Choose a Wish and Character and it will be read aloud! The card is free to share with your own chosen wish and character with your collegues, friends and family. Spread the love and Merry Christmas! 🎅💌 😀 It's here: English: https://www.wigglecard.nl/en Dutch: https://www.wigglecard.nl Or just watch the video below to get an impression. Hope y'all like it!
 -
 I am still using the trial (5 days in) and trying to get a handle on the program before time runs out and I have to decide if I want to use it on my old surface (it freezes up every time I use the program, so I am trying to settle on if I want to save up and get a newer Surface or go to an iPad or just deal with freezing). I'm having a lot of fun and getting to where I'm understanding some of it I think. Free-hand and purposefully trying to keep it simple. This is a very different style from my usual digital art so it feels weird to me, but I am enjoying it.
-

multi Dream Platform - My newest work with Affinity Software
adam1762 posted a topic in Share your work
Affinity Designer + Affinity Photo. https://www.behance.net/gallery/137814617/Dream-Platform
-
 I'm new to the Serif ecosystem (I've only used Inkscape), so forgive me if I get some terminology wrong. This question is in regards to the manipulation of both preset shapes that you just draw in, as well as these curves that you convert the shapes into when you want to add nodes or move the existing nodes around. My problem is that I want the black rectangle to snap to the corner of the triangle. I've only been able to snap to 1 axis so far. edit: sorry, I had no idea you needed the actual file rather than a screenshot. Just got back to my computer and had to recreate the situation since I had deleted those shapes test (copy).afdesign
 -
I've always like the concept of GUIDs (Globally Unique IDentifiers), and I like the sound of them "Goo eid". I've always talked and joked about them at my work (I'm known for always giving new people GUIDs when they start 🙂 ). On our company Intranet I had a chat group called GUIDs where I'd paste random GUIDs and sometimes facts about them every now and then. A while back I started drawing some cartoons and posting them there. I draw them with Affinity Designer, and I thought I'd post them here.
-
Hello, I right-click on an object in the layers menu and choose copy. I then click on another object in the layers menu to make it active. I go to Edit > Paste FX to apply the FX. In this case, the copied FX was a Bevel/Emboss - Radius 0.5 px, Soften 1 px. What was pasted was Pillow - 0.6 px, Soften 1.2 px. The other settings seem to remain the same, however, they were the default. I would have hoped that the FX paste would retain all the settings contained from the original copy and would be pasted but this seems not to be the case. I am learning to use this software and maybe I am just missing the proper sequence of steps. Macbook Pro mid-2014, 10.14.6, Designer 1.8.3. Thank you.
-
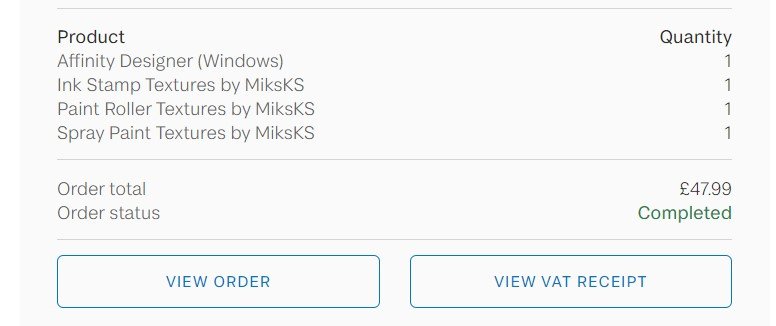
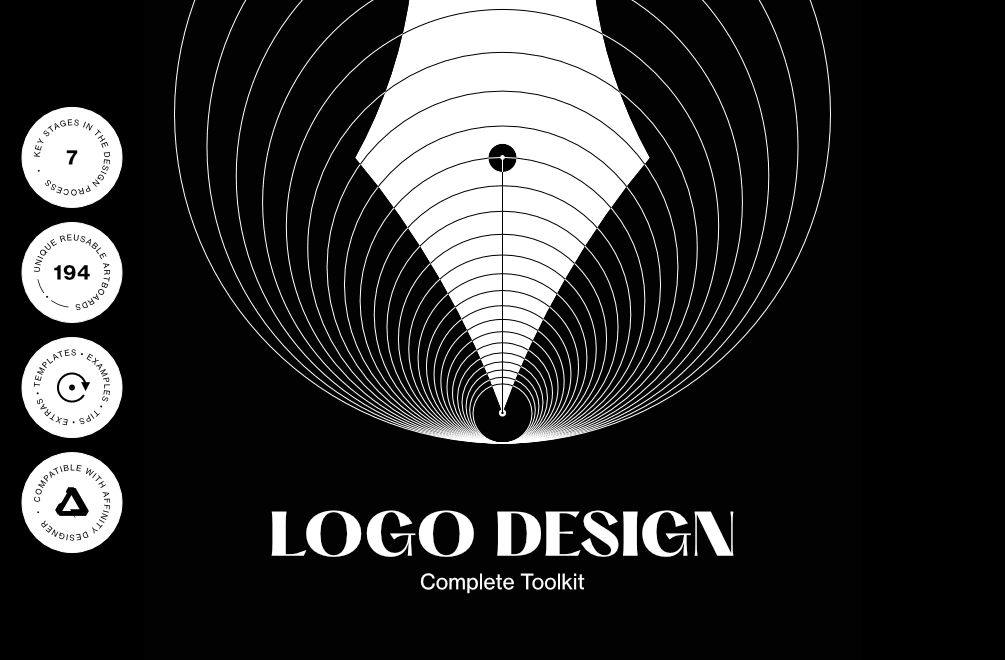
TL;DR Full version: https://fircyk.gumroad.com/l/logodesigntoolkit Free version: (just put 0 in the price box) https://fircyk.gumroad.com/l/logodesigntoolkitfree Hello there! I am very excited to finally release this product 🙂 Preview images available on pages with materials. Logo Design – Complete Toolkit Work faster, better, easier. Do more with less effort. Everything you need today and may need tomorrow in the logo design process. Your benefits: Novice: Boost your learning process. Discover how to carry out a successful logo design. Each step is enhanced by an example with additional commentary. See what to do and what to avoid in the creative process. Intermediate: Revise your knowledge and eliminate potential bad habits that affect the overall quality of work. Increase your market value as a better logo designer. Attract more quality clients and increase your income. Professional: Work more efficiently with less effort. Everything you need regarding logo design in one organized place. Save time on export and file preparation. Enrich your collection of materials to have more flexibility in the production process. What is included: + LOGO STARTER Build the right foundation for a successful outcome. Establish trust in the early stages of a new project. Prepare the persuasion component for the presentation stage. Briefing Ask the right questions and win over the client. Briefing contains: Digital Version (Source File + Template) Print Version (Source File + Template) Text Version (PDF + RTF) Guide how to prepare PDF with editable text fields Workshops Maintain an appropriate level of communication with the client. Develop precise guidelines that will help you in the creation process and increase the chance of finding the right solution. Workshops contains: Clean (Source File + Template) Example (Source File + Exported PDF) Benchmarking Generate more and better ideas. See what elements you should pay attention to while analyzing the competition and developing a creative background. Benchmarking contains: Clean (Source File + Template) Example (Source File + Exported PDF) + LOGO TESTER Minimize the chance of creating a logo with defects. Find out what aspects you should be aware of when creating a conception. Test the logo on various mockups. Logo Tester contains: Complete (Source File + Template) Essentials (Source File + Template) Example (Source File + Exported PDF) + LOGO PRESENTER Sell your idea. A good logo is 50% of the success. You have to present it properly. Show how it works. The worst thing that you can do is to send to your client 2 or 3 logo conceptions in a single image file without any explanation with a question: “Do you like it?” I prefer a single-conception presentation. How many conceptions you want to present is up to you but present them live each at a time. However, a multi-concept template has been prepared. You can additionally use this template to present your projects in a portfolio. Logo Presenter contains: Complete (Source File + Template) Essentials (Source File + Template) Various Concepts (Source File + Template) Example (Source File + Exported PDF) + LOGO EXPORTER Save hundreds of hours on exporting files every time the client need version that was not included at the beginning. Focus on designing and leave the export to a carefully prepared template. Logo Exporter contains: Clean (Open File + Template) Digital Extension (Open File + Template) Example (Open File) Example test exported files (ZIP File) Guide how to use it (PDF) Exporter settings and how to change them (PDF) Export capabilities: — Color Formats RGB for digital CMYK for print — Logo Structure Horizontal Vertical Sign Logotype Emblem Claim — Color Versions Full Color Single Color White Black — File Formats JPG PNG TIFF PDF SVG EPS — In addition for digital purposes there are 2 more sizes: Medium (M) Small (S) + LOGO BOOK The final stage of logo design work and the conclusion of your collaboration with the client. The main purpose of the Logo Book is to both describe the construction of the mark and to protect the logo from incorrect use. The template is provided with universal rules that you can easily apply to your projects, saving you a lot of time. The last section provides a style guide, i.e. rules for using the logo on real examples such as promotional materials, social media, or banners. Logo Book contains: Complete (Source File + Template) General (Source File + Template) Essentials (Source File + Template) Style Guide (Source File + Template) Example (Source File + Exported PDF) + LOGO UTILIZATION GUIDELINES Unfortunately, the reality shows that sometimes clients forget about such things as logo book or brand book and the logo that we created is inappropriately used. Prepare a print-ready portable version of the Logo Book. A 2-page condensed pill of key guidelines can save your logo. Secure appropriate treatment of your work. Logo Utilization Guidelines contains: Clean (Open File + Template) Example (Open File + Exported PDF) + 3 LOGO EXAMPLES To give you a better understanding of how to present the logo, 3 examples with different objectives and outcome have been prepared. Each example contains an open file with the structure, appropriate versions of the logo, etc. + LOGO DRAWING GRIDS The most popular grids for a logo design with open file and guide how to modify them. + LOGO PRINT-READY CHEATSHEETS PDF files containing points to be aware of when exporting a logo and appropriate file formats. + LOGO DESIGN – CONSTRUCTION FLAWS As you grow and improve your skills as a graphic designer, you begin to understand how to form a structure for a logo. I have prepared 18 mistakes you can make when creating a logo and how to avoid them. + PRACTICAL LOGO DESIGN TIPS 20 tips touching on various aspects of logo design. + MATTERS TO EXPLAIN TO YOUR CLIENT Sometimes clients may have inappropriate assumptions about what logo design looks like. Then it is good to clarify these fundamental matters at the very beginning. + TEMPLATE CONFIG FILE The entire toolkit structure is based on this file. It contains UI elements, typographic system, grid, theme structure. It’s very easy to make adjustments. + EASY TO ADOPT DESIGN 4 examples of how you can change the design. Keep in mind that this only example of how you can adjust the design to your needs. + ADJUSTED TEXT STYLES Digital(available in two sizes) and converted print version. The One Typographic System to rule them all. + PDF GUIDES Even if you are just starting with the software — I got you covered. I have prepared several guides e.g: How to modify grids, how to implement typographic system, how to use templates, how to work with the client etc. + EXTRAS Mockups, social media template, and more. —— Due to the fact that this is the first published product I have a small gift. For the first 8 persons after entering discount code: "affinity" you will get 21% OFF (you can enter discount code in the checkout) —— Full version: https://fircyk.gumroad.com/l/logodesigntoolkit Free version: (just put 0 in the price box) https://fircyk.gumroad.com/l/logodesigntoolkitfree —— To mods: I have read the forum guidelines, if there is a need to change the content let me know. Ps. Happy Halloween! 👻
- 1 reply
-
- 3
-

-

-
- affinity designer
- logo
- (and 3 more)
-
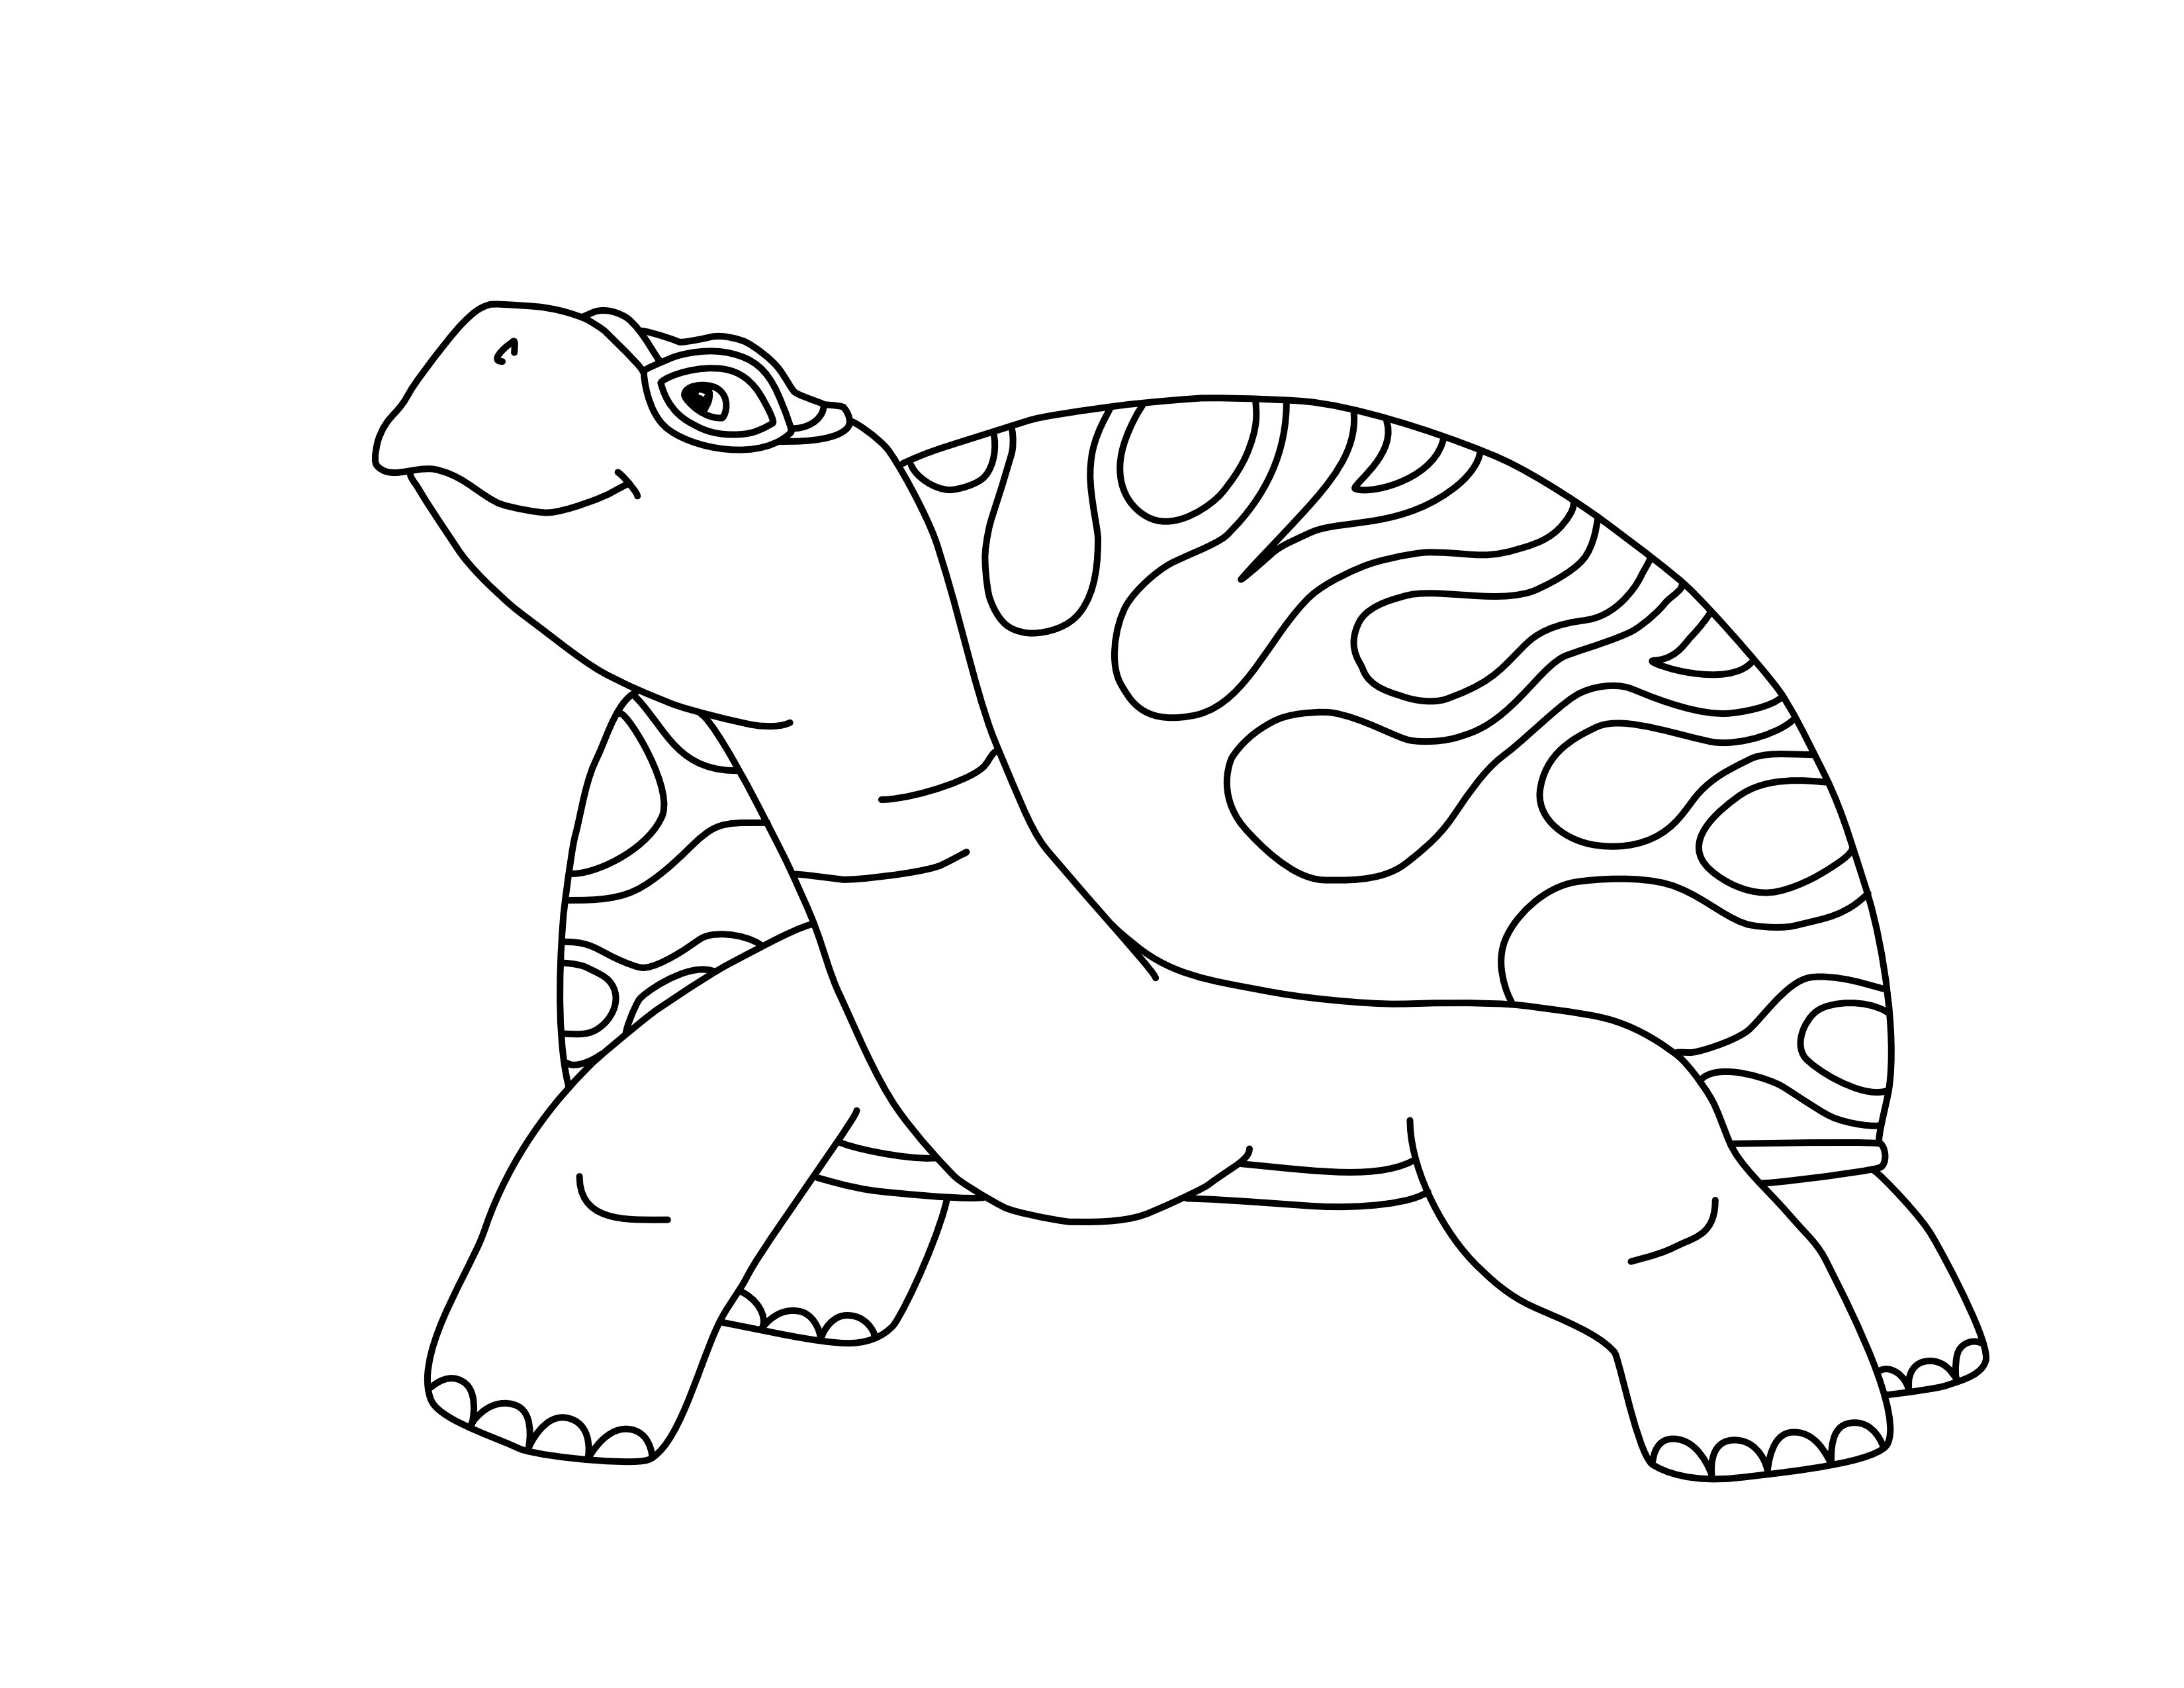
This is my first time using designer. I just did this as a line drawing. It is a re-draw (though freehand from scratch) of a drawing I did many years ago when making a colouring book for kids I taught. I would like to create a border evenly spaced a little way away from the drawing so I could have my friend with a laser cut it out,but I haven't figured out the best way to do that yet.
-
 I searched a lot and I can't find anything about this, expect some workaround that doesn't work as expected. Is there a way to use a brush/pattern that follow a path ? It's a pretty basic feature on illustrator or photoshop. Thanks
 -
Podcast illustration. Hope you like it. Behance gallery
-
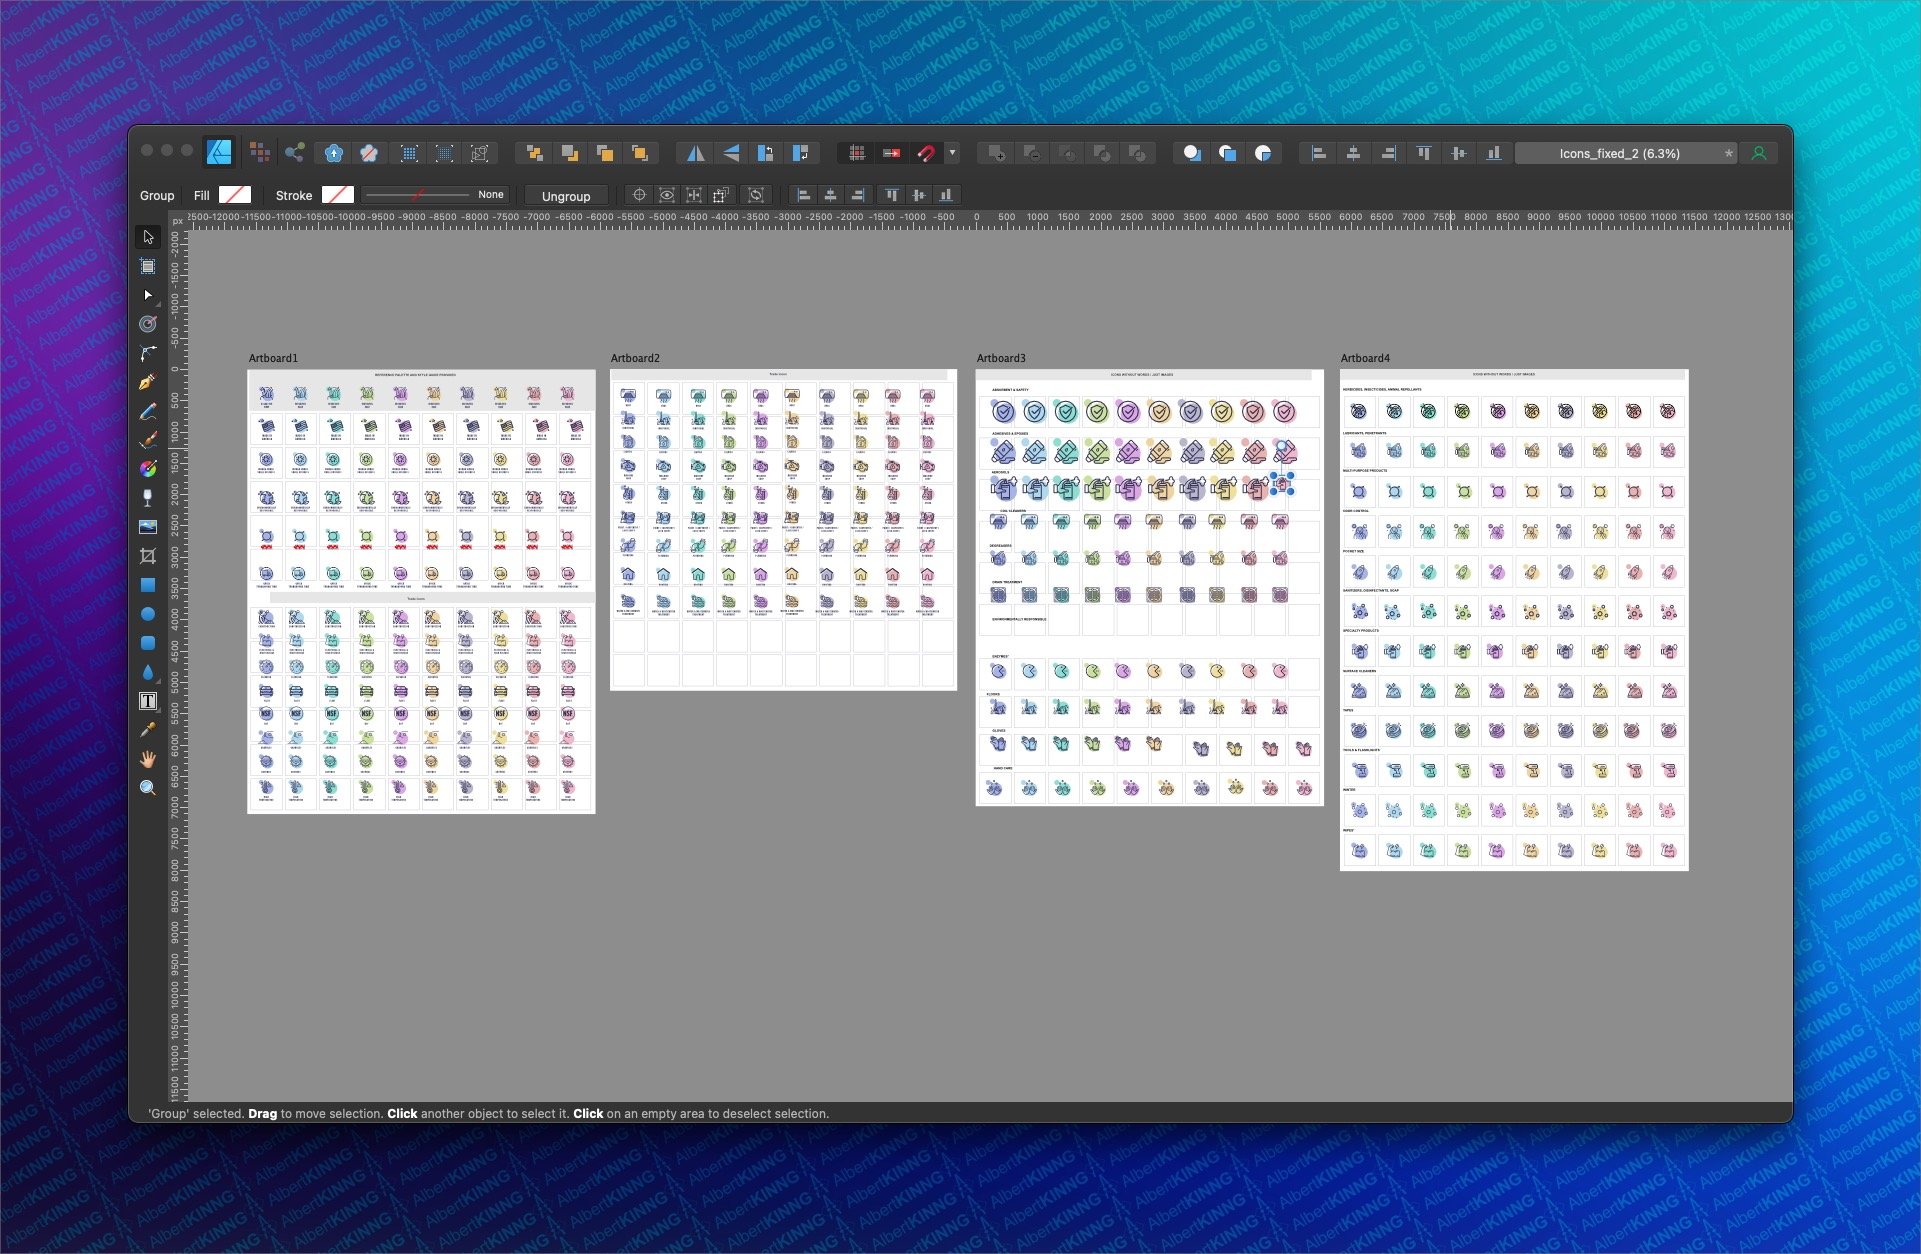
 Friends, I'm using Affinity Designer 1.10.4 on a Mac Mini running Big Sur 11.6 and a client send me lots of icons to fix line width and size. When I open the file, I have 3 art boards full of icons. I'm trying to do the easy parts first and then go to the complex ones. In my mind set, all icons at a same height and width is a matter of selecting all and apply the correct size, right? I mean you can do that practically on any design app out there (Inkscape, Acorn, Vectornator, Pixelmator, Illustrator and many others) How can I do this in Designer?? I tried all the things that come to my mind with no success at all. Do I need to create a macro? Using a third party app like Keyboard Maestro? Any help or solution will be greatly appreciated to it.
-
Hi, After a few days of free trial, I purchased Designer from your Affinity Store. Paid, created my account on your website and installed the application on my HP Envy laptop. Unfortunately, my repeated efforts to register the product remained unsuccessful. I have tried everything, even uninstalled the software, restarted my laptop, then installed it again, restarted, etc. Still the same. Please, see screenshots enclosed. I have tried to call the Nottingham number. I tried in the evening and kept trying this morning. Please, help me to complete the registration as I will need to use the programme I paid for. Thank you and I look forward to hearing from you, Andrea
-
 Hi, as the title suggests, how do I measure an angle in ADesigner? Thanks so much
 -
 I created some logo files for my wife's business in a previous version of Affinity Designer and now when I try and open them in version 1.7.3.481 or in the beta version 1.8.0? the files do not open properly the file seems to be corrupted, however I can open exactly the same file in Affinity Publisher 1.7.3.481 perfectly ok and as expected. I have attached the file so that your developers can take a look and see what could be the cause of the corruption. fselogo.afdesign
-
Just a strange little thing I came up with while experimenting with various things.
-
 In this tutorial I offer an oversight of how I prepared a preliminary study, from which I will make a 100% vector drawing in the future, hopefully not too long from now (February 13 2022). I used 3 different photos from which I combined parts, that were clipped in Affinity Designer, that serve to extract the parts of the photo that I need in my composition. In addition I used a horse that I drew in vectors before starting this project. So in the foreground of this study there are 4 components: The falconer The falcon The falconer's right hand The horse Of course there is a 5th component - the background - as well, but that may change over time. In this blog entry I will focus on how the first 4 components were made. 1. The falconer In the image below you see the original photo on the left side and the falconer that I extracted from this image. Clipping of the falconer in Affinity Designer I traced the photo with the Pen-tool (the red outline around the falconer) and clipped it inside the traced curve that I drew, which resulted in the part of the image above on the right side. 2. The falcon In the image below you see the original photo on the left part of the image and the falcon that I extracted from this image on the part to the right. Clipping, flipping and rotating of the falcon I traced the falcon with the Pen-tool, drawing the curve that has a red outline and clipped the photo inside of it, leaving just the falcon visible. I flipped the clipped falcon horizontally and slightly rotated it in an anti clockwise manner. 3. The falconer's right hand Since the composition I had in mind needed the falconer's right hand, that was not available in the photographs shown above, I had to clip the right hand from yet an other photo. Below you see the photo from which the hand was clipped in a way analog to the clippings in the previous paragraphs. Clipping of the falconer's right hand Again, I traced the falconer's right hand in the photo above with the Pen-tool, which resulted in the image on the right side of the photo. I shows the talons of the falcon's left foot, which are in the proper position for the composition. 4. The horse Below you see the images of the vector horse that had already drawn a while ago. In the left half of the image the rendered view is shown, while the outline view is in the right half of the image. The rendered (on the left) and outline (on the right) views of the vector horse In the composition of the preliminary study, the horse is slightly tilted clockwise to obtain a balanced composition. In the ultimate vector drawing parts of the image will be embedded, because working in such a way speeds up the drawing proces, especially if one has a crappy graphic card, like me. The preliminary study composition Below you see the composition of the study that will be used to create the vector drawing. In the end not a single pixel will be contained within the image; it will be a 100% vector drawing. The composition of the preliminary study image Why make the image a vector painting? In a vector painting objects can be made to stand out relative to each other and to the background in a much easier way than is possible with pixel images. This is done by applying a certain sharpness to the object, by changing its colour, hue, contrast, transparency and lightness, which will only be applied to that particular object. Objects can also easily be resized, flipped and rotated than in pixel art. This also is possible afterwards, when artists want to change the appearance of the image at a later point in time. It means that an image can be manipulated more precisely and more to the artist's liking than is possible with pixel images. Besides that of course a vector image can be re-scaled to any size without losing quality. Working with vector images may in some cases require more time than working with pixel images, but it gives the artist more freedom to make changes. Vector working methods Unlike most artists do, this reference image will be placed on top of the Artboard in the Layers panel in which I will draw the parts of the vector painting. This reference image will be made transparent, so that it is just visible and can be turned on and off at any time, its position in the Layers-panel saving me from having to find it each time it needs to turned on or off. Particularly when having loads of curves (I expect to need hundreds to give the vector image a realistic look) in the Layer-panel, this can be a real time saver. The image parts will be embedded in the main drawing, which is a working method that also saves time, because each of the embedded drawing files are smaller than the main file, which means they will load, render and save / export faster. This process basically describes my working method when making a study from which the final drawing will be made. I hope to begin drawing not too long after this, so check in regularly if you want to see the progress sequence of the various stages in a future blog entry. To see the results of realistic vector art that I drew previously, in which I used a similar drawing method, please visit this page of my website. This tutorial was originally placed in my portfolio blog.
-
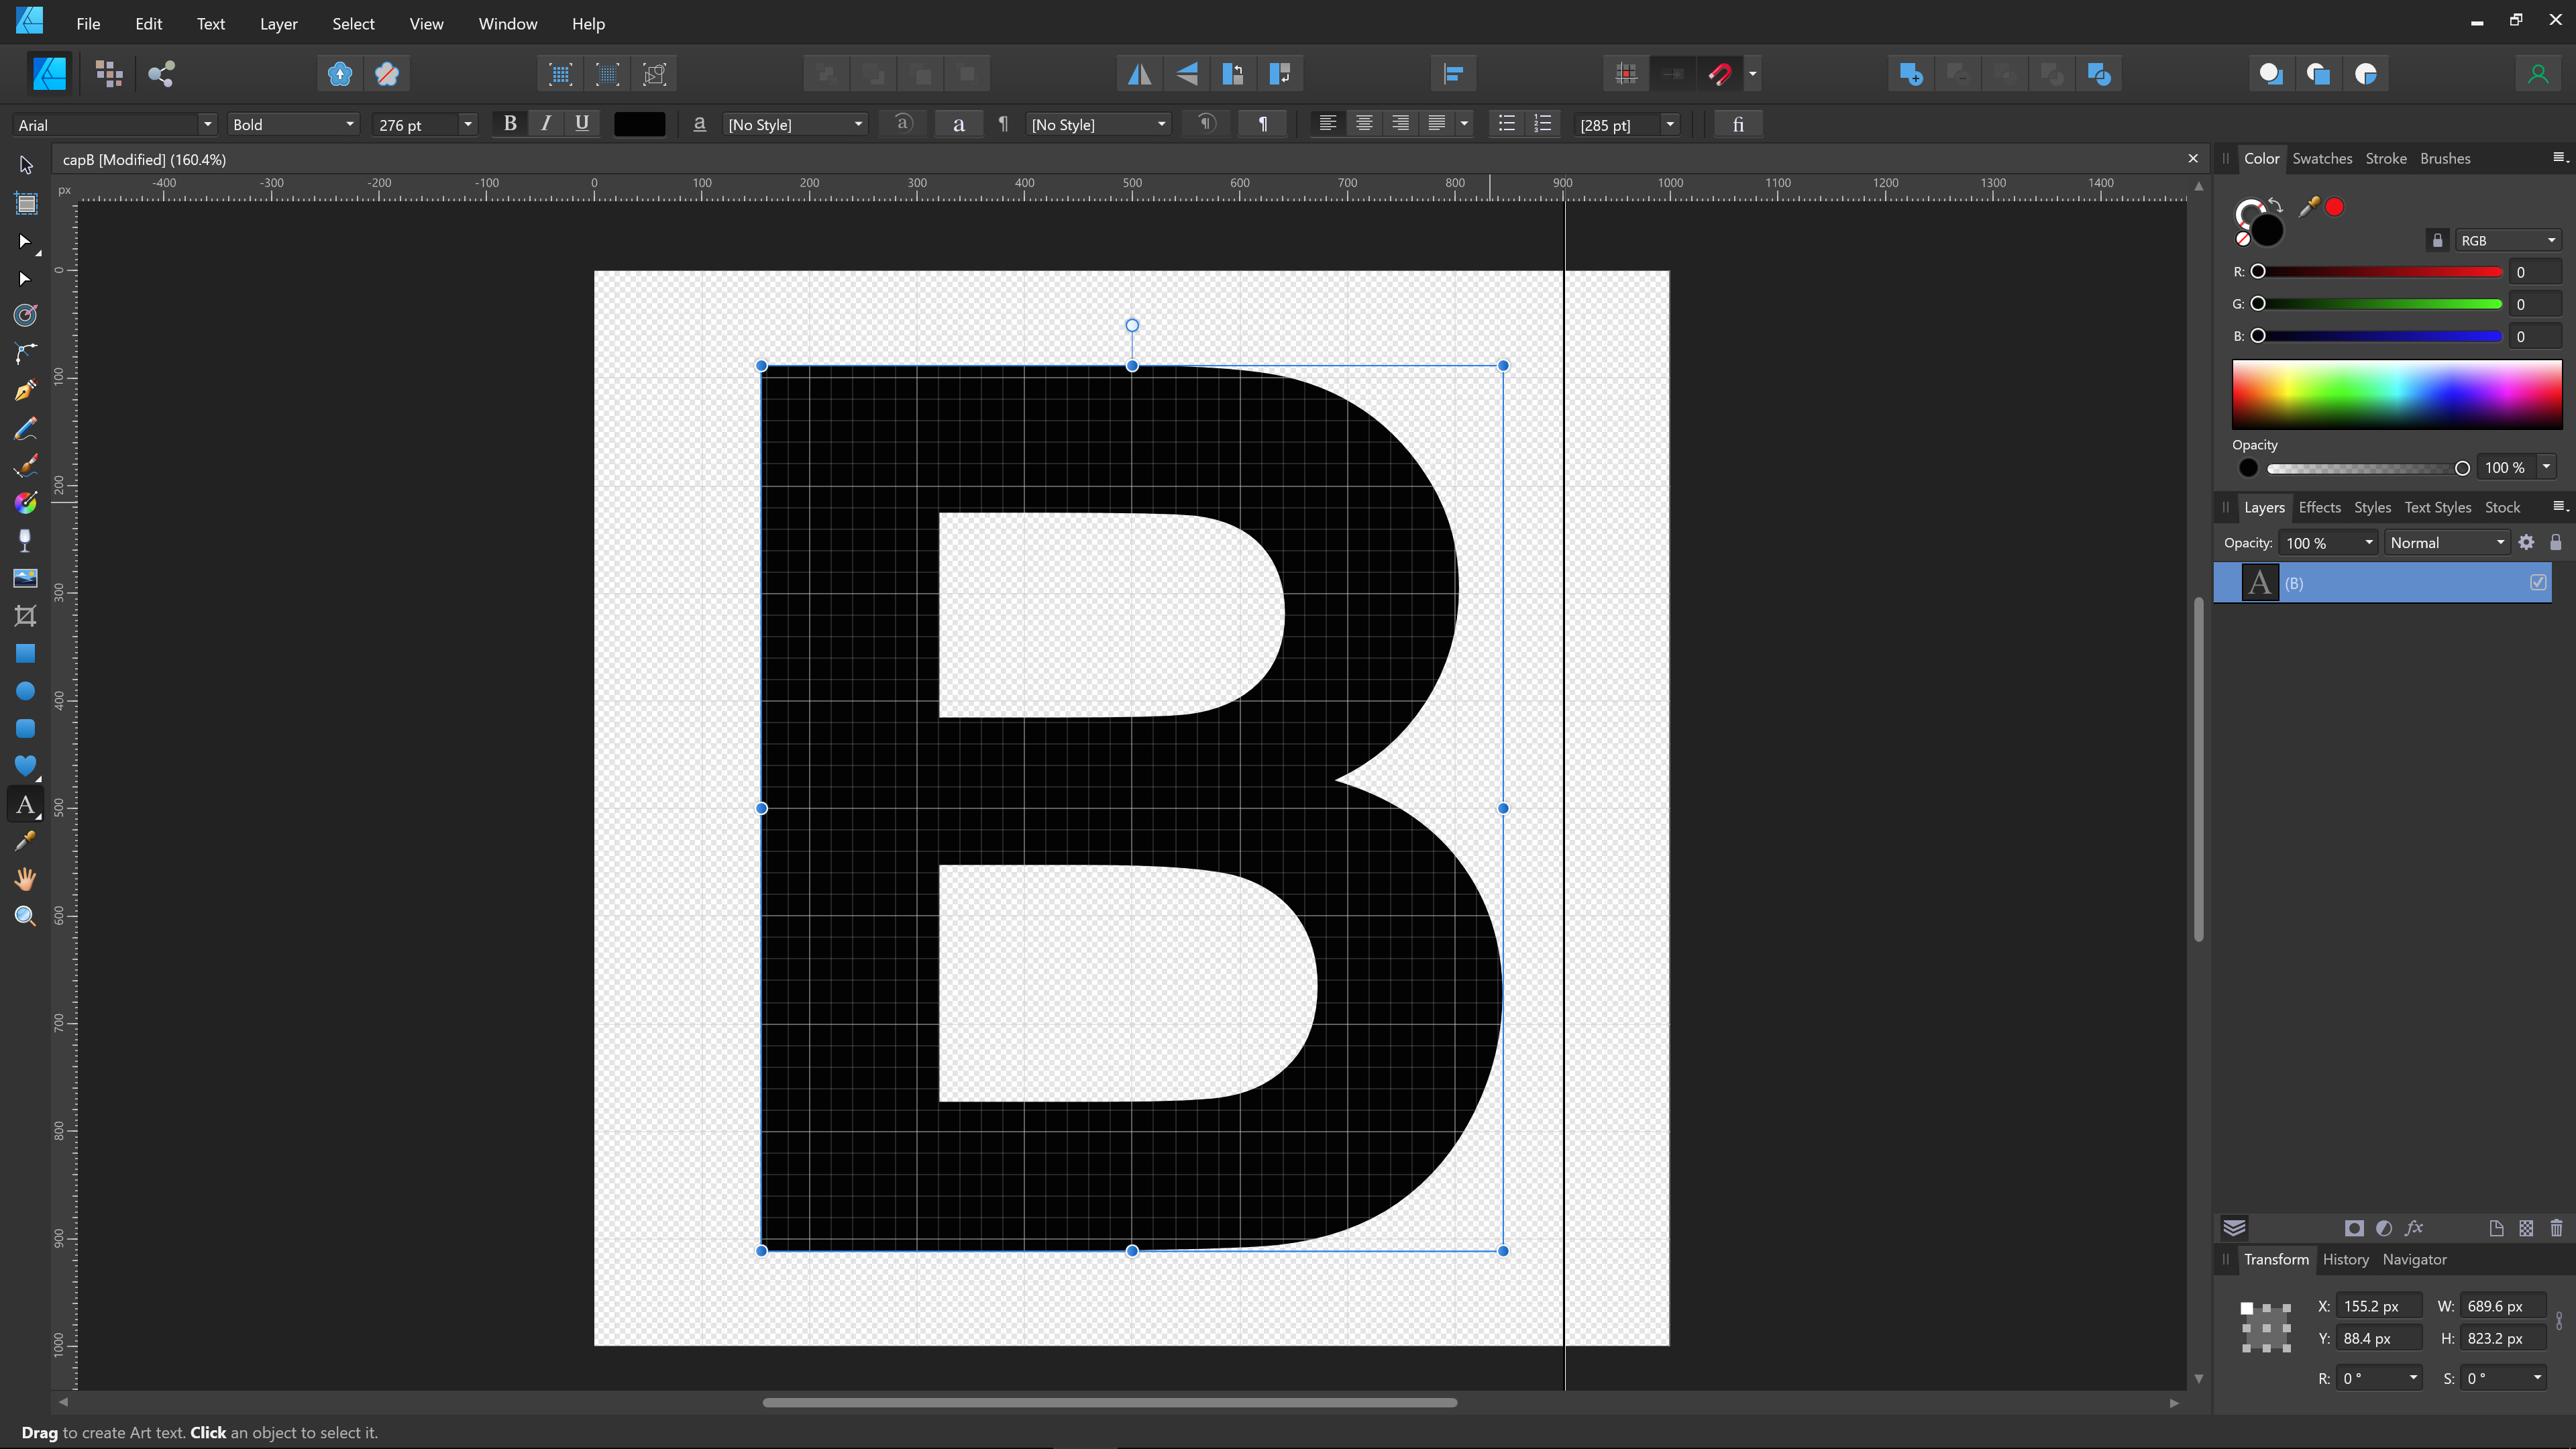
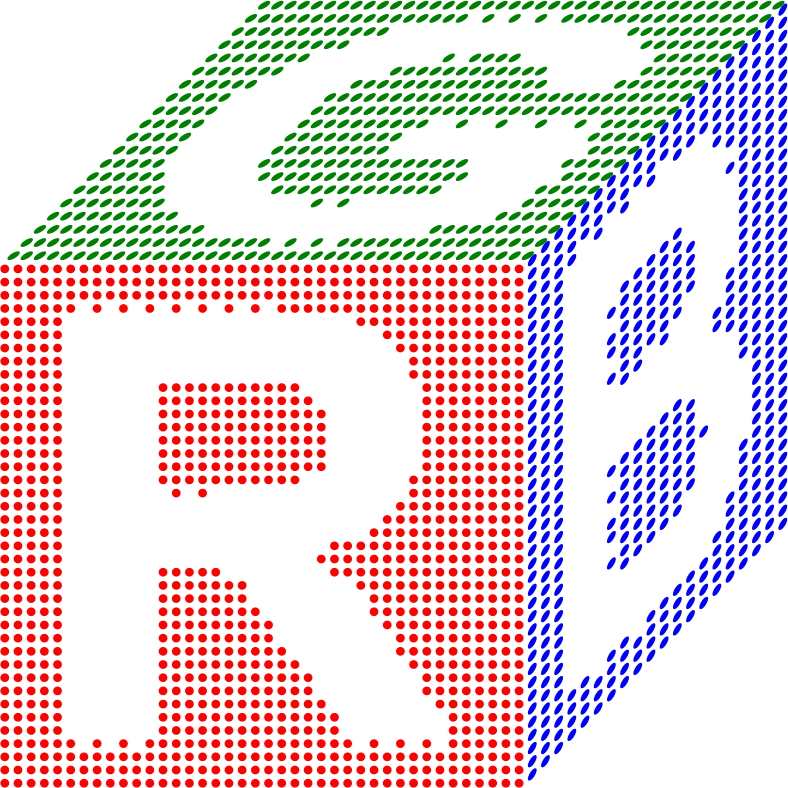
I have been playing with converting black & white images into dots. It is a seemingly complex process but I have managed to automate the hardest step. I start by creating a simple B&W image in Affinity Designer. For example, I then export it to PNG at a small resolution, such as 40x40 pixels. I actually need an ASCII .pbm image, but Designer does not export to those, so I get a PNG instead. Like this, (the forum seems scaling it up unfortunately, in reality this is much smaller). The .pbm image format allows only one of two values for every pixel, 0 if it is a background pixel (so white in our example) and 1 if it is an image pixel (so black in this example). And since it is an easy-to-parse text format, I wrote a simple C program that creates an SVG file with a circle (dot) for every 1, like this, or for every 0 instead, like this, And because the result is plain SVG, I can edit several of them together, distort them, change the colors, etc. Like this, I will probably post the C source code of my program converting .pbm to SVG. It, of course, would be nice if Affinity Designer could do it on its own, but it is still fun doing it this way.
- 7 replies
-
- 5
-
-
-
- dots
- affinity designer
- (and 3 more)
-
 I commonly press command-hyphen and command-equal to zoom outward and inward. But when I have my cursor inside a text box on Affinity Designer, command-equal fails with a plink sound. If I check app prefs, I don’t see a conflicting keyboard shortcut. macOS Monterey 12.2.1 (21D62) Affinity Designer 1.10.4
 -
I think I’m finally done with my latest drawing, The Streetcar Boat. In 1905 there were streetcars that went from Minneapolis to the shore of Lake Minnetonka, but the people living around Lake Minnetonka needed a way to continue to their homes. So a set of 6 steam boats were built to resemble streetcars. These boats added 27 more stops to the streetcar line. In 1926 the 6 boats were deemed no longer necessary and were scuttled in the middle of the lake. In 1979 a diver found the wreck of the Minnehaha and it was raised. After 17 years of restoration it was put back in service on weekends in the summer making runs between two cities across the lake. Being 1600 miles away and the wrong time of the year, I used pictures I had and pictures on the web to construct as much detail as possible. Right down to screws and rivets. At 4,638 layers, all vectors, it’s my largest drawing so far. Zooming from the full image to some of the smaller detail requires a zoom of about 80,000%. So AD is about the only program capable of the detail.
- 21 replies
-
- 16
-
-
 I started creating several artboards, ready to be exported with the desired width, height and name. In the Export Persona however all the artboards got different slice witdh and or height. Usually one pixel more than the artboard. What am I doing wrong? (Here is a question I asked on Stackexchange https://graphicdesign.stackexchange.com/questions/134591/how-to-make-the-export-slices-equally-large-as-the-artboard-size-in-affinity-des
 -
 Hello, Is there any way to unfit an object from the isometric grid plane in Affinity Designer and bring it back to the basic plane for edit? Thank you.
 -
 Fill option in context menu doesn't open a window when clicking in the lower half of the button. It sometimes happens clicking in the top half, or there is a delay in the window opening. I'm new to Affinity and this happened from the install on MacOS Monterey 12.1 and has continued after 12.2 upgrade. It's been extremely frustrating. After fooling with it repeatedly to report the bug I only now discovered that it's mainly only in the lower half of the fill rectangle. So, I guess that's a bit of a workaround. Using 1.10.4 I can you reproduce it. It happens for a new document. If you cannot provide a sample document then please give an accurate description of the problem for example it should include most of the following: MacOS Monterey 12.2 Happens with hardware acceleration ON or OFF Clicked on Fill option in context menu and the window dosen't open. Just recently discovered it's mainly a bug in the lower half of the fill rectangle button Selected the object with either the move, node, or pen tool. Then tried to change the fill color In earlier documents every click that wasn't opening the window would show in the History as "set fill" repeatedly. It's not doing that now in new documents. Never worked properly from 12.1 to 12.2 Video capture: Screen Recording 2022-02-05 at 6.26.49 PM.mov Fill context menu bug.afdesign
- 1 reply
-
- 1
-
-
- macos monterey
- fill
- (and 3 more)
-
 I’ve used the bitmap fill feature for a long time in previous releases but when I downloaded the 1.7.3.481 release it glitched on me. I think they’re something I’m missing. The left image is what I am seeing in AD before exporting to PDF. The right image is what I’m getting when saving to PDF which clearly shows only the one original bitmap fill is in the rectangle and tiling didn't transfer. I’ll also attach a screenshot of AD so you can see some settings. Affinity Designer bitmap tiling not saving to PDF.pdf


.png.fc884b207a40bd6937f9067971103200.png)