Search the Community
Showing results for tags 'Affinity designer'.
-
 I'm disappointed that FONTS are no longer available on the top left menu of Designer 1.8.3! This must have been in an "update". Having the font at the top left was so practical. I liked the quick reference of FONTS at the top menu and now its literally a chore to have to go find the FONT info in the character tab. FONTS have always been in the studio but I always used the more convenient option in the Toolbar. It would have been helpful to at least leave an option for users to put the Fonts menu back in the Toolbar using the "Customize Toolbar" option, but it is not an option. I think this was a bad software design move. I know it's just a small thing and we will all learn to live with it. I'm most disappointed that I actually feel this way... and that it has affected my enjoyment of using Affinity Designer. 😥
 -
 Hey community and devs! Problem is the following: I am not able to use the right click on the buttons of the stylus of my HUION display tablet in the complete Affinity Suite (latest release as well as beta). The right click doesn't get recognized. I have already tried experimenting with the preferences, but have not come to a sufficient result, but to the realization that it could be related to Windows Ink. I have already written in more detail about this here, a topic about a similar problem. I'm using the latest release of OS and drivers as well as both latest release and betas of the Affinity Suite. Display tablet I'm using: HUION Kamvas Pro 13 Now in the beta, the option to set Windows Ink has now been removed - but the problem still exists for me. Any thoughts/idead/workarounds/solutions about this? Greetings MrDoodlezz
 -
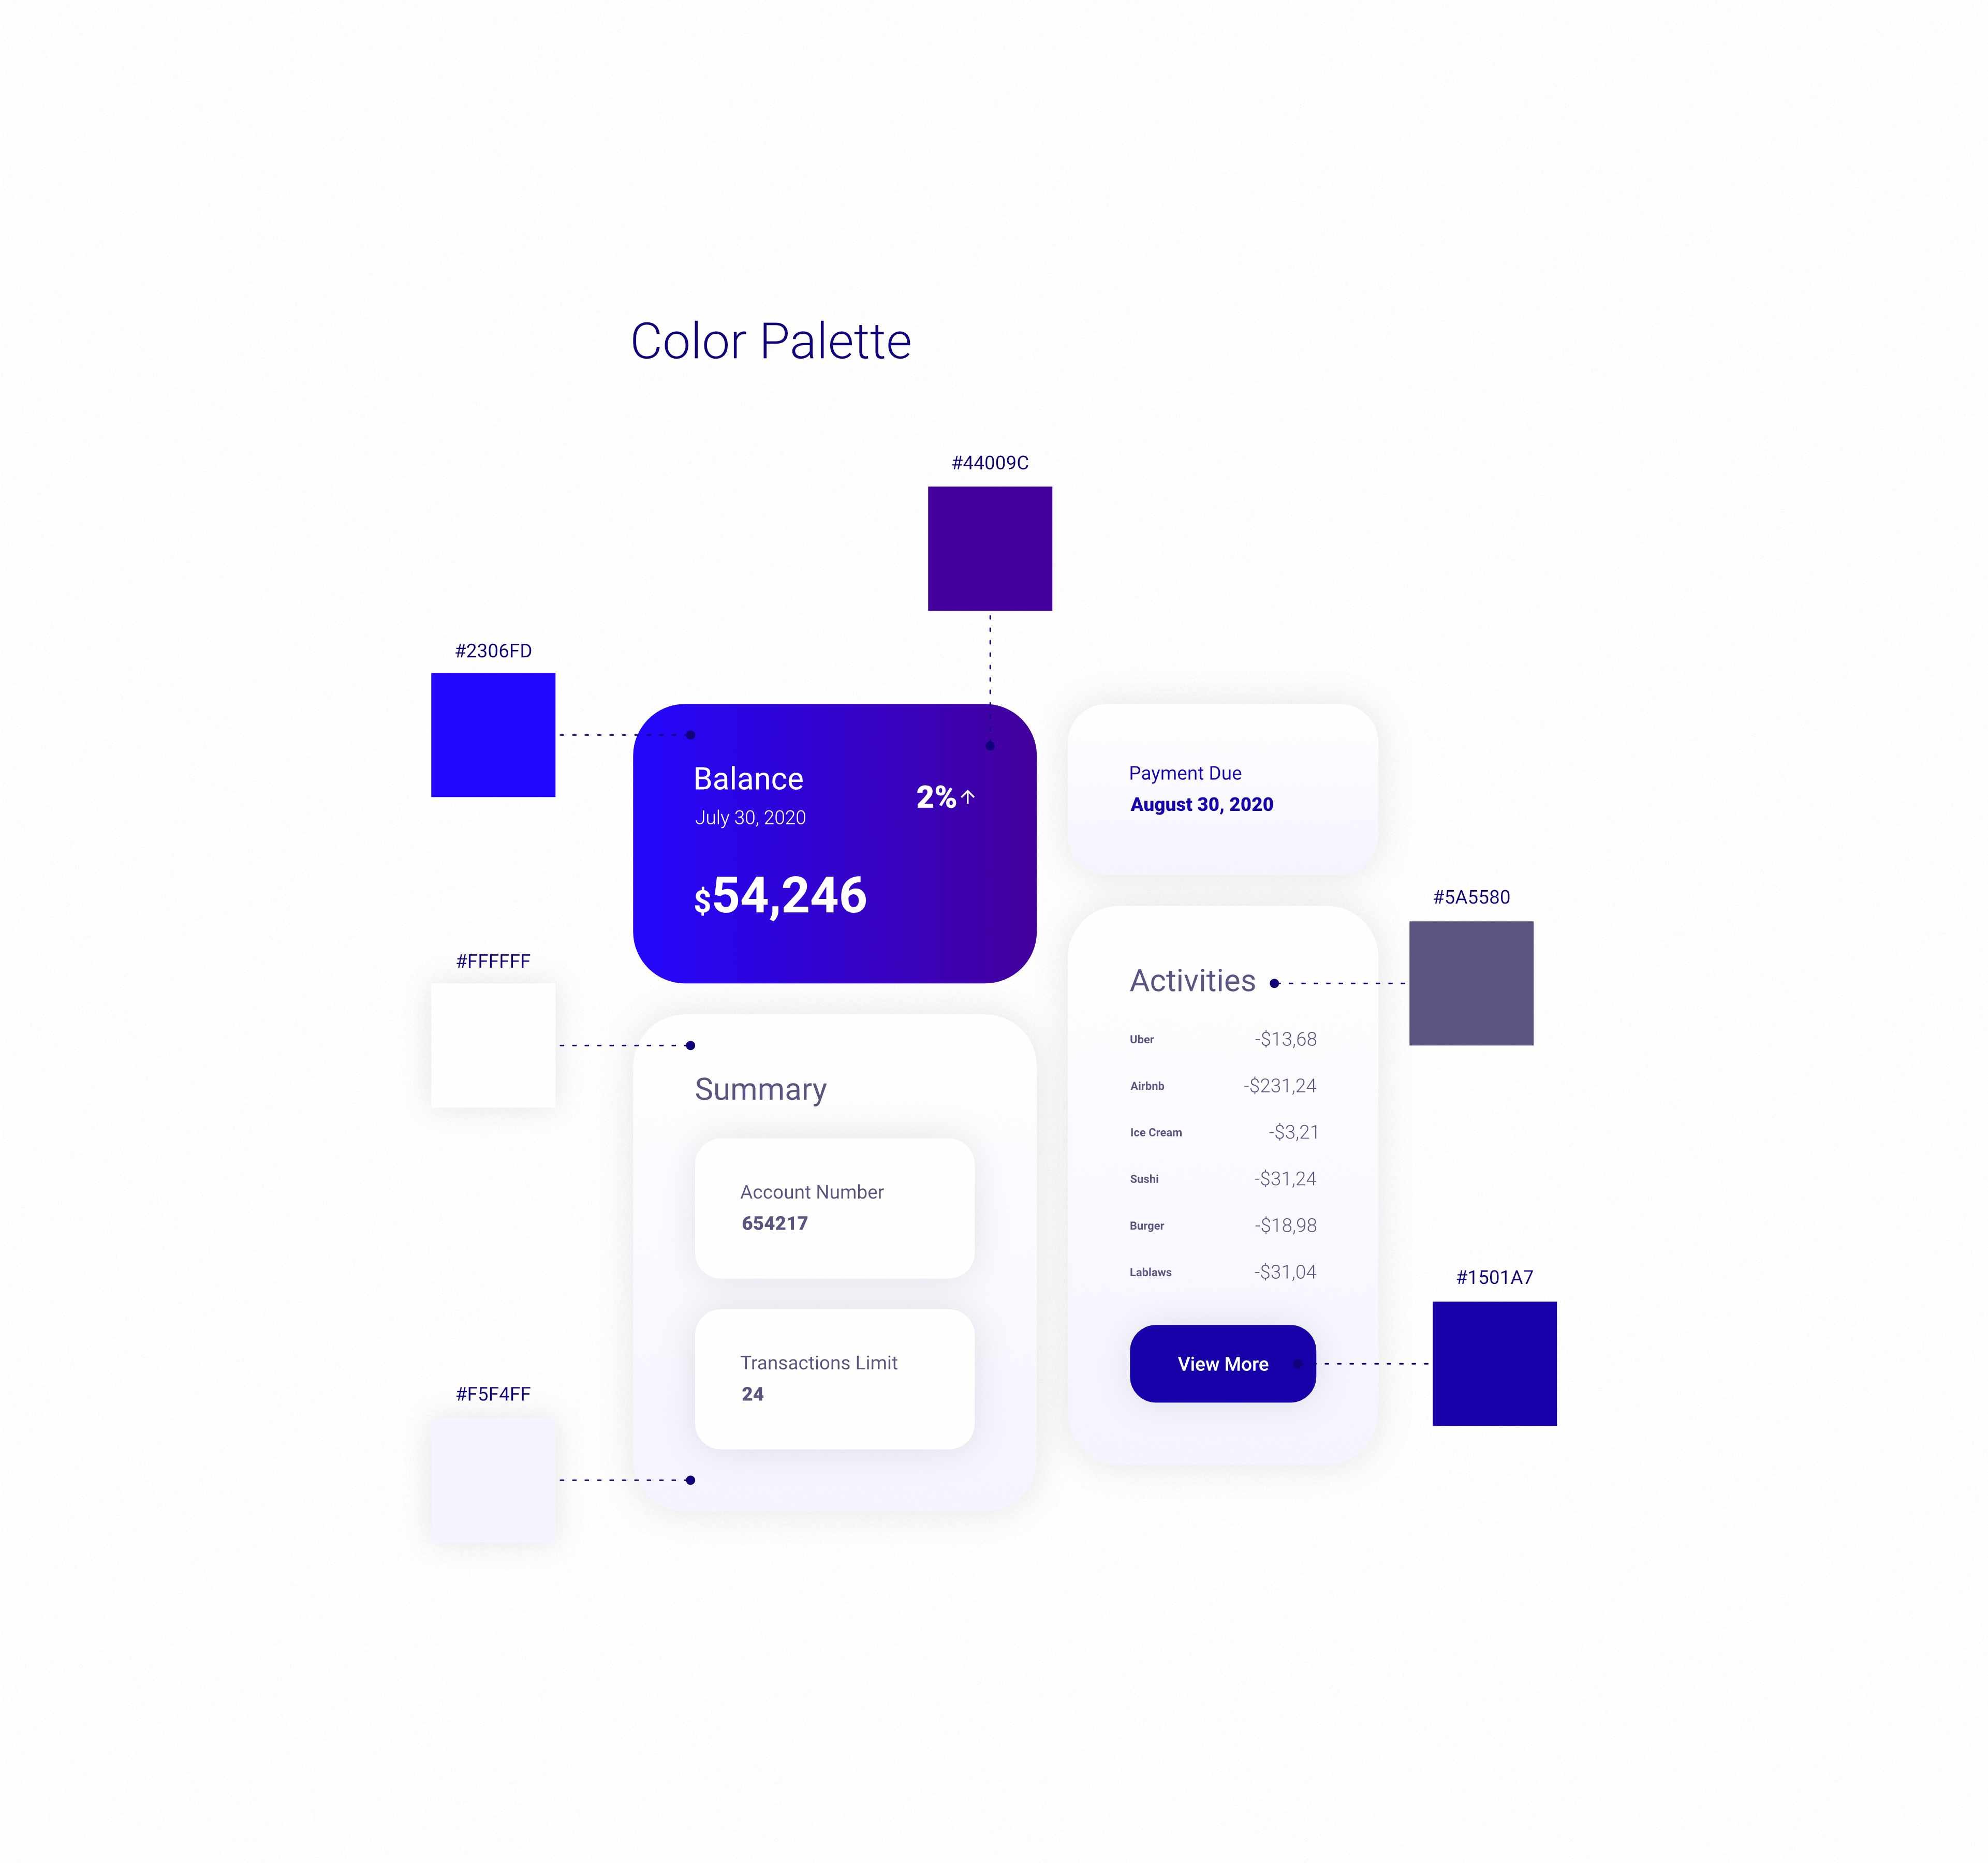
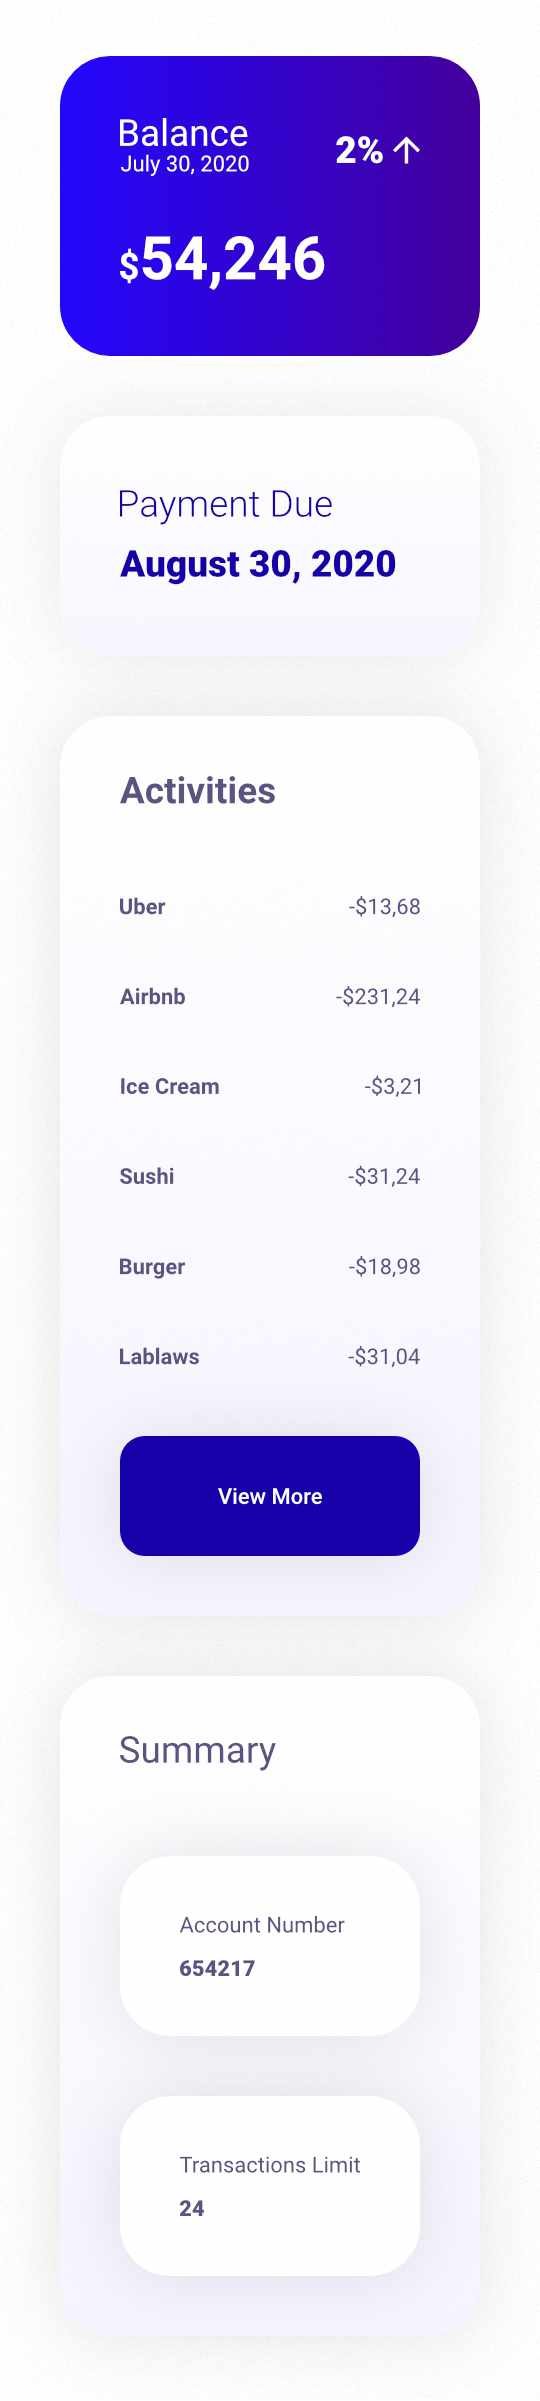
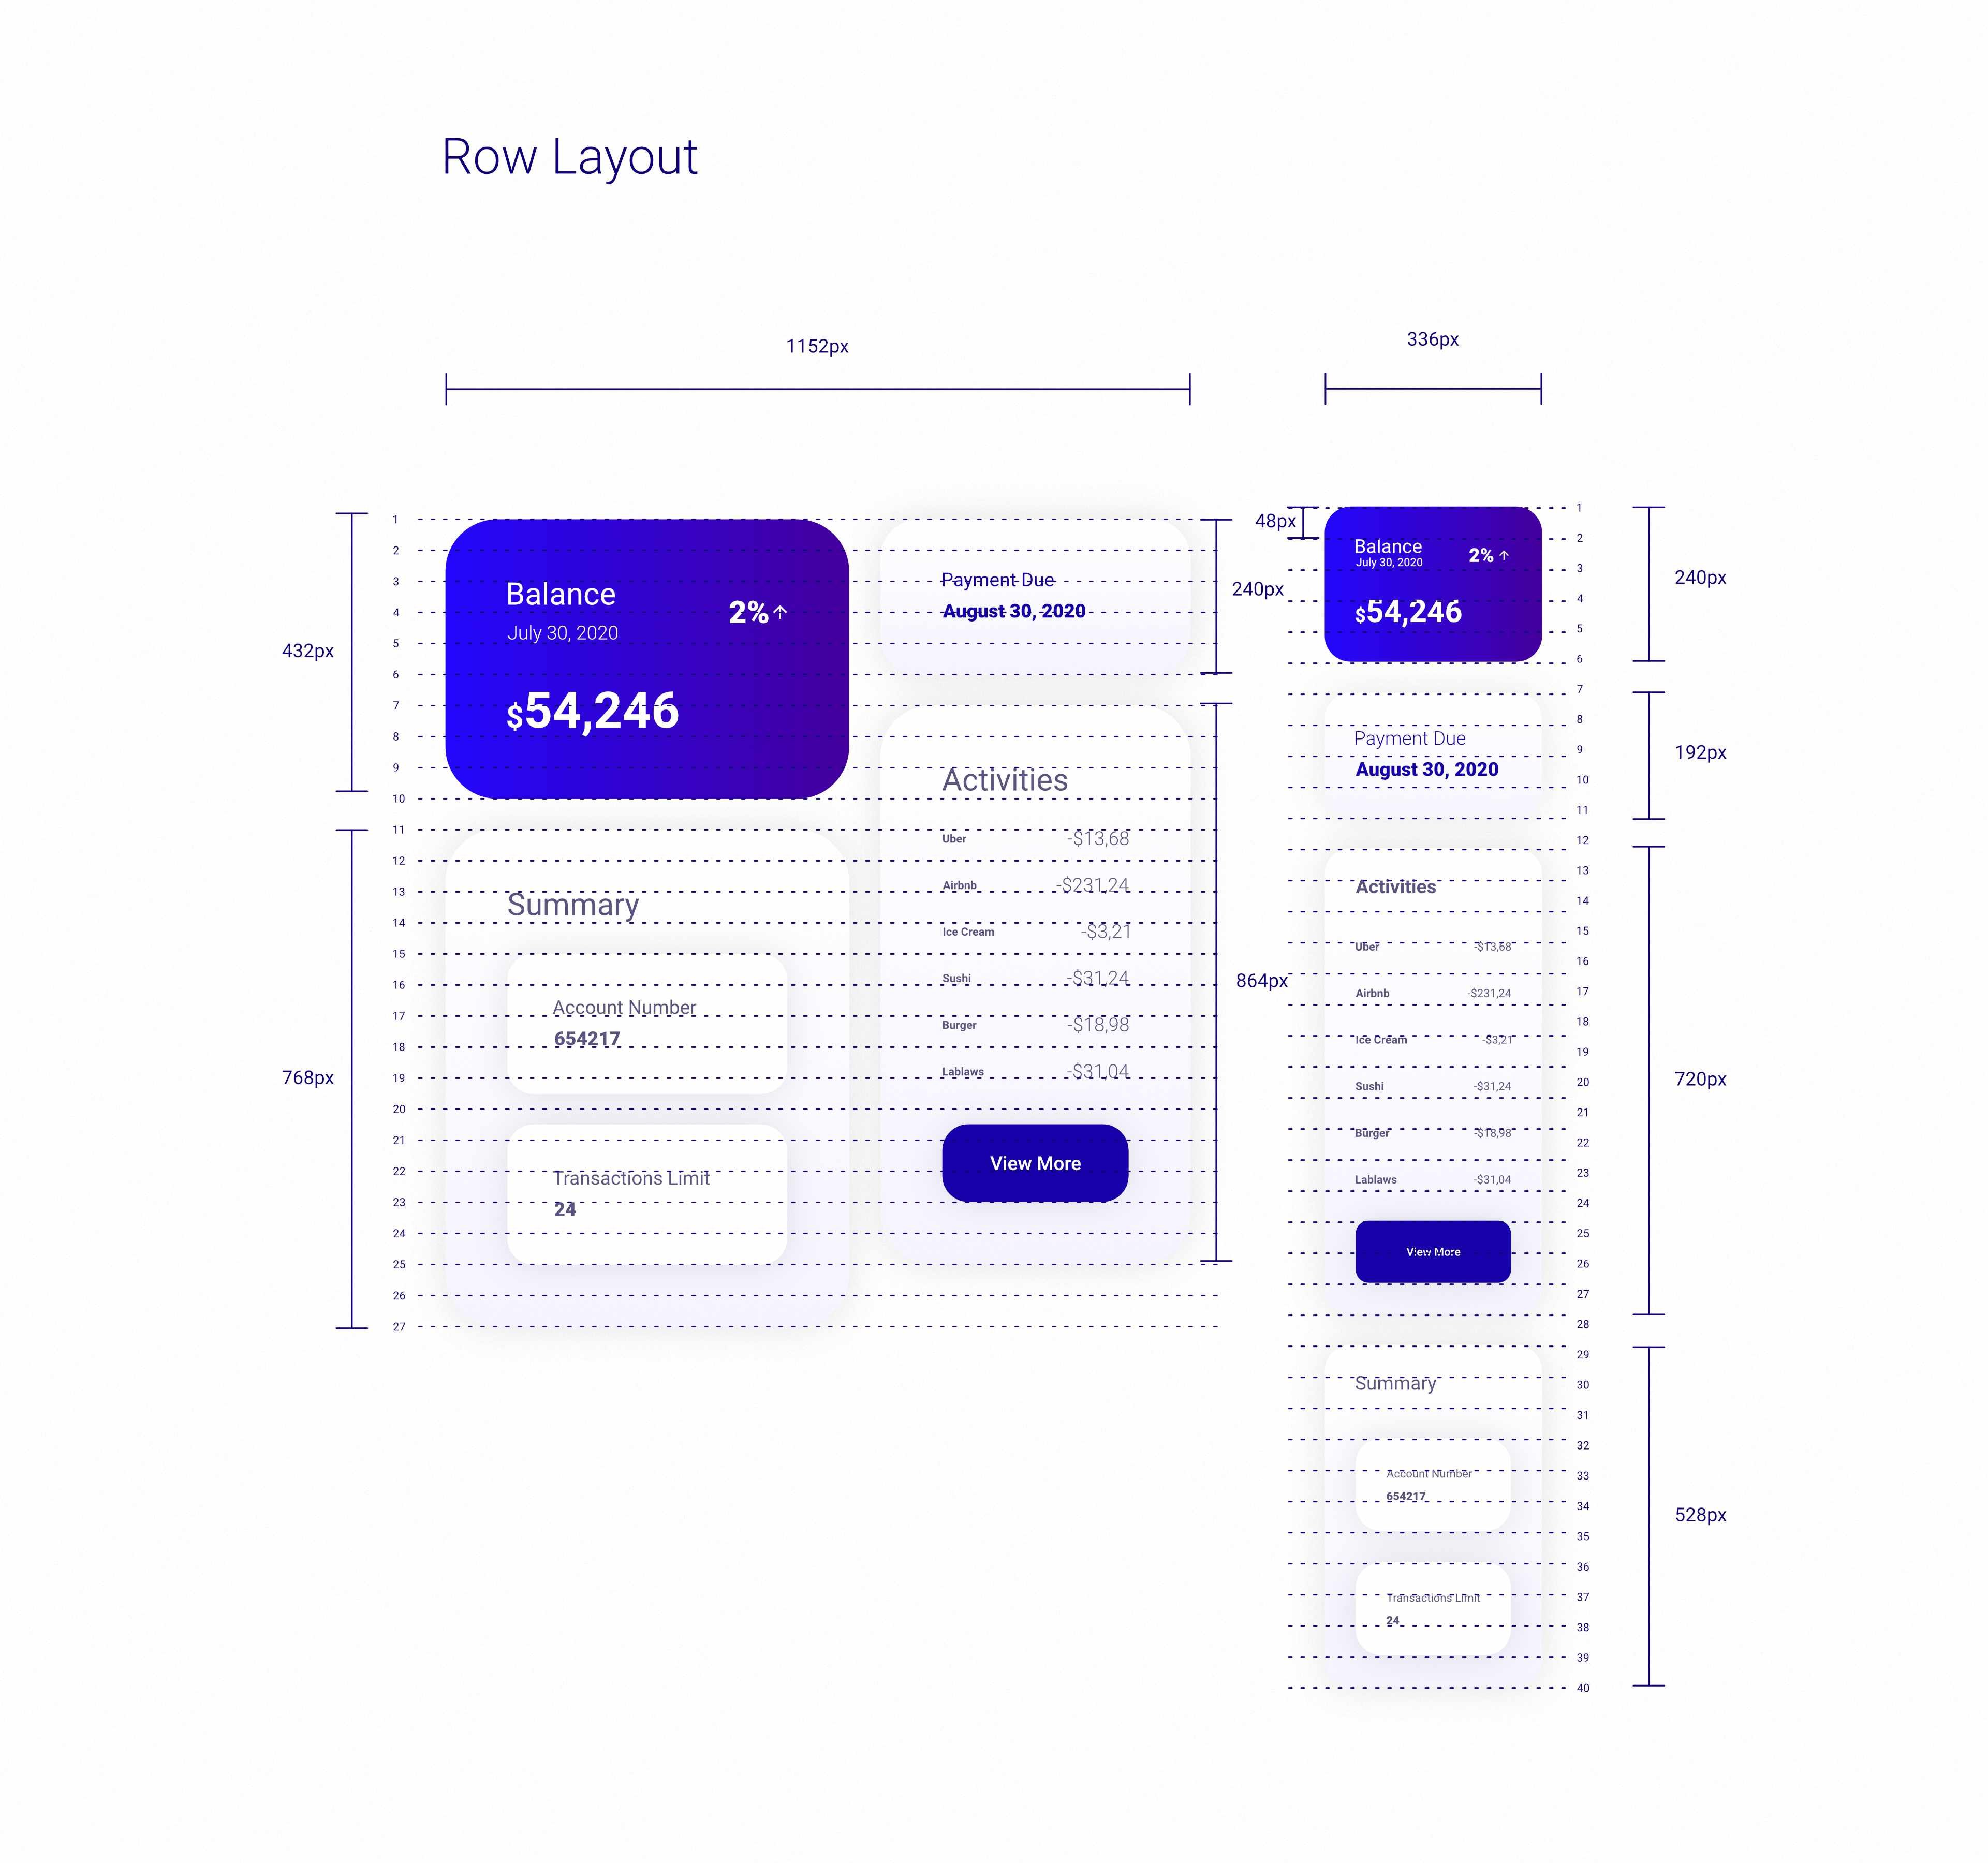
Hello World, Here's what I have done so far by creating a design system using Affinity Designer. I also have attached my Affinity Designer source file. Feel free to download and play around with it. I have developed a UI Design based on this using HTML and CSS. If you are interested you can sign up with the coupon code Here is the link: https://www.udemy.com/course/uxdevelopment/?couponCode=UX-DEVELOPMENT Regards, Hossein Finance App.afdesign

-
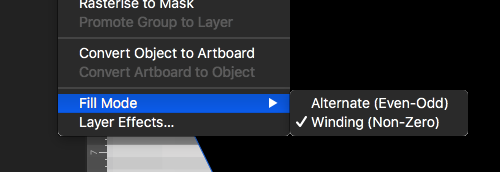
 Is there a reason the fill mode setting keeps reverting back to "Alternate (Even-Odd)" after I set it to "Winding (Non-Zero)? I've selected the entire document and then made the switch. It works for the next move I make where I overlap fills, but then seems to revert back after that and I have to re-do the setting again and again. In the absence of a serious way to fill in large spaces, I have to grab parts and drag them over top each other and "add" them with the boolean operation
-
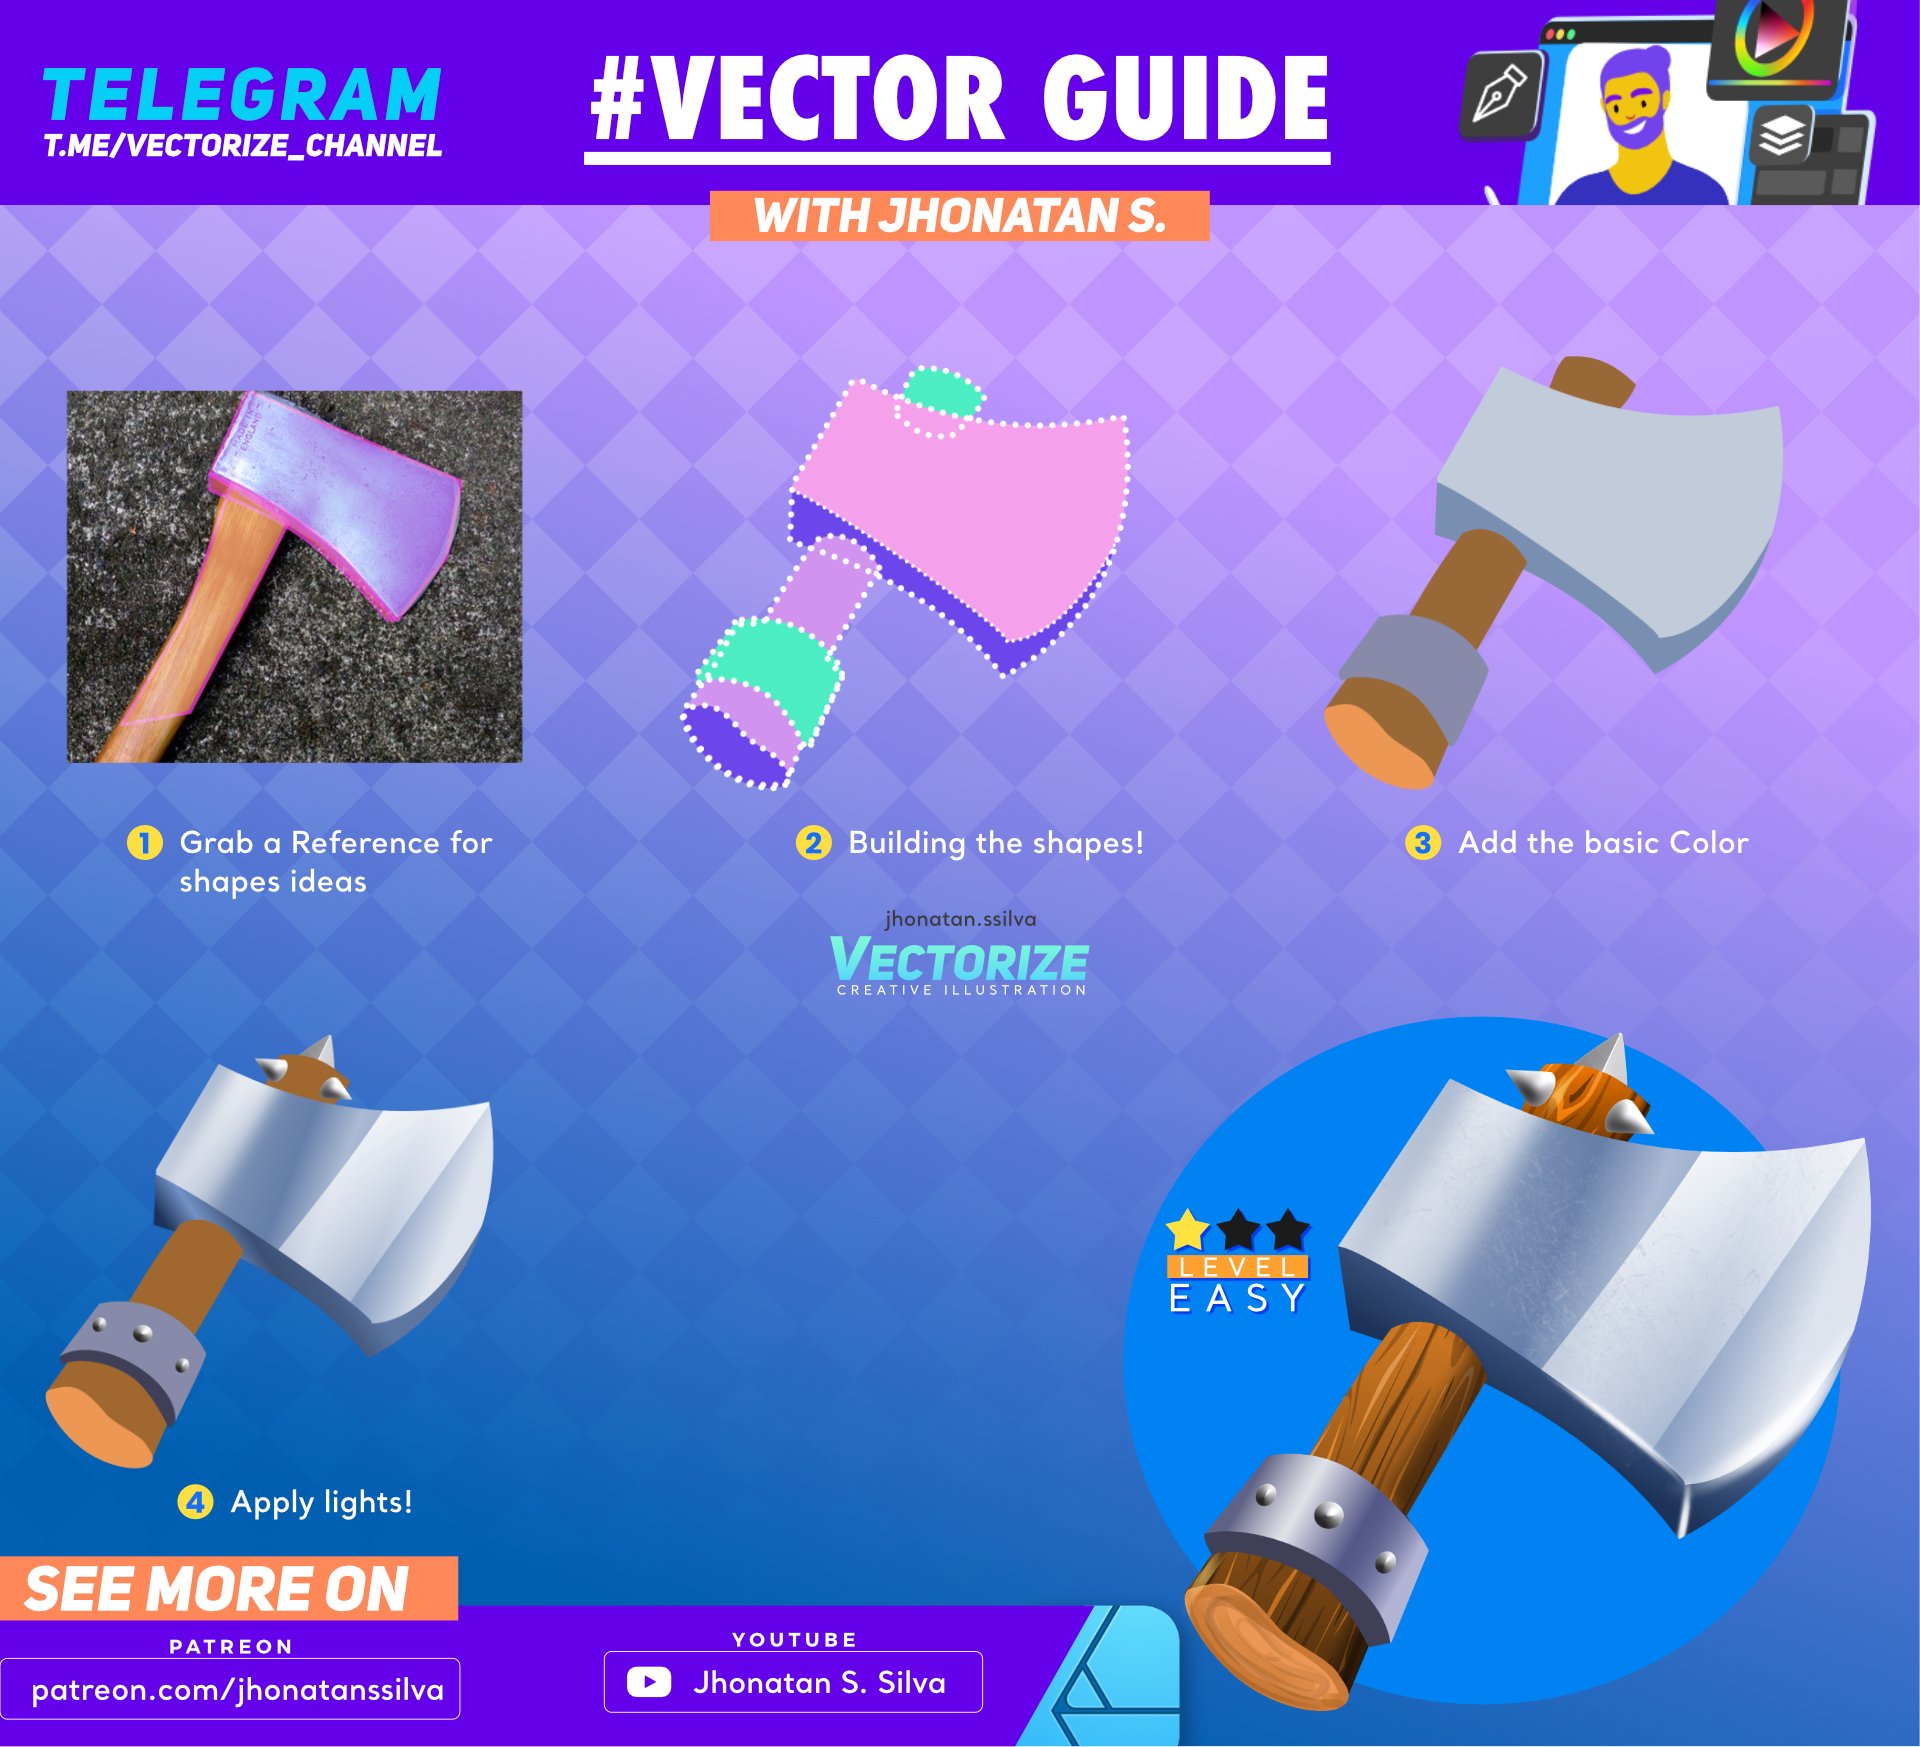
 VECTOR GUIDE! how to create a stylised GAME ITEM - Axe Enjoy!
-
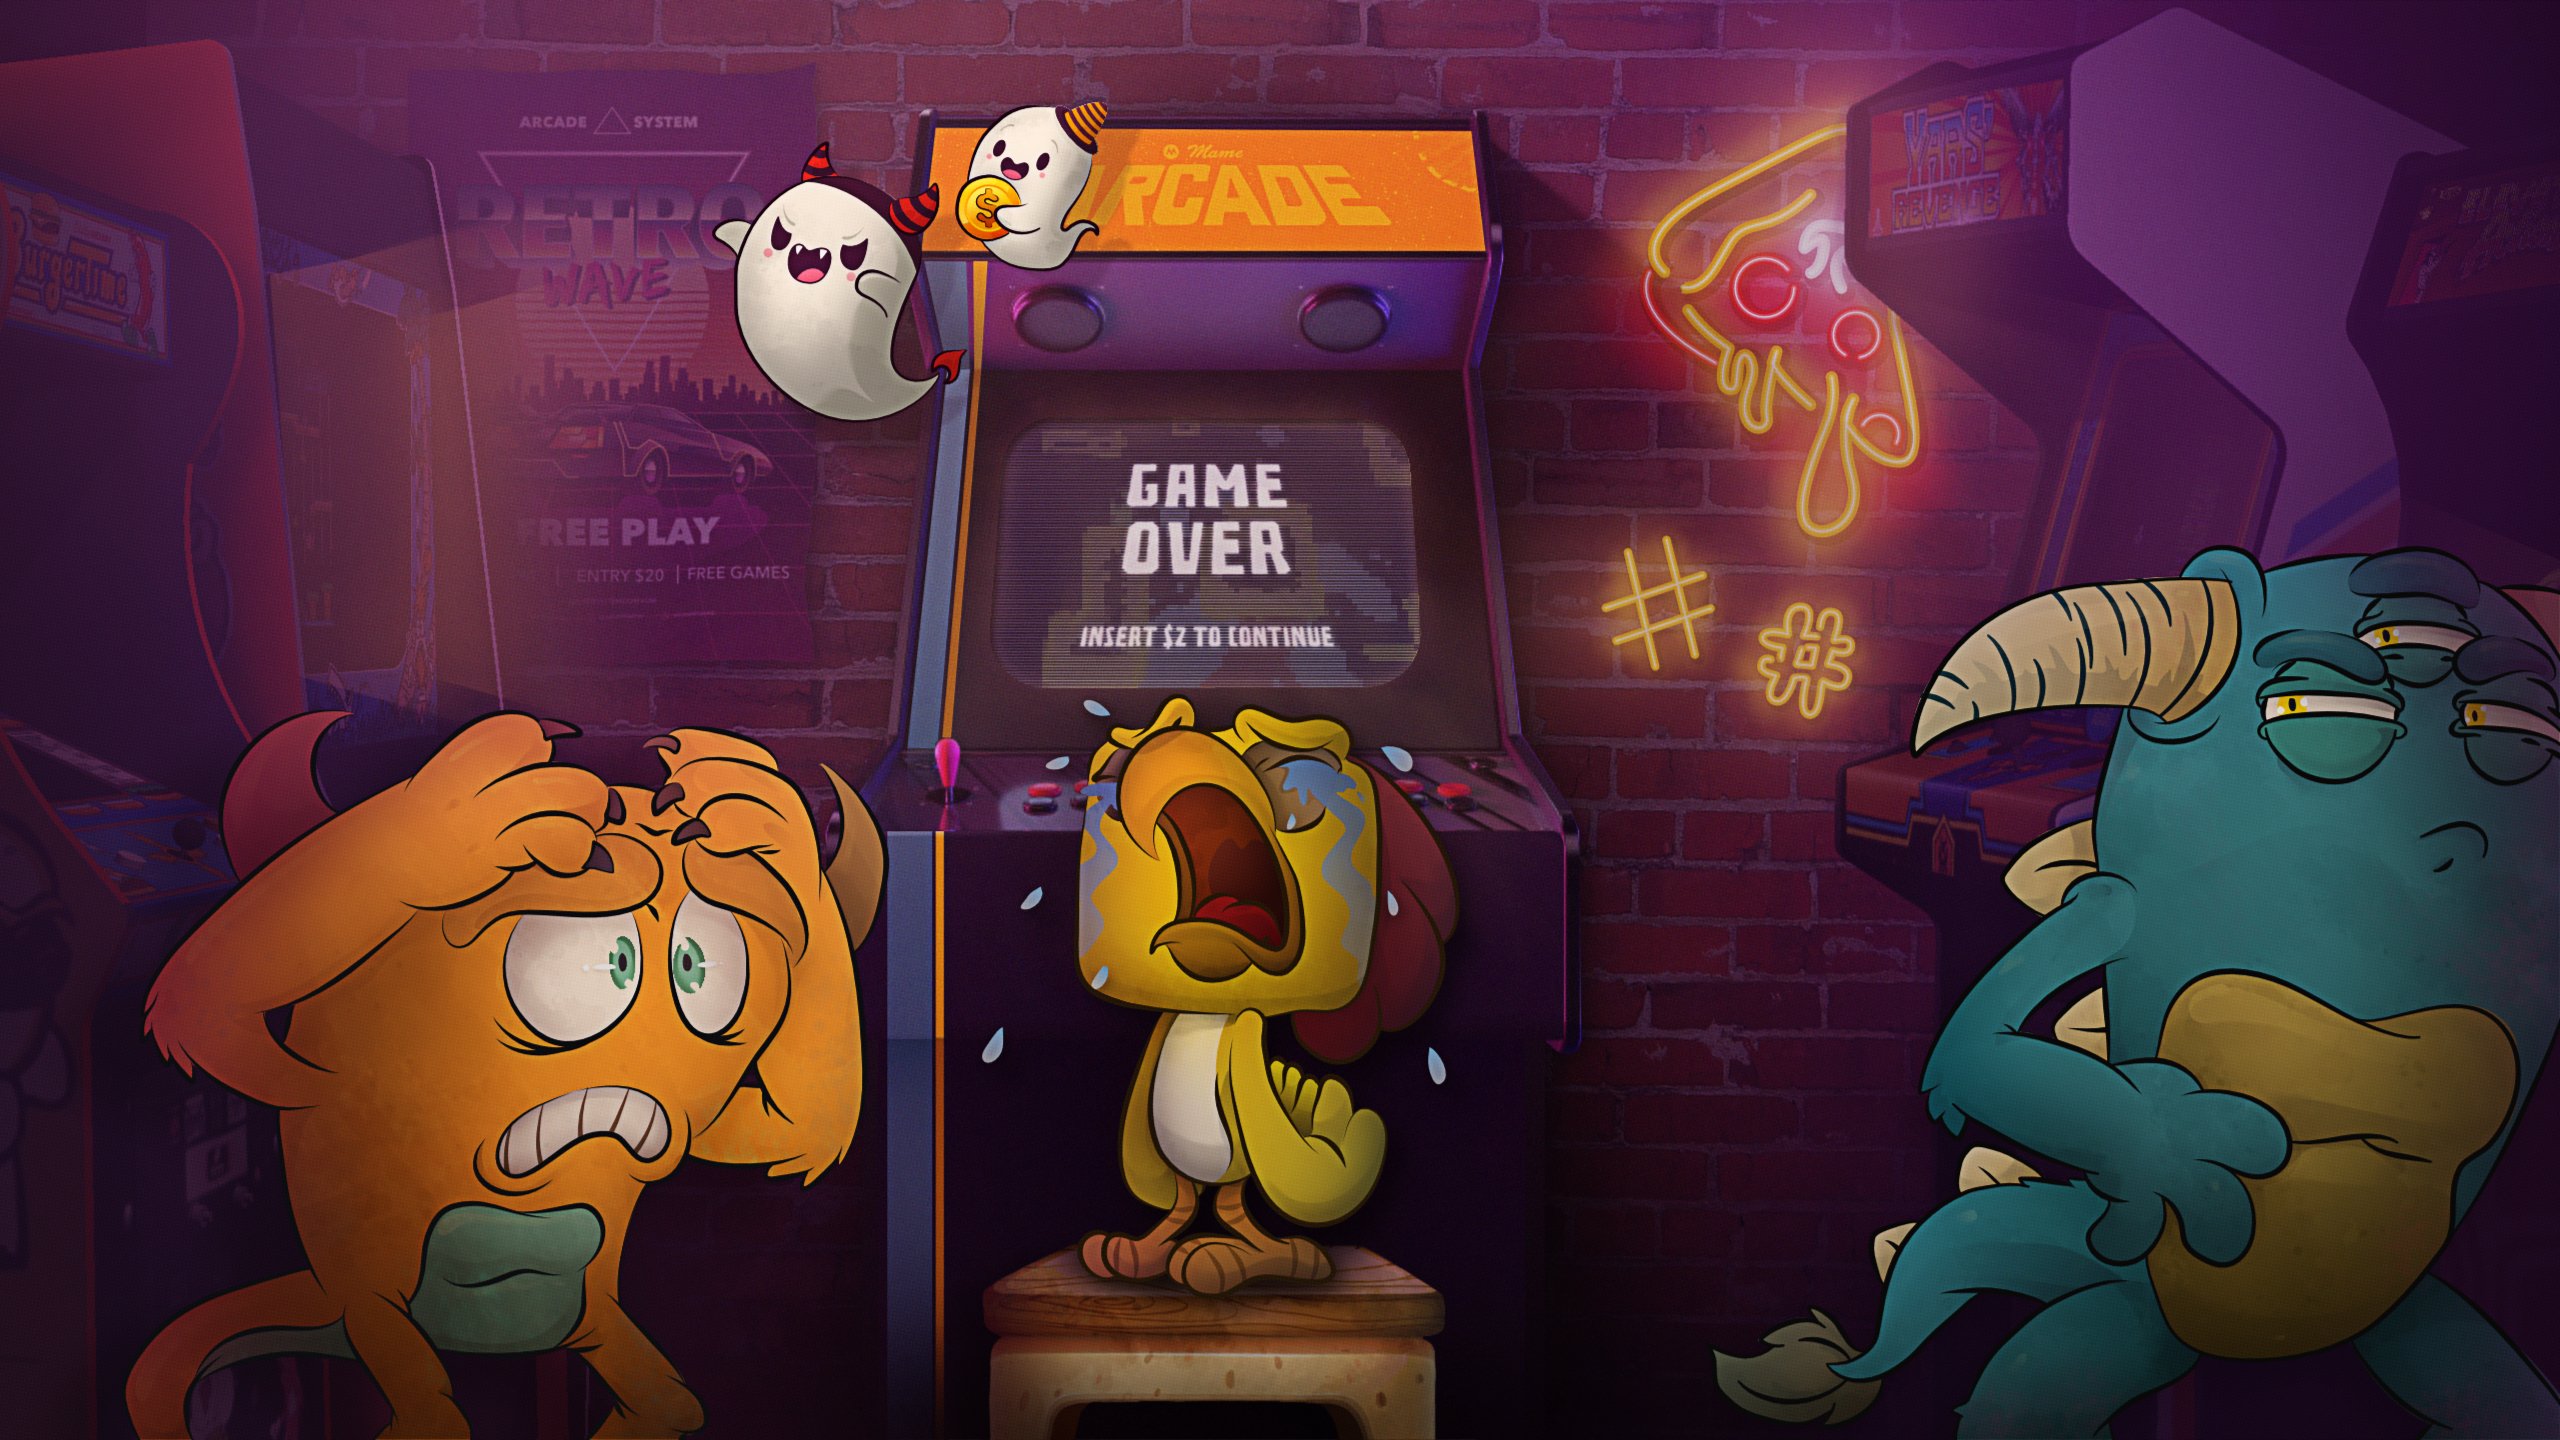
Even July is already over (by 10 days at the time of this posting!!!) Check out Julys illustration I continue my year-long need to drawing monsters and merge it with my love of retro games and arcades!! The illustration was made with Affinity Designer + Affinity Photo on the iPad Pro. Check out more illustration: https://bit.ly/36d5NtE Affinity Designer: I started the project in Affinity Designer (on the iPad) where I sketched out the core idea and layout before moving into a vector where I created the monsters, arcade logo, and background neon objects along with the ghost. After this, I moved over to the iMac + Maya where I worked on creating the 3D arcade assets + textures. After this, I moved back into Designer where I placed the 3D model arcades, brick wall texture and work on all the other small vector items. Affinity Photo: Now it's time to move into Photo, where I drag and drop the file from Designer over to Photo (on the iPad Pro) where I start working on raster effects, such as applying some brush texture effects to the vector monster to give some more levels of effects and style. All brushed used in this project is either the default Affinity ones or one from frankentoon. From where I was on adding some 2D shadows with a pixel brush and added in some layer adjustments and layer filters to the image to finish it off. Anyway, I hope you like the image and I hope you all have a great day. Before & After: Close up!!: What do you think? and I hope you are all doing amazing!!!!
-
 I have been having a back and forth with a very helpful member of the Affinity subreddit, but we are stumped by a particular issue. For more context, here's the post: https://www.reddit.com/r/Affinity/comments/i37sps/question_re_mask_layers/ In short, I am beginning to do t-shirt design and working on a lot of "vintage" type artwork that requires the use of texture masks to give the appearance of worn clothing. I have purchased some of these textures from reputable, professional sources and downloaded some for free. All are presenting the same issue: In the DTG printing process where the artwork is actually printed onto the shirts, the printer first lays down a white undercoat and then prints the color of each pixel on top of it. When using a texture mask that essentially cuts out pixels for that "vintage" look, it's important that there is no anti-aliasing or semi-transparent edges because if even the slightest amount of color value in a particular pixel is identified by the printer, it will lay down the underbase and attempt to print the color on top of it. When applying these texture masks using the very convenient "Erase" opacity mode, it looks perfect on screen, but closer inspection reveals what I'm talking about: https://ibb.co/WPfnfZ7 The Reddit helped me identify that it's necessary to use 1-bit textures to avoid this issue and explained how to modify them accordingly using the Threshold adjustment, which works great for that purpose. You can see one such texture modified using that technique here: https://ibb.co/GP7SXjp Notice there are no transparencies present? Once rasterized to mask, however, and applied, look at what happens to that same texture: https://ibb.co/bFs38wr The semi-transparent edges have returned. I can't figure out a way to prevent this from occurring. Does anyone have any insight to share? Your feedback is GREATLY appreciated!
 -
hi. After yesterday's update, all tools not working. Any ideas why? I will just add that in all affinity programs as well
-
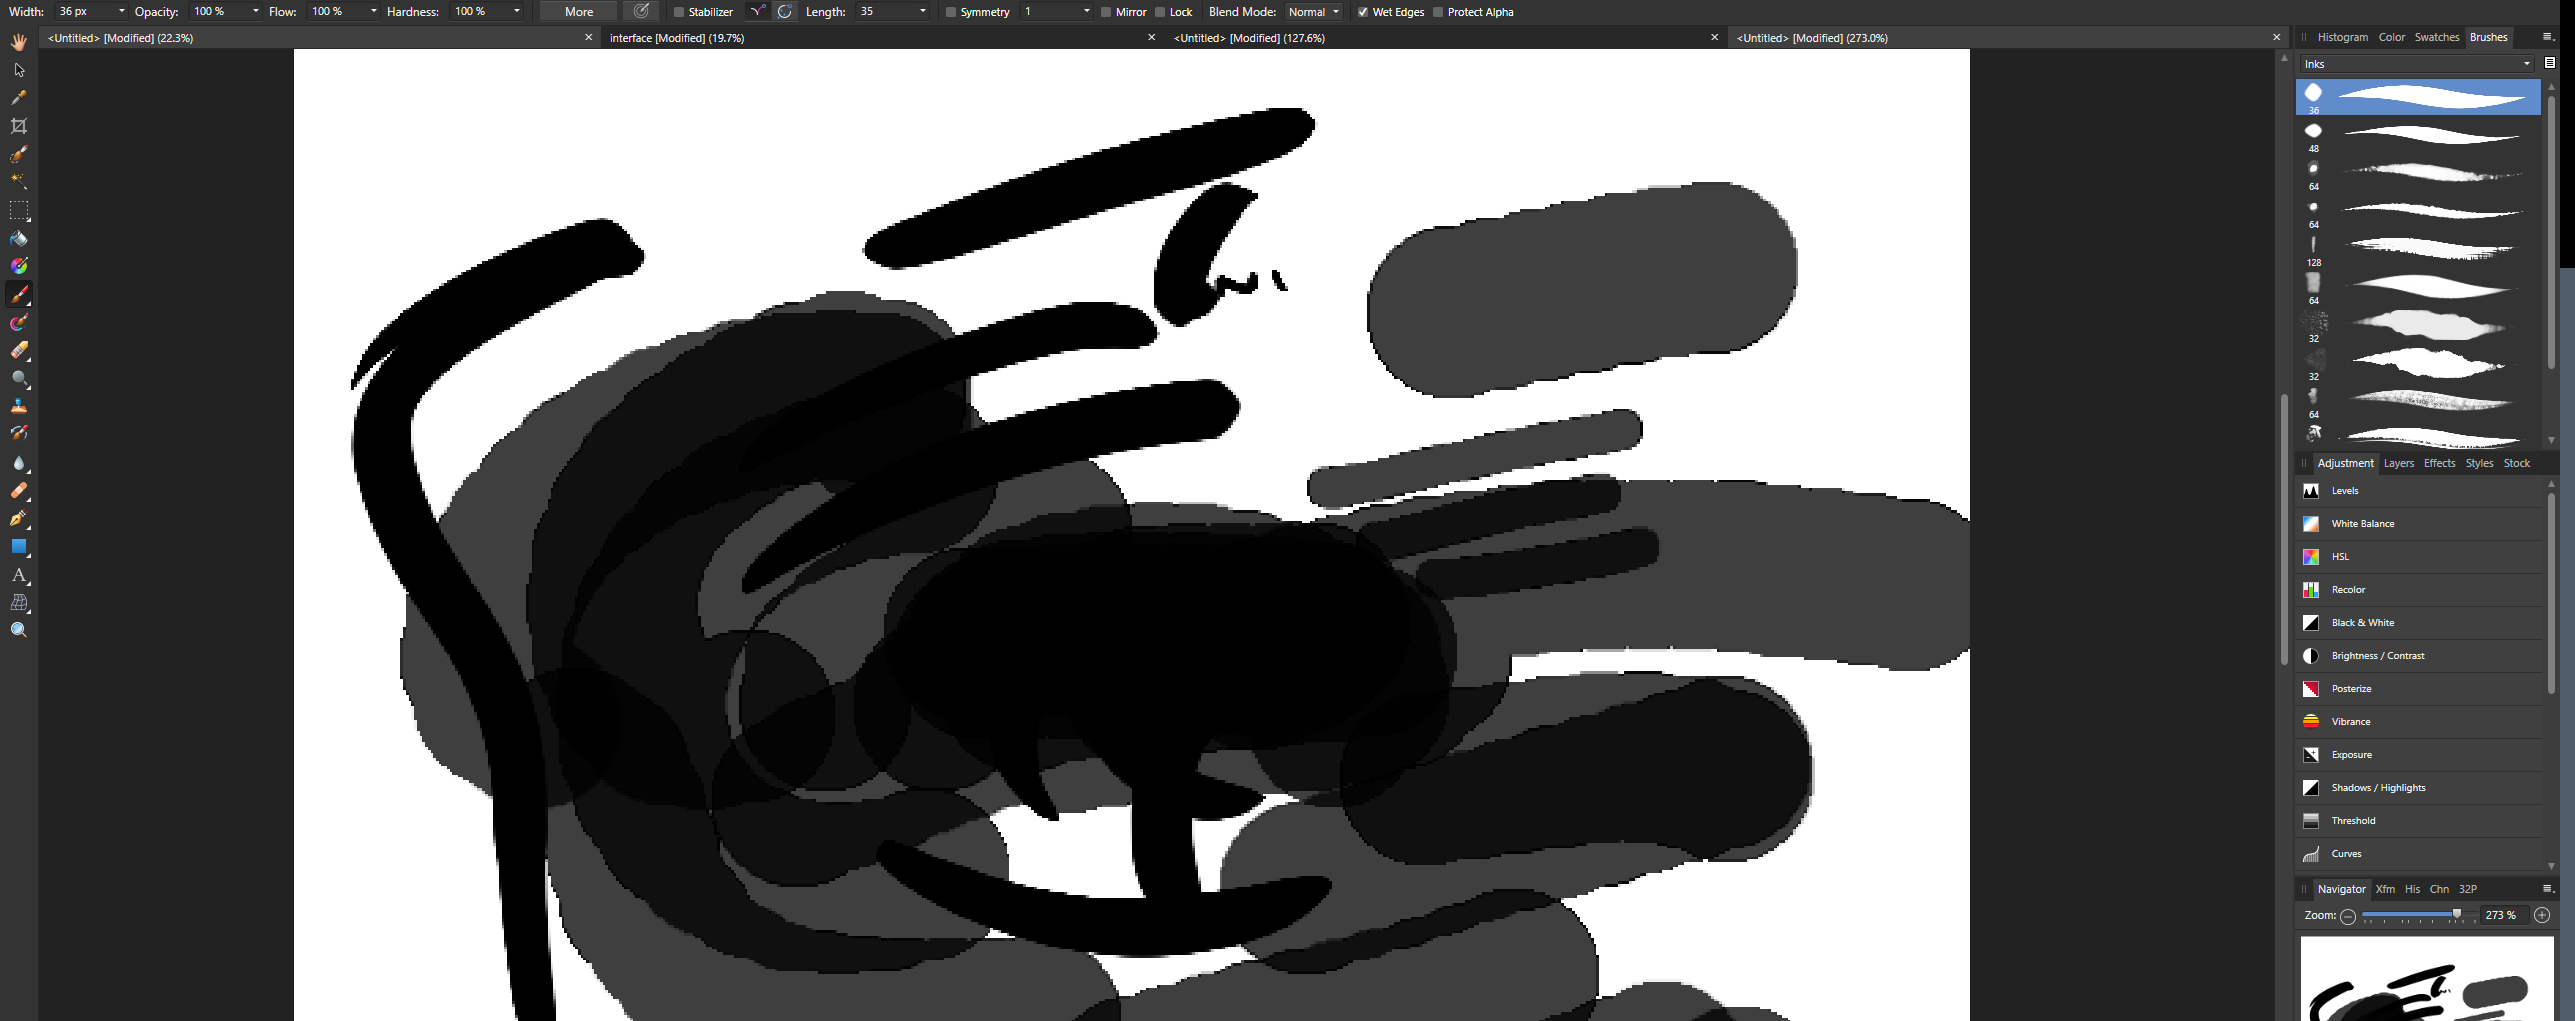
My brush strokes & brushes in Affinity Designer/Photo always have ragged/pixelated/AA-artifacts no matter the resolution of the document. I have made sure I am using the Brush tool and not the pixel brush tool. The same problem consists whether I toggle Windows Ink on/off in either the Wacom settings or Photo/Designer settings. RTX-2080Ti / Wacom Intuous PTH Tablest / Windows 10
-
 I have the latest versions of Designer and Photo for desktop and Ipad. Can’t load new brushes downloaded from Affinity website into Designer. Desktop or ipad. Is there a fix for this yet?
 -
 I'm happy with the new release of the Affinity suite but as always ... I'm a beta cycle man, So I feel such boring and would like to know when is next Beta session planed and what's targeted ! Thanks.
 -
 Hello, I'm a beginner Affinity Designer & Photo user, and I would like to know if there are any tools or options to show center lines of selected areas or the canvas, to help me with work on my project.
 -
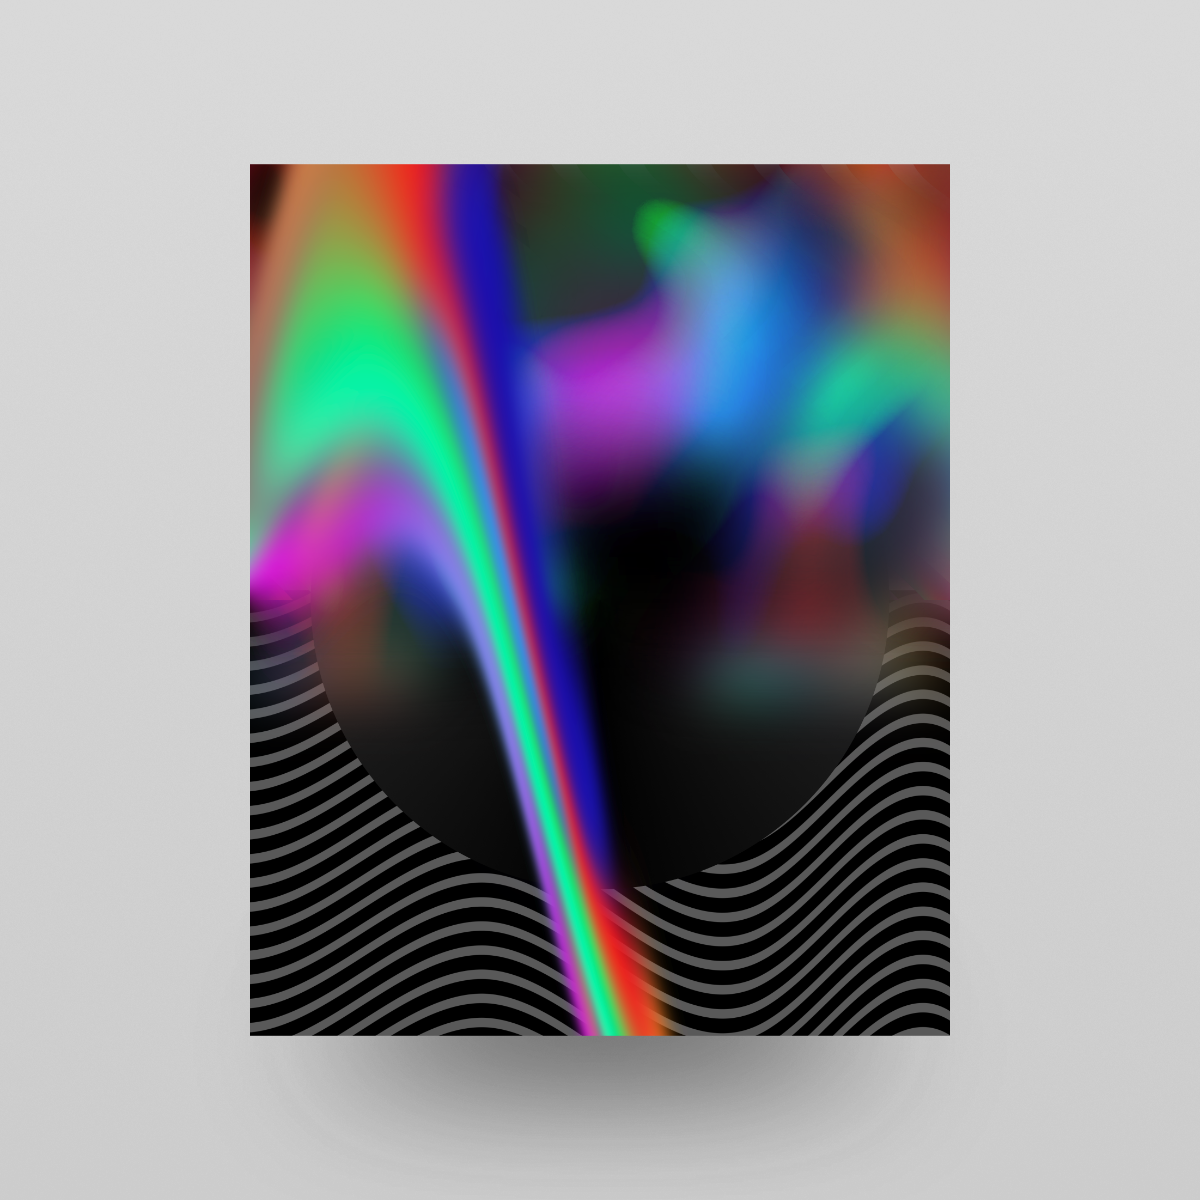
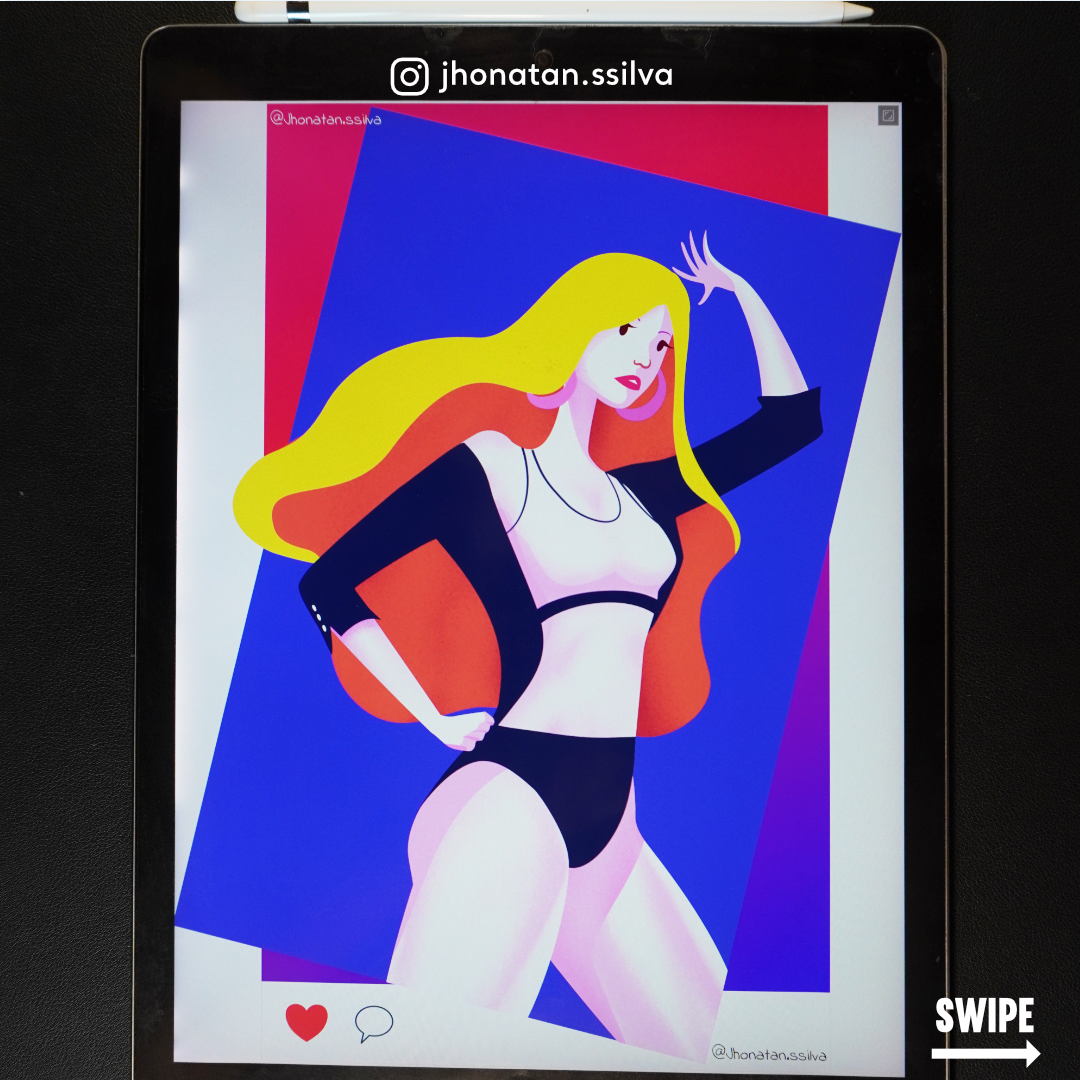
Hello! My name is Mikołaj but you can call me Mik. I've been using affinity software since first release in 2014 for graphic design(any kind of user interface design and visual identity assets). Lately some idea popped in my head – I am using the same tools in the same way all the time, so to prevent some kind of stagnation I want to challenge myself to create different kind of artwork that I usually do. Goal: Creating artwork from scratch in a poster format using every tool that is available in the software. I invite you to enjoy this journey with me. 001
-
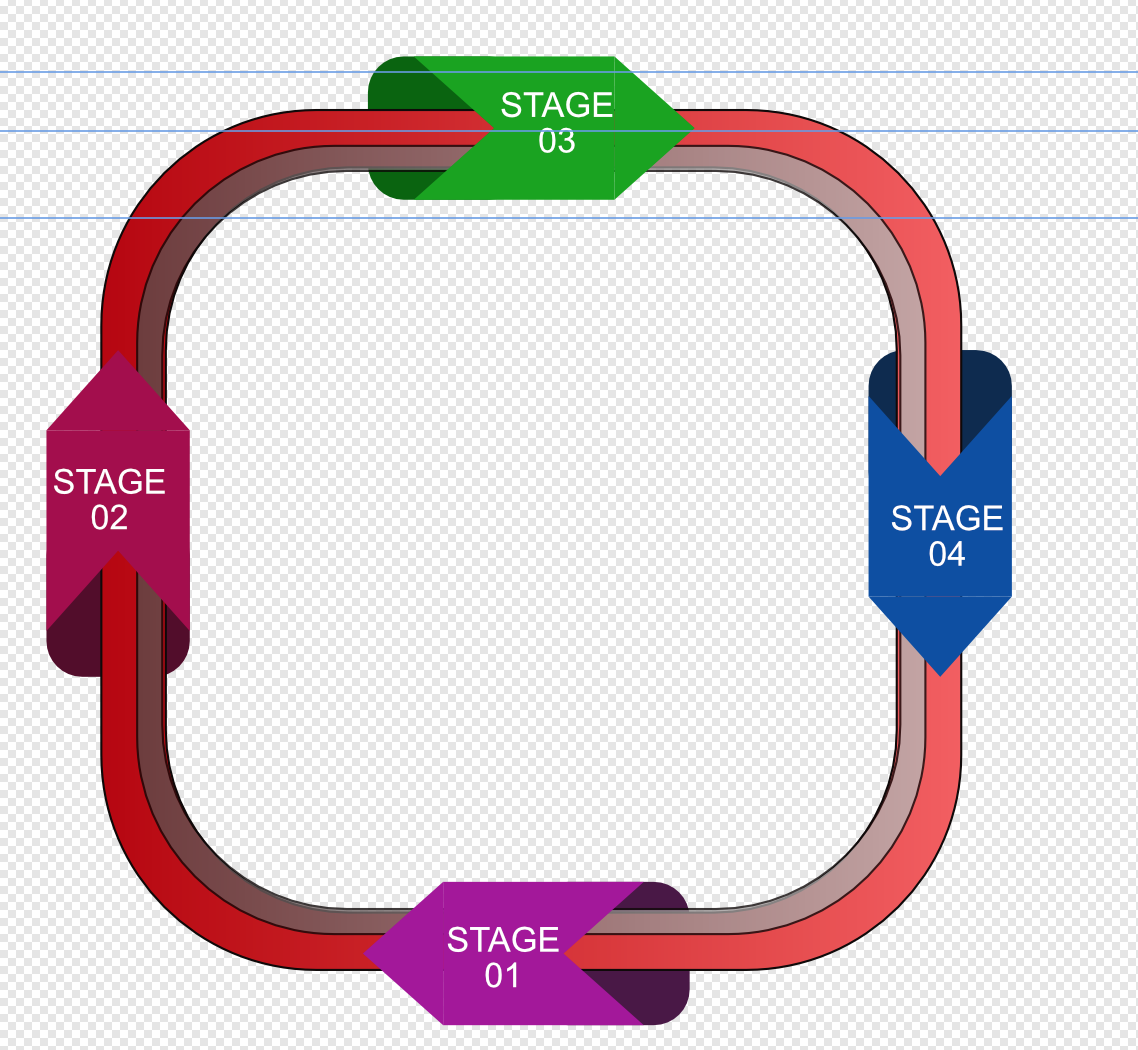
 I'm a fan of using groups to organise layers in Designer. However I've come across a situation where that doesn't work, because it seems that grouped layers have to be contiguous. I have a diagram where I need to show one layer behind others, to create a depth effect. I'm attaching a screenshot to show what I mean. In this diagram the "collars" around the frame contain multiple parts, two of which need to appear in front of the frame and one behind. If I try to group these parts (layers) together so that I can organise them the back layer gets promoted to the front, which kills the effect. Am I missing something? Is there another way to achieve the effect I'm trying to achieve? TIA.
-
Bought ‘Mystical Lights - Overlay Collection’ recently and played with a few of the included jpg’s. Decided on one of the ’Sun Beams’ with ‘Colour Burn’, overlaid on an image of a bright orange ‘Marigold’ and did a little bit of erasing. Tweaked photo with AP first, then modified, sized and exported with AD (jpg for website and pdf for printers). Very pleased with results. Now created a series of flower blooms with the same settings, probably do a lot more! Photos on website(work in progress): https://sbeech.uk/ BTW: Cannot upload photo, keep getting 200 error?
-

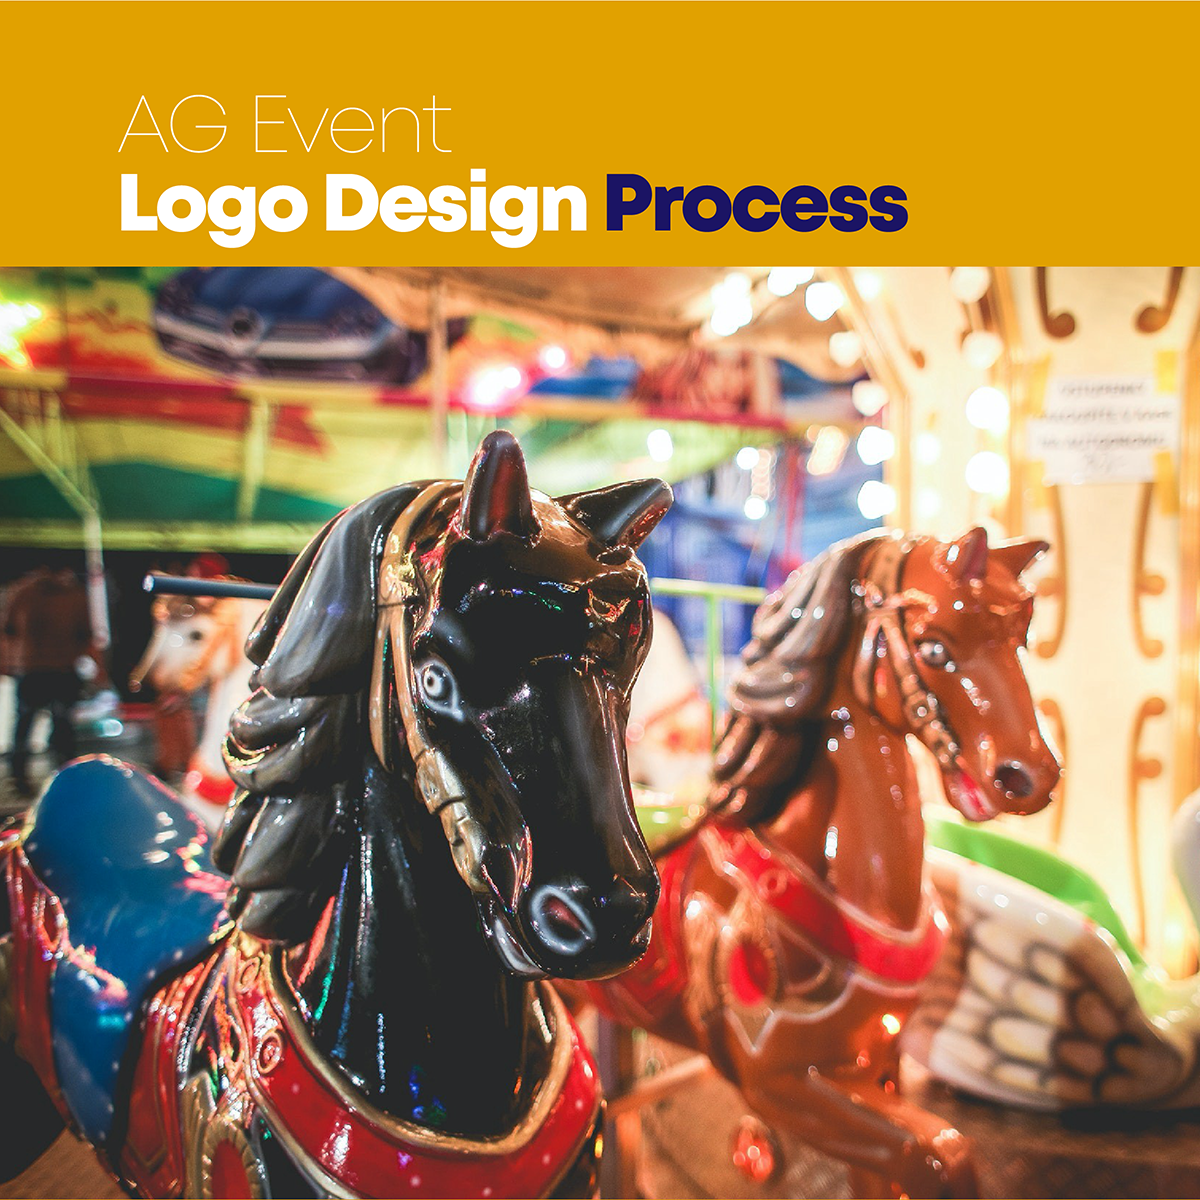
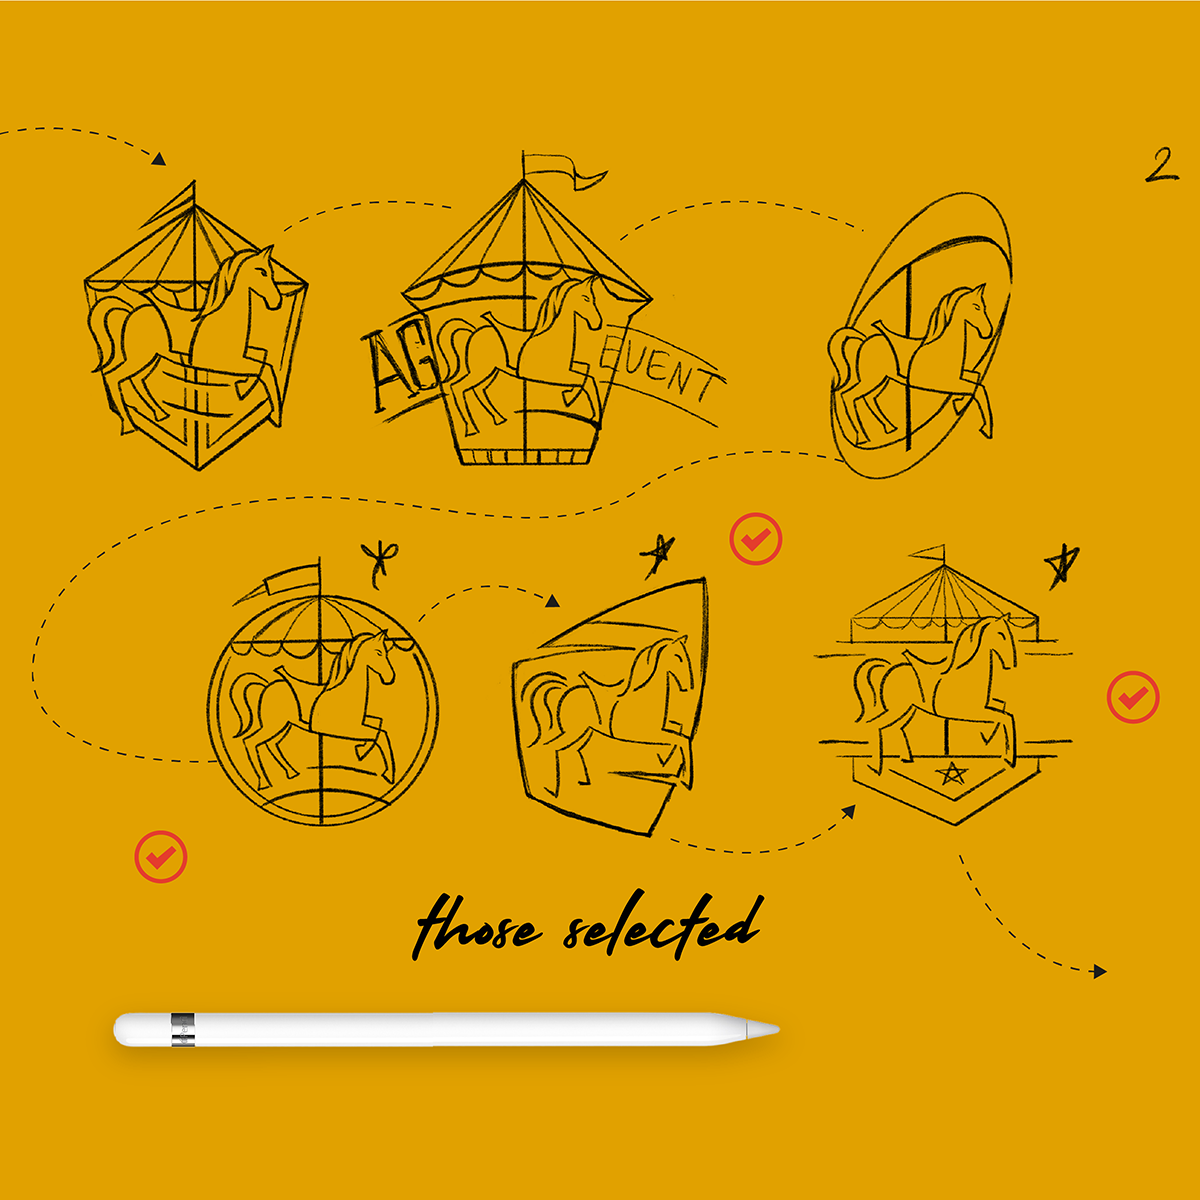
affinity designer Logo Design Process From Start To End
serdarduran posted a topic in Share your work
-
 Ctrl+Z stopped working shortly before 1.8.4 Recommendation to hold control and restart until popup, and then choose I think it was clear, worked but only for a short time. Not sure steps before it stops, as I don't have time to mess with. I don't know anything about file size, but I thought maybe my file was to large at 13,787 KB?. I would guess this is small, but I don't know. Today after downloading 1.8.4, now ctrl+Z functions as a space bar, along with ctrl+shift+Z🙃 Everything works fine outside of Affinity. I hope this can be fixed as ctrl+Z is a must have.
 -
 I made the move to Affinity Designer not long ago from Assembly for iOS. While the Affinity suite is leagues ahead of that software, one feature it has that Affinity does not is the ability to export a process video. What I propose is a feature that converts a document's history into a video sequence that shows each step that the artist took to create their piece. I appreciate your consideration and anticipate your response.
- 2 replies
-
- 1
-

-
- affinity designer
- suggestion
- (and 1 more)
-
 I discovered that Color panel and drop down Color panel aren't really the same. There are features and functionality disparities. The most prominent is the Opacity slider. Please improve the the drop down Color panel and add an option to see/add numeral values to the opacity. When you adjust the opacity with drop down Color panel there is no way to know the opacity value. Which is terrible UX decision. The other thing is the drop down menu(1) for the opacity in the color panel. What is it for? Why it wasn't implement simply like a filed(2)? It seems very redundant when there is a slider to adjust the opacity and the option to add a precise number manually.
-
 hi i am enjoy using affinity designer on ipad but i hope affinity designer for ipad have a tool like a shape builder tool, for easy to join selective shape ,,i need this tool.usefull, thanks
-
I have a request to improve the functionality of the transform panel coordinate and size fields. 1. Ctrl + Enter, apply or dismiss aspect ratio option on the fly based on the current state of the Lock Aspect Ratio. This combination enables or disables aspect ratio when your enter your numbers. It saves you a lot of time by removing additional physical actions with your hands that are needed to turn on/off Lock Aspect Ratio icon. Ex. You write in W: 110 and press Ctrl + Enter. If Lock Aspect Ratio is On then operation ignores it and we get W:110px, H100px. If Lock Aspect Ratio is Off then operation works as if it's On and we get W:110px, H110px as a result. 2. Ctrl + Alt + Enter, make equal other field to the current. When you simply want to match the position or size of the shape on both coordinates or lengths. It saves you time from doing double work by typing and pressing twice the same information. Ex. Let's say you have W:110px, H:50px. All you need to do is just choose any field, type let's say W:100 and press Ctrl + Alt + Enter and other field will reset to the same number. P.S. It's also best if you make these modifier keys not hard coded but leave an option to assign different combinations from each modifier set. Different people might have different preferences to which modifier keys they'd like to use.
-
I'm a hardcore graphic design newbie and an untrained doodler. Here are my first original e-creations (that I feel brave enough to post...) I'd love to get some thoughts and feedback for ways you might have approached these designs differently, details you might add or adjust, obvious newbie choices/errors, or anything else. All suggestions are welcome! For instance, shadows are still very much a crapshoot for me. I play around and hope for the best What I need is a foundational art class, but one won't be in my future any time soon... Anywho, thanks for any feedback you provide!
-
my illustration created today Minimal design style plus Colorful, With flat shadow, using subtile texture. my design philosophy, less is more made using affinity designer on ipad pro
-
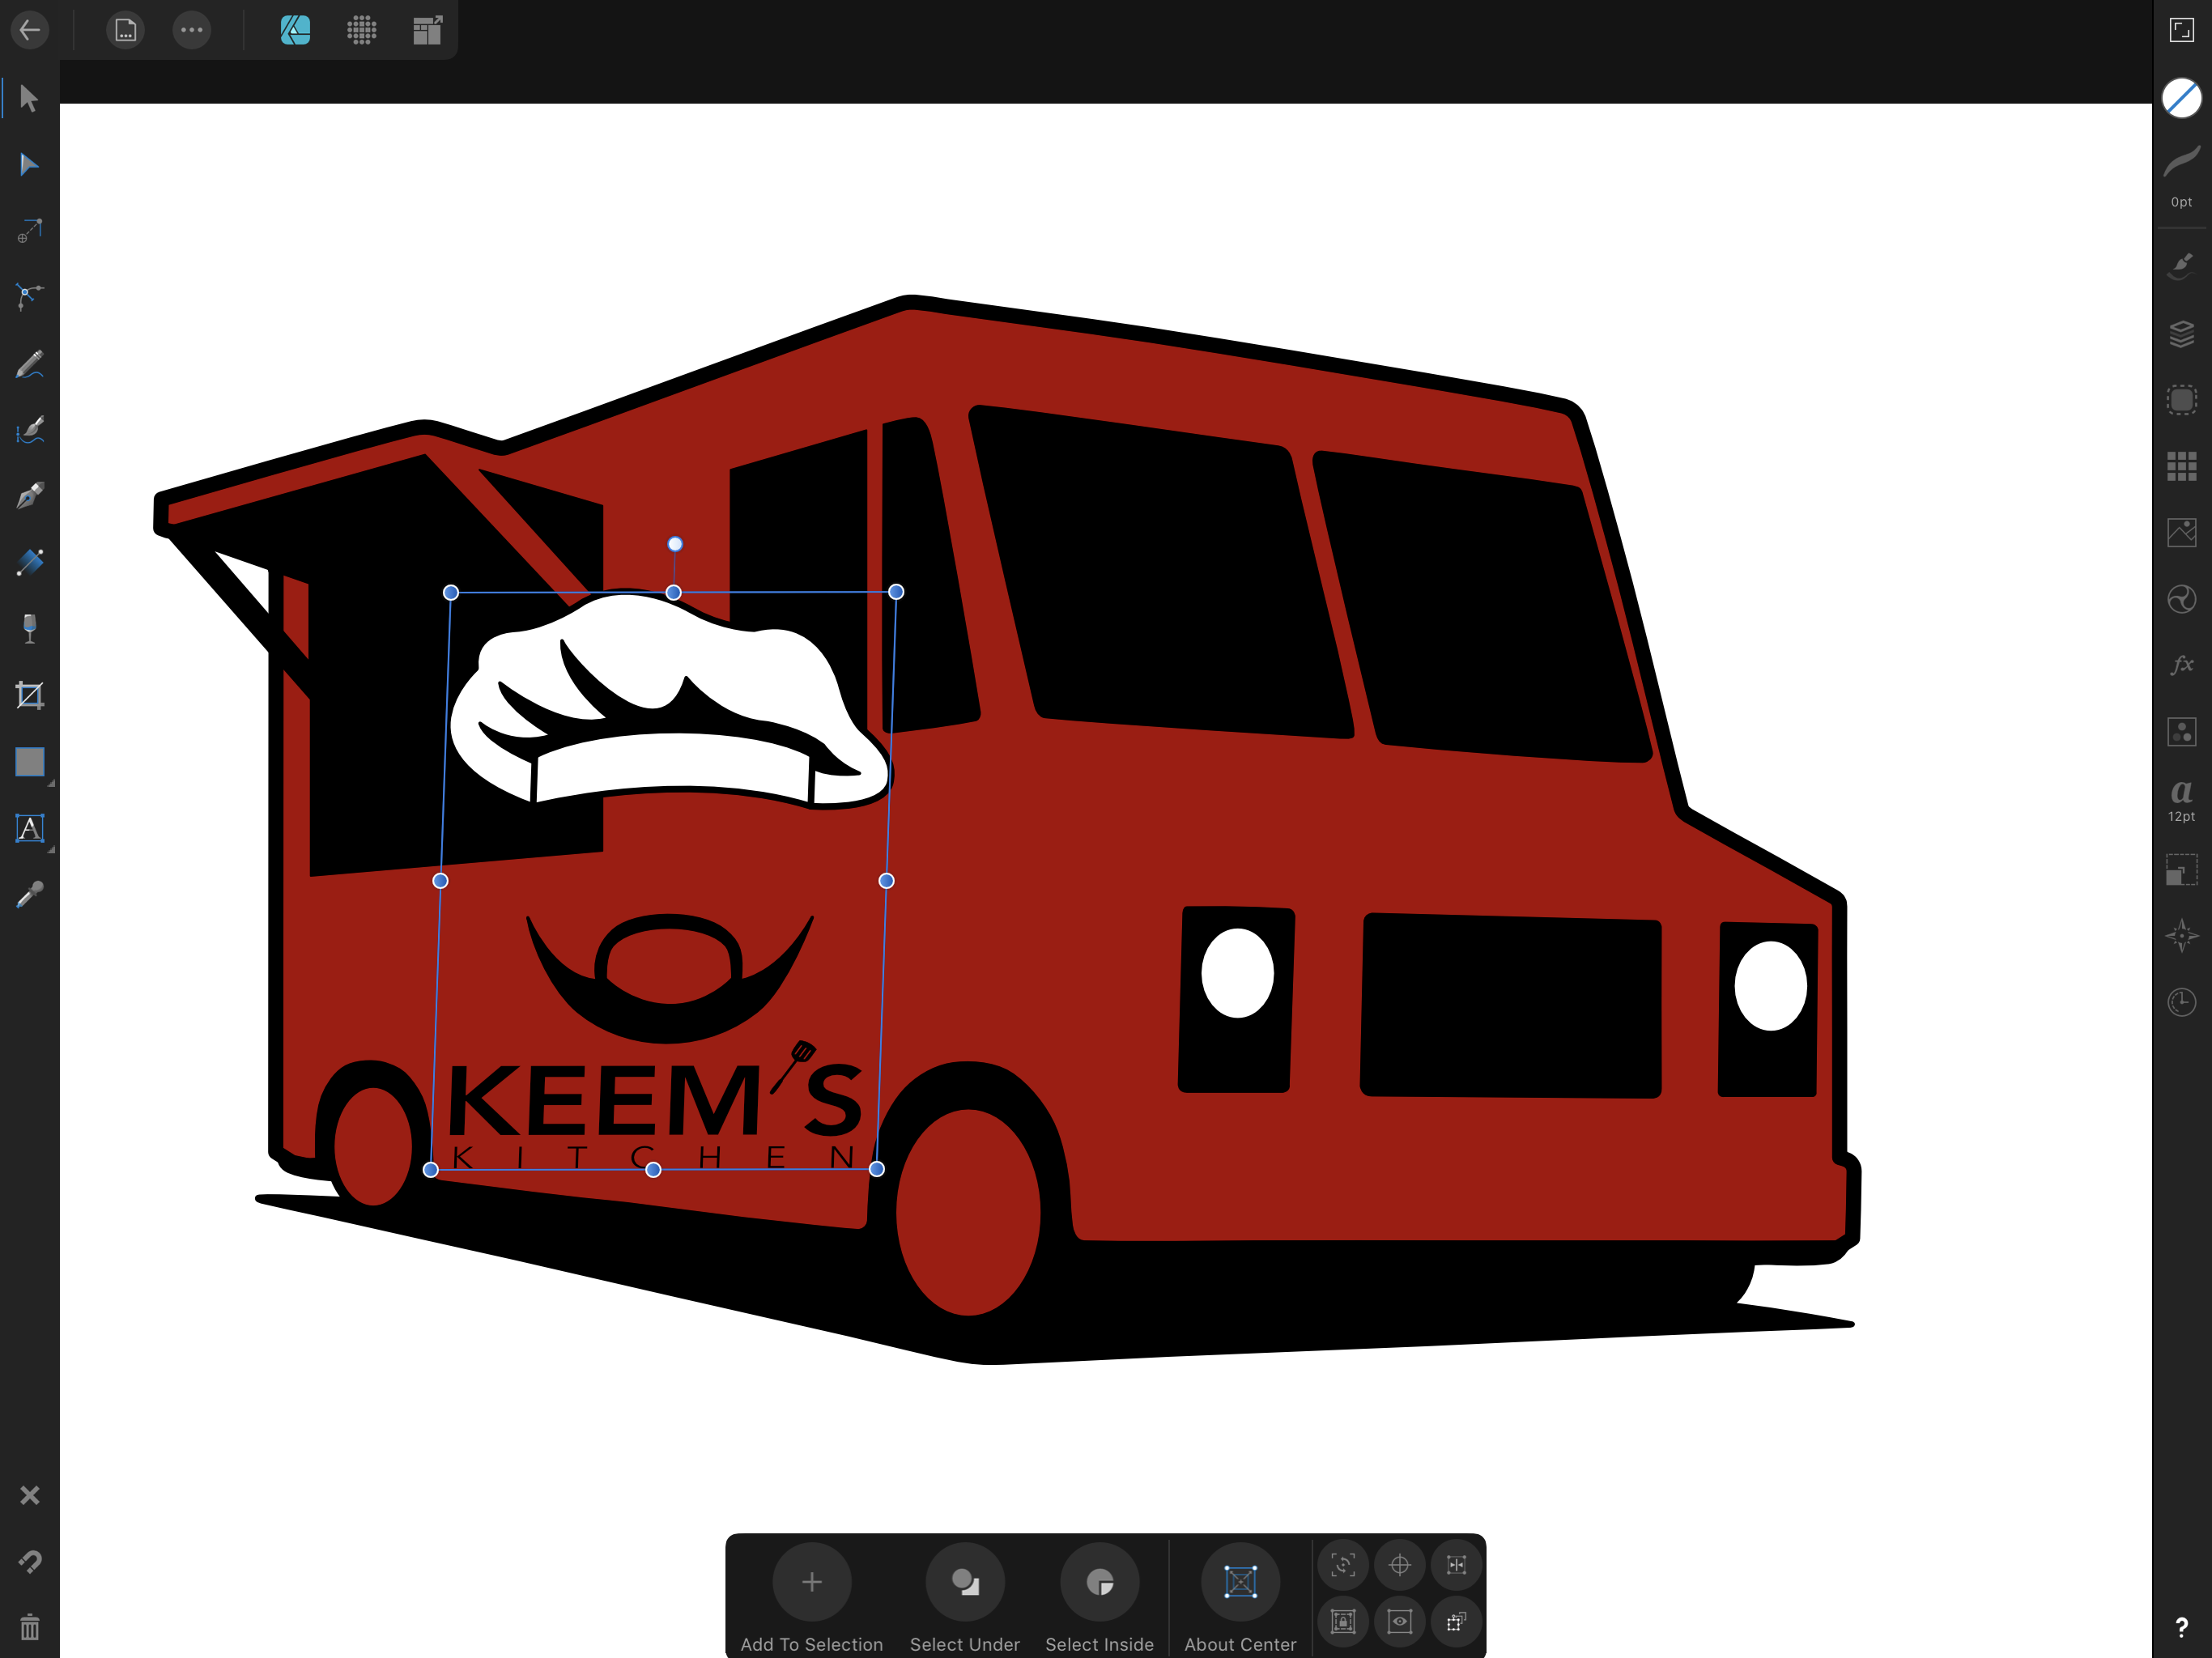
 Hi, I am still learning. I have inserted two objects that are set to white with 100% opacity, thus they should be solid white. However, they are placed over other objects of colour and that shows through the white objects with part transparency. I can't figure out why. Am I missing or forgetting a setting somewhere? Thanks for any help.