Search the Community
Showing results for tags 'Affinity designer'.
-
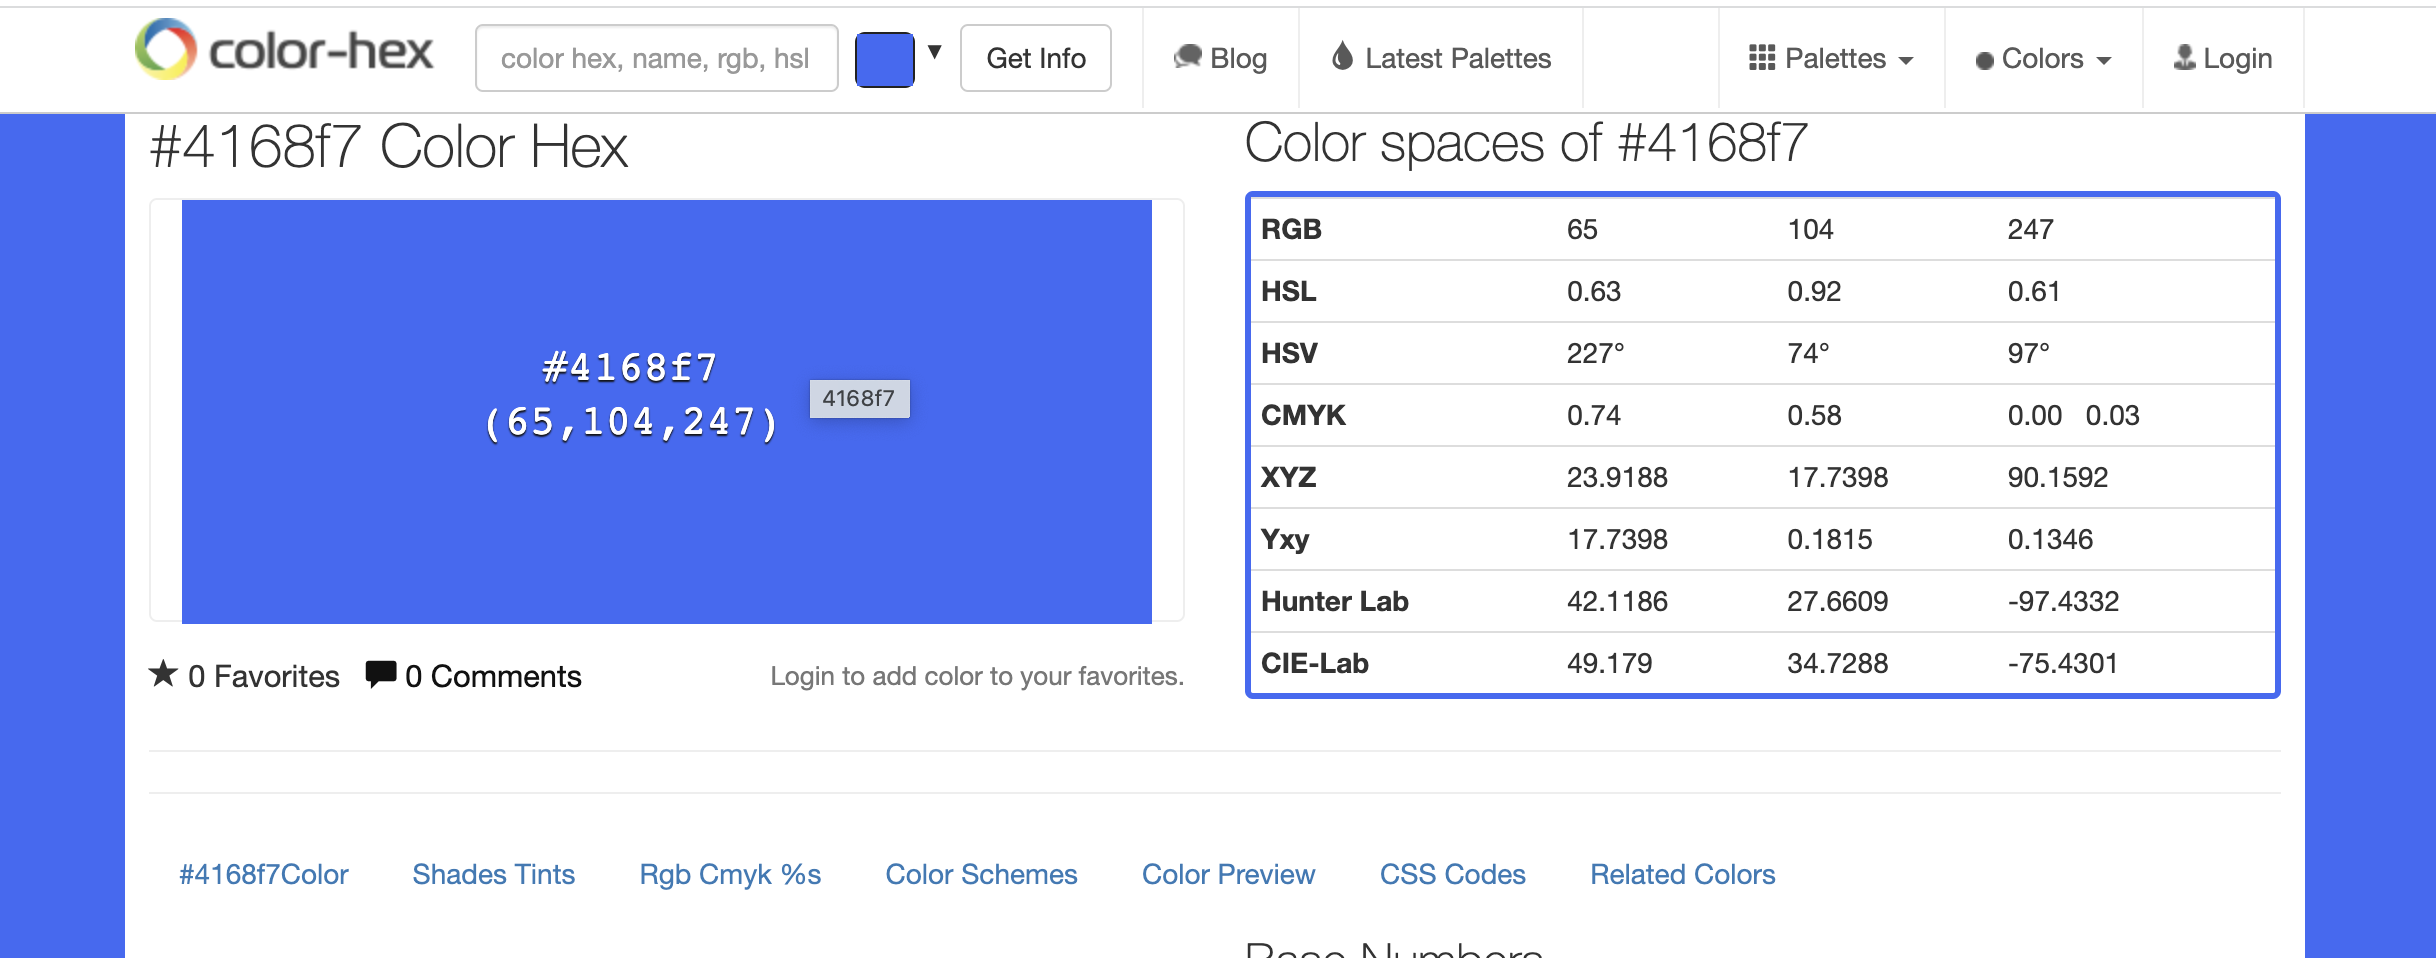
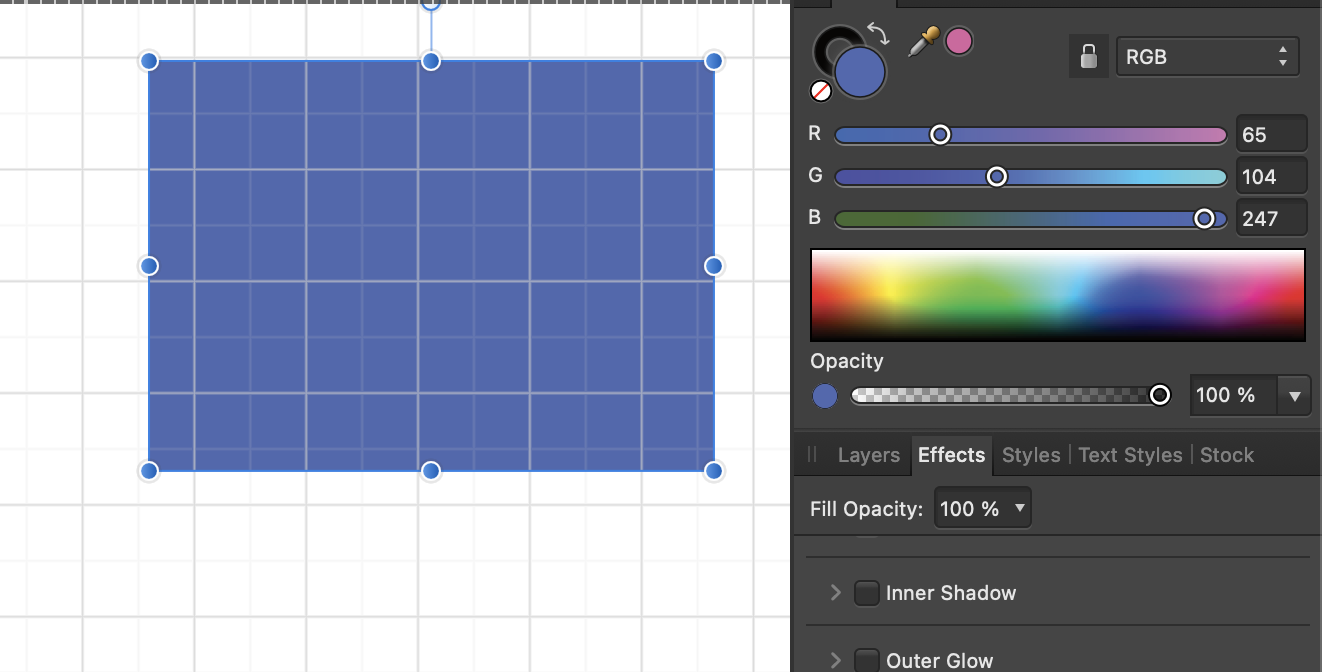
 Hello, I am trying to use color #4168F7 and when I use it in Designer, it's completely wrong. In Publisher, however it is correct. I am attaching the color it should be versus how it is appearing in Designer. What is happening?
-
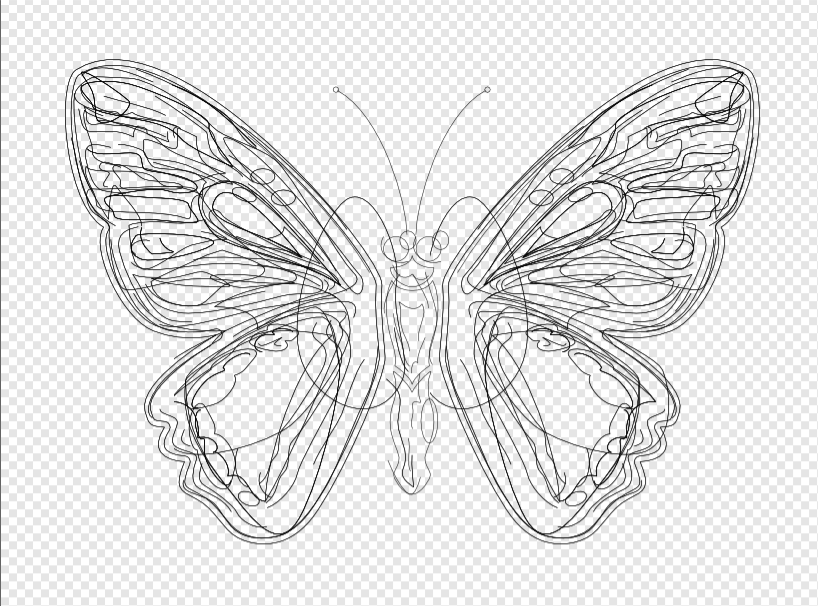
This was an exercise to create (graphic) more or less realistic vector artwork in Affinity Designer, that is capable of creating organic shapes (curves and strokes). Below the rendered version is the vector outline view image. More info in my portfolio blog: https://communicats.blogspot.com/2022/04/vector-butterfly.html
-
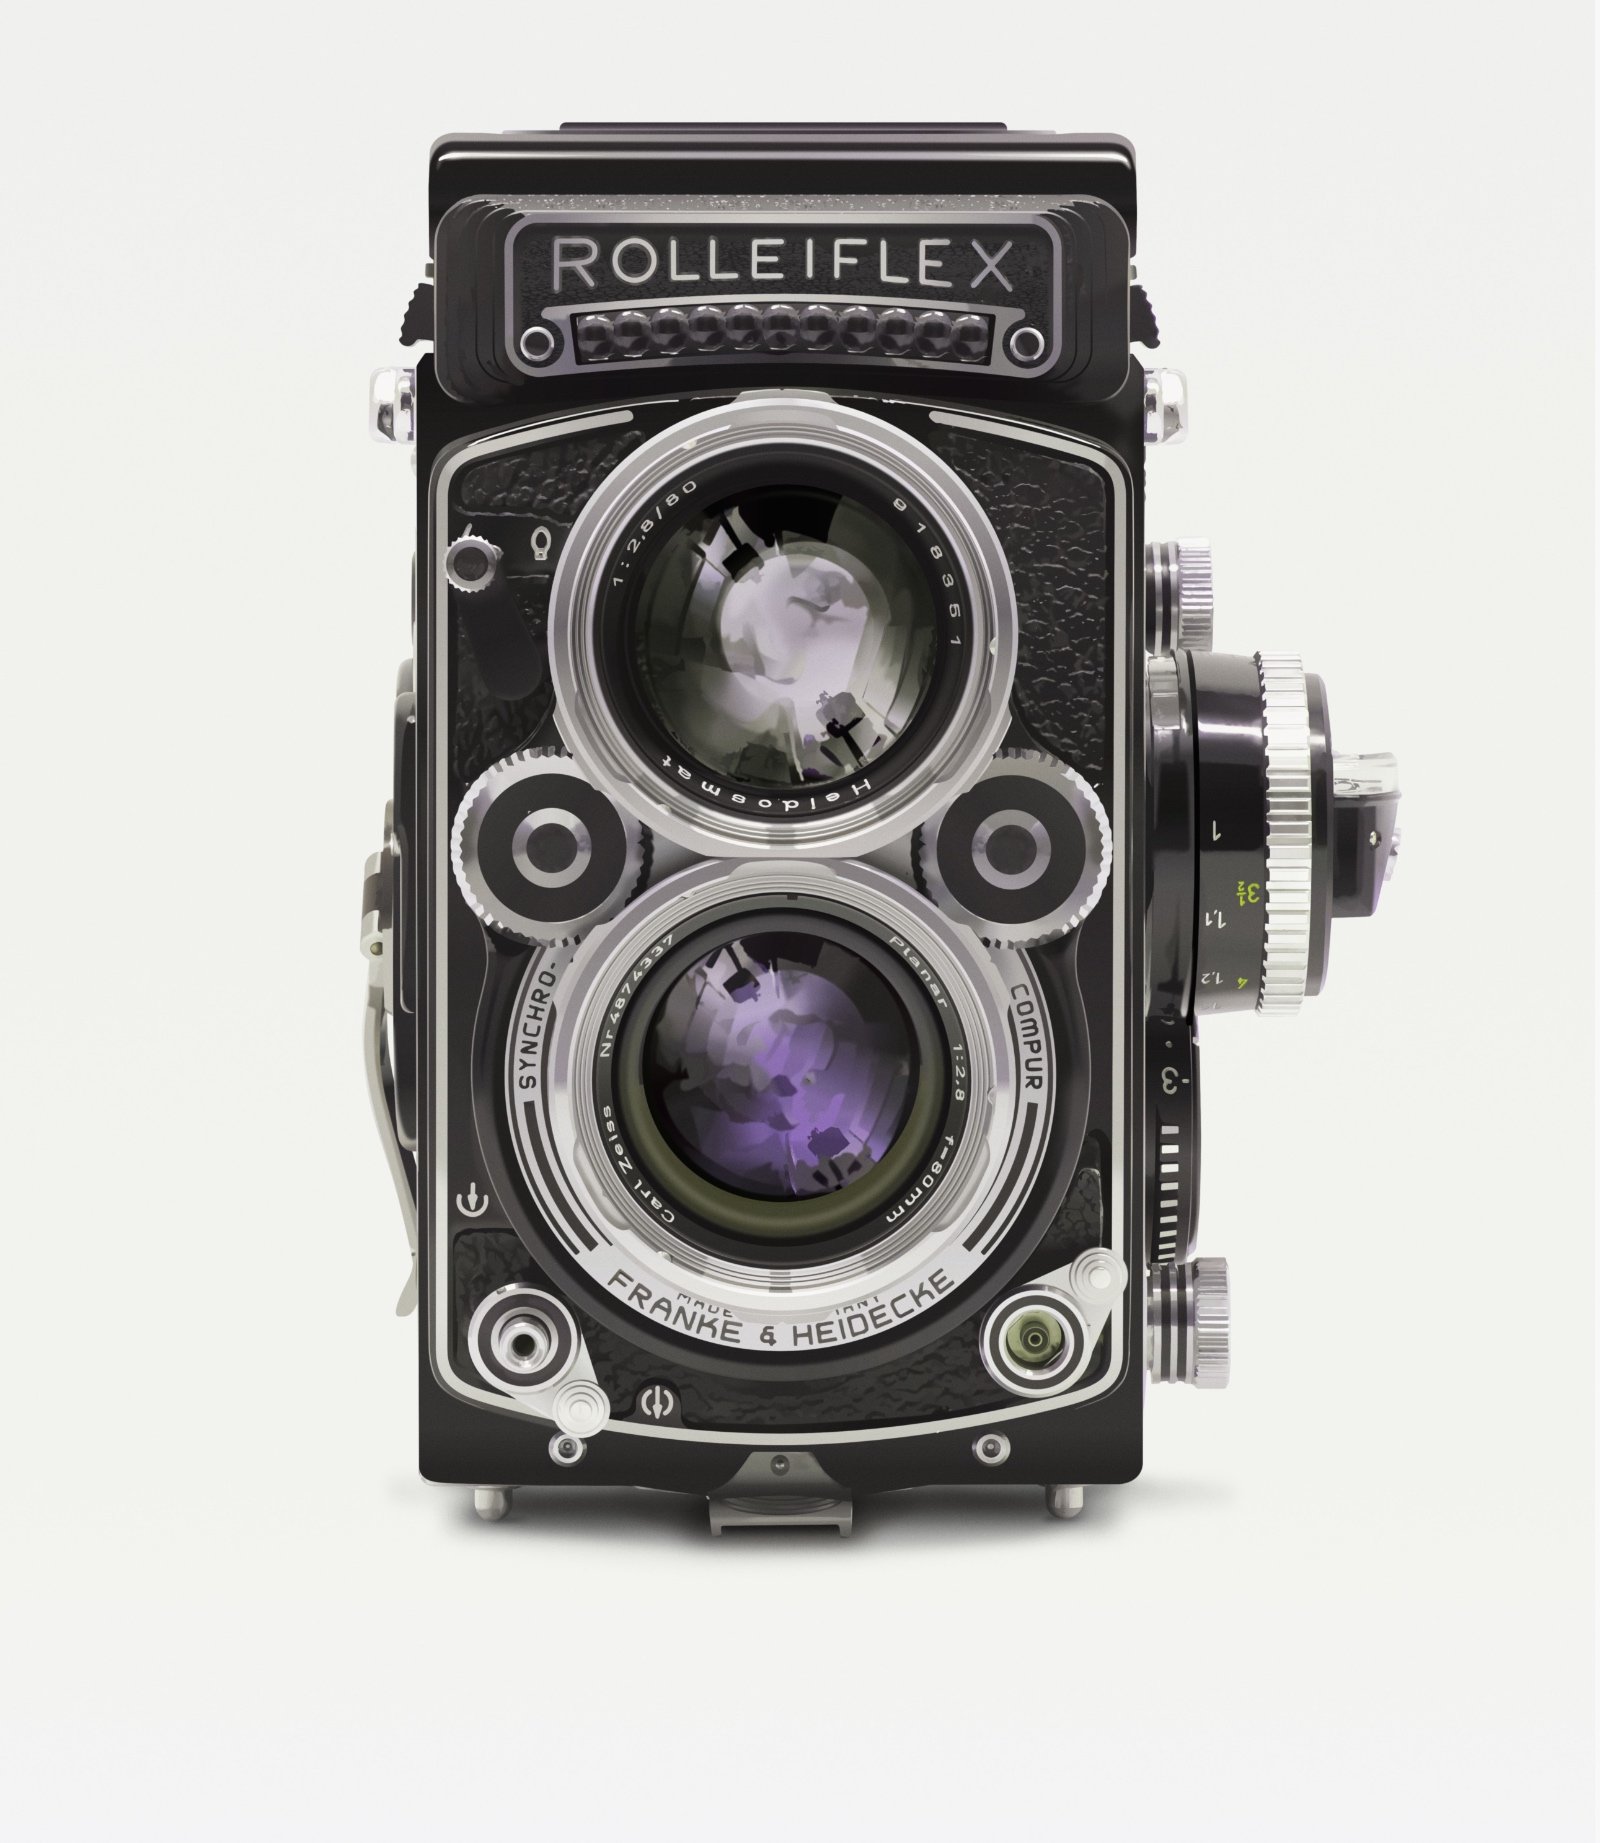
I fancied drawing a camera and decided on this one. The lens reflections were a bit boring on the reference so I used ones from a different photo where I didn't like the camera body. But between the two it looks OK.
-
 Hi all i have a big problem i was a AI and PS user for a long time and now with the 1.9 update AFFINITY DESIGNER uses ALT + SCROL to rotate the Canvas(Project) I used AutoHotKey to remap ALT=CTRL but is messy and can't remove curve points when creating a curved shape I want to ask you guys if there is a way to remap : CTRL+scroll wheel ALT+scroll wheel SHIFT+scroll wheel
- 2 replies
-
- 2
-

-
- help
- affinity designer
- (and 5 more)
-
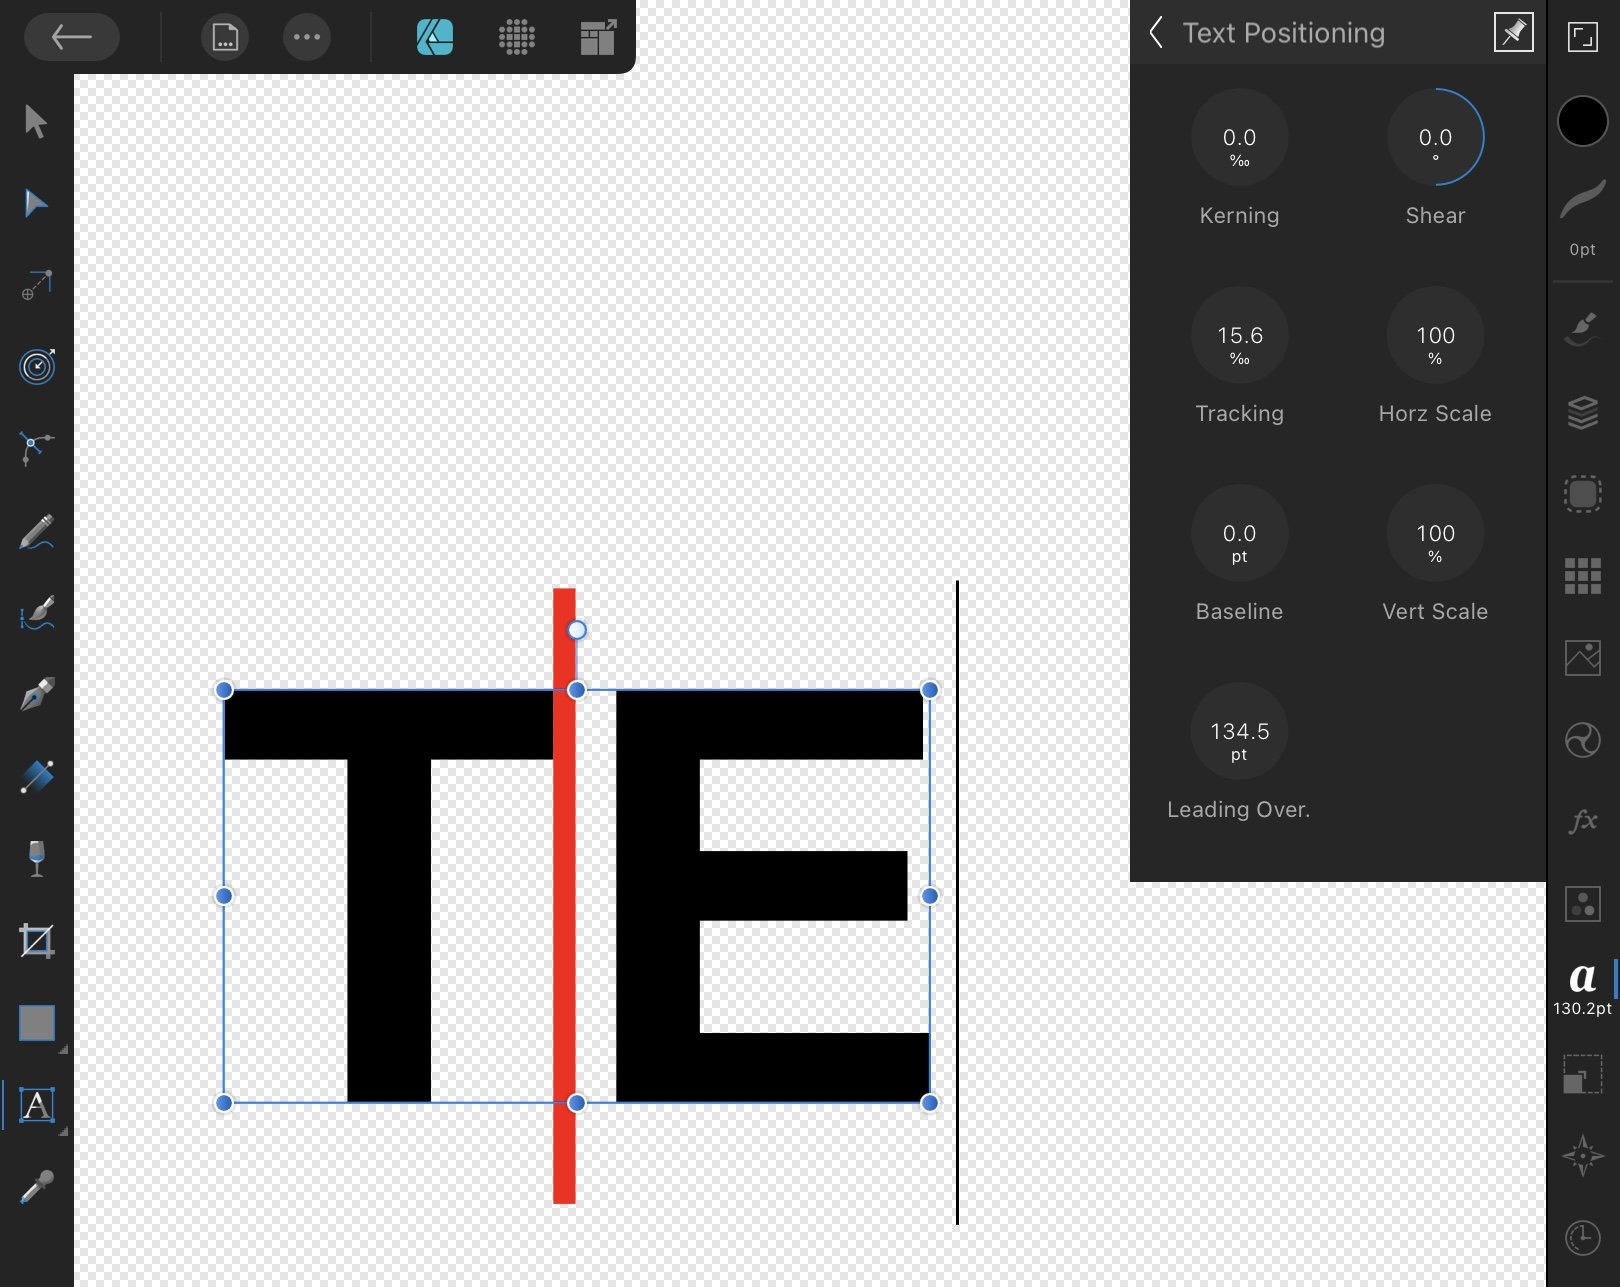
Hi folks. I'd appreciate if someone could help me out with this one. I was wondering if it would be possible to snap an art text character (in this case E) to this shape using the tracking tool as I want to have a set distance between each letter. Is there a specific option I need to turn on for this? Do I need to mess around with the spacing tools? I have in the past used and would use individual layers for each letter but I'd prefer to use a non-destructive method to keep my designs consistent when needed at a later stage. I'm quite new to Affinity overall so maybe there are other and better ways to achieve what I want? Thank you.
-
Happy new year! Since I finished Soviet Cities series, I started another series. Inspiration form some pictures I took in 2021. It's all 4k resolutions, 4096*2160, enough to be wallpapers. 01 The Road This road is where I used to going to work every day. Under the sunshine, it looks peaceful and clean. 02 The Yellow Bike A yellow bicycle parked on the side of the road. Chengdu seldom has sunny days, so it's a good time for taking pictures. The light is excellent. Light is essential in photographs and drawings. Shadow makes them vivid. There are a lot of leaves on the ground. 03 Gezhi Building This is the building where I used to work at. To better express the volume and perspective of the building, I used a wide-angle shot. A strong sense of perspective makes the illustrations more realistic. Also, it increases the workload.
-
 A mini-survey, just out of interest please. Do people get hardcopies of their artwork or is it only pure electronic? The thing that has really encouraged me to try to produce artwork using Affinity Designer is that I can get good quality hardcopy prints. I do not have a printer myself. I get my hardcopy prints, without leaving my home, by using web-based facilities and then the hardcopy print is delivered to me by the Royal Mail postal service. I get frames delivered with my grocery order from the supermarket. So i now have a small collection of framed hardcopy prints of my original artwork that I have generated, usually output from Affinity Publisher, though the first two were output from PagePlus X7. One was the glyphs of a font that I produced many years ago, the other a large size print of one glyph from a font that I generated using an interactive art work, The Alphabet Synthesis Machine, in 2002, so, in fact, just text in a text frame for each of them. The prints that i can get that way are higher quality than I could produce at home using a typical home printer. So I am wondering if other people using Affinity Designer, and indeed other Affinity products, get hardcopy prints,wihether by using a printer of their own, or from a print shop, or from an online facility, or whatever? Also, are people producing artwork as stand-alone artwork or for inclusion in a document? For example, most of the artwork that I produce is stand-alone, though when I produce hardcopy as a custom greetings card then the greetings card has the artwork on the front and a title, a descriprion, my name and the month and year as text where the custom greeting would normally go. However, sometimes I have produced artwork using Affinity Designer for use in a pure electronc pubklication, such as these pixcture of the two sides of a design for a tote bag in a story. I am hoping to get such a tote bag made, even if just as a one-off though possibly get two, one to use and one so store away in new condition, but thus far I have only found one-sided custom bags in a one-off quantity. William
-
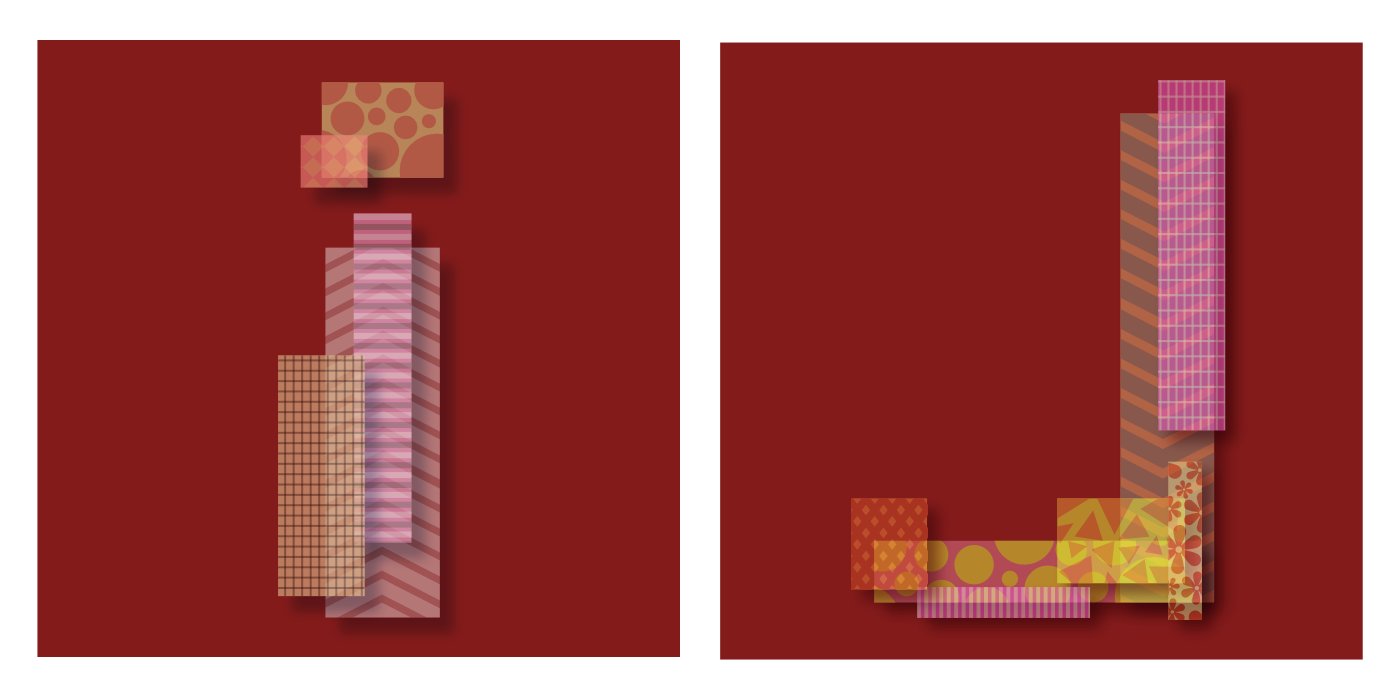
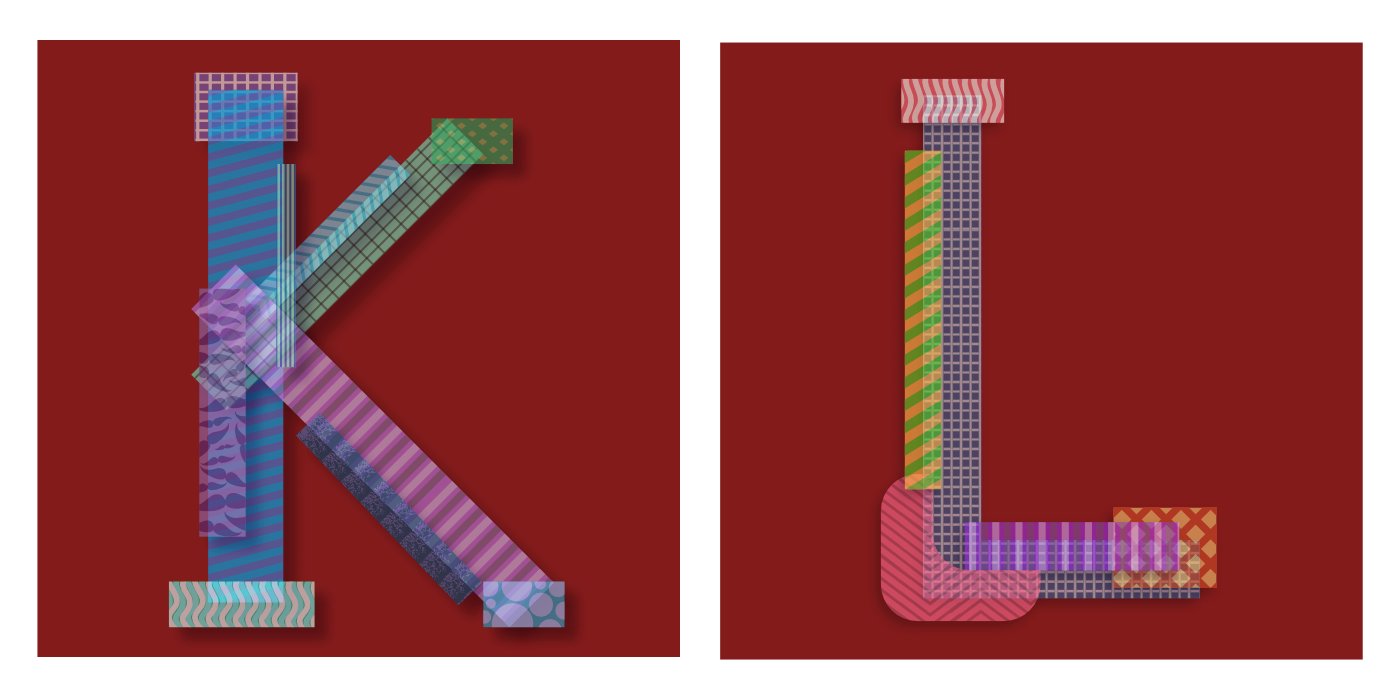
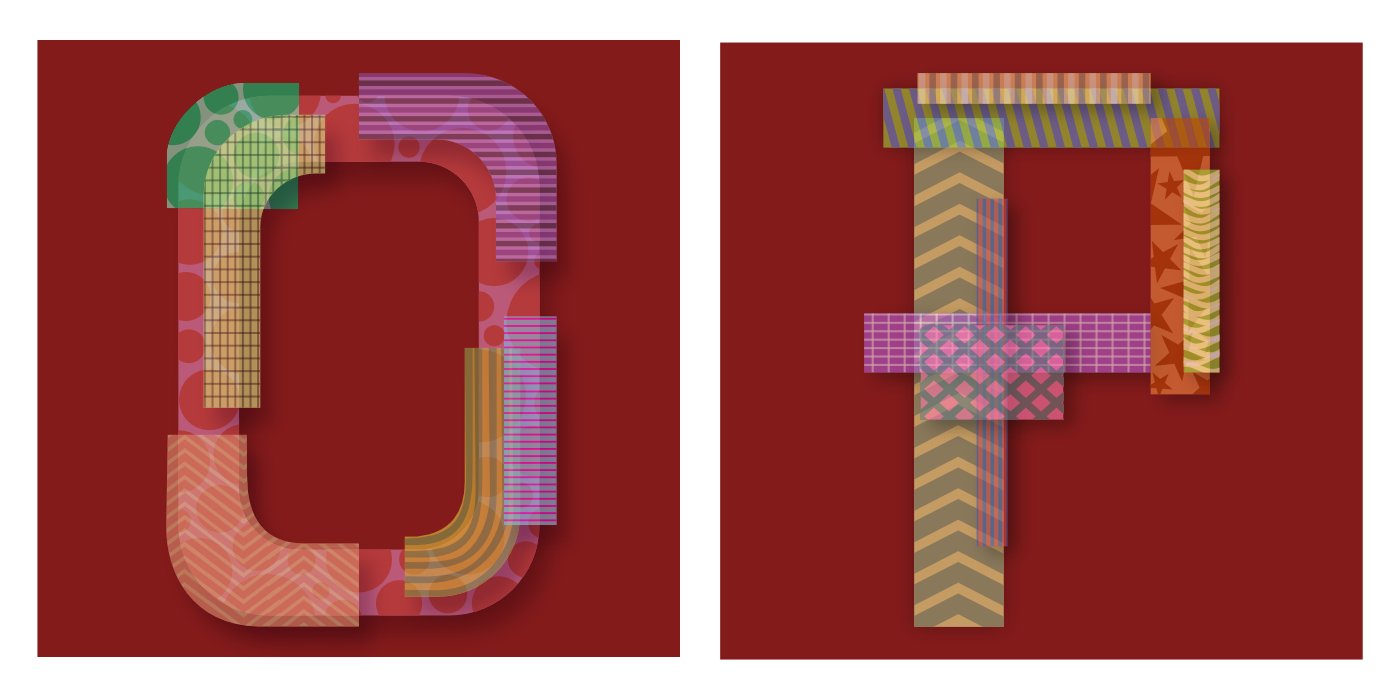
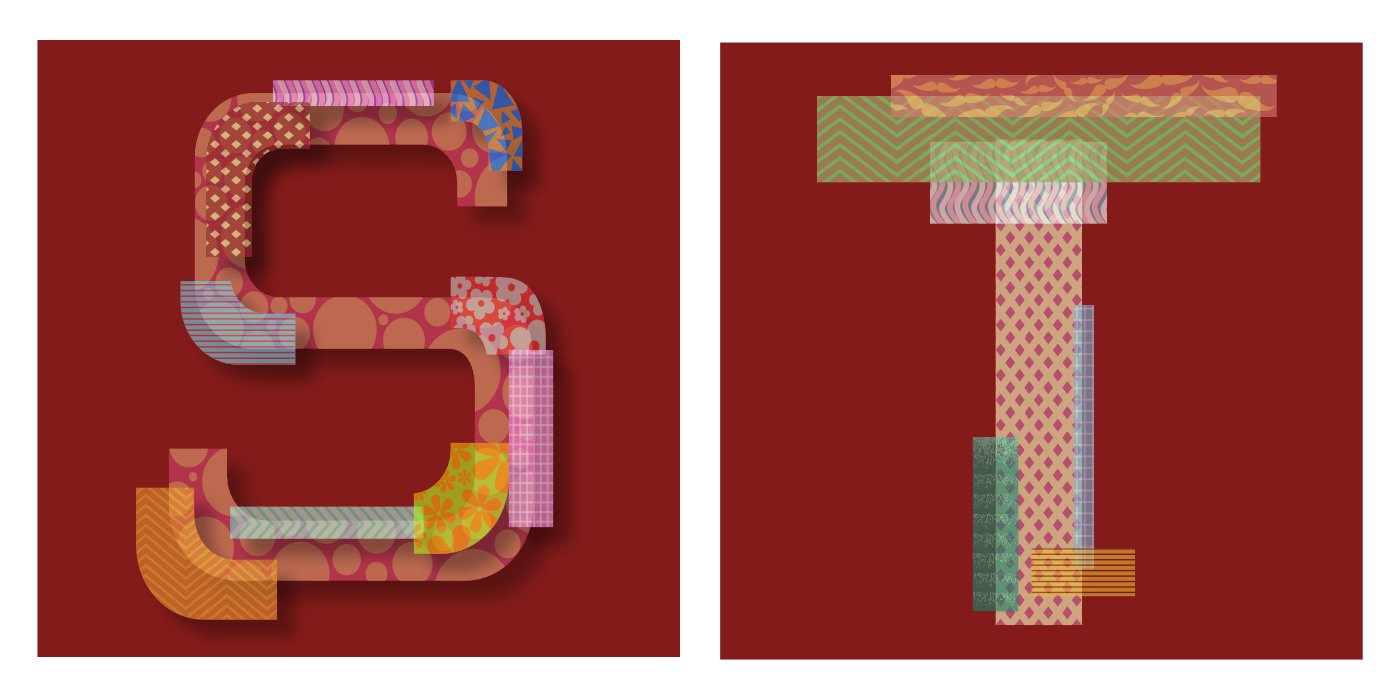
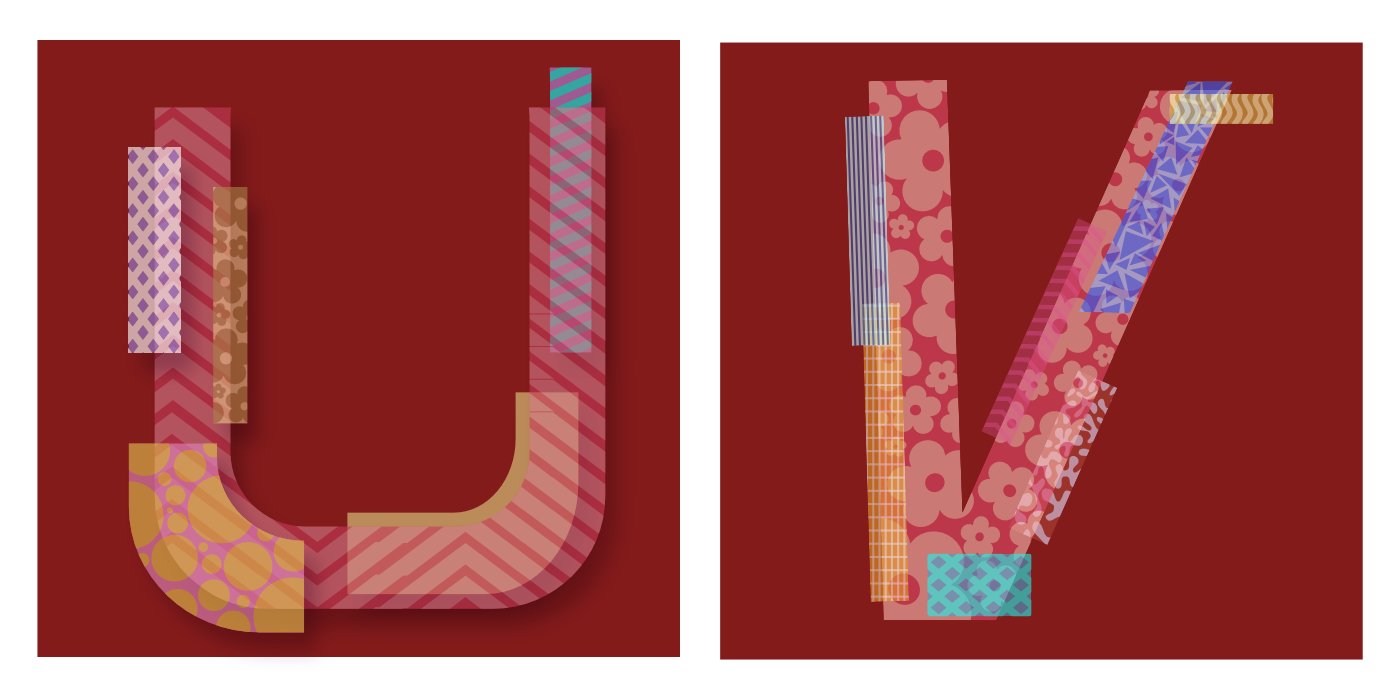
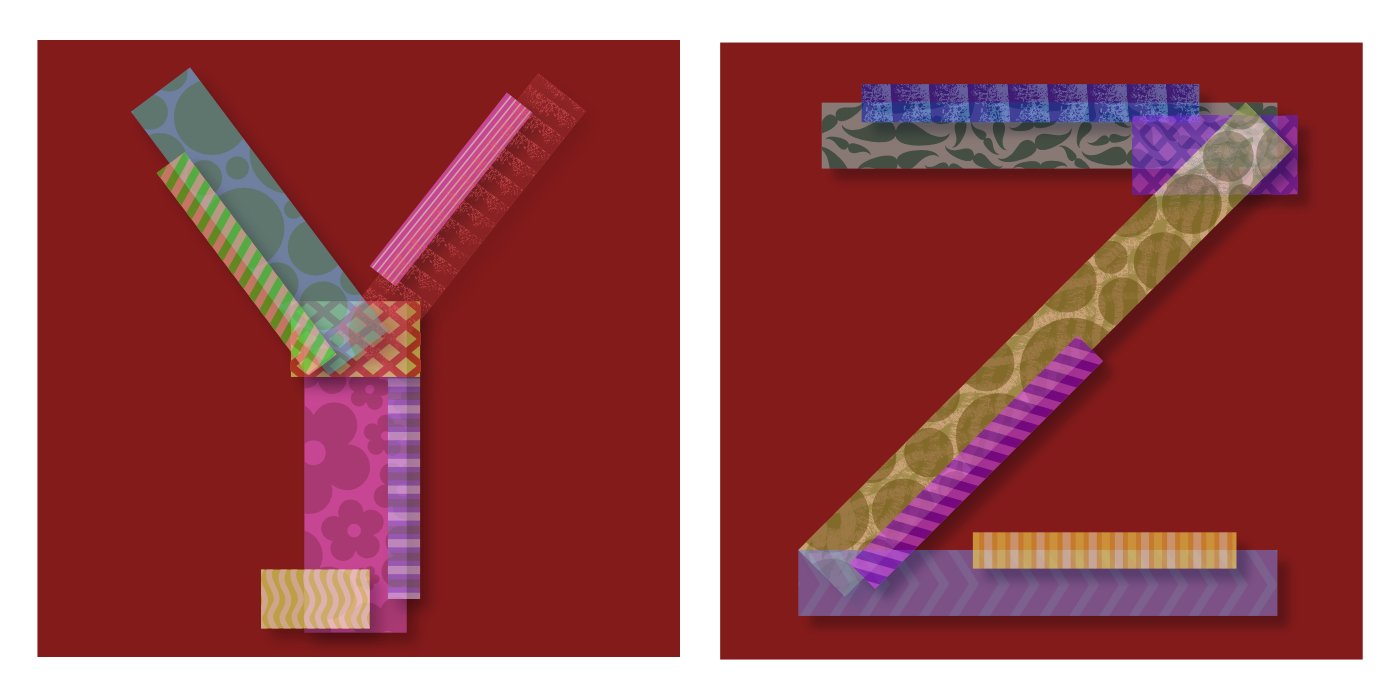
I participated in the 36 days of type challenge this year. It was my first time doing any kind of community challenge and I just wanted to share my work. I couldn’t do the numbers since I was travelling but I still had fun. These were inspired by Washi Tape and their kind of non opaqueness. feedback welcome. thanks.
-
 Not being the best at drawing I was wondering if you can extrude nodes/vertices in Affinity Designer, similar to how it is done in 3D applications? If you are unfamiliar with extruding take a look at this 1 minute video:
 -
 Hello, I've been reorganizing my vector brushes on Affinity Designer and came across an issue. What are the category names of the default Affinity Designer vector brushes? I have too many brush categories, which caused me to lose track of the Affinity Designer vector brushes. It would have been helpful if Affinity had labeled them as AD brushes, for organizational purposes. I found a link to the legacy Affinity Designer brushes, but not to the current default Affinity Designer brush category list. https://affinityspotlight.com/article/get-legacy-affinity-brushes/ Thanks for your help, Sam
 -
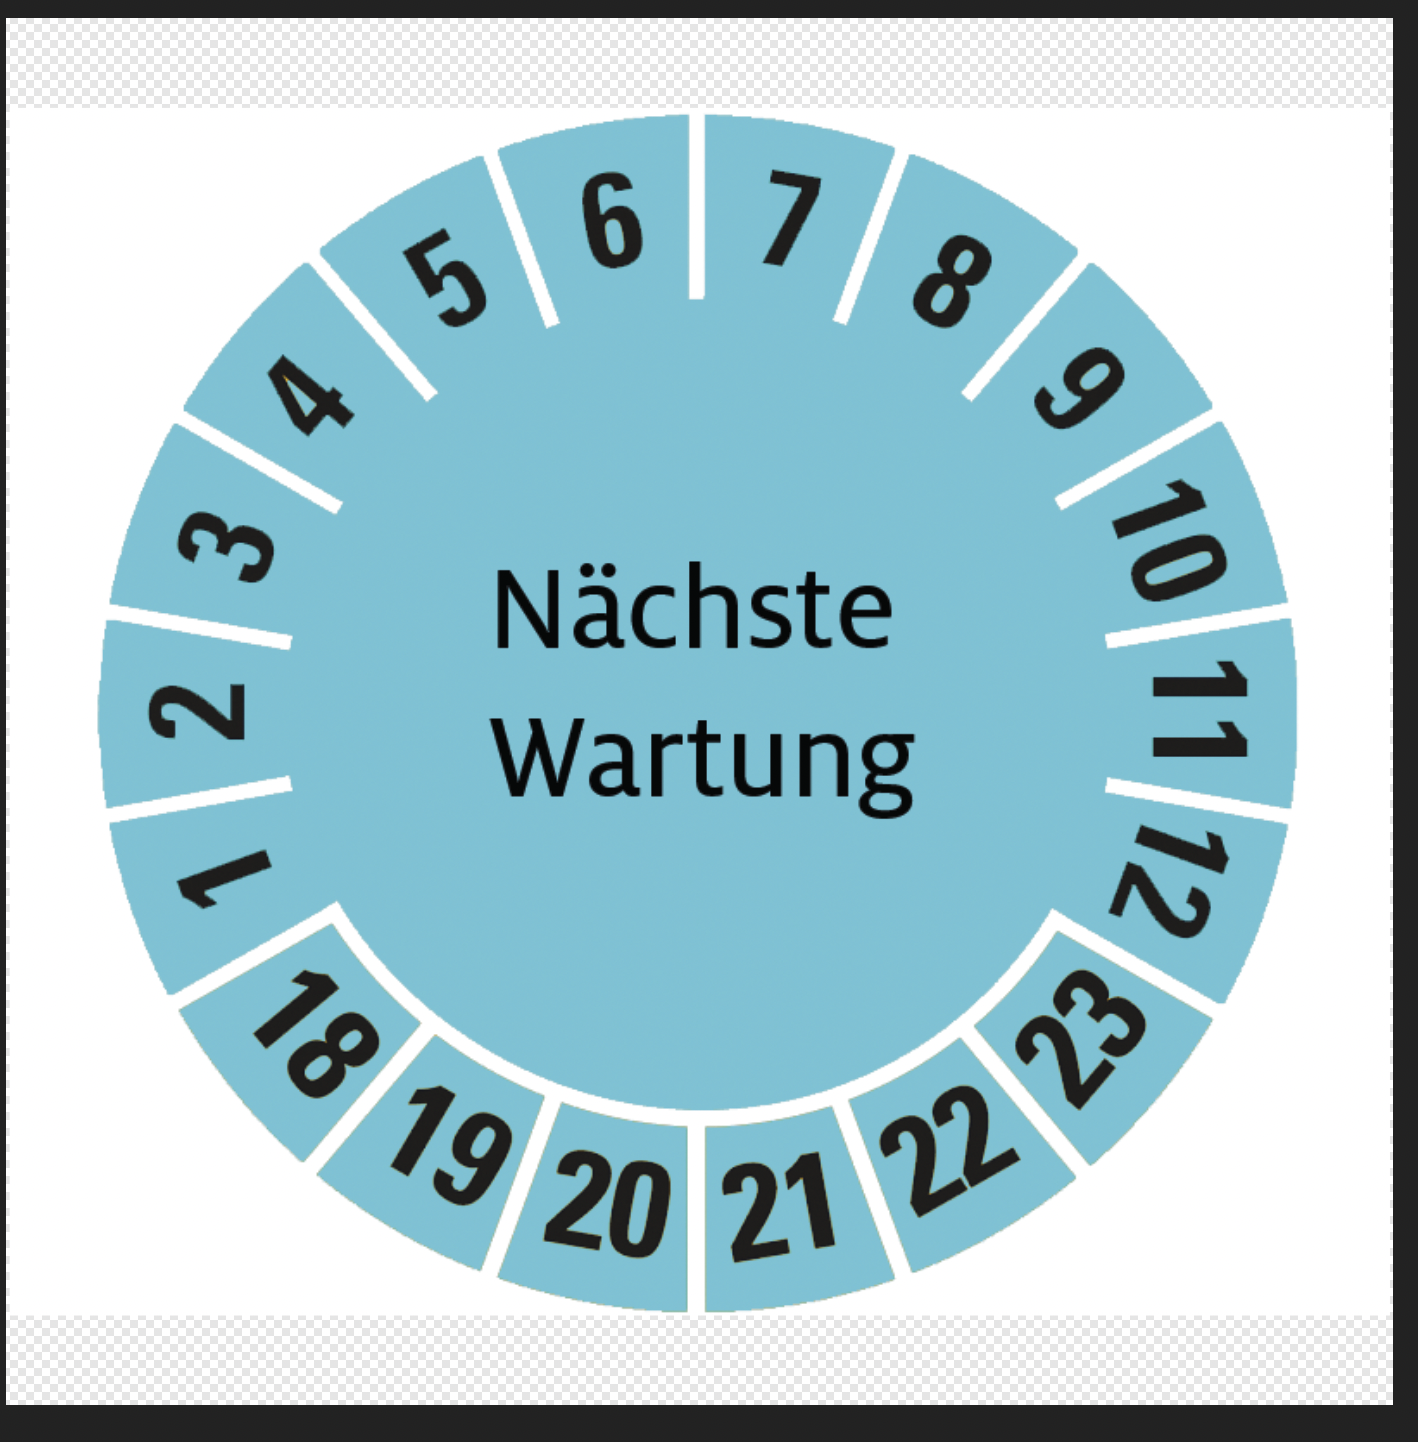
 Dear affinity users! I want to create an inspection sticker. It's also called Prüfplakette in Germany. In the first picture you see what I've recolored and labeled, but I want to create an editable version (second screenshot). My problem is, getting the numbers aligned properly. I've used a font with fixed width, an ellipse and the cog tool for the white parts. A second ellipse, same size as the first, as text path. How can I accomplish this? inspectionsticker.afdesign
-
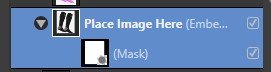
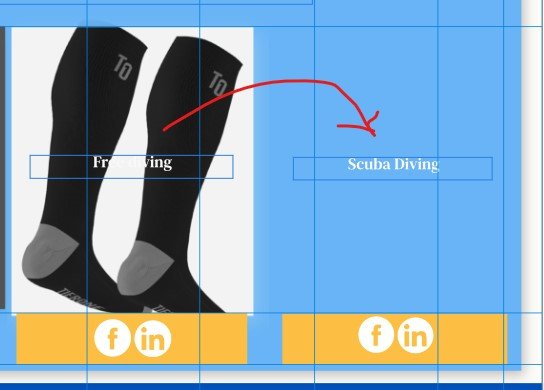
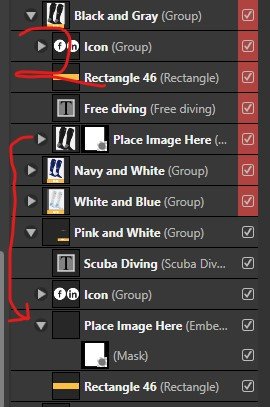
 Hi, new to Affinity Designer, I'm working in a graphics template and need to copy a mark and image to another group within same document, however, it seems to be linked to original mark and image and if I change image it updates image in both place in document. How do I unlink the masked image from source mask image so I can change working image? To give more detail: After copy mask/image to new group and drag it to target location on view, I go back to naviagtion layer of target object and double click on image, it opens into embedded window, I place new image and remove old and close embedded window and return to document window and see that image updated in both locations. as below. I have tried this in Designer and Publisher with same results, so I know it is linked but I can't see how to unlink them so they act independently.
-
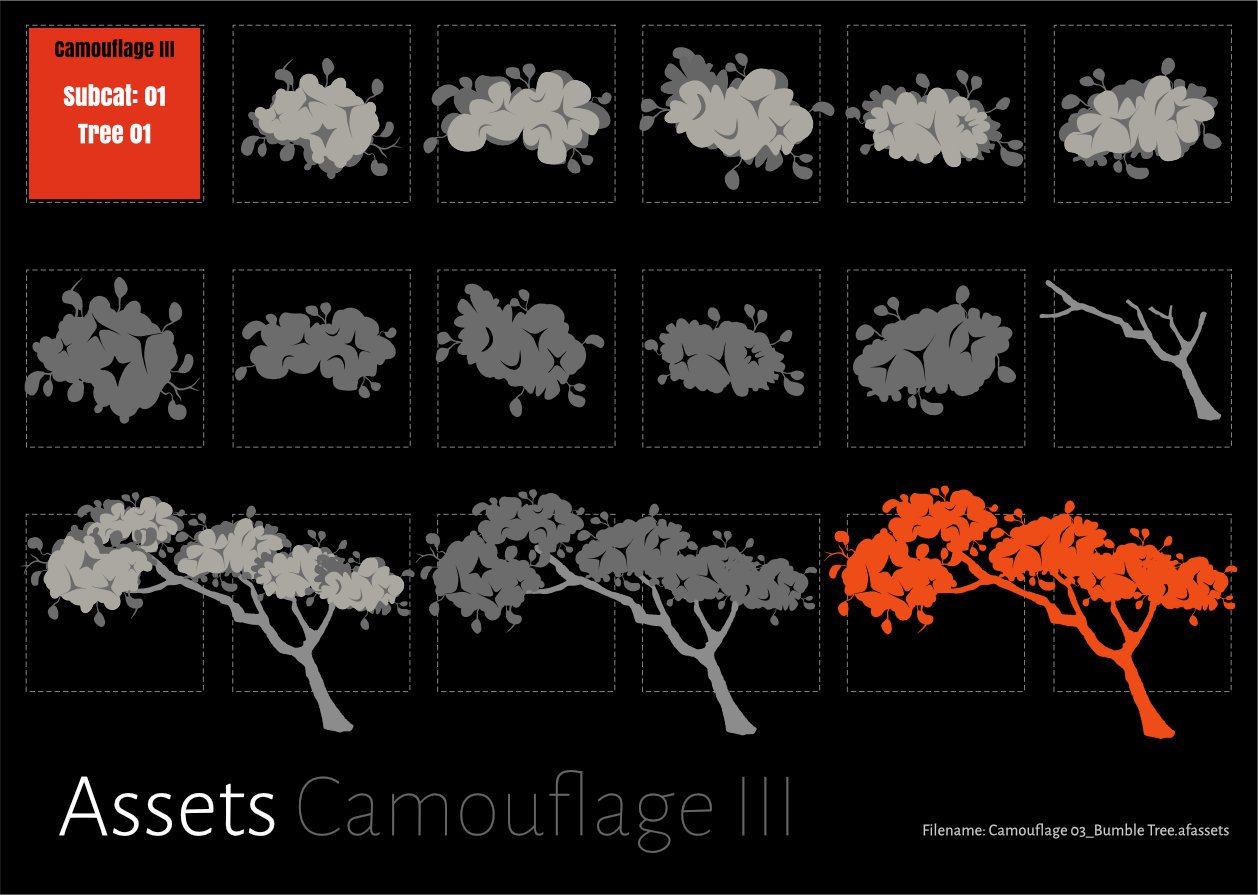
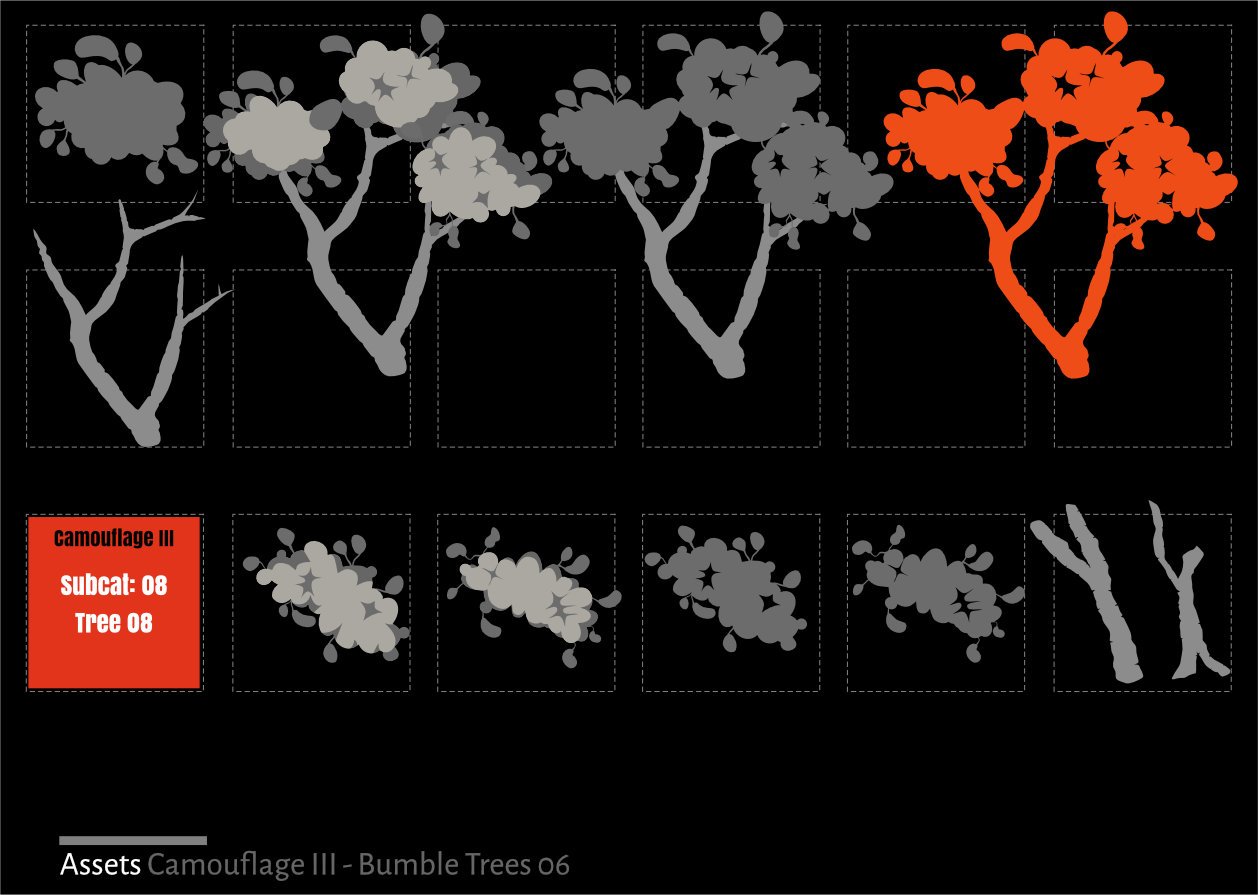
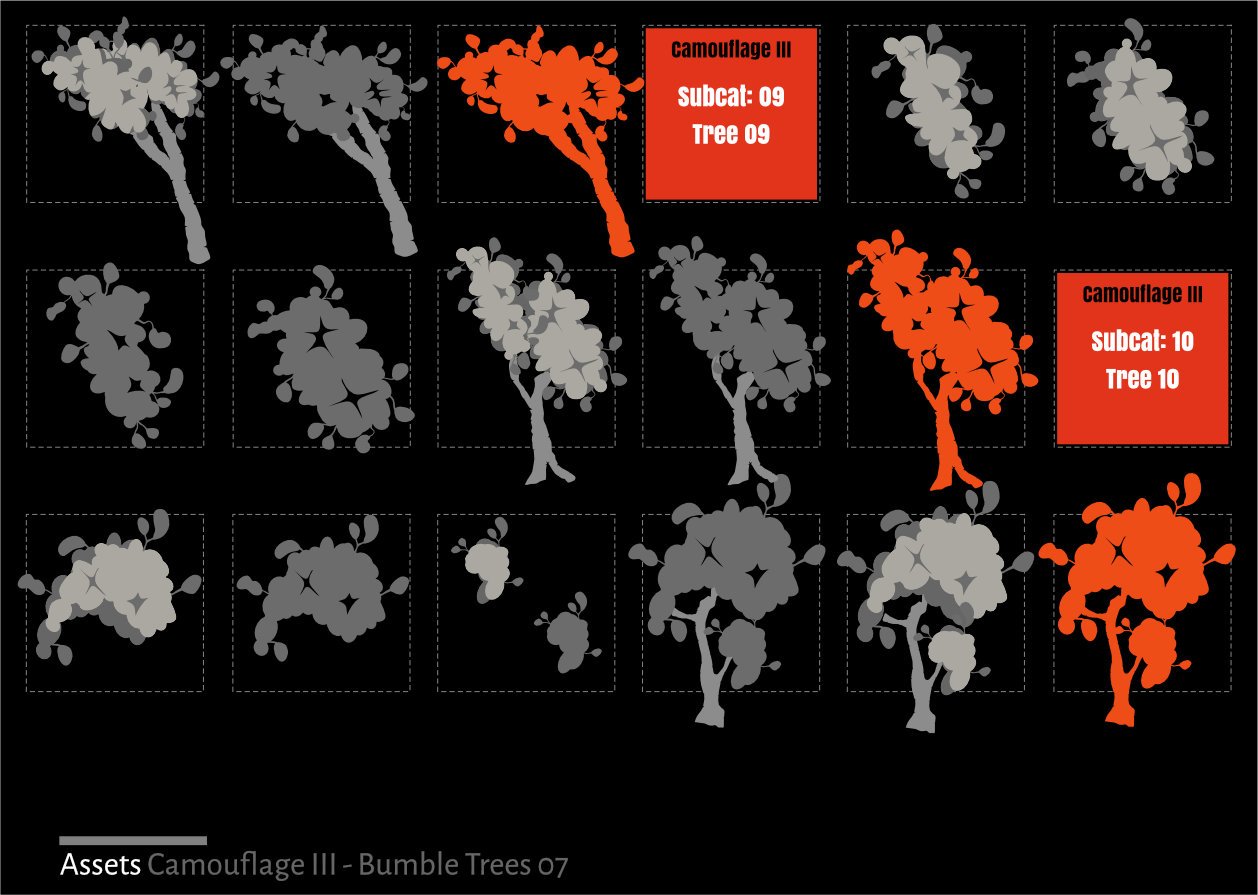
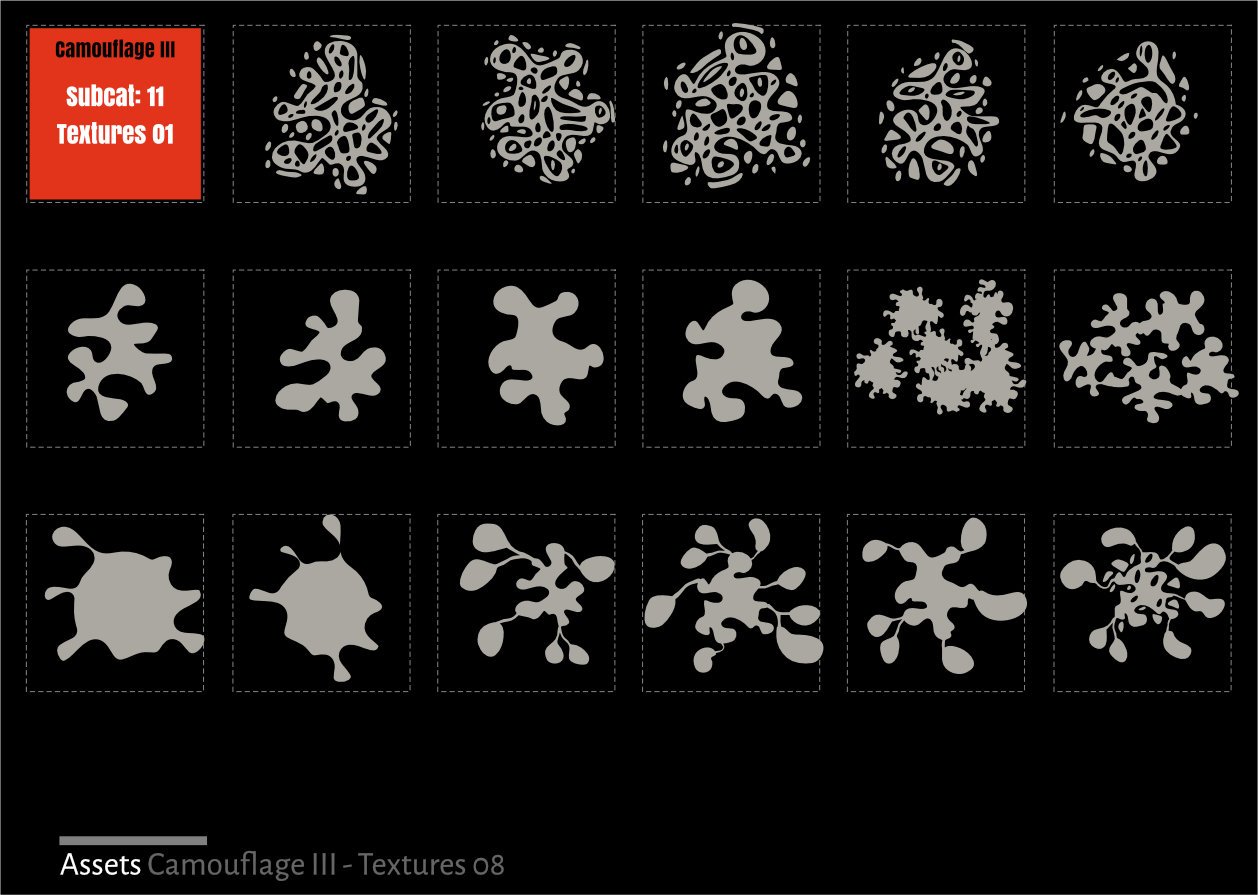
Vector Assets: Camouflage III Part of the Tree Builder Project A simplified cartoon like Tree Construction Kit based on the 'Bumble Tree' assemblage in Camouflage III Supplements Tree Builder Kit 03 which has a lot more assets! There is also a Landscape Kit associated with these 'base vectors' Categories 1. CF 01 - CF 10 Tree 2. Textures Detailing has been removed. Samples as below and .zip file for installation: Camouflage_03_Bumble_Tree.zip
-
 Hi guys, (Windows 10, Affinity Designer v1.10.5, desktop) So I have a workflow where I use groups a lot. To go straight to some object within a group I click CTRL + left-mouse click. Then after sometime I realize it made a copy. I only see this when I make changes to objects afterwards because then they overlap and everything looks off. But it's not only that, when 2 identical objects are one over another (e.g. text), they become bold-er, but that I usually don't manage to notice after accidental copying. This has become a real problem for me, I make around 10+ such accidental copies a day. I guess the core problem is that AffinityDesigner allows copying 2 ways: 1) With nothing selected: CTRL + left-click object + drag it 2) With object selected: ALT + left-click object + drag it But my interaction with object starts with selecting the object by CTRL + left-click (which as you see is half-way through copying routine), but somehow AD registers slight mouse movement (obviously) and creates a copy underneath that I do not notice until later in the day. I know about double-clicking solution, but that's not an option for me, I have groups within groups and so on. Clicking mouse 6+ times just to get to the object is not an option. How do I combat this? I have more such small nuances which slow my productivity, but those are for later discussions. P.S. There's a chance I make copies somehow differently, but then I have no idea how. When I purposefully try to recreate "accidental copying" I can barely do that. That's just my assumption that it's CTRL + left-click + drag. In any case, I would rather not have it copy with CTRL + click, because a "standard" combination in the industry is ALT + left-click + drag. Oleg
 -
I've asked a Question in Support forum about this issue and it seems there's no way around this. Problem: I use a lot CTRL + single-left-mouse-click to select an object. But what happens very often is that it creates accidental duplicate objects which I don't notice until later in the day. I make 10+ such unwanted duplicates a day and it's very painful. I don't purposefully drag the mouse, I just single-click, but it still creates copies (10+ times a day). Suggestion: Edit > Preferences > Tools. Add a configuration like: "Deep object selection (CTRL+ click)" : "Do not copy when dragged by default" So a dropdown selection, with current behavior and new behavior.
-
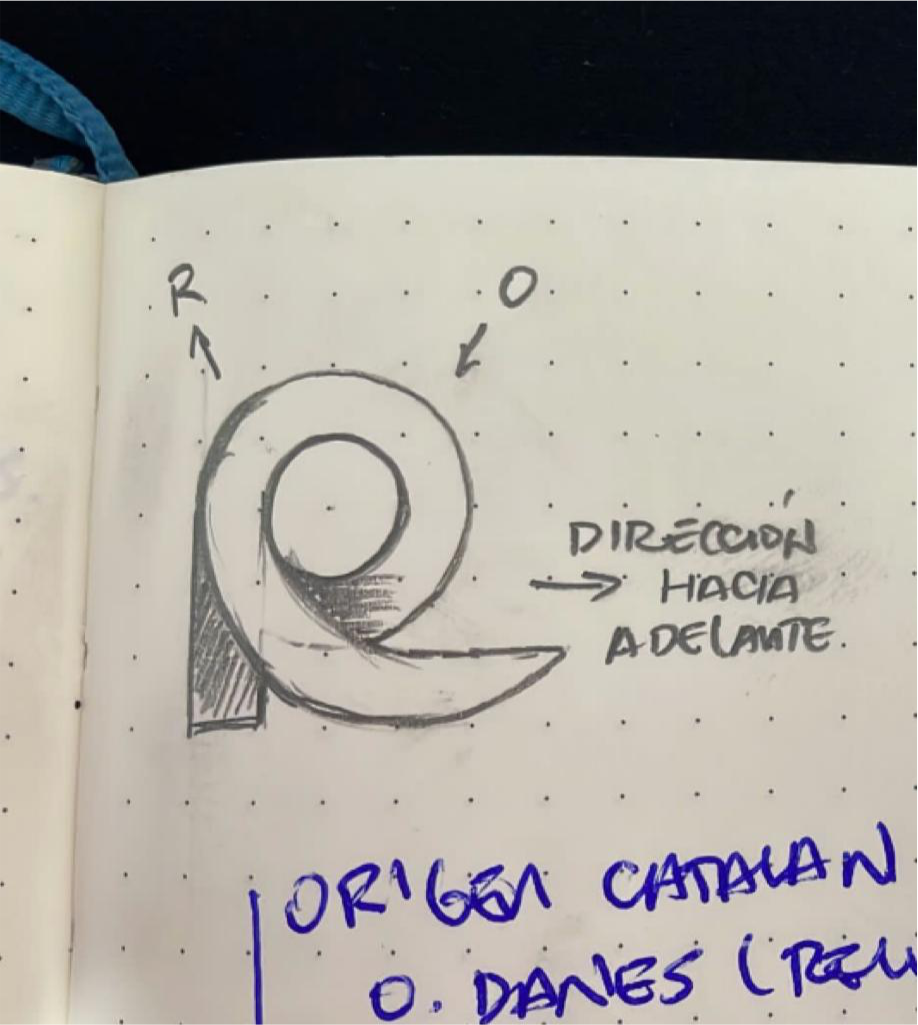
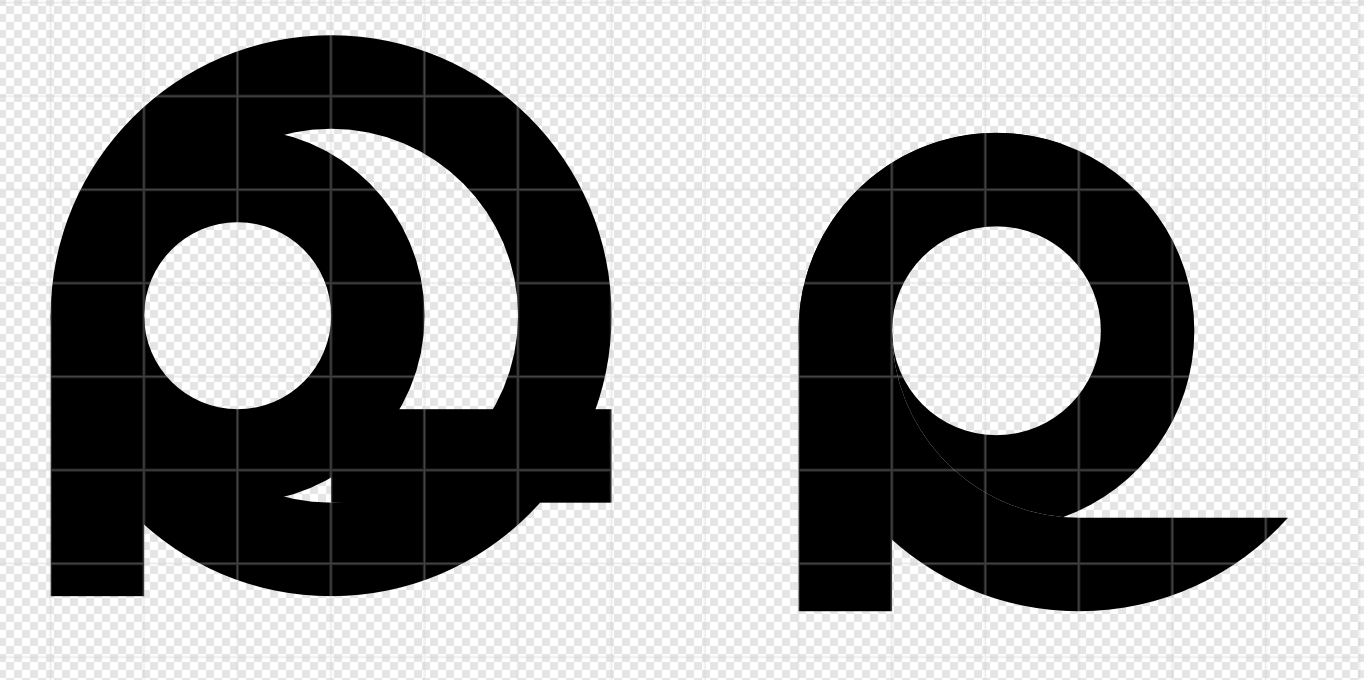
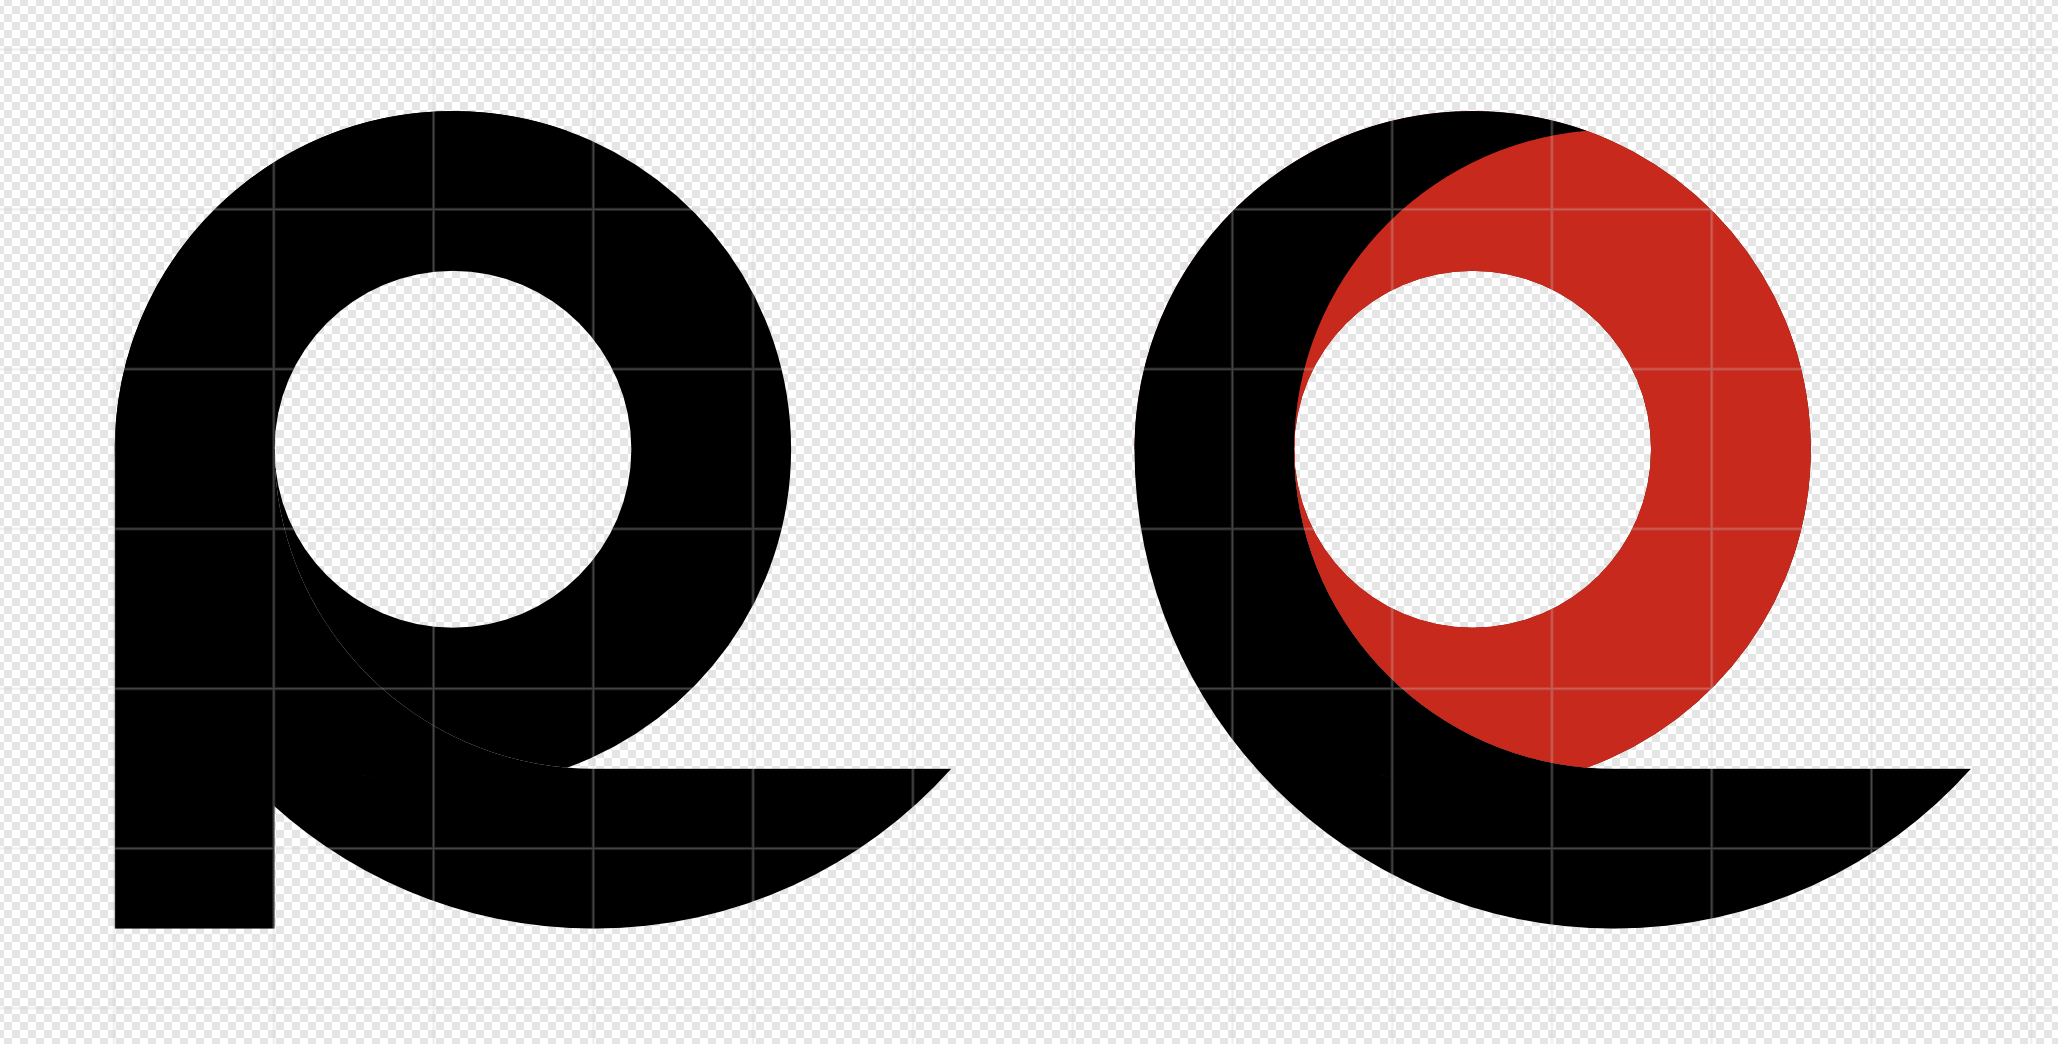
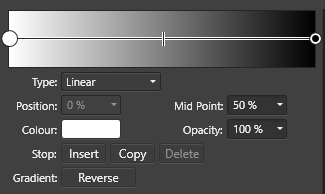
 Hi all, I am very new to handling independent shapes and the boolean options. I am trying to join two shapes, previously separated or subtracted from each other, because I want the bottom part not to join. It's a bit strange, attached as it should be the final result. After putting basic shapes together I have arrived at this: But now I need the circle to be divided from the bottom curve, something like this: According to the original drawing, I should make the complete curve and cut at the intersection. For example if I apply a gradient I can see the complete direction. I hope I understand and you can help me, thank you very much.
-
 Busy illustrating and animating 66 (!!) different animals for on a new Interactive Map. Happily using Affinity Designer for all graphics on the map to have them vector-based. Starting with the elephant 🐘! Such beautiful animals! 😀 2-Elephant-1080p-60fps.mp4
- 39 replies
-
- 11
-
-
A lil’ imp character I’ve been working on
-
Here are a few examples of book covers I created in Affinity Designer (and used in books created in Publisher). They were all for educational purposes in the advanced composites industry, mainly the aviation and space departments. I also DTP-ed the books in Publisher that contain between 100 and 300 pages, in which hundreds of 2D and 3D drawings, schematics, tables, graphs and formulas, that were made from scratch, were placed. A few examples of the tech art created for these books can be seen in my portfolio blog: https://communicats.blogspot.com/2022/04/book-cover-pages-flyers-and-educational.html Designer and Publisher (apart from the 3D programs I used) are a perfect combination even when the Betas are not recommended for commercial use 😁. The books are all proprietary material. One thing that was something of an issue though, the pdf's generated were really large... Structural Repair training cover for a book about commercial aviation practices Bonded repair curriculum and training cover book Structural repair training cover for a book about the space industry One off cover design for Lufthansa Technical Training department Cover for a (rather dull) SAE report
-
 Hi, I got the following problem for a few days or weeks. I vaguely remember that this only happend after I installed the latest version, but I am not sure: When opening a file or creating a new document the Designer app hangs. The installed and re-installed version is 1.10.5.1342. I disabled HW acceleration and cleared the font cache. Befora a files is opened, the application is responding normally, but in the task manager I alread se a process crashpad_handler.exe. When opening the file then, the designer process is reported having high power usage and nothing happens. When trying to interact with the applicaiton, Windows pops up a message if I want to close it or continue waiting. Any ideas? -- Oliver My OS version: Edition Windows 10 Pro Version 21H2 Installed on 13.11.2020 OS build 19044.1586 Experience Windows Feature Experience Pack 120.2212.4170.0 eventViewerCrash.txt Report.wer
-
Had fun allowing the background to double as a color with this one. Although I have never done it myself, one of my favorite illustration production methods is screen printing. With each color applied separately, there are happy accidents like the plates not lining up exactly right that make every copy unique. Because I went even simpler by omitting overlapping colors, this piece had to be planned and executed differently than previous pieces I’ve done. I had to allow for contrast, details, and a light source within a very limited color palette of 3 colors (near black, orange, and grey) on a more vintage off-white base. This is true vector with one subtle texture raster layer over the top that can easily be replicated for any size. Happy Sunday, all!
- 1 reply
-
- 10
-
-
- affinity designer
- ad
- (and 3 more)
-
Still relatively new to Aff.Des., I've been learning by recreating some old illustrations I made in AI years ago. My notion is to learn the differences and find out how to do what I did with different software. Cancer is the first one I've tried. There have been a couple of things that I did in AI that I can't do in AD, and a couple of things that I can't remember how I did them.
-
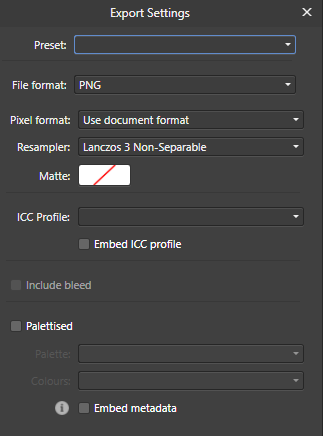
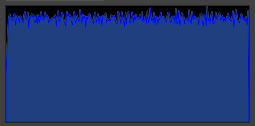
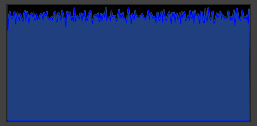
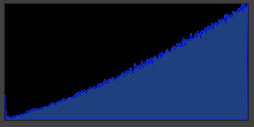
 When I export the same image from Affinity Designer, there is a very clear difference in terms of brightness. To test it, I created a simple black to white gradient. Using the three different Colour Formats (with the same Colour Profile: sRGB IEC61966-2.1 (Linear)) in the "Document Setup..." panel, I exported three images. Here are RGB/8, RGB/16, and RGB/32 (HDR) respectively: Also here are the histograms for the three images, put through Affinity Photo: I am a self learning graphic designer so if this is intentional then I'm sorry, but shouldn't the images be virtually looking the same, save for the "banding" and the noises from PNG compression?
-
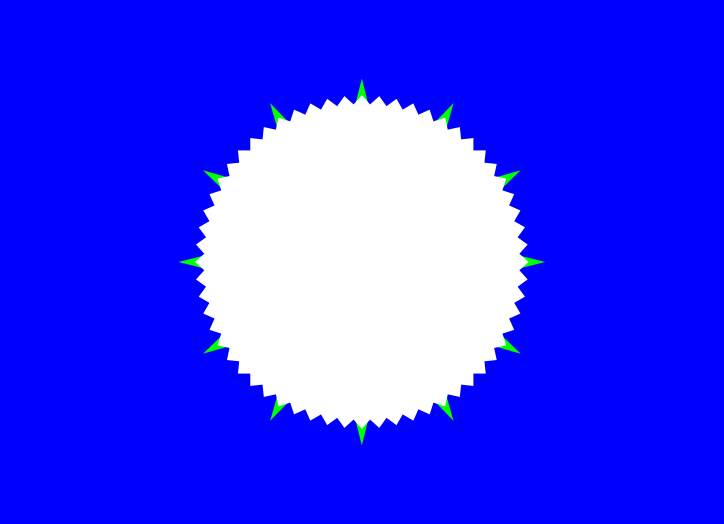
Here is an image that I produced as part of an ongoing attempt to design, and hopefully eventually commission the building of, an unusual clock. This is not some huge ornamental clock, it would be about the same size as a typical wall clock. I am thinking in terms of the clock being made from a clock movement that costs £4.25, some clock hands that are a few pounds and a printed sheet of thick card that has a design that includes the clock face, the artwork of the card being produced by me using Affinity Designer, together with such other parts, perhaps an adapted picture frame, to hold it all together to produce a complete ready-to-use clock. What some readers might find of interest is how I produced what I have thus far. It is all vector art, the background was produced using the Rectangle Tool, the rectangle being added last and then moved to the back. The centre of the clock design consists of three stars. The reason for three stars rather than two is because I wanted a star with sixty points, but at the time I thought that the Affinity Designer Star Tool only goes up to a maximum of forty-eight points for a star. So I drew a star with thirty points, then copied and pasted the copy on top then rotated the copy about its centre by six degrees clockwise. I then pasted another copy of the original star, changed it to twelve points for the star, reduced the radius and enlarged it about its centre point, precisely using the Transform Panel, changed the fill colour, then moved it behind the other two stars. However, I have now been informed that on the desktop version of Affinity Designer, which is what I am using, that although the slider only goes up to 48 points on a star, typing a larger number into the box allows one to obtain a star with more points than forty-eight points. Here is a link to a thread where there is more about the design of the clock for those readers who may be interested. https://punster.me/serif/viewtopic.php?id=101 William
-
Perhaps it is just me? 1. Type beach into the search box of the Stock panel for Pixabay 2. Drag the scroll bar 8 times completely down to the bottom Result: The panel shows Connection failed and all images shown before vanish.