Search the Community
Showing results for tags 'Affinity Photo'.
-
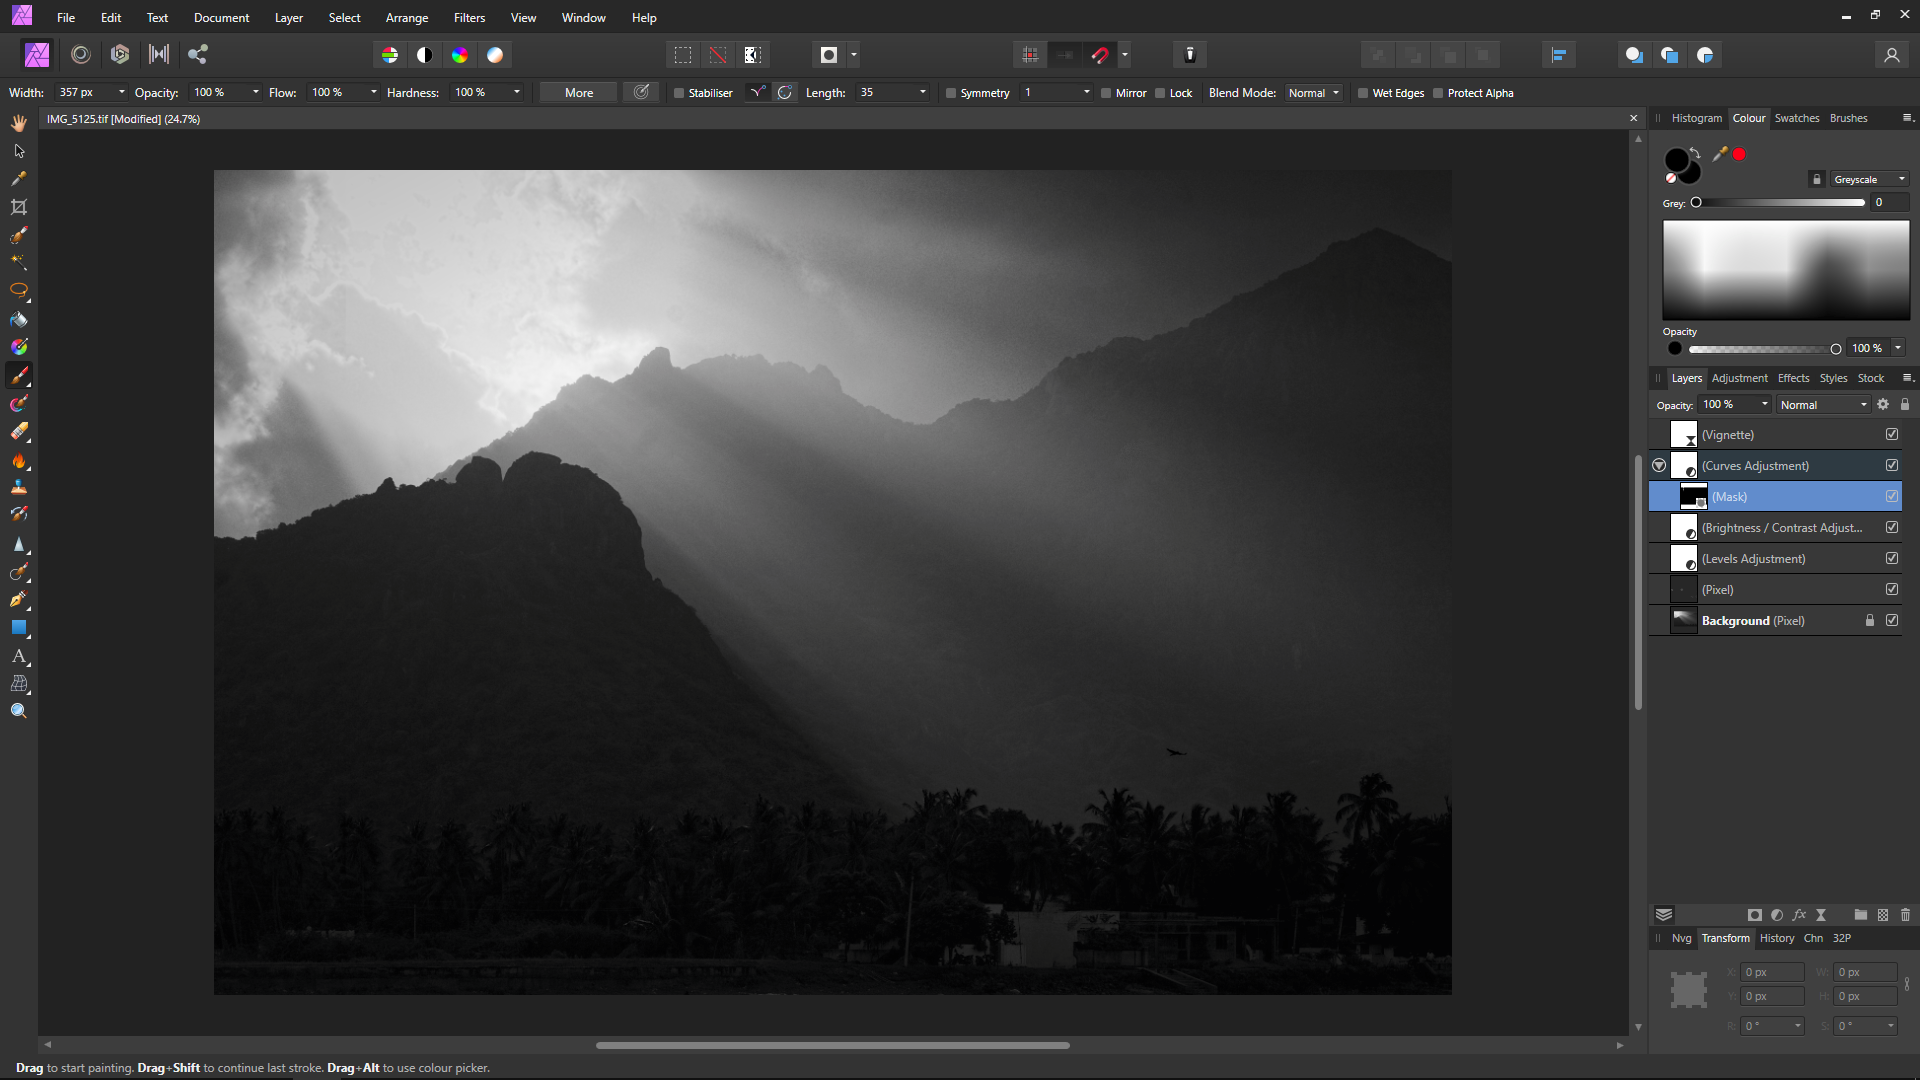
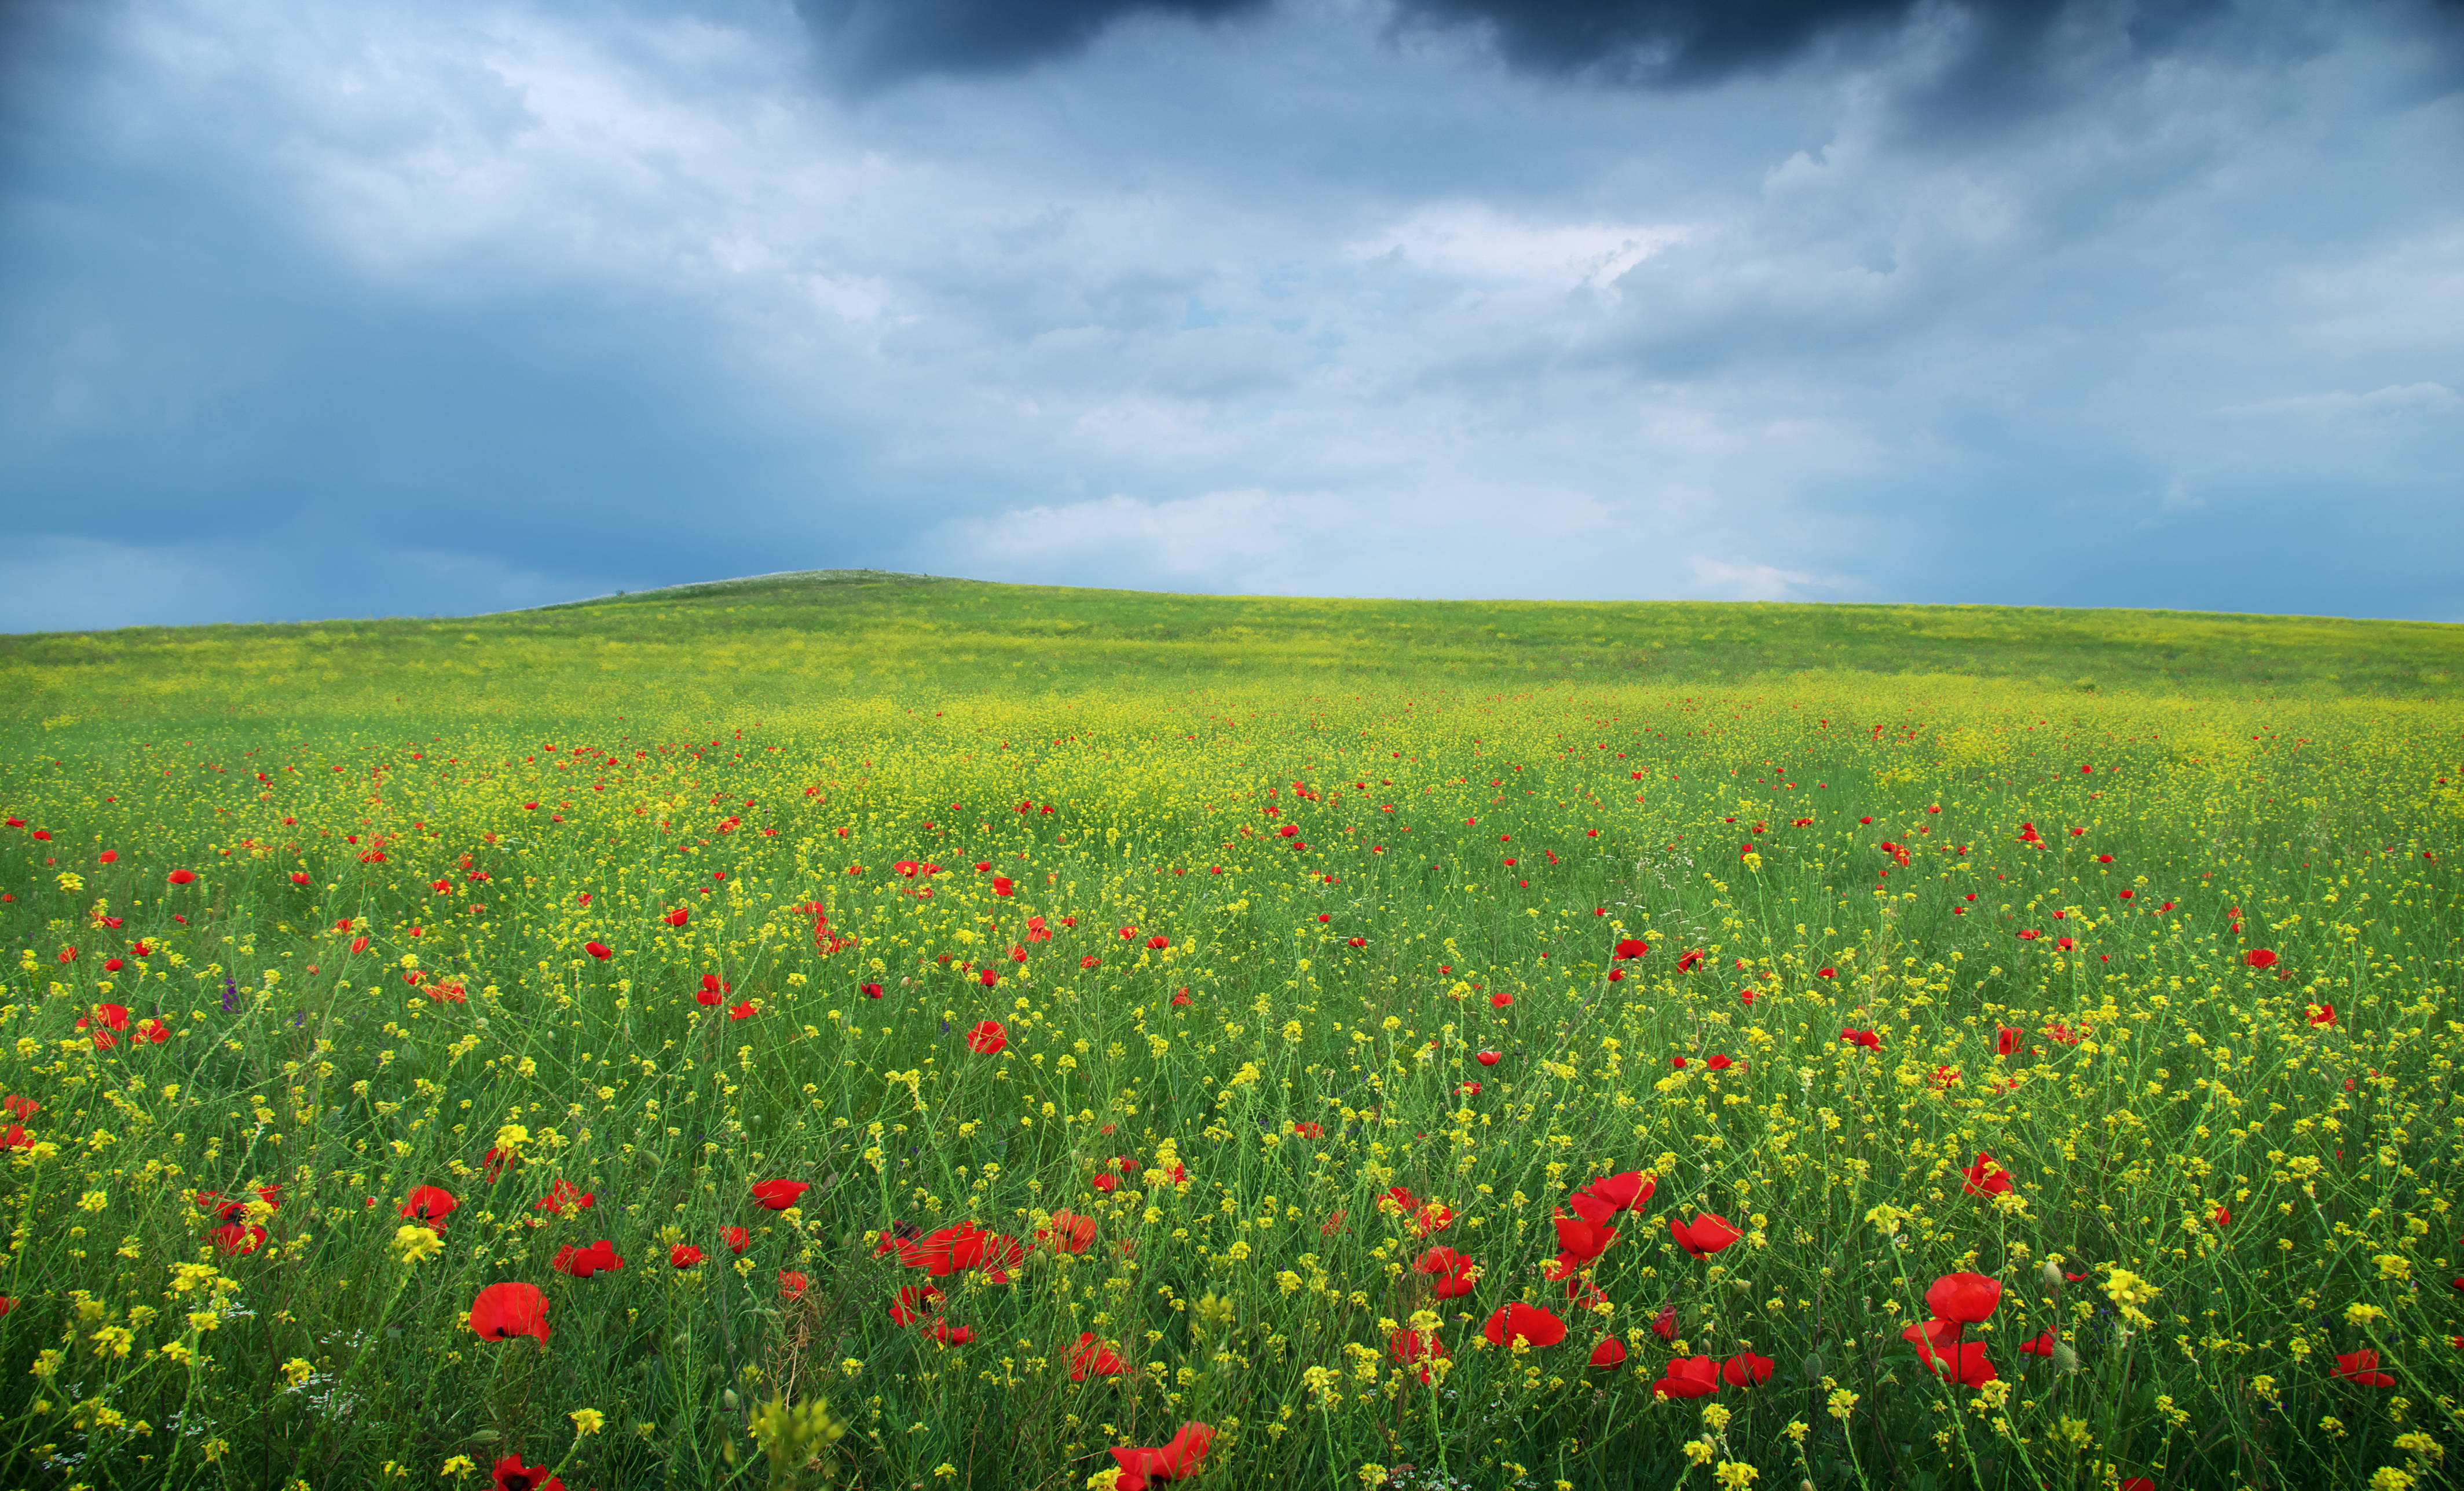
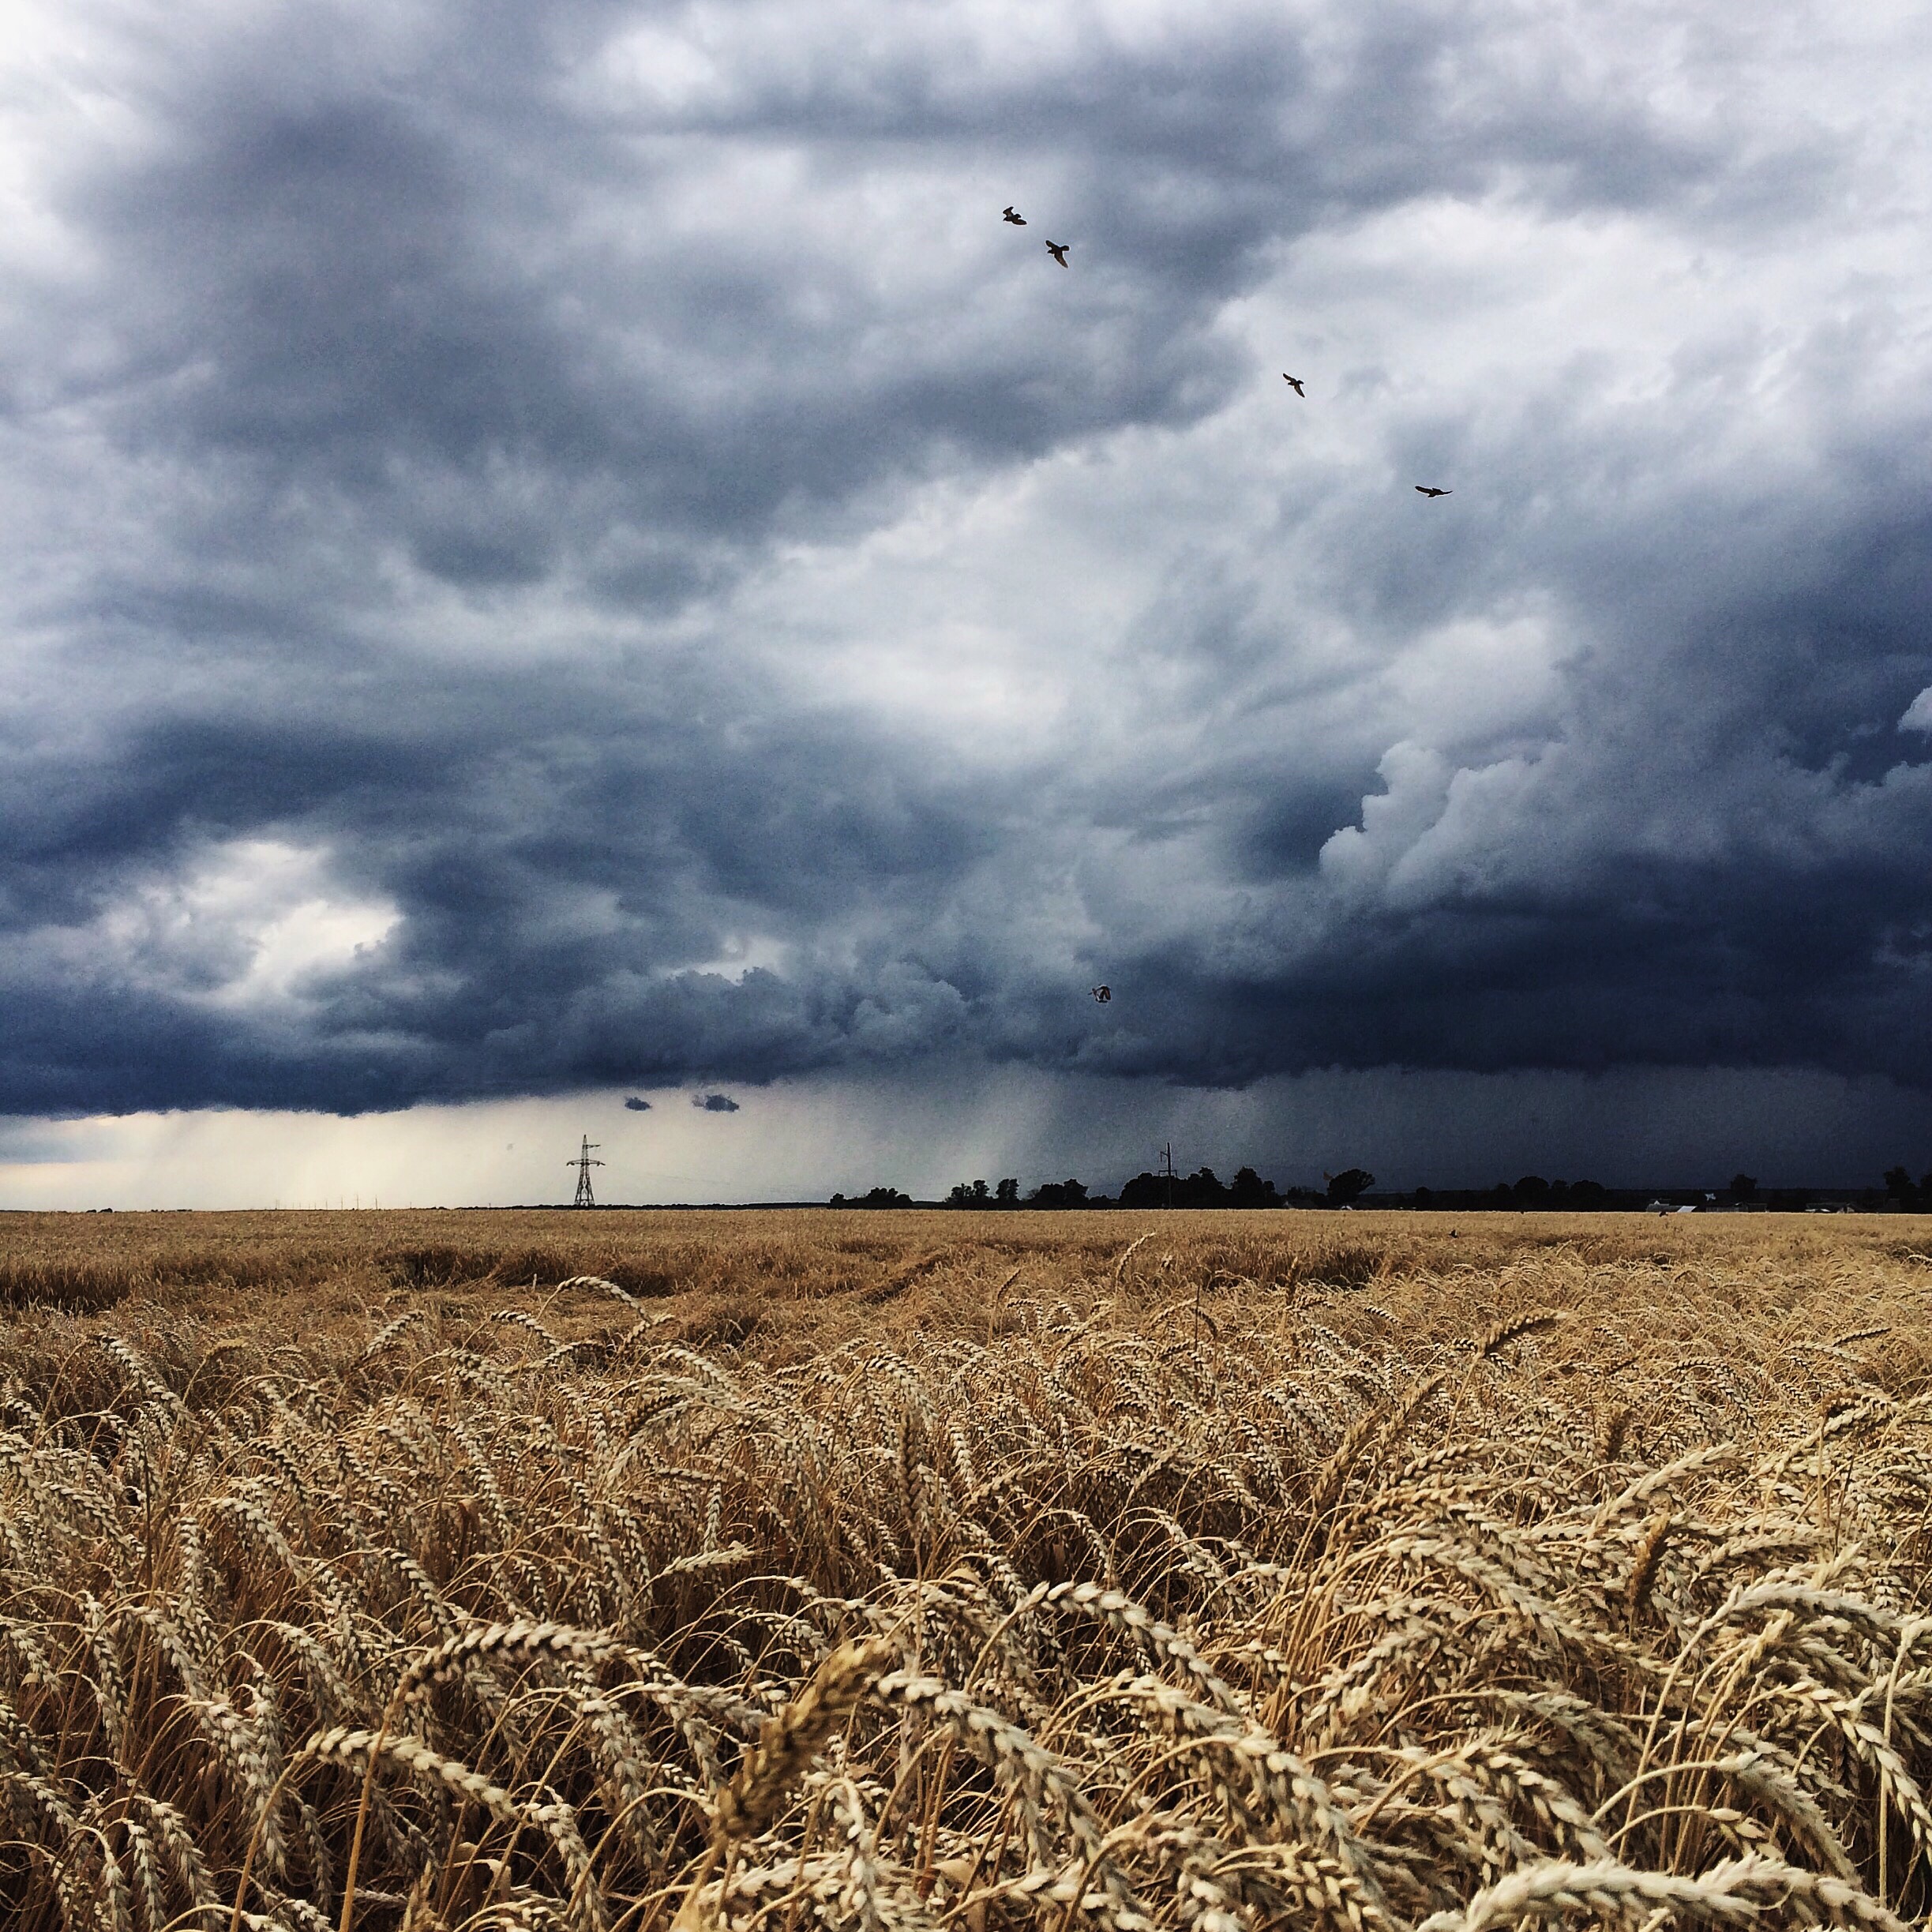
 I don't know if it's a question or feedback. For the past 5+ hours I've been trying to make sense of how to check how my work will look like when printed, and here's what I found. What I need I need a quick way to check whether my colors are within the printable gamut range and also to see the out-of-gamut colors. They keyword here is quick. What I get The Soft Proof layer works not like that. Suppose I am in the sRGB color space. It seems like it takes the RGB coordinates of current image of the sRGB space and simply applies them to the Proof Profile that I select (without conversion). But that's not what I want, this naturally gives the wrong results. What happens is that once I apply soft proof with the "U.S. Web Coated (SWOP) v2" profile I suddenly get a brighter image, as if it tells me that this is how it will be printed. And if I click the "Gamut Check" button most of image becomes grey. But it's not the case, it's not how it will be printed. In fact, all the original colors will be printed (in my particular case). The step that this Soft Proof feature misses is the conversion of Color Spaces for this "check". If instead of applying the Soft Proof layer I convert the color space (Document > Convert ICC Profile...) and select CMYK/8 + "U.S. Web Coated (SWOP) v2" then the image will remain exactly as is, it will not become brighter. Furthermore, if I now apply the Soft Proof layer and select "U.S. Web Coated (SWOP) v2" then the image will stay exactly the same, and if I click "Check Gamut" then no area will be grey. Because all colors are within the color space range. Bottom line It's very misleading what the Soft Proof shows if you don't convert your profile first. But if you have to convert your image profile to check the gamut then it makes the "Soft Proof" feature not helpful. I am attaching an image, just for reference, which I used to play around with this. Can you please help sort this out, why does it work like that and has that been done intentionally.
- 18 replies
-
- 1
-

-
- affinity photo
- soft proof
- (and 4 more)
-
 Is there a way to force an export preset to save the output dimensions I require? I keep getting caught out as it defaults to the pixel dimensions of my RAW file every time. All other aspects that I set are saved nicely in the preset I've created.
 -
 When opening a file and performing an export and no other operation. The export is logged as a change in the history to the original. This is not what the export function does. It uses the original as a source to create a new file in a different or same format but different name. This should not be taken as a change to the original. Since AP logs this as a change to close the original requires an extra step to save the change that didn't happen or exit without saving the non-existent change.
- 4 replies
-
- 1
-
-
- affinity photo
- exiting document
- (and 2 more)
-
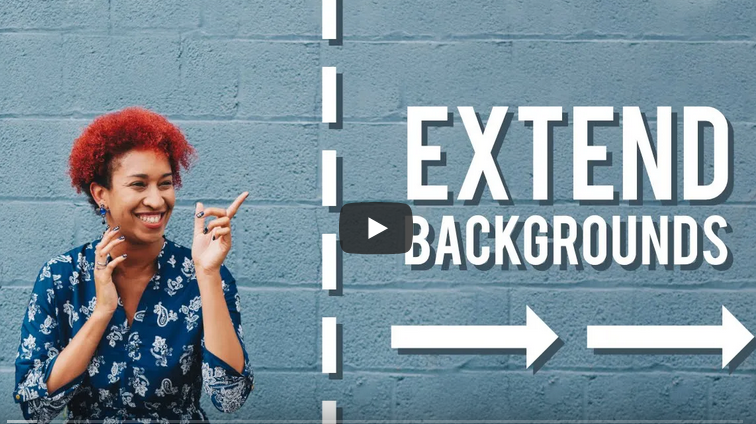
 Hi there everyone, thank you for your help. I used to do something in Photoshop that I would like to replicate in Affinity. In Photoshop, I was able to extend the canvas size by typing in the new dimensions in the 'Change Canvas Size' dialogue box. I used this when I wanted more space in the picture to add text to it (as in the image below) but the original picture didn't allow it. In Photoshop there's a 'Change canvas size' function that allows you to dictate the width and height you want (second photo). Then you select which edge you want to extend,whether top, bottom or either side and use the eyedropper tool to select what color you want to fill the extended canvas, and then use the brush tool at about 30% to tone it down if necessary. In Affinity Photo you can extend the canvas quite easily, but how do I tone down the color? And how do I blur the 'join' line so that you don't see a definite demarcation between where the original picture ends and the extension begins? Sorry if I'm not making myself clear..I'm such a newbie I don't know all the right terms. Thanks so much!
-
Hello, If you guys could add these contrast ratio feature in Affinity, it would be a really great tool. Here are some links that checks the contrast of background and foreground color. https://coolors.co/contrast-checker/112a46-acc8e5 https://colourcontrast.cc/ https://webaim.org/resources/contrastchecker/ I also attached a video explaining the feature request. Regards, Hossein Affinity-Feature-Request.mp4
- 7 replies
-
- 5
-
-
- color wheel
- contrast
- (and 5 more)
-
I am probably missing something obvious here, but when I am exporting from AP, the preview thumbnail is quite small. If I increase the size of the preview window, the image itself does not zoom in so I can't properly assess the image quality prior to export. Can somebody tell me what I'm doing wrong?
-
 Hello commmunity! How do I delete the selected area in Affinity Photo for iPad - like pressing the del key (since two-Finger-tap is undo)? Unfortunately I cant find any Option to manage this. many thanks for your help!
 -
 Hi guys, here's a video about how to apply any color to object without having to do selection in Affinity Photo. I hope you enjoy this video, thank you!
- 1 reply
-
- 3
-
-

-
- affinity photo
- tutorials
- (and 4 more)
-
 I don't know how, but this randomly popped up in my head this morning.
-
While working on this catalog, I used all the programs from the Affinities package.
-
- 11
-
-
-
- affinity photo
- affinity designer
- (and 1 more)
-
Commercial project completed for the customer I am currently working on.
-
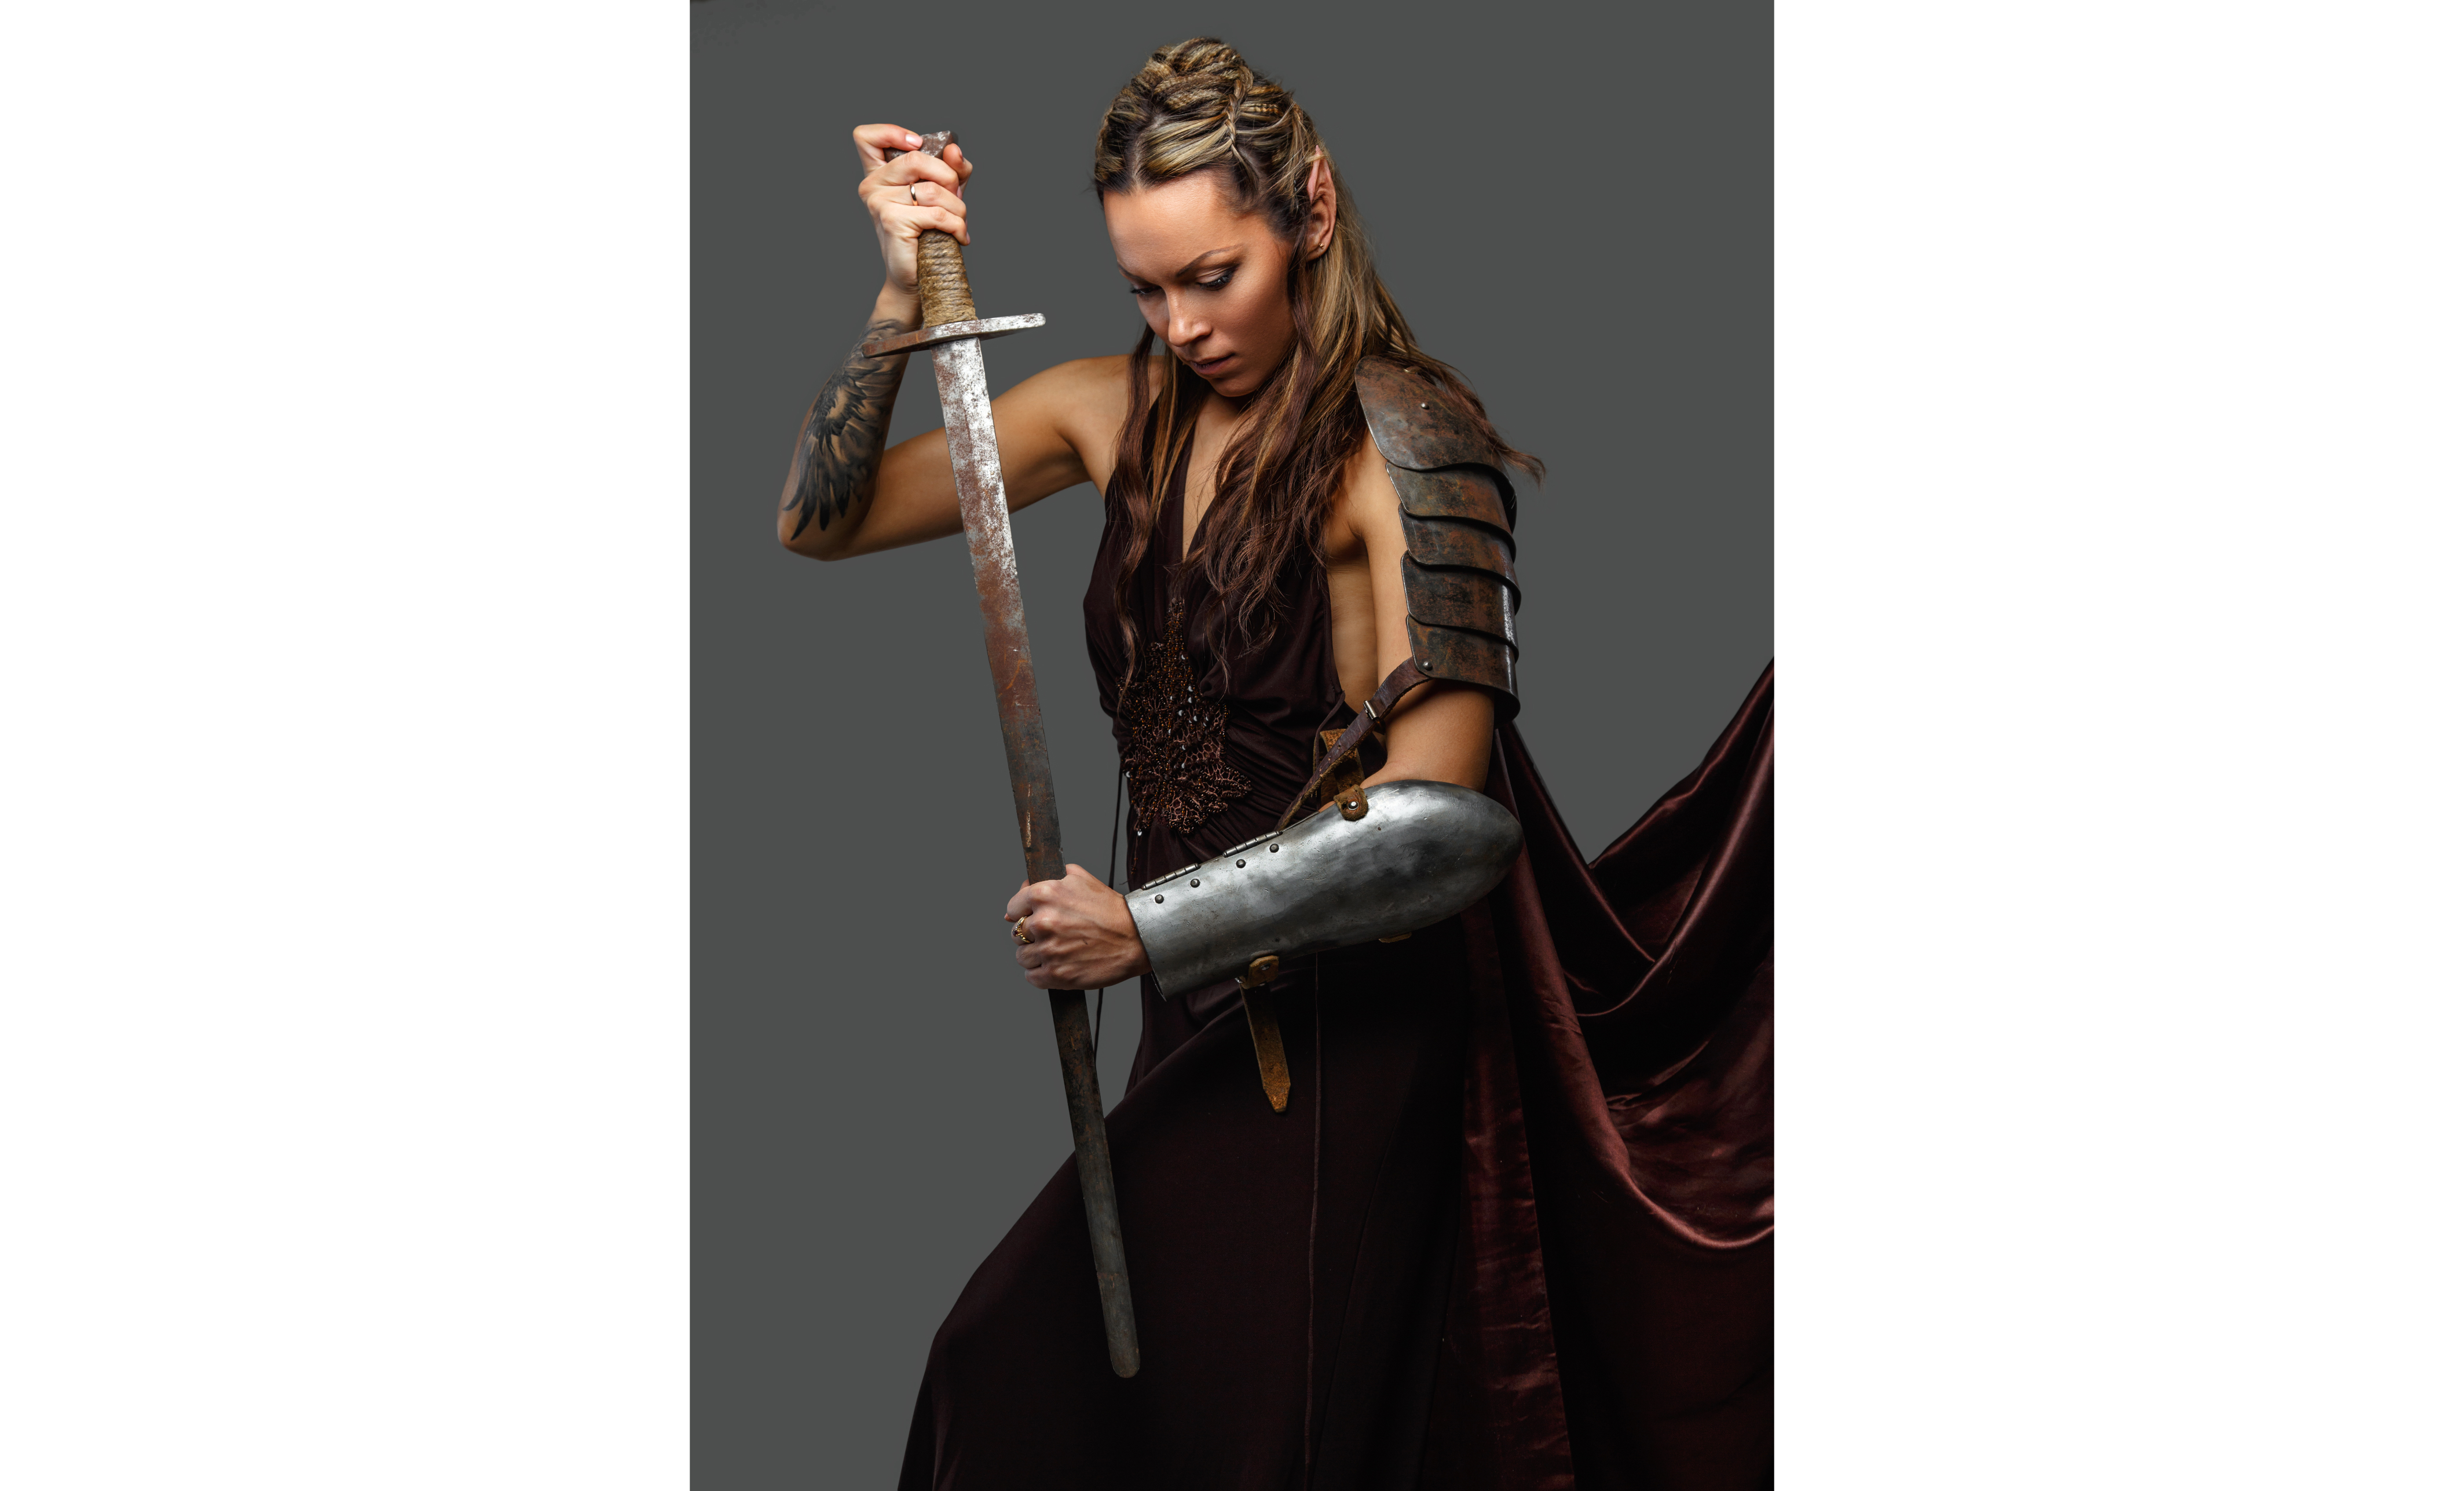
Specs iPad Pro (2020 Model) 12.9” iPad OS 15.2 Affinity Photo 1.10.1 Paid Photoshop Course followed: Kevin Carden Sword in the Stone Originals:
-
 Hello, Would anywone be aware of a plugin that would allow asinh colour stretching, as used in astrophotography? I read this plugin exists for Photoshop, and PS plugins should be compatible with AP (or am I wrong?), but I have absolutely no idea where to find the plugin. Is it integrated in the original PS setup? As an aside, would functionality like asinh find its way in AP's set of astrophotography tools...? Many thanks for pointers. (edit: Just discovered James Ritson's astro macros. Some of them handle the arcsinh stretching.) Cheers, Dom
 -
 I have come across something a little odd that has got me baffled and hoping I can get some insight as to what is going on or if this is a bug. Basically when I use the eraser to remove a portion of an image and then use the flood fill tool to change the colour of what remains, it fills it in but also brings back the section that was previously erased in the new colour. Steps to recreate. 1. Create a new pixel layer and paint a big blue circle 2. Create a second pixel layer on top of the first and paint a red circle inside the blue circle 3. Change to the eraser tool and erase a portion the middle section of the red circle creating two half circles 4. Switch to the flood fill tool change the colour to yellow 5. Click the flood fill onto one of the red half circles. Both the two red half circles change to yellow but in addition the middle section previously erased re-appears also yellow. I would expect that if something is erased it is erased? Thanks
 -
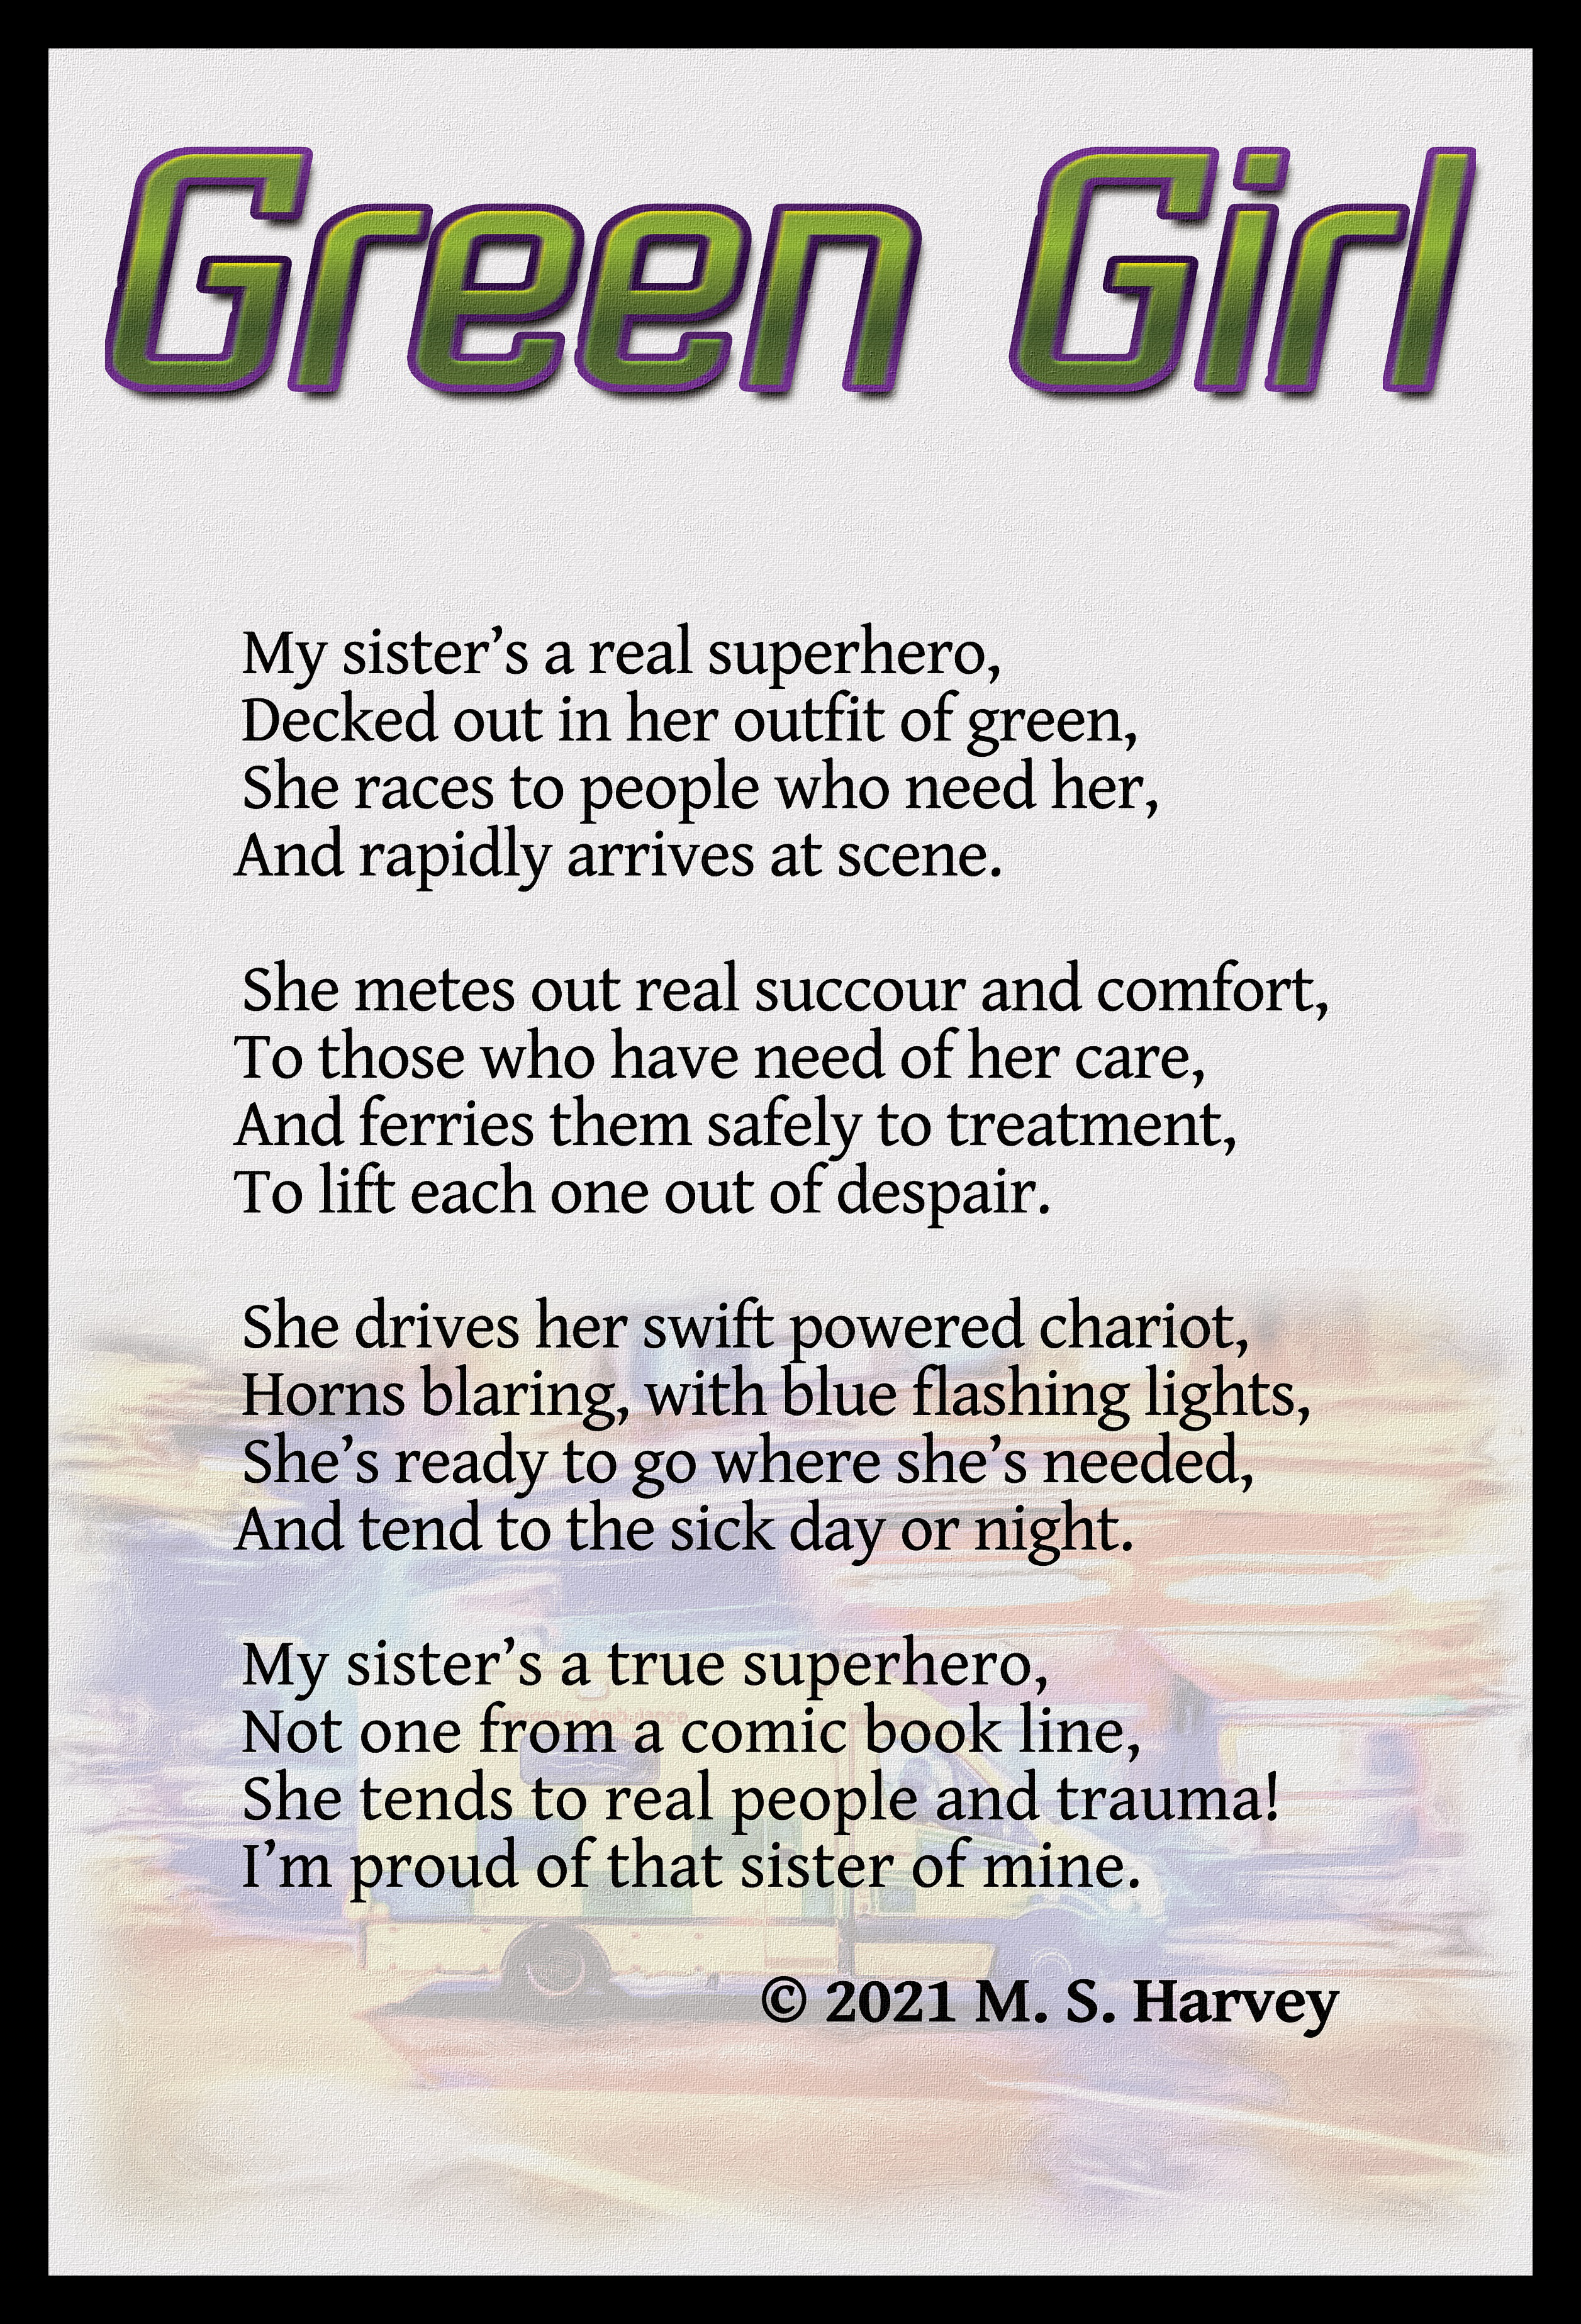
Here is a piece of work I created in Affinity Publisher to honour my sister's commitment and work as a paramedic. I used Fotosketcher and Corel Paint It! to create the artwork in the background, which I then enhanced in Affinity Photo using the tone map facility. I am waiting for the finished canvas to come from Vistaprint. However, here is a representation of the finished artwork with frame. Text editing was done in LibreOffice Writer. I hope she enjoys the gift.
- 35 replies
-
- 3
-
-
- fotosketcher
- corel paint it!
- (and 1 more)
-
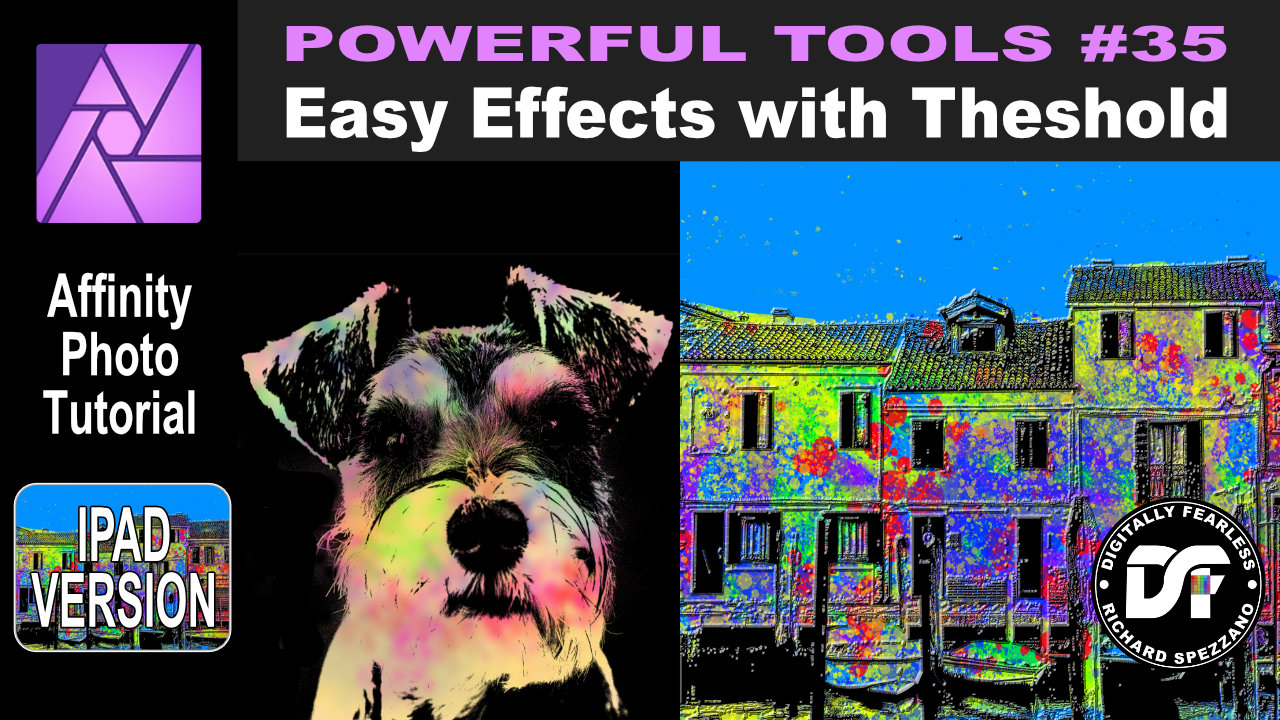
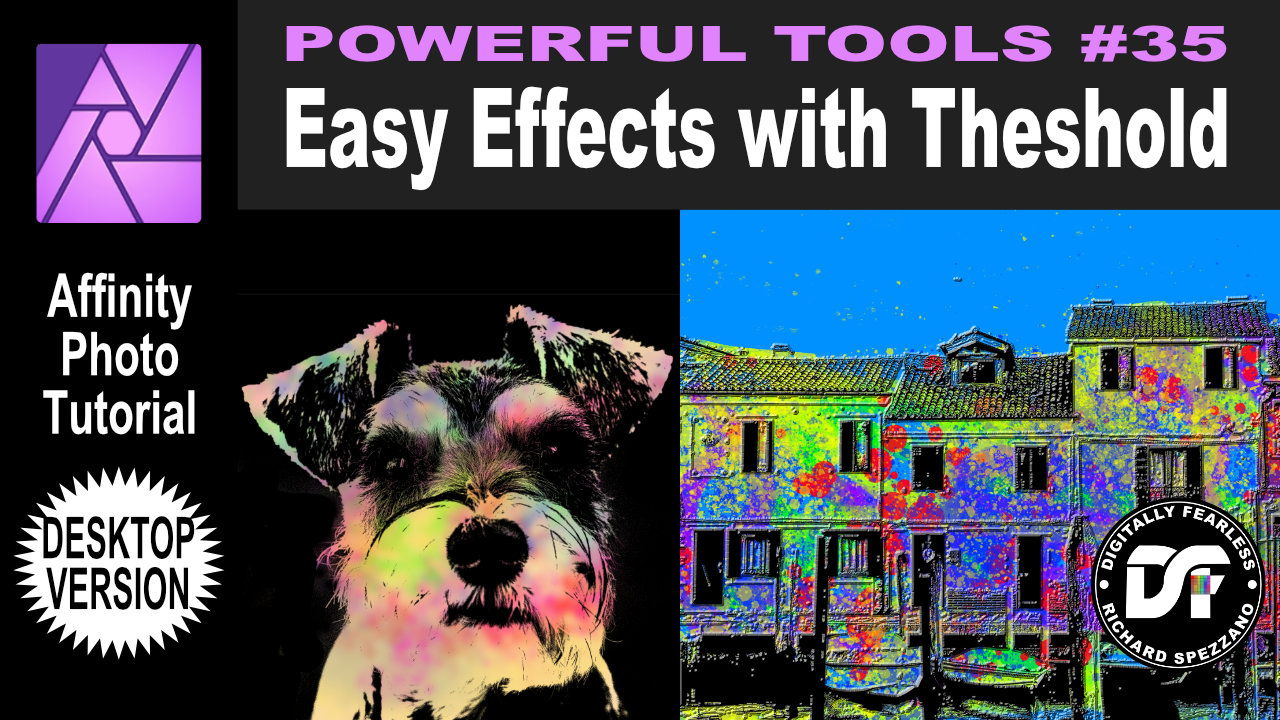
 Affinity Photo beginner tutorial photo manipulation. In this beginner Affinity Photo tutorial I use the threshold filter to create some interesting photo manipulation effects. This is number 35 in the Digitally Fearless “Powerful Tools of Affinity” series. The links to the iPad and desktop versions of this tutorial in the video description and below. iPad version of this tutorial: https://youtu.be/OzVzMuVw5zw Desktop version of this tutorial: https://youtu.be/4RNqDk6qpIk
-
 Have used a few adjustment layers on a photo. Got it looking just right, saved then exported to jpeg at 100% quality. When comparing the .afphoto and .jpeg files side by side the jpeg looks washed out. Tried replicating by turning off some of the adjustments but couldn't - looks like something just did a global desaturation/cooler white balance adjustment. I've attached screenshots from within AFPhoto. Any ideas of cause and correction. Thanks Paul
-
 Got the course from this site: https://kevincarden.gumroad.com/l/WlvZzB My Piece: Originals:
-
 I use Affinity Photo Version 1.10.1 on my Mac Book pro and on my iPad Air 2020. When I try to import a picture (Raw, PEF, 45,5) shot with my Pentax K-1 Mark II on my iPAD Air (iOS 15.0), I cannot see the picture, I only see a white and grey pattern, not the original picture. When I import the same picture on my Mac Book pro (mac OS Big Sur Version 11.6), there is no problem, I can import the picture file in Affinity Photo and edit it without any problems. What is the reason for the different behavior of Affinity Photo on iPad and on Mac Book pro? Uploaded: Test Foto IMGP3015.PEF
 -
 Hi, I imported an image, cropped it. Then applied curves adjustment with a mask to apply the adjustment on a specific area. I re-cropped the photograph to include more area. The adjustment layer is incorrectly applied on the newly accommodated area, because it was never included in the mask. So when I'm cropping out, the adjustment is automatically getting applied to the accomodated area. Steps to reproduce: Step 1 : Import image Step 2: Crop the image Step 3: Create an adjustment layer with a mask Step 4: Edit the adjustment layer Step 5: Re-crop to include more area Step 6: Check if the adjustment layer is not applied on the additional area included in Step 5 I want the mask to remain the same and not allow the adjustment layer in the newly accommodated area. Any help or directions in this regard is appreciated. Edit: If I select the mask and paint black over the unapplied area, the adjustment layers vanishes from that region. But are there any other ways to do this automatically when we expand the crop? Regards Gokul
-
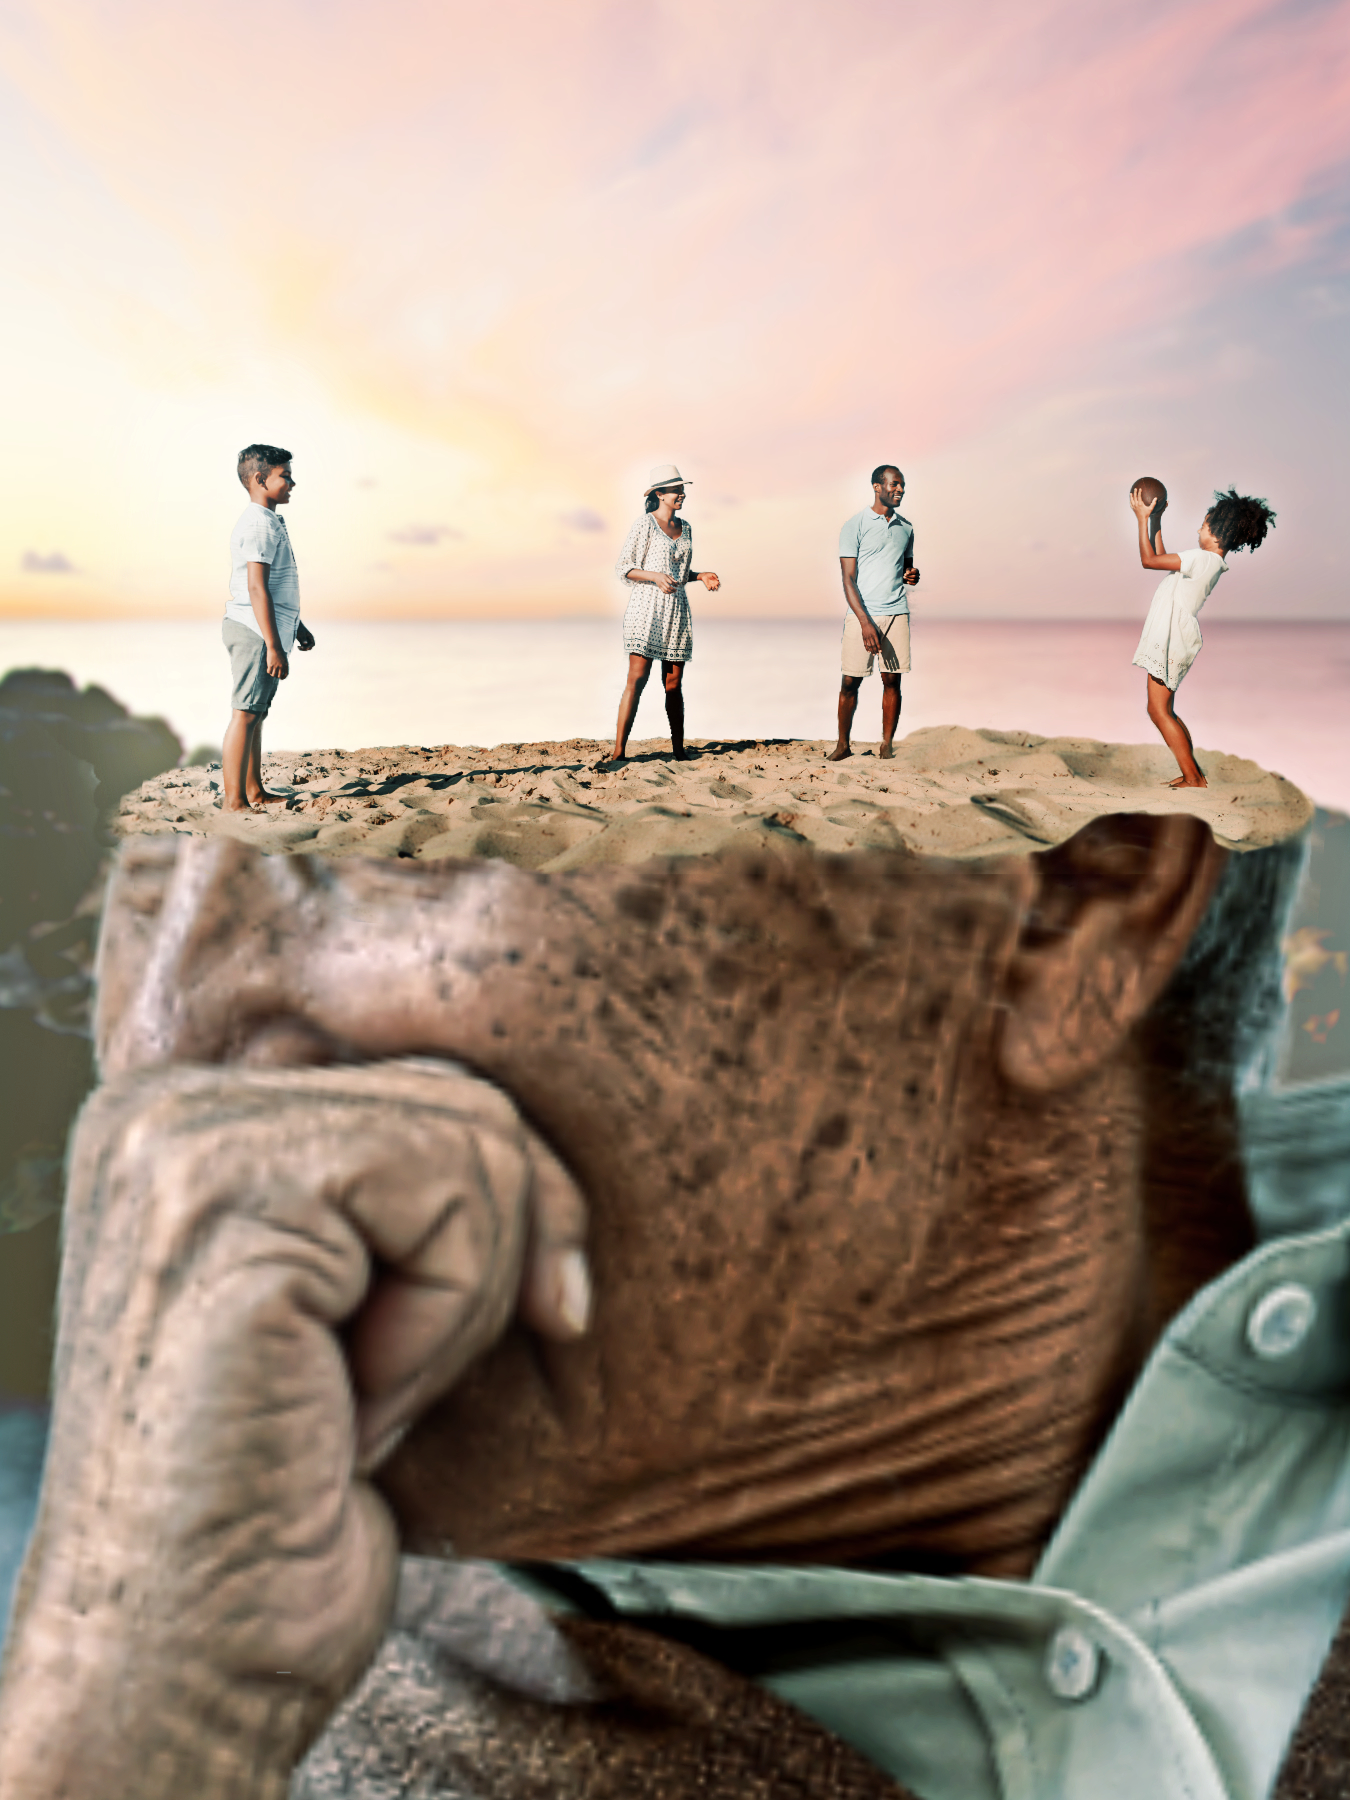
Hey folks, I have painted an item card for a trading card game we are developing in class - entirely in Affinity Photo! Constructive criticism is always highly appreciated!
-
i’m taking a course, it’s on photoshop, but i follow along on my affinity photo ipad. the instructor pulled up something called an offset tool located in the the filters - do we have some like that? because i cannot find it. thanks.
-
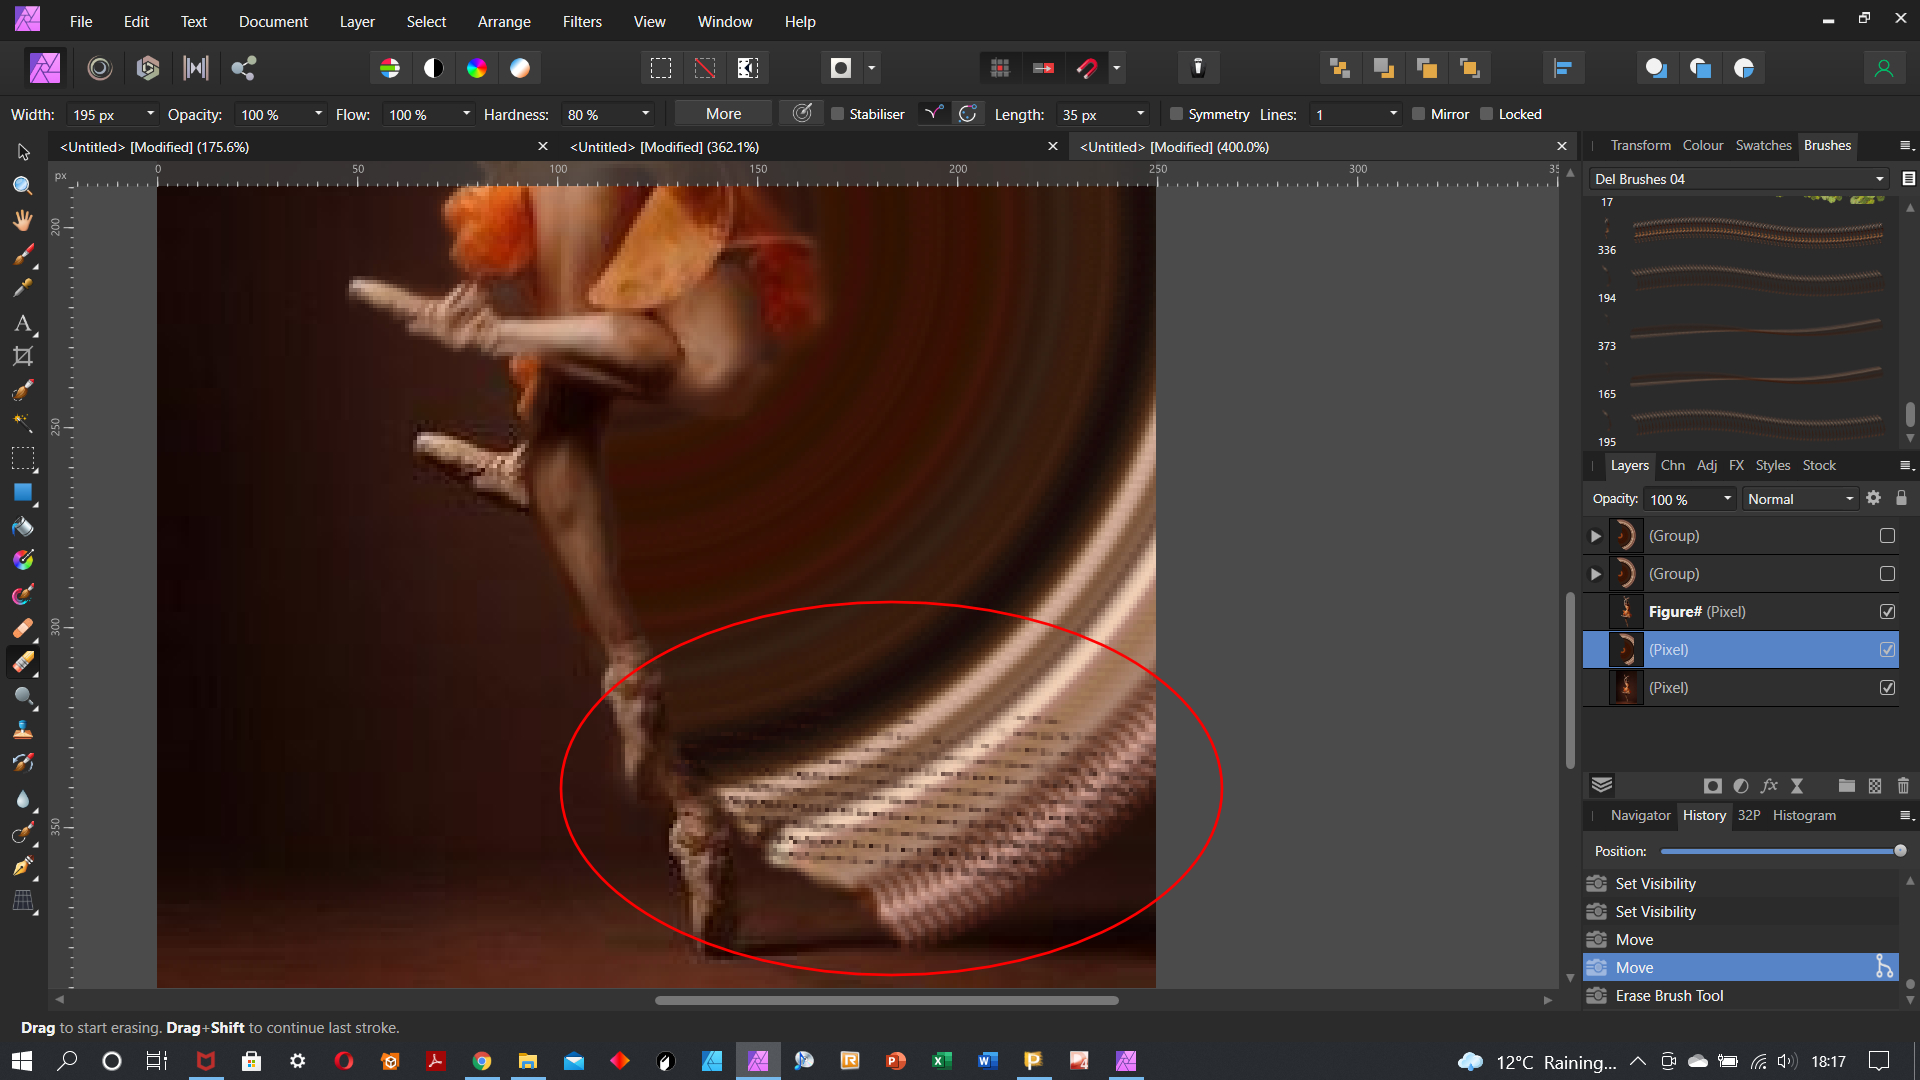
 Hi, I have been creating an image (just as an experiment, really), to recreate in Affinity Photo the effect of movement and colour of a figure in motion that I have seen on Pinterest, so I grabbed an image of a figure in motion so that I could see if I could recreate it - its not for commercial use, just to see if I could do it, really - and have been quite successful in recreating it. However, when I wanted to erase some of the colour/motion layer, I find that an image on a tool I have used previously has been somehow applied to the Eraser tool - and it keeps changing. Its like it has acqured an image that I have been using previously in the Eraser tool settings and I can't get rid of it or solve it. Resetting the tool doesn't seem to work I have included a screengrab of the effect and highlighted in red the problem with the Eraser tool... I wonder if anyone can help with this because currently I am unable to use the Eraser tool because of it. I am using Affinity Photo version 1.10.1.1142/ Thanks.
-
Hi guys, if you are using Adobe Photoshop or used it before, you must have seen the FILL option often right. It's located below Opacity in Layer Panel. So some of you might be wondering about the difference between Opacity & Fill Opacity because if you look at it, both Opacity & Fill Opacity do the same thing, controlling the transparency of a layer. But then, why bother to create the same feature, there must be a difference right. So in this video, I will explain the difference between Opacity & Fill Opacity, and where Fill Opacity is located in Affinity Photo. I hope you enjoy this video, thank you!
- 12 replies
-
- 5
-
-
-

-
- fill opacity
- opacity
- (and 4 more)


.png.859c452686736c4d9051fa6527c2ce1d.png)
.png.f7d52b02379c70591b575d85dbf73451.png)