Search the Community
Showing results for tags 'Affinity Designer'.
-
 Below is my list of written tutorials I have done over the years. The first few were done using early versions of Affinity programs but they should still be ok. Some menus may have changed or tools look different but the basics are the same. Also most are for Affinity Photo, but some could be done in Designer. Plus the "Beginners Look at Affinity Photo" ones will pretty much be the same in Affinity Designer and Publisher as all 3 programs have same basic functions. PhotoPlus and Affinity Photo – make a fake Starry Sky background https://www.dropbox.com/s/3la5z4amc11wcgx/starry-Sky-PhotoPlus_and_Affinity_Photo.pdf?dl=0 Affinity Photo – Silk Embroidery Effect https://www.dropbox.com/s/9h4mpso7i77z1oq/Affinity%20Photo%20-%20Silk%20Embroidery%20Effect.pdf?dl=0 Affinity Photo – Silk Embroidery Effect V2 https://www.dropbox.com/s/6usbza25vidgmck/Embroidery%20Tutorial%20v2.pdf?dl=0 Affinity Photo – Vintage Cabinet Frames https://www.dropbox.com/s/bj2dsmwmy0juazk/cabinet-frames.pdf?dl=0 Affinity Photo – Fake Evening Sky with Rain and Lightening https://www.dropbox.com/s/mlcdnducotitp1d/Fake_Evening_-_Lightning_-_Rain_-_Affinity_Photo.pdf?dl=0 Affinity Photo - Art Projects Shows 2 ways to make a blank canvas on an easel have what might be a painted image on it, from a photograph. https://www.dropbox.com/s/8fx18c77t2dnulb/Art-Projects-sept2018.pdf?dl=0 Infrared V2 – Affinity Photo 3 ways to make fake Infrared images I Needed a project to use in the Affinity Publisher beta, so I thought I’d update an old Serif PhotoPlus tutorial to an Affinity Photo tutorial. It basically shows 3 methods to get Infrared style images. https://www.dropbox.com/s/0c0mgqfrbrdv4q5/Affinity%20Tutorial%20-%20Infrared-v2.pdf?dl=0 Affinity Photo – Convert German Video – Film Strip Image in 3 parts pt 1 https://www.dropbox.com/s/iewleyt95a8qhdk/Photo_Film_Strip_-_German_Tutorial_pt1.pdf?dl=0 pt 2 https://www.dropbox.com/s/2j35gkvxr9emcq6/Photo_Film_Strip_-_German_Tutorial_pt2.pdf?dl=0 pt 3 https://www.dropbox.com/s/6yvxubgne0kqct4/Photo_Film_Strip_-_German_Tutorial_pt3.pdf?dl=0 Affinity Photo – False Water and Reflection https://www.dropbox.com/s/4sm0qqikvp0hs0a/affinity-photo-false_water_and_reflection.pdf?dl=0 Affinity Photo – Chinese Painting Styles in 2 parts pt 1 https://www.dropbox.com/s/uvqn9hf9mo2xwbr/Chinese_Painting_-Pt_01-_affinity-photo.pdf?dl=0 pt 2 https://www.dropbox.com/s/6ovc317ncjjosd0/Chinese_Painting_-Pt_02-_affinity-photo.pdf?dl=0 Affinity Photo – Beginners Look at Layer Masks https://www.dropbox.com/s/c0lsf9e7kdymdyd/A-Photo-%20Beginners%20Look%20At%20Layer%20Masks.pdf?dl=0 Activ8 issue 1 – Better Cloning https://www.dropbox.com/s/a1d283mn7icltzc/ACTIV8-issue1-BetterCloning.pdf?dl=0 Activ8 issue 2 – Spheres https://www.dropbox.com/s/igufcf3unu4z84b/ACTIV8-issue2-spheres.pdf?dl=0 Activ8 issue 3 – Affinity Photo - Select Tree - Replace Sky – 2 ways https://www.dropbox.com/s/lx0ko7f2xjqsg3r/ACTIV8-issue3-replacesky.pdf?dl=0 Activ8 issue 4 – Tri-Fold Image https://www.dropbox.com/s/1iyp59mr3bzjlri/ACTIV8-issue4-TriFold-image.pdf?dl=0 Activ8 issue 5 – Emboss With Lighting https://www.dropbox.com/s/t5r6tiz3c7k7o1s/ACTIV8-issue5-emboss-with-light.pdf?dl=0 Activ8 issue 6 – 3D Text https://www.dropbox.com/s/gif1x6xrtfrp2z8/ACTIV8-issue6-Three-D-Text.pdf?dl=0 Activ8 issue 7 -Affinity Photo, Designer and Publisher – A look at Styles This written tutorial, mainly aimed at beginners of any of the Affinity Software made for PC and Mac. It may work the same on iPad version but I don’t own one so can’t confirm that it will. It looks at what Styles are, how to make some Gradient Styles and some Styles made from images. Then how to Export and Import your newly made Styles. After that I do a basic overview of a couple of video tutorials I have made in the past. Using the Mirror Filter and the Equation filter to make new images, to then make Styles from. Lastly, another overview of a recent video tutorial, which looks at using the Vector Crop Tool in Affinity Designer to grab sections of an image to then make Styles from. The end of this PDF tutorial has interactive links to all the video tutorials and links to the downloads of all the Styles I have made in these video and written tutorials. https://www.dropbox.com/s/82szaatnflaw8fk/ACTIV8-issue7-Styles.pdf?dl=0 Activ8 issue 8 – Affinity Photo – Make Sketch Image With Just The Channel Mixer A while ago I made an Affinity Photo video tutorial about making a sketch image just using the Channel Mixer adjustment. I thought I’d up-date it slightly in this written tutorial, which can be done in Affinity Photo, Designer or Publisher. https://www.dropbox.com/s/6etmt3am6ljprwn/ACTIV8-issue7-ChannelMixer-Sketch.pdf?dl=0 Activ8 issue 8a – Affinity Software – 4 Creative yet simple ways to use Blend Modes This is a written tutorial update of a video tutorial I did in Feb 2018. They are fairly basic edits and will work best with an image that has a white background. So, I will use one I got from Pixabay, as are the other images used. Links to the video and image are in the written tutorial. The video was done in Affinity Photo but this will be done in Affinity Designer but I see no reason why it can’t also be done in Publisher. https://www.dropbox.com/s/sluebvjl86nuk8e/ACTIV8-issue8-Four-Uses-for-Blend-Modes.pdf?dl=0 Activ8 issue 9 – A Beginners Look At Affinity Photo part 1 Looking at opening images and saving your edits. Plus, file formats also a look at the Layers Panel and Colour selection Although tutorial is for Affinity Photo all will work pretty much the same in Affinity Designer And Publisher https://www.dropbox.com/s/7ztaxn4siom7evd/ACTIV8-issue9-Beginners%20Look%20at%20Affinity%20Photo%20pt01.pdf?dl=0 Activ8 issue 10 – A Beginners Look At Affinity Photo part 2 Looking at opening and setting up a new document other than an image. The Brush Tool and changing the Brush Tips. Then looking at the different types of Pixel and Vector layers you can make. Layer Masks and their use. Plus, a quick look at Text and Shape layers and the Glyph Browser. As with part 1, most (if not all) of the information in this tutorial will work just as well in Affinity Designer and Publisher as all 3 programs are so similar. https://www.dropbox.com/s/kourodnfojwq26l/ACTIV8-issue10-Beginners%20Look%20at%20Affinity%20Photo-pt02.pdf?dl=0
 -
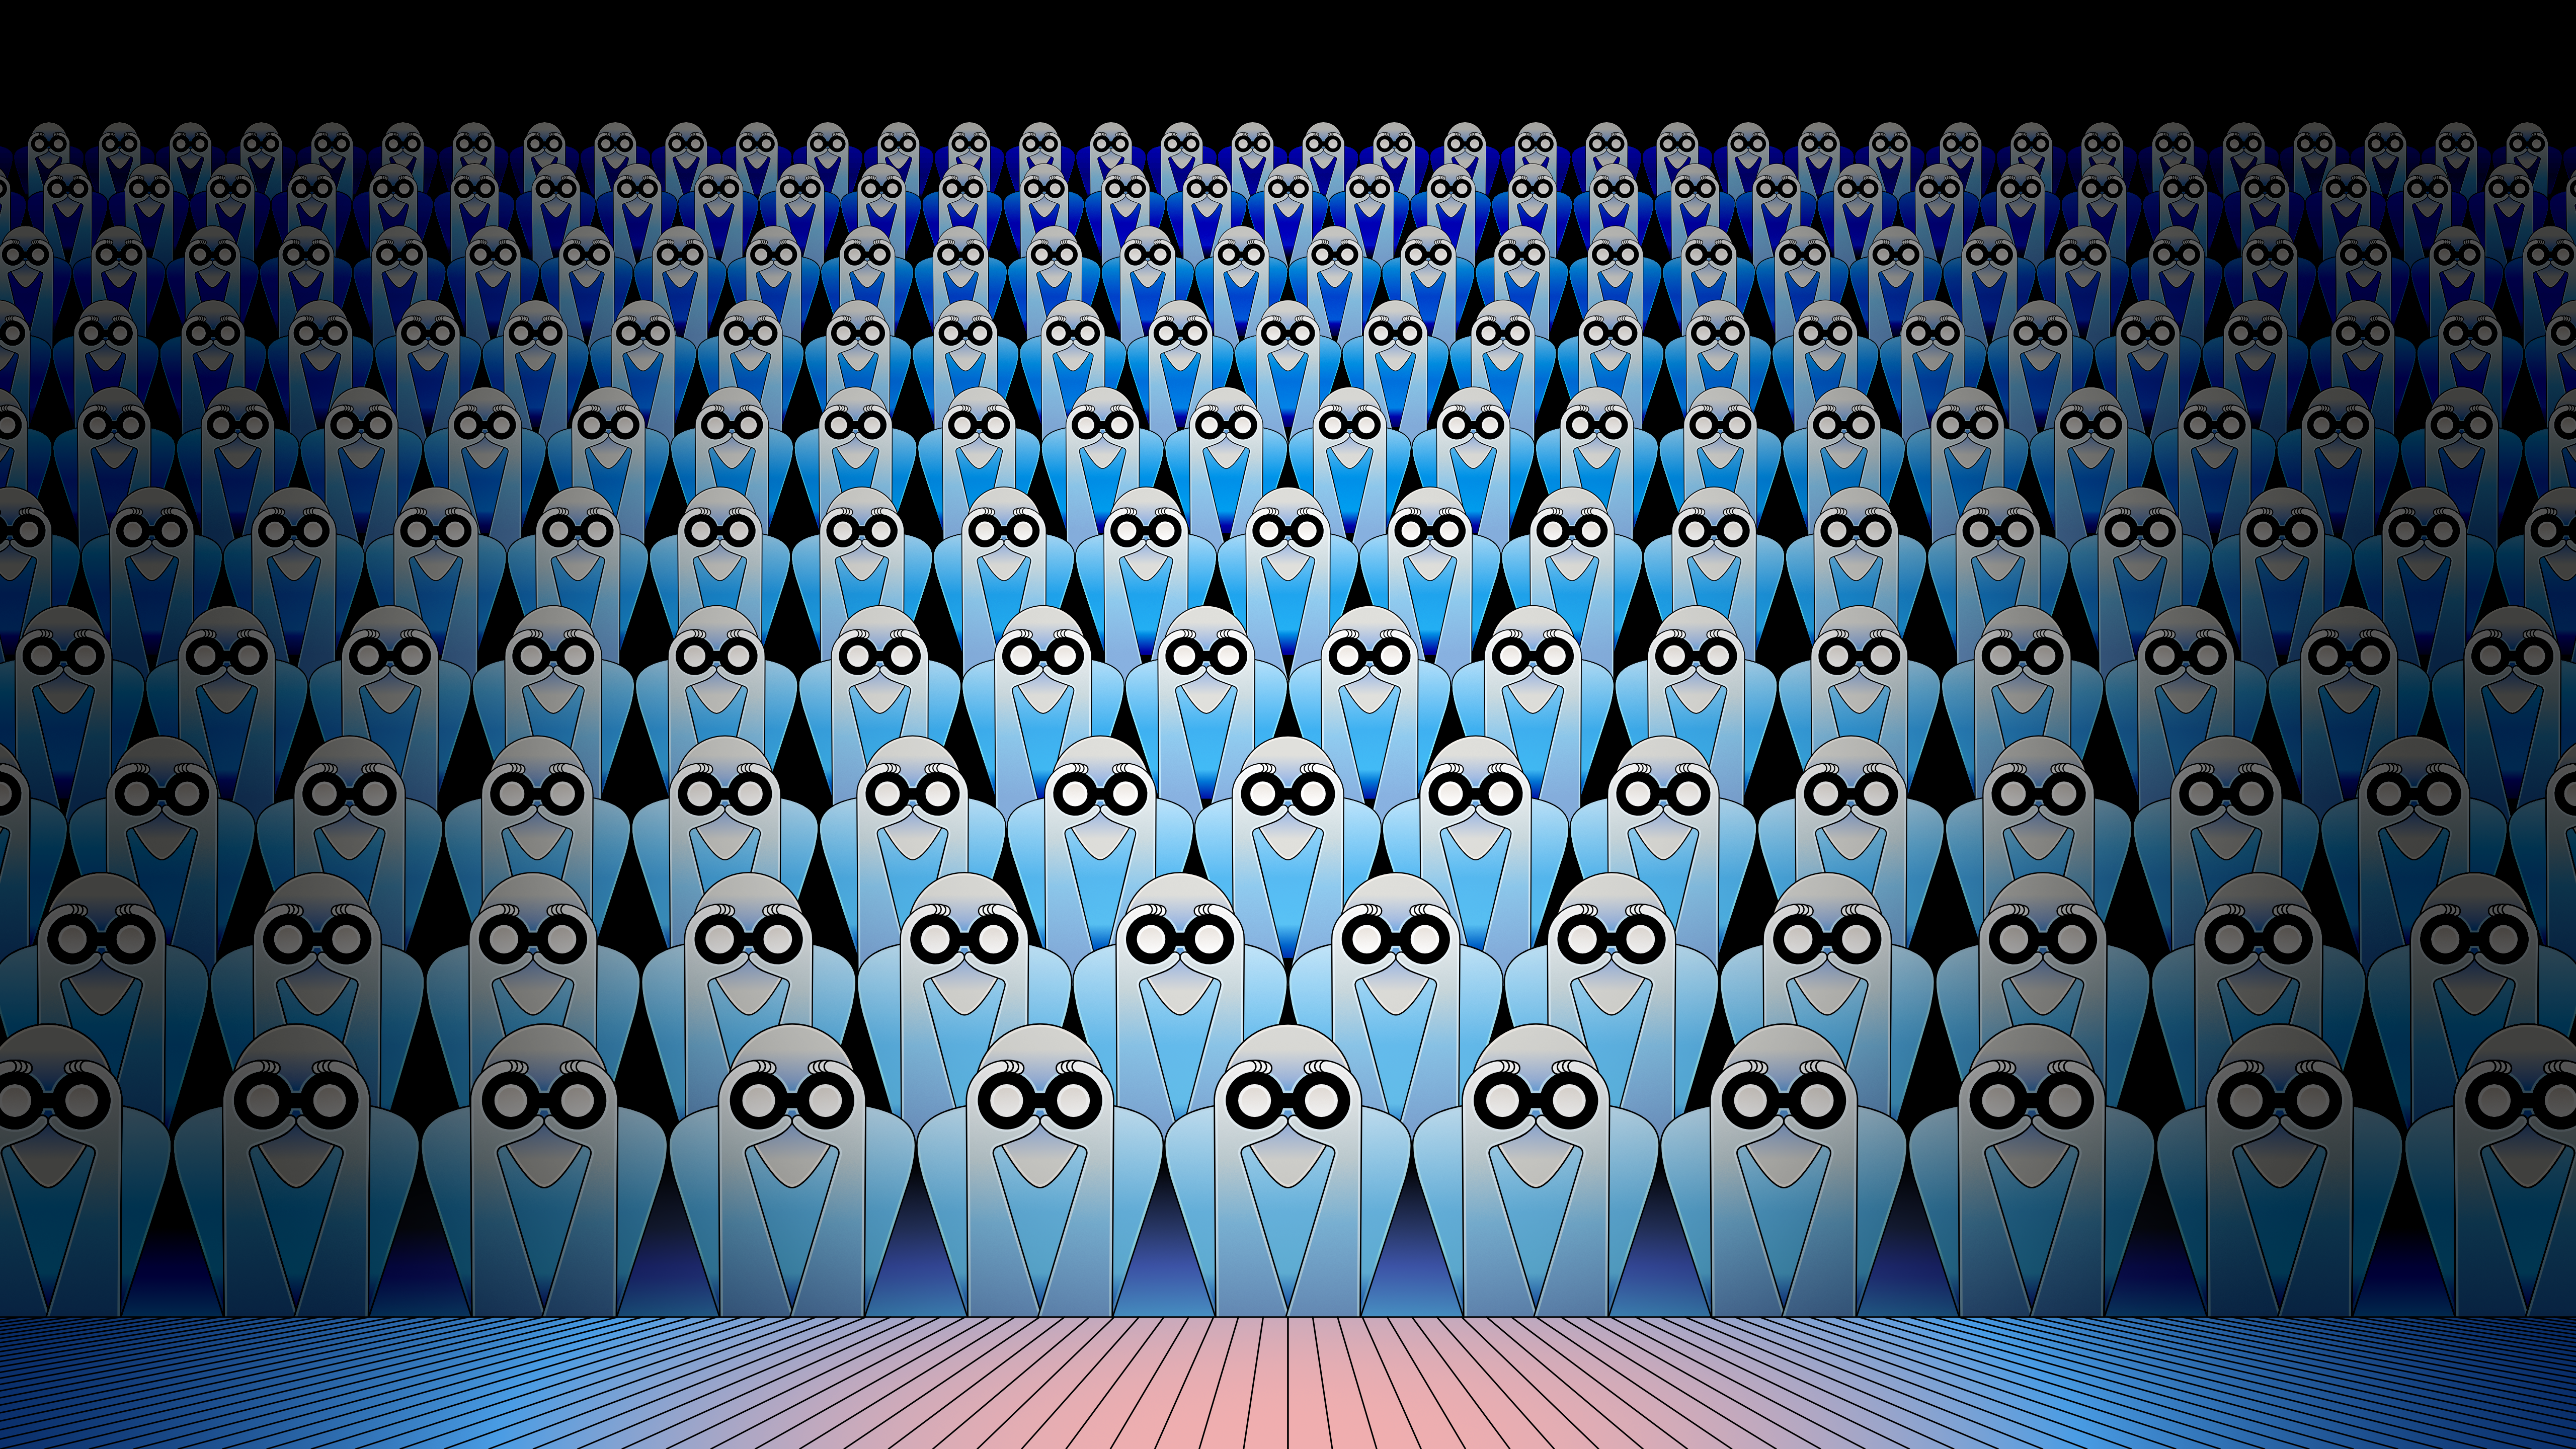
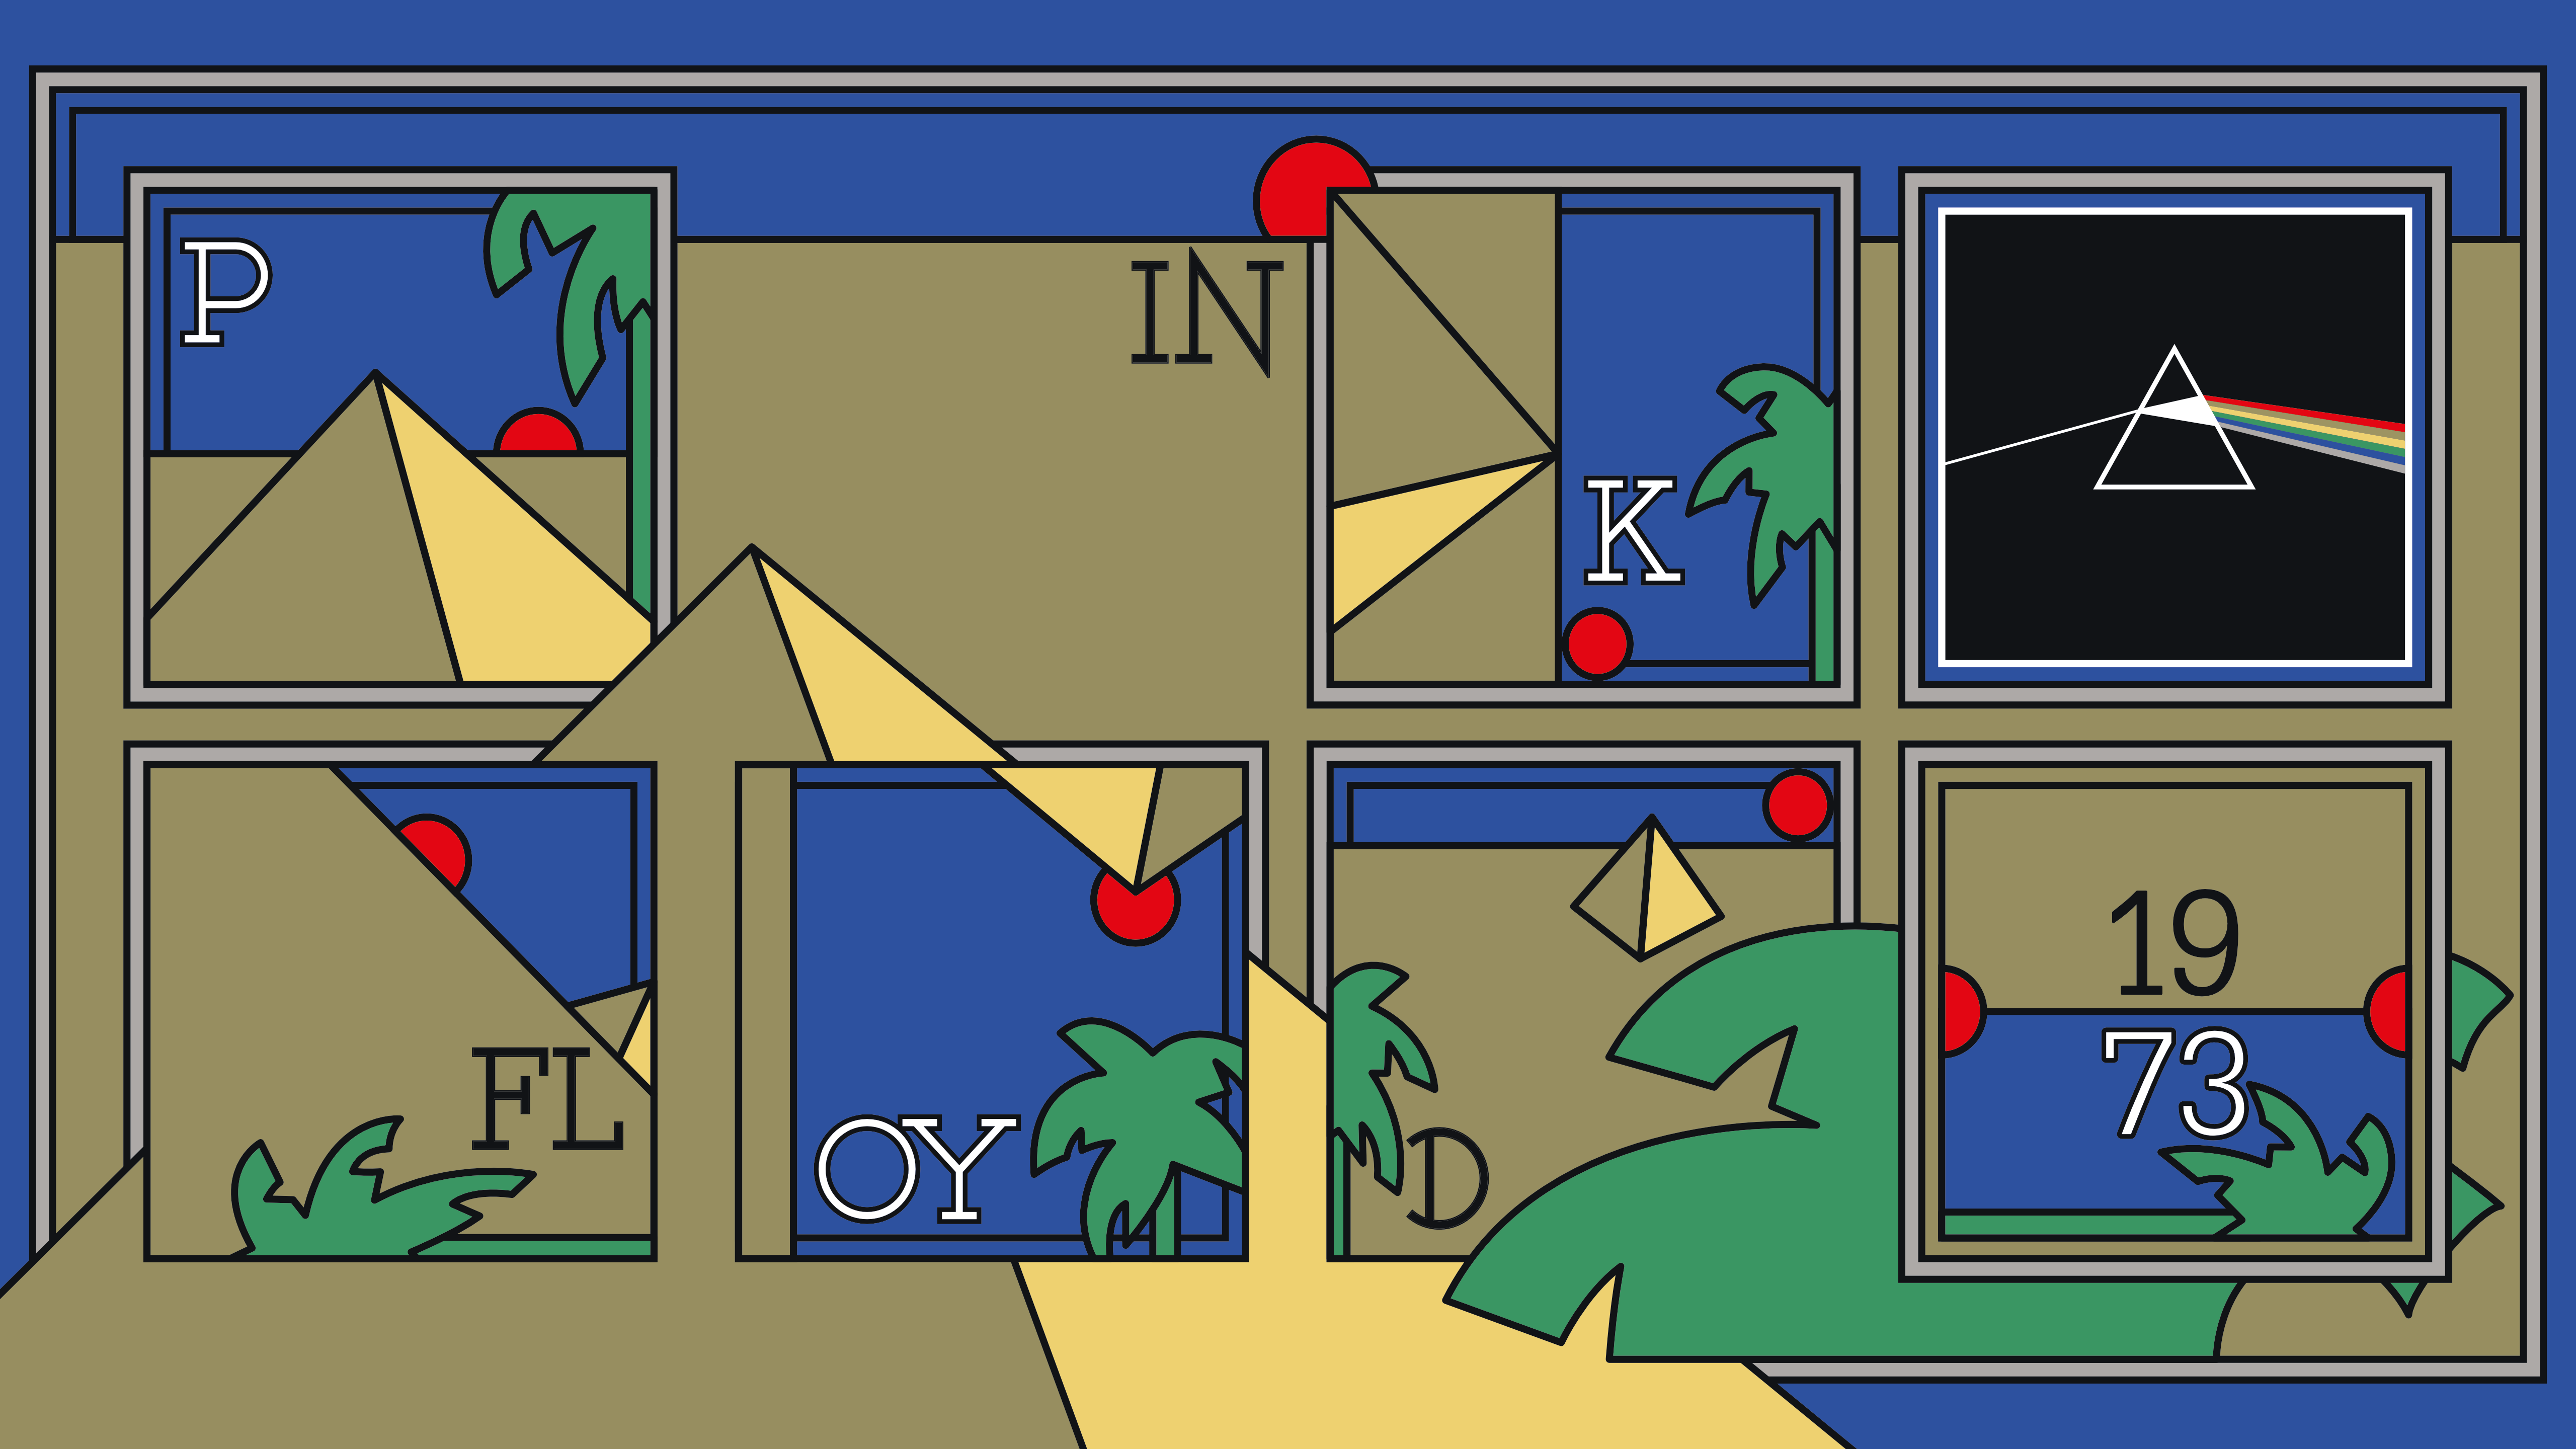
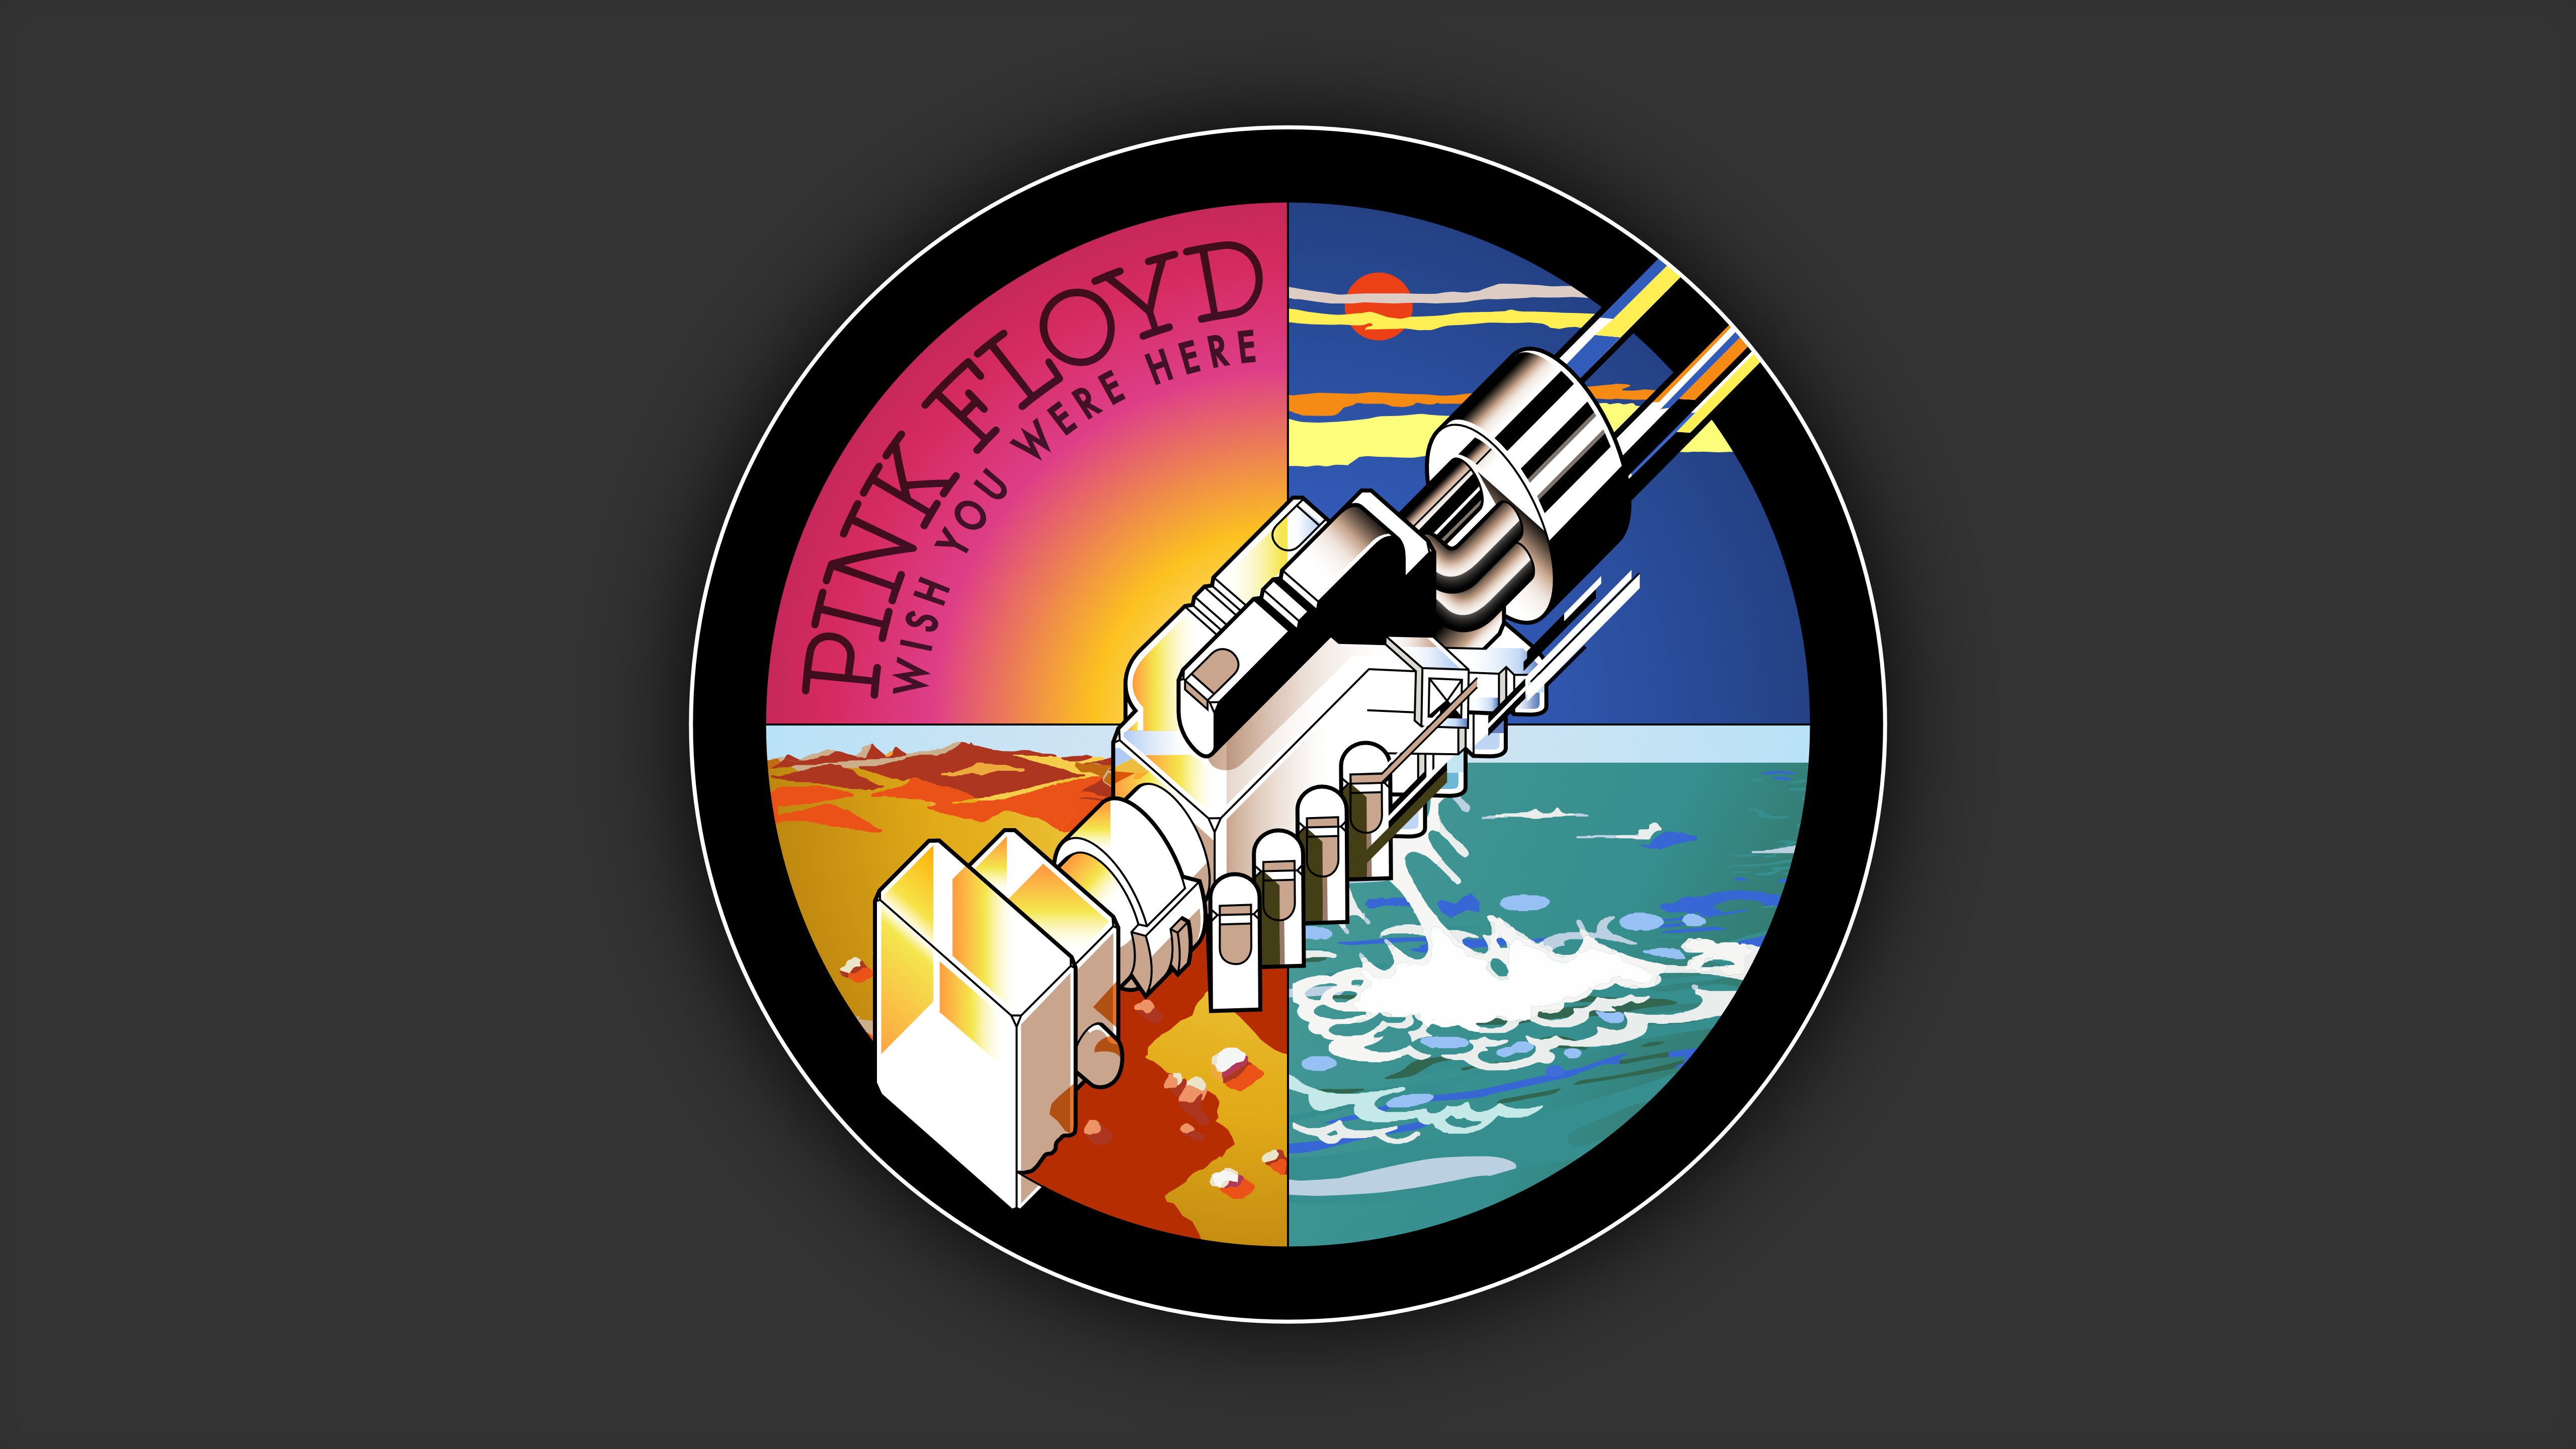
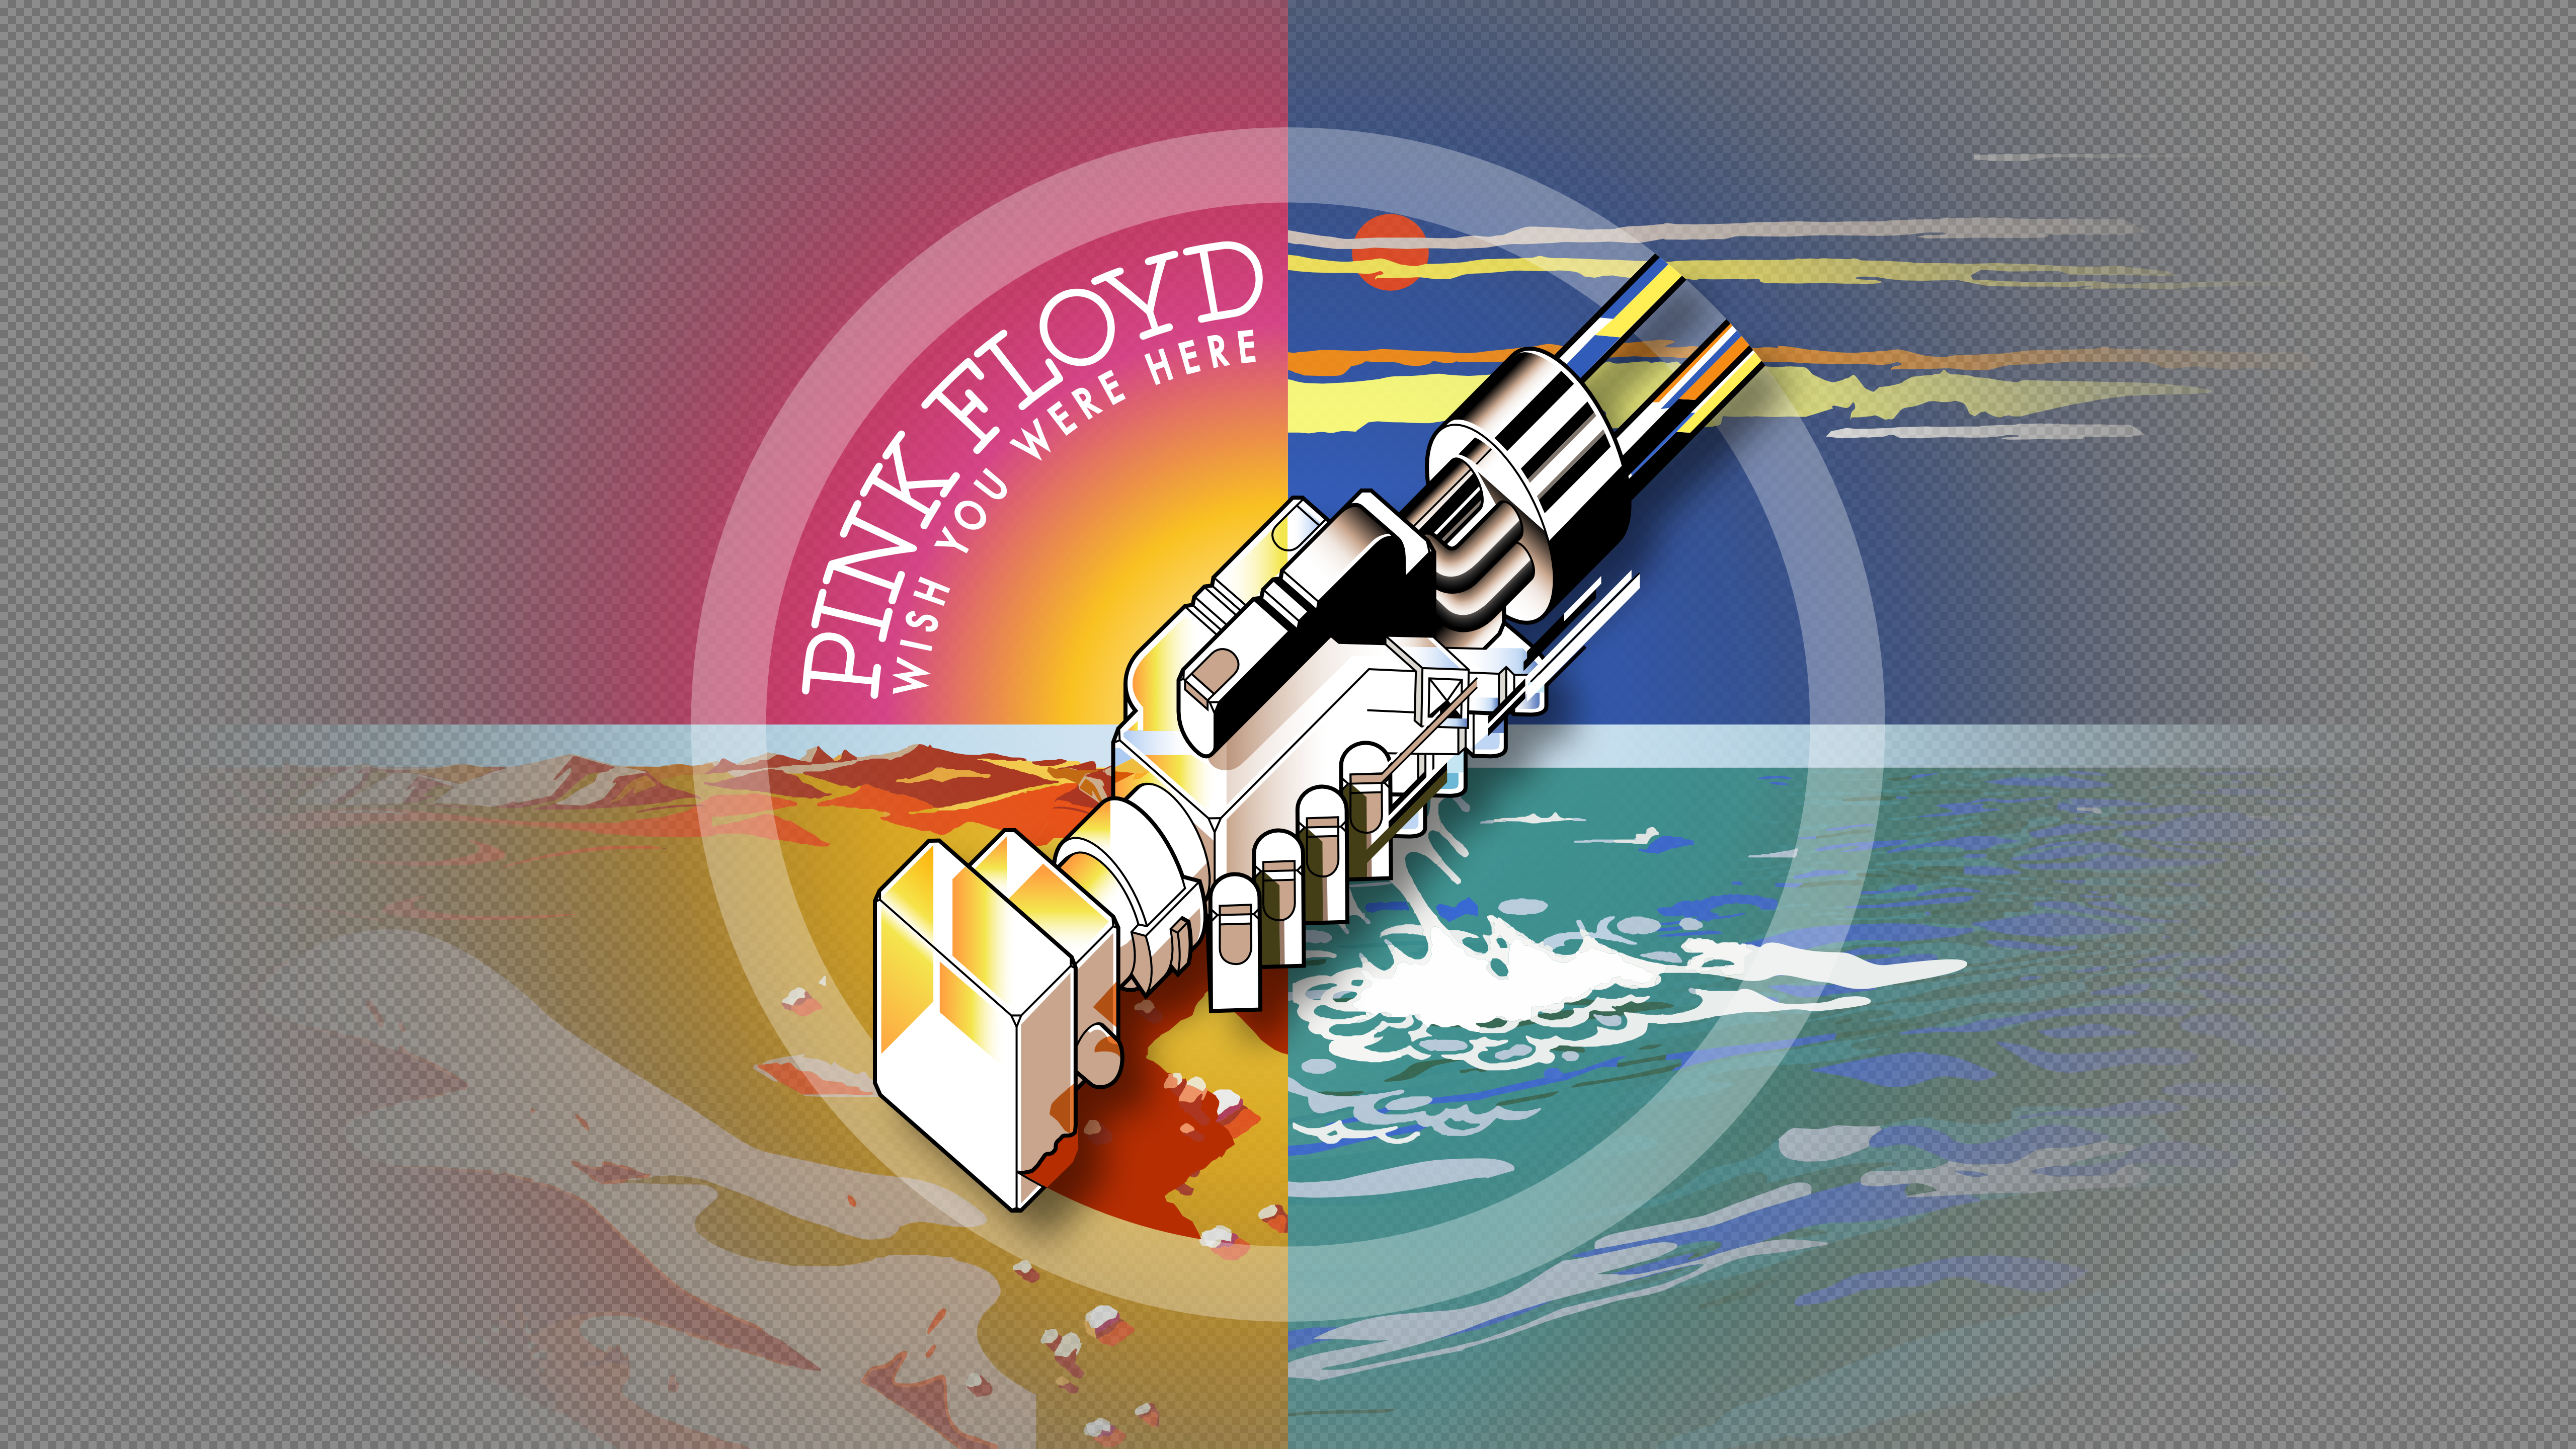
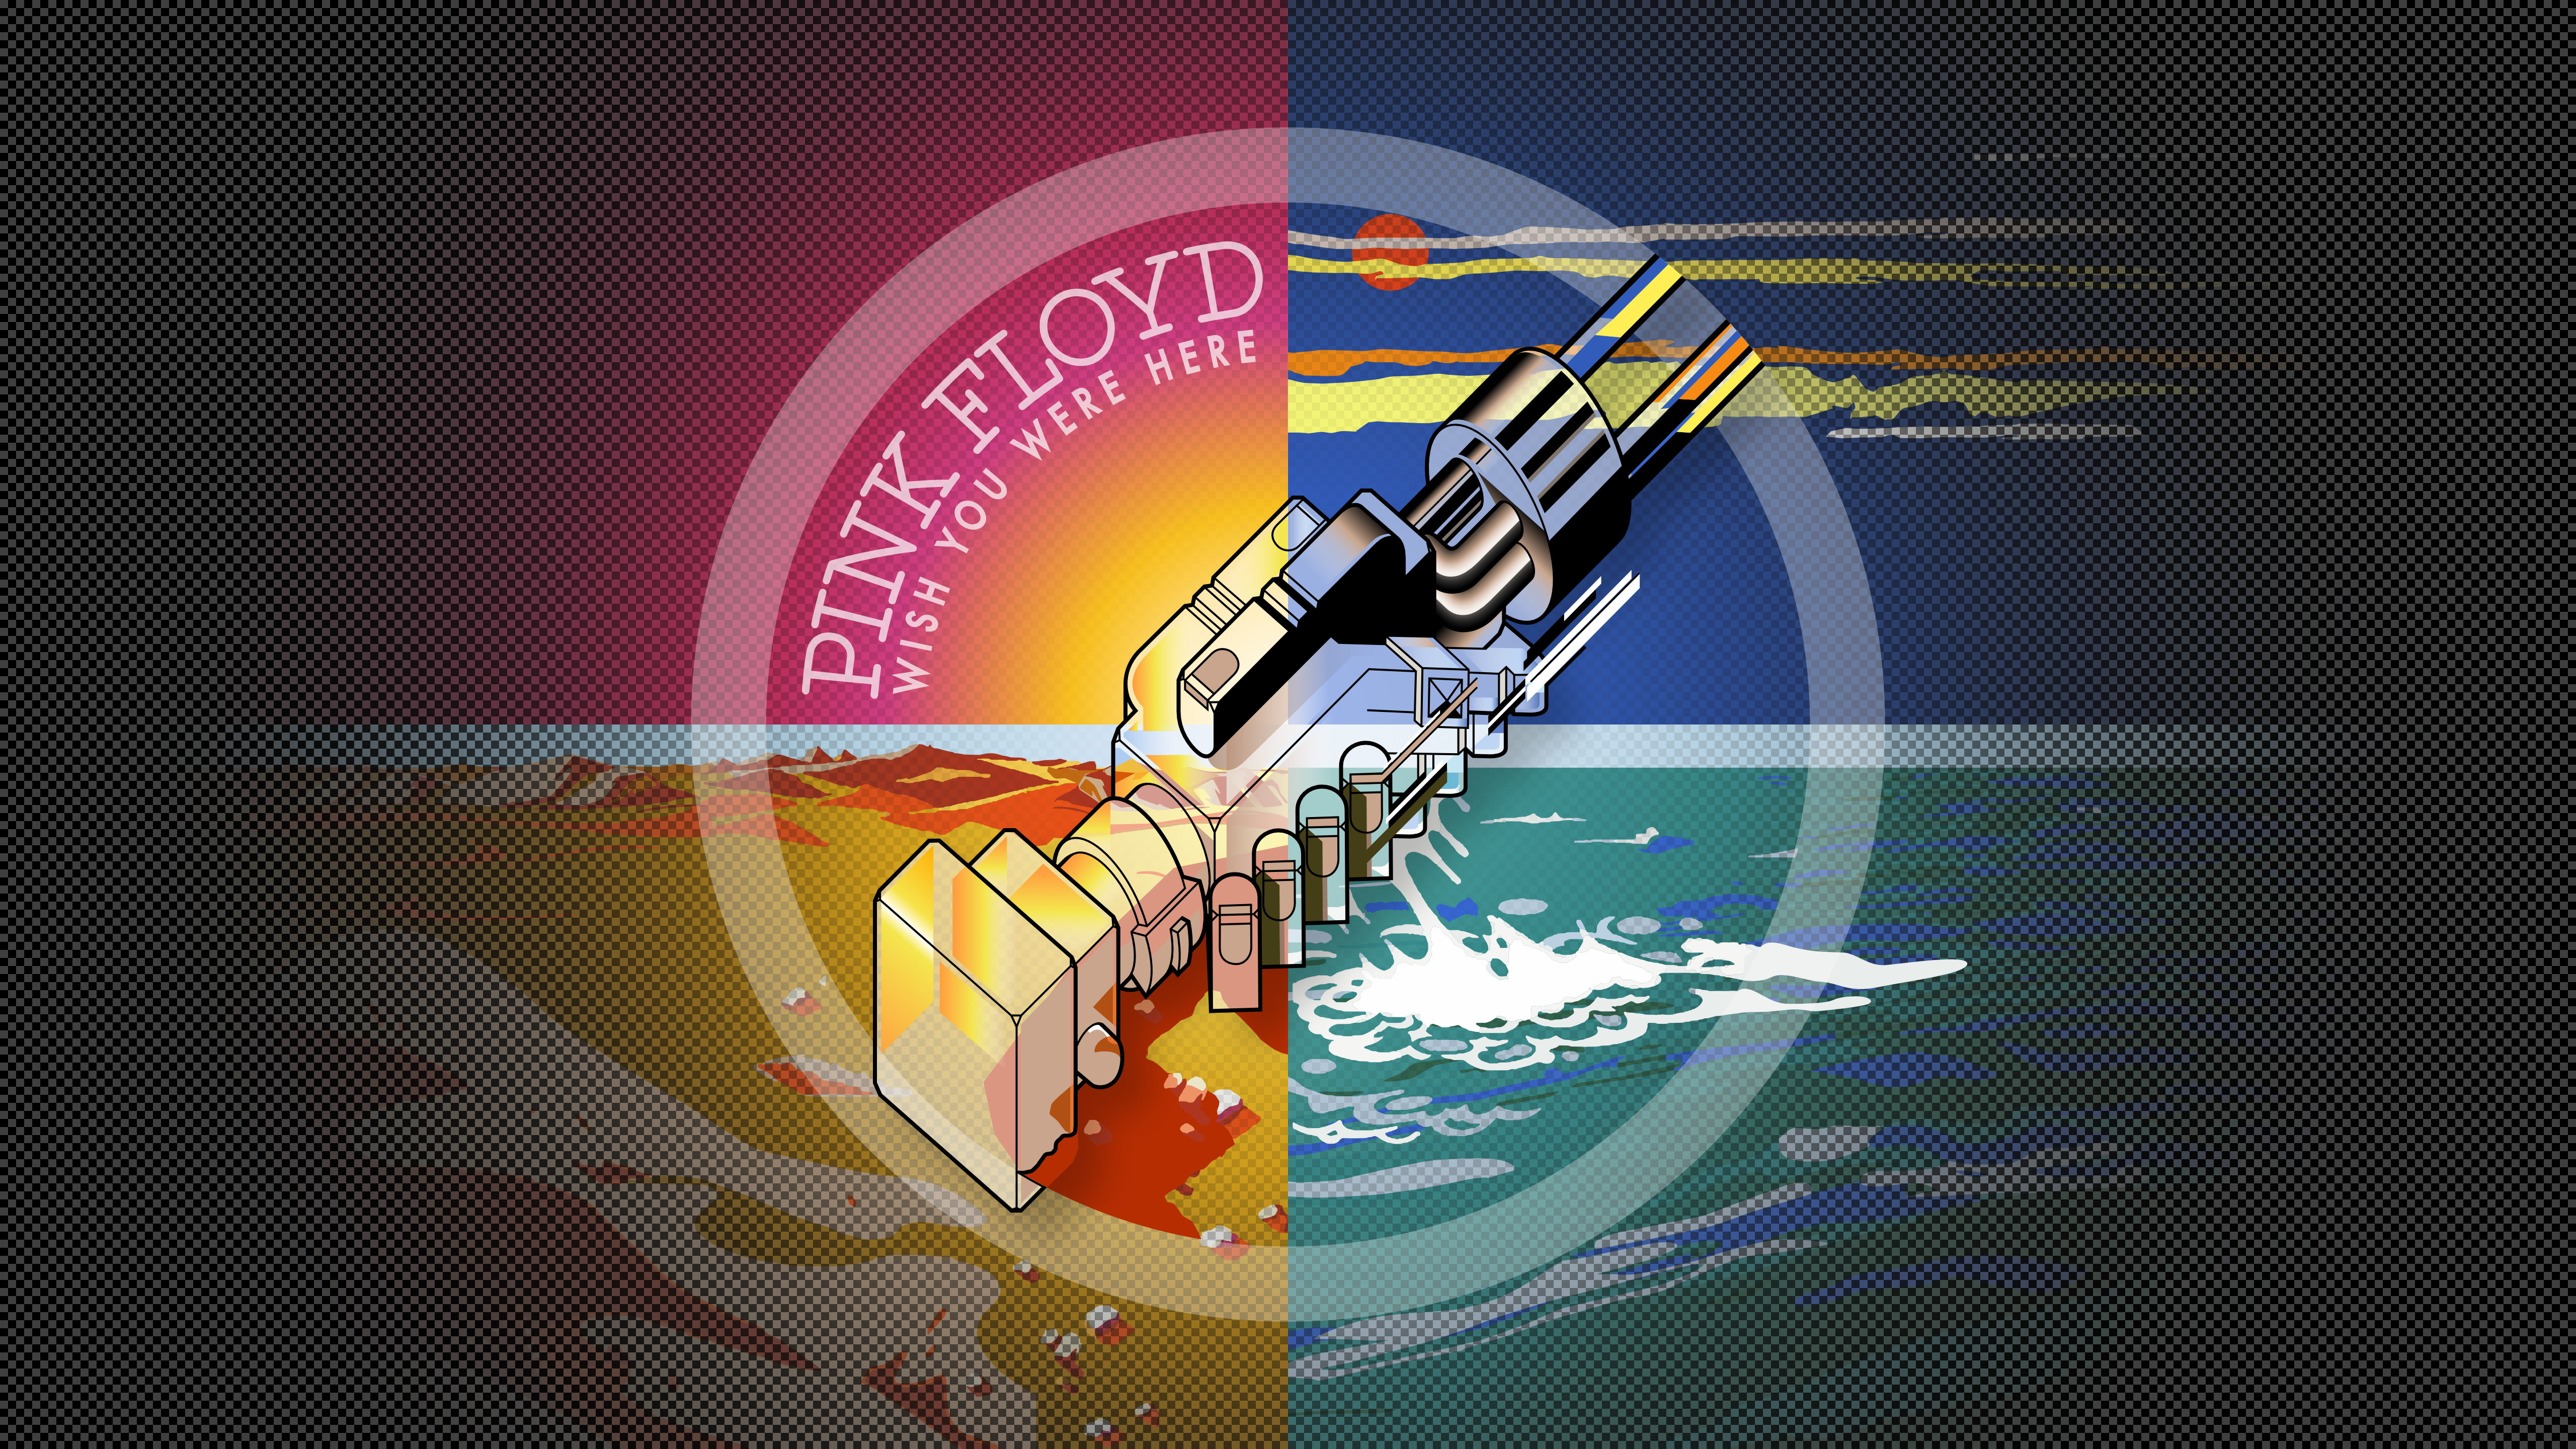
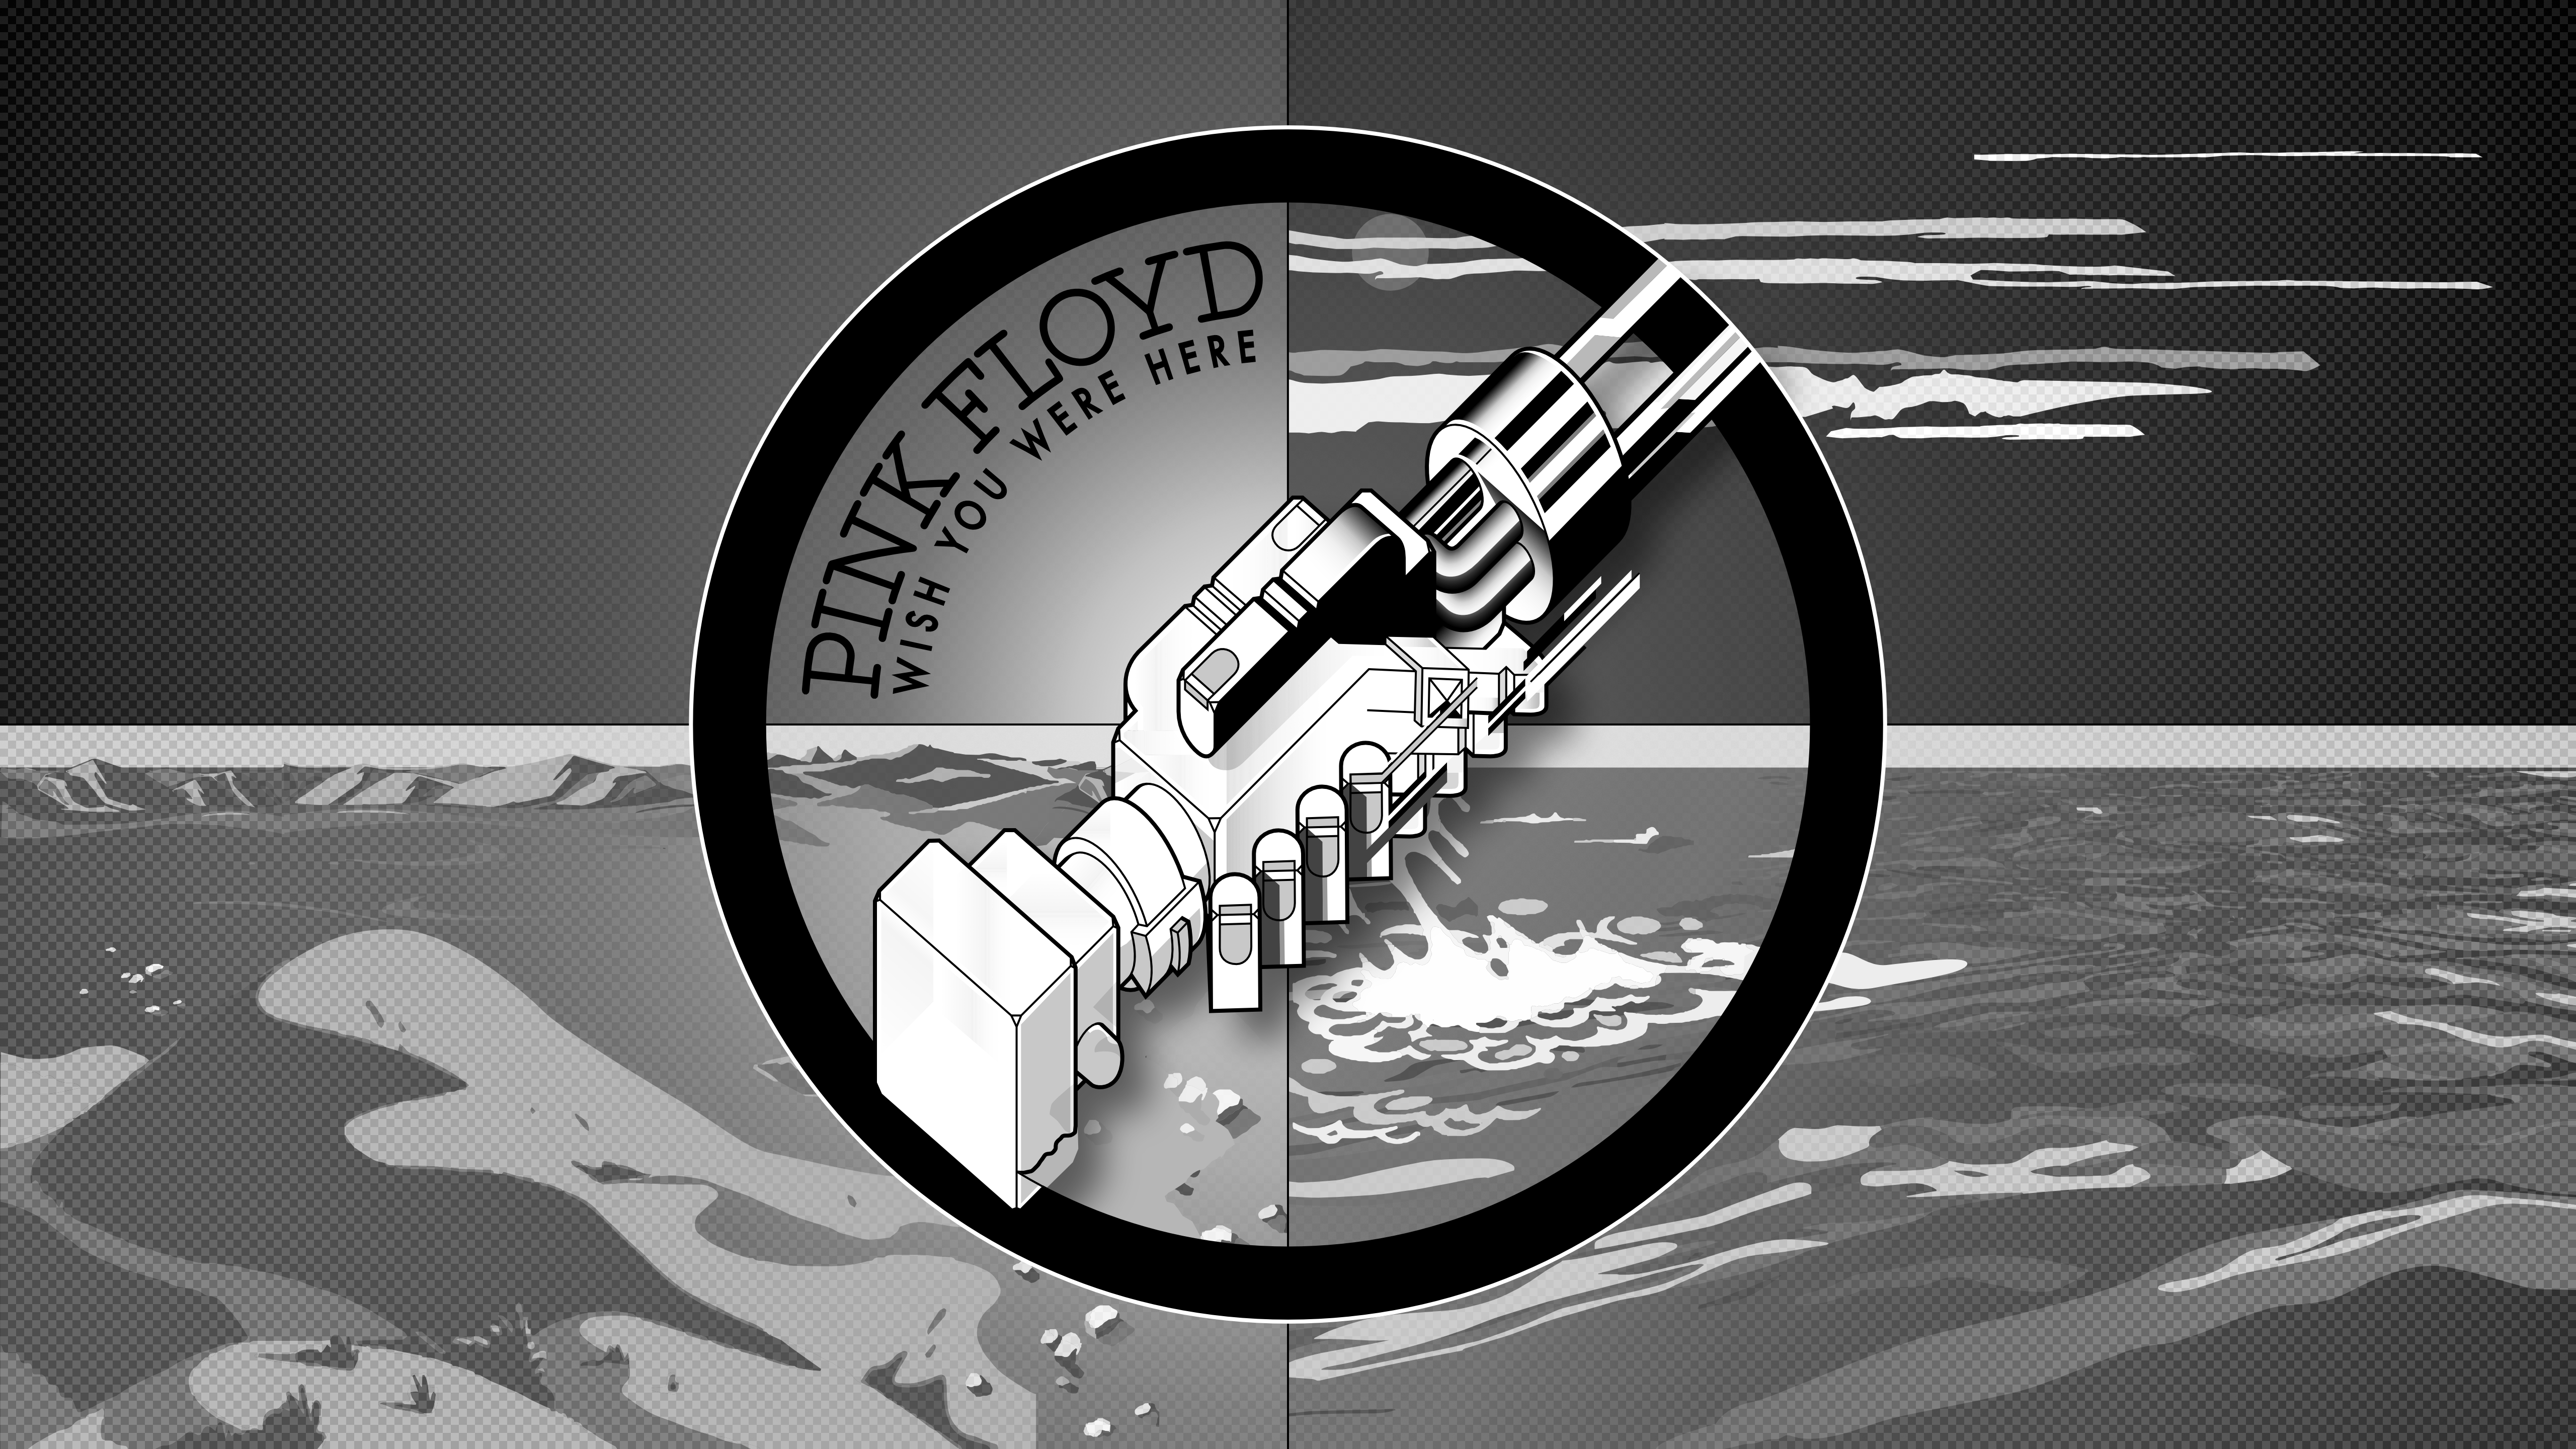
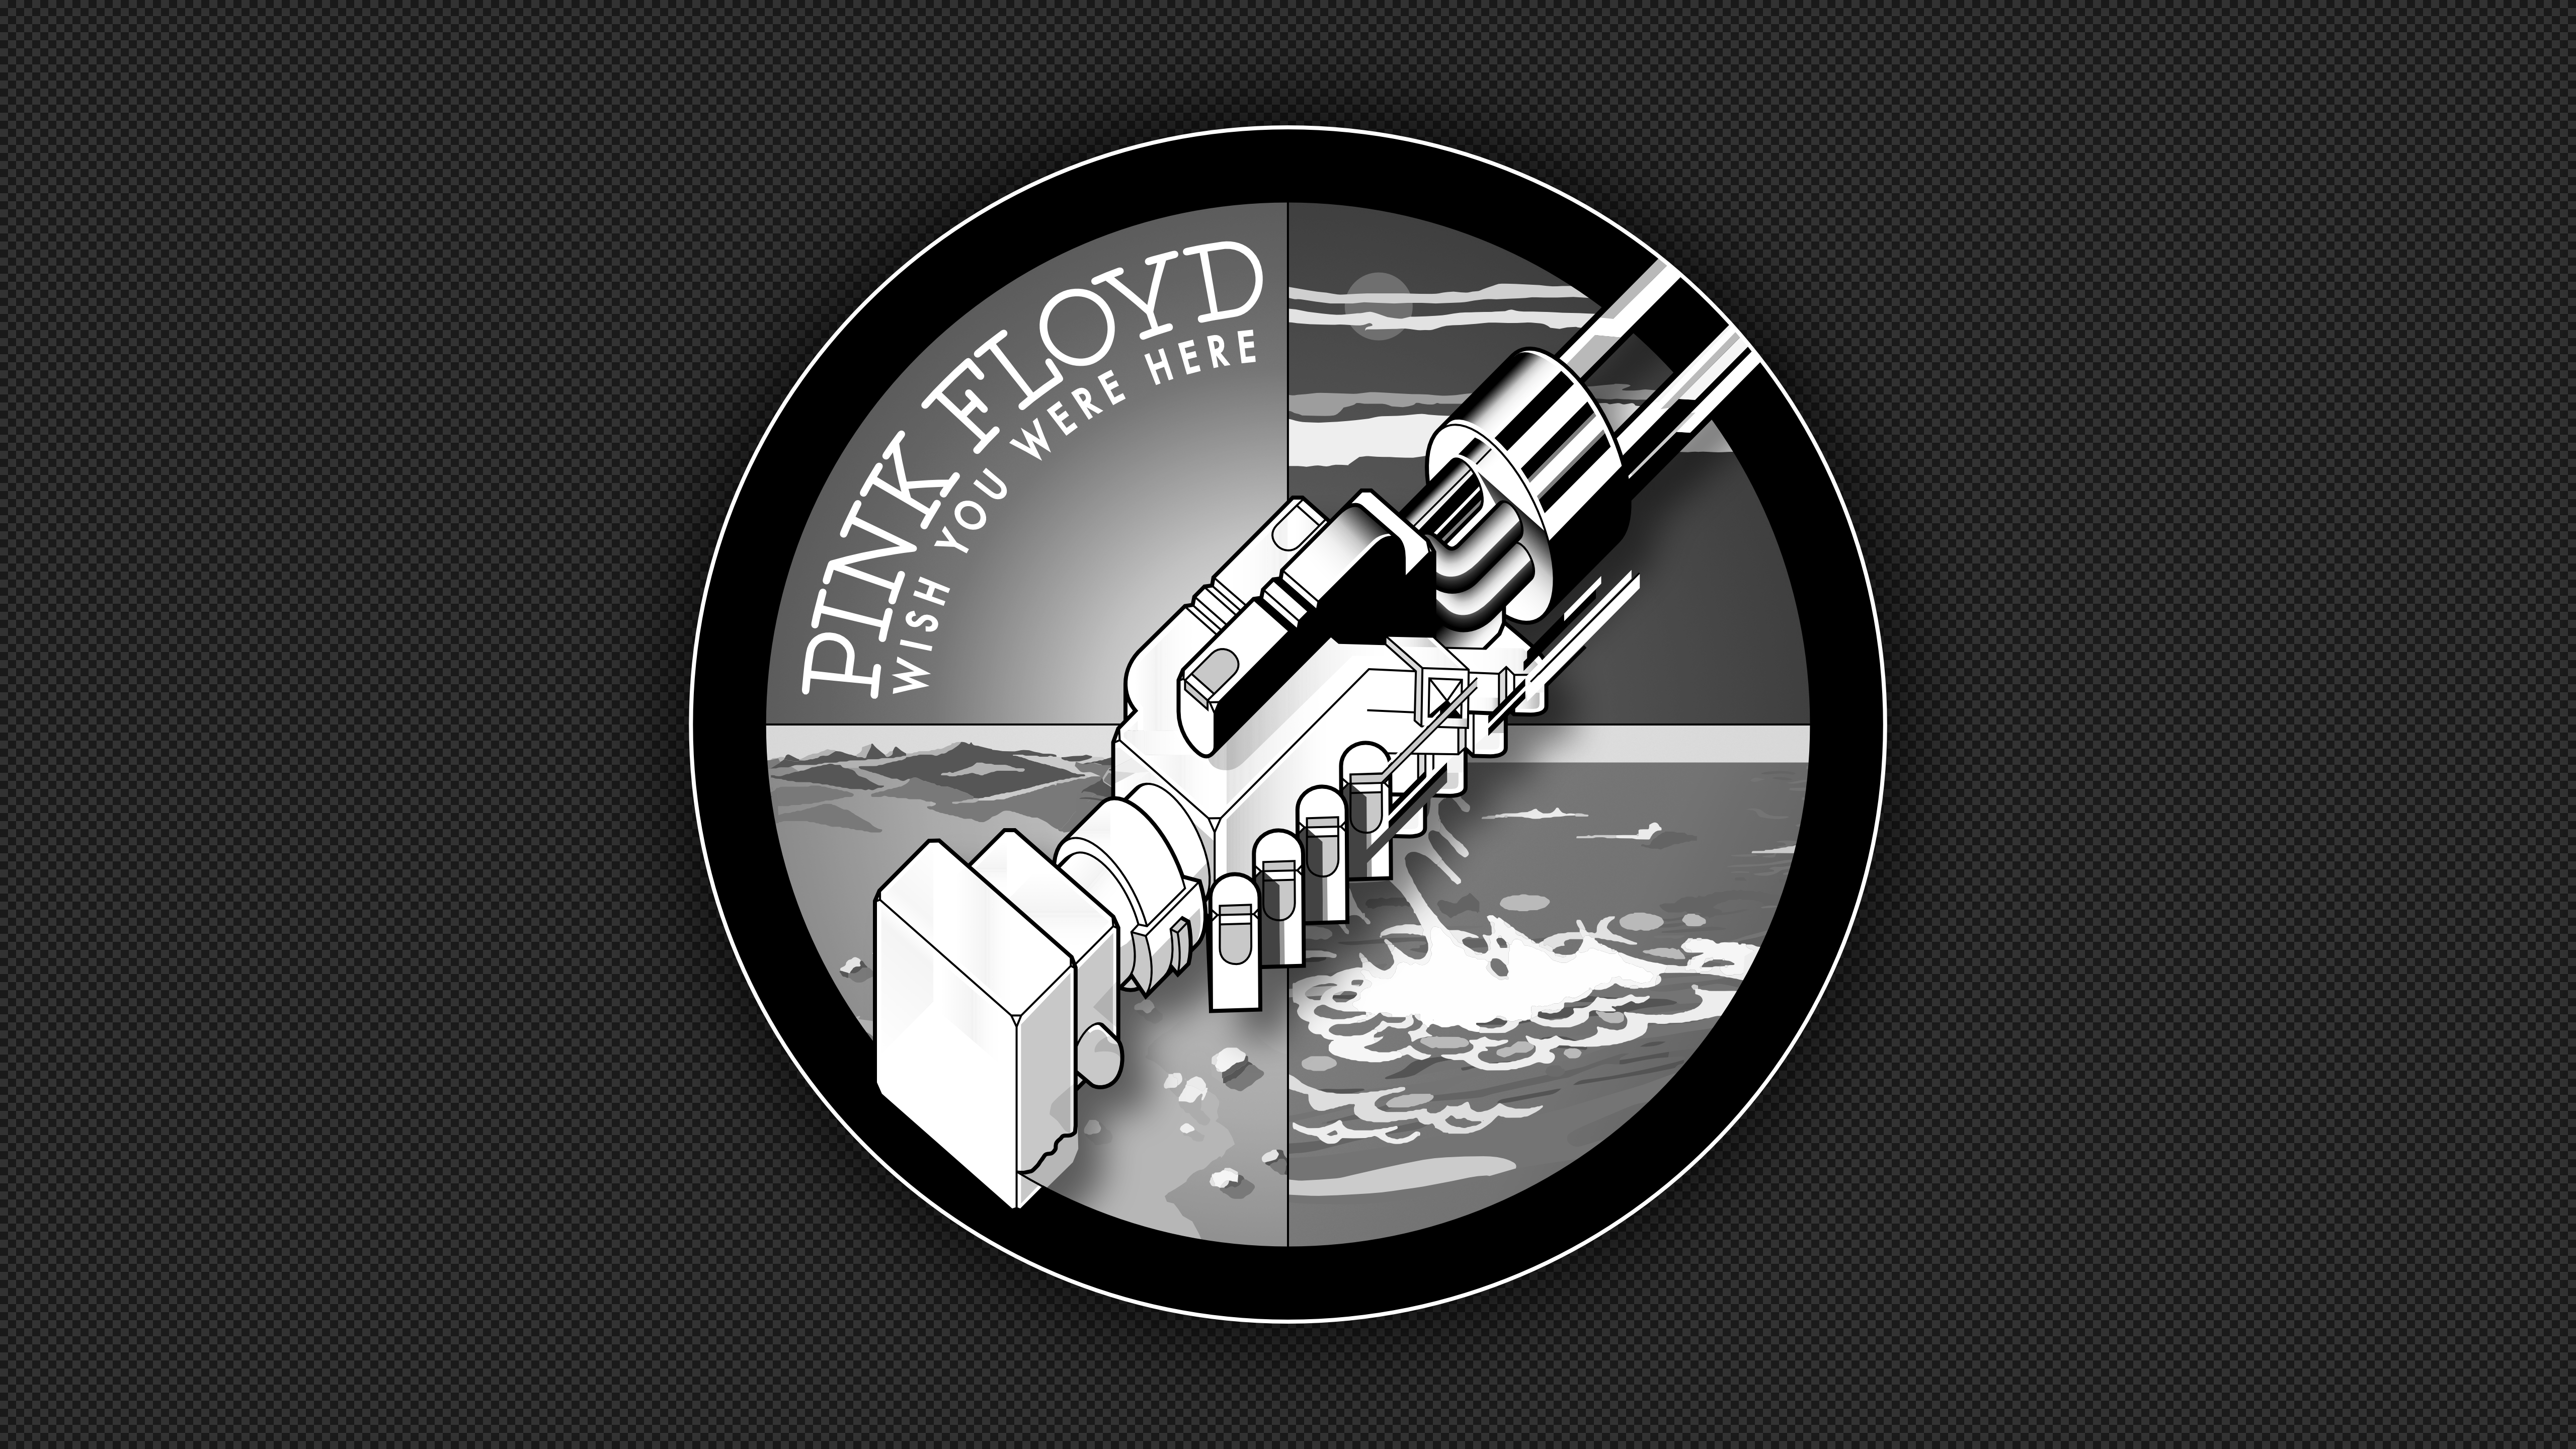
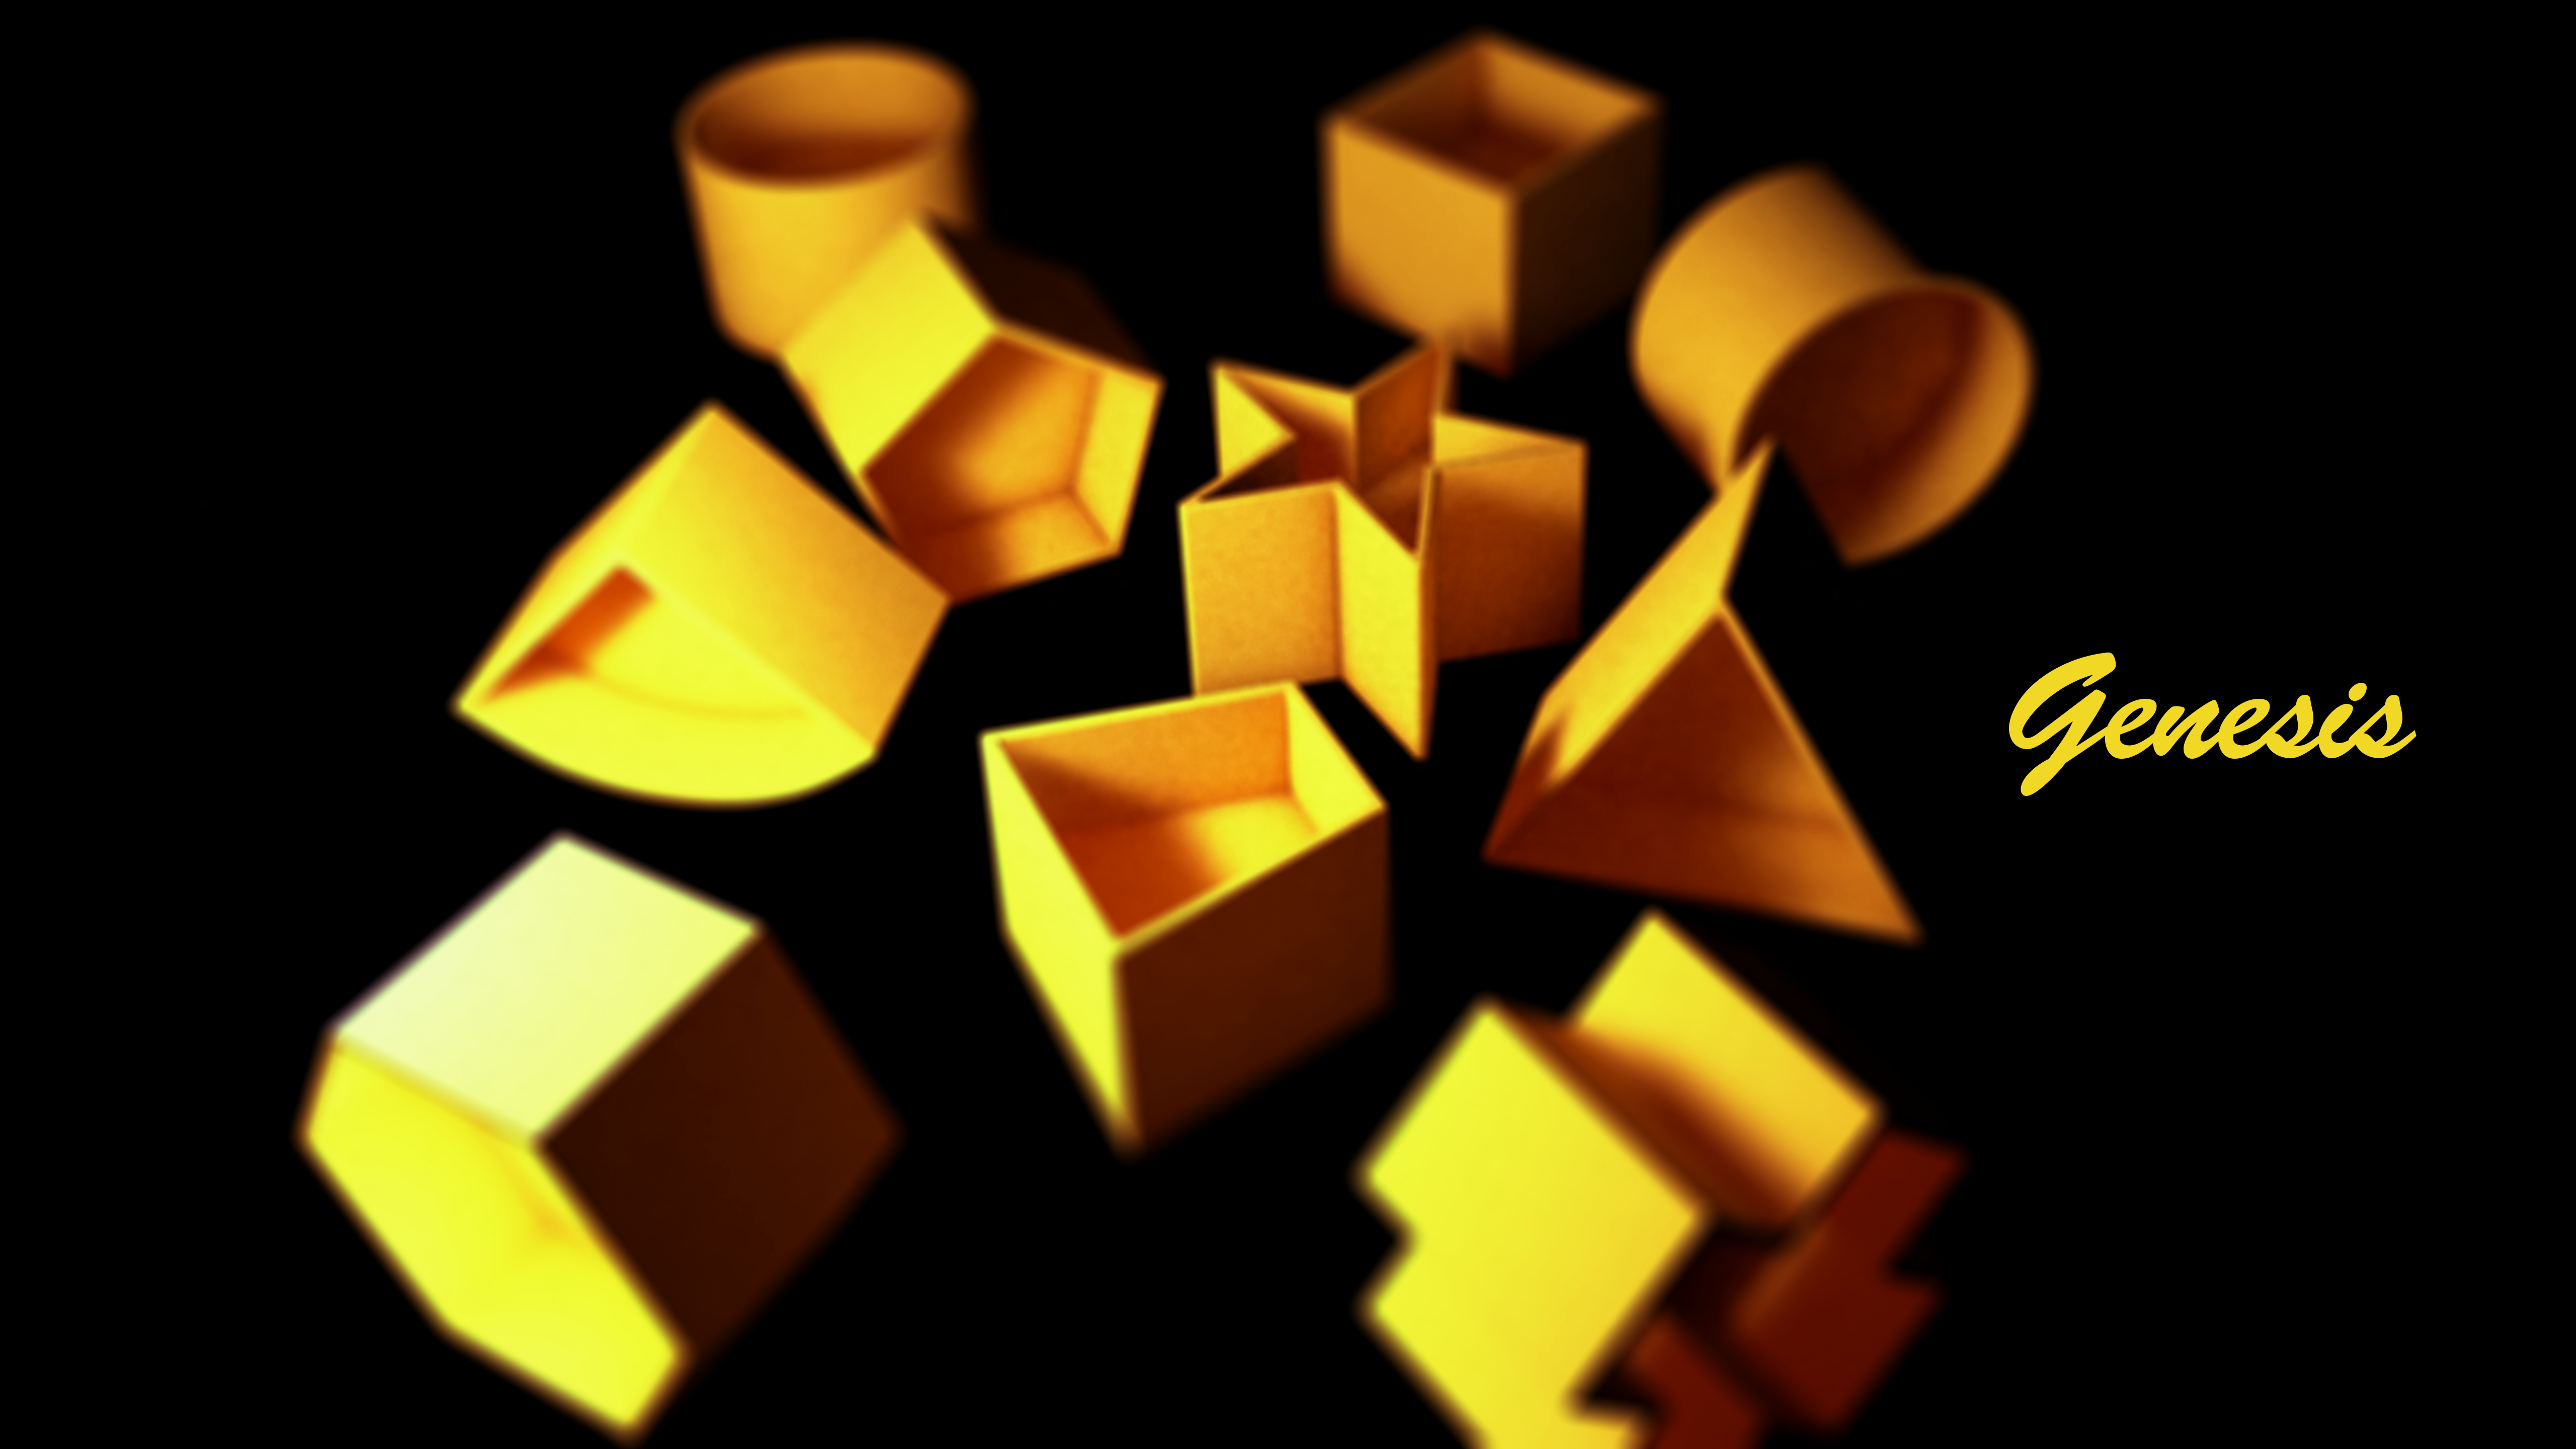
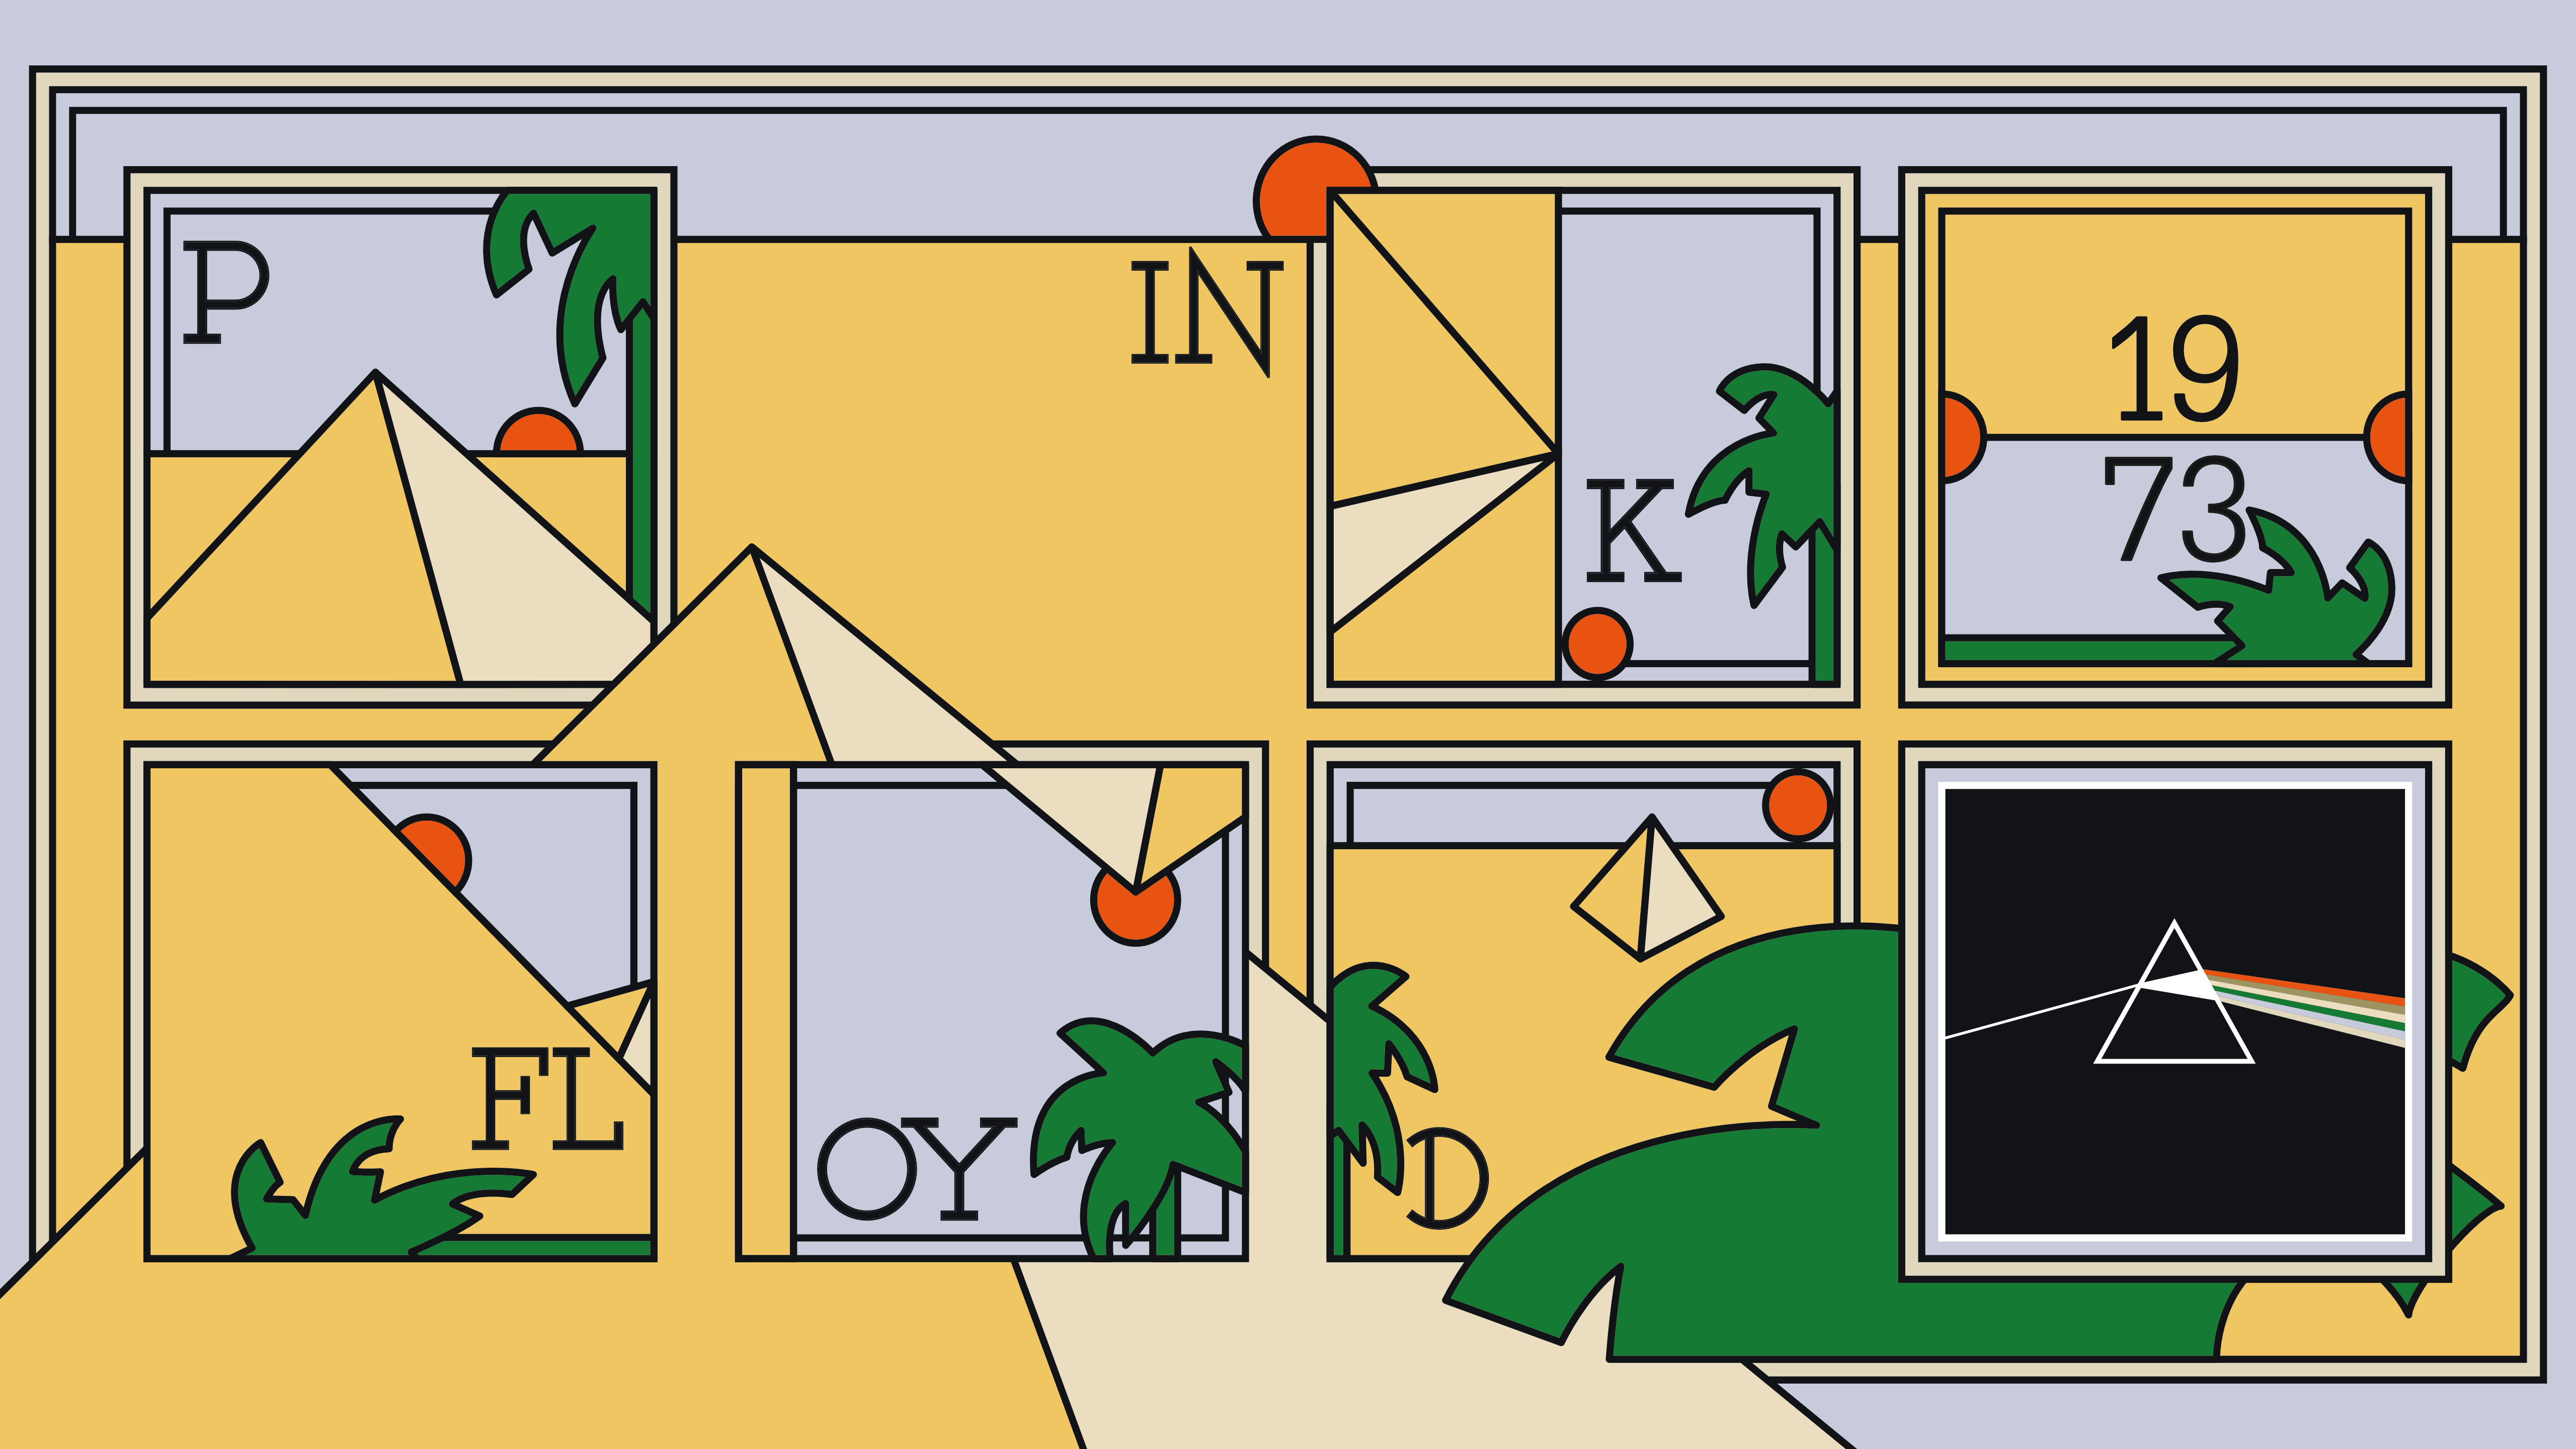
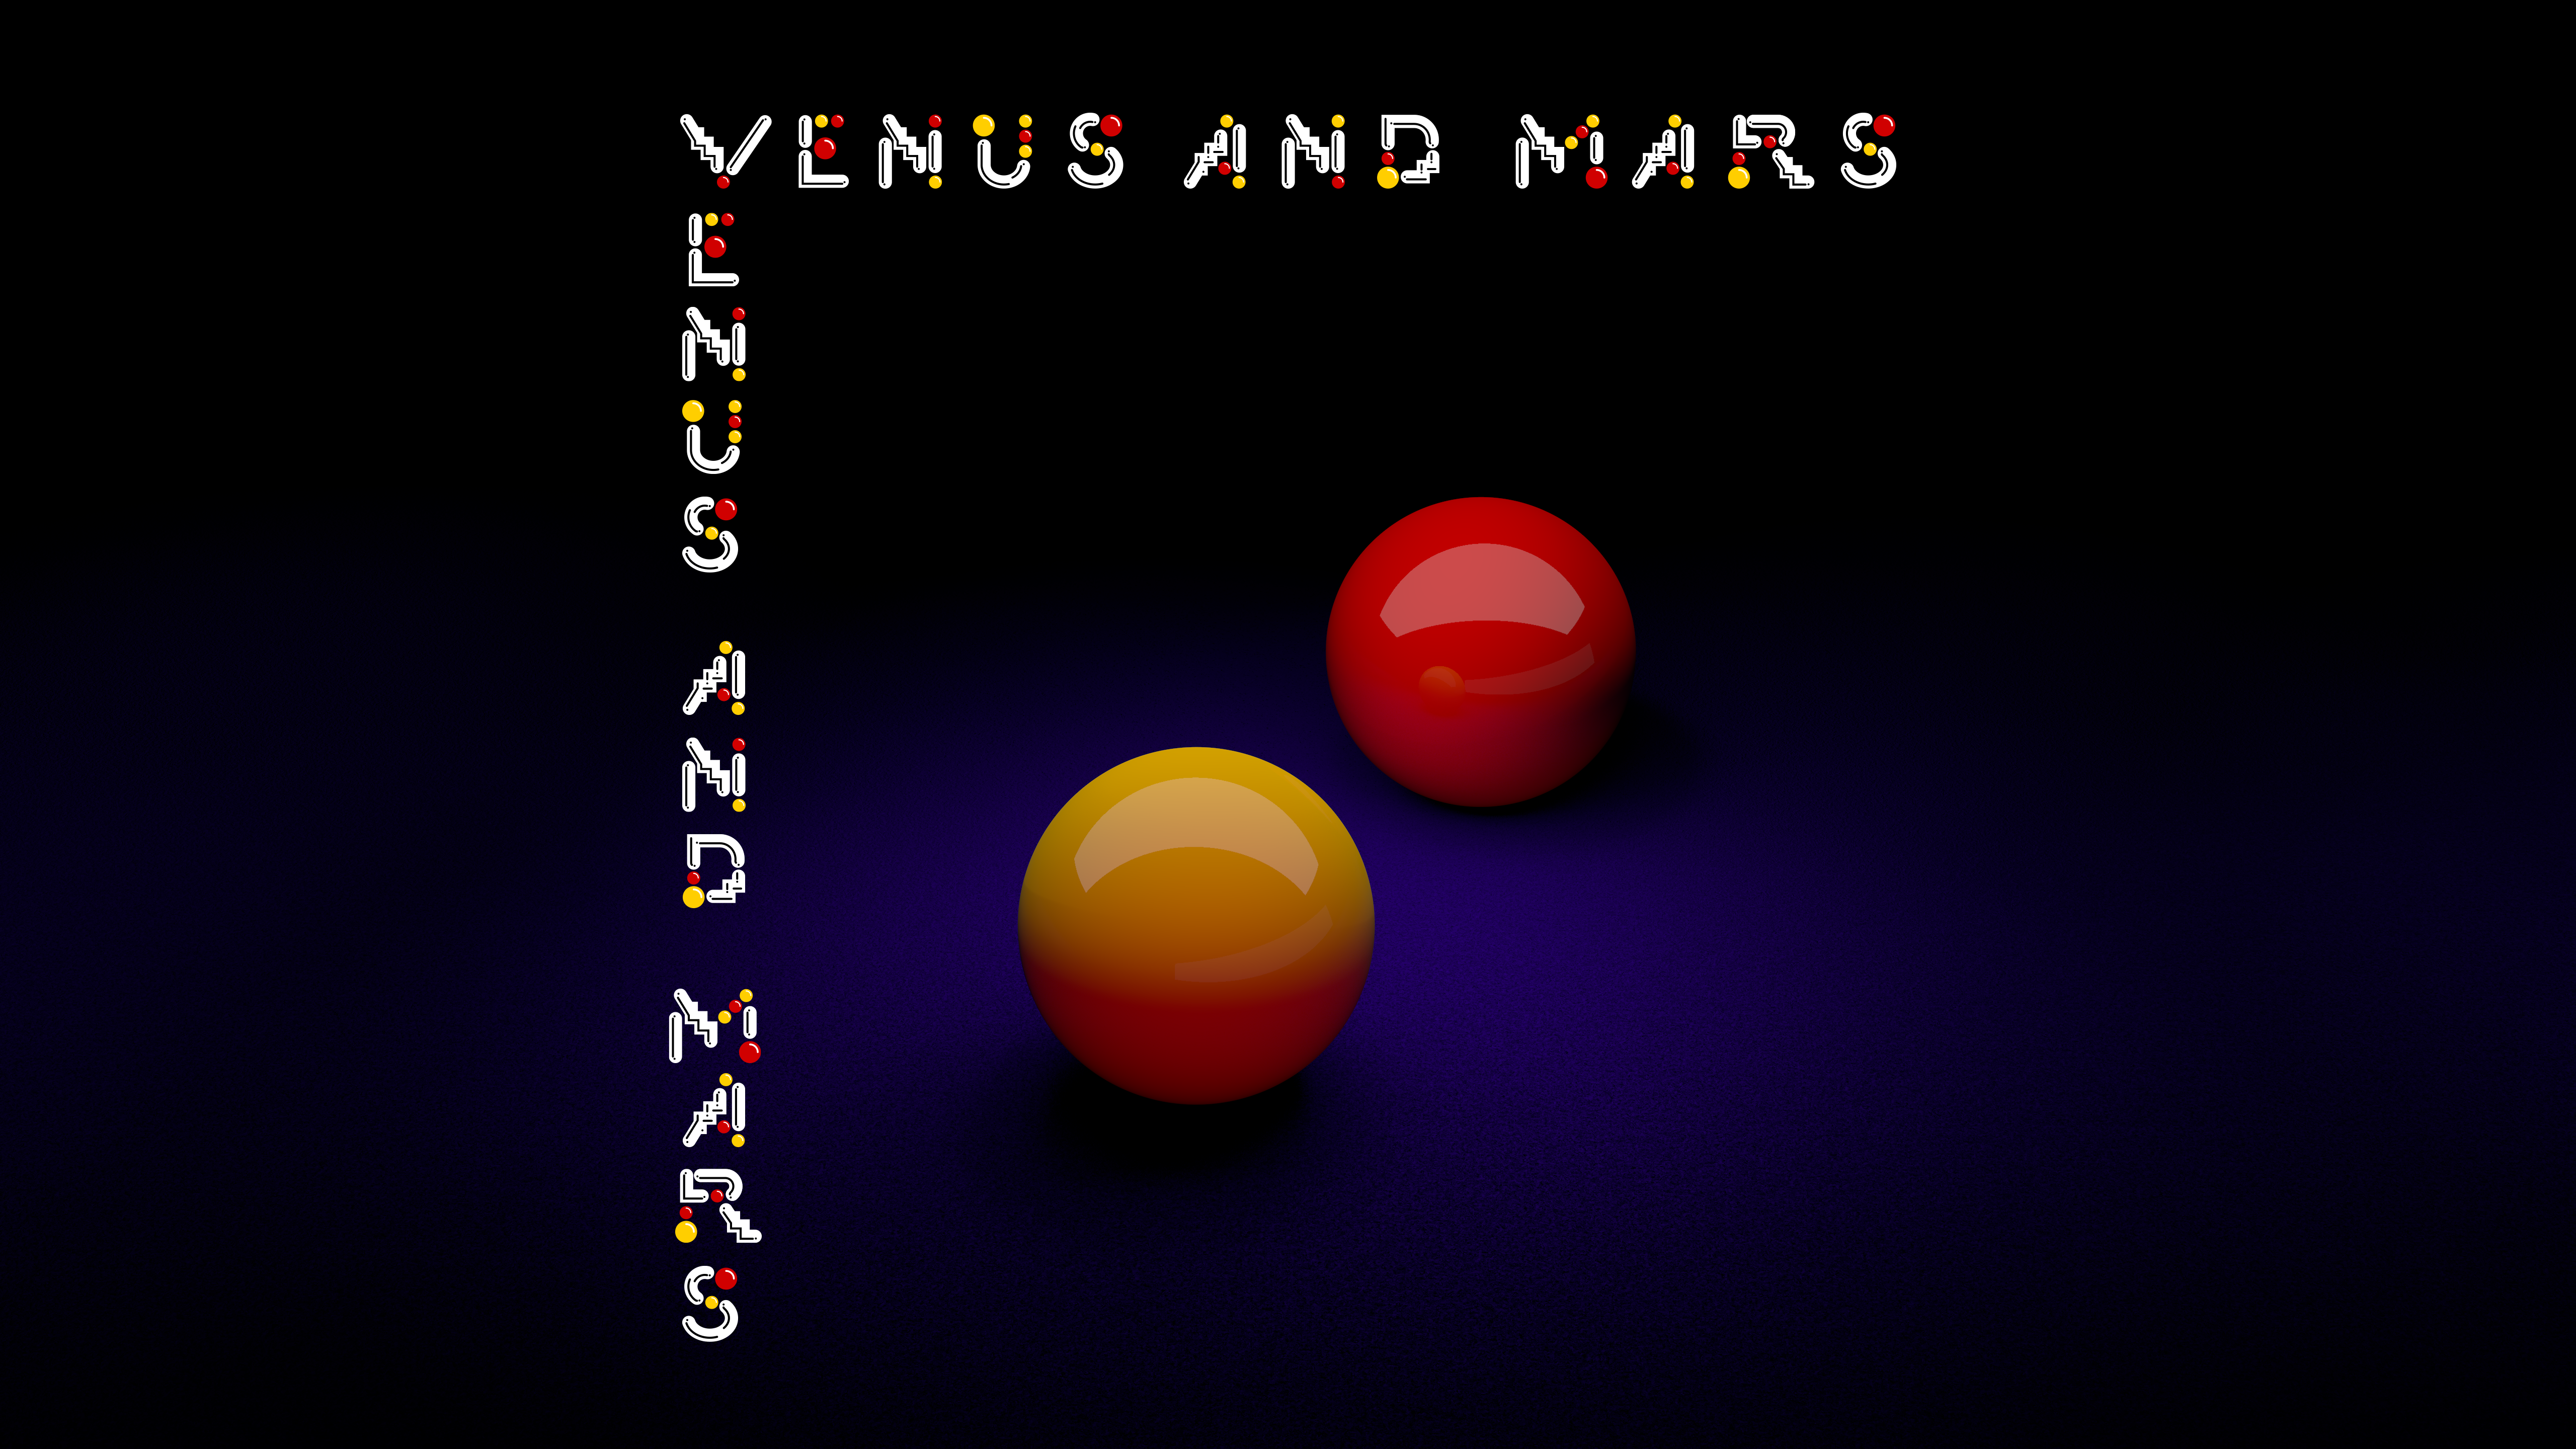
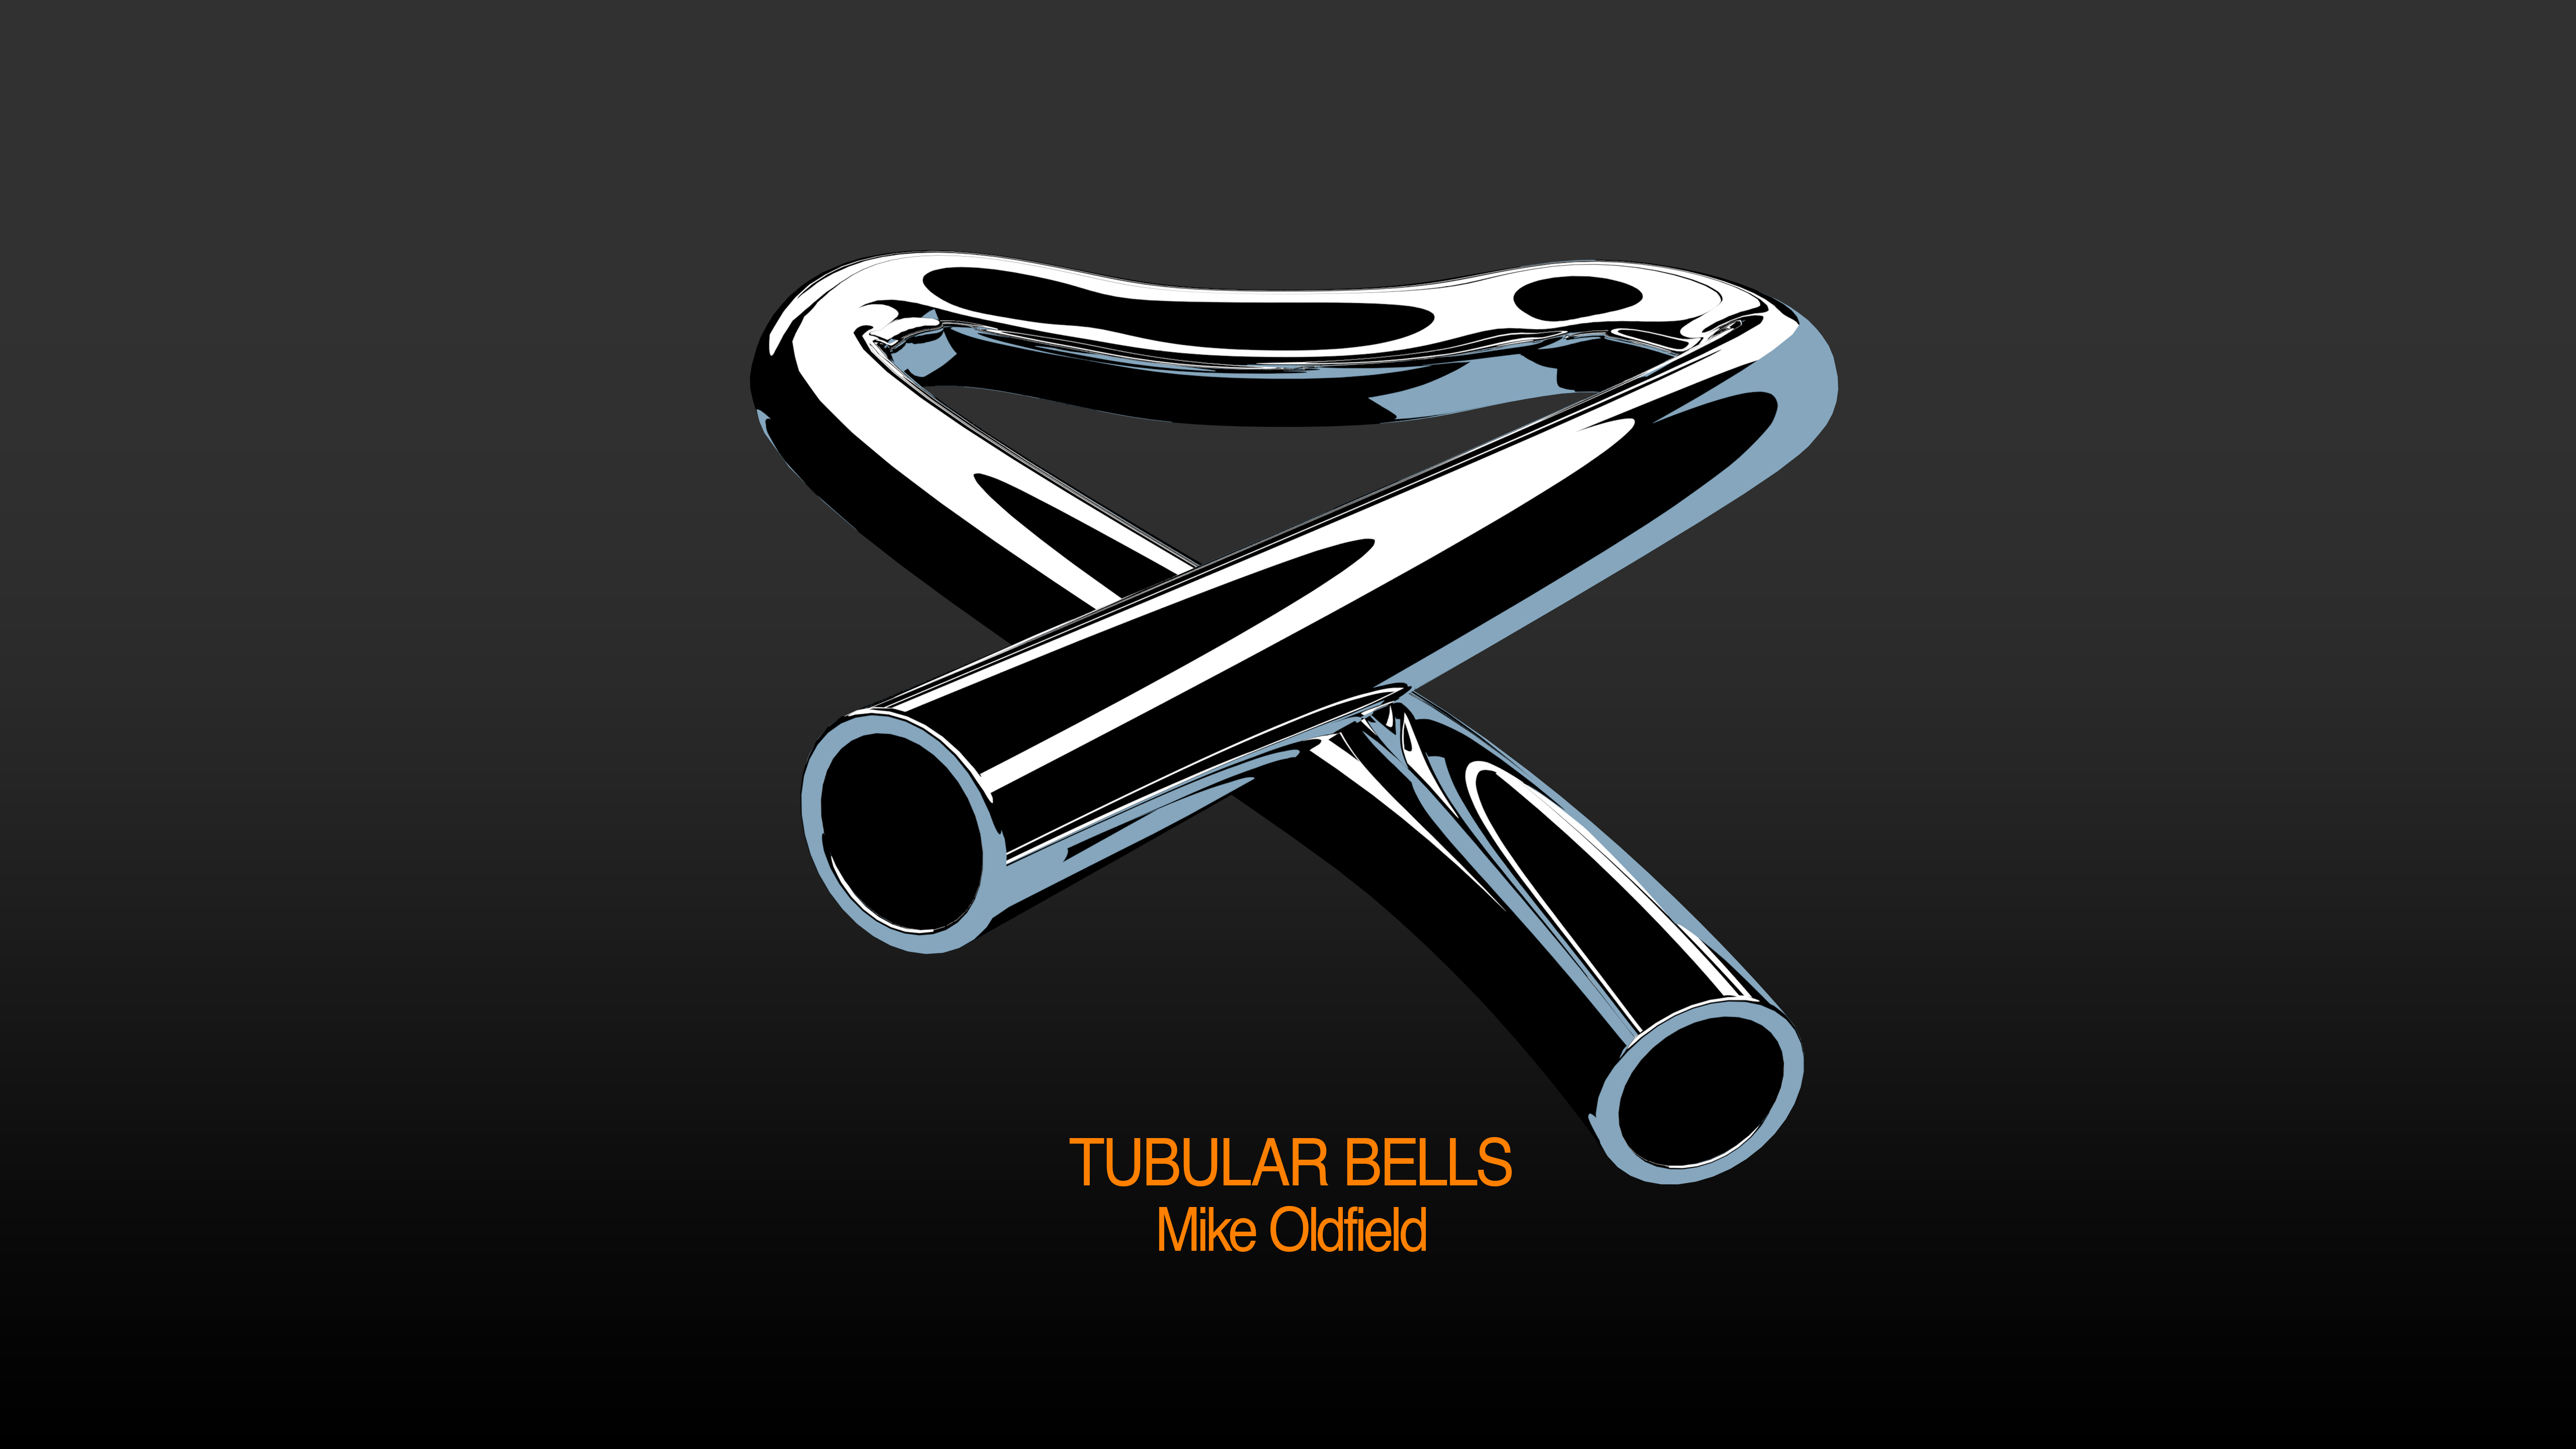
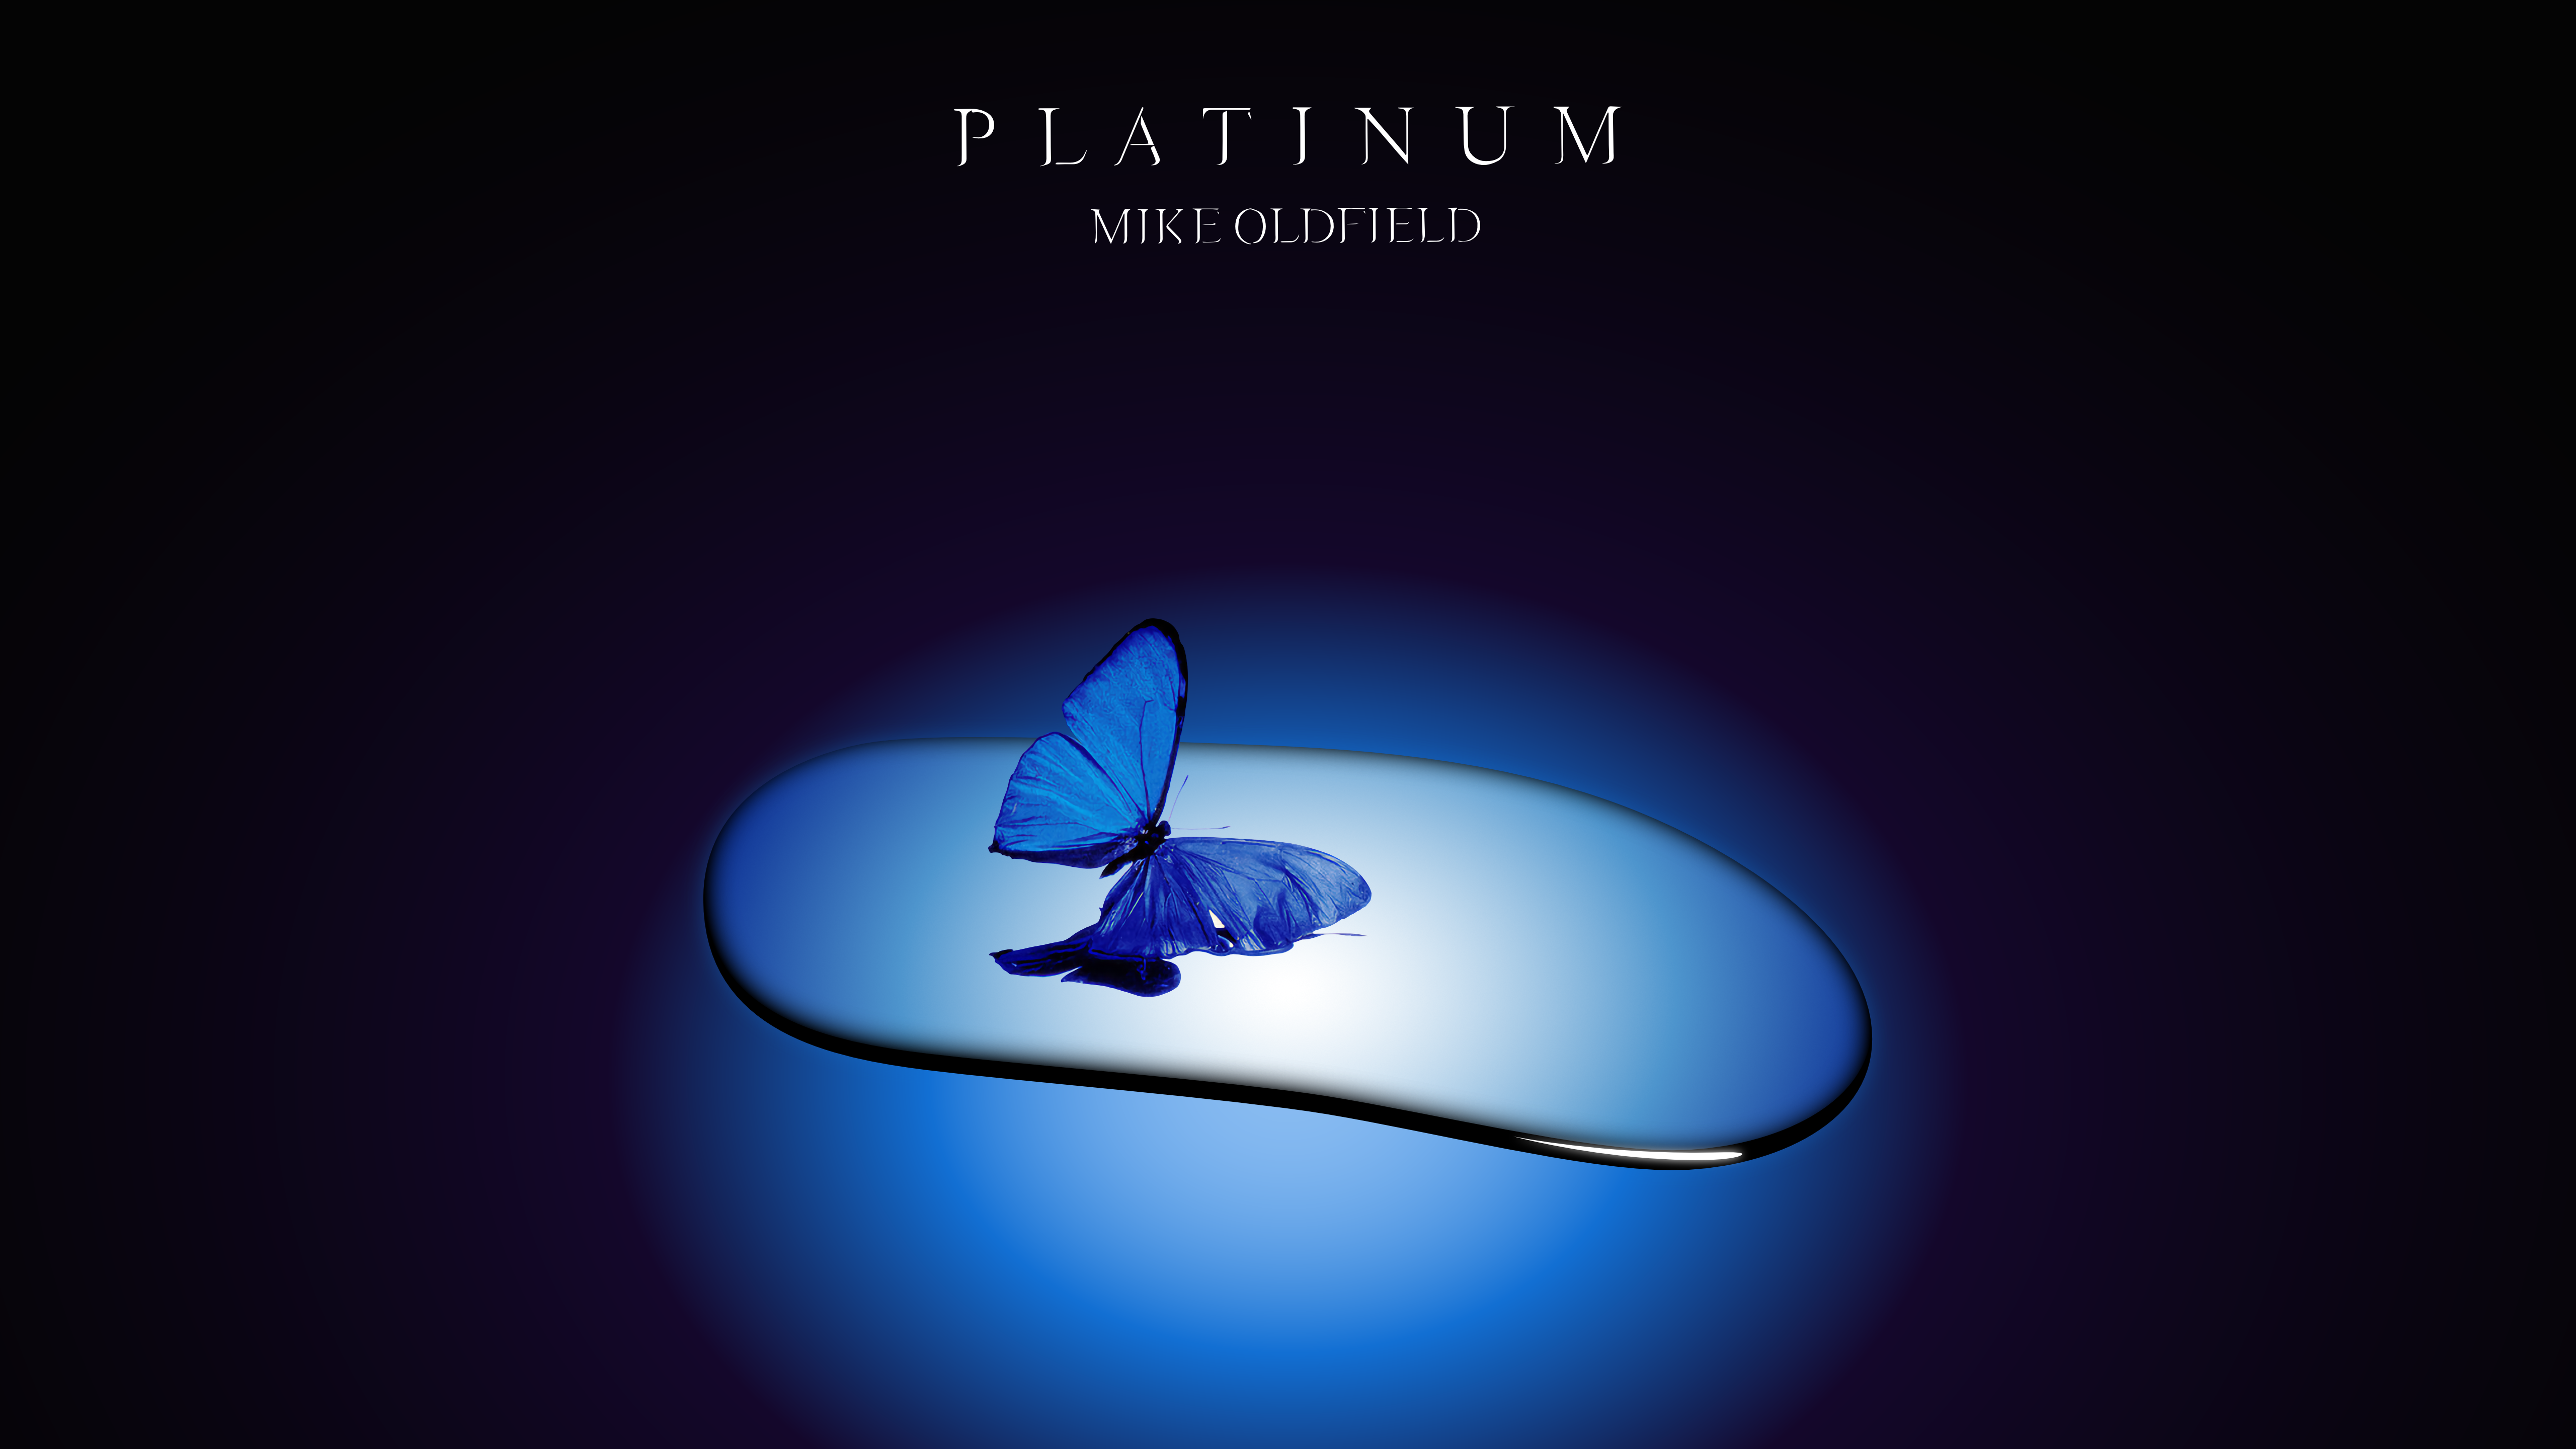
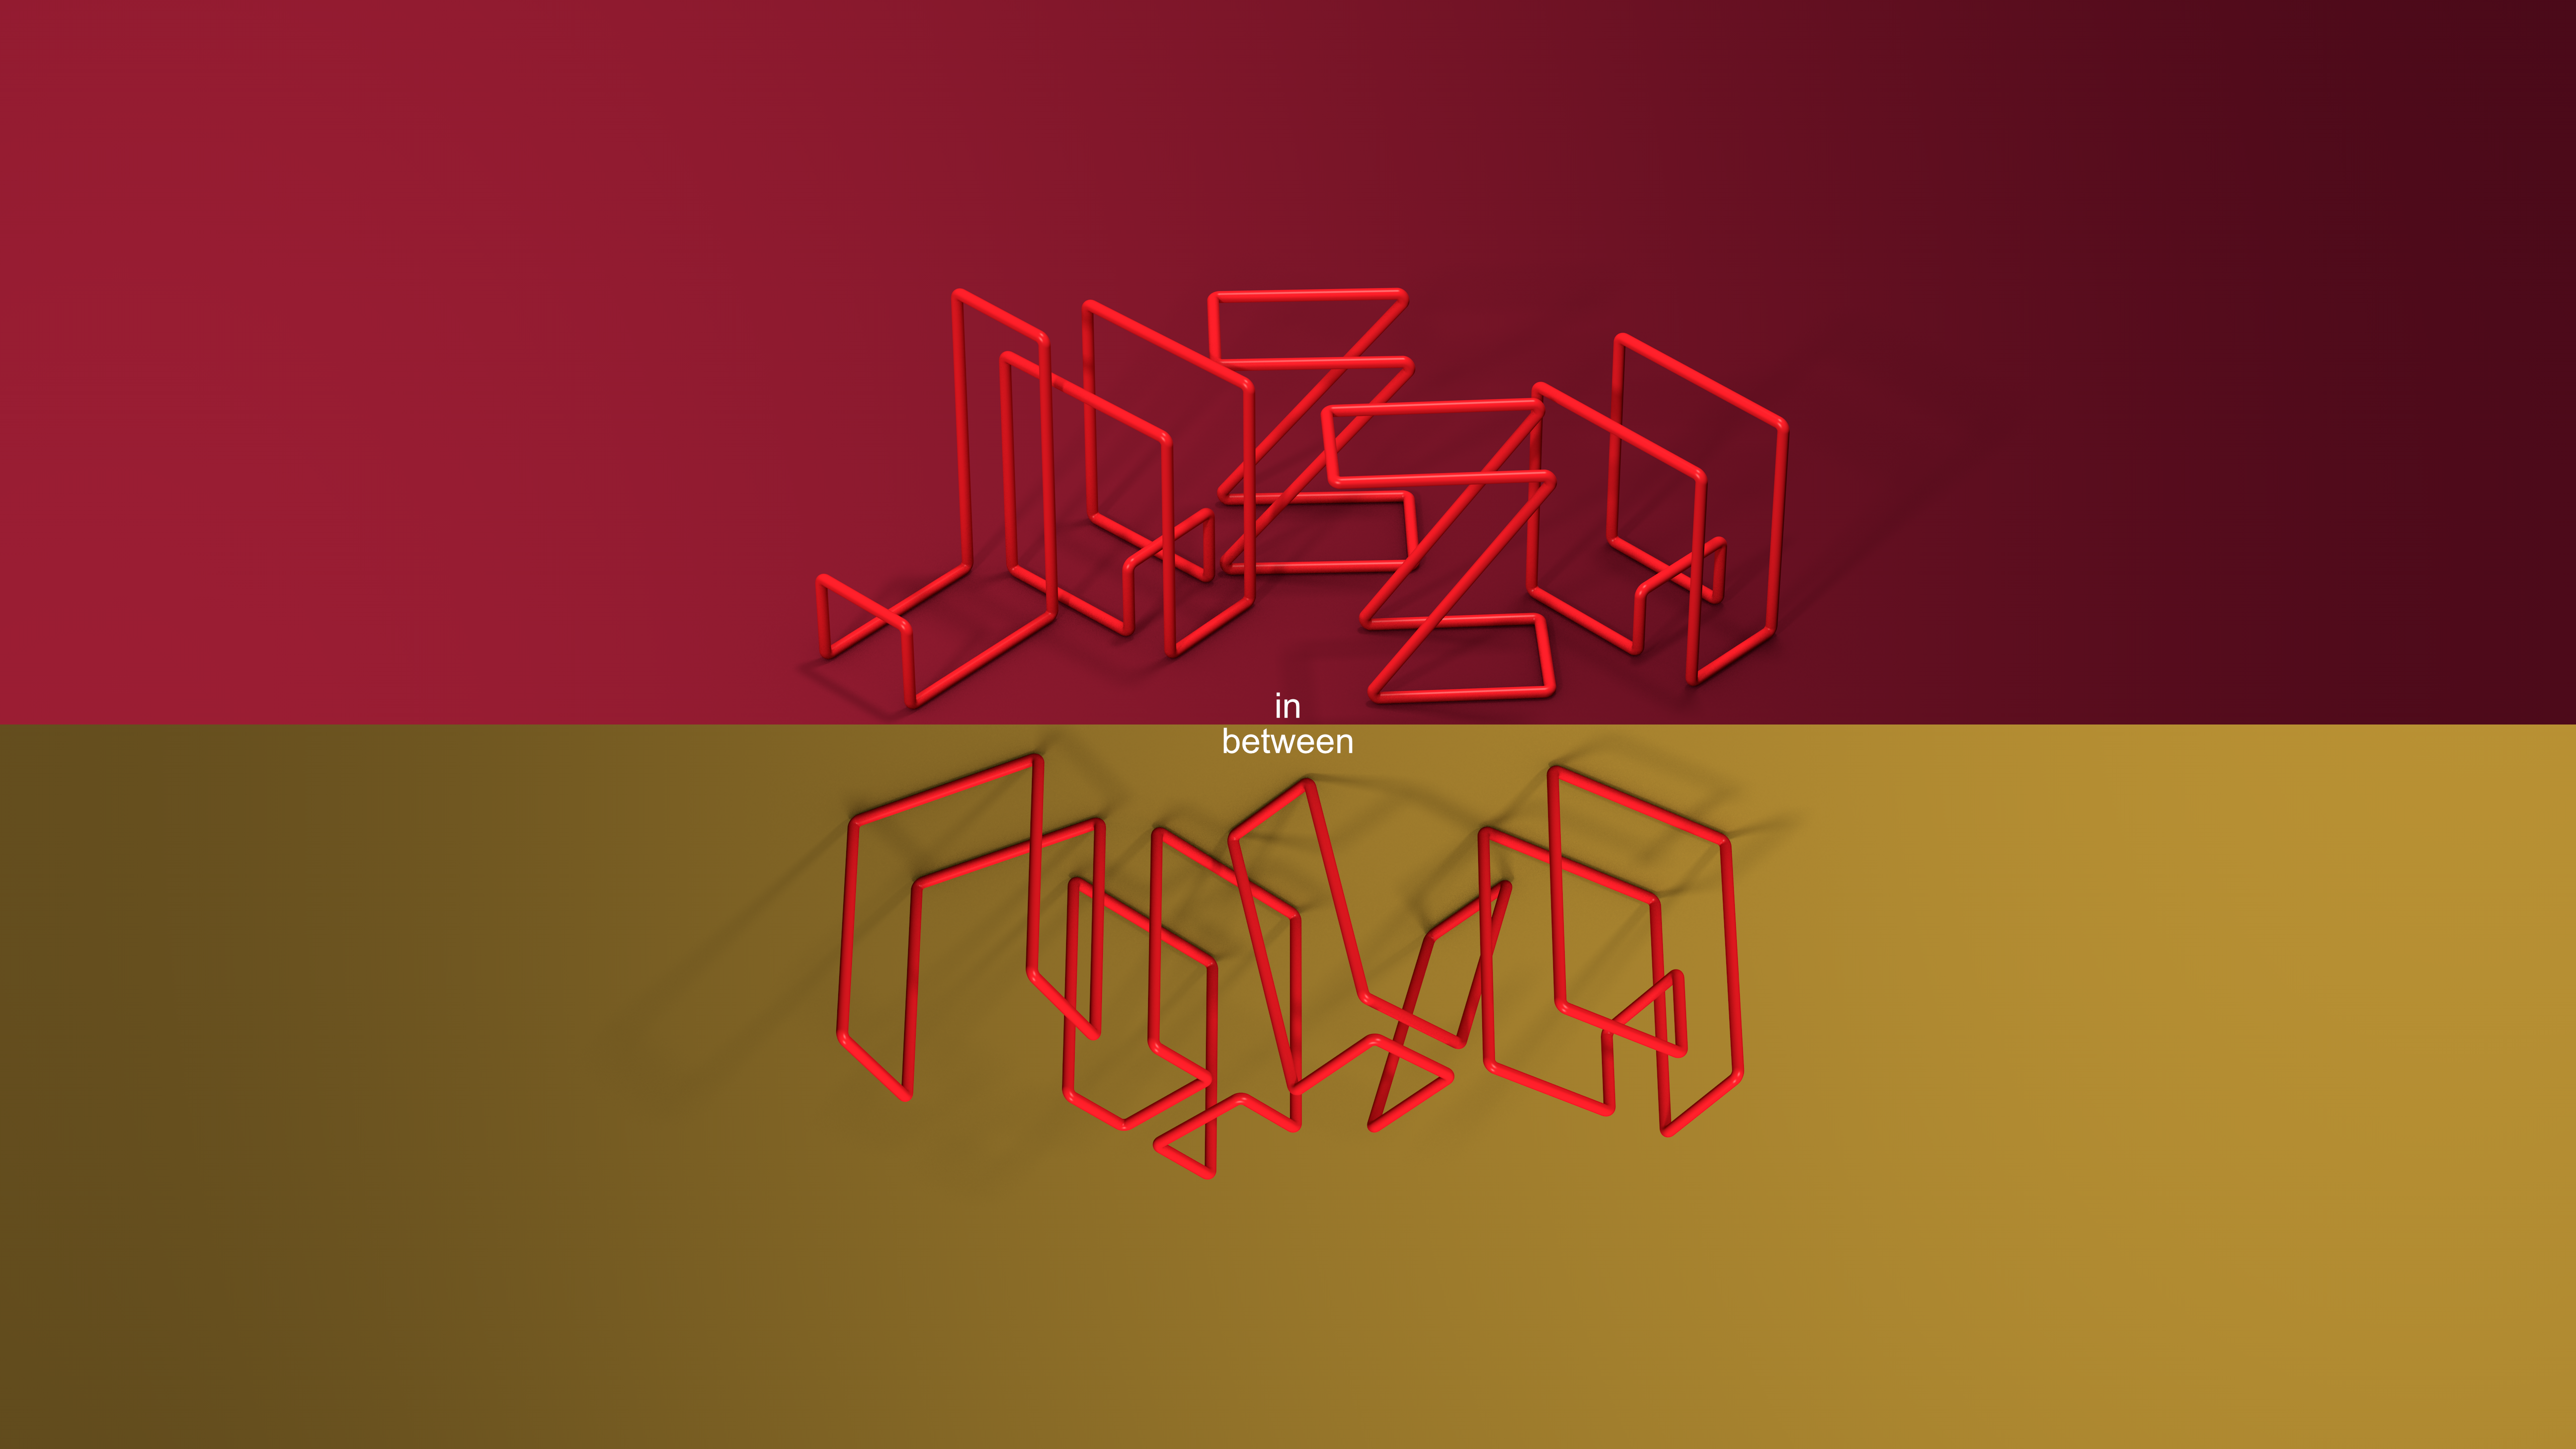
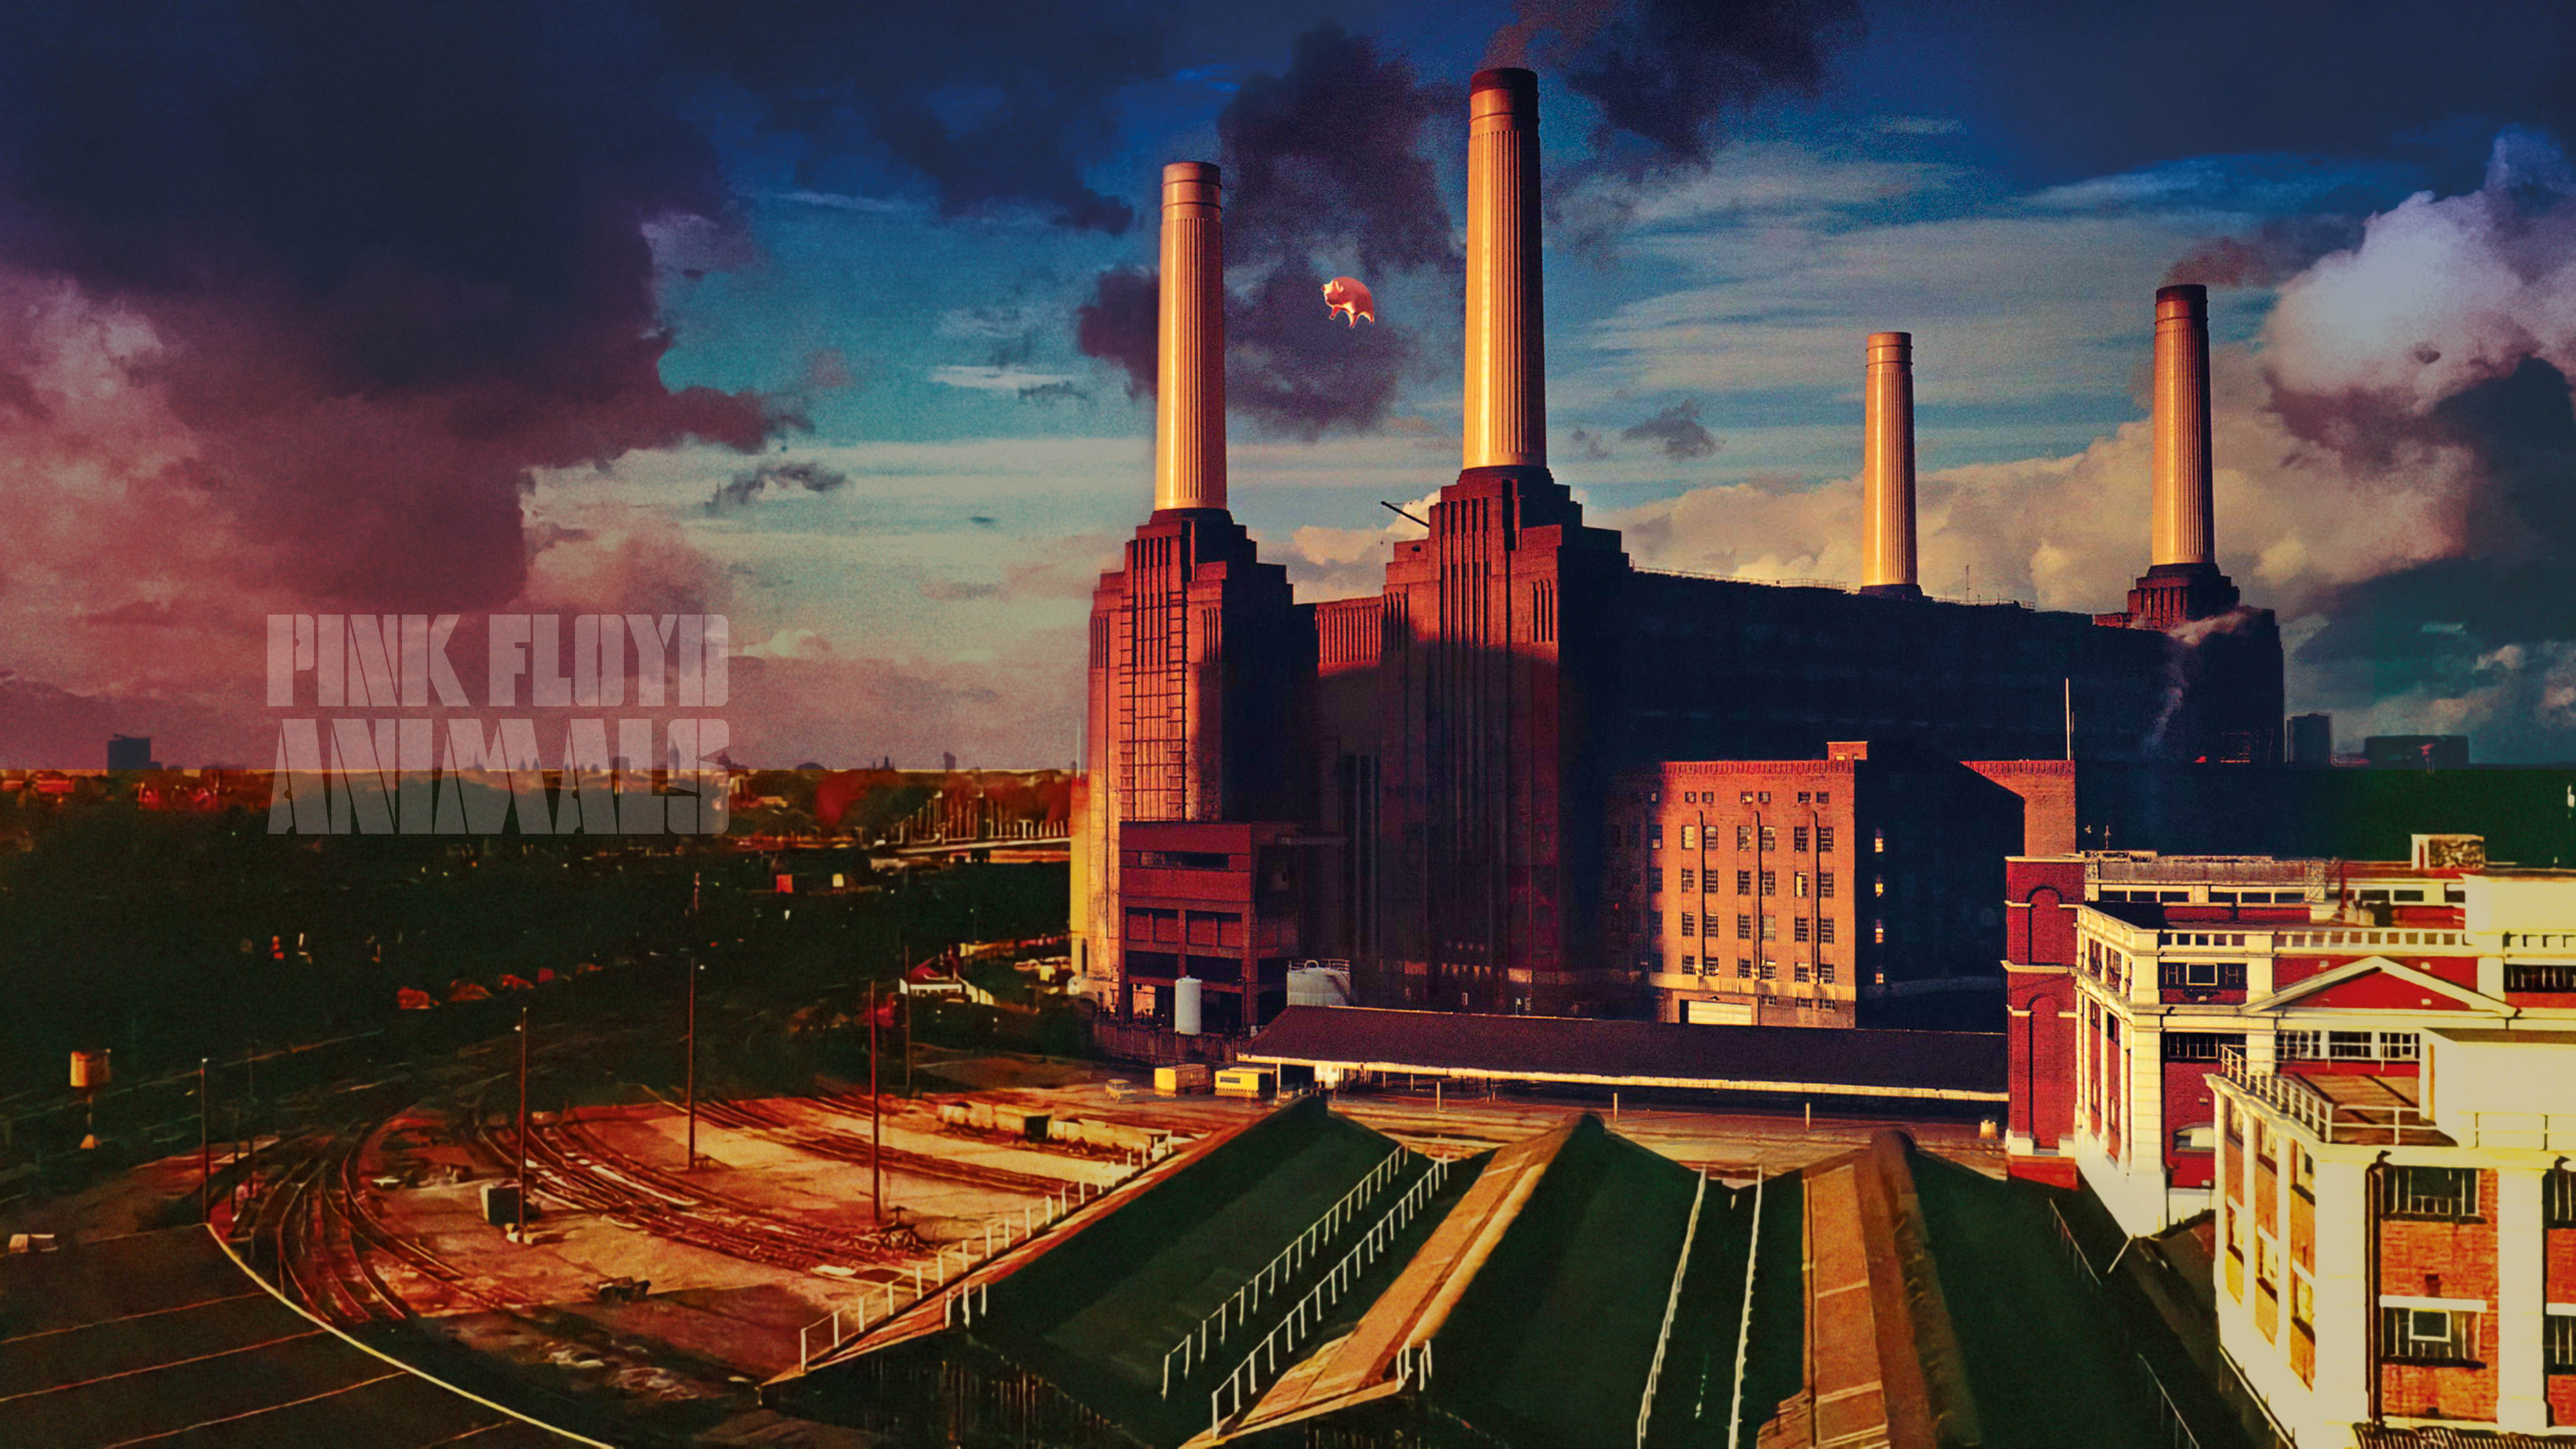
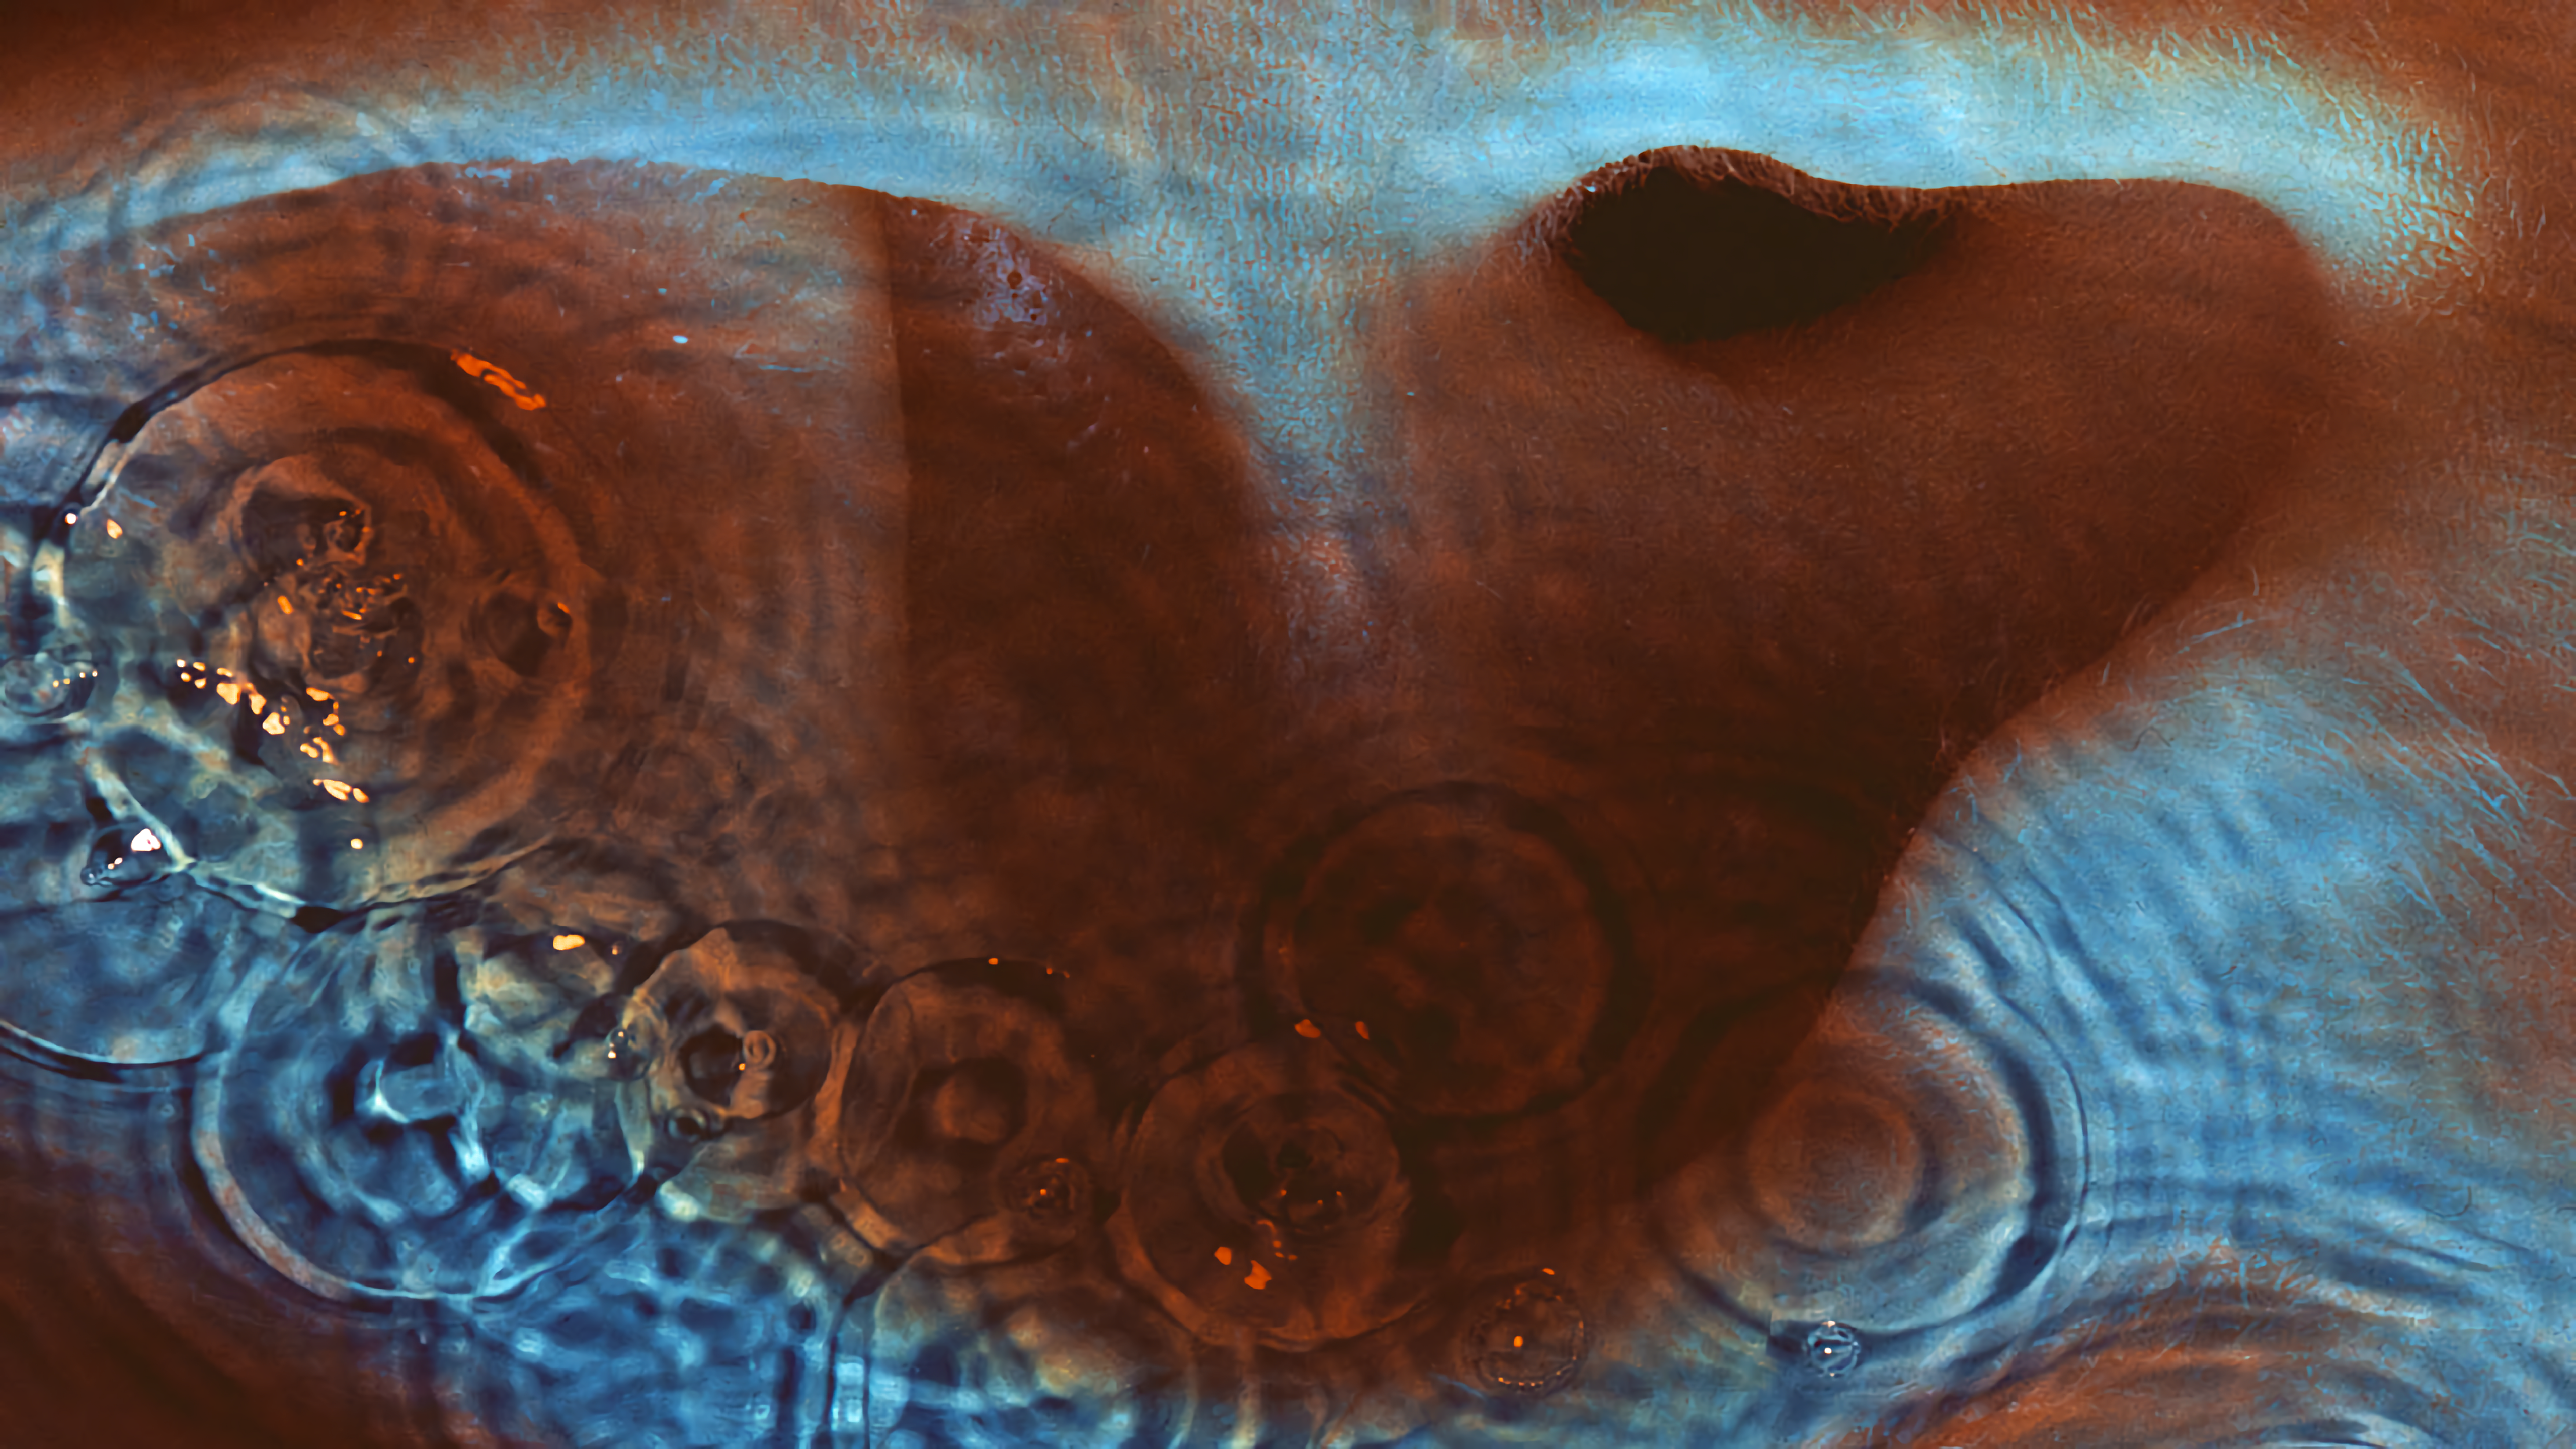
Hello, just here the pleasure of sharing graphic covers of 33LP vinyl covers of some of my favorite musicians in the form of high resolution wallpapers (5120 x 2800 px) saved in .PNG... I hope you will like it... 😉

- 17 replies
-
- 19
-

-

-
- affinity photo
- affinity designer
- (and 3 more)
-
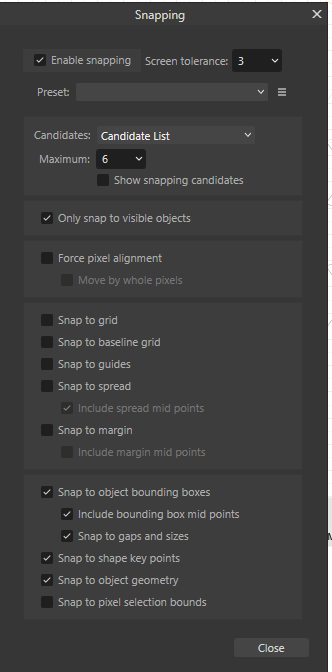
 Hi have a couple of issues around my workflow for creating repeating patterns. For this I need to align objects to specific points or rotate translate objects around specific points. 1. For vector fill tool, is there any way to set the tolerance? I can't find any in the settings and even a tiny pixel level gap results in the tool refusing to fill the shapes. Yes I can workaround this by constructing lines that go beyond and overlap but that will also mess up the repeating pattern.. 2. For snapping, is there any setting where I can limit myself to snapping to only the nodes? i.e I want to snap one line to the end of another line, but with 'Snap to object' enabled, I could snap to the line itself (which is great in some cases) rather than the end point. Is there a toggle available where I can only snap to node/vertex? 3. My eyesight is not great as used to be, is there any settings where I can change the colours or the thickness of the helper lines that appear when I click and drag to align objects? This is the setting I am using for snapping
-
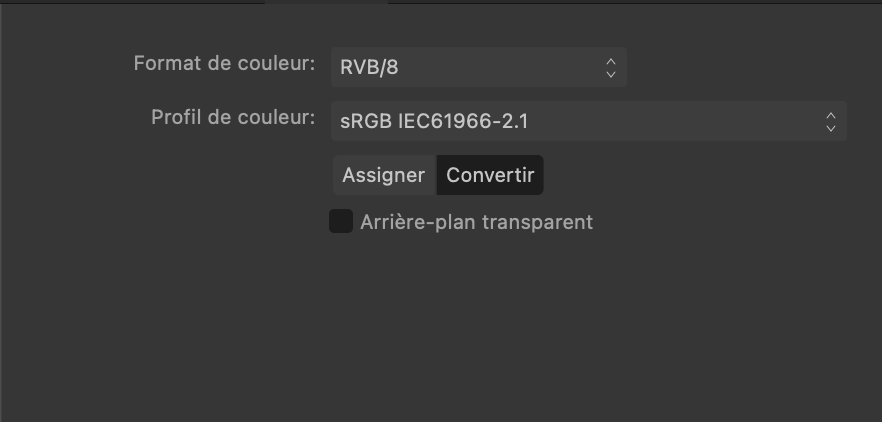
 Not sur if this is a bug or a normal behavior. Software : Affinity Designer 2 Beta 2.3.0 (2165) My document hasn't the Transparent Background box checked on its settings window (see attached image). But when I export it in .png format using the export persona the background IS transparent. If I export it in .png using the File -> Export menu, the background IS NOT transparent (but white) as I would expect. If I export if in .pdf format using the File -> Export menu, the background IS transparent. So I'm a little confuse about it. This is a behavior I have on every files and for many time. It is anoying because I always have to put a white rectangle on my documents. Maybe I'm just misundertanding something ?
-
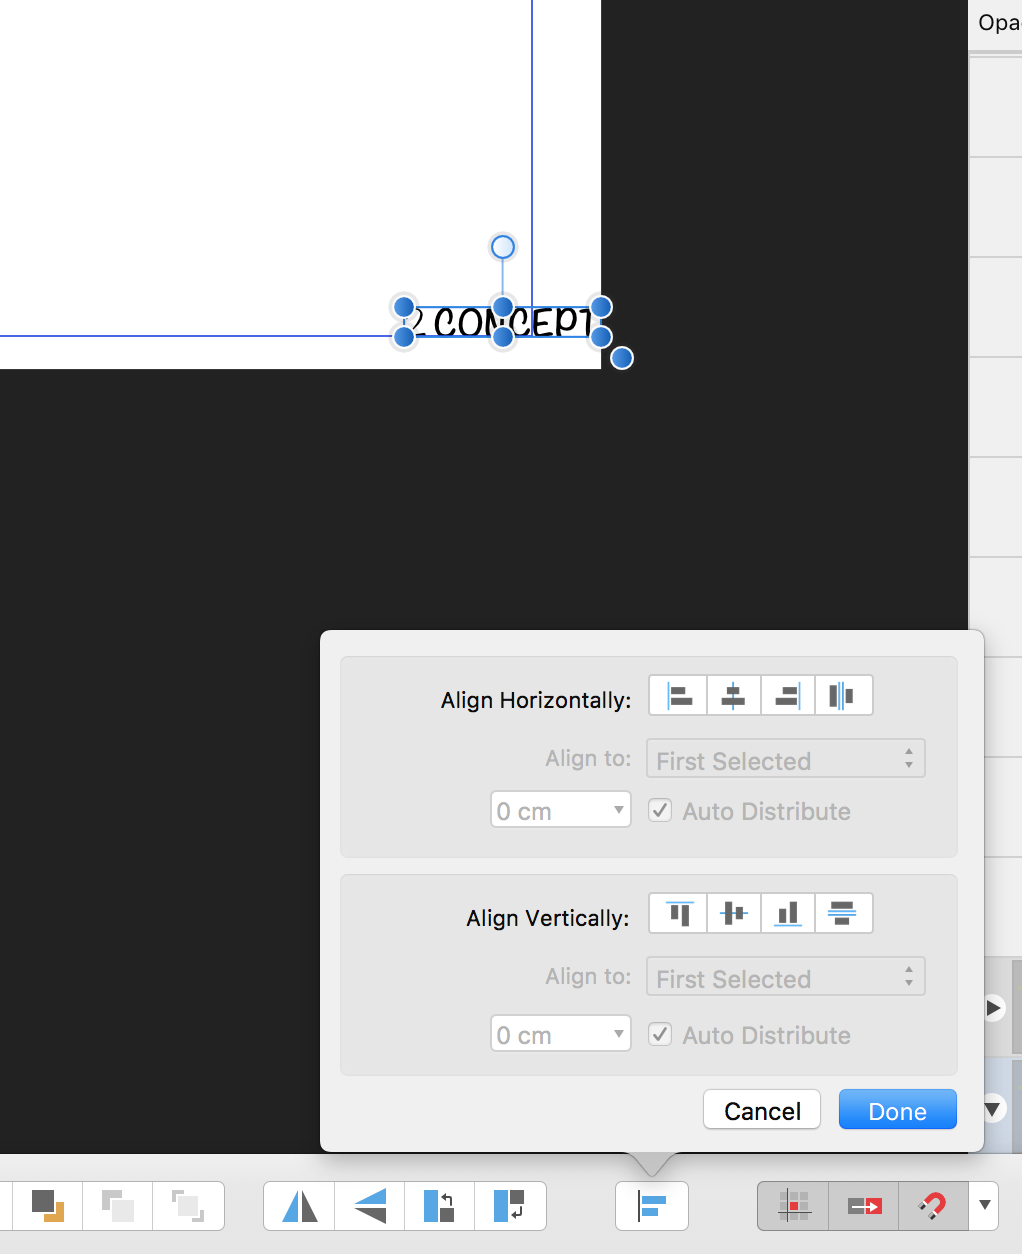
 I see that all Alignment options are greyed out in version 1.8.1. In this case i'm trying to align the text to the margin.
-
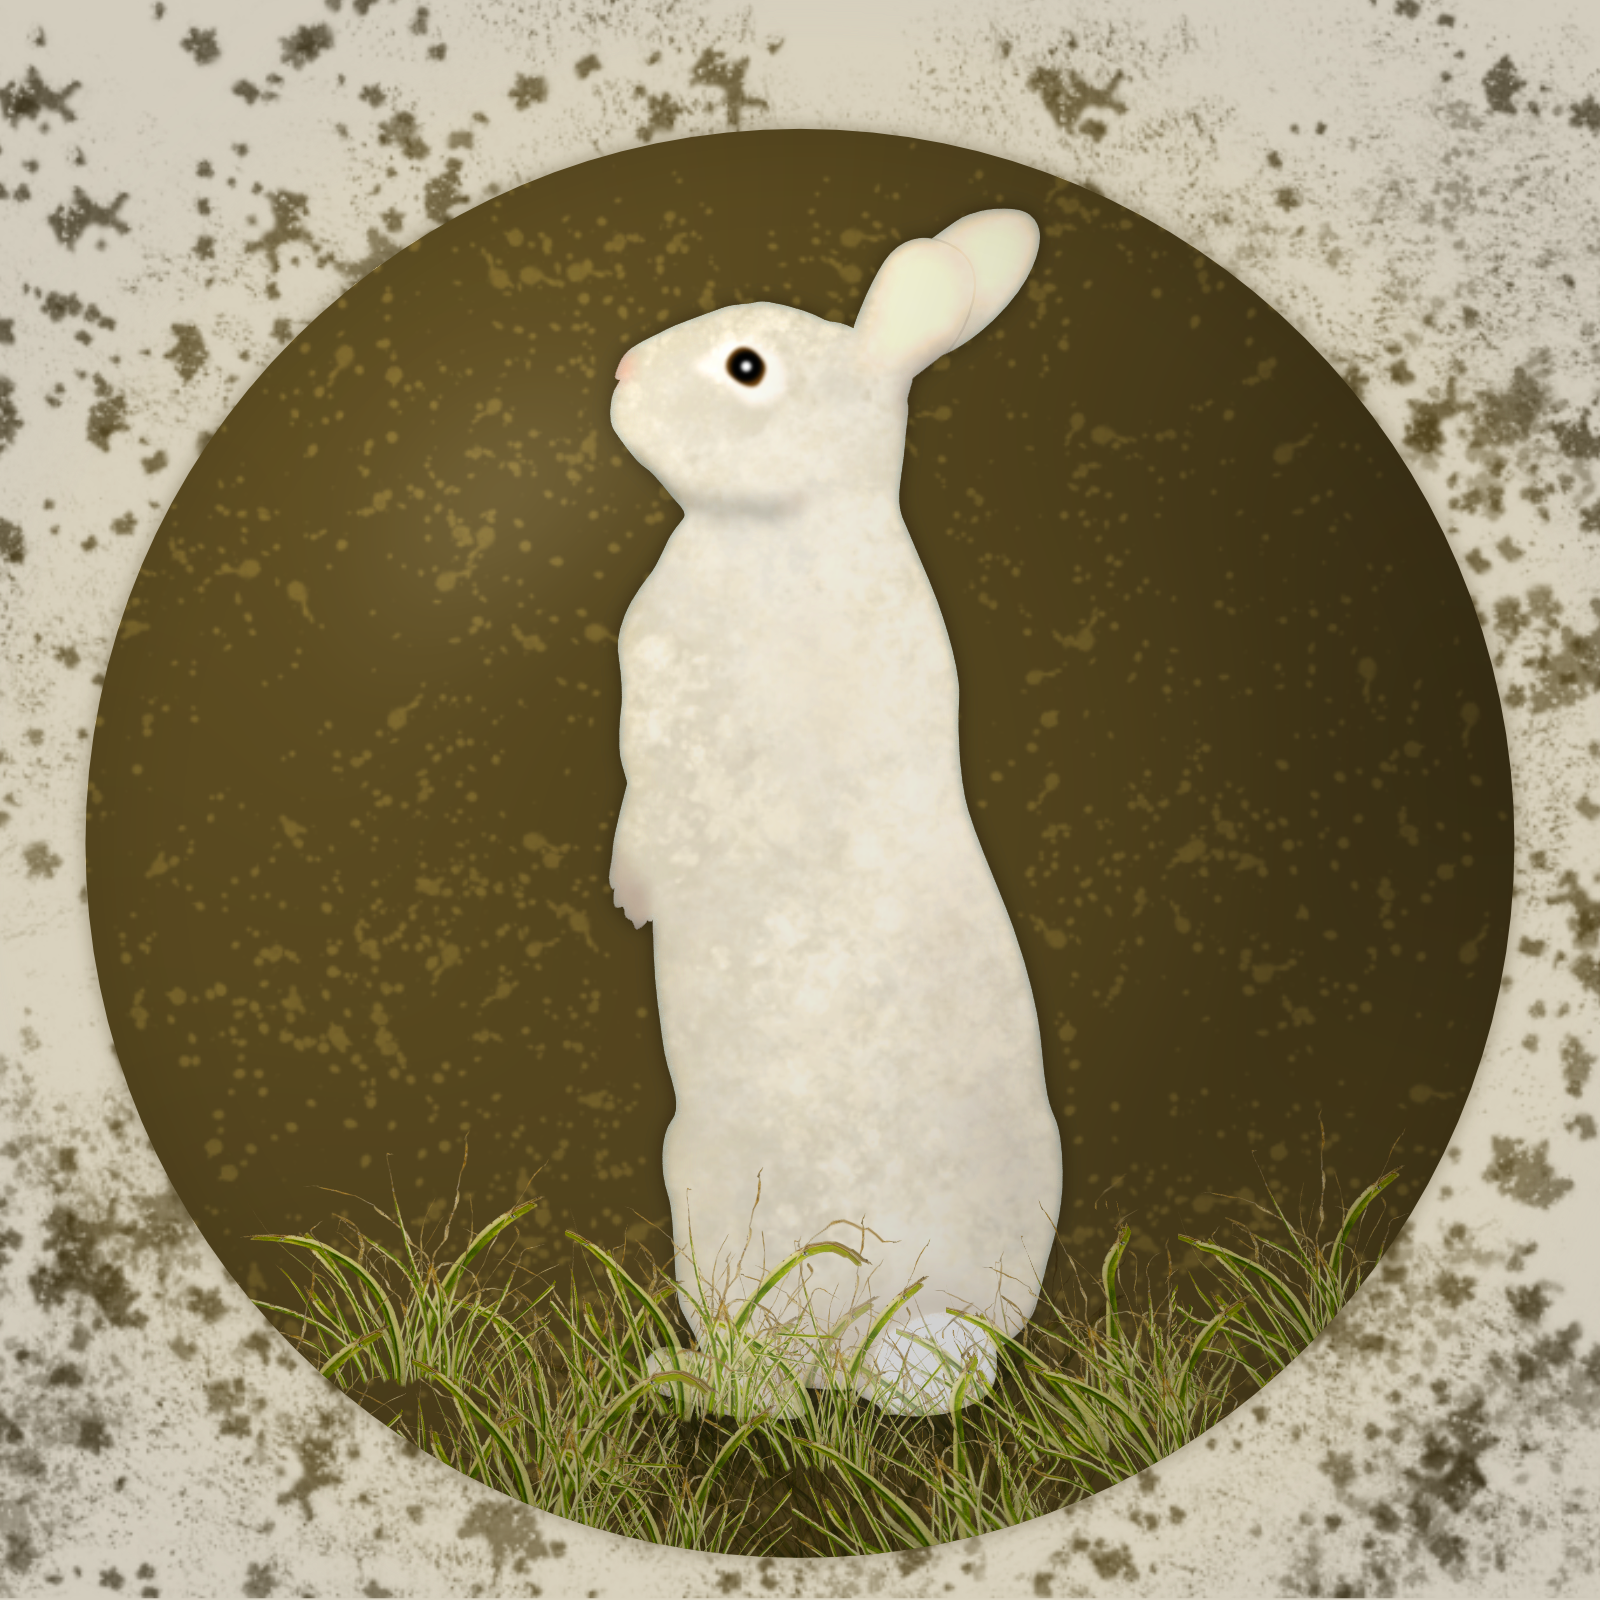
The plural of "rabbit" is "rabbi", right? Well anyway, here's an illustration I did for my wife (the rabbit fanatic...we have owned as many as 7 at one time!) Done in AD v2.3.1, with a few trips to the Photo Persona and Affinity Photo for some filter effects. I created two Artboards in AD so I could create different versions. Hope you like them. Cheers.
- 4 replies
-
- 5
-
-
- affinity designer 2
- photo persona
- (and 3 more)
-
we are a company from Sri Lanka doing designing and developing. I'm personally loving affinity because of the how simple and easy to use this is my latest work check out
-
I’m having some difficulties with touch gestures on iPad, but I’m not sure if it’s me, or a bug, or if the gestures are changing? Basically, a one-finger touch modifier seems to no longer work. In the video below, a one-finger touch should constrain the proportions of the square, instead, it takes two fingers (plus there’s that weird resizing glitch that happens sometimes). The odd thing is, sometimes one finger will work, or sometimes two fingers doesn’t work either, but a three-finger modifier works. Sometimes none of them work at all, it’s really inconsistent. With the Pen Tool, when I use a one-finger modifier, I can see the point change to a cusp for a second, then revert back. A two-finger touch modifier will consistently change a smooth point to a cusp, but it won’t constrain the control handles to 45 degrees. However, a three-finger modifier will now both constrain the control handles, and edit the nodes. Am I doing something incorrectly? Is there some setting I may have accidentally changed? Or is this a bug? I don’t use a screen protector, and I’ve cleaned any smudges off of my iPad screen, so I don’t think there’s anything interfering with the touchscreen responsiveness. Plus, other touch gestures, like undo, work perfectly. I’ve also tried force-closing the app, restarting my iPad and turning off Hover, the results are the same. The video is version 2.0.4, but this also happens in the Beta (1736). M2 iPad Pro 12.9”, 256GB, iPadOS 16.4 IMG_6950.MOV
-
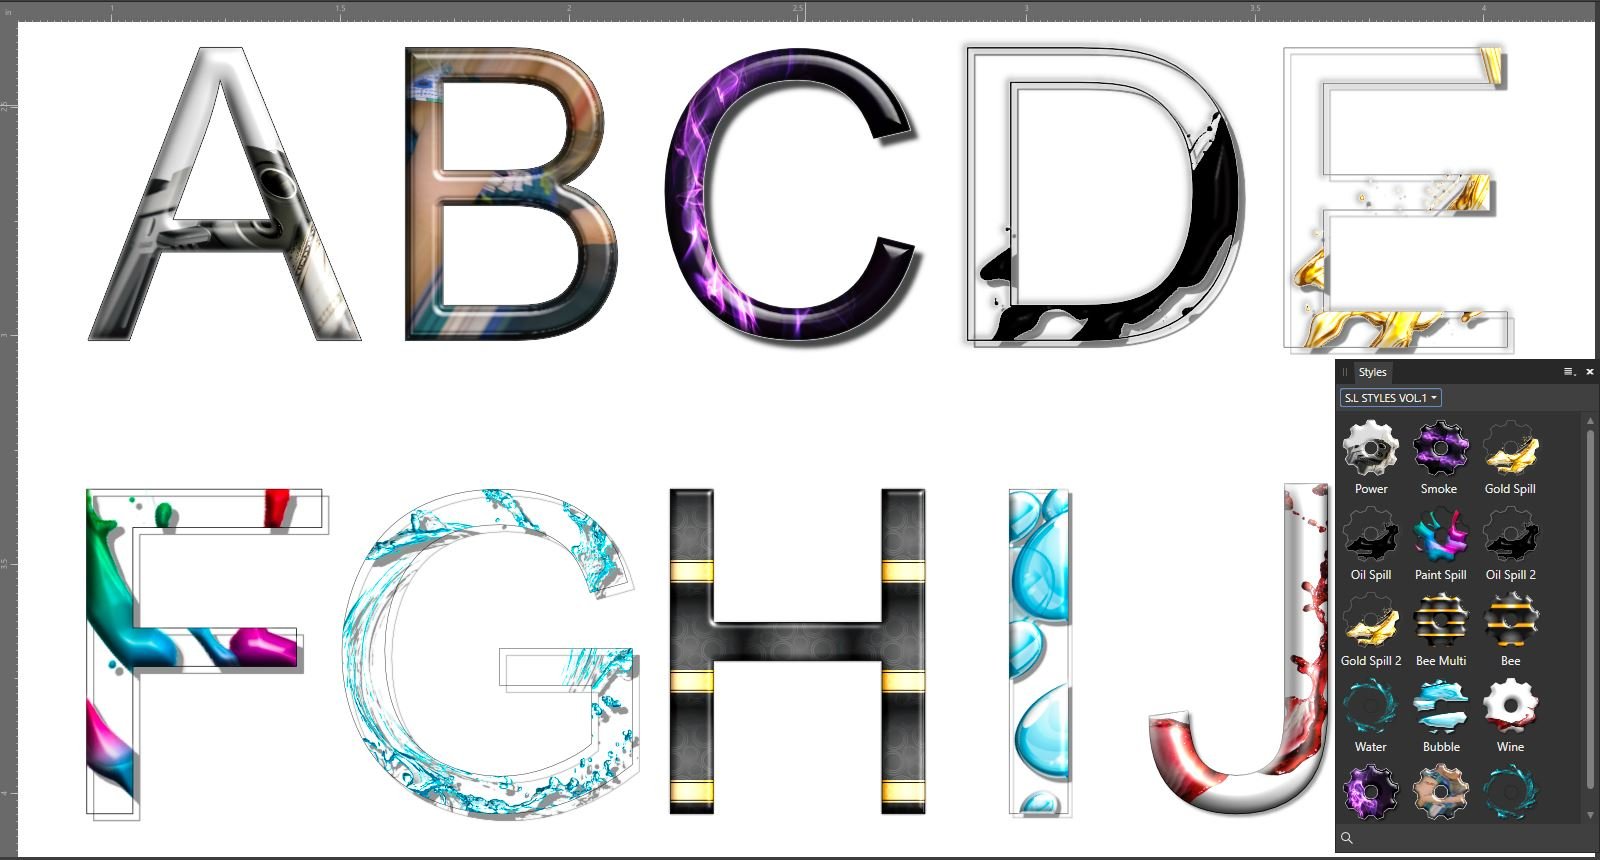
Hi everyone these are some styles i created for use on individual letters , hope there good enough for everyone to find a use case for them. this is my first go at creating styles it is a 148.59MB DOWNLOAD. S.L_LETTER_STYLES.afstyles
- 26 replies
-
- 21
-
-
-
- affinity designer
- affinity photo
- (and 1 more)
-
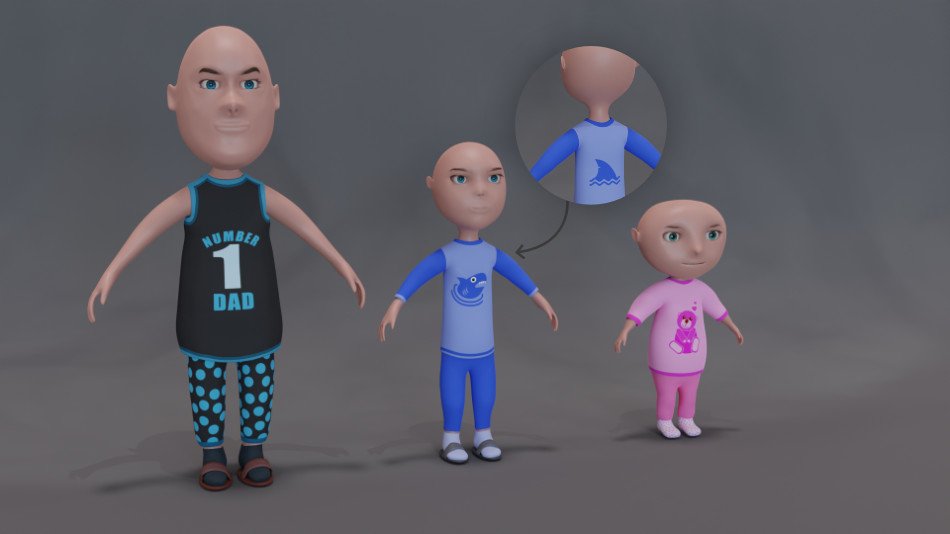
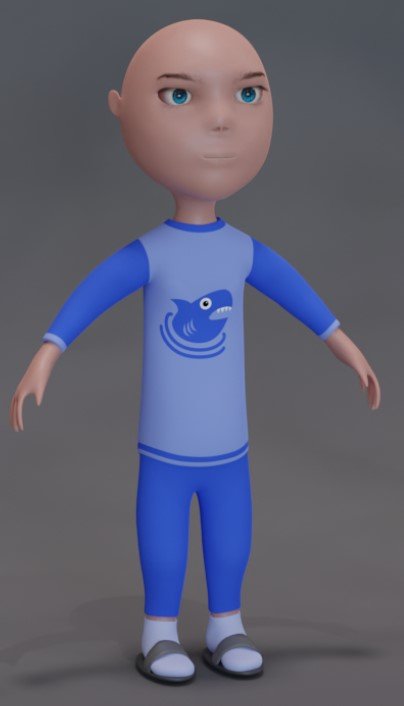
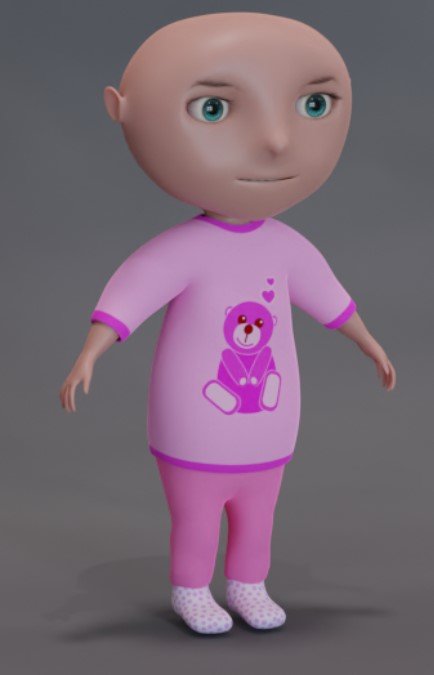
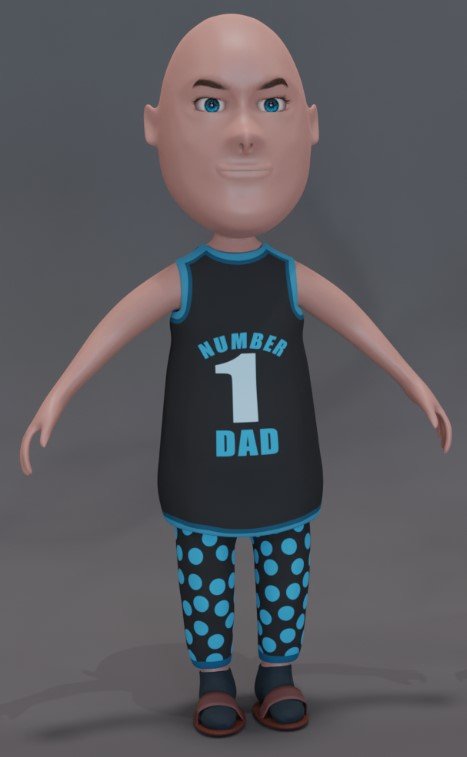
 Today I've finished creating designs for Pajamas for some of the Characters of the Animation Short I'm currently working on. Happily used Affinity designer to create these designs!
-
A5 flier, all done in Designer and Photo apart from the 5 star logo and Chef along with Gary's image. Colour laser printed (20 A5's for double sided Perspex table flier holders)(3 A4's for notice boards) (1 A5 emailed as an attachment to the membership)
-
 I want the Space Bar to invoke the Move Tool and to never invoke the Colour Picker, how to I disable the Colour Picker from appearing when I am using Space Bar to move? I have tried to search the settings and keybinds but Colour Picker is set to the key "i" for India and I am unable to find other setting related to this. Problem: I am experiencing an annoying bug or feature (I am not sure which) where when I use the Space Bar to use the Move Tool it sometimes brings up the Colour Picker instead. This is unpredictable, seemingly random, and totally disrupts my workflow, sometimes inadvertently causing me to change colours. As you might imagine, this can cause major problems on a complex design if the mistake is not caught. EDIT - FIXED: Error was caused by Alt key mousedrag, which is an alternate Colour Picker shortcut that I was accidentally catching on this particular keyboard.
 -
 Oh, I hoped we could get rid of this annoyance (semi-bug). When you enter a value, for example a numeric value in stroke width field and then hit enter, that field keeps selected, so if you press P or V or M for any other tool in enters that letter into the field, see Gif below. You need to click anywhere or click the tool to deselect the field. These "little things" are not so little when they happen so often while working.
- 10 replies
-
- 3
-
-
- affinity suite
- affinity designer
- (and 1 more)
-
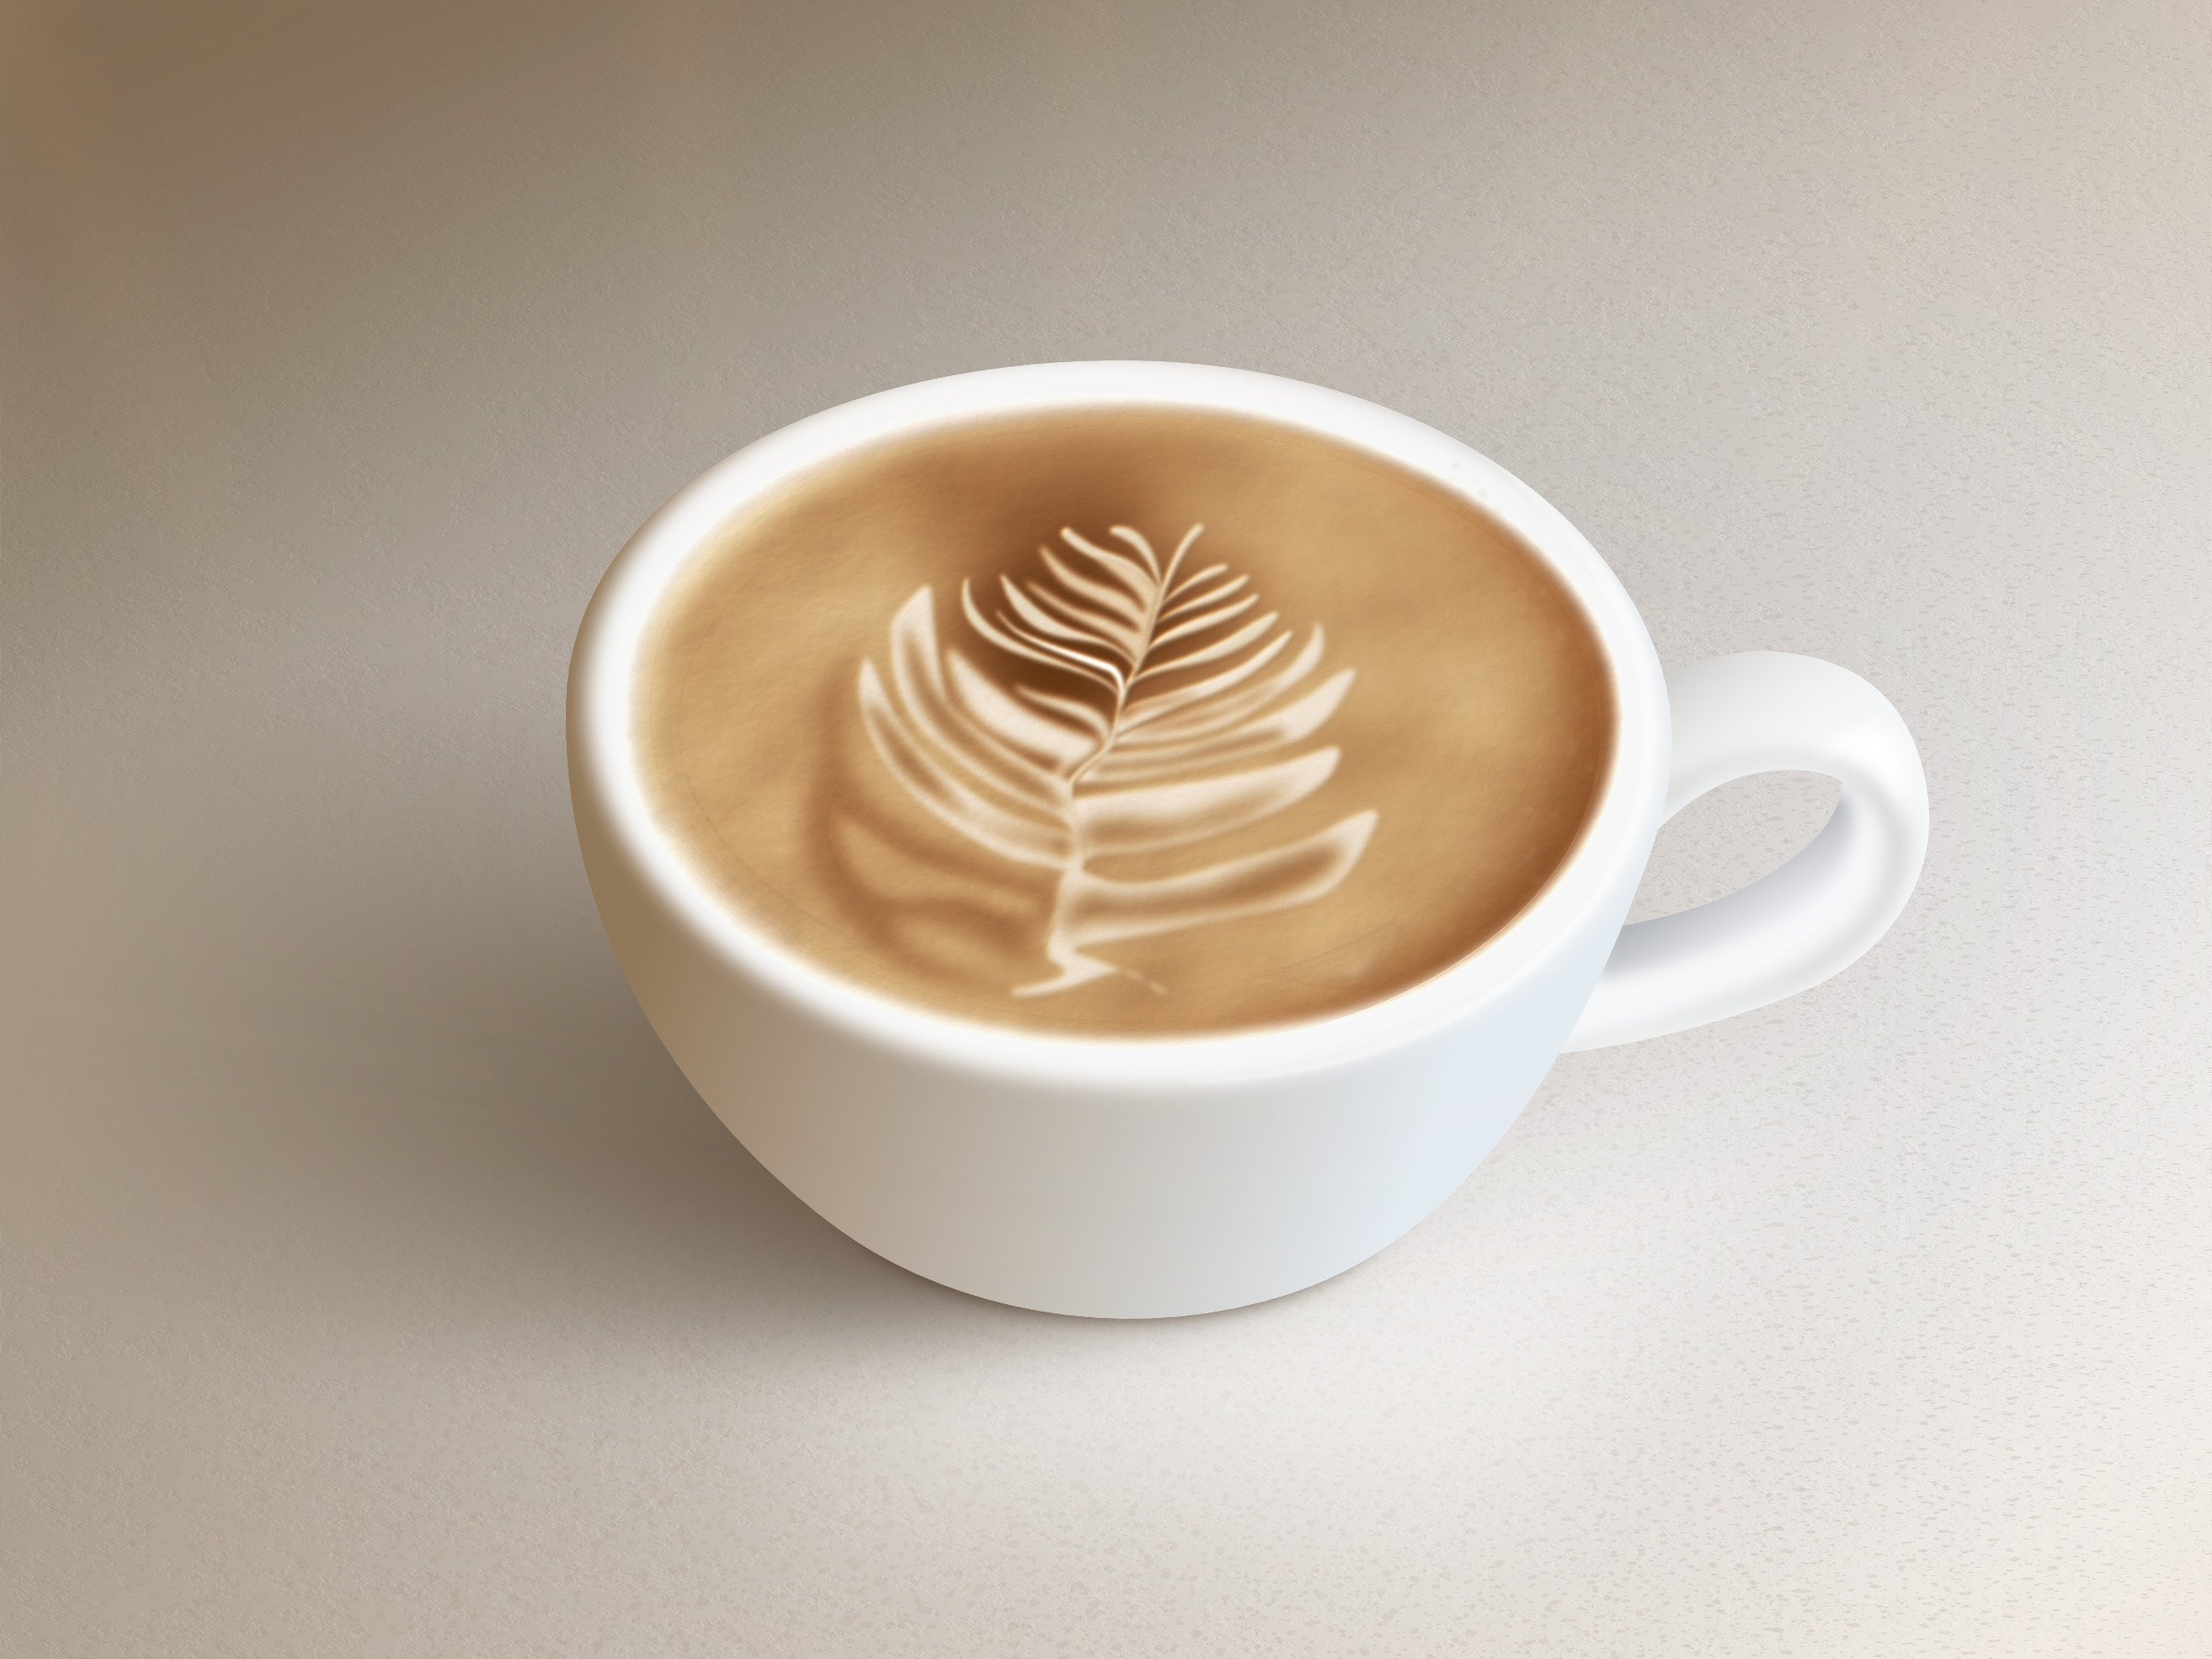
Latté anyone? Curious to see if I could realistically replicate latté-art. Created with Designer v2.3.1.
- 4 replies
-
- 14
-
-
-
- coffee
- coffee cup
- (and 2 more)
-
 Is there any option to resize multiple diffrent object at once in Affinity Designer? For exmaple I have 3 diffrent rectangle selected and I would like to change sizes of these rectangles to 20x20 mm each. I couldn't find anything like that in Designer.
 -
 Currently when resizing a selection, the selection resamples the nearest neighbor outside the selection. The result is that a resized image that has edged that have been feathered or blended into a gradient due to the algorithm used to resample when stretching the image. I'd like to suggest that the move tool gains an option to select the type of sampling algorithm used, with one option be none, to permit the creation of variegated flood filled rectangle based upon selection without the feathering/blending effect or utilizing a different sampling algorithm. This feature would be applicable to Photo or Design where pixel selections can be selected and transformed. The need for this feature goes as far back as early V1 days - I've found numerous reports of this problem with no suitable solution implemented.
 -
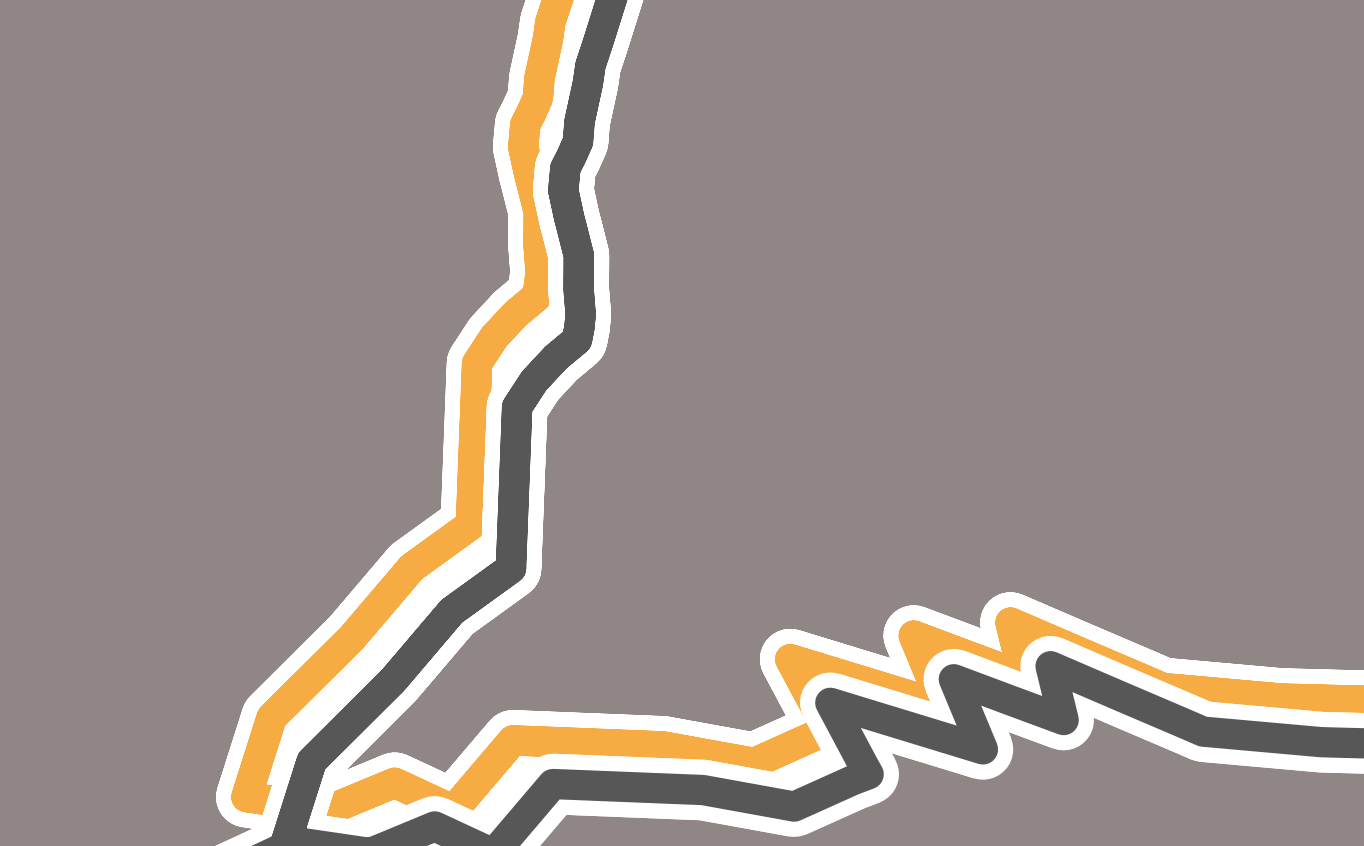
 Hey! I am working on a map project and am trying to map different routes, which overlap to some extent. I created the routes from gpx files with a gis software and exported them as vector data for further use in affinity. Is there a clever workflow to show all the overlapping routes in a shifted but parallel way without editing all the vertices of the lines manually? The picture shows a quick manual edit of two routes and hopefully shows what the problem is I'm sturgglin with. The routes overlap and I am trying to show both. Any help is appreciated! Greetings
-
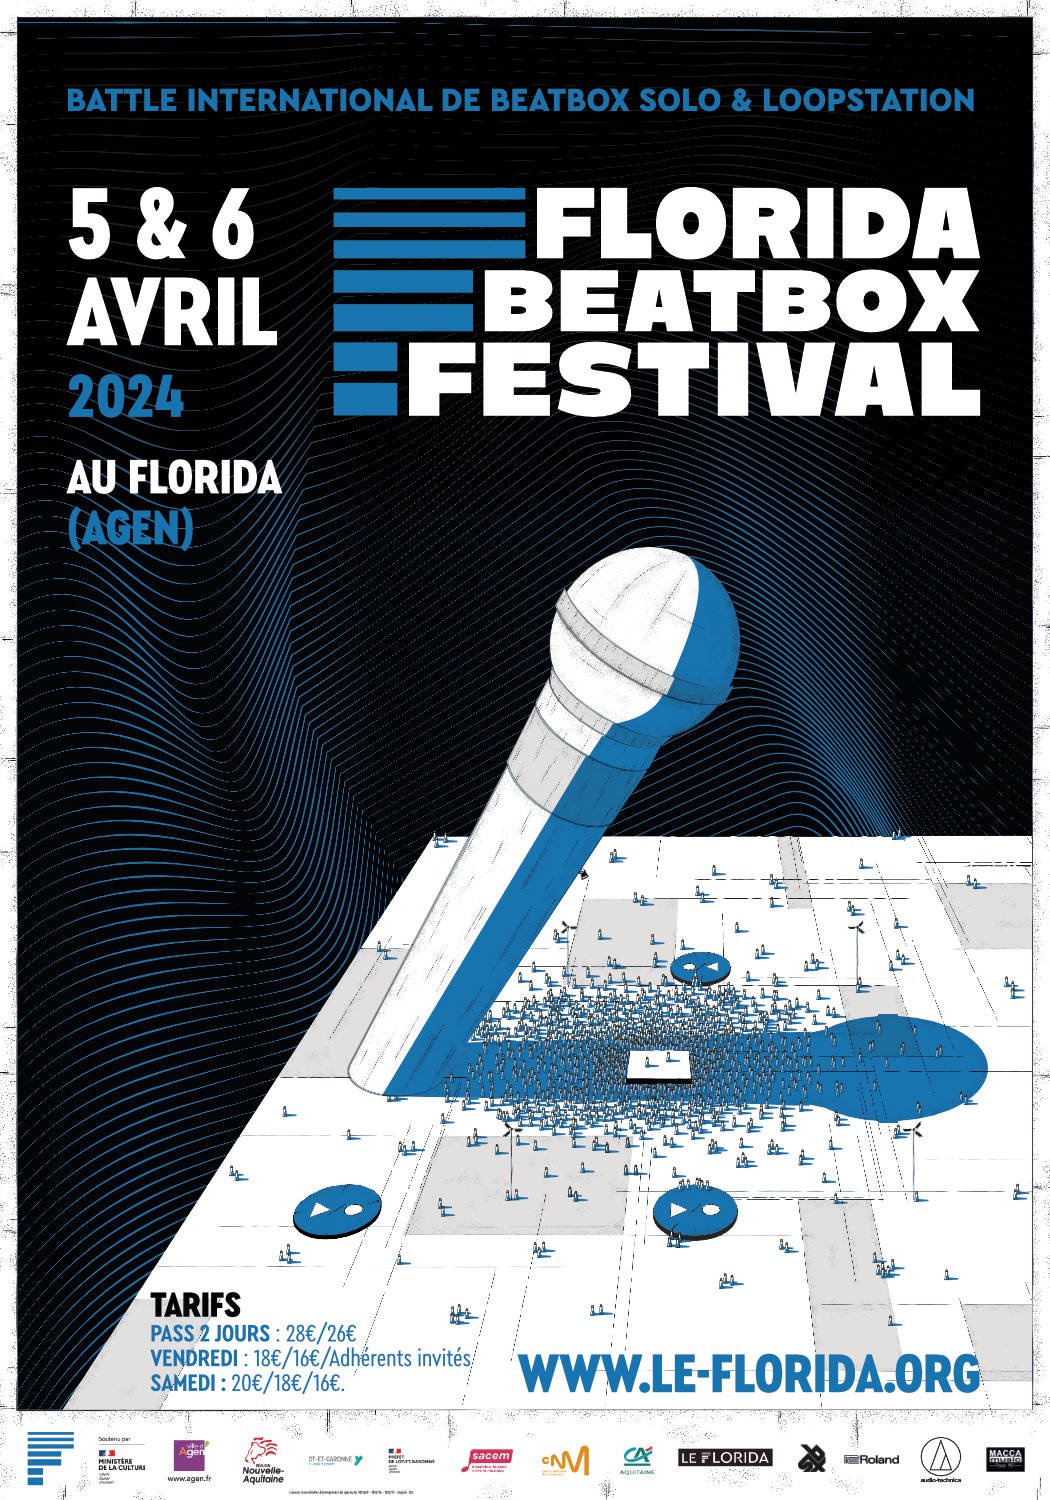
I made this for a french festival using mix of vector & pixels with few time to do it. (Using affinity suite since V1, I will never come back to Adobe suite. Evreything is quicker, easier and fits my needs perfectly : focusing on creativity and not struggling and wasting time to make things work as it should.)
-
Hey All! Been working on a template for exporting logo files for clients and thought I'd share it here so we can maybe work on improving it together? FILE: Logo Exporter Template CMYK V1.afdesign The idea is that the export persona is already set up to create folders and files for the different parts of the logo and the different colour models. What works: Folders and colour gamuts are exported easily and swiftly (more on this below) It's easy to resize the artboards to fit a new logo. It saves me a generous amount of time! Cheaper than other plugins for other apps with similar functionalities. 😉 -- A few things I'm struggling that could do some help with: 1. File naming The naming convention I am after is the following: "clientname-logoelement-colour-gamut.extension" I managed pretty much everything, by renaming the artboards, and manually updating the export slices. But I can't find a way to replace "clientname" with the name of the afdesign file. 2. Colur gamuts / modes When working form a RGB afdesign file there are limitation on exporting certain files to CMYK - for example EPS only export in the original afdesign file setup. But when working from a CMYK base file (like the attached) the file conversion options are more friendly. A NOTE ON THIS: Although we all know that is best practice to adjust these conversions manually I'm trying to make something that will save me time. Perhaps there is b better way to automate this with the use or symbols or global colours - I'm yet to discover (new to affinity here) 3. Symbols / global colours I'm not very versed on these yet, so would appreciate any suggestions on how using these can help the exporting process, colour settings. Have a go at using it and hope it saves you some time! J.- PS: Dear moderator, if this belongs on a different thread please advice accordingly.
- 2 replies
-
- 1
-
-
- logo design
- logodesign
- (and 3 more)
-
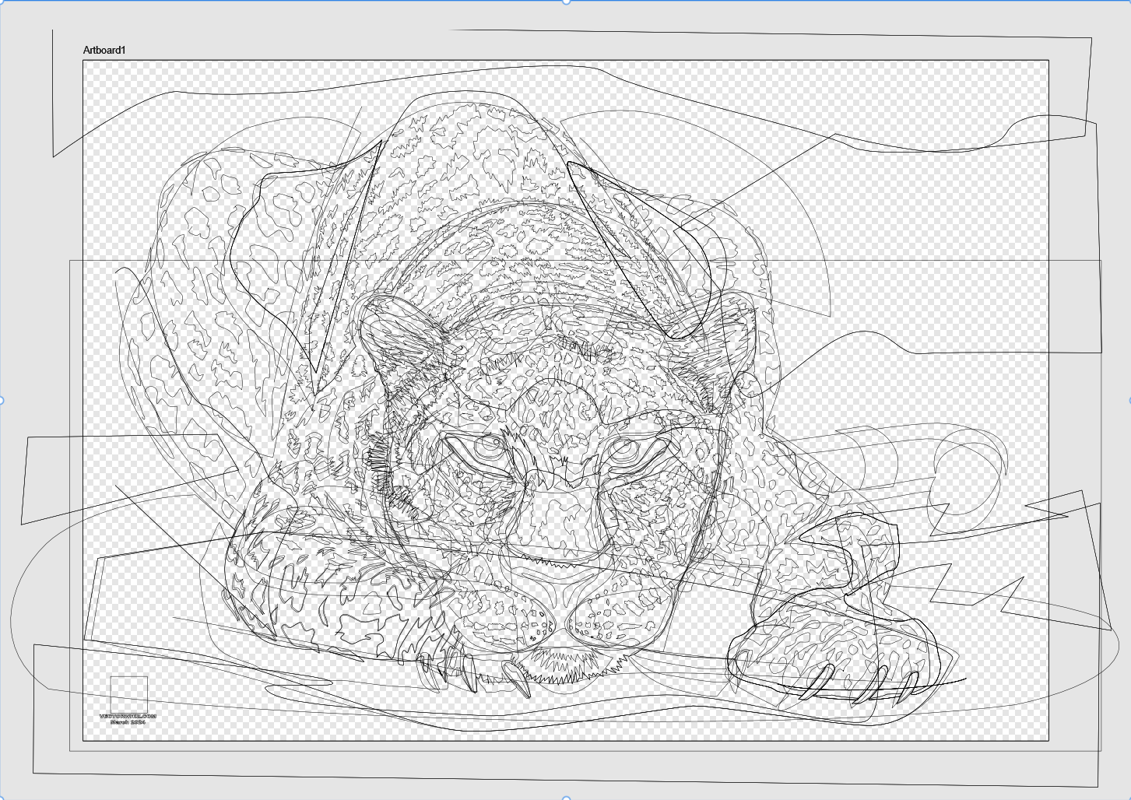
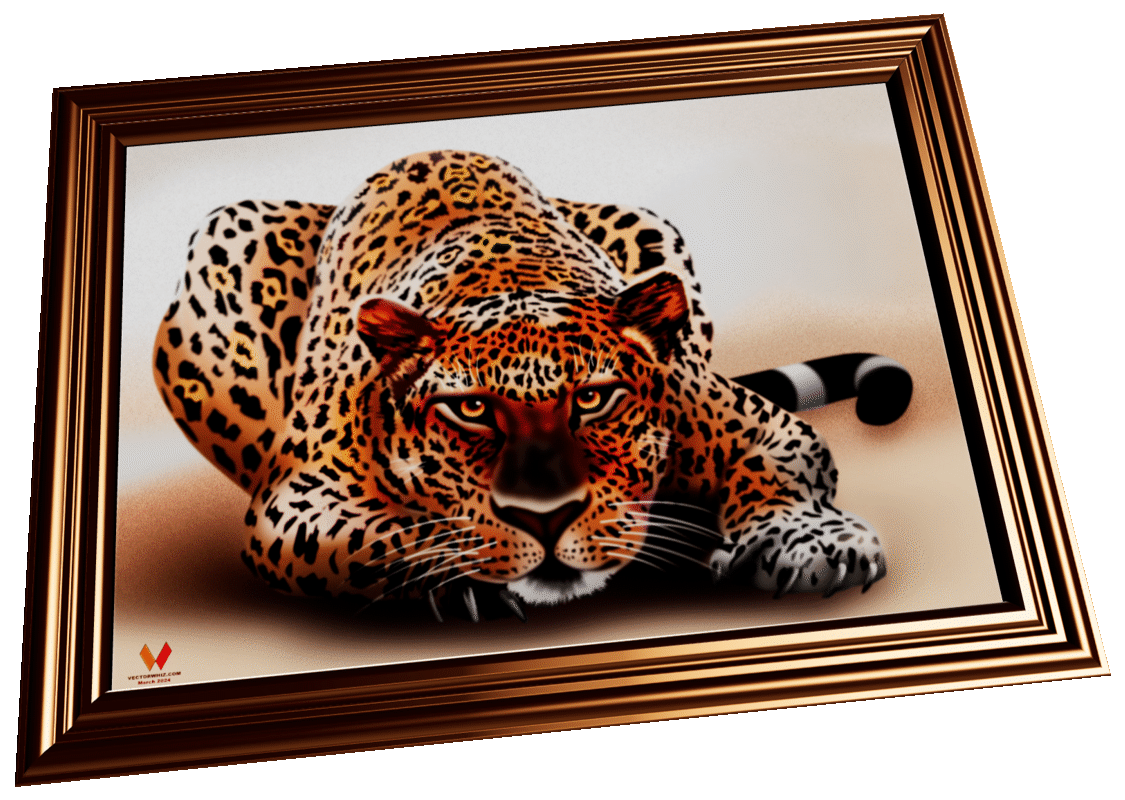
I like jaguars, they appear in my dreams. This is a work in progress. 100% vector, no pixels, no vector brushes (which aren't vectors). Most recent stage on top, vector outline view in the middle and jaguar in a virtual 3D frame at the bottom. After this, I will add hair texture with my Huion 620 Pro drawing tablet (not looking forward to that), which will make the vector outline of objects / layers difficult to distinguish. In my portfolio blog the various stages are included - https://communicats.blogspot.com/2024/03/vector-painting-of-jaguar.html In the bottom section of this blog entry you will also find tips on how to make working in drawings that contain a plethora of objects / layers less difficult and time consuming.
-
 Hi, I would like to suggest adding a Path Width Tool for easier and more precise stroke adjustments. This tool would allow users to thicken the outline at specific points by simply clicking and dragging with the mouse. Other software like Adobe Illustrator and Amadine have a stroke width tool. The current method, using the Pressure chart in the Stroke panel, is not as user-friendly or accurate as it could be. Current method: Suggested (like Amadine or Adobe Illustrator):
- 9 replies
-
- 12
-
-
- suggestion
- tool
- (and 4 more)
-
Another one! You may know the old cowboy song, The Streets of Laredo, and you may even know of some other parodies, notably by the Smothers Brothers. This one is possibly older than the SBs'; writers' details in thevideo titles. All made in AD and Serif MoviePlus. (I came across this version on the Mudcat Cafe (https://mudcat.org/), a great source of serious and humorous songs, and a great forum too.)
- 2 replies
-
- 6
-
-

-
- moviplus x6
- traditional
- (and 2 more)
-
Applying the states takes almost 5-7 minutes! I have to mention that I have 16067 layers.
-
At last! A comprehensive linocut tool kit for Affinity Designer! SAVE 20% WITH OFFER CODE 'ADLC24' >>GET IT NOW<< Love the linocut look but don’t have the equipment or space to do it justice in reality? This comprehensive tool kit contains everything you need to have a go virtually! It gives you a range of options from intricate brushes to fast and effective patterns and edges so you can create super-convincing digital linocut illustrations and woodcut art. The pack contains elements generated using real ink and linocut textures to ensure your artwork looks authentic every time. We got messy so you don’t have to! Grab the pack and start creating realistic looking linocuts and woodcuts today! Here’s everything featured in this all-inclusive linocut toolkit: Linocut Brushes: Create a huge range of realistic looking marks including; undulating lines, arrows, tapers, rounded, square and slanted ends and more – this pack has everything! Pefect for creating linocut and woodcut art. For use in the Designer Persona. Seamless Patterns Styles: Use these as a handy shortcut and fill large areas quickly and easily. The designs offer a huge variety and include a solid ink texture. Printed Ink Edge Stamp Brushes: Add an extra level of realism to your design with these border brushes. Sourced from real inked edges. For use in the Pixel Persona. 8 Ink Background Textures: High resolution, authentic ink textures. These are the perfect base for your design. The sizes of these vary but most are around 5000 x 3500 px. Supplied in Tiff format. A Quick Reference File: Use this PDF guide to navigate the pack contents quickly and easily. An Example File: The bug image – learn how I created the composition by backwards engineering it. Instructions: A very thorough guide on how to use the pack is included. This includes a section on how to create a design from start to finish. SAVE 20% WITH OFFER CODE 'ADLC24' >>GET IT NOW<<
-
- 1
-
-
- resources
- affinity designer
- (and 4 more)
-
 Hey folks, I've noticed a problem in Affinity Photo 2, affecting both iPad and desktop versions, where changing a layer's fill opacity via the FX options from 100 % to anything between 100 and 0 % doesn't hide the layers contents as expected. Instead, the contents remain visible 100 % at all times. This seems similar to a previously mentioned, but seemingly solved issue with the 3D effect in Affinity Designer, indicating a possible consistent rendering issue with layer effects and fill opacity settings. To reproduce the Bevel / Emboss visibility issue, follow these steps: Open Affinity Photo 2 on either an iPad or desktop and create a new layer. On this layer, draw anything using any colour of your choice. Apply the Bevel / Emboss effect to the drawn layer. Reduce the layer's fill opacity to 0%. Expected Outcome: The layer contents should become invisible, leaving only the Bevel / Emboss effect visible. Actual Outcome: Despite reducing fill opacity to 0%, both the layer contents and the Bevel / Emboss effect remain visible, suggesting that the expected change in visibility does not occur. I'm looking for insights or workarounds from anyone who has encountered this. Any feedback or suggestions would be appreciated. Cheers Dennis