Search the Community
Showing results for tags 'Affinity Designer'.
-
 EDITED to make clear file 1 and file 2 remained open the whole time, at the same time. Still think the problem is with the "embedding" logic. EDIT 2: now I understand the resource manager correctly, I can clear that description up... Designer 2 version available as of today, 2.3.1 methinks, MacOS 13.latest Ventura intel 2019 MacBook Pro 16inch 1. Open ai file download from domestika.org design course 2. Save to native file .afdesign we shall call this file 1. 3. drop in .psd files 4. make some art boards around all the assets (those already in the file, and those dropped in as PSD's) SIDE NOTE on STEP 4: (weirdly the objects within the ai file didn't appear to have an artboard at first opening in designer, a black bg in designer around all the files, but then dropping in new psds, they were only visible in the overlapping area with the including objects, invisible if dragged off the overlapping area of the original objects. So I had to make an artboard around them, then the document bg became gray (I later changed this since I didn't like that) but then I noticed in layers panel, there was only 1 artboard, the one I had created.... weird to me that there was an invisible "implicit" artboard from the original ai conversion/import? Let me know if this is supposed to happen? I have LOTS of ai files to deal with (as I'm sure we all do, sigh)... not just this project. 5. make a new design file, we shall call file 2, with several artboards 6. copy (command-c) one of the mb? embedded psd's in file 1 (resource manager lists the path of original file), but, "make linked file" is not available.! 7. paste into file 2. 8. click away until I am using pixel persona tools on the pasted in embedded file in file 2.... unfortunately, all changes I make there ALSO affect the embedded psd object in file 1. 9. confused I open resource manager in file 2 now. it shows the path of the same original psd object/file supposedly "embedded" in file 1.... Again, I cannot "make linked file", its grayed/ghosted/not available. But resource manager already considers it embedded in the file list, just as in file 1... on the other hand, since designer thinks it's correctly embedded, I cannot MAKE it actually embedded. So files can neither be properly embedded, nor linked in these two files. I played with another new afdesign file, dropped a jpeg in there, and it's fine, it says embedded, but the "make linked file" IS AVAILABLE. In the meantime, I will simply drop a new copy of the file from finder... but that sucks... b/c I Did some work already on a half dozen such objects in file 1.... which now is not copyable without "linked" editing behavior... I've done my best to be clear here. Hopefully this can be explained, or if not, squashed like a bug! Thanks for giving adobe a run! Things like this sorta suck though... sad face...
 -
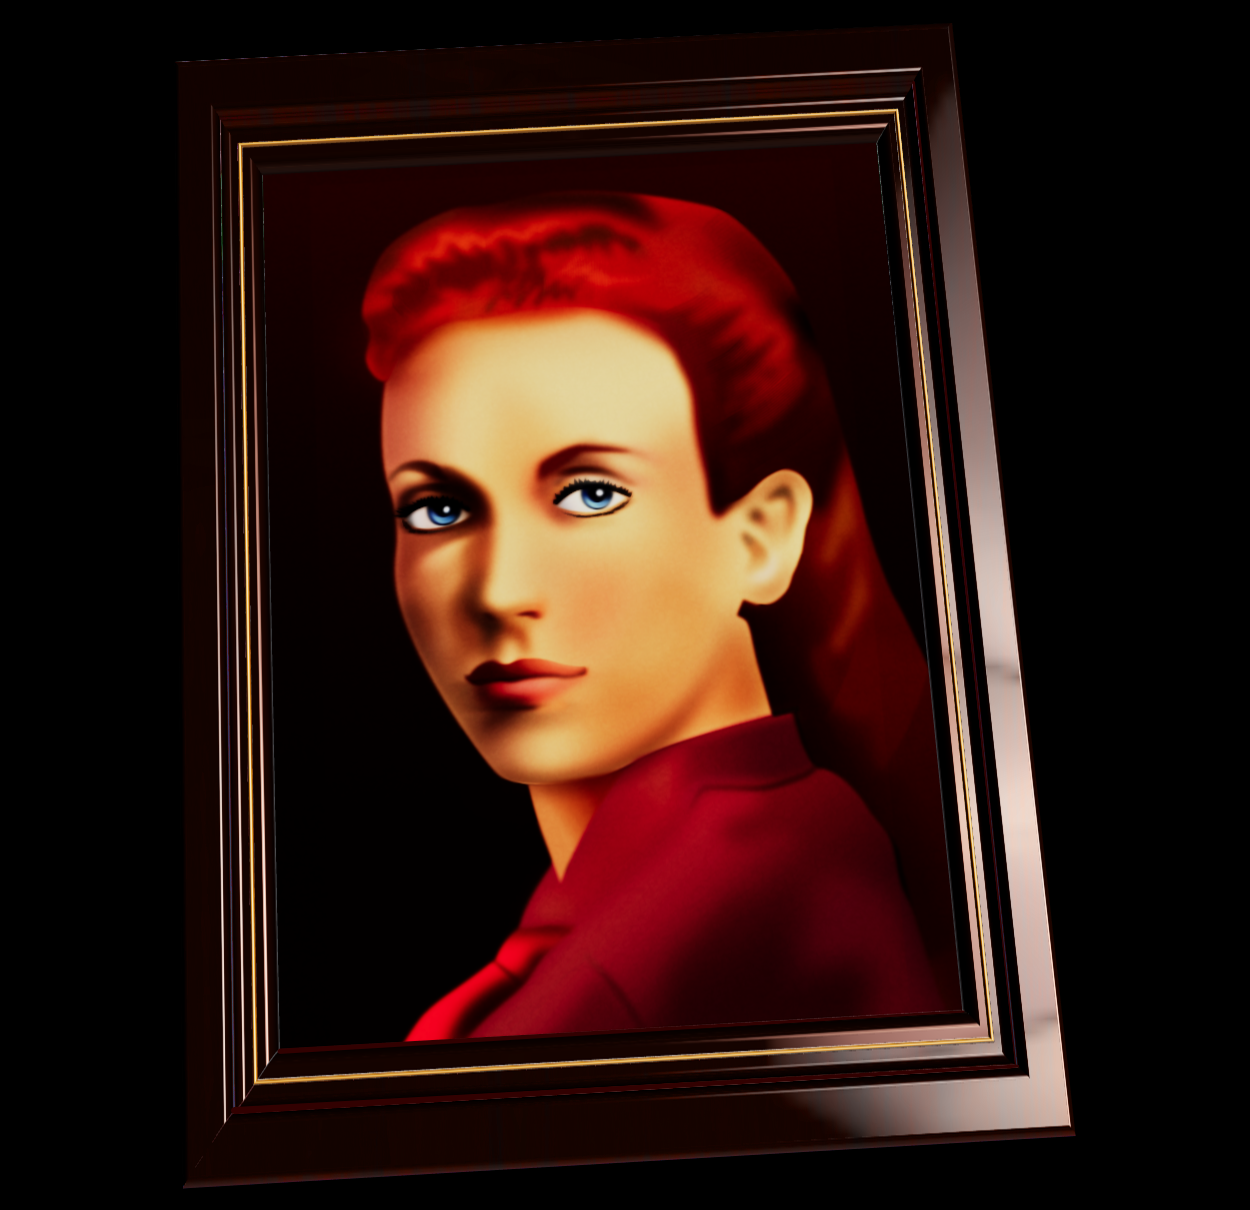
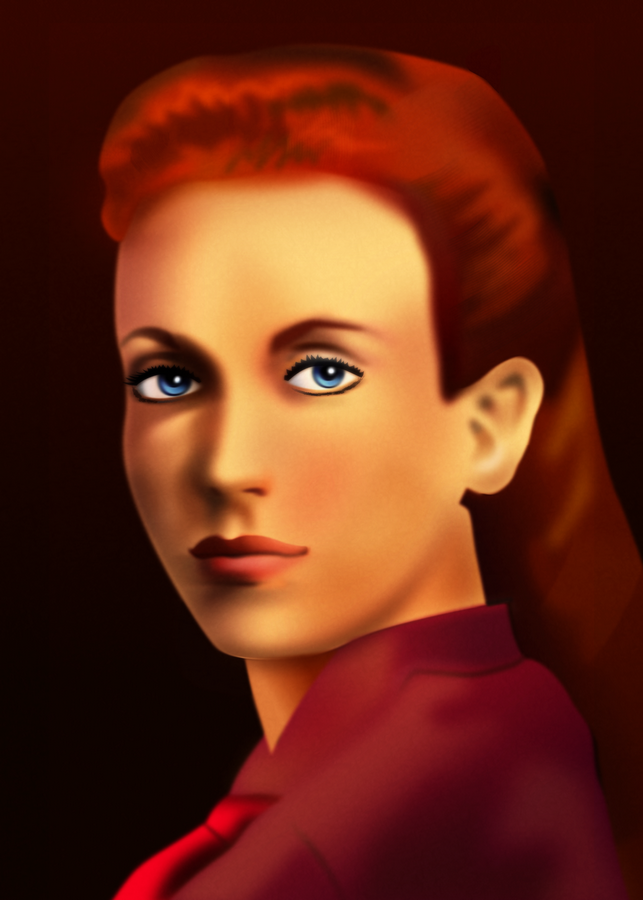
PROJECT: PORTRAITS TITLE: KAKA A series of portraits inspired by people, nature and ideas from all corners of our world. For this third one we travel to Zanzibar to meet KAKA. The word "kaka" is a Swahili word that means "brother." It is a ubiquitous term in Swahili conversations, used to address both older and younger brothers. It's a way of acknowledging the fraternal bond and establishing a sense of respect and camaraderie. The term extends beyond biological brothers, encompassing male friends, acquaintances, and even strangers. It's a term of endearment, often used to express affection, admiration, and support. The bond between "kaka" is characterized by mutual respect, loyalty, and a sense of shared responsibility. Tools: Affinity Designer, Affinity Photo Let's connect: https://www.behance.net/bah-is-life https://www.instagram.com/bah_is_life/

-
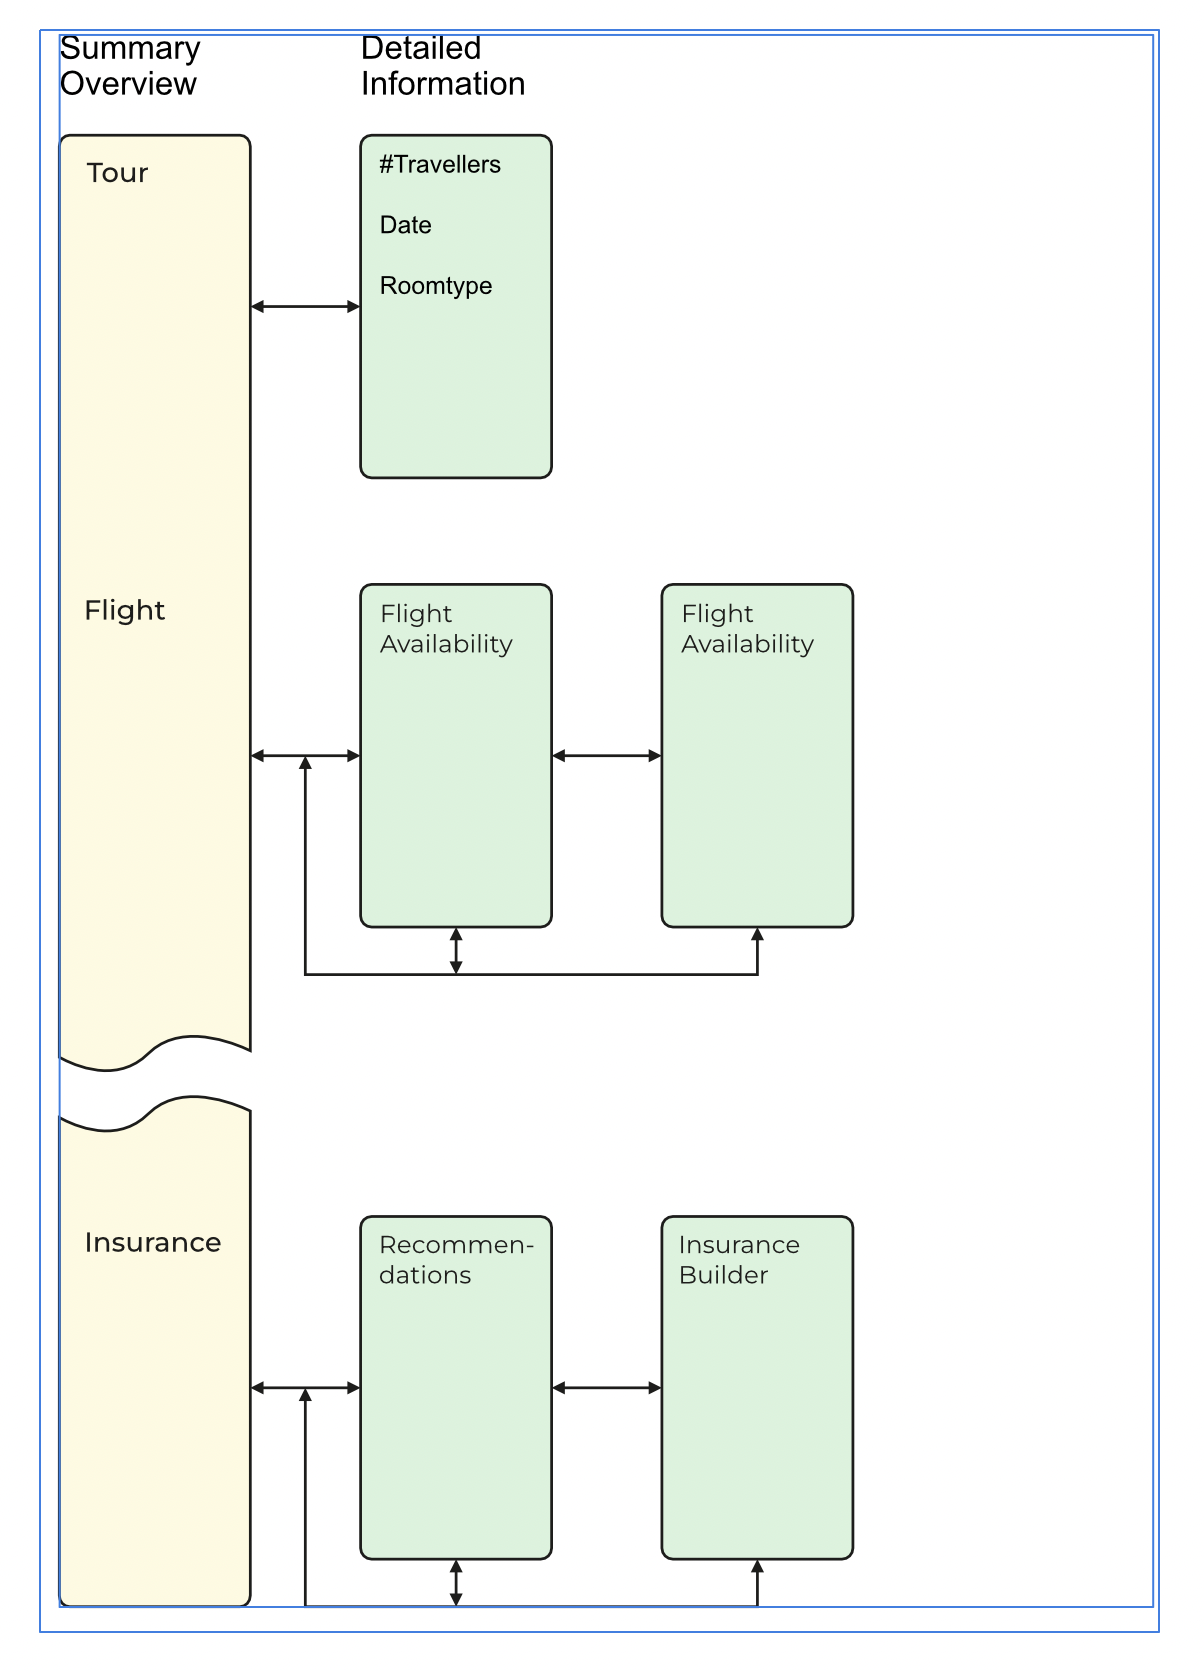
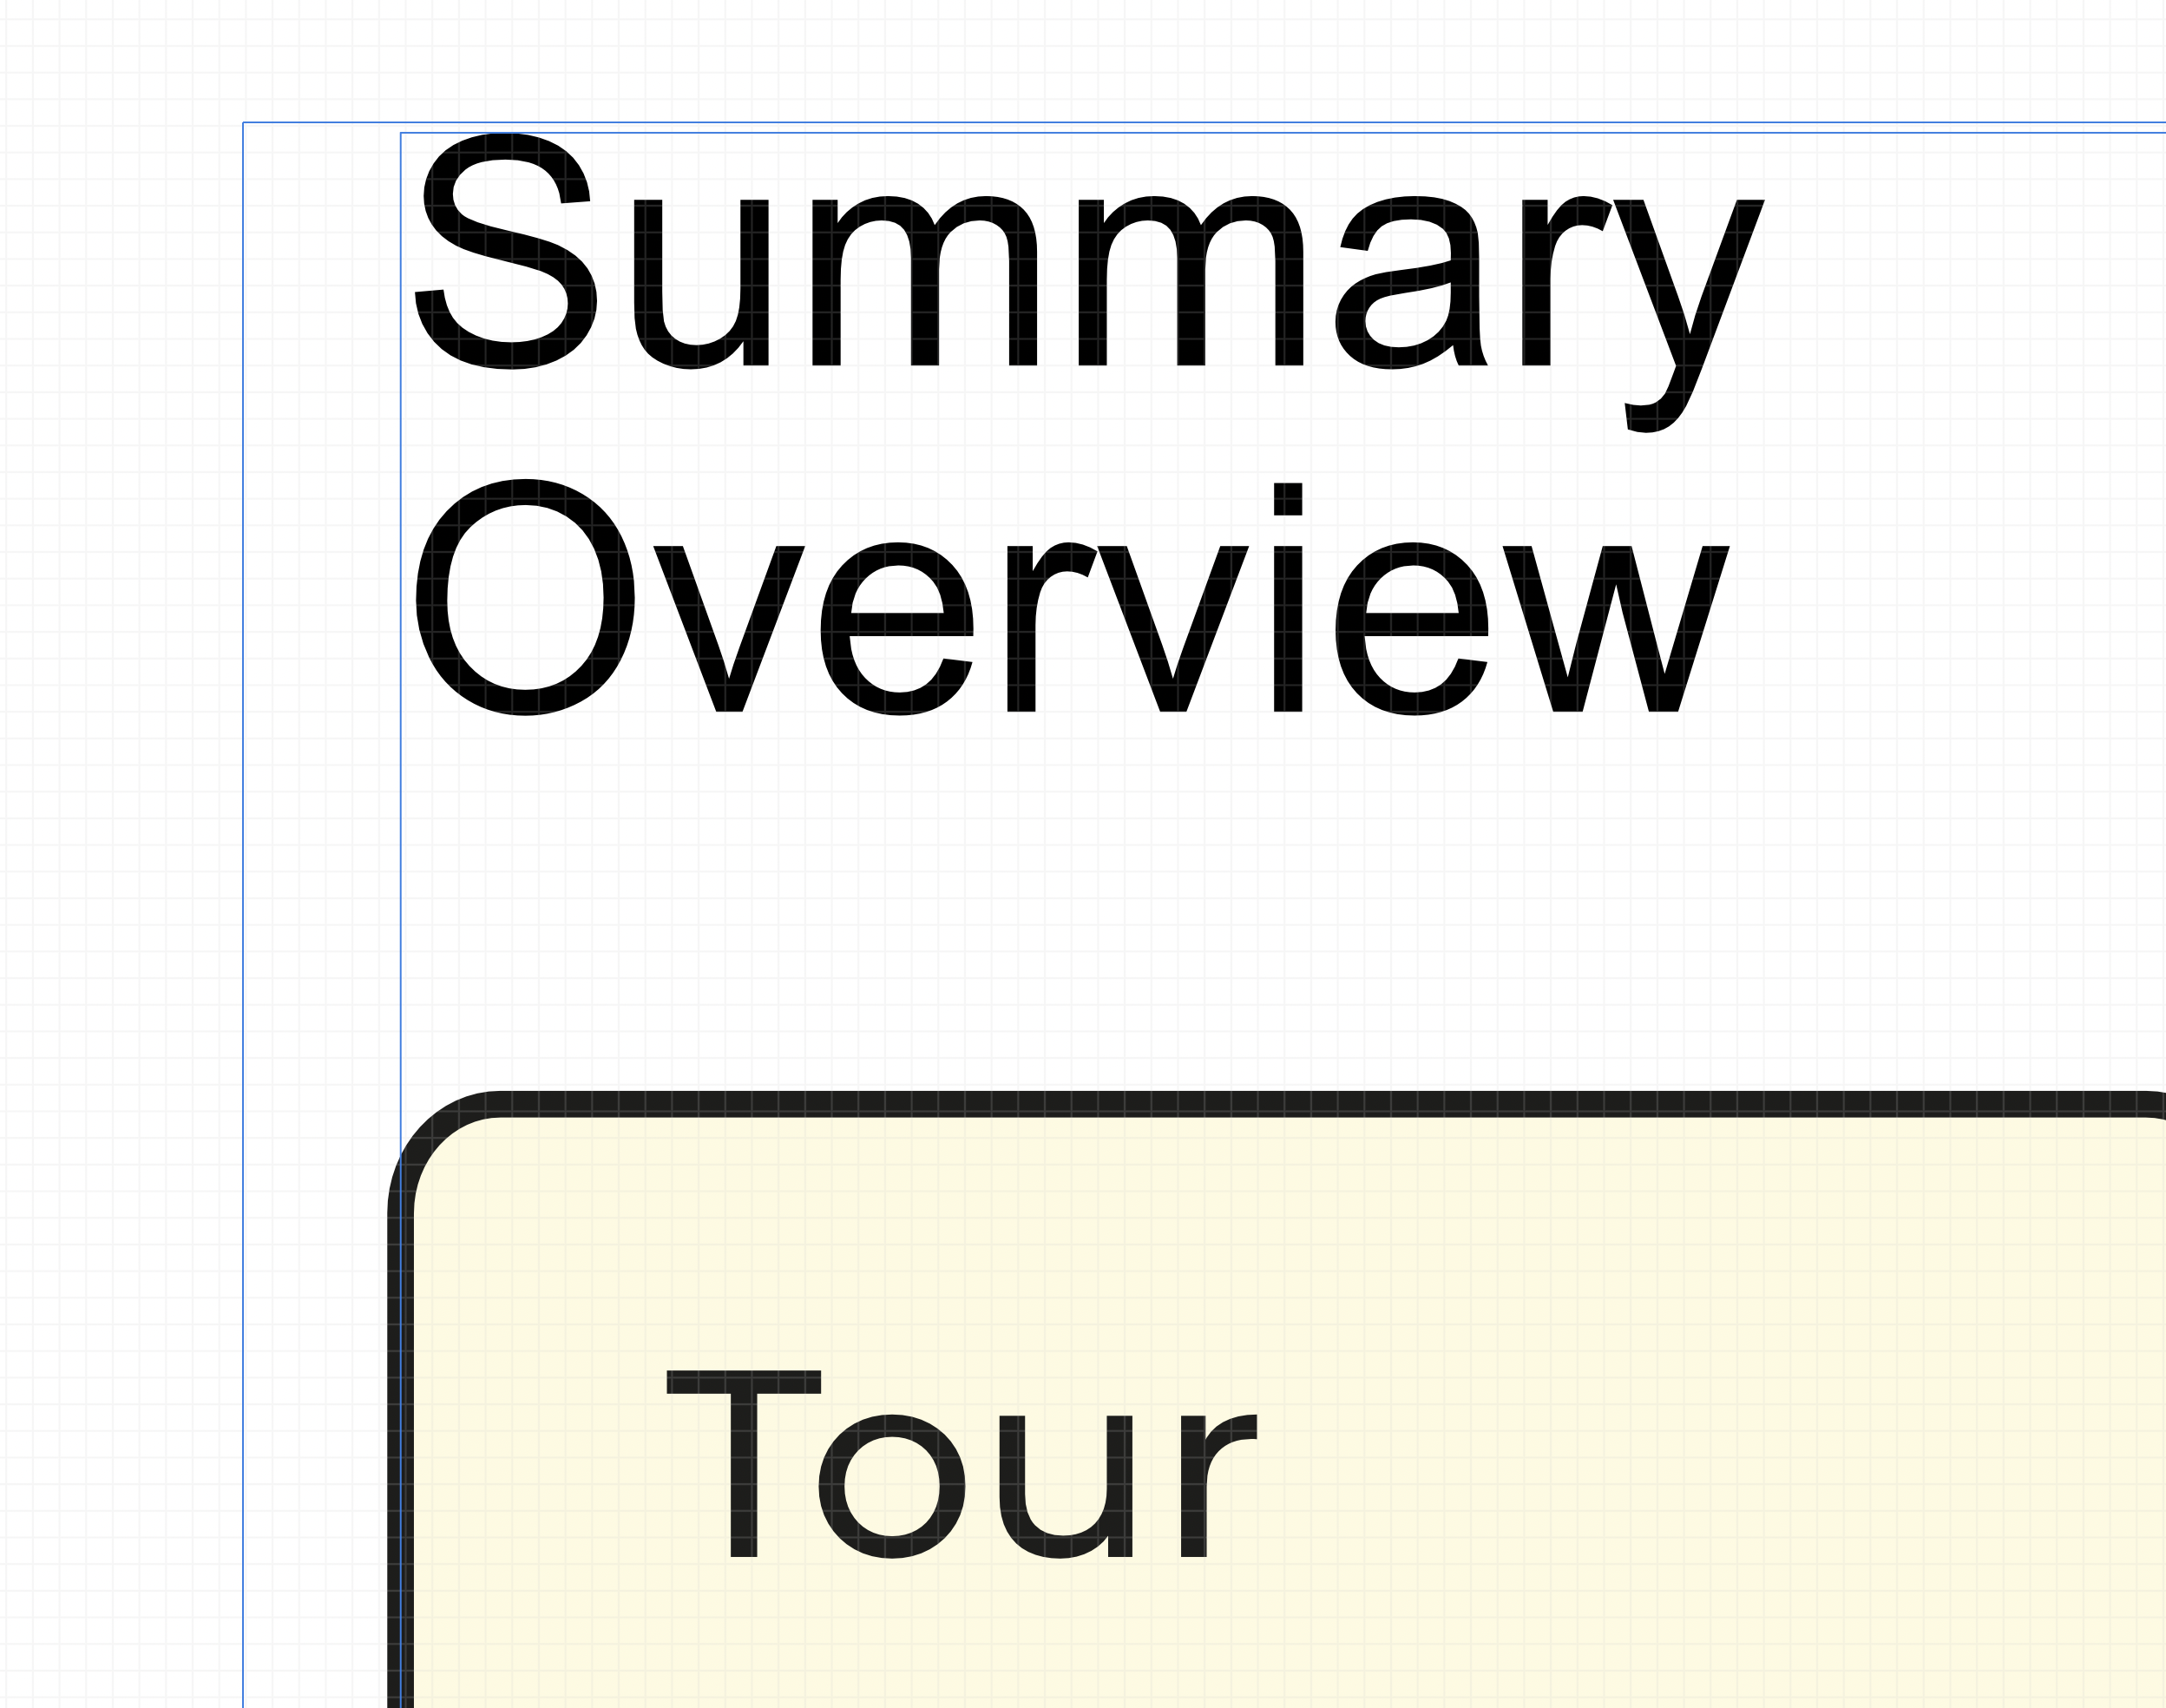
 Hello, I'm trying to export some SVGs but there is always some extra white space around the exported SVG, no matter if I go through the export function or export persona. I can't find a way to simply export any elements without extra margins around the vectors. Maybe anyone here has an idea... As an example from the export persona. When selecting a group, it always creates some margins, as seen here. First rectangle is the border of the group, second rectangle is the export slice. Also interesting to see is that the margin around the Text is simply to the next pixel, however it's a couple of pixels from the rectangles/lines.
-
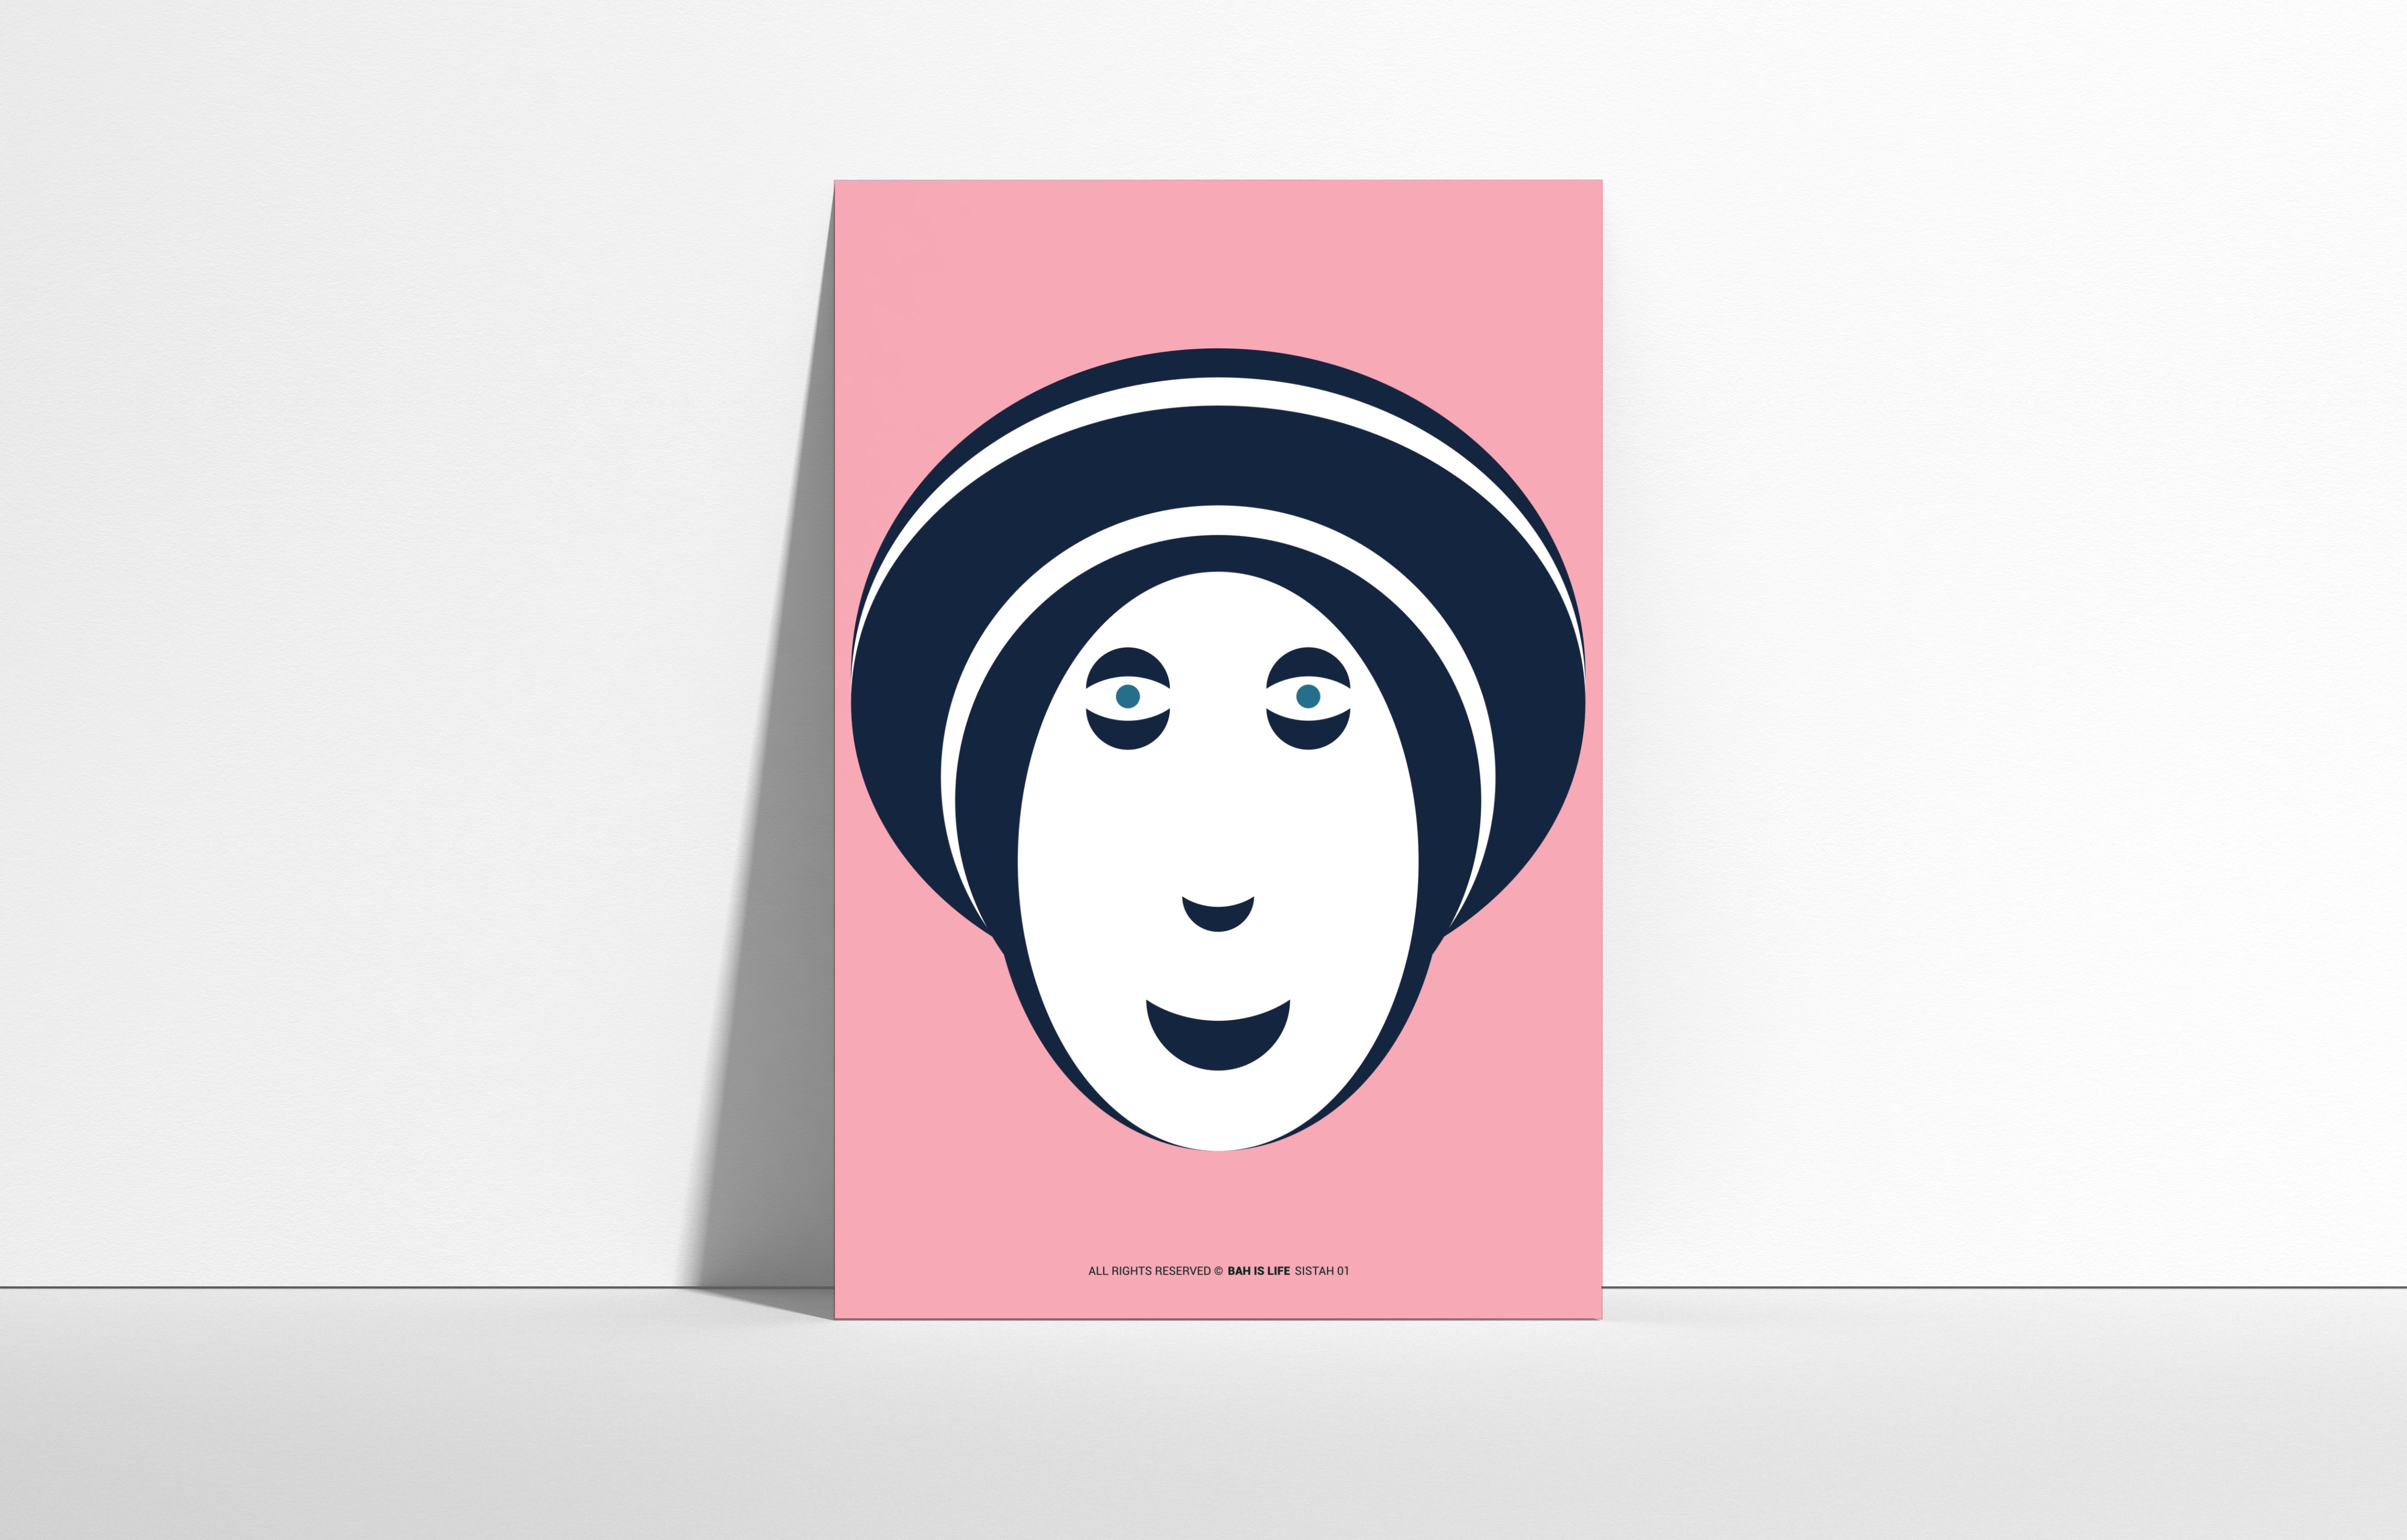
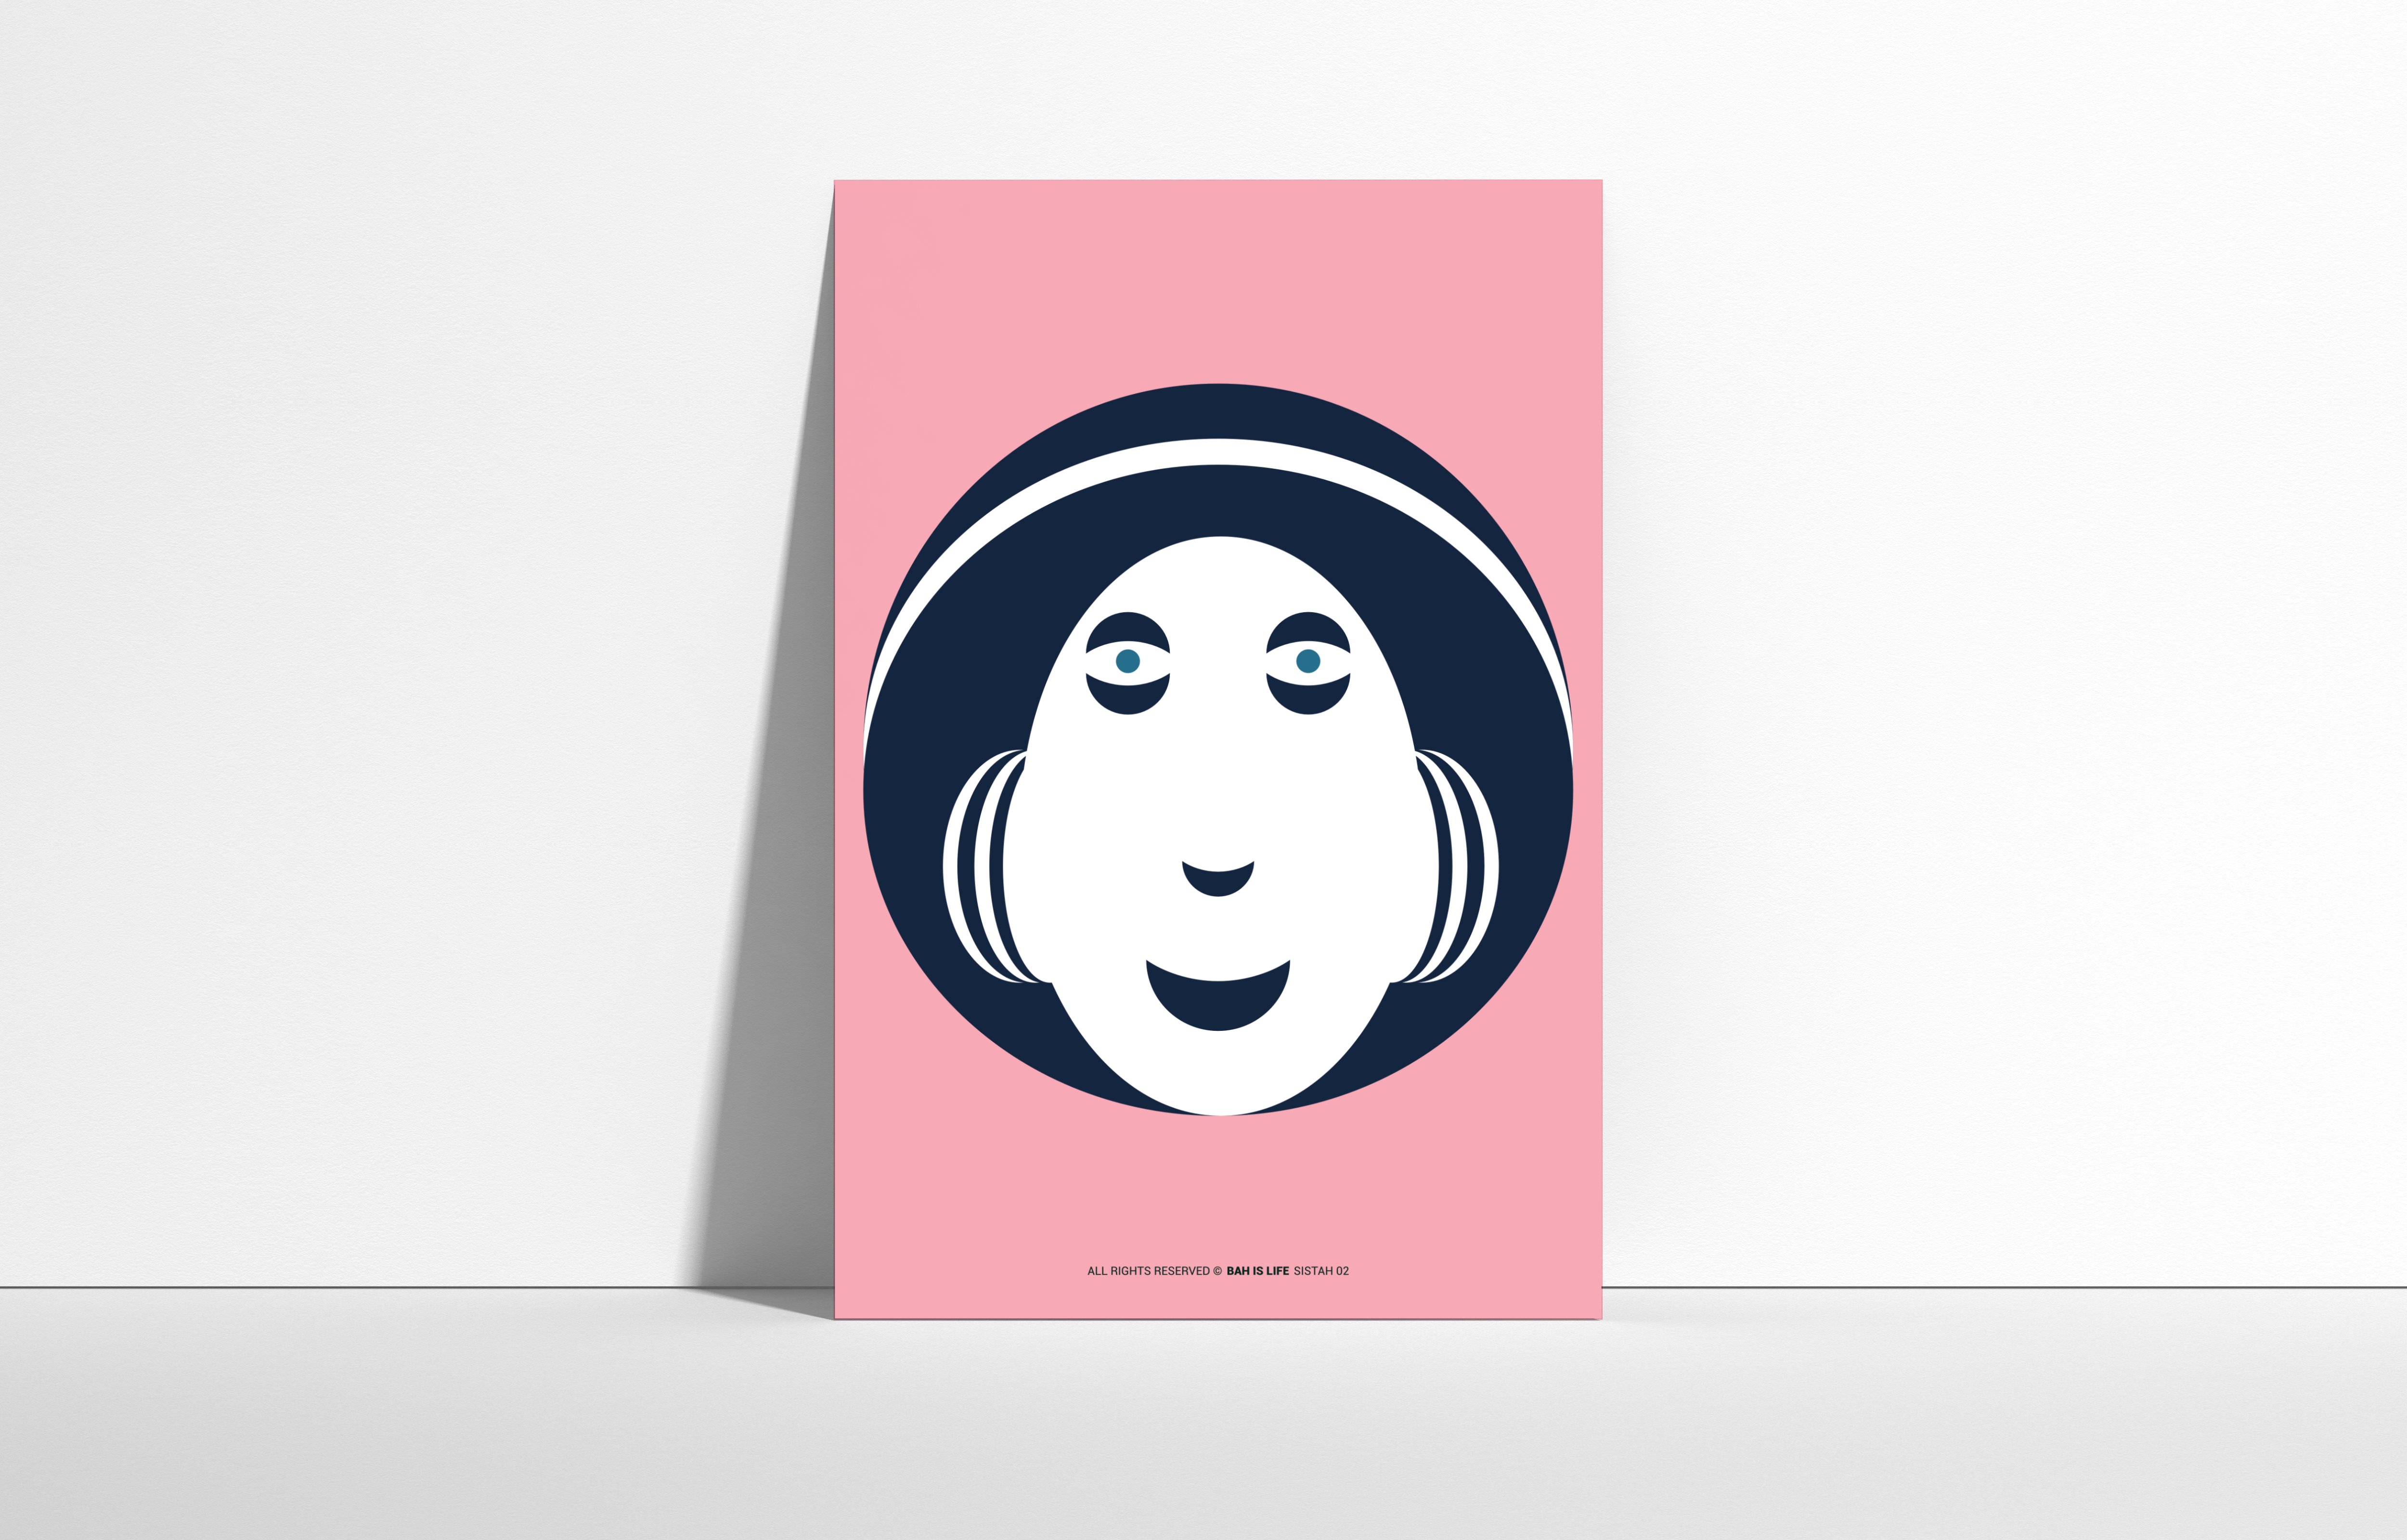
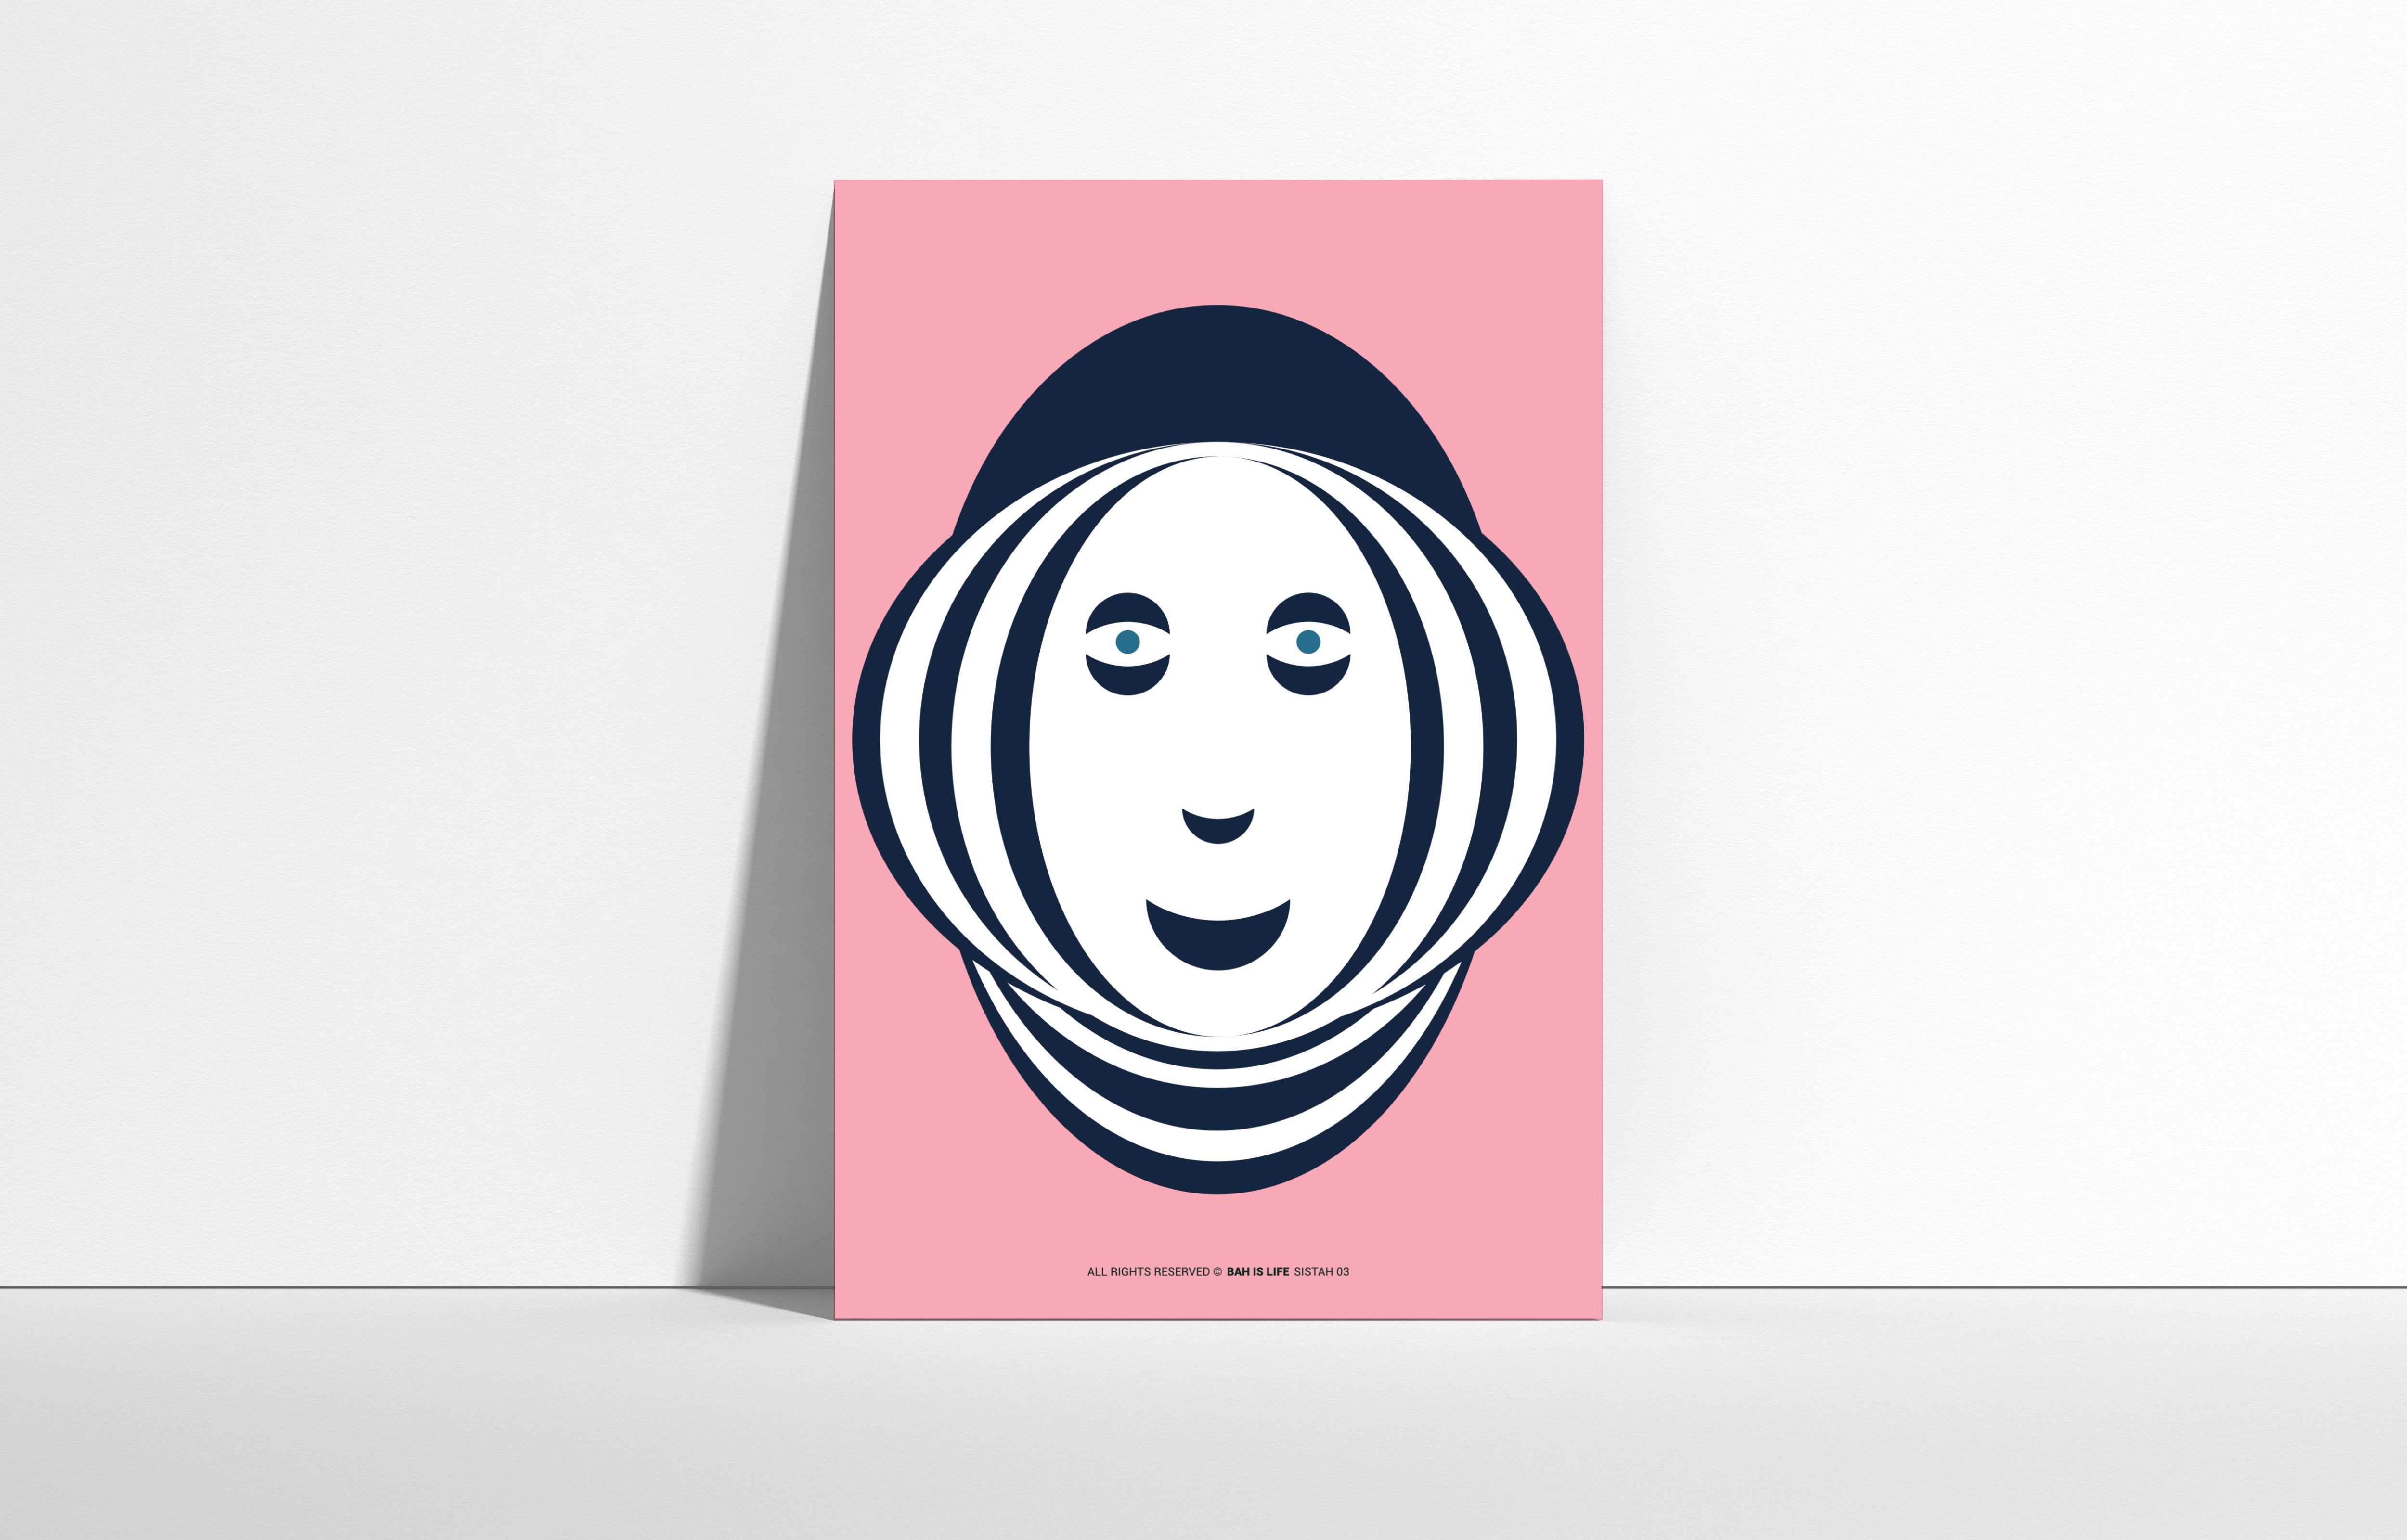
PROJECT: PORTRAITS TITLE: SISTAH A series of portraits inspired by people, nature and ideas from all corners of our world. For this second one we travel to the Caribbean to meet SISTAH. Sistah is a term of endearment used to refer to female friends, family members, and even strangers in Jamaican culture. It conveys a sense of closeness, respect, and affection. Sistah also represents a sense of sisterhood, camaraderie, and mutual support. It's a way of acknowledging and celebrating the unique bond that exists between women. It is a powerful symbol of Jamaican culture, embodying the strength, resilience, and unity of women. Tools: Affinity Designer, Affinity Photo Let's connect: https://www.behance.net/bah-is-life https://www.instagram.com/bah_is_life/
- 1 reply
-
- 8
-

-
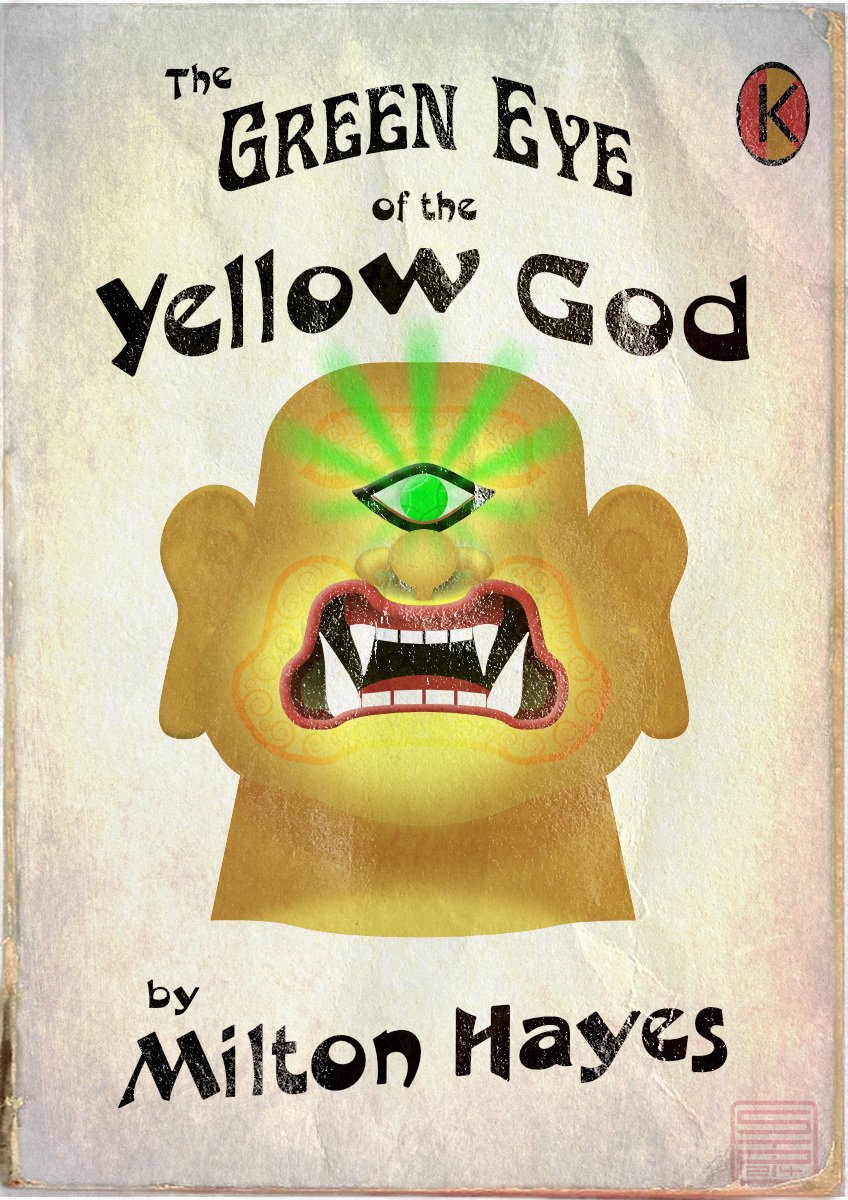
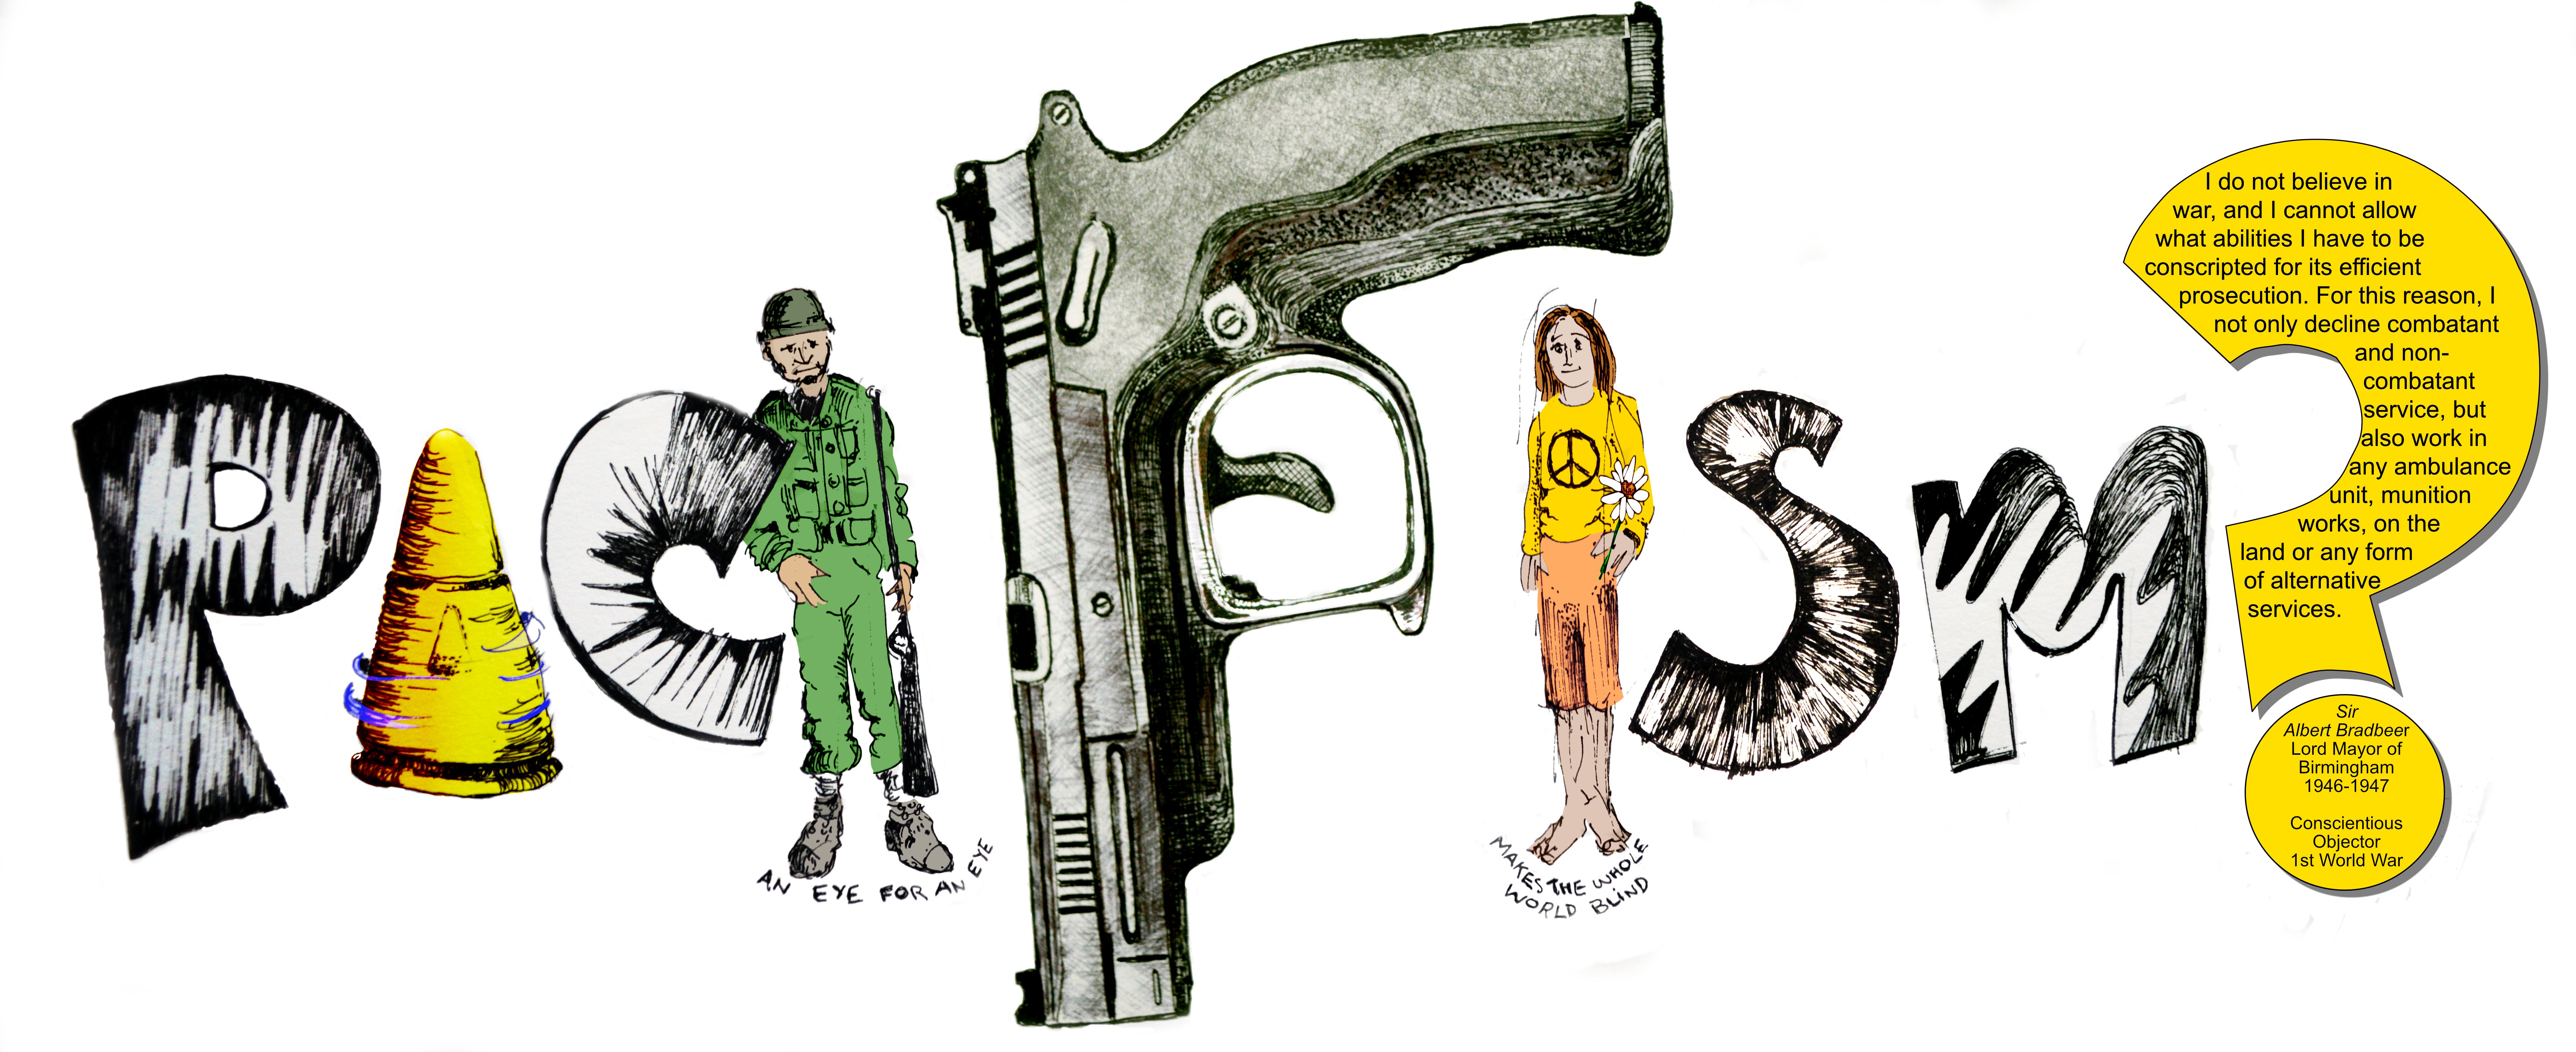
The Green Eye of the Yellow God, aka The Green Eye of the Little Yellow God, is a dramatic monologue written in 1910 by J Milton Hayes. Despite one or two comic parodies, it's still a Ripping Yarn if delivered straight; you can look up the words, or a recitation on YouTube. Meanwhile, I thought it would make a good subject for a 1960s-style pulp paperback cover (though it would be a very short book, as it will fit on a single page). Made in Designer, with a couple of pixel texture layers.
-
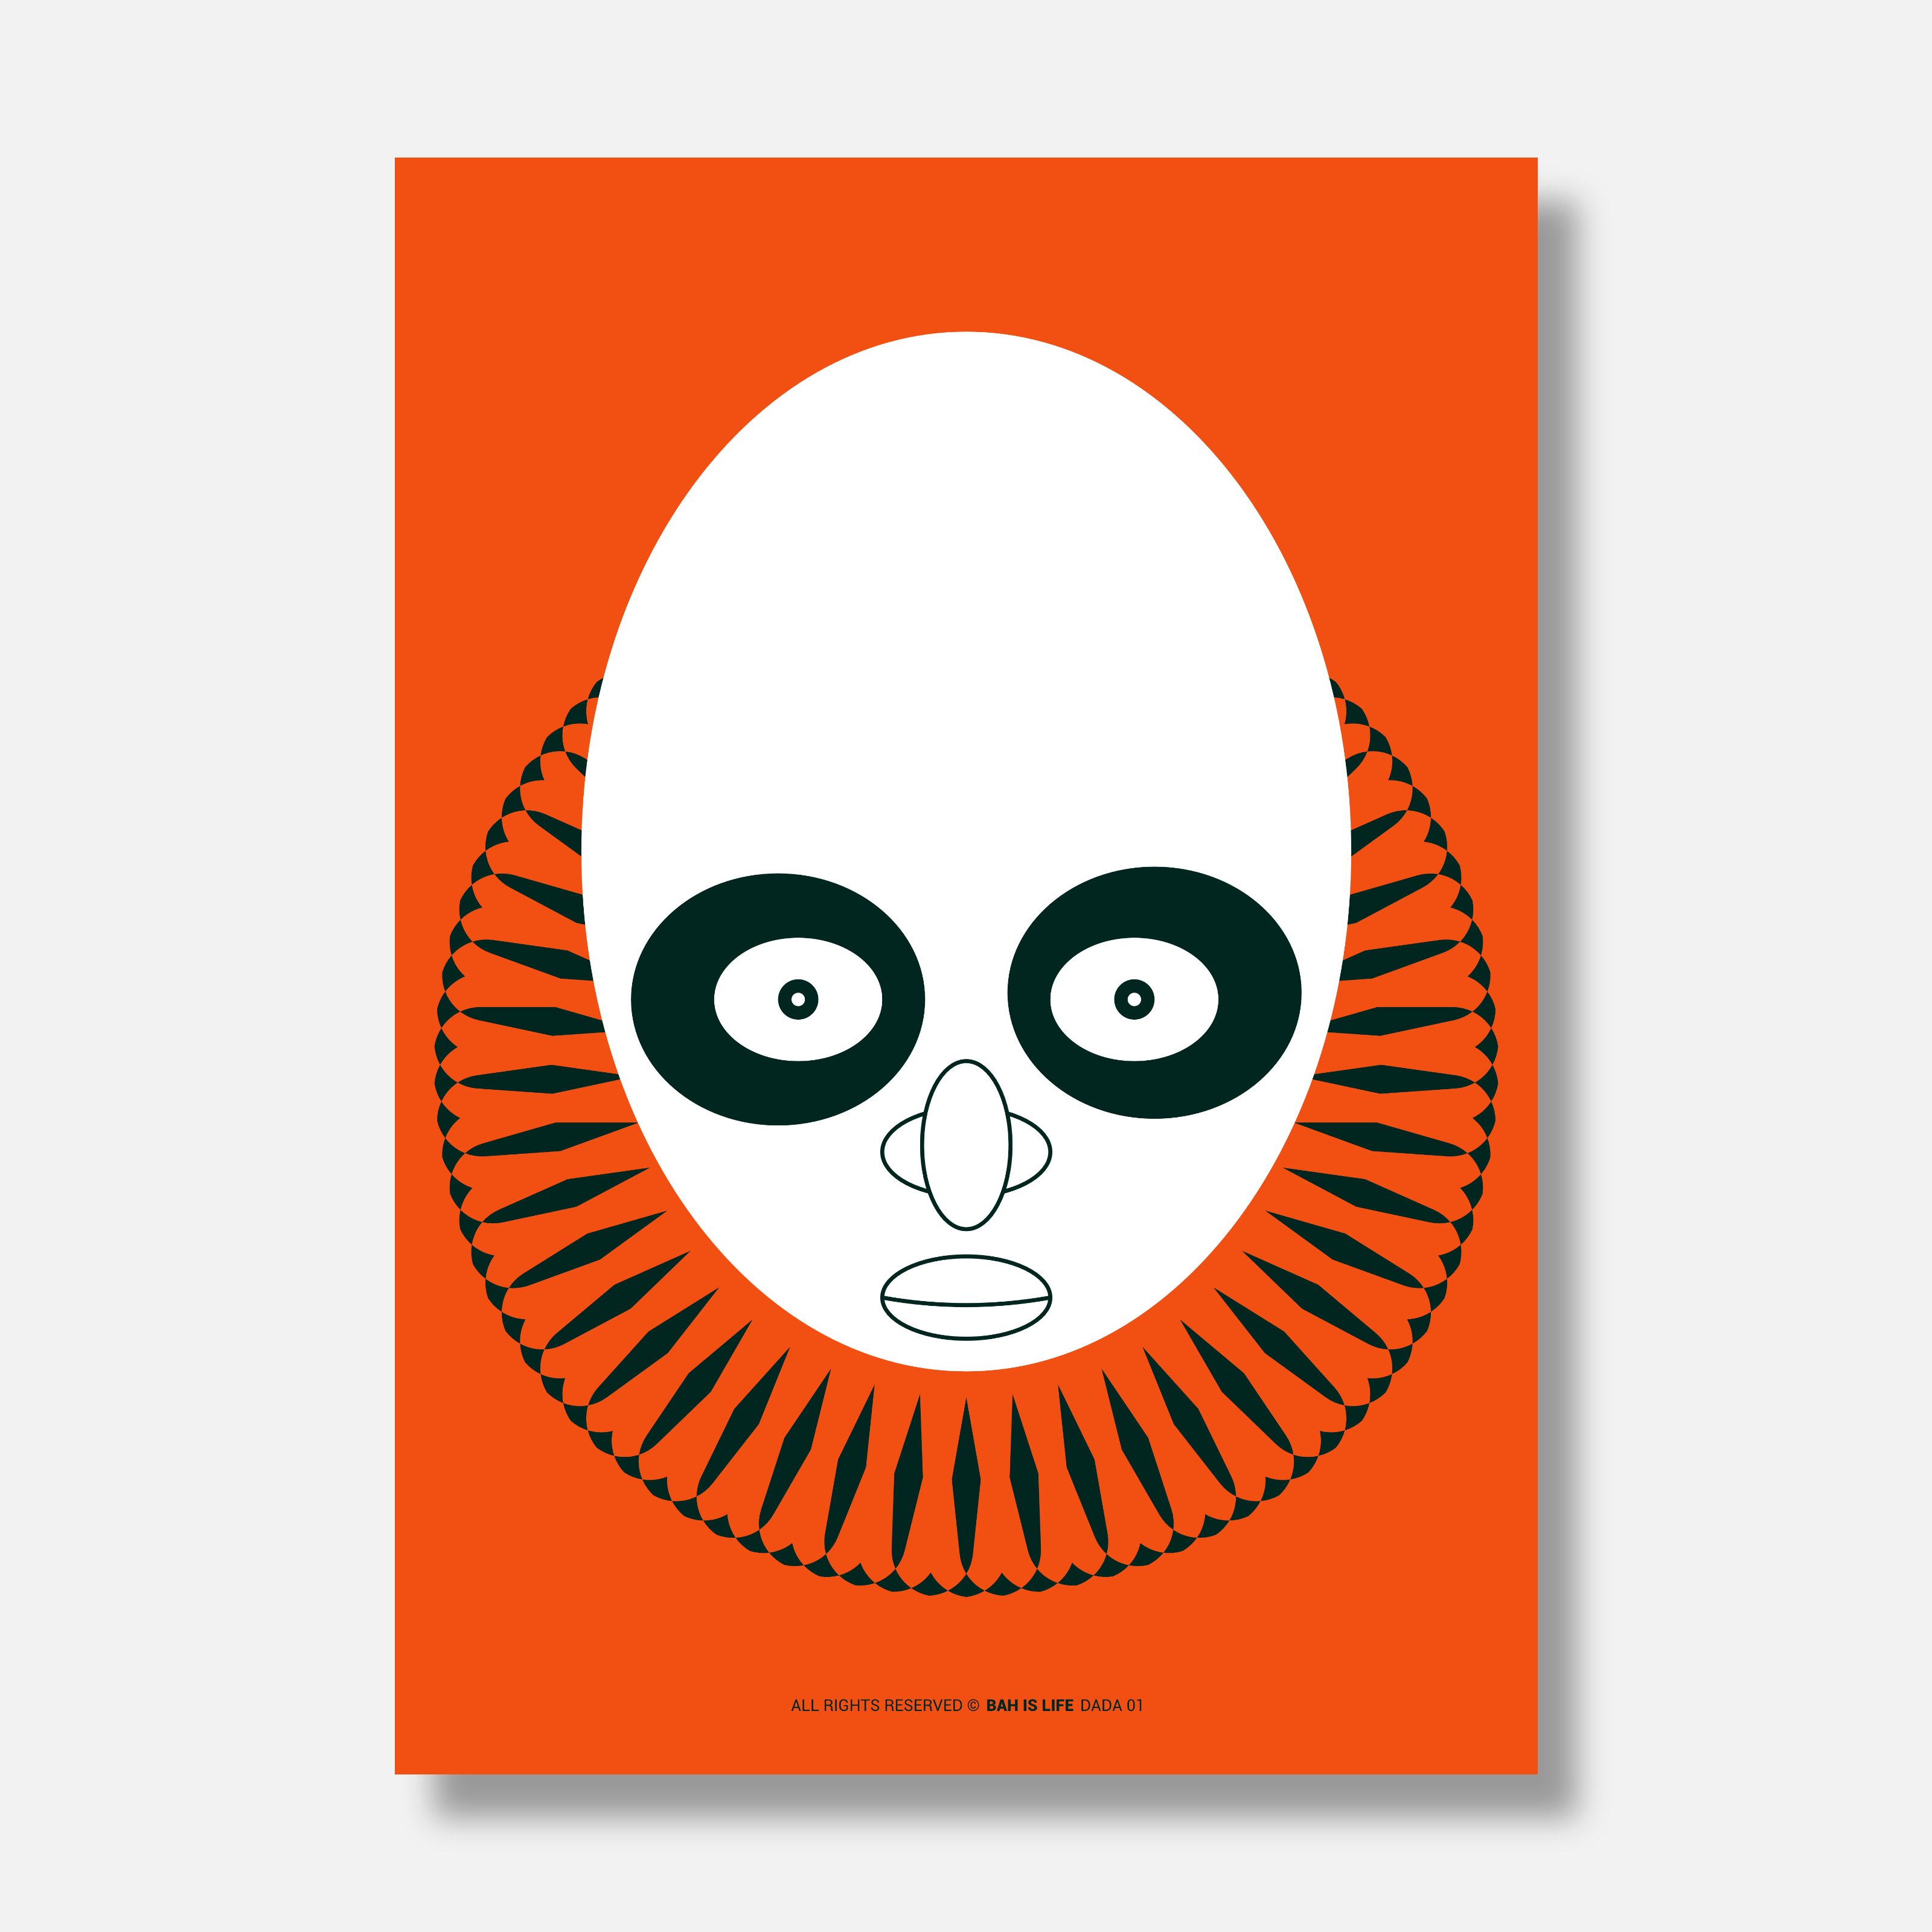
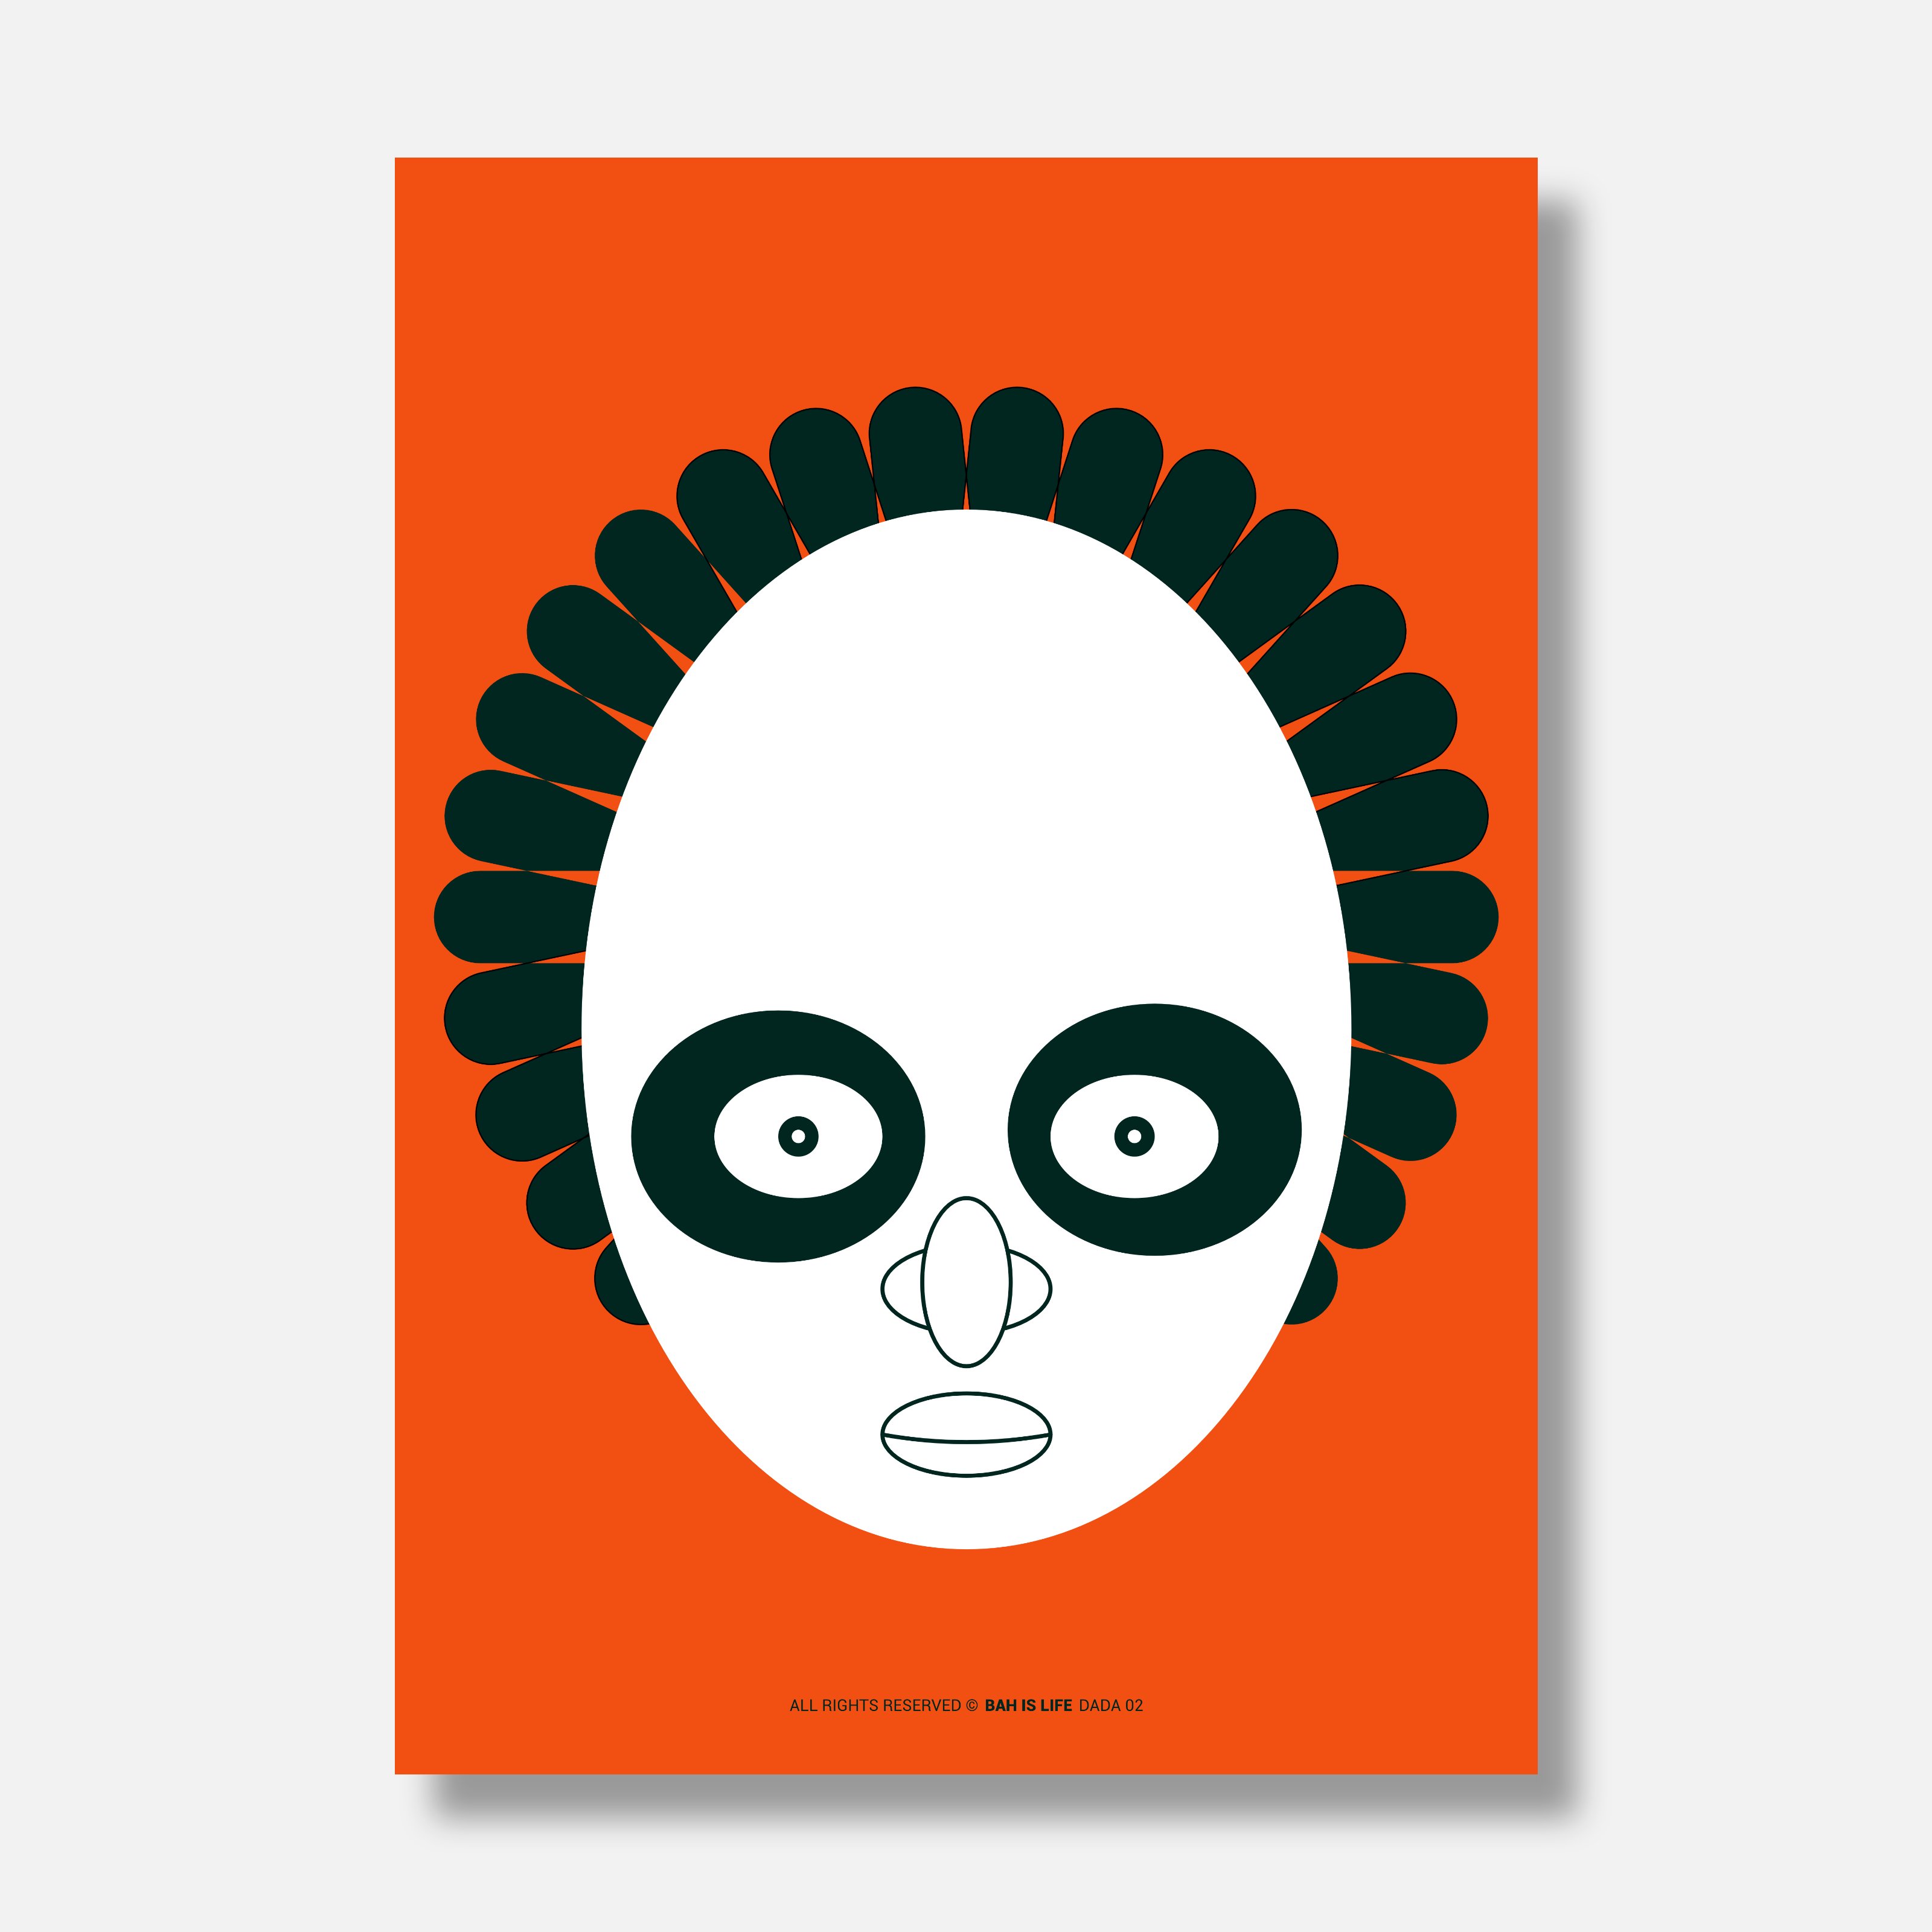
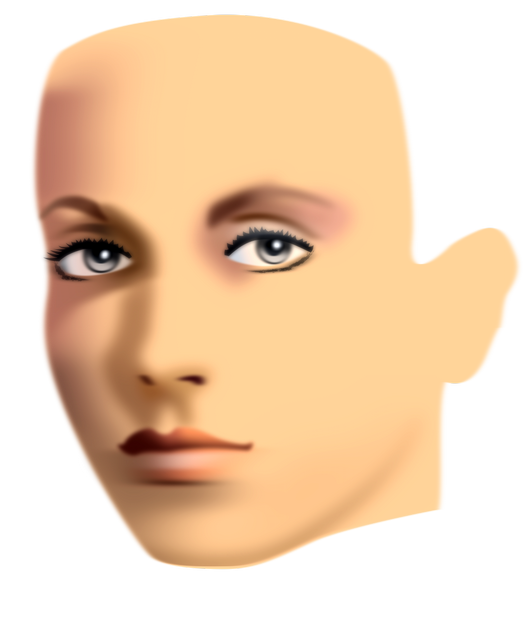
A series of portraits inspired by people, nature and ideas from all corners of our world. For this first one we travel to East Africa to meet DADA. Dada is a Swahili word which refers to a female sibling. It's a term of endearment and familiarity, often used within the family circle. The term conveys a sense of closeness and protectiveness. Dada can also be used to address any female friend or acquaintance. Similar to how "sister" can be used as a term of endearment in English, It's a way to express warmth and connection beyond familial ties. Dada is imbued with positive connotations, carrying a sense of affection, respect, and regard. When addressing someone as "dada," you're expressing a level of familiarity and care, acknowledging their presence and value. It's a way of showing that you hold the person in high esteem. Tools: Affinity Designer, Affinity Photo Let's connect: https://www.behance.net/bah-is-life https://www.instagram.com/bah_is_life/
-
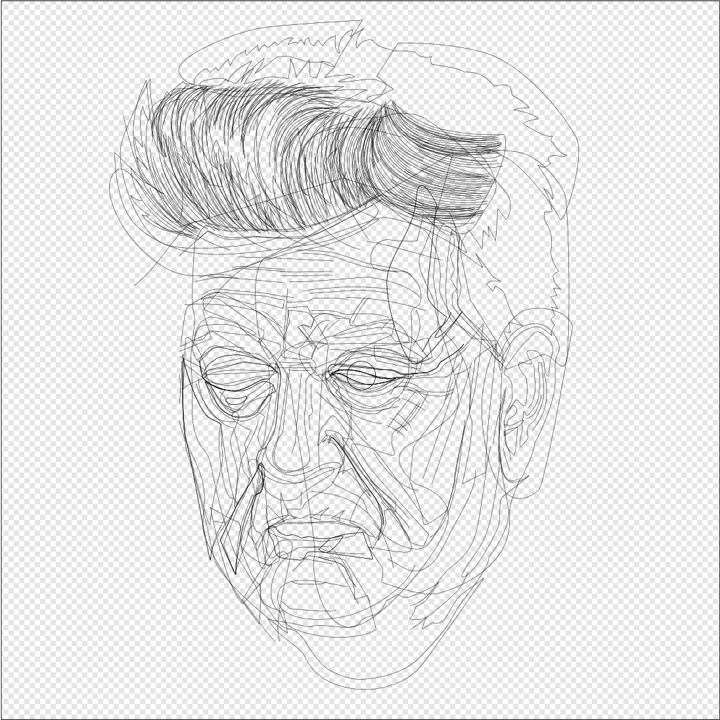
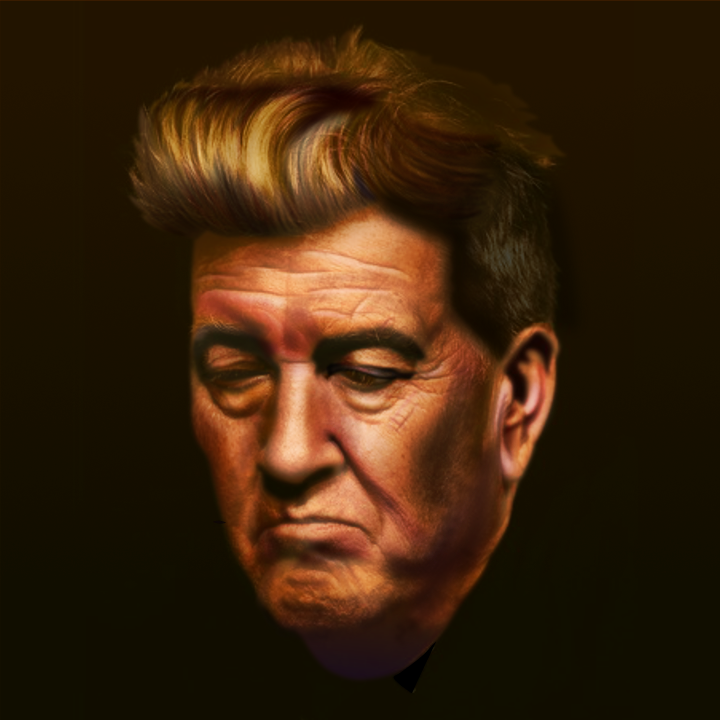
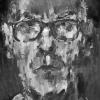
Vector portrait of movie director, actor, visual artist and musician David Lynch. All 12 stages of progress in my portfolio blog: https://communicats.blogspot.com/2024/01/david-lynch-vector-portrait.html In aforementioned blog I briefly explained how the effects used have been created, but I will repeat them here for clarity: In Affinity Designer there are what Serif calls 'Vector Brushes' that actually are based on bitmap images. So, this in fact is not a 100% vector portrait. Users can draw these brushes themselves in vector format, that are exported as png-files. For almost every 'vector' portrait, drawing specific brushes have to be created, since no hair strand or pore texture in a person's face are the same. To such brushes Gradient Fills and Gradient Transparency effects are applied and sometimes they are Duplicated using Filters (below the Layers panel) that in some cases are offset, re-sized, skewed or mesh warped a little. In a number of cases it helps to apply the 3D lighting effect - highlights and outer shadows - to these brushes too. In the Gradient Tool there is an option to use bitmaps as the fill, which also is useful to achieve the desired effect. To these type of fills the same effects can be applied as used to manipulate the Vector Brush strokes.
-
 Hello, I'm an independent and freelance TTRPG creator. One of the projects I'm a part of is an upcoming Werewolf: the Apocalypse 20th Anniversary Ed. Community Content Supplement called Werewolf: the Essentials. I made an illustration of Kinfolk (non-werewolf relatives of werewolves) warding away death spirits from an injured relative. I primarily used the Photo/Pixel persona of Designer so I could have my reference images visible and surrounding the artboard. Linked instead of embedded because the image contains depictions of injury. There's also a lot of WIP shots in the link. https://www.artstation.com/artwork/LRGD1w
 -
 Hey guys! Here's what I do on Photo and/or Designer in combination with my fortnightly radio show WallPlugTuna on bbz.ru. Any feedback is welcome: https://odysee.com/@WallPlugTuna:1/WPT326:4 Thanks for your time!
 -
Not sure what is going on here, but it looks like a bug to me. When enabling the children of an artboard suddenly the bounding box of the Artboard changes and prevents us to actually change the artboard size. [edit] Although while doing another test I'm not sure this is a bug. When starting a new artboard and drag a layer in there it looks different compared to the other artboard. The first artboard looks like a masking group, while the second is not. Still I find the behaviour as seen in the video strange as it prevents us from resizing the artboard so still doesn't look right to me. As to me it doesn't make sense that the handles of the artboard move and prevent us from sizing the artboard (which is still selected), only because it's children are getting enabled. I'll include the affinity file in the attachment. Please see video: (BTW sorry for the missing part on the right, it was scaled in OBS and only now see it, but I'm toggling the layers on and off there) artboard-issue-designer.mp4 [edit] differences between artboards project.afdesign
-
"Faucet's Last Bath". The faucet is fully designed in Affinity Designer, than animated in 2d using Moho Pro and than finished in 3d in Blender. last-bath-marked-720plow-24fps.mp4
-

Layer selection hilighting
JariH posted a topic in Affinity on Desktop Questions (macOS and Windows)
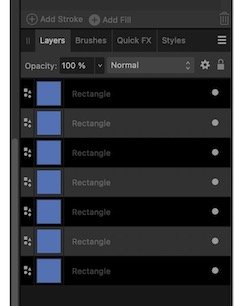
Hello Affinity Designer v2.3.1 Is there a setting for layer selection highlighting? Am I missing something? To me, logic says: when it's highlighted it's selected - But active layers are darkened. Affinity Designer UI does not look like this anywhere else. Which do you think are active layers? I hate this:
-
 In case that document is opened (no matter if changes are saved or not), any of Affinity applications (v2.3.1, win 10) will not restart when in application Settings is changed any parameter which requires a restart (for example changing "Language" or switching "Enable Pointer Support") and user confirms to restart in a dialog box. App only closes an opened document and quit itself. No restart happens. If no document is opened, app quits and restarts as expected.
 -
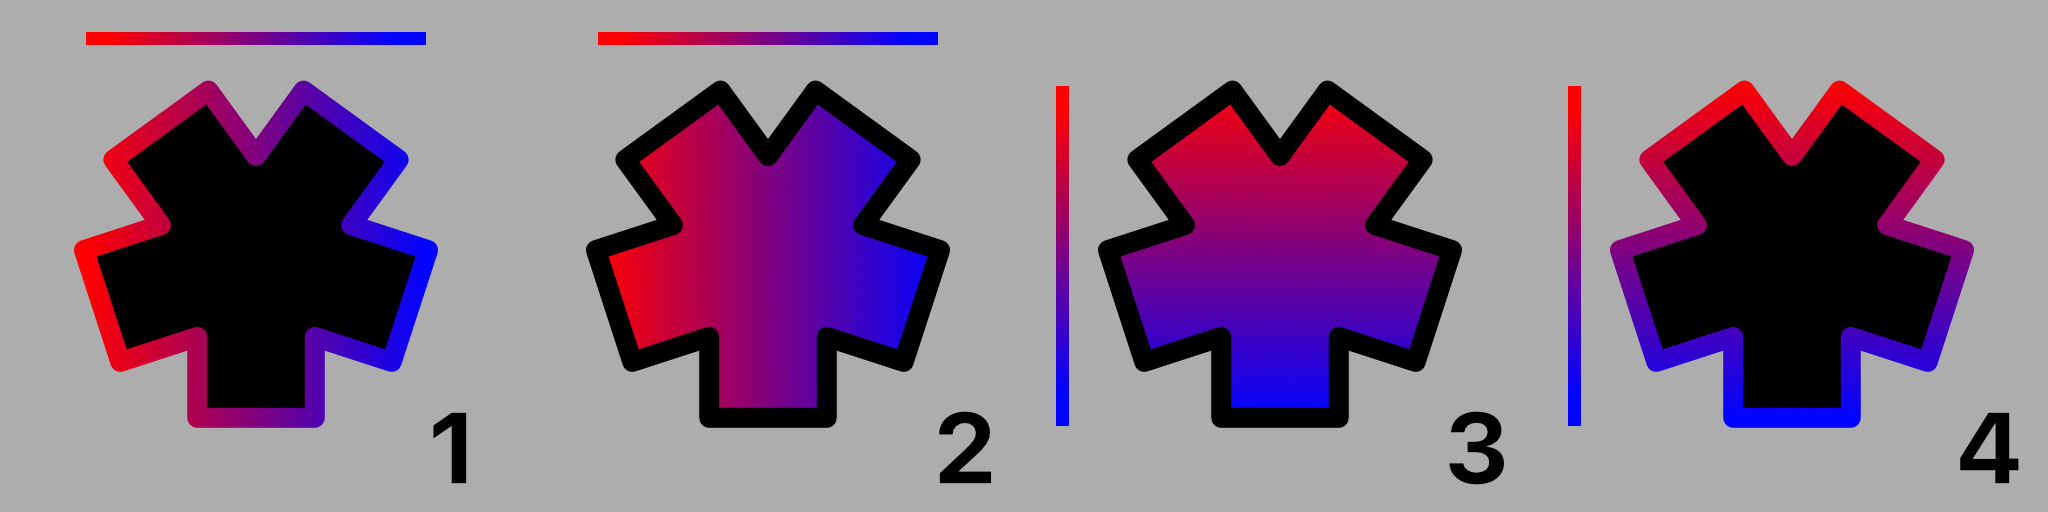
 Hello, in Affinity Designer, you can apply a color gradient to fill a vector shape. Then, we can edit this gradient by invoking the tool of the same name to modify the colors and the angle of the gradient. It's perfect. But you can also apply a color gradient to the outline of a vector shape. It's perfect. Unfortunately, unless there is an error or ignorance on my part, invoking the gradient tool is not operational in this case!... And it is therefore impossible to edit the angle of the gradient, the colors can still be modified from the palette of the same name. It is possible to vectorize the outline. It would then become a shape with a background which would allow the gradient to be edited, but we would then lose the possibility of subsequently modifying the qualities of this outline (thickness, dotted lines, etc.). Here's a solution, shaky, but it works. 1 – Apply a gradient to the outline, 2 – Reverse the background and outline colors, 3 – Edit the gradient then applied to the background (here, the orientation), 4 – Invert the background and outline colors again. Again, if there is a better solution, I'm all ears. Thank you...
-
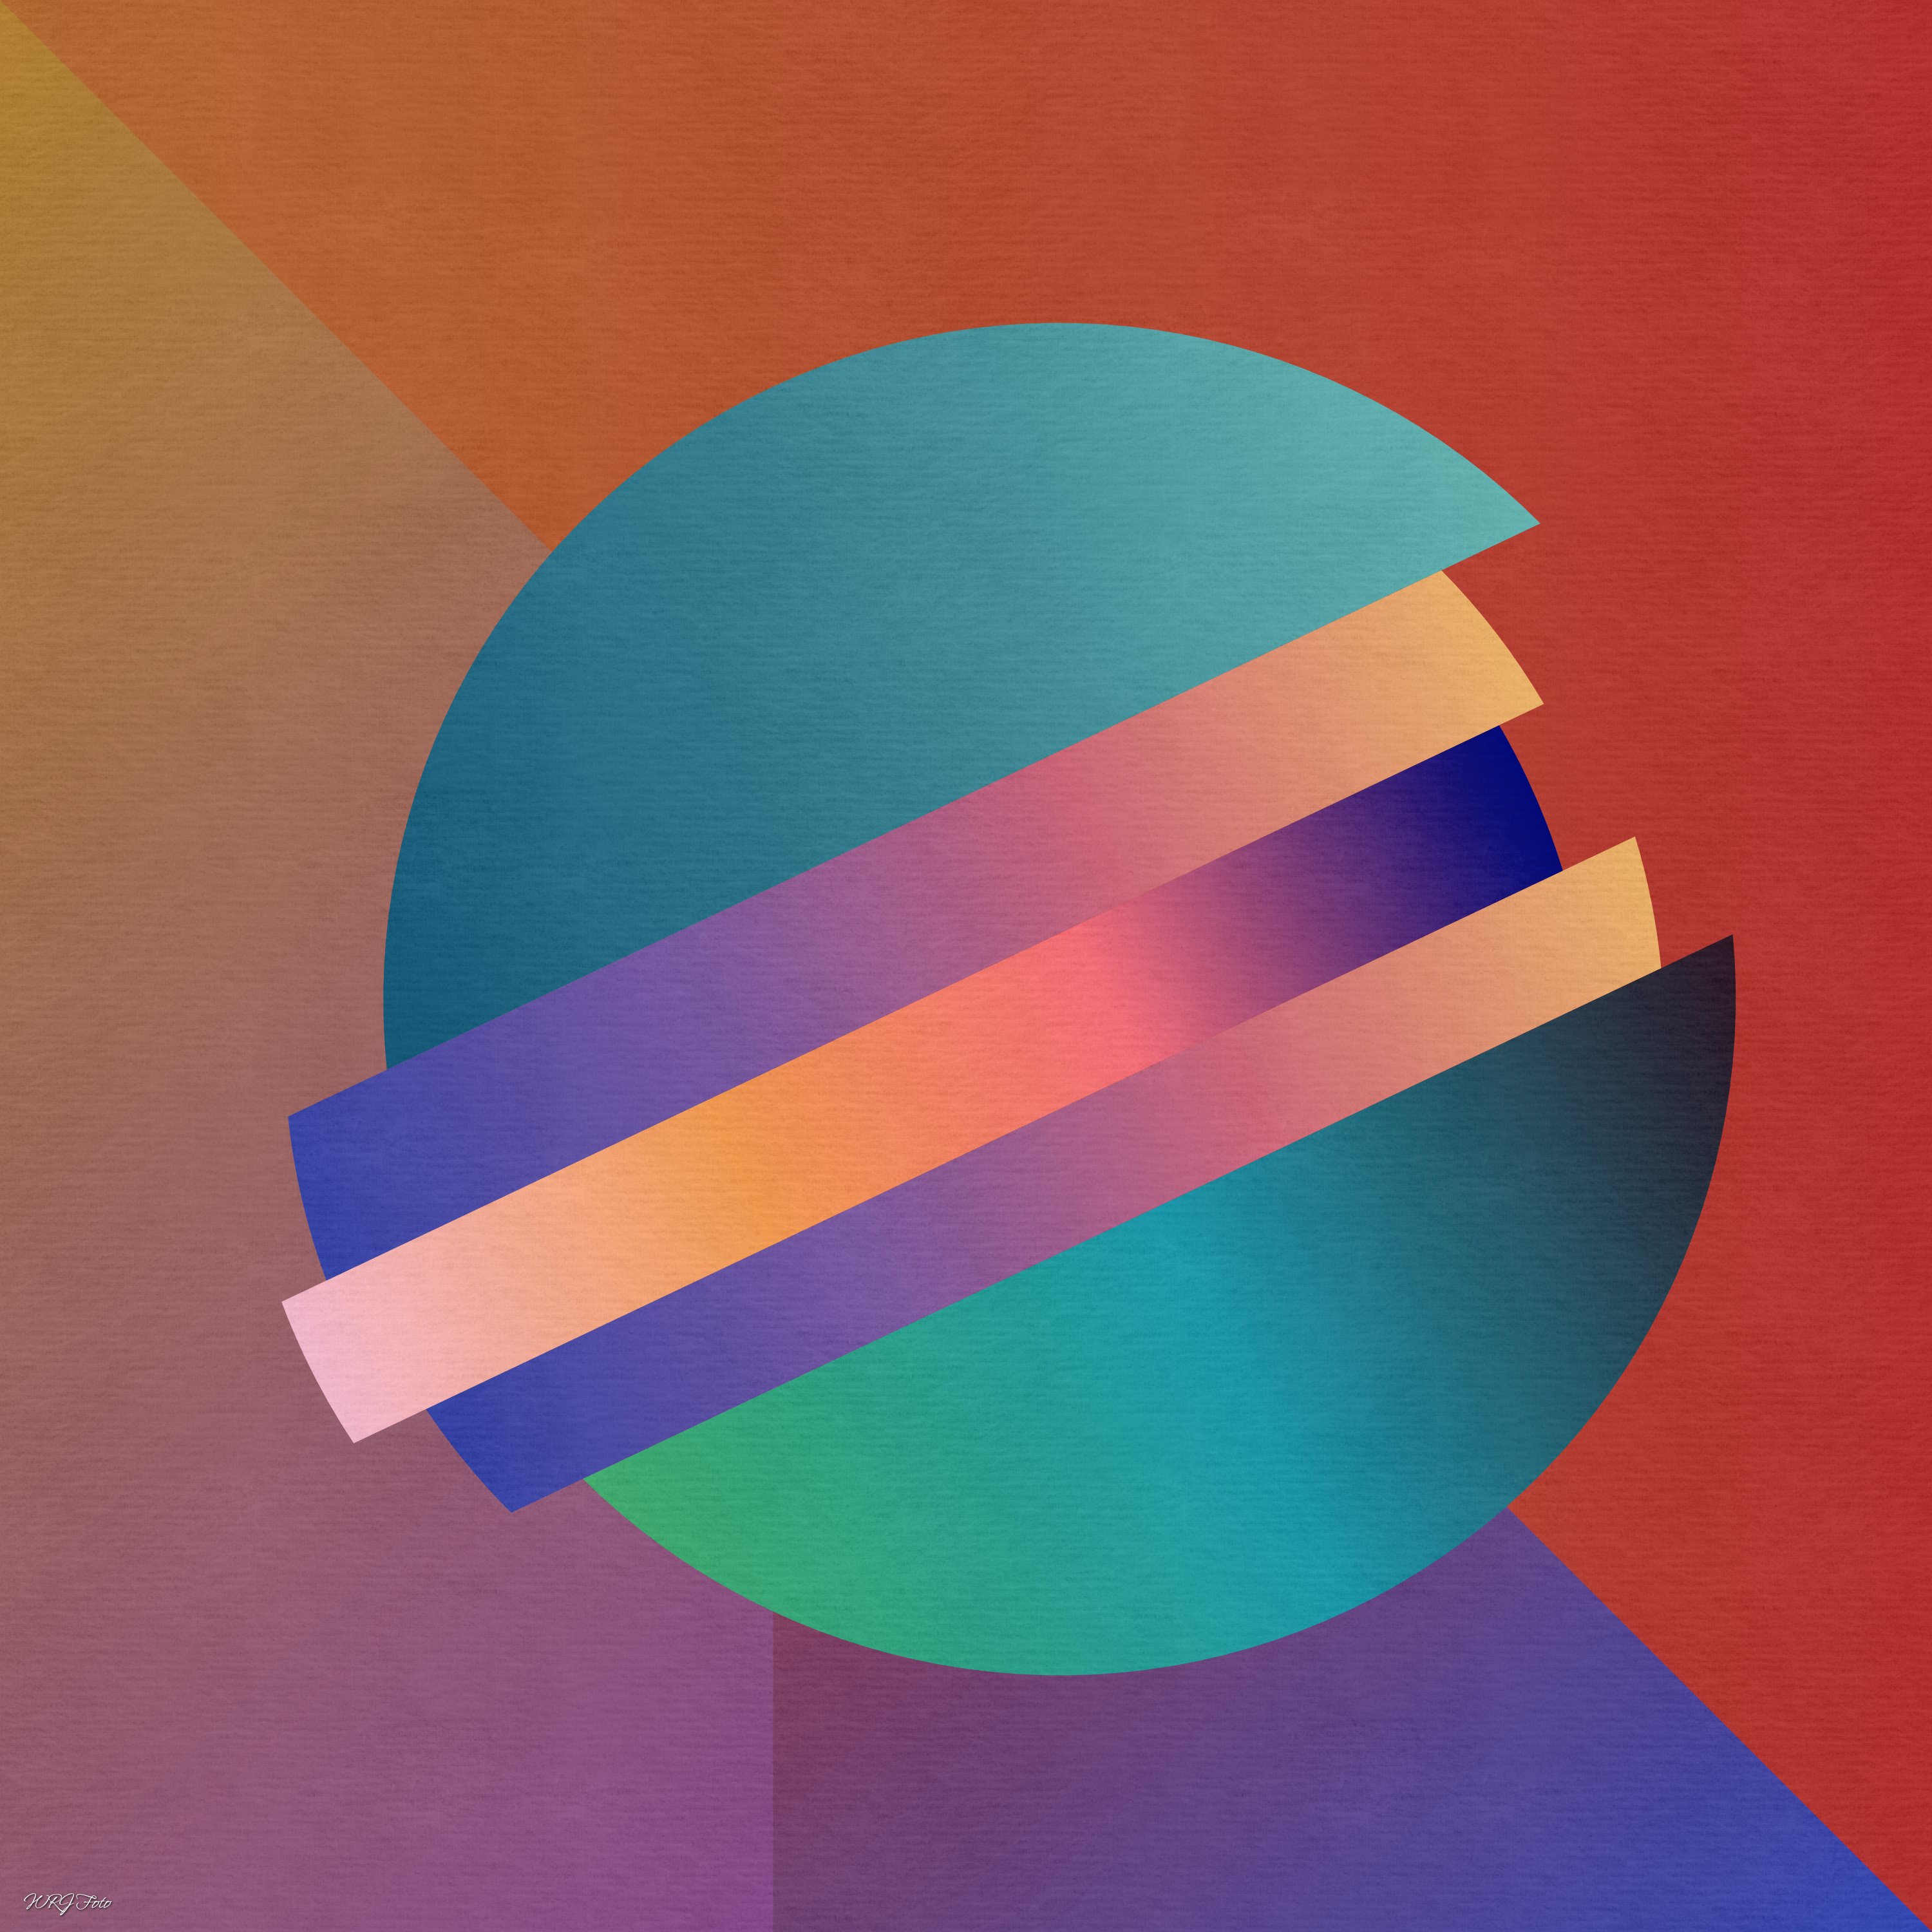
My very first project with Affinity Designer is an abstract picture. I learned a lot. I only missed the fill layer. What is the equivalent in Designer? In my project I have used a simple rectangle shape.
-
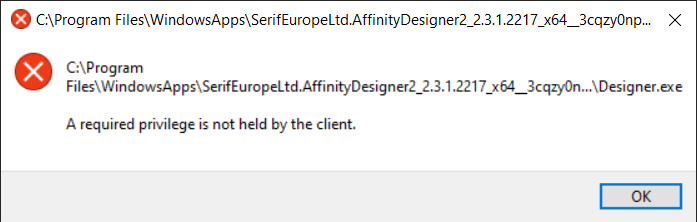
 I received an error post update installation of the 2.3.1 release for Affinity Designer. I remember having a similar error when 2.3.0 was released but didn't get a chance to snag a screenshot as clicky clicky happened and was not in my peripherals. Here is the screenshot with the error. So far nothing seems to be out of order, however I wanted to bring it to your attention. Designer opens after I click ok to the error dialog and relaunch with 2.3.1 displayed on the title card. Process on how I received the error. System: Windows 10 updated to the latest version and security updates as at January 10, 2024. 1. Already had previous version of V2 of designer installed (Also have publisher and photo as per the Universal license both updated beforehand and work flawless post update) 2. Opened Designer to start a project. Received notice that 2.3.1 was available to continue to install update. 3. Designer closes when I assume the downloaded package was on my computer. 4. Designer doesn't reopen but gives the attached screenshot error message. 5. Close error. Relaunch Designer and all is well.
-
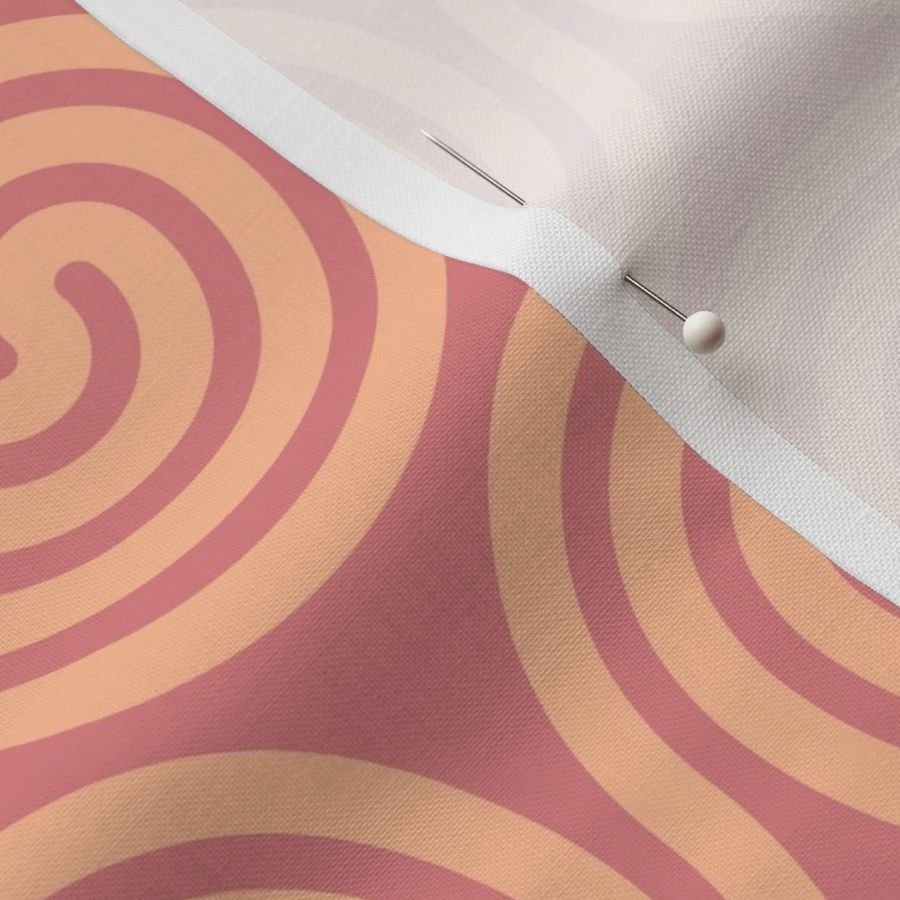
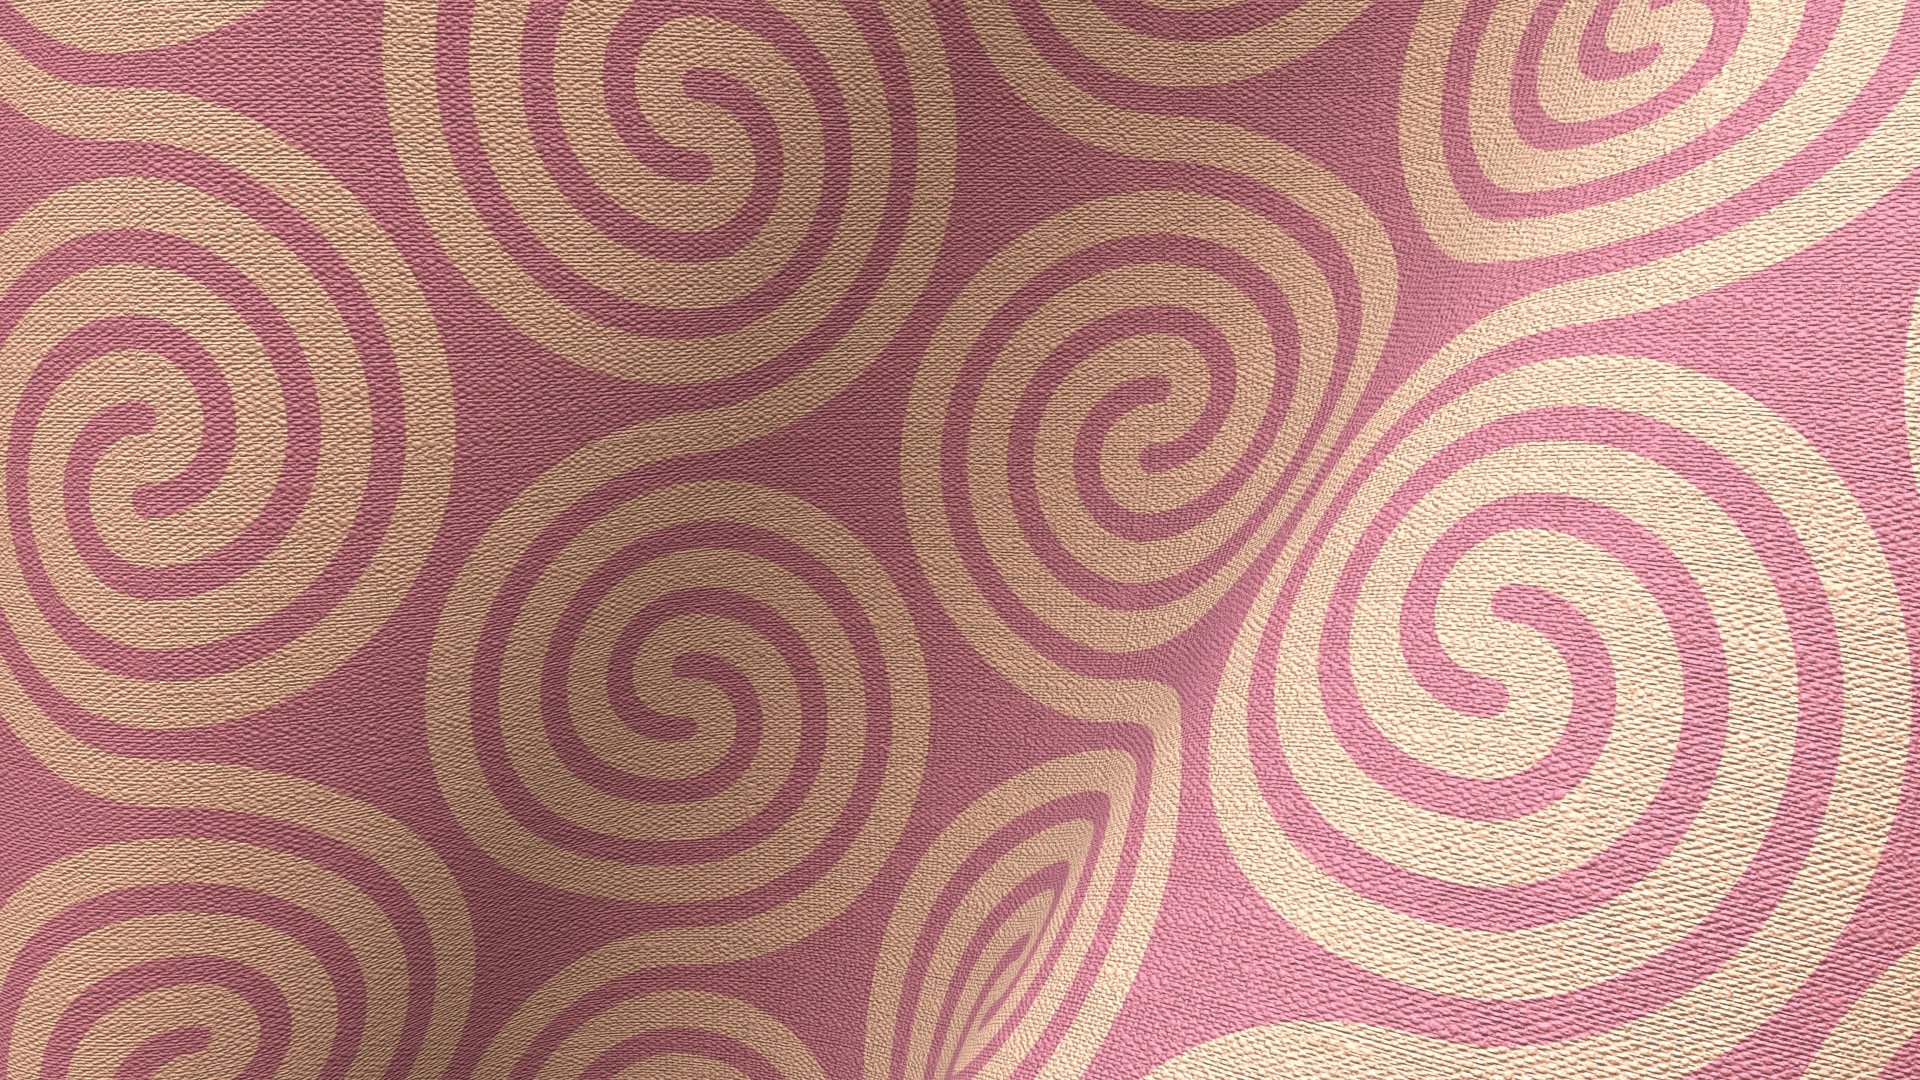
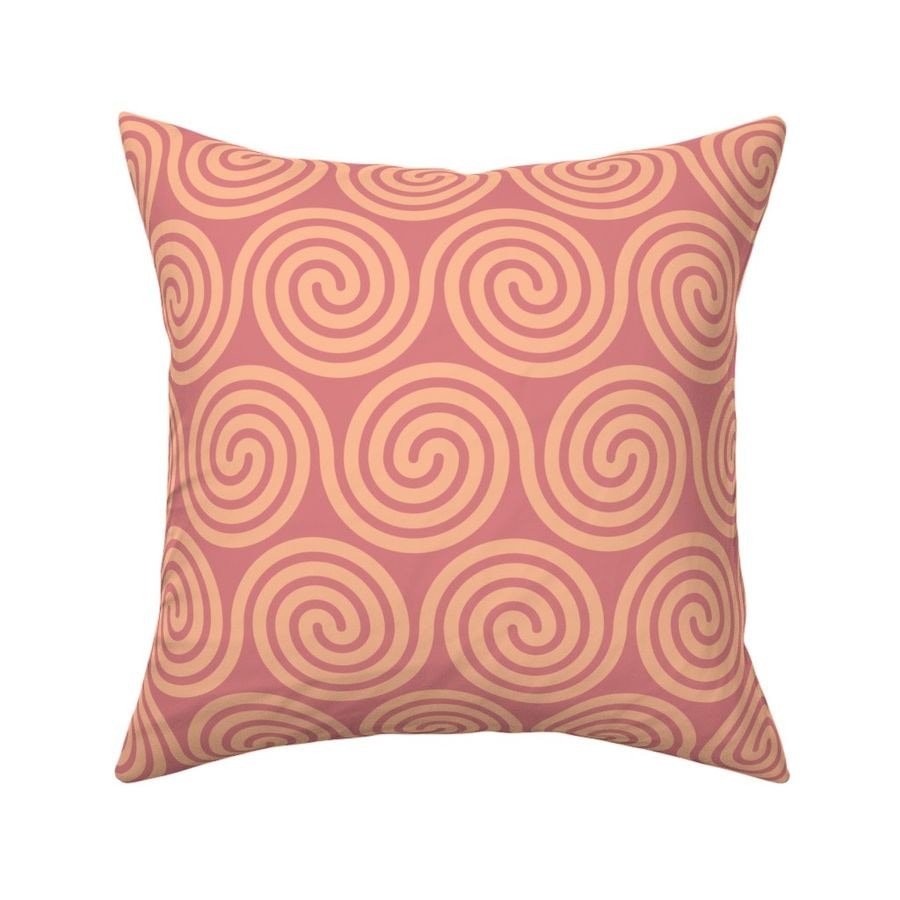
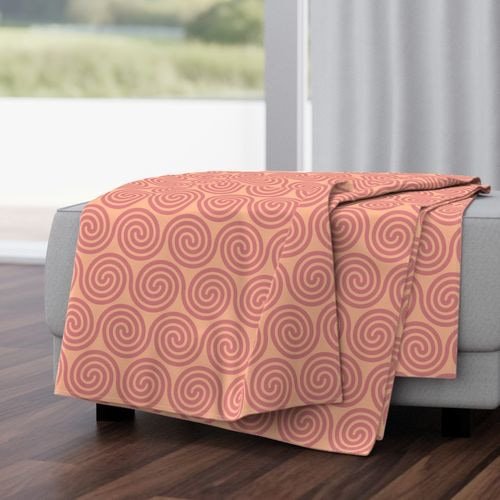
 I thought I'd take Affinity Designer's amazing new spiral tool for a spin in a recent Spoonflower competition. Spoonflower is a print-on-demand service for anyone who wants to buy printed fabrics and wallpaper. These spirals incorporate Pantone Peach Fuzz and Peach Blossom. Peach Fuzz is the 2024 Colour of the Year. The image above was rendered in Cheetah 3D. The remaining images are Spoonflower mockups. These patterns can be bought printed on demand; not just on fabric and wallpaper, but also as ready-made duvet covers, pillow cases, table cloths and napkins. https://www.spoonflower.com/en/collections/796023-spirals-by-geometrical_design?productType=FABRIC I'll be adding more spiral patterns to this collection over the months to come.
-
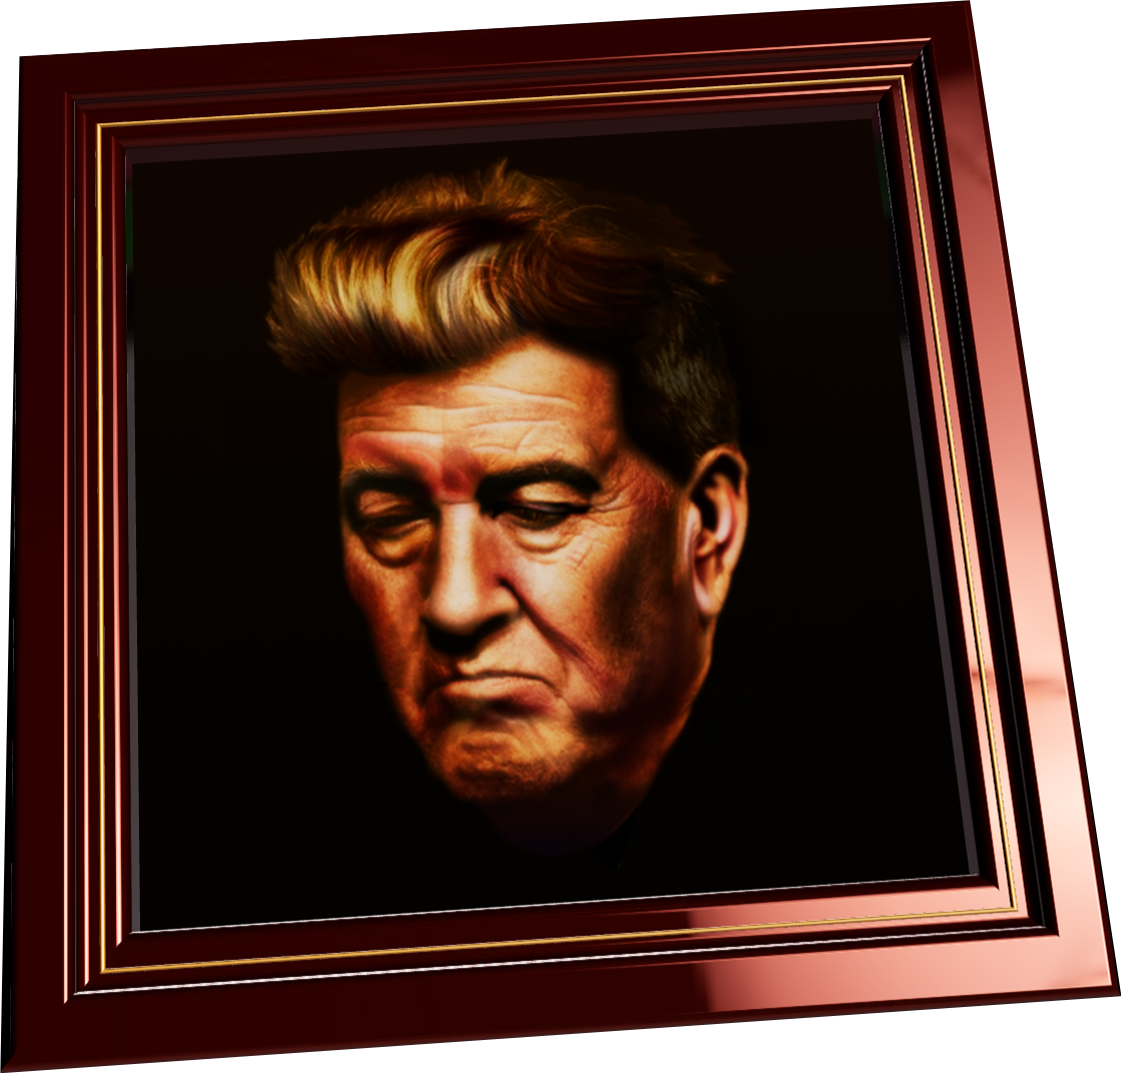
Created this vector portrait long ago in Affinity Designer. Left it and returned to work on it recently. It currently (January 2024) is a work in progress. Rendering of drawing in 3D frame 2D vector drawing view This was done years ago and resumed vector drawing at the end of the previous year. I am forced to work in Designer, because Photo does not start up. Designer and Publisher run after starting them up three times. I filed a bug report on this matter in Bug in Windows.
-
 Yes!! Super glad I can finally share this Music Video Visuals with Character Animations now. Put a lot of work, time and effort into this one and had to 'kill many darlings' during the process, but with no regrets! Design and Illustrations were all made in Affinity Designer. Also the new Spiral tool was great for doing the inner wound tapes! That tool arrived just in time! Animation was completely done in Moho 14 Pro. I've made and audio mastered the music, and also programmed Moho plugin scripts to use the Affinity Designer Spine JSON export to export all graphics as trimmed PNG's and import these with all auto-positioning into Moho quickly and easily. I've also written a script to animate the tape deck by keyframing on speed and accelerations instead of animating on angles. Hope you enjoy it as much as I had while creating it! 🙂 And if you do, please also like it on Youtube for the algorithm and stuff! Would be nice! Video (for backstage/making of; see below in this thread! ) :
 -
-
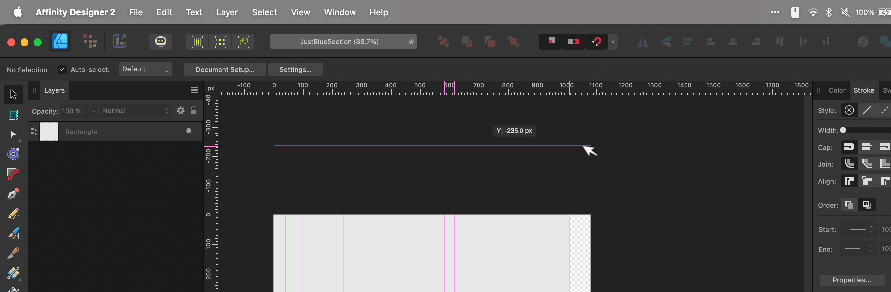
 I can *not* get Guide lines to show up outside of the document workspace/canvas no matter how many ways I try. This is the case with all of my files, even new ones. Is there a setting I accidentally changed? See attached image for how the horizontal Guide pulled from the ruler is only as wide as the work-area & the vertical guides don't extend to the top. Yes I have "View > Show Guides" checked Yes I have "View > View Mode > Clip To Canvas" unchecked. No, I am not using any Artboards. I am running Affinity Designer 2.3.0 on Mac Sonoma 14.2.1 (Somewhat related because I can't see: I can change the color of Guides, but Is it possible to make the Guide lines thicker than 1px on the screen?)
-
 The Black & White adjustment for Affinity Photo looks simple, but there are some concepts you should know before using it. In this video, we’ll look at how knowledge of RGB colors can help you get better B&W conversions for your photos.
- 5 replies
-
- 6
-
-

-
- trentl
- affinity designer
- (and 4 more)
-
 Designer 2.3 I'm trying to export my artwork to a PDF file including layers. Even if I check this option in to the export tab, the created PDF doesn't include layers viewed by any PDF reader. They only appear in Designer. Is there a way to export layers even for PDF viewers? Regards
 -
 I often have to deal with polygonal pathes, which represents curves*). Look at this comparison between Designer and Inkscape**) (there is a red copy of the line to visualise before and after): As far as I observed, designers "fit to curve"-functionality doesn't handle sharp edges at all. Am I right with this observation? Are there plans to change this? This would turn Designer from an almost perfect to a perfect map drawing tool! *) the pathes are derived from openstreetmap which has no real curves. So all curves are approximated by small straight lines which results in a large number of nodes, which I'd like to reduce. **) In case of Inkscape make sure that "Deleting nodes preserve shape" is selected in the preferences.
- 8 replies
-
- 2
-
-
- affinity designer
- node tool
- (and 3 more)
-
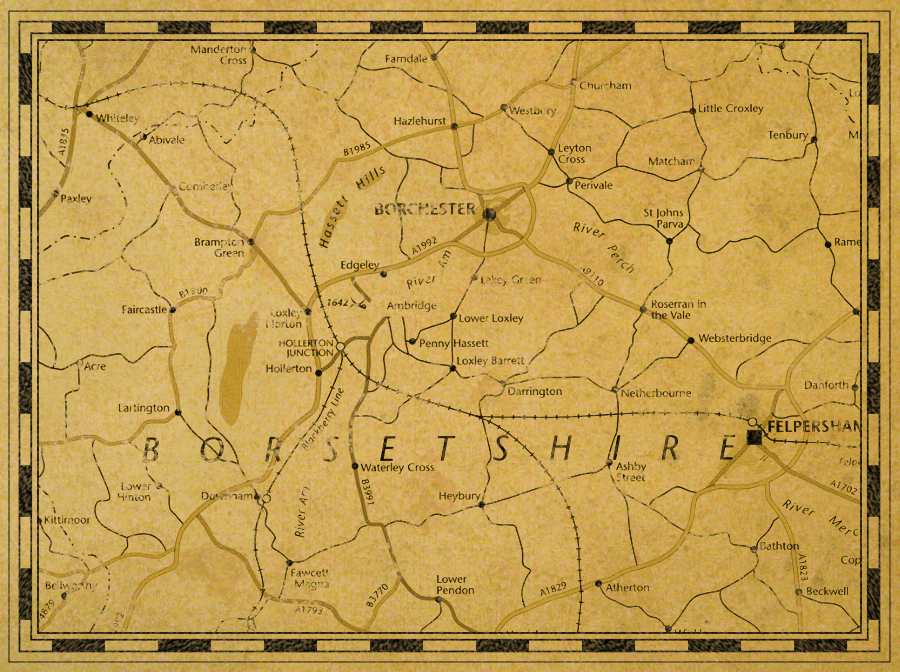
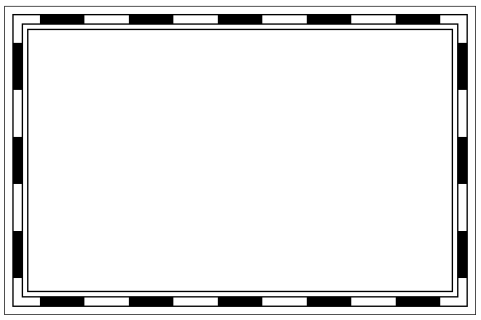
 I’ve listed, below the images, the steps of a technique, using Designer only, which you can use to create a border as you might see on old treasure maps etc. It’s a bit long-winded but not difficult to do, shouldn’t take more than a few minutes to complete, and it should work in both V1 and V2. At each stage, make sure that: Stroke Colour is Black; Fill is None; Scale With Object is OFF. For the base border: Draw a rectangle, you can make it any size you want, and keep it selected; Open the Swatches Panel or Colour Panel; Set the Fill to None; Open The Stroke Panel; Set: Stroke Width to 16px; Join to Mitre; Align to Centre; Open the Appearance Panel; Add a New Stroke and make sure it’s above the previous stroke added; Set: Stroke Width to 12px; Cap to Butt; Join to Mitre; Align to Centre; Style to Dash; Dash Pattern to 5,5,0,0,0,0; Blend Mode to Erase; Also: Make sure that the "Balanced" button is ON or the effect won't be as nice; Add a New Stroke and make sure it’s at the bottom of the ‘stroke stack’ (but above the fill); Set: Stroke Width to 16px; Join to Mitre; Align to Inside; Style to Solid; Blend Mode to Normal; Add a New Stroke and make sure it’s above the previous stroke added; Set: Stroke Width to 14px; Join to Mitre; Align to Inside; Style to Solid; Blend Mode to Erase; Add a New Stroke and make sure it’s at the bottom of the ‘stroke stack’ (but above the fill); Set: Stroke Width to 20px; Join to Mitre; Align to Outside; Style to Solid; Blend Mode to Normal; Add a New Stroke and make sure it’s above the previous stroke added; Set: Stroke Width to 19px; Join to Mitre; Align to Outside; Style to Solid; Blend Mode to Erase. For the optional ‘distressed’ effect: Duplicate the rectangle and select the duplicate layer; Use the “Revert Defaults” button on the Toolbar; Open the Swatches Panel or Colour Panel; Set the Fill to None; Make sure the new (duplicated) rectangle is above the other rectangle in the layer stack and still selected; Open The Stroke Panel; Set: Style to Textured Line Style; Open the Brushes Panel; Select the “Dry Media” category, scroll down and select the “Light Charcoal (for closed curves)” brush; Open The Stroke Panel; Set: Stroke Width to 90px; In the Layers Panel, set the Blend Mode of the duplicated Rectangle layer to Erase and set the Opacity to 60%; Group both rectangles. You can adjust the relative sizes of the strokes, brush pattern, etc. as necessary for different borders. You can also resize the border as you want while still keeping the same general design – if you have added the ‘distressed’ effect then make sure you move/resize the group as a whole. If you don't have the "Dry Media" category of brushes then you will need to choose a different brush from your collection. Important: Because you are using the Erase Blend Mode at various stages, the result will always* be rasterised upon export to any file format. * Unless you set “Rasterise: Nothing” as an export option whereupon the border will not be exported at all.
- 8 replies
-
- 4
-
-
-
- affinity designer
- map
- (and 1 more)