Search the Community
Showing results for tags 'Affinity Designer'.
-
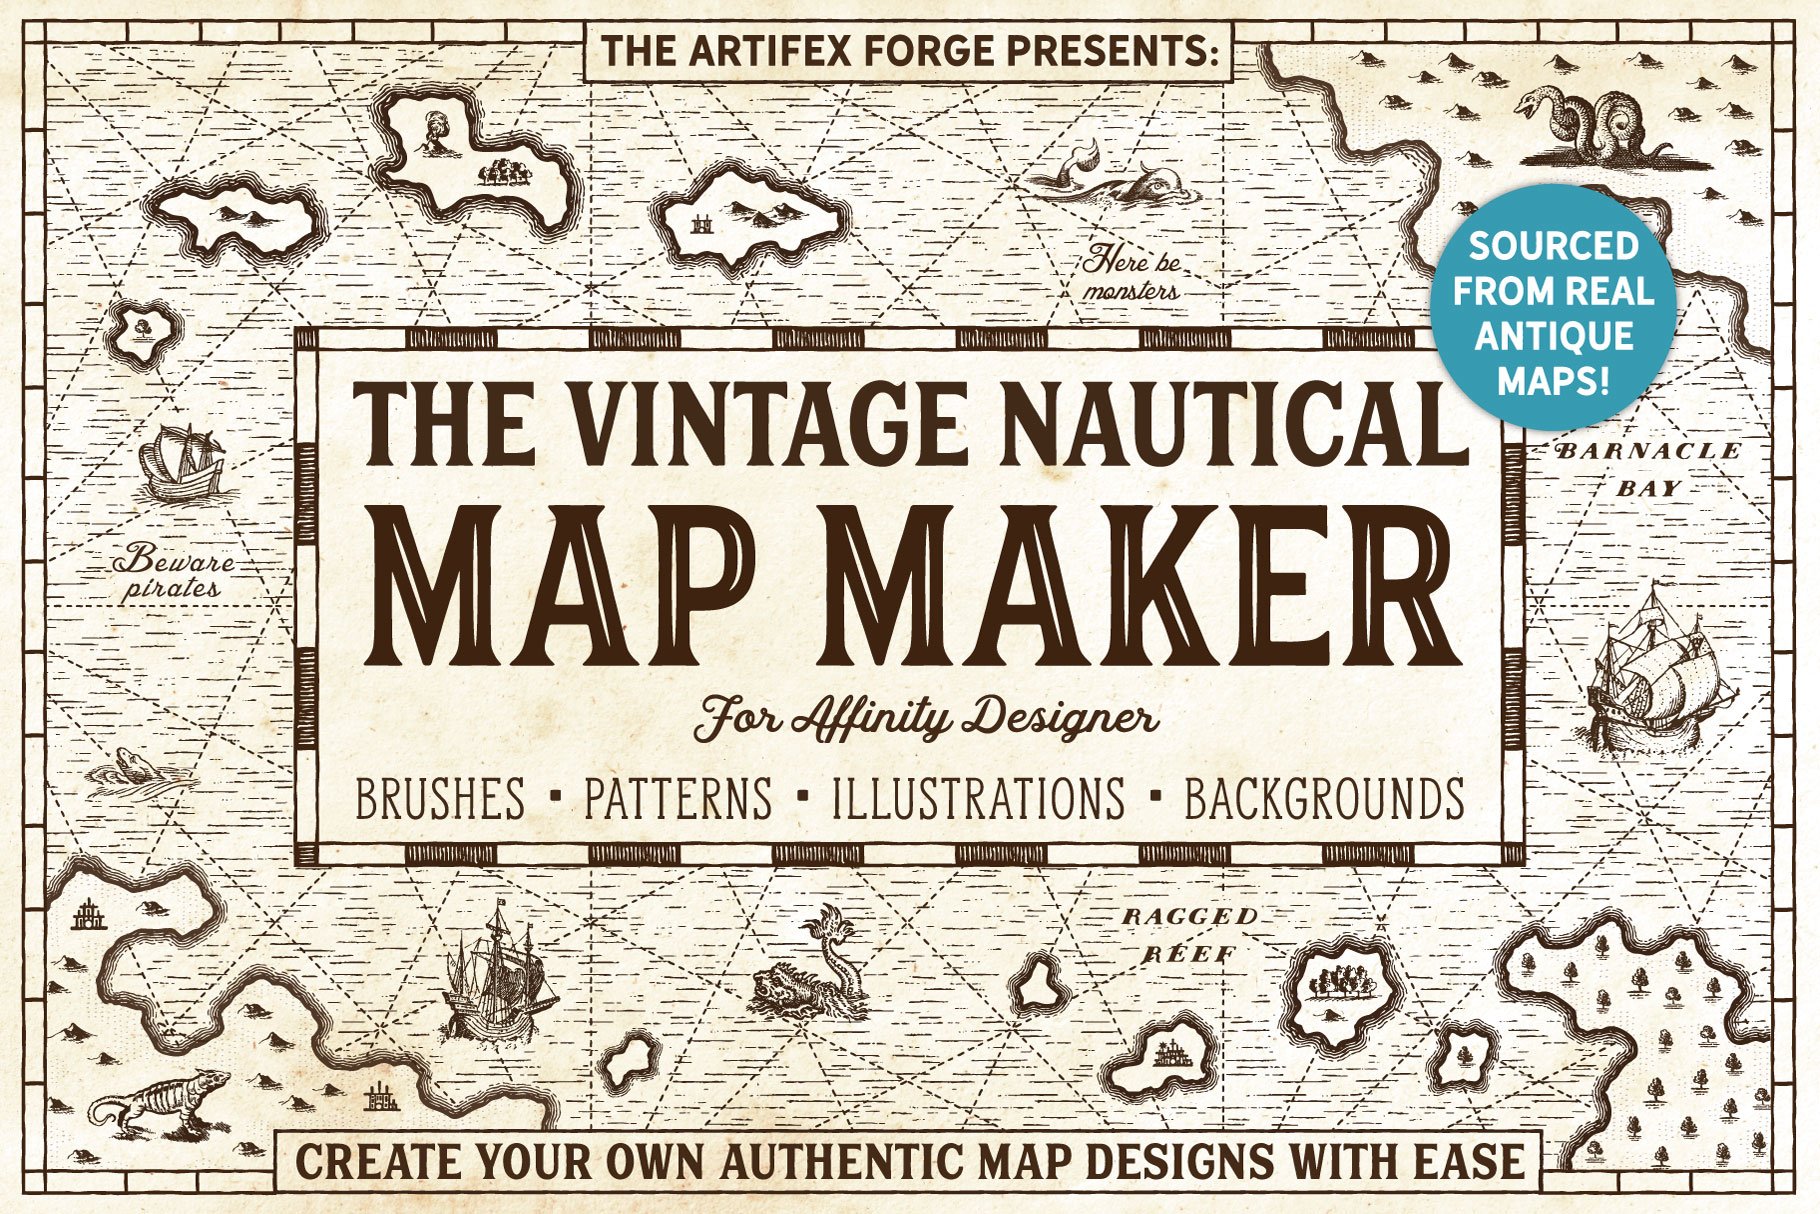
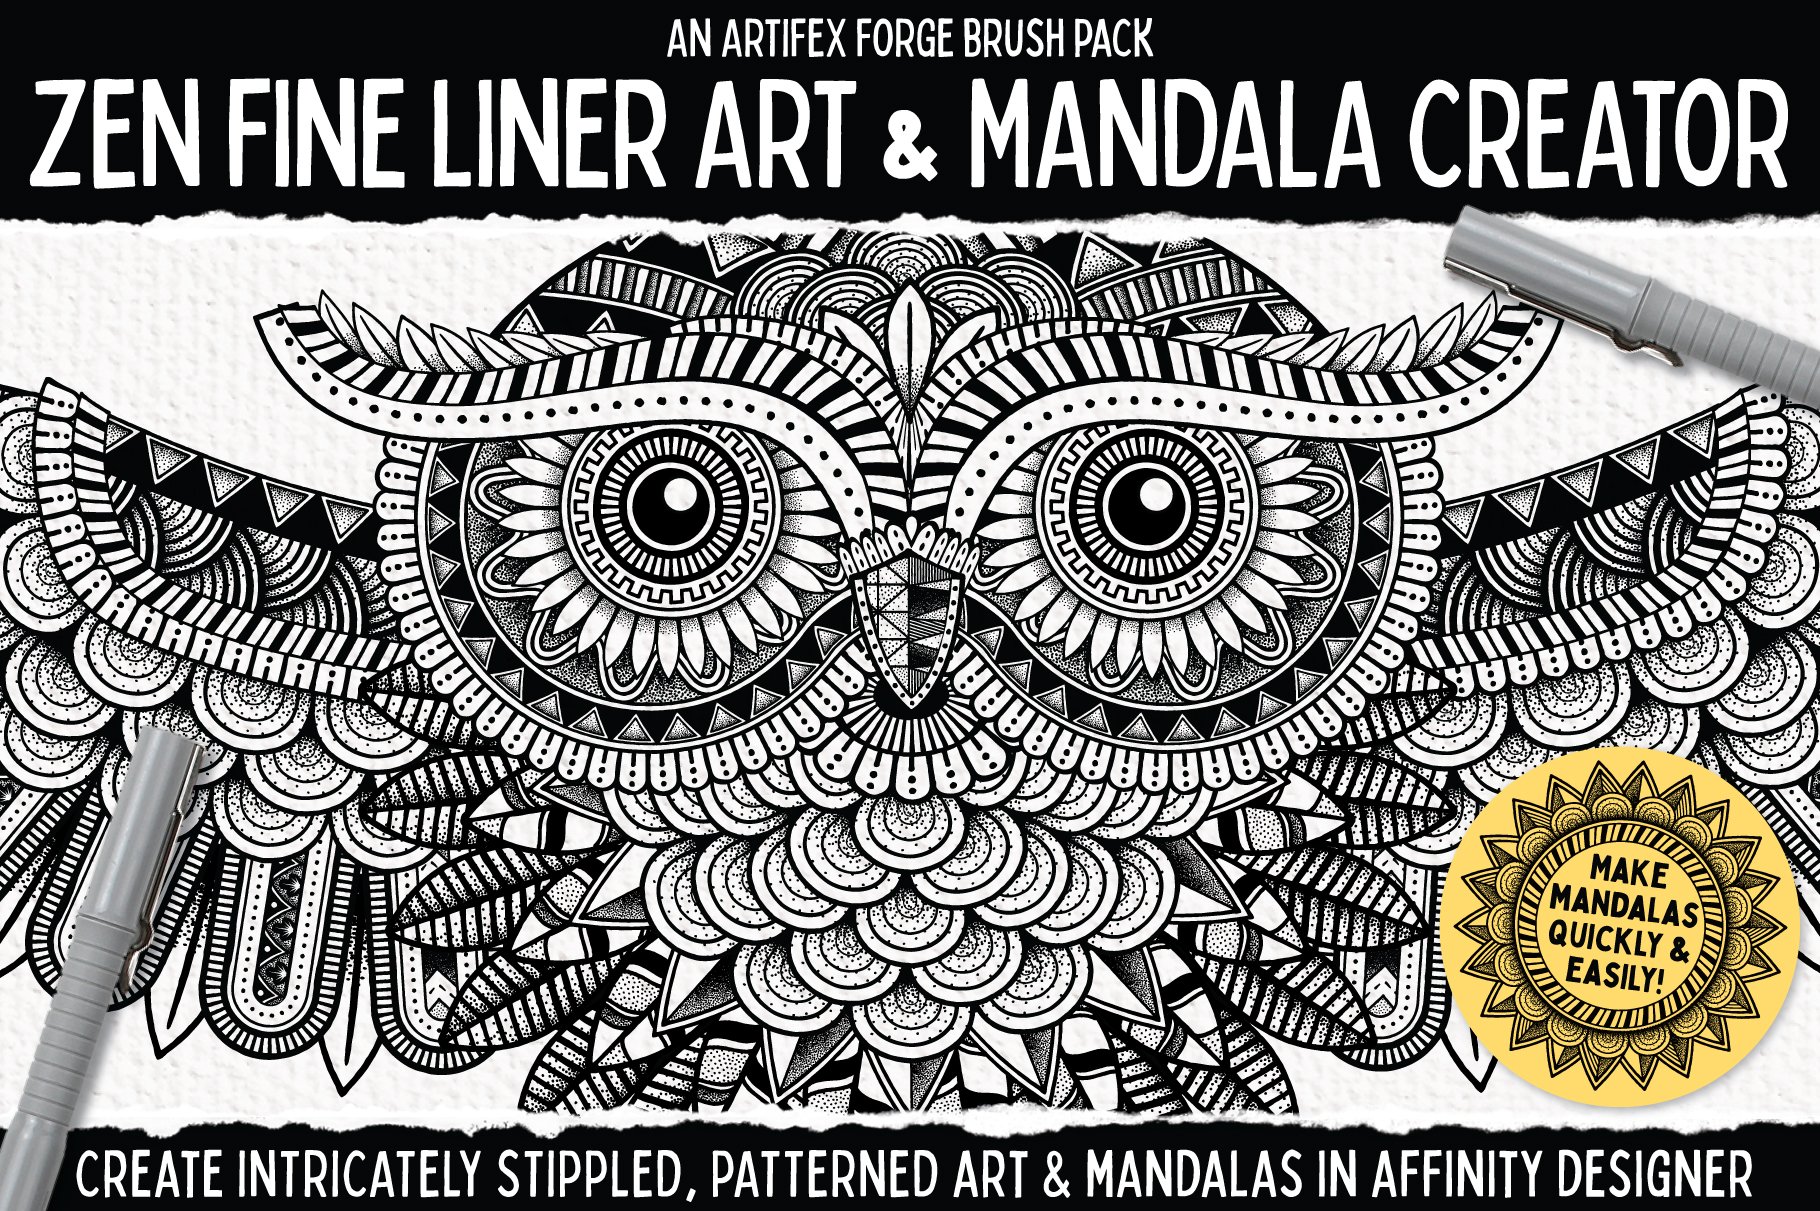
 SAVE 50% ON UNIQUE AFFINITY DESIGNER TOOL KITS IN THE ARTIFEX FORGE BLACK FRIDAY SALE! To claim this massive discount head to artifexforge.com and use the discount code 'BLKFRI23' at checkout. Be quick! The sale must end 11.59pm on 1st December (GMT) See some of our best-sellers below or head to artifexforge.com now to see the full range! >>SAVE 50% ON THE LINOCUT LOVERS COMPANION NOW!<< >>SAVE 50% ON THE STAINED GLASS CREATOR NOW!<< >>SAVE 50% ON THE PATCH WORKS NOW!<< >>SAVE 50% ON THE SPIROGRAPH TOOL KIT NOW!<< >>SAVE 50% ON THE STAMP COLLECTION NOW!<< >>SAVE 50% ON THE MOSAIC MAKER NOW!<< >>SAVE 50% ON ESSENTIAL SHAPES NOW!<< >>SAVE 50% ON THE VINTAGE NAUTICAL MAP MAKER NOW!<< >>SAVE 50% ON THE PALS NOW!<< >>SAVE 50% ON THE ZEN FINE LINER & MANDALA CREATOR NOW!<<
-
 In reaction to a recent question, I’ve attached a video showing one method you can use to create a vector ‘Greek-style’ border using various tools in Designer 2 (some of the tools used aren’t in Photo or Publisher, or earlier versions of Designer). Some of the functionalities/tools used are: Quick Grid (to get the initial grid of squares); Shape Builder Tool (to join the squares up, not actually necessary in this case); Geometry functionality (to tidy things up and make them easier to manipulate); Warp Group (to create the ‘bend’); Move Data Entry (to create multiple copies). If you need a different number of ‘repeats’, or differently-sized/spaced overall result, then you will need to calculate the Warp Value and Rotation differently, and maybe use a different height/width ratio for the initial design. I’ll leave it to you to experiment. 2023-11-28 12-29-33.mp4
-
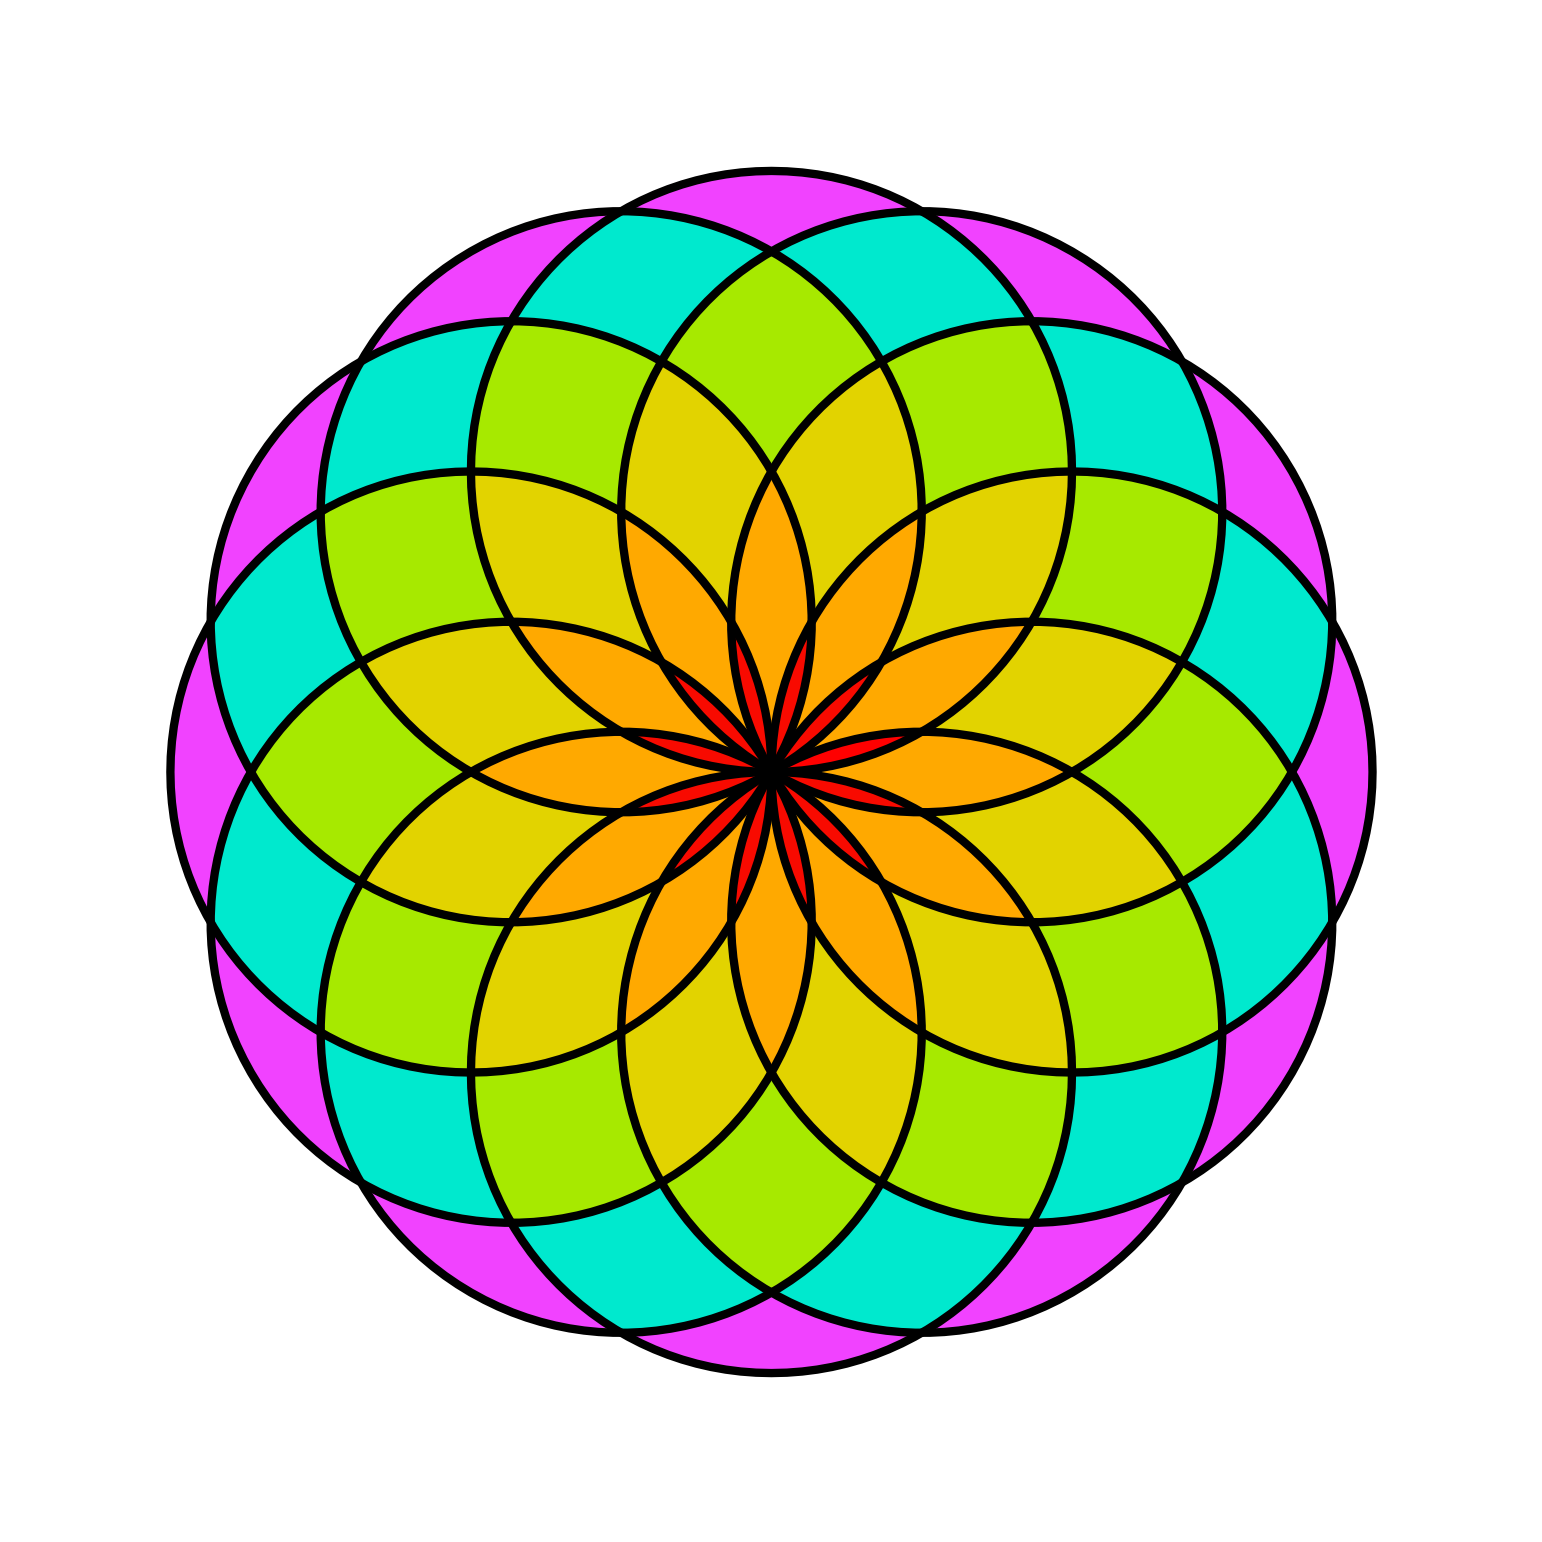
Here is the Torus Yantra, a well-know sacred geometry figure, that I created in Affinity Designer, using the ellipse tool, and replicating the ellipse 12 times.
-
- 2
-

-
- sacred geometry
- torus
- (and 1 more)
-
3-4 Years ago my Nephew and I decided it would be funny to create an animated series based on some weird cockroach drawings he did as a child that he called 'COCs'😅. We came up with some characters and story lines and the name C.O.C SQUAD (Combat Orientated Cockroaches). It's based on early 90s action movies and cartoons and went through quite a few different art styles and approaches until we found what worked. The movies Showdown In Little Tokyo and Hard Target were particularly influential. The characters were designed in Affinity Designer and Affinity Photo. There were then exported to various pieces of animation software. We recently launched a Kickstarter to try and get some funding to finish the first episode in a reasonable amount of time (It's half done). I would love to know what you guys think of it. More info available at https://www.cocsquad.com/
- 2 replies
-
- 6
-
-

-
- animation
- affinity photo
- (and 1 more)
-
Here's a link to a recent series of fun and colourful retro inspired objects and toys. All done in vector using Affinity Designer. Designer is so great for this kind of work. Cheers Serif! https://www.behance.net/gallery/180858837/Retro-inspired-objects-and-toys-series
-
Hi Im new here but i wish to share my latest artwork and also I have a question about data entry, how to keep letters and numer horizontally around circle? Many thank
- 1 reply
-
- 9
-

-
-
A few days ago I made a rather silly picture I titled The perils of poorly-maintained Gents' lavatories (that's men's public restrooms in American). And then I thought I could animate this! There's nothing on view that actually requires censoring, I should point out. The moving parts are all on separate layers, so each one transfers to a layer in MoviePlus X6. (MoviePlus: still doing the business, and more intuitive to use than a lot of other video editors 🙂) I recorded the sound effects in the kitchen on my iPhone; the little bit of speech will be recognisable to Goon Show fans.
- 2 replies
-
- 4
-
-
-
- designer
- serif movieplus x6
- (and 1 more)
-
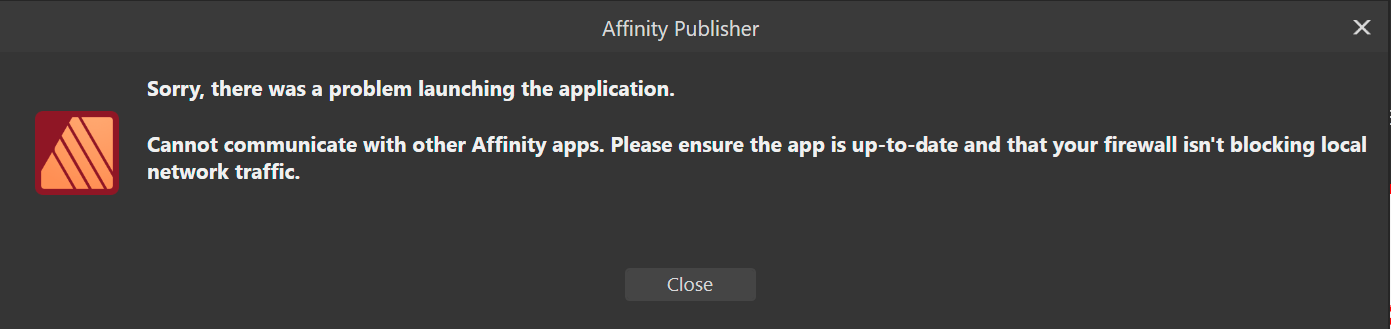
 I'm not doing something right, it's maybe a bug or a preference I need to activate, but when I make a background on Affinity Designer with Bleed, it does export fine to a Print Format showing the bleed area, but when directly imported the Designer File to Affinity Publisher, it imports it trimmed to the page format and disregards the bleed area. Anything else I can do differently to fix this? I'm on V2. Thank you so much in advance.
 -
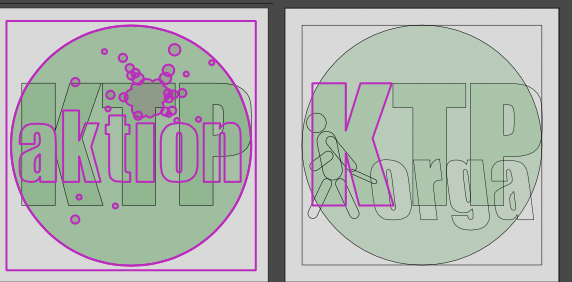
 Hi, I'm not exactly new to the software but I'm delving into some more complex topics as I keep using it for random stuff. For a simple illustration project, I'm trying to merge the shapes of a character's body while avoiding using destructive operations. What I'd love to achieve is to use a compound shape (made using Alt + boolean Add operation) as a clipping mask for some inner shapes. See the attached example for what I'm trying to achieve (with a very simplified character) and the tests I have made so far. From what I gather I have three options: Use a compound path. This will unfortunately break clipping functionality, and the clipped shapes will get lost inside the original containing shape (Body in teh example). If I move them to the root of the compound the simply become part of the compound itself. Make a compound path, group the inner shapes, then use a copy of the compound path as a compound mask for the grouped inner shapes. This works(ish) but messes with rendering and the inner shape with the gaussian blur FX will exhibit some color banding. Not sure it's noticeable in the example picture, but it definitely is there. This option is kind of a chore to maintain as well, as I'd have to make changes to both the compound path and the mask. It also makes a mess in the level hierarchy. (Note: the color banding seems to be caused by the pass-through rendering mode of the group. I could bypass this by not using a group, and just duplicate the compound yet again to make a mask for each inner shape, but that makes it even harder to maintain) Simply boolean add the shapes. This is visually what I'd like to achieve, but it's a destructive operation. I would need to keep a non-merged copy in case I need to move or redo the ears, for example. Maintaining both copies synced would be a major pain and simply not a good workflow. I'd like to just use the first option, since it's simple and non-destructive, to achieve the visual result of the third option, but I can't get it to work that way. Is it not possible for compound paths to act as clipping masks as well? What other options are there that I'm missing?
-
 I've noticed a slightly annoying bug when trying to edit guides on a document in Affinity Designer 2.2.1. How to replicate the issue: Open the Guides Manager Single-click on an existing guide Start typing a number The focus is still on the document so it starts changing the opacity (as would happen when using the number pad within a document). I realise I actually need to double-click on a guide to edit its value, but I often forget this. Is it possible to remove the focus from the document when in a popup window, to avoid unexpected changes being made?
 -
 I love to work with artboards in Designer to create Flyers and other design elements all in one document. Designer also offers Bleed for artboards, which is great when creating PDFs for printing. One thing is a bit annoying though: Designer will not show the elements within the bleed area. It will indicate the bleed edges, but not show anything outside of the artboard but within the bleed area. This sometimes makes it hard to see how the final output will look like. Perhaps adding an option to the viewing settings to enable this? Thanks!
 -
 Something like Expression had decades ago or Xara . A brush constructed from selected group of objects with option to deform them along the brush vector and alternate , or just scatter with random offset. That text along a path option is so much of a pain.
 -
 Hi, I exchange documents from Designer via PDF. There are two cases: a) Export for going directly to the printer. In this case there is no doubt: I choose the Export (for print) option. b) Export for reuse in InDesign, and be sure to have a copy that someone else can read in Illustrator. In this latter case I'm in doubt: would Export (for exchange) be the better choice? I would suspect this would work perfectly fine with InDesign (so it seems), and at the same time preserve most of the original situation when opening into another program for editing. How is it? Paolo
 -
 What I'm thinking of is an alternative to the classic layers: a node editor, where each layer would now be a node, with a mask and before input, so that you can reuse layer groups. What I'm thinking of: Each node has inputs and outputs depending on the type (example blur: input=image, radius form=type, radius, output=image) Creating groups and naming them storing created groups as global templates (like macros, but as components that can be stored) adding custom inputs to groups with custom labels maybe sharing groups online? (like as a marketplace for quick templates) As an orientation for how it would work, I would like something like Blender 3Ds node editor. As for how it's integrated into the UI, either it's a separate editor that you need to toggle on/off on a per-project basis, or it's a layer (like a node layer or something) that then opens a UI
- 1 reply
-
- 1
-
-
- affinity photo
- affinity designer
- (and 7 more)
-
 In Affinity Persona, on my Mac, I can hold Control while using the vector brush to force a straight line. In Pixel Persona (or in Photo), I can't do that. I can only hold the Shift key to force the line vertical or horizontal. It'd be a quality of life improvement if there were a similar straight-line-only modifier for Pixel persona. While I'm asking, it'd be nice to have that same option available in the Eraser Tool (as it is for the Shift modifier). I see that a similar operation can be done by clicking, then shift-clicking on the 2nd point to connect the two points with a straight line, but I'm really asking for similar functionality as the vector brush where I can drag the final point around and see where the line (or eraser mark) will go so I can fine tune the location.
 -
Couldn't decide what to do next so did this. People on FB said about the Christine movie that featured a '58 Fury, not watched it but it's now on my list.
-
 Is there a way to automatically assign matching colors of imported SVGs to the color in the document palette? Maybe by editing the SVG file? thx
 -
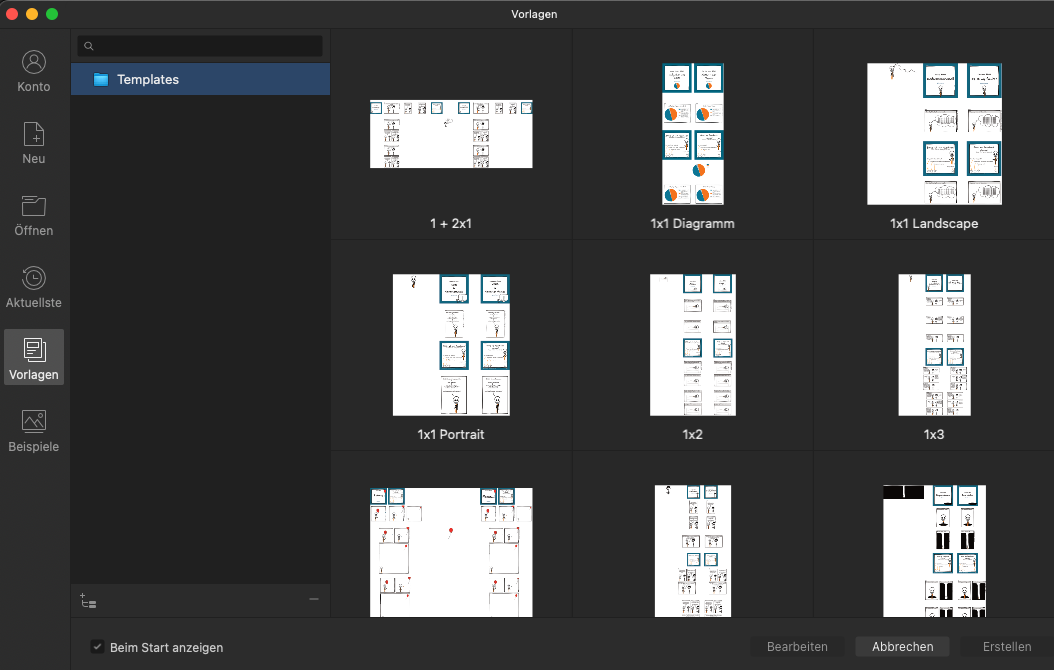
As stated here, there should be a way to handpick a certain artboard that is used as a thumbnail for the template section (and file system) I work with artboards... a lot. And the previews in the File=>New dialogue are really small.. -thx, Dave
-
Is there a way to handpick a certain artboard that is used as a thumbnail for the templates? I work with artboards... a lot. And the previews in the File=>New dialogue are really small.. -thx, Dave
-
 Since yesterday, Affinity Designer is broken for me on version 2.2.1. The UI freezes and is stuck on a full-core load (single core) even after terminating the task in Task manager. Uninstalling and reinstalling the app (MSIX) did not resolve the issue. I also tried repairing. It seems to have to do with Windows PowerToys from the look of taskmanager, so I updated PowerToys to 0.75.1. It's weird because I haven't updated PowerToys yesterday... E1: Time to uninstall PowerToys... E2: That fixed the issue, but it's not a long term solution for me. E3: The SVG thumbnails in the recent file window appear to be the culprit with SVG icon preview enabled in the File Explorer Add-ons section of PowerToys. I had several SVG thumbnails in recent files that failed to render. Disabling this specific module was enough to get it to work again.
-

is possiblity drag from assets directily to use image as fill in vector shape/bitmap brush drawn shape? applies Affinity Photo and Affinity Designer in computer.is possiblity drag from assets directily vector shape fill etc?
MxHeppa posted a topic in Affinity on Desktop Questions (macOS and Windows)
is possiblity drag from assets directily to use image as fill in vector shape/bitmap brush drawn shape? applies Affinity Photo and Affinity Designer in computer. i bet i get it working earlier. i tested with 2.2.1. -
 In AD V1 hovering over elements highlighted their outlines. This makes sense, since you want to know what to select, even when it's hidden. But when you removed the cursor - the image cleared. In AD V2 they stay and partly cannot be deselected at all, they randomly disappear or shine up when I touch other elements, in both preview and wireframe mode. It is annoying when I want to visually check a little icon and keep on seeing outlines. this is how it is supposed to look when my cursor is out of the way. This is when I touched the elements. Sometimes random artefacts stay visible. in preview and wireframe mode. Cannot deselect them. The only solution is to either export it or to save, close and restart the file. This doesn't make sense when I just want to see the effect and maybe revert it. I cannot find a hint, how to turn off highlighting at all. Is there a setting? I consider this a bug. iMac retina 2017, macOS 13.6.1
-
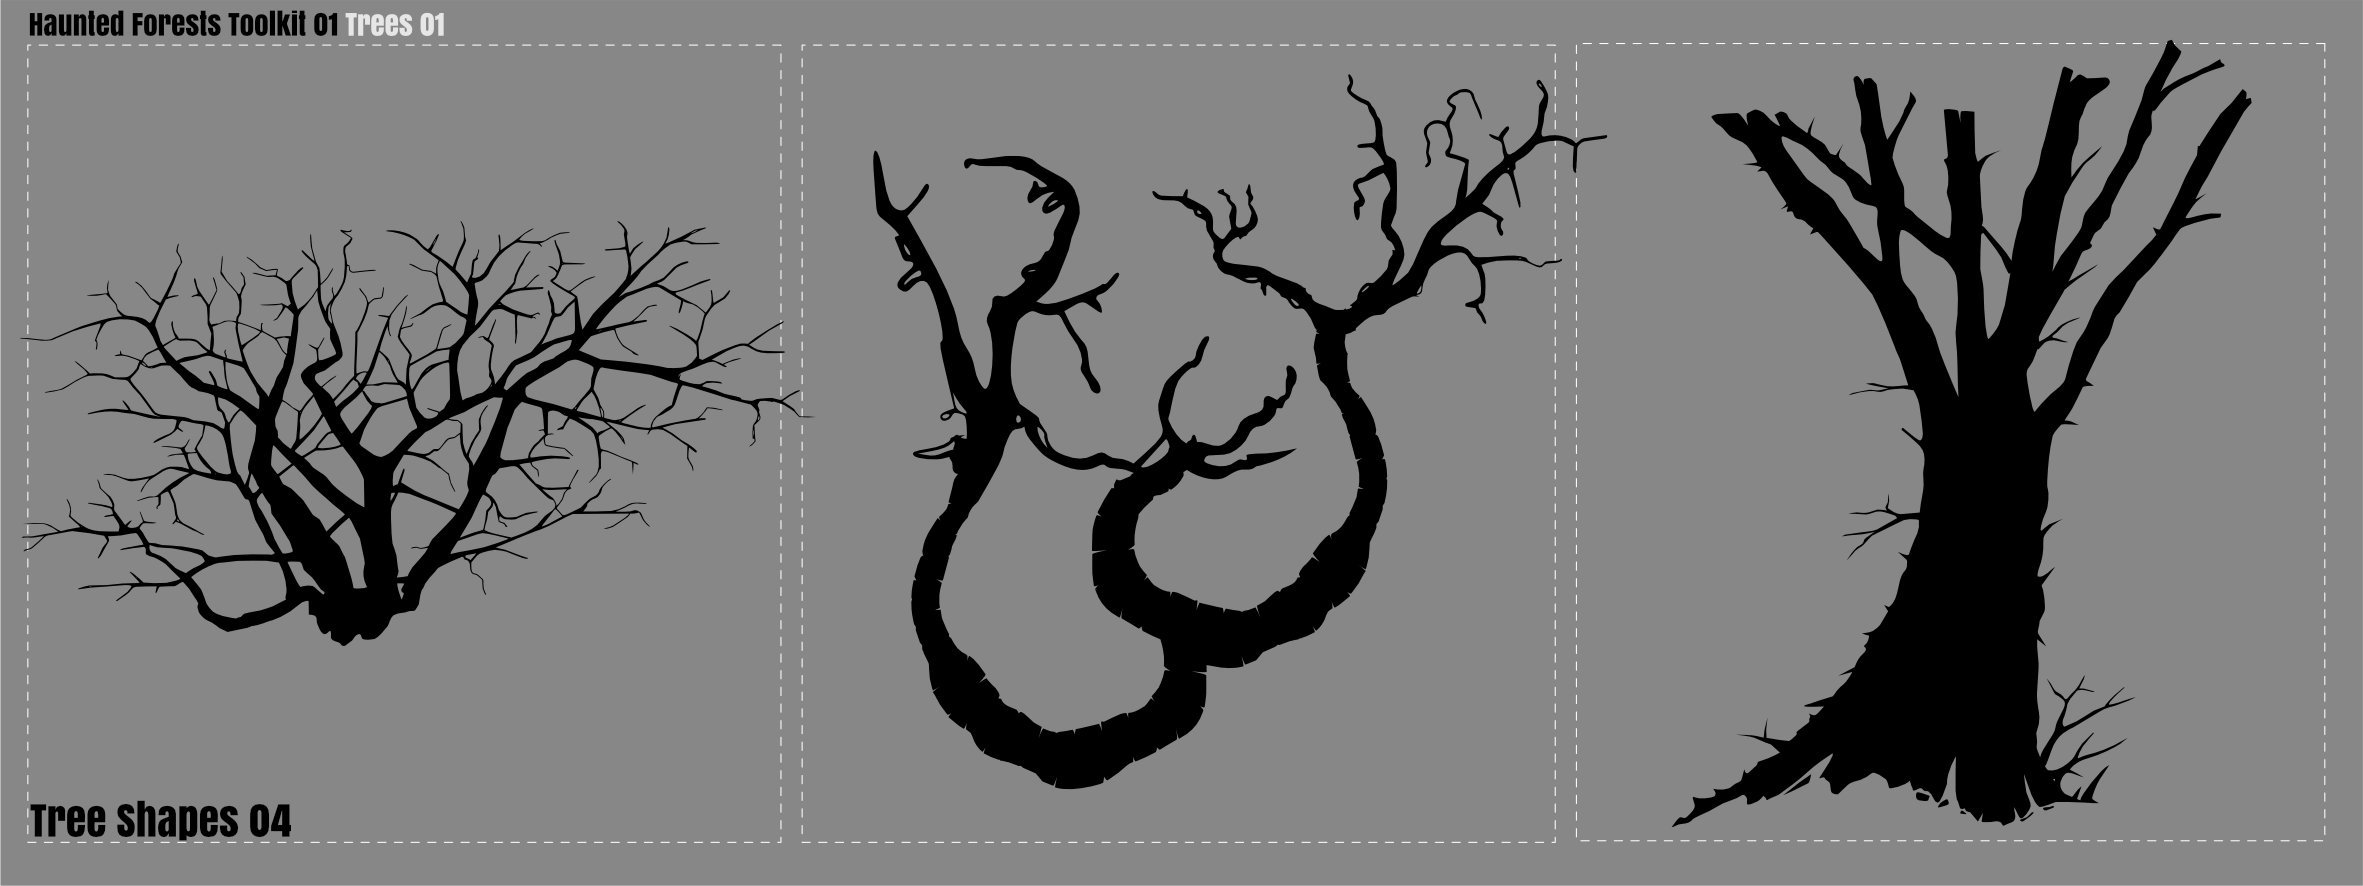
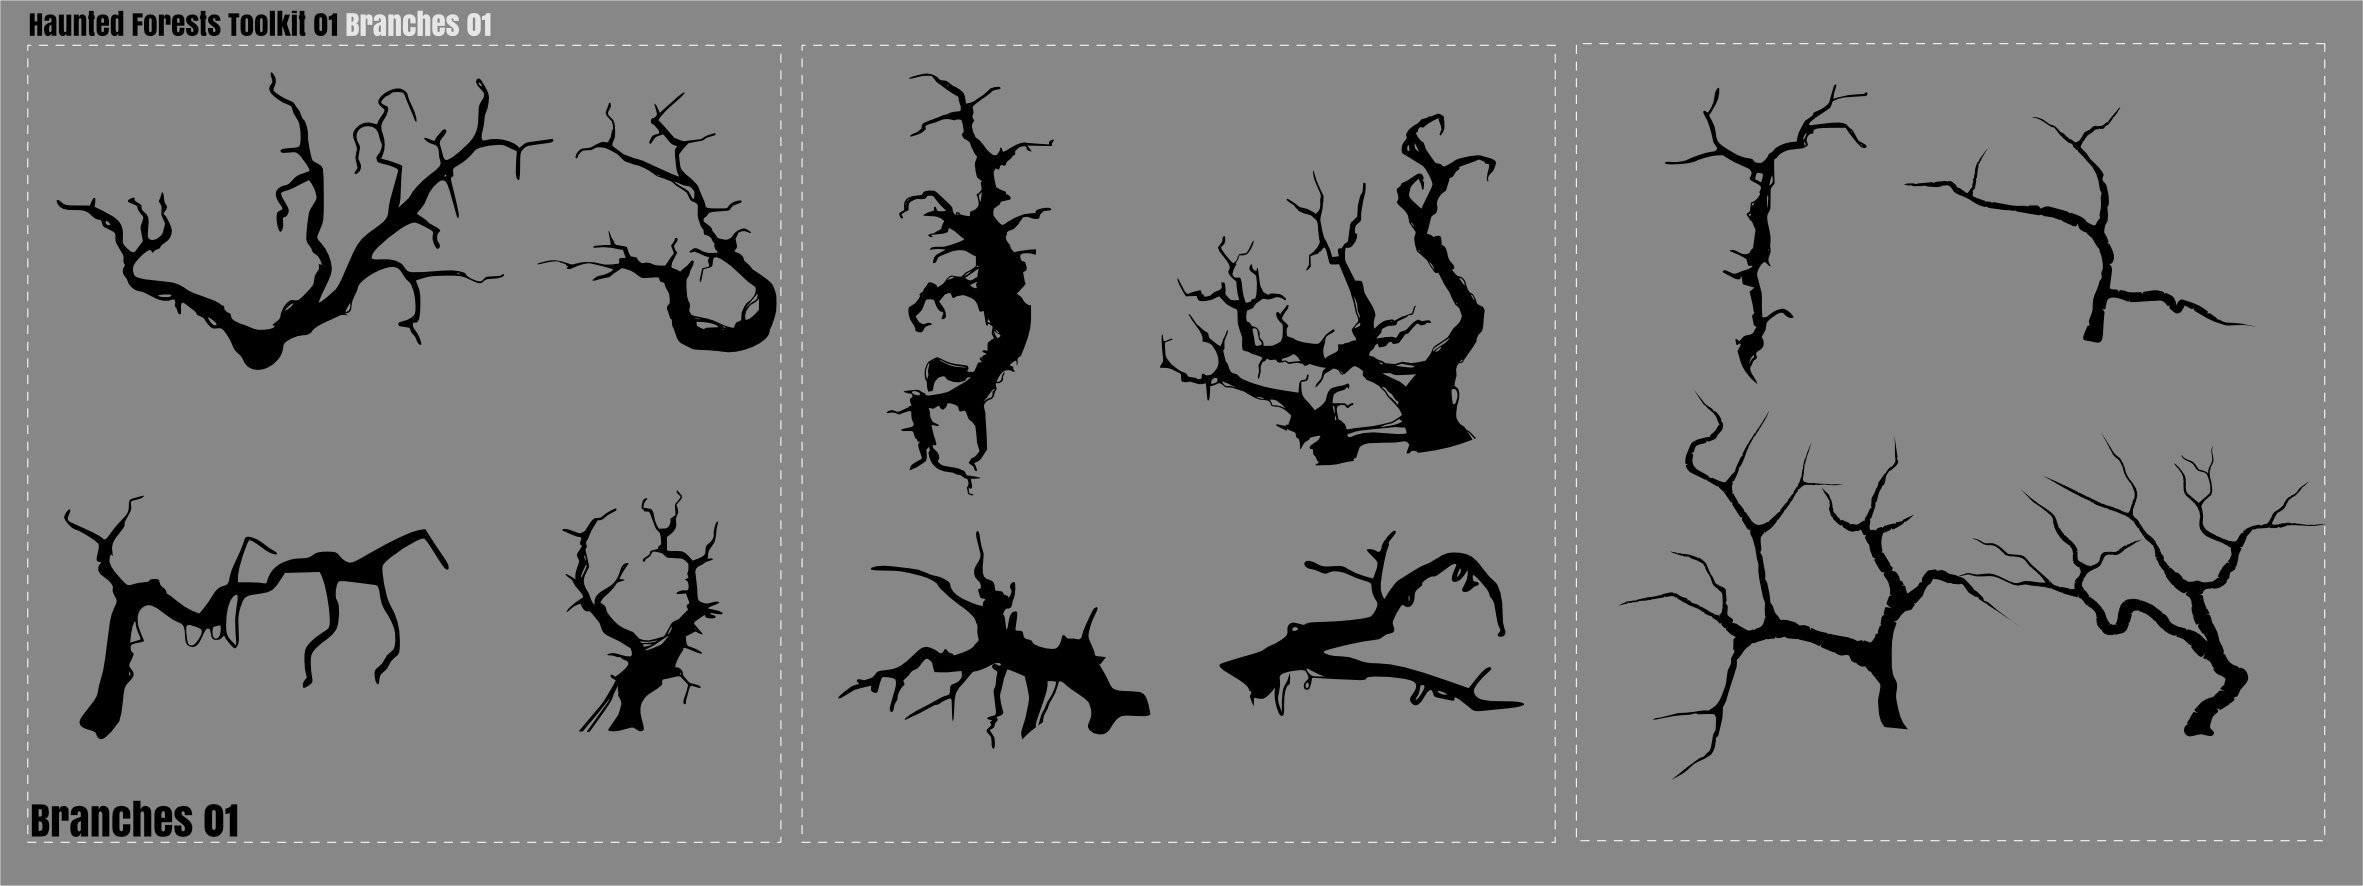
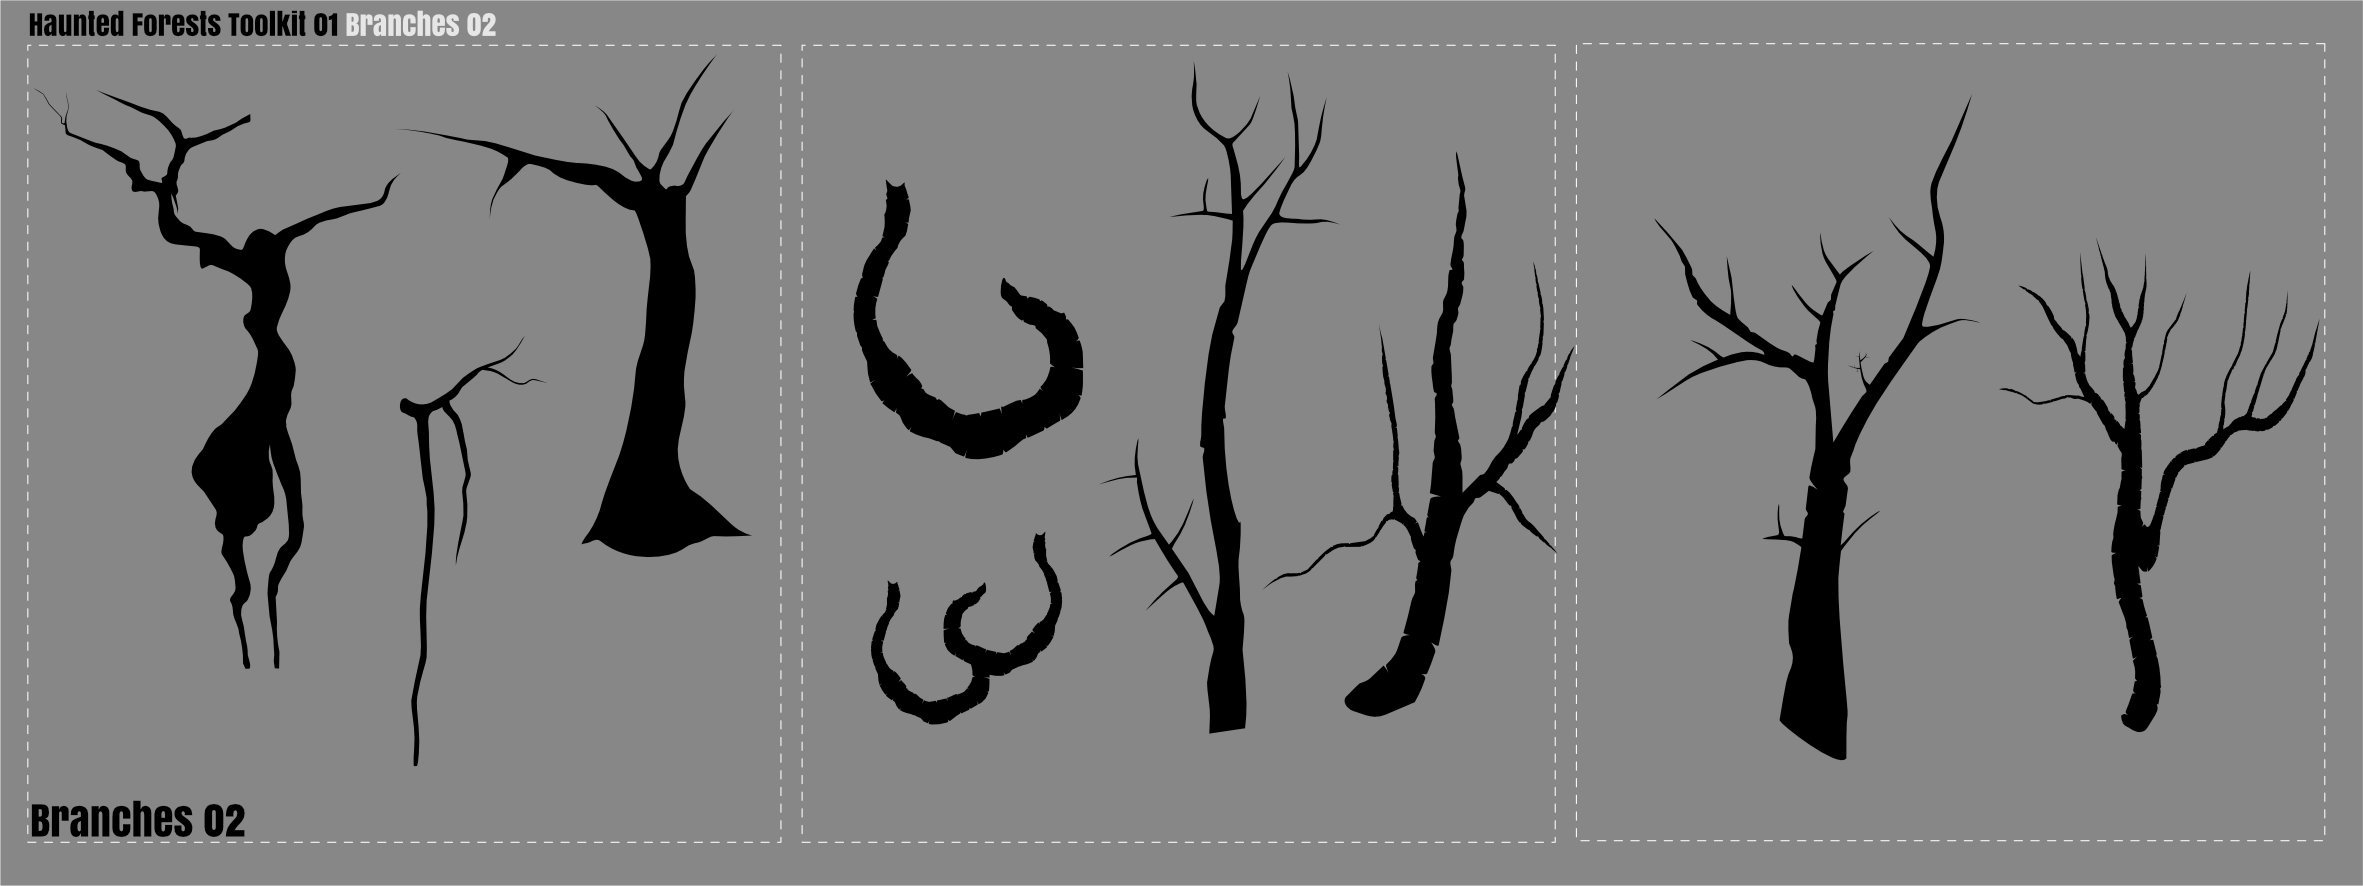
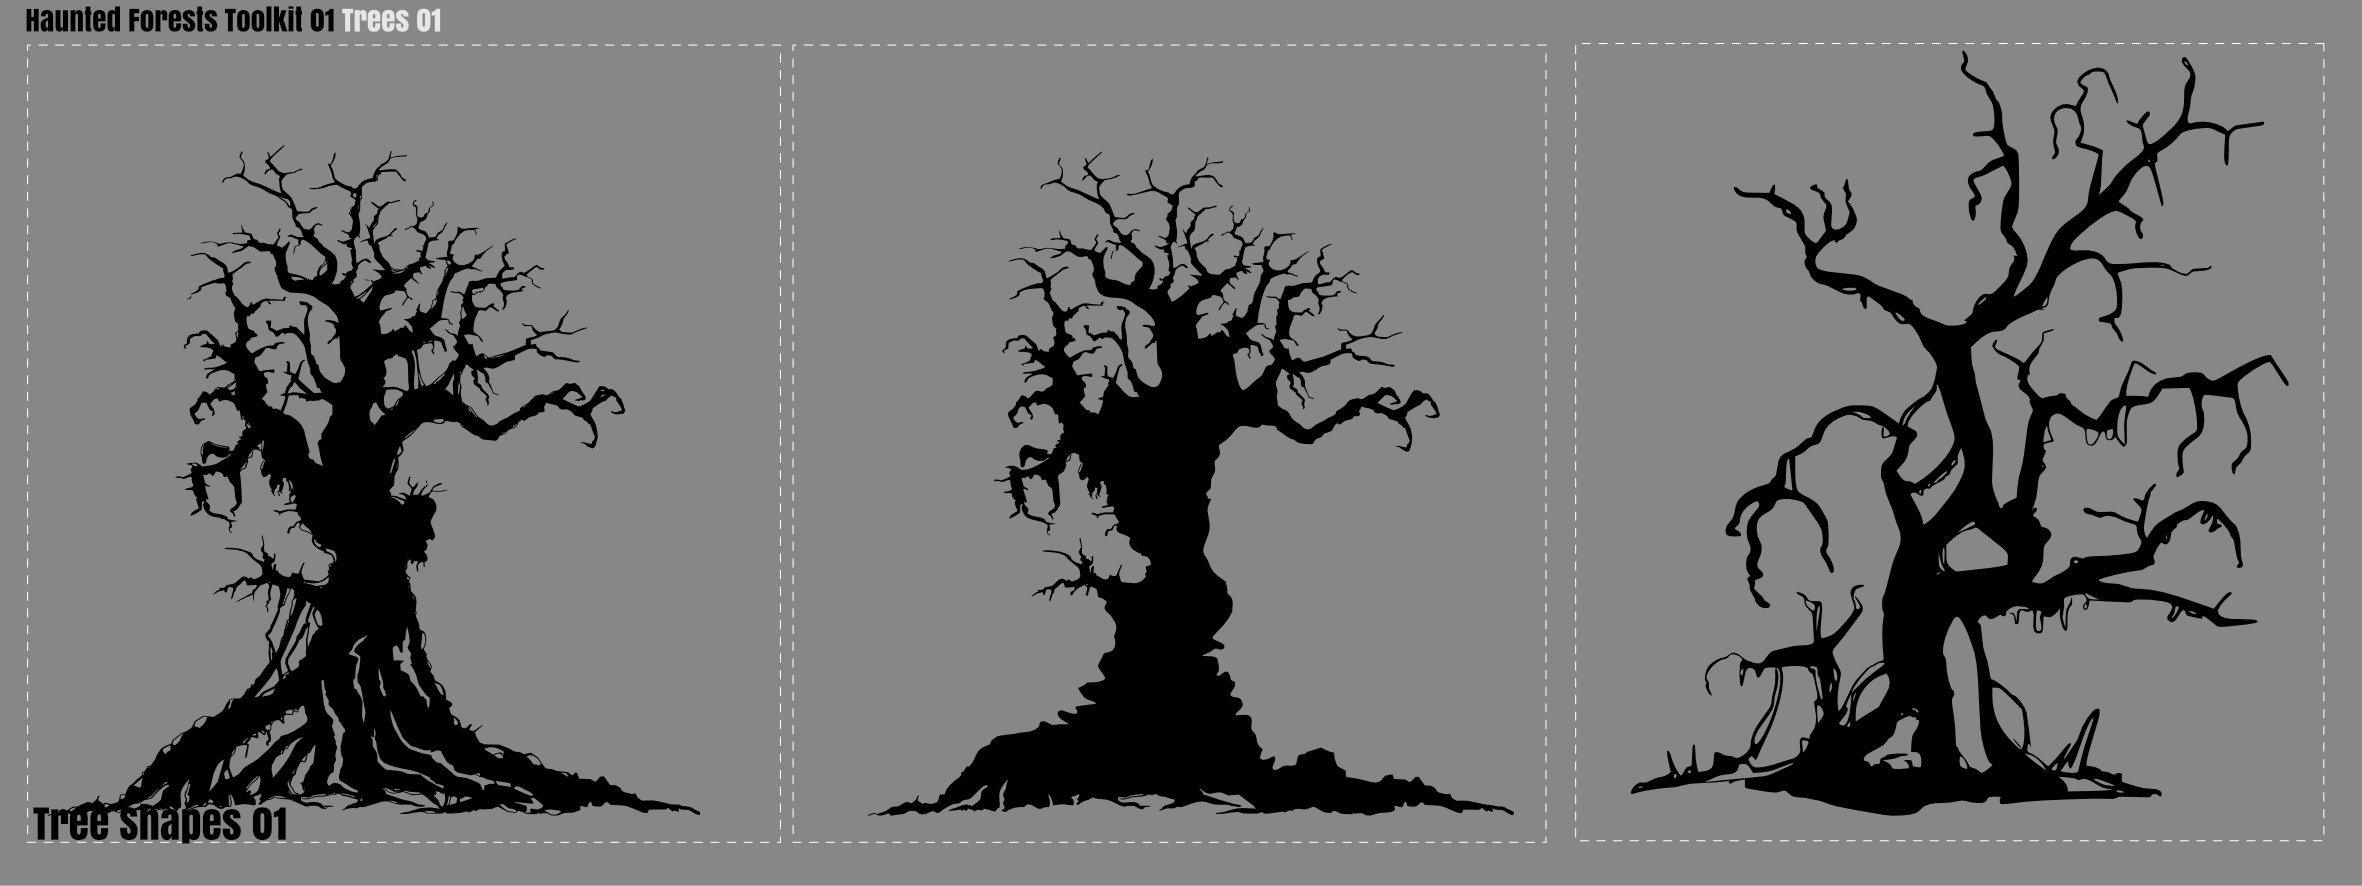
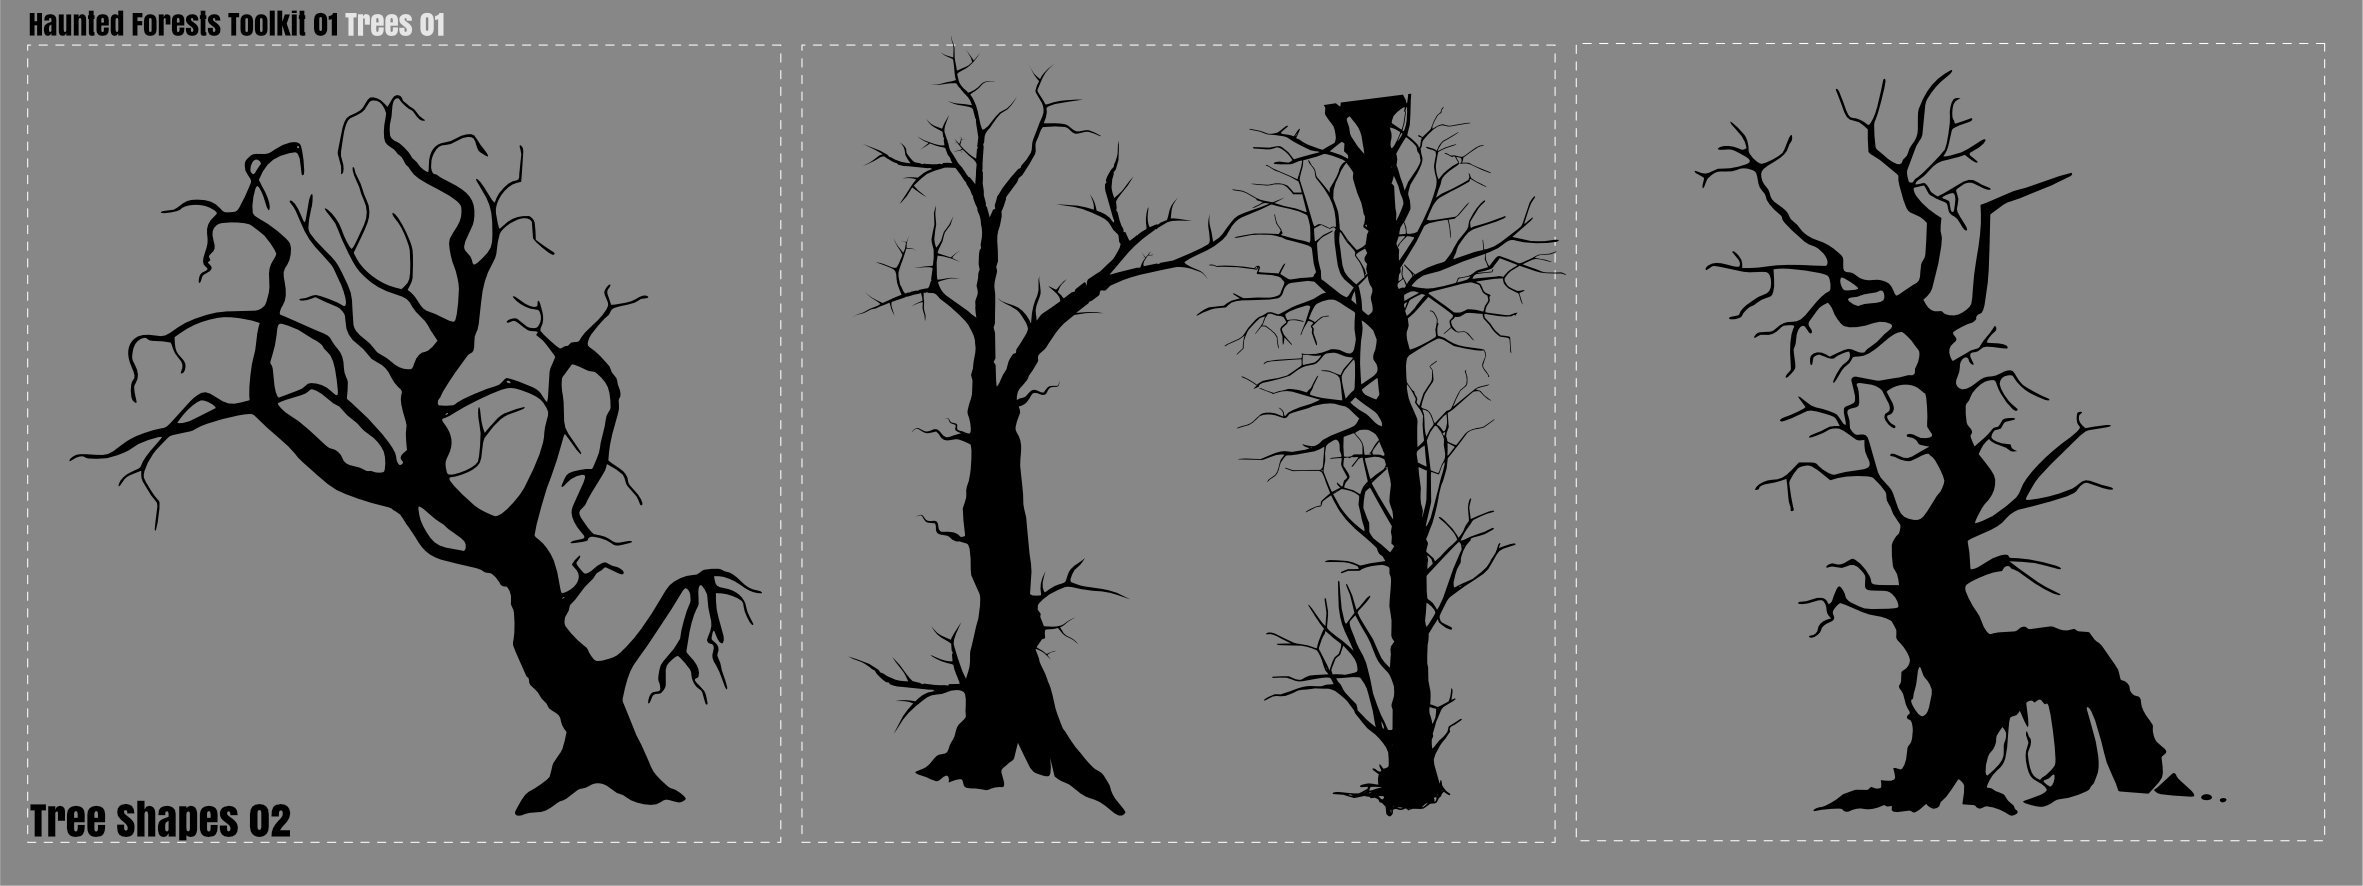
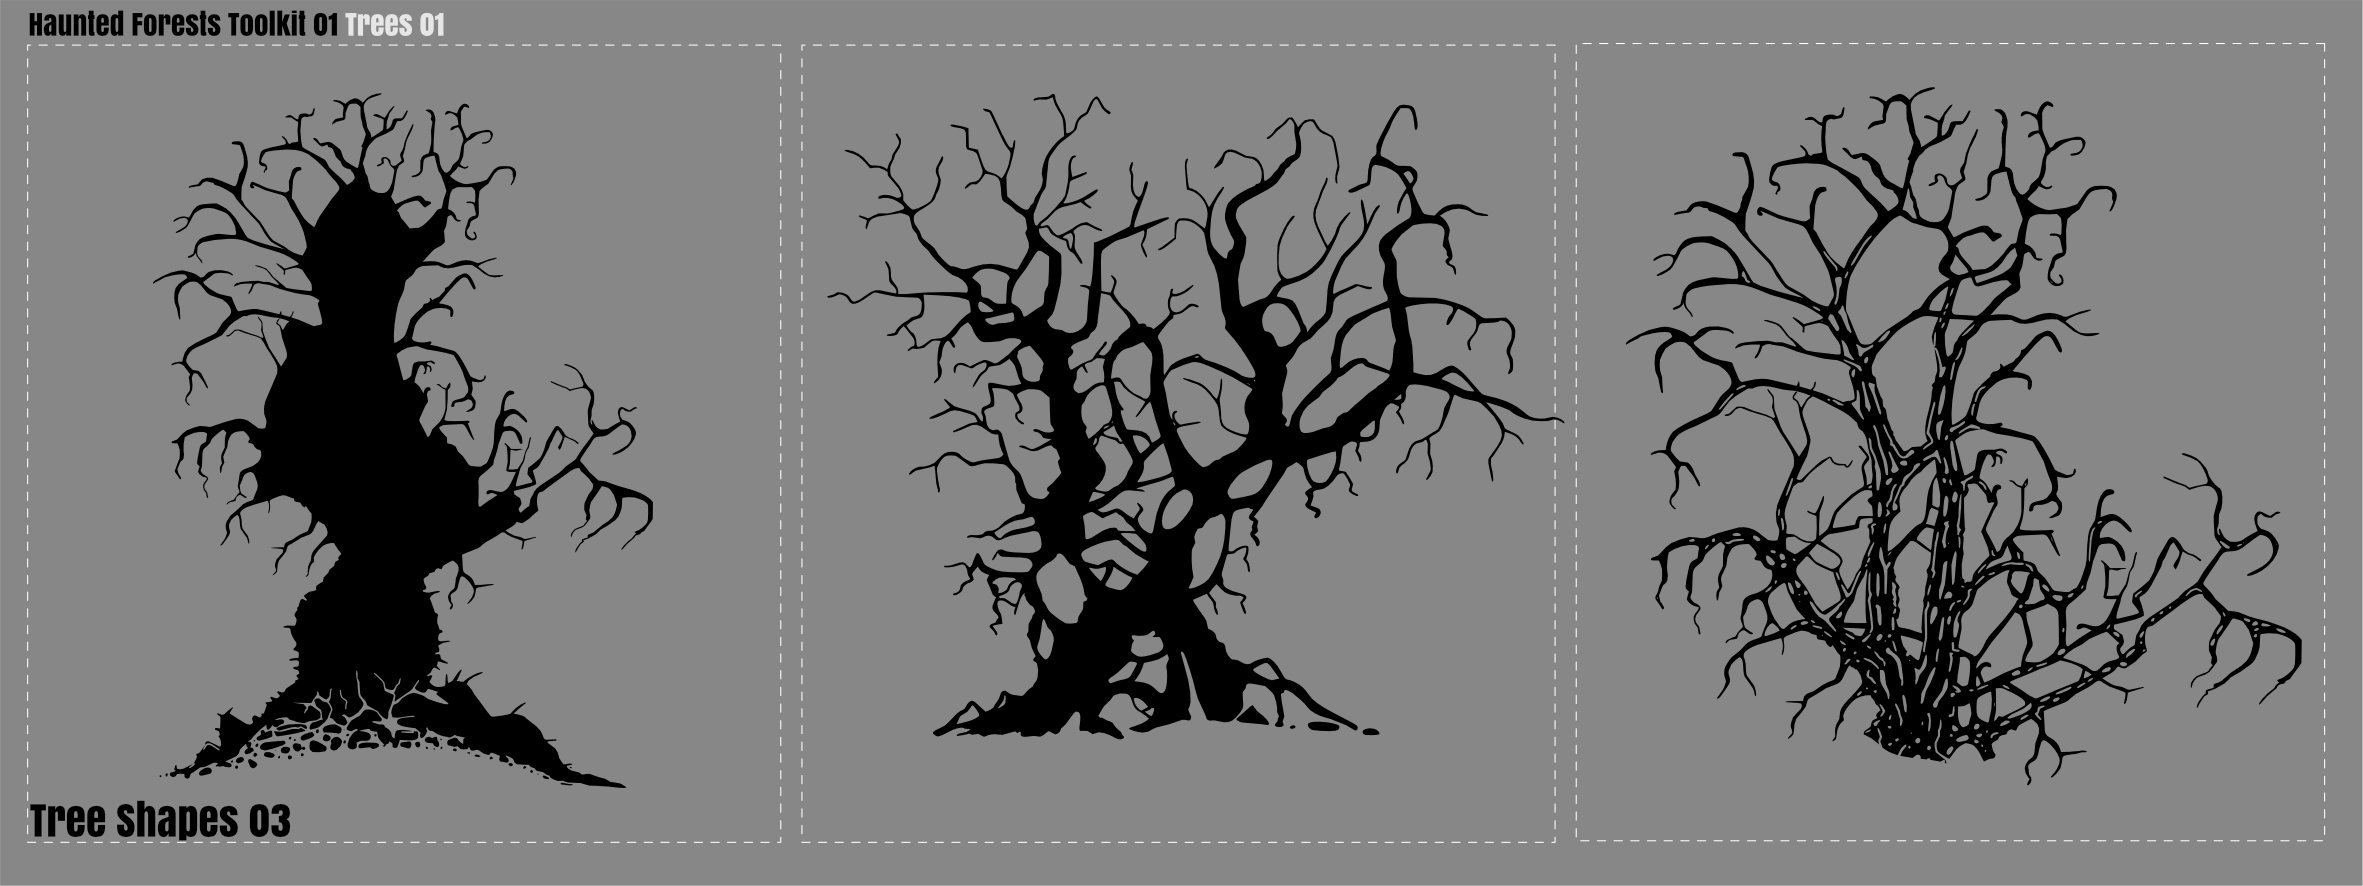
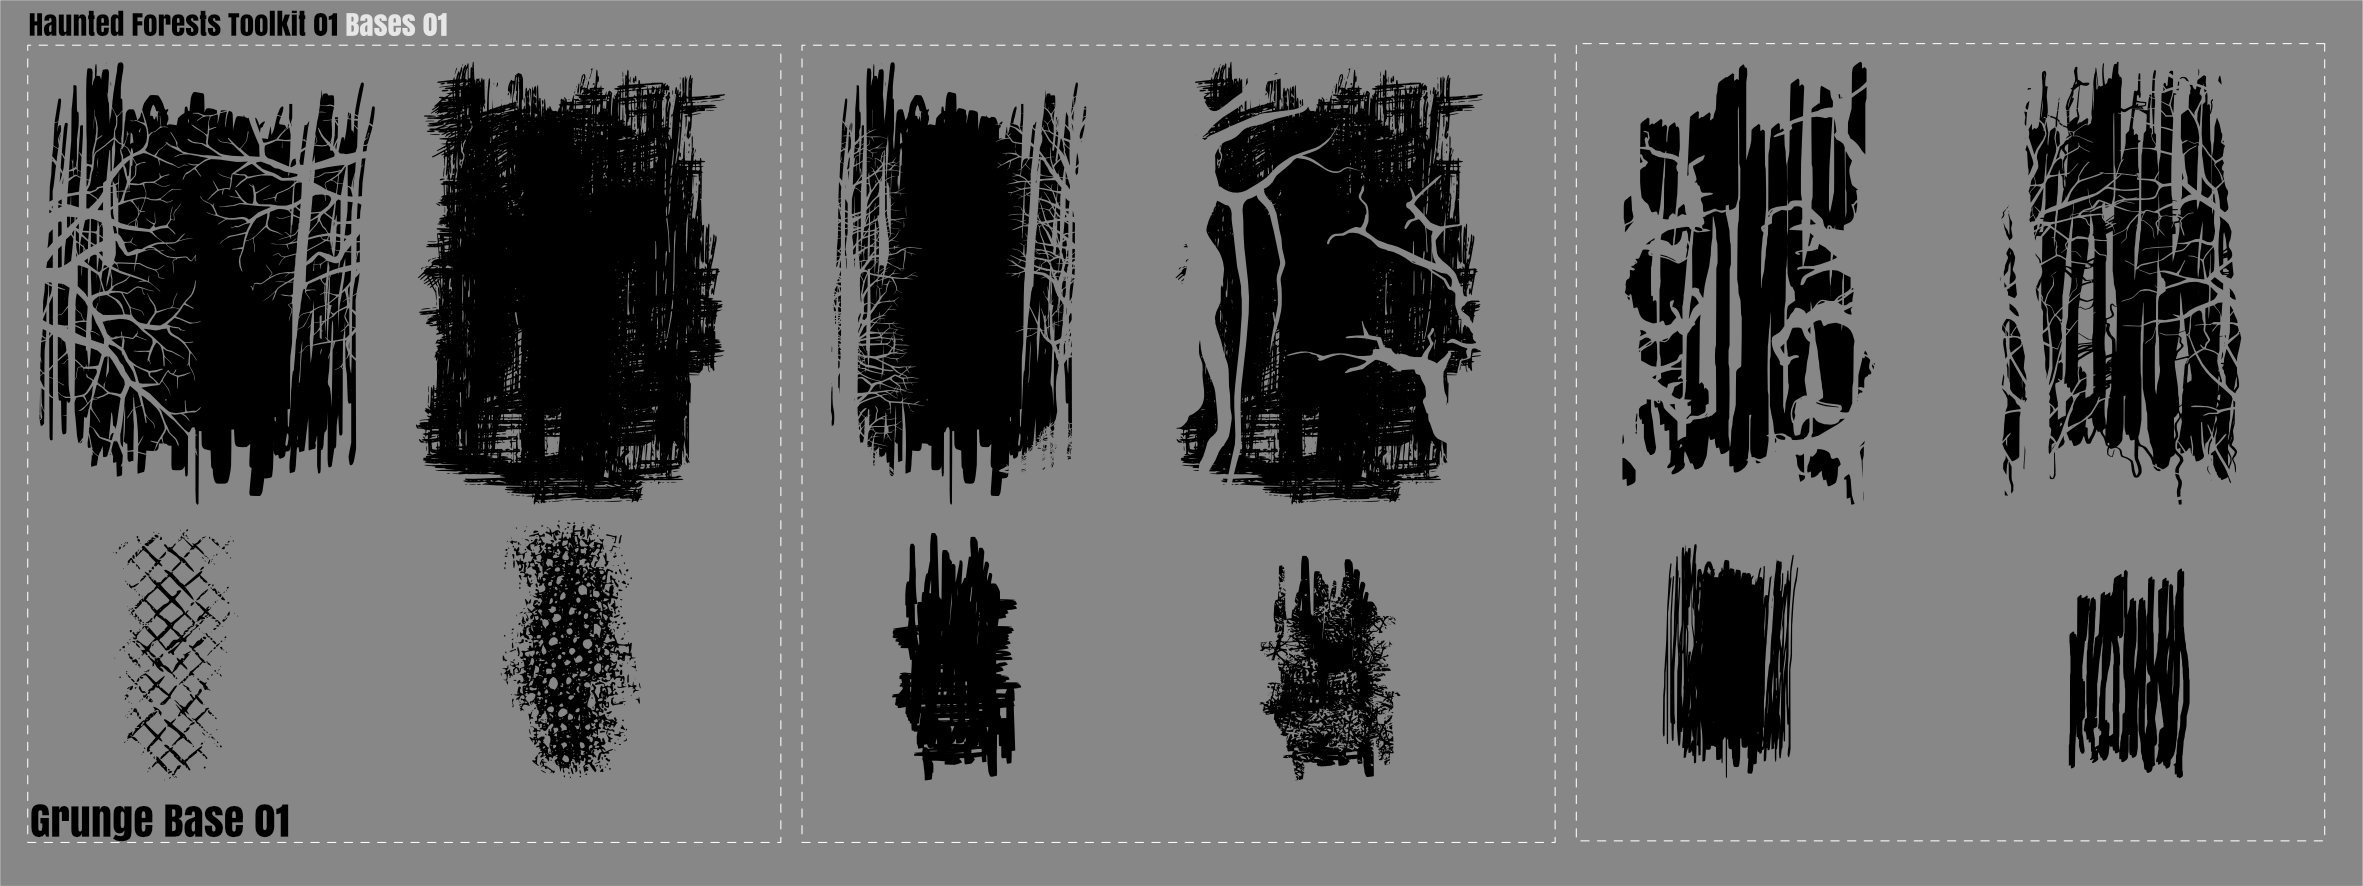
Haunted Forest Toolkit Added a Set of Vector Trees to supplement the Zombies! 13 large Vector base trees 21 Branches 12 Grunge Bases .zip contains a single AD 2.2 file with 7 artboards You can chop them up! and use them with Zombies! Trees Branches Grunge Base Affinity Designer 2.2 File: Haunted Forest Toolkit.zip
-
 Feel free to merge or remove this thread if such a suggestion has already been made. Currently, you can smooth paths in two ways (Correct me if I'm wrong): 'Smooth curve' tool which works globally on the curve and has no settings. Or 'Convert to Smooth/Smart' which works on selected vertices. It would be nice if Designer V2 had a brush like tool for smoothing curves, with tolerance settings for better control over smoothing. There is a similar tool in Adobe Illustrator.
- 2 replies
-
- 4
-
-
- affinity designer
- feature request
- (and 1 more)
-
Hello, I noticed that the top rule for placing horizontal guides was not displayed when Stage Manager was activated. Simply disabling Stage Manager makes the rule reappear. I hope this can help you improve your software.