Search the Community
Showing results for tags 'Affinity Designer'.
-
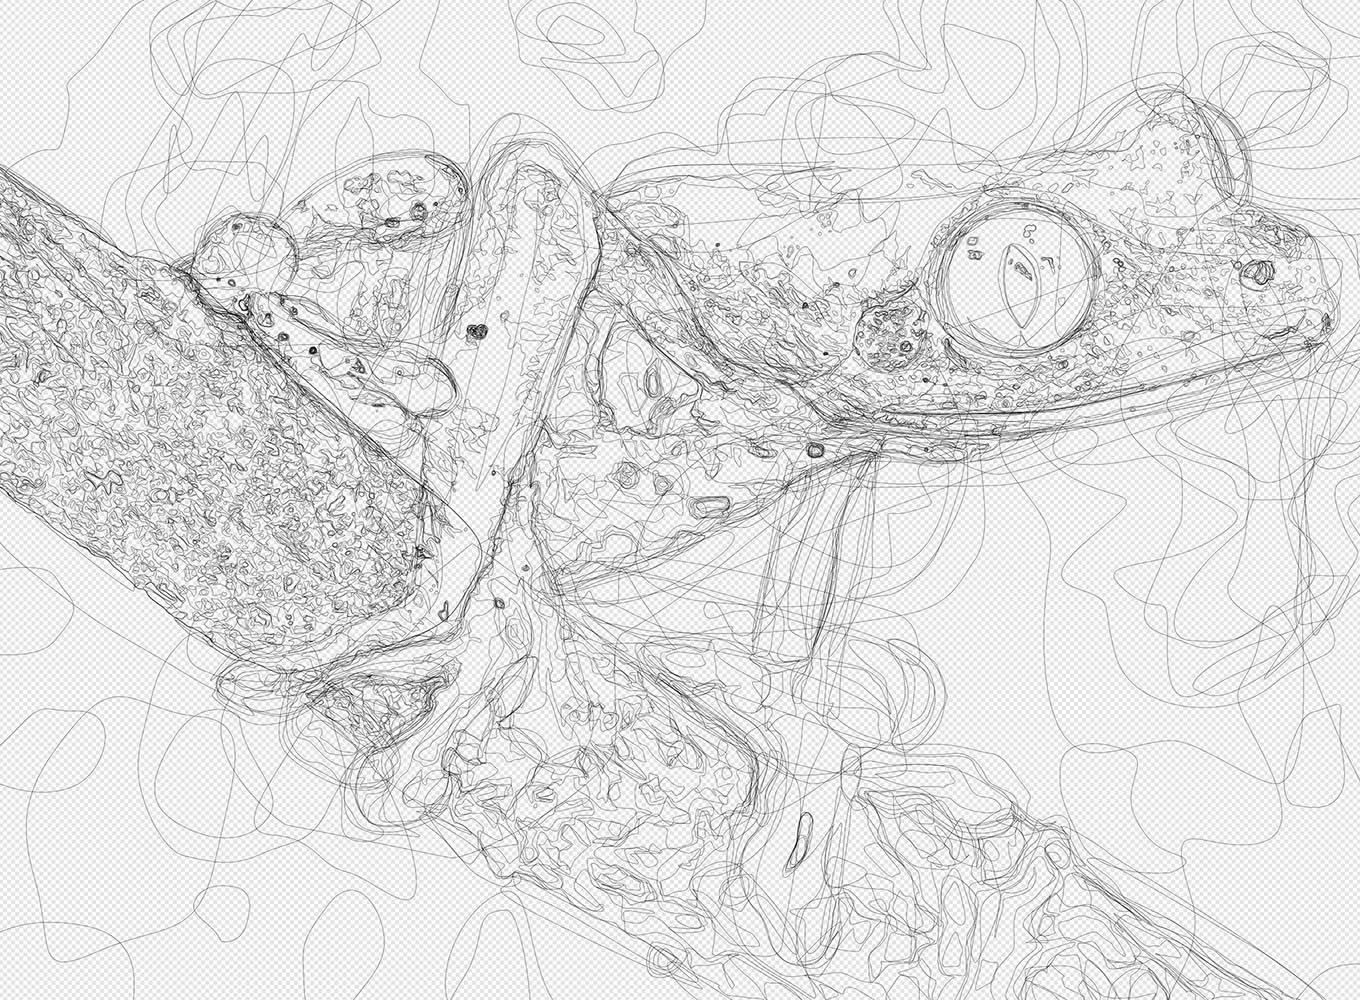
Red Eyed Tree Frogs are native to Mexico, Central America and go all the way down to Colombia (perhaps on holiday). Its scientific name is A. callidryas, which comes from Greek words kalos (beautiful) and dryas (a tree or wood nymph). I was chatting with someone about drawing and she liked to do Victorian style flora and fauna illustrations (I think there’s a proper name for it but I forget). I said that I usually try for realistic when I mess around for fun and she wanted to see something. One her favourite things are frogs, she has lots of ornaments etc in her house. So I did this, I think it might be the first living thing that I’ve done properly although I'll probably do a bit more to it sometime. Just the pen tool, no textures.

- 27 replies
-
- 35
-

-

-
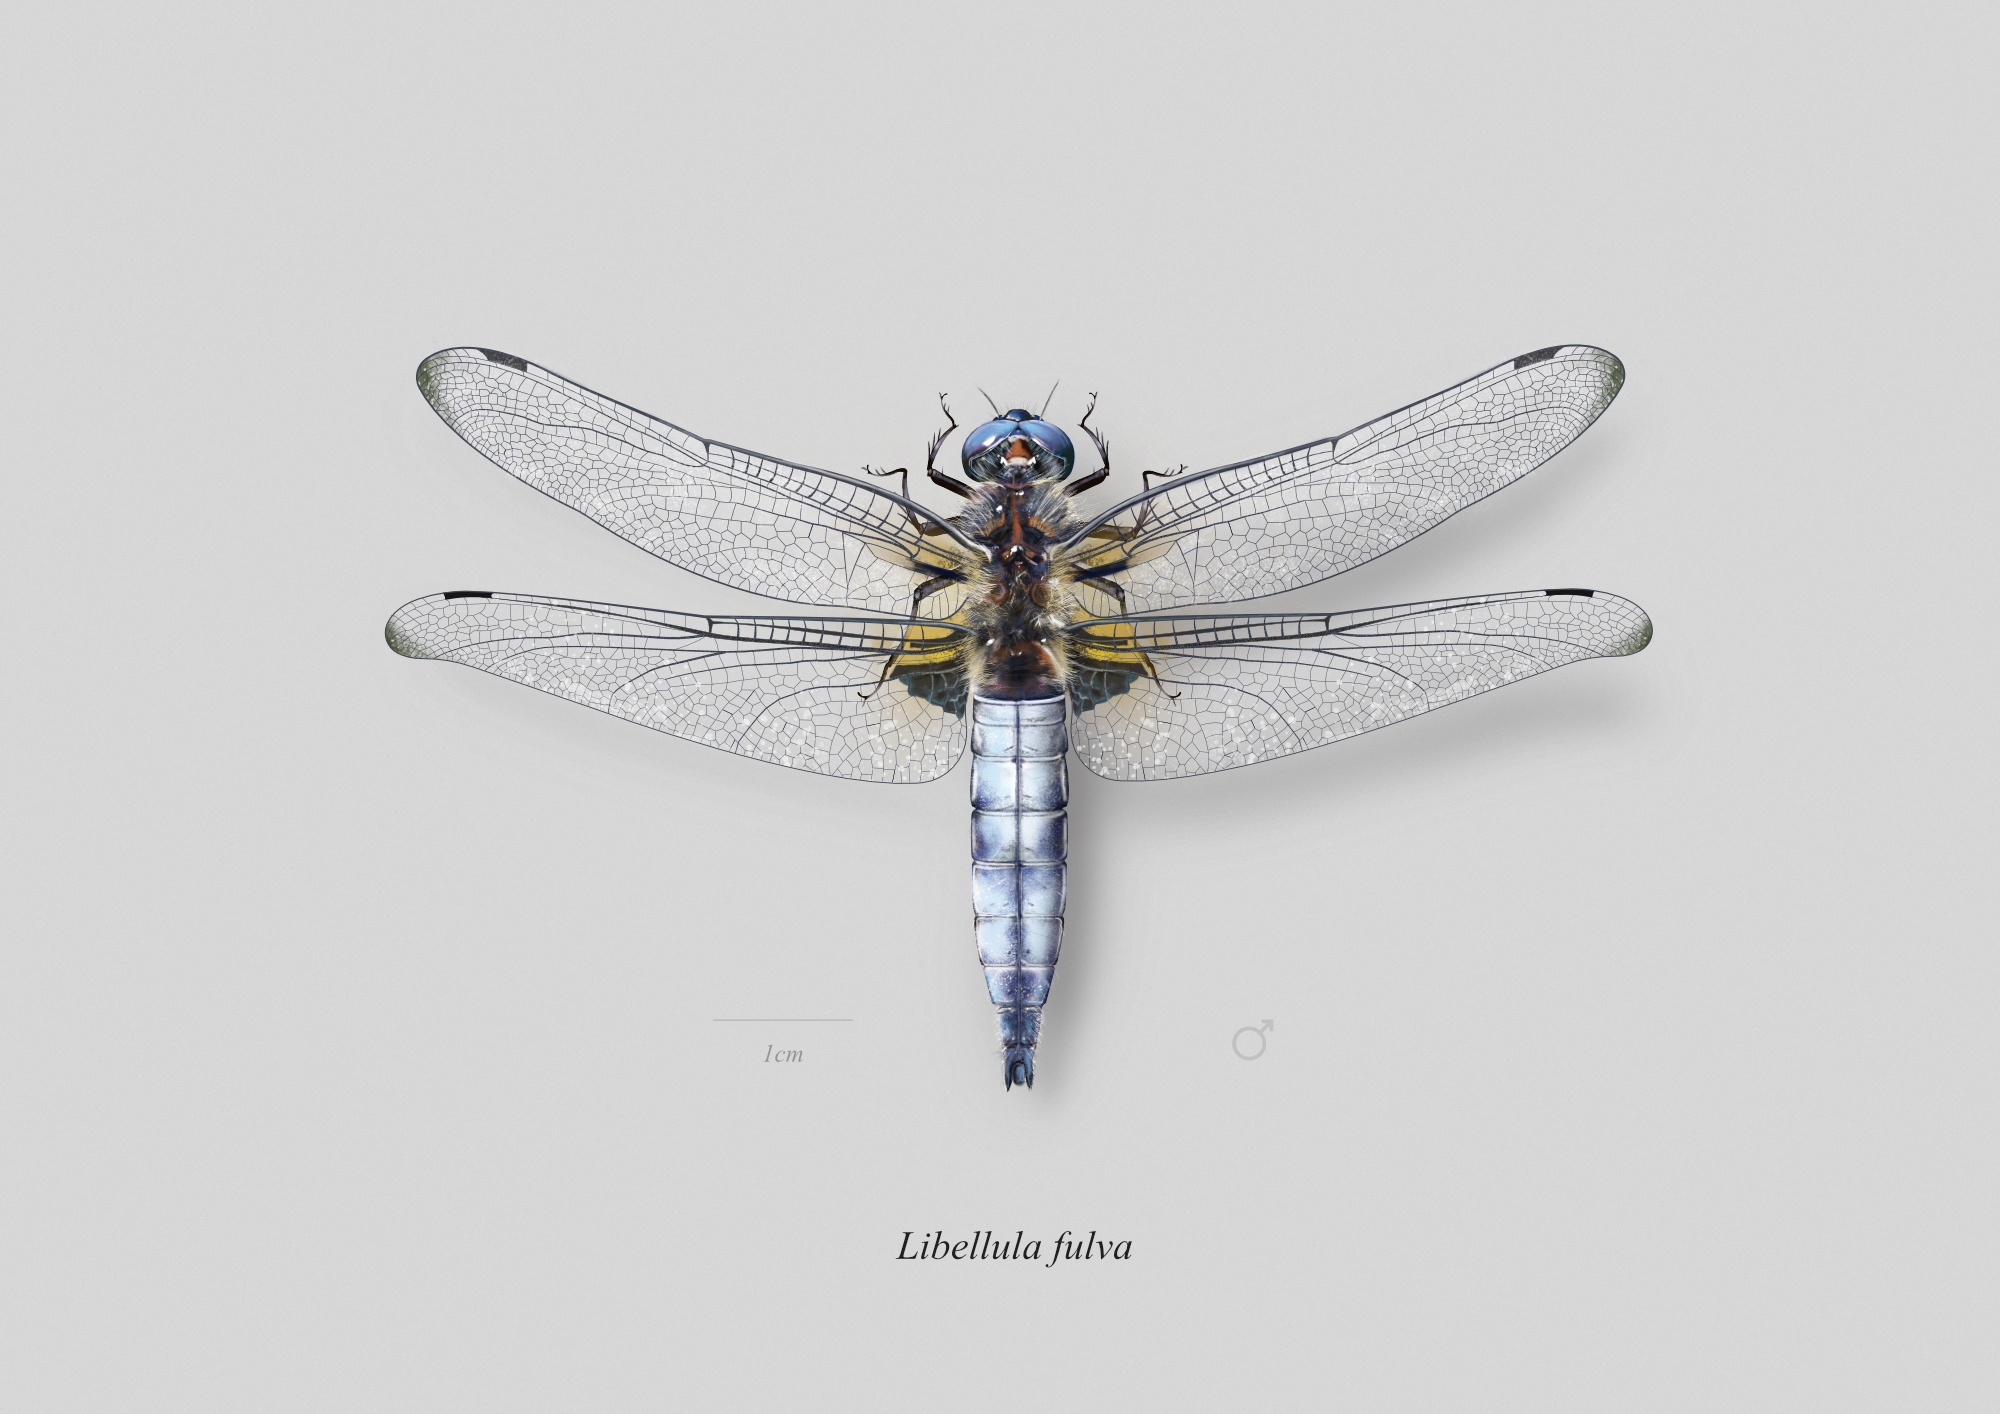
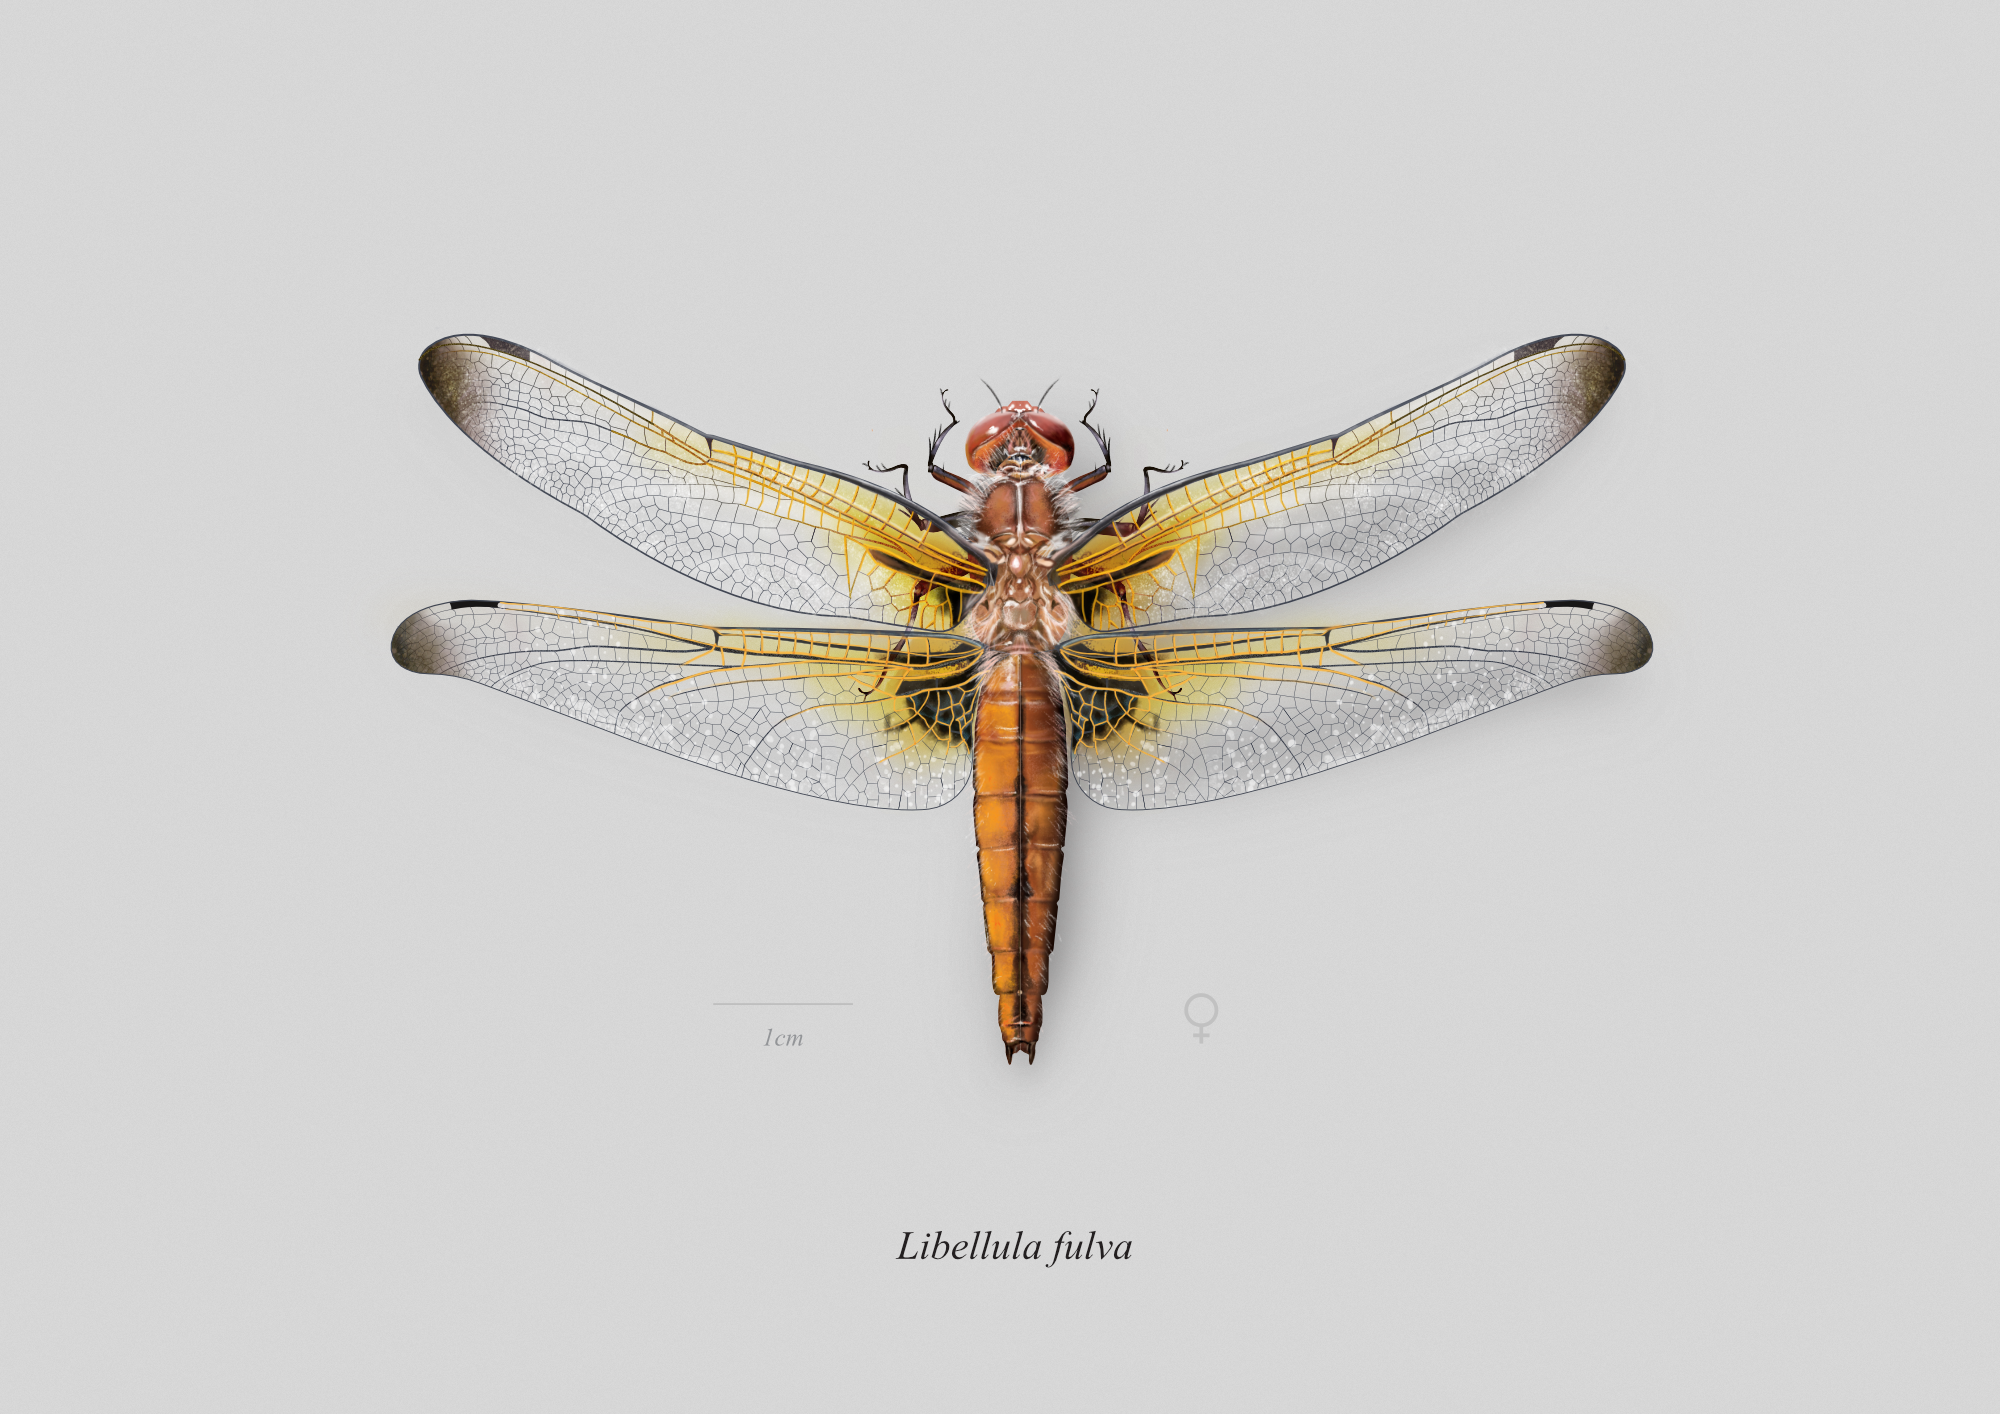
 Created these two last week as part of a current project I'm working on. It's done fully on Affinity Designer with a mixed workflow of vectors and bitmaps.
- 19 replies
-
- 35
-
-
-
- insect
- scientific illustration
- (and 6 more)
-
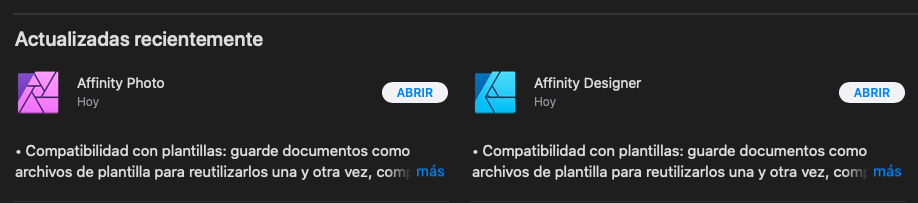
Recien actualice las apps y ahora el affinity designer no me deja usar Cmd-Z, el menu deshacer y rehacer siempre está desactivado!! Es imposible trabajar así! Que puedo hacer???
-
 I was getting frustrated until today morning working with imported CAD drawing with lots of curves due to the extremely sluggish response! I had reported this issue: Just downloaded 1.8 and it seems be much much better (as promised by @MattP) in the original thread. Thank you team affinity!! Keep up the great work
 -
 UPDATE: This issue is now resolved in the 1.8.1 update which is now available from the Mac App Store.
-
- 2
-
-
- affinity designer
- 1.8
- (and 1 more)
-
I run a household moving company... Not the most exciting topic for pics/adverts. So I use my logo in fun ways for the industry. Happy with my 45rpm vinyl image today. Thought I'd share.
-
I learned a lot about using Affinity Designer for iPad with this piece. - To select multiple objects in the layers panel, tap the first item and then two-finger tap the last item. Those two items and all the intervening items in the same layer will be selected. This came in so handy for quickly selecting those hundreds of scales. Thanks to @DM1 for this one. - To add a gradient to a stroke, select the object (or objects or group!) and then open the appearance studio. Tap the stroke and then the gradient tool and drag it to position your gradient as desired. You can see the different stroke and fill gradients applied across the scales. Separate stroke and fill gradients gave me the most trouble though. Repeatedly the stroke would become unselected, or the fill would be selected instead (or vice versa if I was working on the fill gradient), or the gradient would disappear and I’d have to start over. These issues made adjusting the gradient quite cumbersome and a bit frustrating. - To snap nodes to each other, well I never did really figure out which of the little symbols it was... but if you turn on all the snapping options in the node tool’s context toolbar, your nodes will snap. This was great for aligning the tip of the tail. And I’ve been wondering about how to do this for a long time. - Oh and I found the in-app user manual which is basically a lifesaver. I wish I’d known about it sooner!
-
 I hope that I can describe the problem correctly. I am working on a logo, which should consist of the letters O and K. The K should be in front of the O, as well as behind the O. After I drew an ellipse, which should represent the O, and converted it to a donut, I wrote the K over it with the Artistic Text Tool. Next, I selected the two layers (the layer with the ellipse is on top) and used the geometry function divide. Then I deleted protruding parts from the K and colored other parts that should be displayed above the ellipse. Unfortunately very fine lines are always displayed. I don't know how I can prevent this. Can anyone help me? For clarification I have exported a PNG and I also provide my afdesign file. ok.afdesign
-
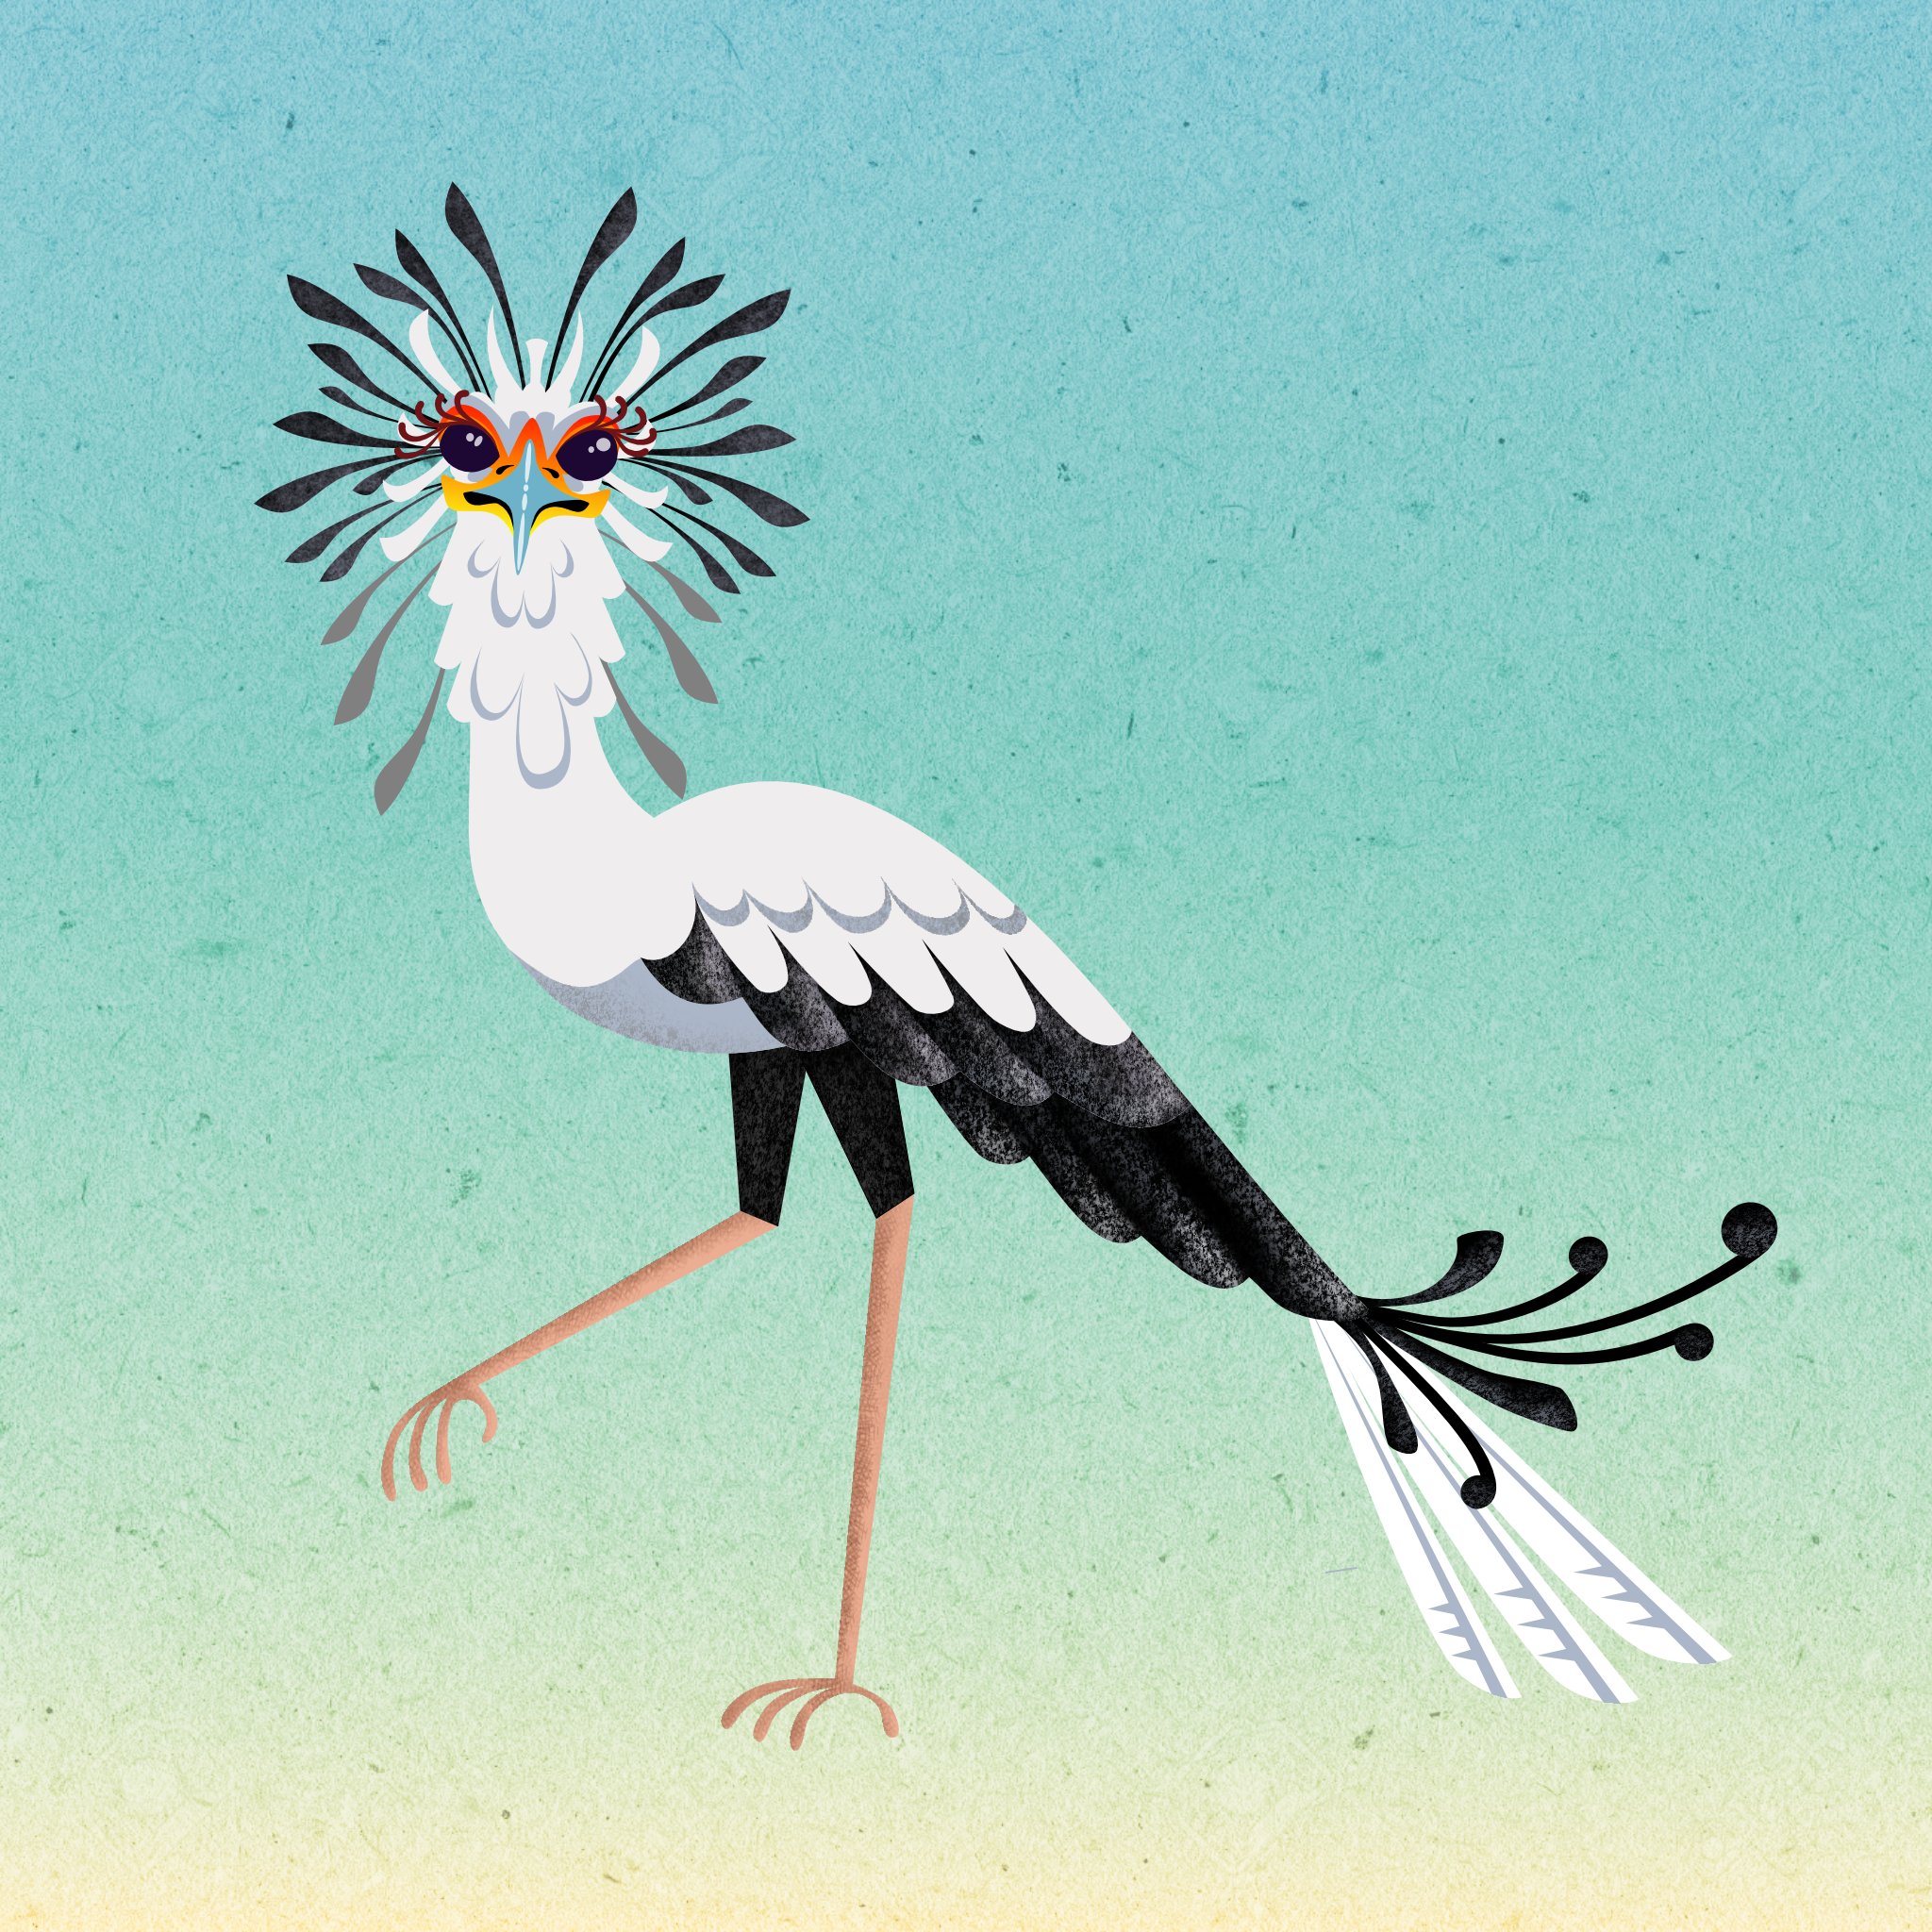
Trying to get away from the photo-realism of my recent work, so set myself the challenge of creating a much simpler piece, and this was the result.
- 1 reply
-
- 8
-
-
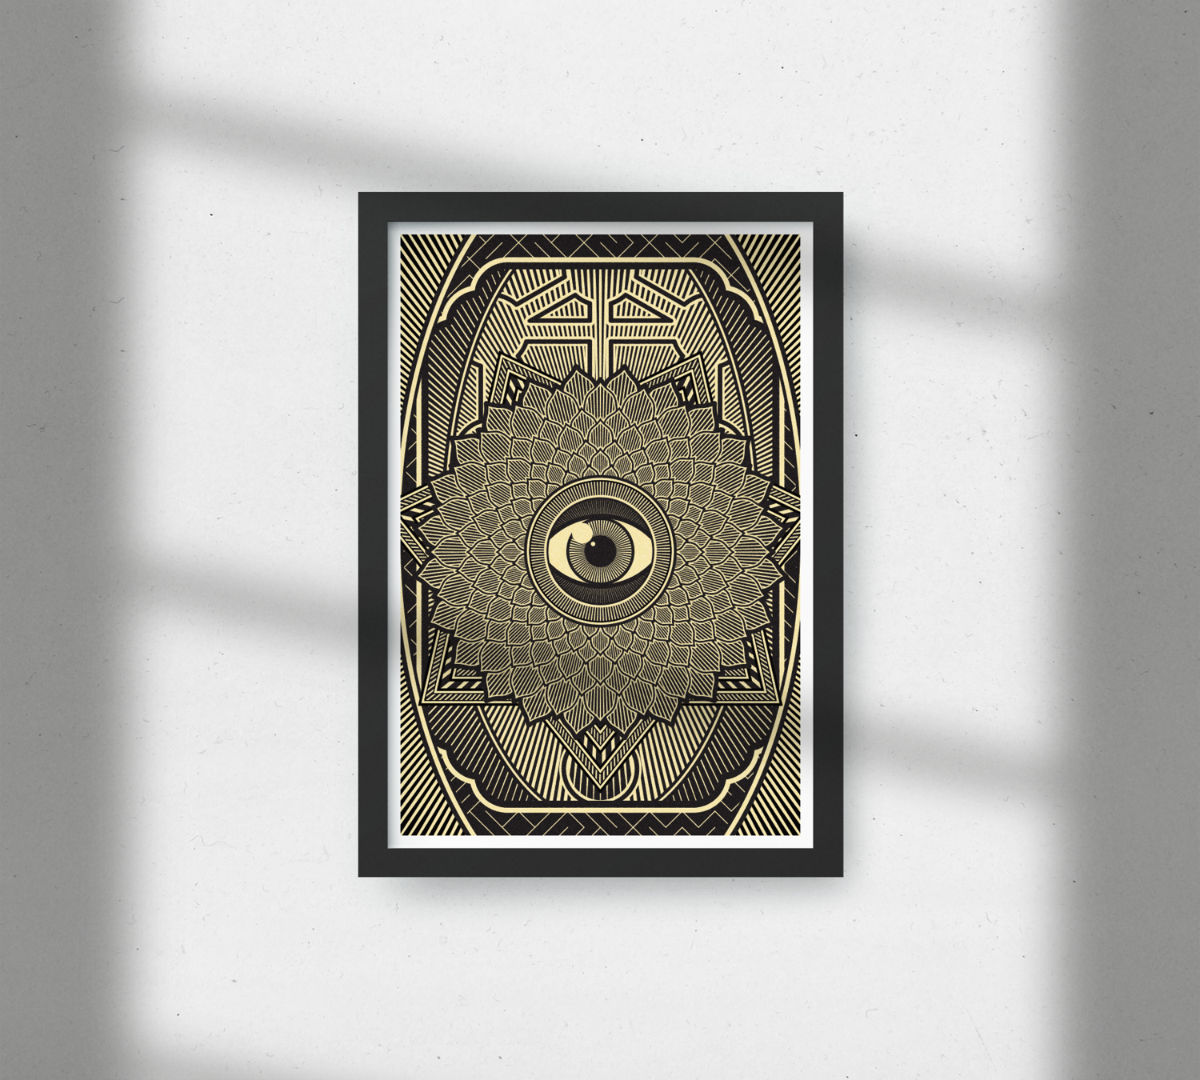
Another one, featuring the same look-and-feel of my previous post. As the eye is always the main element, I thought of naming this one as the 1000 eyes of Doctor Mabuse – as in the Fritz Lang's movie. It's not as rich as the first one but I do like the depth of the layers I got with the radial elements.
-
 In this video, you will see the process from the sketch stage to the vector drawing stage of the Davraz Off Road logo, which I prepared using Procreate, Affinity Designer and iPad Pro. I hope you will like it.
 -
 I'm using the current Designer beta (1.8.0.5). I have been encouraged by the new beta and much appreciate the much improved add and divide geometry tools. It's worked well with some tests I've run. I decided to test it out with a project I'm doing and ran into a few issues. I traced my sketch using the brush tool using the standard vector brush (100% vector) with the controller set to pressure and the stabilizer on. I then selected it all and expanded it - no problems there! I again selected it all and hit the "add" geometry option and the entire design disappeared. It actually made a new layer called "curve" above my artboard with nothing in it. I went back a step and tried doing the design in smaller chunks... it worked fine in some areas and not in others. When I have done designs like this in Illustrator, I've usually filled in sections with the blob tool or done a live paint fill. With Affinity not having those options, I fill in with strokes - potentially creating more work for the program to process. It's possible I did something wrong in my process. I know I used the same brush settings for the entire piece when I created it, so everything should have the same properties. I did increase and decrease the brush size at times. i included a video of the problem as well as the file with two layers - the unedited initial strokes and the other layer after I had expanded it in the video and attempted to add together sections Thanks for any assistance! Add_issue.mp4 Add issue.afdesign
- 8 replies
-
- 1
-
-
- expand
- geometry add joining
- (and 4 more)
-
 Hi... wondering if this is just a weird newbie thing: 1. I created an 11"x17" poster in Designer with multiple elements. (i.e vector graphics, placed PNGs, text boxes etc.) This shows as a document with a white background, surrounded by the rest of the interface with a black background. 2. Now I want to experiment with the placement of components on the poster, so I created an artboard with the intention of moving some of the elements of the poster on to the artboard. This has the effect of changing the background of the whole screen to grey, (the pasteboard?) and it creates a blank artboard with a white background. The effect now is that the borders of my original document are no longer visible, and in fact I could move the elements of the poster on the pasteboard itself, (without an artboard at all.....). So, my question is, could someone explain (or point me to an explanation) of the artboards vs. pasteboards, vs. just plain documents..... and advise whether I should be actually doing this in Publisher, and not Designer....and simply create my graphics in Designer but do my document assembly in Publisher. Many thanks!
 -

multi The Human Bacon Hunters in the Blue Light of the Mind Machine.
Guest posted a topic in Share your work
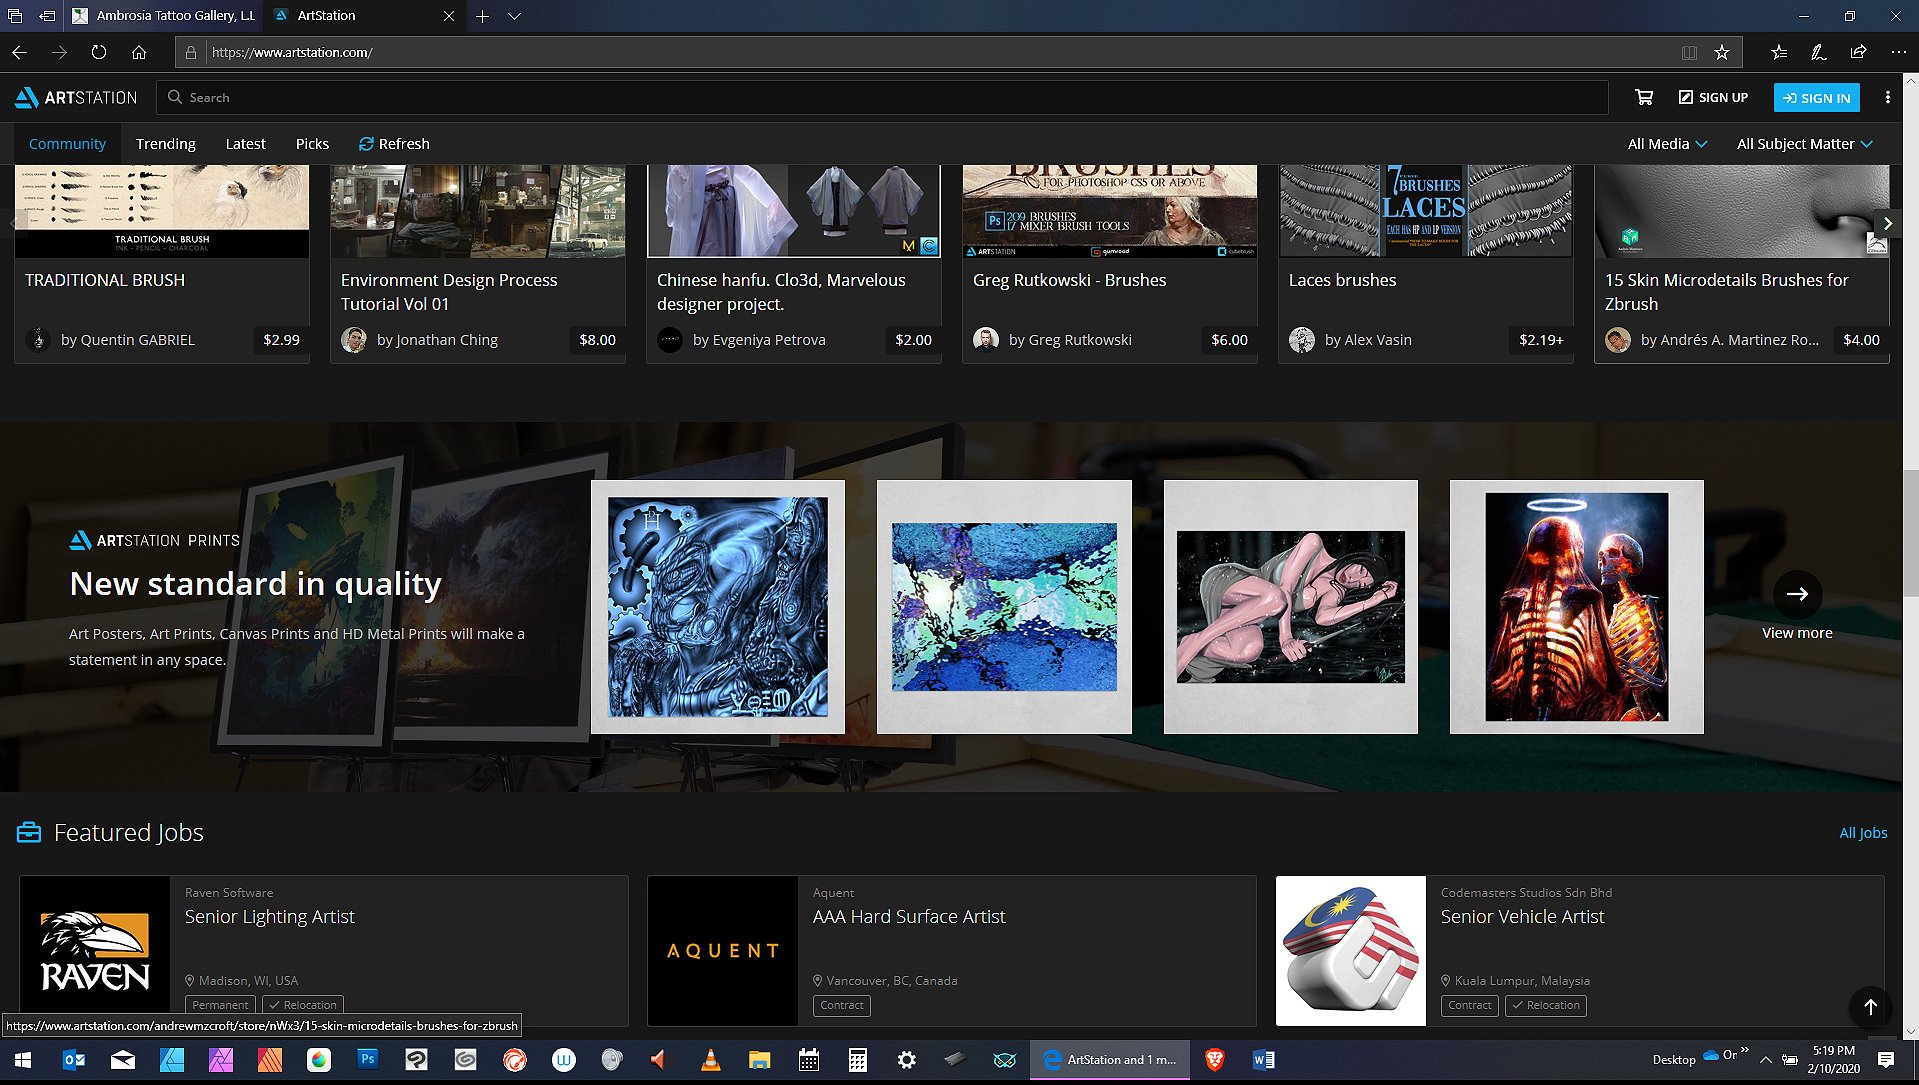
Today I completed this artwork. Drawn in Affinity Designer, then color shifted in Affinity Photo, then my "chop" was added in Photoshop. It made it to the Homepage of Artstation, if you scroll down in print section. Human Bacon Hunters in bathed in blue light of the mind machine. Human Bacon Hunters - walking in the blue light of the mind machine, prior to mission launch. These two lifeforms: Totem and Grill, by me Doz, are productions of a type three civilization sent to start a culling section by section on planet Earth. It is harvest time, thin the herd time, and make space time for another zoo animal. I love science fiction, I am working sincerely and diligently to grow and expand my skills as well as imagination. I have fun, love digital art, and have a vivid imagination. See the print shop above, this is posted at half size of maximum 36 x 36 inches, available in smaller increments, and at half res, print res is 300 dpi. Still getting all the drawing down first and mastering tools, then someday a book, perhaps. Black and white, shading and highlights, gray development still in the works can be seen here. https://www.artstation.com/artwork/KameBB
-
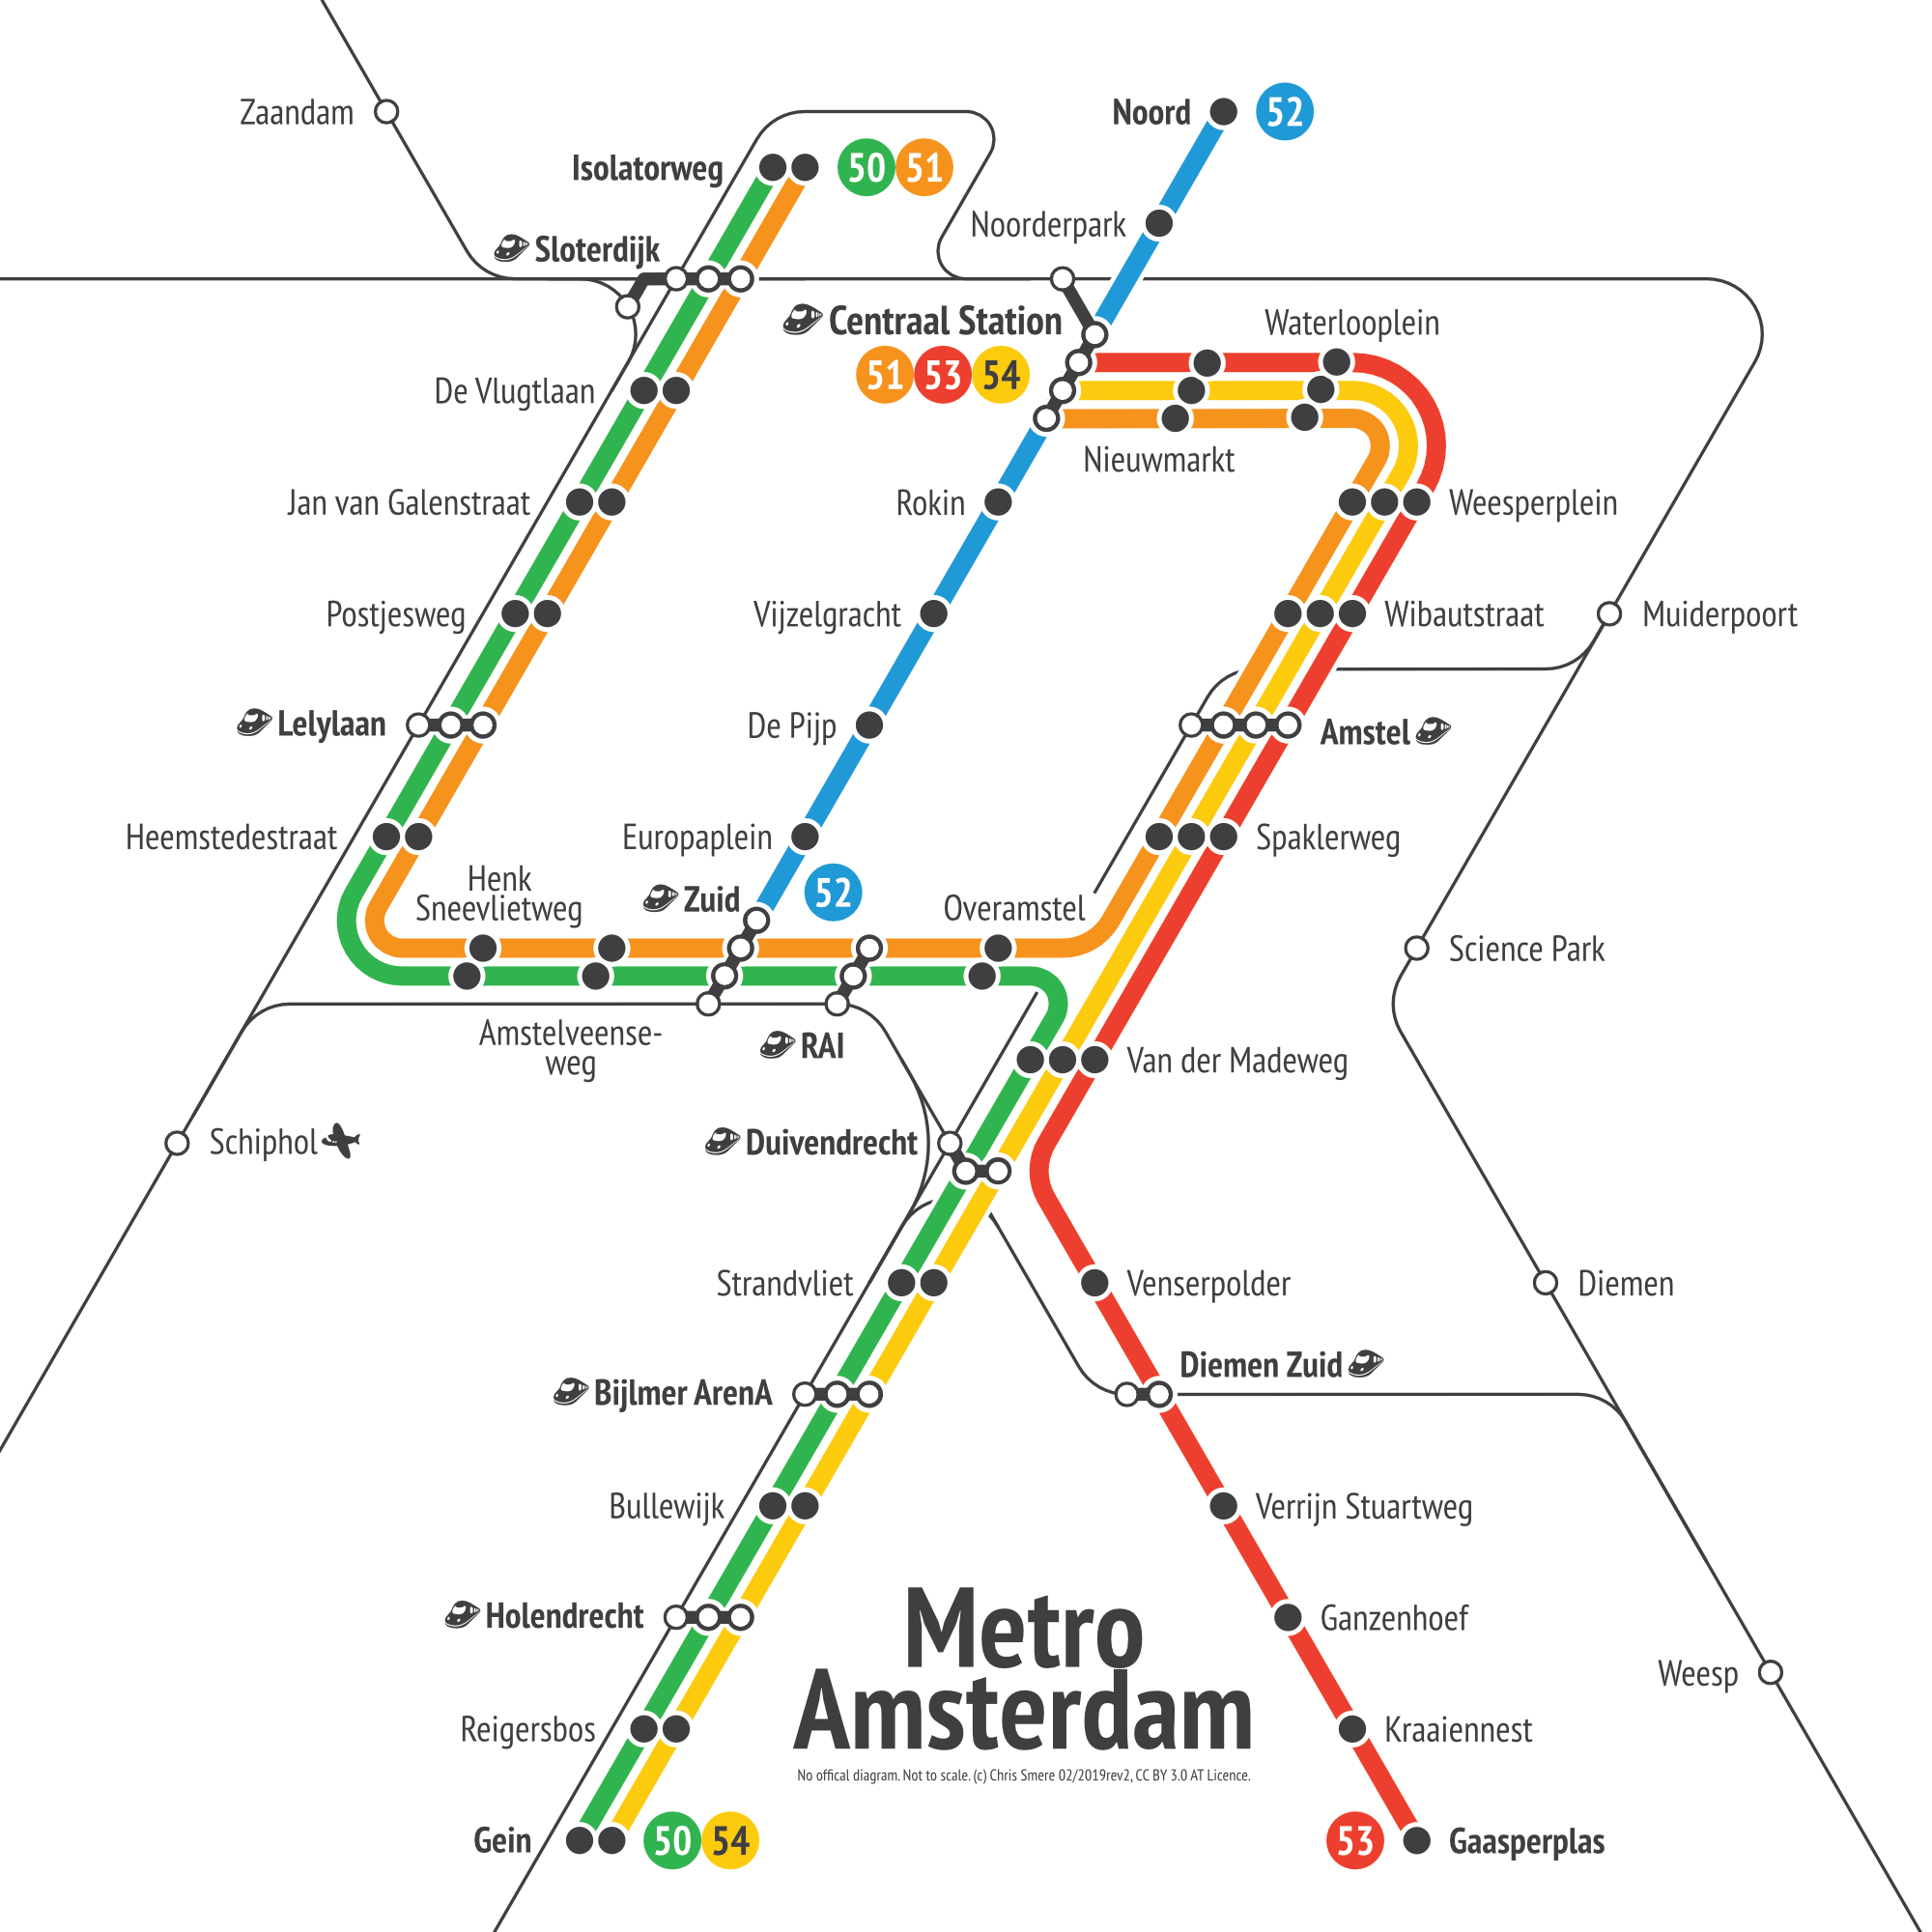
affinity designer Amsterdam - Metro Transit Diagram
transitdiagrams posted a topic in Share your work
Hi - it's me again :-) I do transit maps (diagrams) for fun in my spare time to relax. Here is another one from my archives: made this unofficial Amstersam metro map in February 2019. It shows the metro network and additionally the train lines Feedback is always appreciated. Have a nice weekend!
-
Cool, I did a cool Spirograph using Affinity Designer Warm & Bright.afdesign
-
Hi there! This is my first post here so if there's something inappropriate please let me know. This art was made as the "evolution" of a previous art I posted on Instagram. It's draws inspiration from old Tarot decks, occult art, some magical systems. It is fascinating what one can do with Affinity Designer's Shape tools. I hope you appreciate it.
-
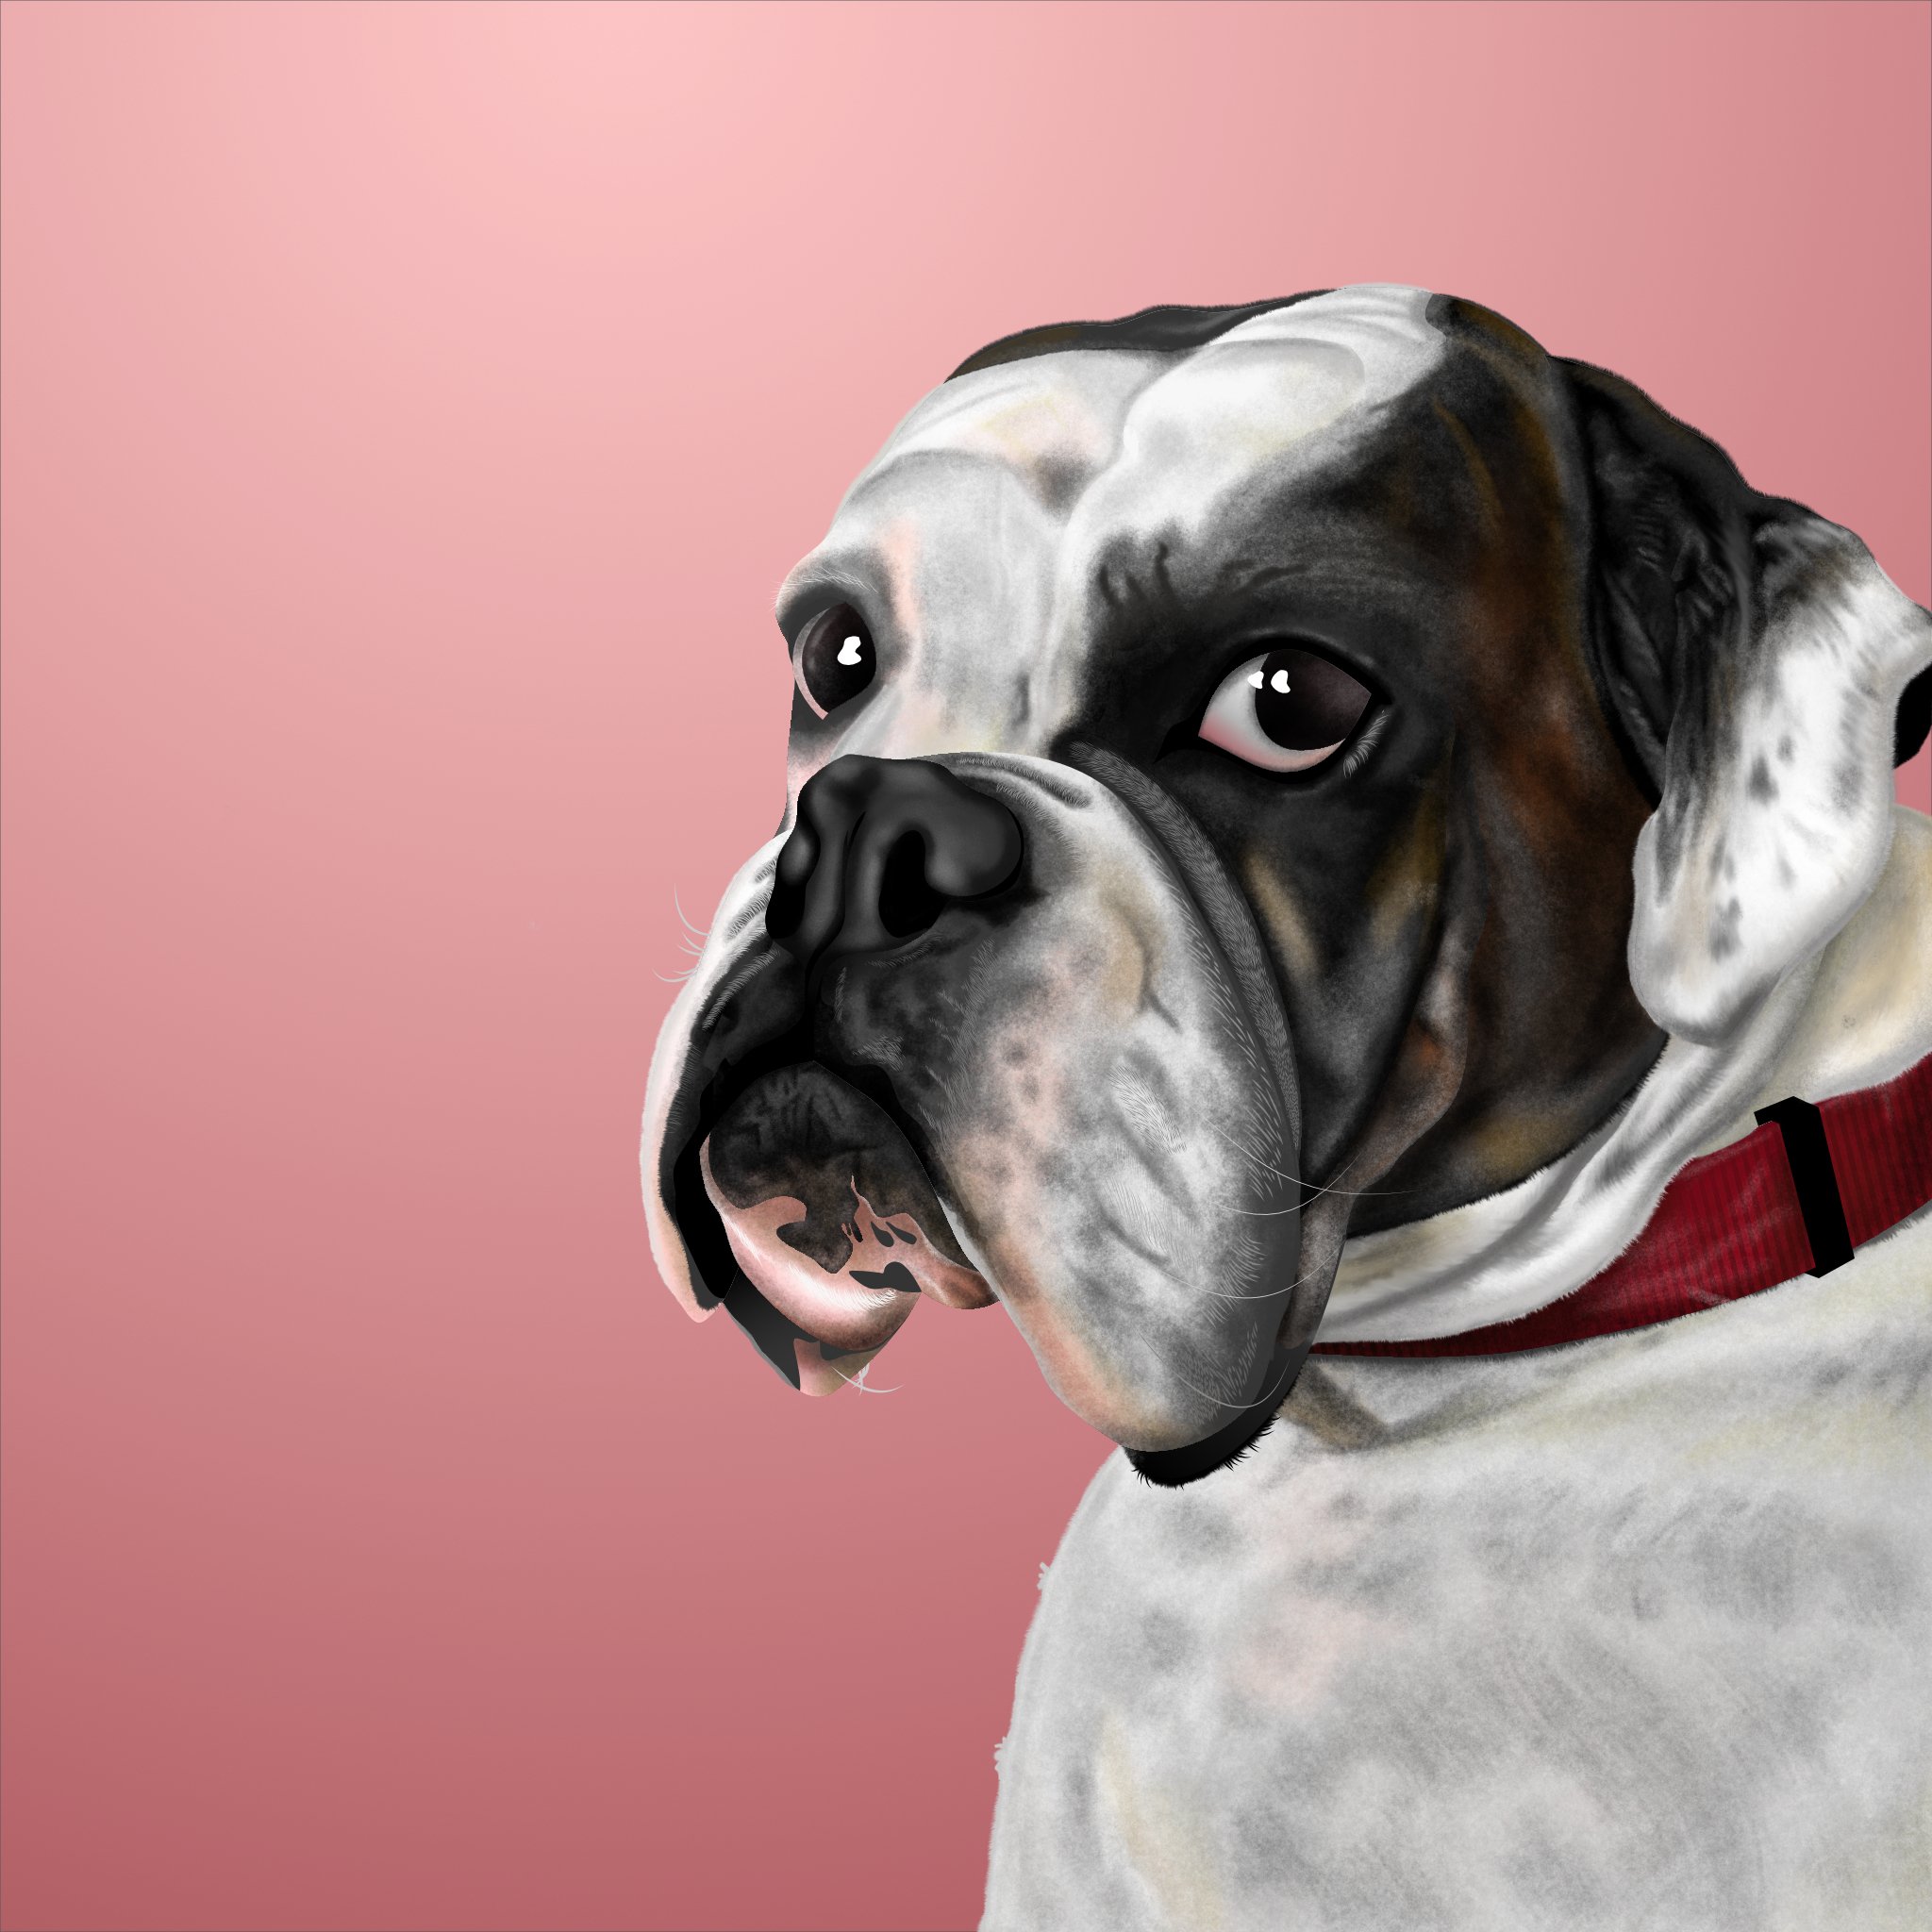
Recently completed commission.
-
A big wish on my part was if you have an image browser like Adobe bridge, this is something many photographers want, as you often have to batch edit many raw files, From a wedding, business shoots, advertising work, etc.
-
 Hi, I'm getting confused about how and when to use groups vs layers in AD. The question has been already discussed (previous discussion about groups and layers) but the answer seems to be unsatisfactory as it's full of personal opinions and the only video that seems to answer the question is not available anymore. So, if there is any solid, official answer to the question: what is the difference between LAYERS and GROUPS in Affinity Designer?, please post it here, so people like me, looking for it, will find it in the future. Thank you.
 -
This has been a work in progress for seemingly ages and thought I would post and it might jolt me back in to trying to finish it! As usual just the pen tool.
- 4 replies
-
- 11
-
-
 New drawing. Draw rectangle (Rectangle Tool). Select rectangle. Press C on keyboard to select corner tool. Nothing shows up in the Corner type on the context toolbar. Click on one of the corners. The corner node turns blue but still nothing on the Corner type. Is it me?
 -
Buenas, soy novato en Affinity y aún estoy acostumbrandome de venir de Adobe. He topado comportamientos extraños en Affinity Desinger, concretamente las herramientas de Geometría. Las que se refieren a: Añadir, Sustraer, Formar Inserción, Combinar y Dividir. Realizo trazos, amplio los trazos y cuando quiero convertilos todo en un mismo objeto hace cosas raras. Puede que sea que me esté confudiendo a la hora de hacerlo, no sé. Si es un error, espero que lo arreglen. Un saludo 2020-01-29_at_19-19-29.mp4 2020-02-13_at_23-08-19.mp4
-
 hey there, when I always try to use the pencil tool, is very overwhelming to close the path when I draw free hand shapes. my suggestion would be, if the user draw any shape and hold the pencil/mouse for few secs, the Path close automatically. and please I believe this tool Needs to have a big review for free hand vector drawings Why? Sculpt mode doesn't work as we want. the nodes generated are too crazy Establisher function works well sometimes, however Window stabiliser generates multiples nodes at the beginning of the path, it's not optimised to use properly. I hope this can give to the team a nice direction for the improvements of this amazing software. regards Jhon