Search the Community
Showing results for tags 'Affinity Designer'.
-
Make your own digital mosaics and fauxsaics in Affinity Designer! >>GET THE PACK HERE<< After a trip to Sicily, where I saw some stunning ancient Roman mosaics, it occurred to me that there was no tool which allowed Affinity Designer users to draw their own mosaic designs. So, I set about making this complete mosaic tile tool kit – it contains everything you need to create your own realistic looking fauxsaics. In this pack I’ve captured the irregular, chipped edges of the original Roman source material (c. 4th century AD) allowing you to create stunning designs and illustrations with a sense of antiquity. However, the pack isn’t just for adding a vintage look – as you’ll see from the screen-shots you can use the Affinity Designer brushes, patterns and textures to bring a unique twist to contemporary designs too. To test the pack I studied real mosaics and put the Affinity brushes through their paces by re-creating a real Roman design – the bear image screen-shot. >>GET THE PACK HERE<< The pack contains all of these fantastic components: The Brushes A variety of mosaic tile Affinity Designer vector brushes, all sourced from genuine 1600+ year old material. A grout brush is also included – perfect for adding a rough, undulating edges to vector shapes. The Pattern Styles 6 authentic mosaic repeat patterns – perfect for backgrounds or for flooding areas with tiles quickly. Supplied as One-click Affinity Designer styles. The Border Brushes Add authentic looking borders to your mosaics. 6 Different designs supplied, each made using multiple vector brushes – simply layer them up. The Seamless Overlay Textures 2 Stone textures and 2 grunge overlay textures – use these to flood areas quickly and add age and authenticity to your designs. The featured Affinity Designer textures are seamless, so you can fill any sized area. Supplied as One-click Affinity styles. A quick reference PDF guide This will help you quickly find the right brushes and styles for the task in hand and get the most out of this brush, pattern and texture pack. Example file The Skull image has been supplied for you to backwards engineer. Supplied as an Affinity Designer file. Instructions A very thorough guide on how to load, apply and then adjust this brush, style and texture tool kit is included. >>GET THE PACK HERE<<
- 2 replies
-
- vector brushes
- patterns
-
(and 3 more)
Tagged with:
-
The Wall Affinity Designer | 1840 x 800mm 300dpi | Mixed raster and vector but mostly vector! Used Untamed: 'Planetary Toolkit' of for the Sky
-
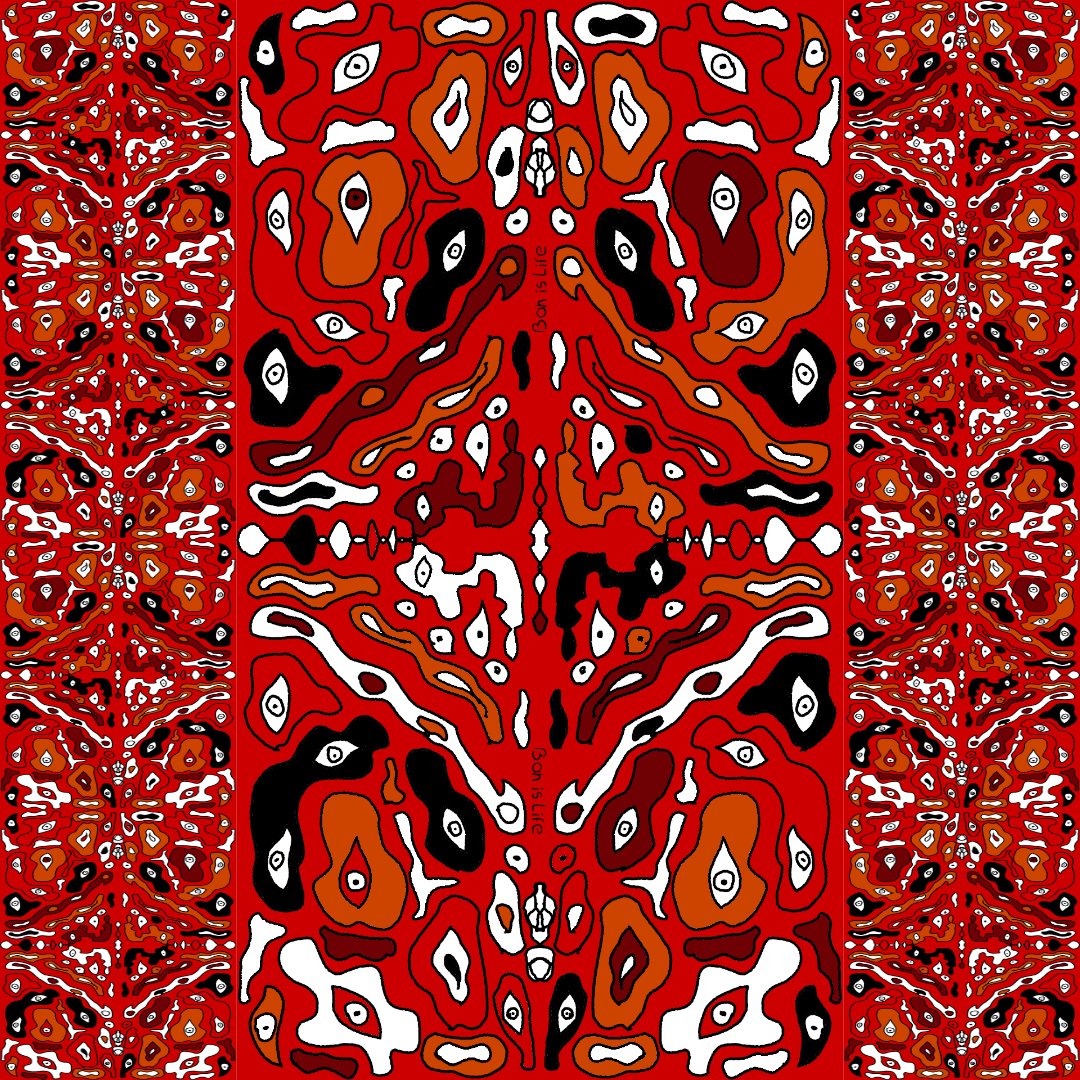
After watching a couple of Ocean documentaries I was deeply intrigued by the endless number of sea creatures that exist. Eventually I got tired watching and got inspired to create this Ocean inspired Deep See art. Enjoy. Tools: Affinity Designer, Affinity Photo, Affinity Publisher Let's connect: https://www.behance.net/bah-is-life https://www.instagram.com/bah_is_life/
- 4 replies
-
- affinity publisher
- affinity photo
-
(and 2 more)
Tagged with:
-
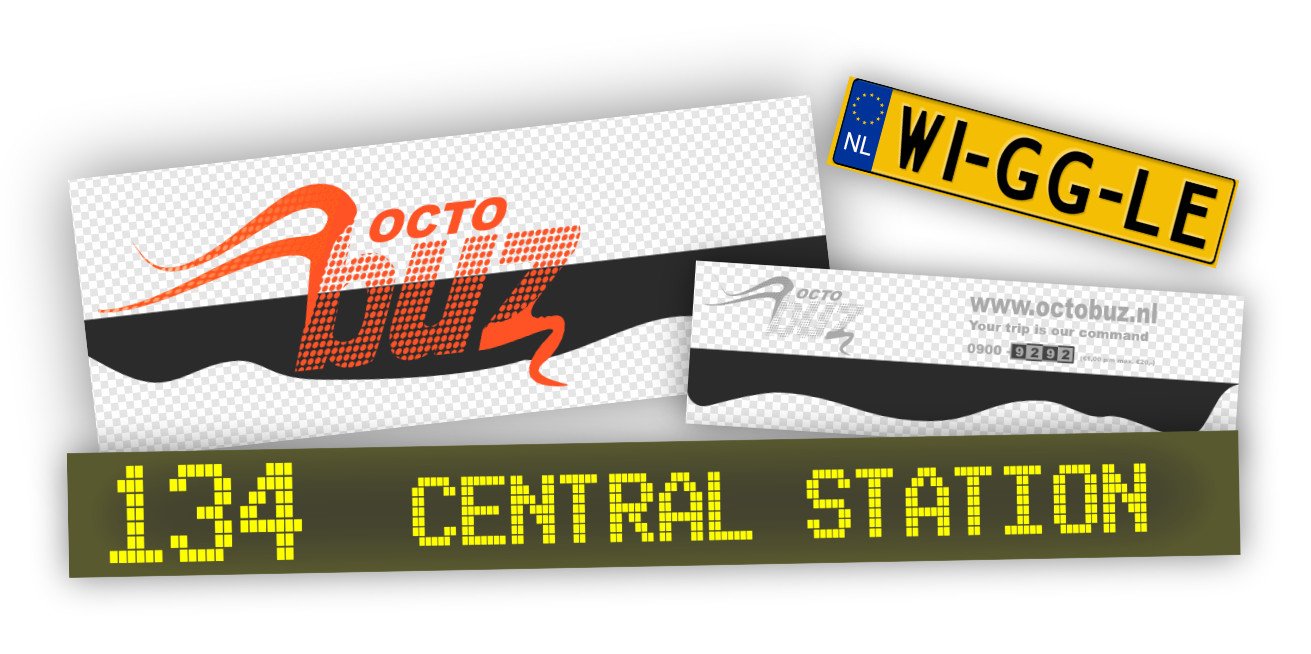
A5 flier, all done in Designer and Photo apart from the 5 star logo and Chef along with Gary's image. Colour laser printed (20 A5's for double sided Perspex table flier holders)(3 A4's for notice boards) (1 A5 emailed as an attachment to the membership)
-
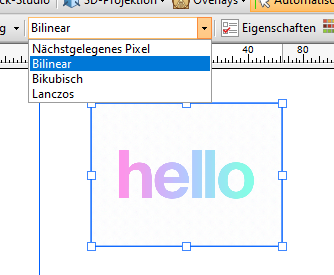
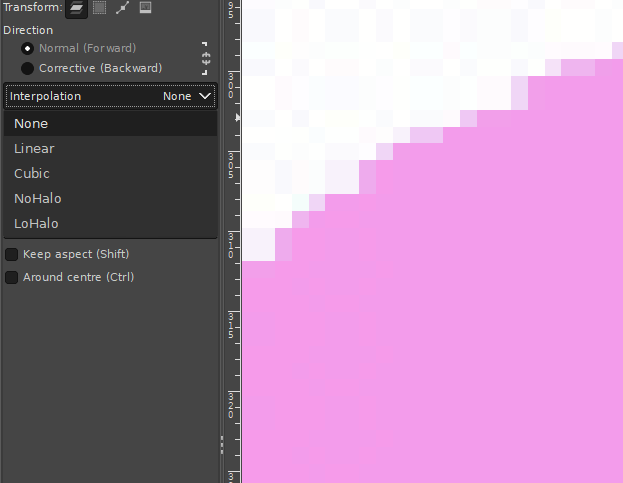
Hi, I know there was already a topic like this. But always, when I try to resize pixel art or old graphics (low resolution), it always destroys my work and creates blurred edges. Affinity Photo has a tool named Pixel Tool, and in Serif 2.3, they added a pixel grid. And I think Affinity can be good software for editing pixel art graphics, but having the ability to change interpolation during resizing would significantly enhance its capabilities in this regard. I do not want to rescale the whole document, I want to rescale one or two elements in the document. Like Draw Plus 😎 (bugged version with immutable german language as default): or like Gimp:
- 5 replies
-
- 2.3
- affinity photo
-
(and 5 more)
Tagged with:
-
Hi there, I'm getting stuck with masking and the paintbrush tool (in Affinity Designer)... - Pixel Persona - Have a photo I want to mask - When I select a part of the photo with any of the selection tools and create a mask from that selection, things are fine. I get a proper black and white mask layer. - Now I want to REFINE my mask, by selecting the mask layer, selecting the brush tool, setting the brush color to BLACK and then painting black inside the mask over parts I want to hide. The problem is... I can never make the brush tool to paint in COMPLETELY BLACK color! The color setting in the color panel is set to completely black (#000000), but the actually painted color on the mask is always dark gray. Never completely black. Thus there are always semi-transparent parts of the image visible. I can never mask them completely. Any ideas how I can make the brush color to be 100% black? Thanks!
-
Does anyone know if it is possible to separate a layers "effects" / fx into it's own layer? Similar to how we can do this in Adobe Illustrator? I am speaking specifically in Affinity Designer. Basically take this layer's effects and turn it into its own layer - https://prnt.sc/LI-IOjlfTBsz Thanks, Aaron
-
Finally finished the 1st episode of the animated series I've been working on for years with my nephew 🙌 Affinity Designer and Photo was used to create some of the backgrounds and design most of the characters. Would love to know what you think of it!
-
- affinity designer
- affinity photo
-
(and 1 more)
Tagged with:
-
When working with the vector tool, its great that the pressure can be recorded when using a graphic tablet. But when only using the mouse, you have to use the pressure controls inside the stroke-panel. For short curves this is pretty ok, but if my curve gets too long, the precise configuration of the pressure is near to impossible. To improve the usability I suggest an seperate pressure-edit mode or something like that where you can specify the pressure value directly on the actual curve (maybe by adding points similar to those handlese on bézier-curves). This should be additional, so you could also edit the pressure on the old way.
- 1 reply
-
- feature suggestion
- affinity designer
- (and 4 more)
-
The Triskalion, a Celtic mystical symbol representing courage, power and wisdom. Made in Affinity Designer using the spiral tool and the symbols panel.
-
Vector brushes are cool but when they are applied to long curves, many of them break because they get streched. On the other hand with vector curves are perfect for geometric or very precice shapes because they can be reajusted afterward. Pixel-based brushes don't have the downsides mentioned before. So it would be cool to have in addition to the normal vector brushes the option to use the rasterized brushes for curves. The curve represents the mouse movement when working with the pen tool. Other advanages inclue: You could change the the brush size afterwards You could also vary the brush pressure (because this is an already existing feature in vector brushes) Have a great day!
-
- bruhes
- feature suggestion
- (and 3 more)
-
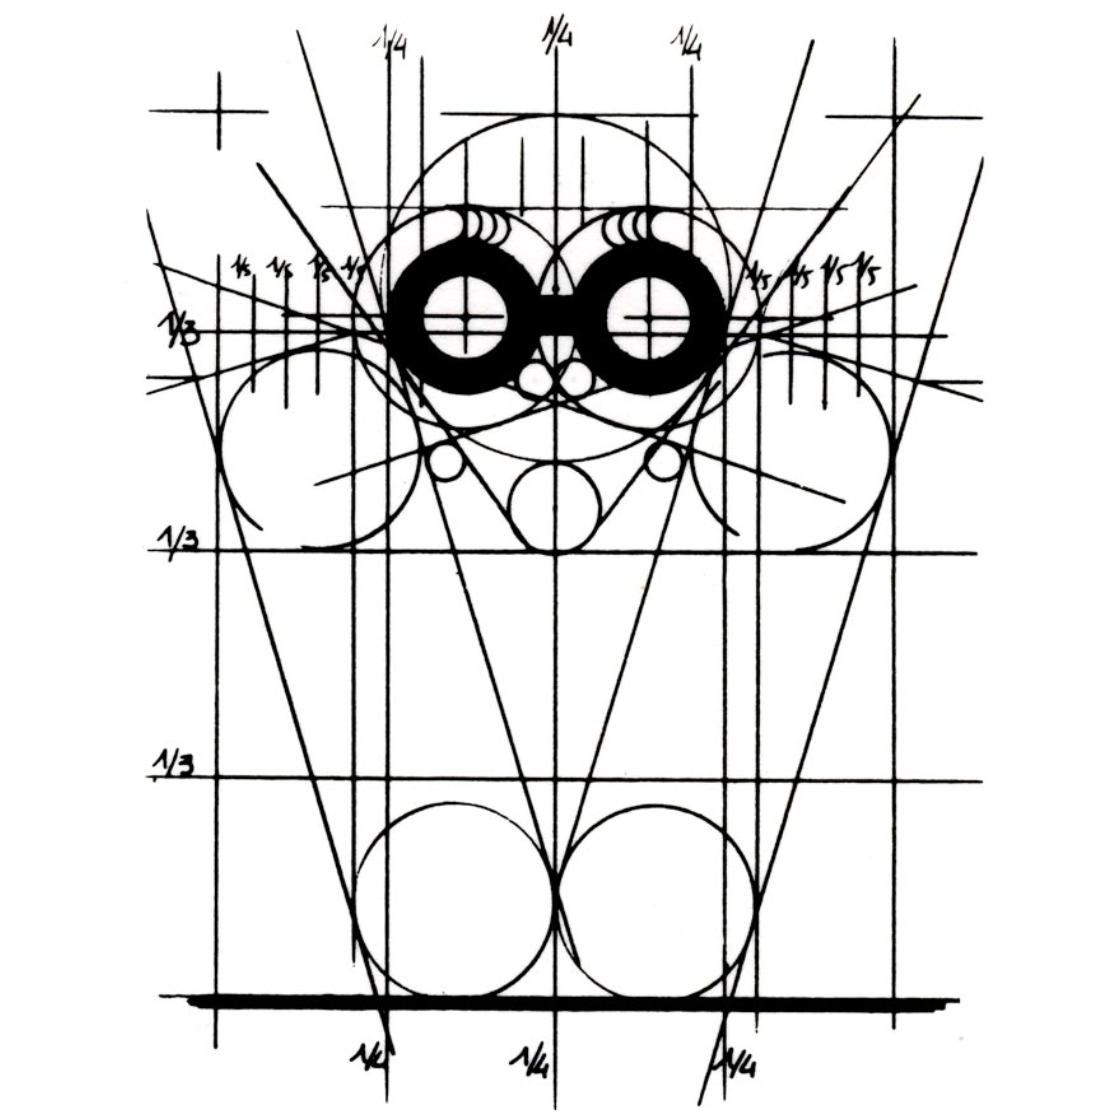
🇬🇧 A little tribute to the graphic designer Michel GRANGER, French author of several album cover illustrations by Jean-Michel JARRE including the 4th, “Equinoxe”, released in 1978. The character on this cover is called “the Watcher”. He is adorned with the three Serif colors and looks into the future, saying to himself: what will I become?... And what will we become?... 🇫🇷 Petit hommage au graphiste Michel GRANGER, auteur français de plusieurs illustrations de couverture d'albums de Jean-Michel JARRE dont le 4ème, “Equinoxe”, sorti en 1978. Le personnage de cette couverture se nomme “l'Observateur”. Il est bardé des trois couleurs Serif et scrute l'avenir en se disant : que vais-je devenir ?... Et nous, qu'allons-nous devenir ?... 😉
-
I’ve recently tried to open a Photoshop(.psd) file in Affinity Designer. The file could successfully been opened in Photoshop, but not in Affinity Designer. Also the size of it hasn’t been big(2 MB). When I pressed open -> open document from the menu and selected a file, It has imported it successfully, but then it said loading file, and the app crashed. I tried both opening and importing document, but neither helped. I restarted the app, even the device, but still couldn’t open that file. Each time I press on it - the app crashes. I don’t know whether the issue occurs in other Affinity apps, but in Designer it exists for sure. I ask developers to fix importing/opening psd files in Affinity Designer on IPad. Thank you, in advance! Buttons.psd
- 10 replies
-
- psd
- affinity designer
-
(and 3 more)
Tagged with:
-
Get our FREE Canvas Creator and give your digital art the authenticity it deserves! Infinite Canvas Creator features a range of real-world artist’s textures and papers – perfect for showcasing your designs and illustrations. The canvas textures include watercolor paper, canvas, vintage parchment, chalkboard and more! All textures were sourced from the real thing and have been supplied as seamless, repeat patterns so, you can fill infinite areas without untidy edges. >>FIND OUT MORE HERE!<< >>FIND OUT MORE HERE!<<
-
I copied mine .CSV file in PANTONE directory in all three 2.4.1 apps just about an hour before 2.4.2 appeared. Now, it dissapeared from all 3 apps. Why are you deleting files that are not part of Affinity apps? Do we have to "reinstall" them after every update / upgrade?
- 14 replies
-
- affinity publisher
- affinity photo
-
(and 2 more)
Tagged with:
-
Having a dedicated pressure tool similar to Paint Tool SAI's would be a blessing. Currently, it's a bit frustrating to apply the appropriate amount of pressure to the correct areas using the existing graph system. Not to mention that I have to reset the pressure for every curve I make. Having a tool that allows you to adjust pressure at points along your curves would definitely be a huge step forward when designing at such detailed levels.
- 1 reply
-
- tool
- affinity designer
-
(and 2 more)
Tagged with:
-
I have two separate curves in affinity design, when I use join with the node tool the Pressure curve of one of the paths is used in the now merged path, which basically changes the entire pressure of the stroke. I’m exporting the file to use for embroidery so a lot of paths are to be merged in a long one and its more accurate for me to do the pressure of each section before merging. Am I missing a step or a setting? I just need the pressure paths to merge as well. Thanks! FullSizeRender.mov
- 2 replies
-
- pressure curve
- join curve
- (and 4 more)
-
So sorry, let me bring this 8-year-old feature request up again... Starting from 2014 in this post, followed by this in 2018 and this in the same year and this in 2020, we've been crying for a technically-possible feature. The pressure graph is usable in some simple cases, but definitely not for something more complicated (vector line art etc.). We've got pen pressure, we've got the graph, but surprisingly not a tool (or a feature within the node tool) to manipulate pressure precisely. Not even in V2... Think of how many potential customers might be driven away by lack of such a practical feature... Sad. Just hope any one of our dear devs would see this. 🥲
-
I have been designing some technical specs in Affinity Designer 2 for a few days now, exporting to SVG and PNG a lot and noticed we have lost the ability to save our own export presets. In AD 1 I had my own specific presets I used all the time, but now I only see the option of choosing from several built-in presets, which I can change and they stay the way I need them until I quit the program (and presumably until I would pick one of the built-in presets again). But I see no way of saving my choices as a preset. Of course, at 72 my vision is not what it used to be and unfortunately Affinity 2 has made it even harder for me to see with all that black background and tiny white letters in the export dialog (I actually have to press Win + to enlarge a portion of the screen), so it is possible I just cannot see how to save my own presets, but in v1 it was very clear and easy.
-
Hey everyone, I've noticed time and again that there are recurring issues with different blend modes for effects, layers, shapes, etc. In the attached file, you can see this at the bottom edge of the compound shape with gradient and effect. There's a bar or area that seems to be unaffected by the effect. Over the years, I've pragmatically looked for and then used similar blend modes. But now I'm wondering: Are these display errors still due to technically limitations, and why aren't they being addressed/fixed after all this time? Cheers, Dennis Discolored_Bar_Bug.afdesign
- 2 replies
-
- affinity suite
- affinity designer
- (and 4 more)
-
Hey everyone, I'm a big fan of shortcuts and well organized layers in my workflow and noticed something that could be improved – the accessibility of the Move Selection to New Layer option. Right now, it’s only available from the Move Tools context menu, which is fine, but I think it could be better, more visible and accessible. Wouldn't it be great if we could also find this option in the Layer options menu and therefore have the ability to set a custom shortcut for it? I feel like these changes would help make the (well, my) workflow smoother. What do you guys think? Is this something you’d find useful too? Cheers! Dennis
- 2 replies
-
- affinity designer
- context menu
-
(and 4 more)
Tagged with:
-
Hi everyone Here’s little something I did a while ago with iPad and affinity designer. I call these „angular girls” and drew around 20 so far (most of them can be considered nsfw so if anyone’s interested please visit @sztukierobie on IG )
-
Hey everyone, I've run into an issue in Affinity Designer when using the Contour Tool with compound objects. What I would expect: When I select individual elements within a compound object, the bounding boxes fit snugly around each element – just as they do with shapes that aren't using the Contour Tool. What actually happens: All good when selecting elements one by one. But when I select the whole compound object, the bounding box is unexpectedly large, even though I reduced the shapes size inside with the Contour Tool. It doesn’t match the actual size of the object, making it really tough to position things accurately. I attached a sample file. I know I could »bake the appearance« to fix it, which makes the size permanent, but I want to keep the design flexible (need to create a graphic with different sized window frames). So, that’s not the solution for me. Has anyone else dealt with this? Greetings Dennis Contour_Tool_Compound_Object_Bounding_Box.afdesign
- 1 reply
-
- affinity designer
- compound
-
(and 3 more)
Tagged with:


