sujithta
-
Posts
21 -
Joined
-
Last visited
Everything posted by sujithta
-
In publisher the same font works as I intended. May be the feature is missing in Designer. if the feature is there it will be more easy.
-
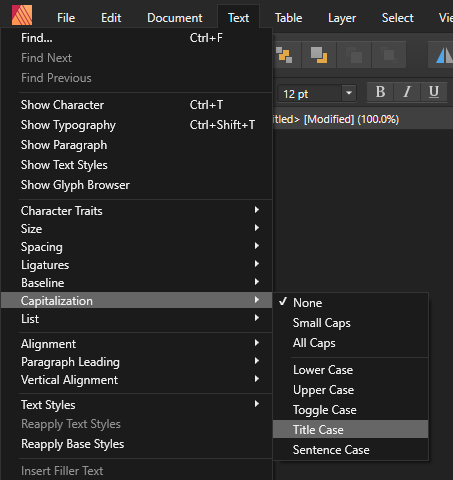
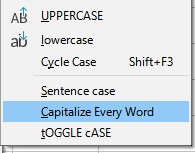
Yes that option required on the panel. so it will looks like > Yes That Option Required On The Panel. or

-
from this to similar to this > there must be an option for Title Casing or is there any way to do so?
-
Yes. It must be a feature request. About the must have; these days everything's are instant. So the guides are also. 😊😊😊
-
Hi Walt, I check that 4 times on Windows when making that Card. I didn't check it in Mac but will check later. Anyway the instant preview is a must have one.
-
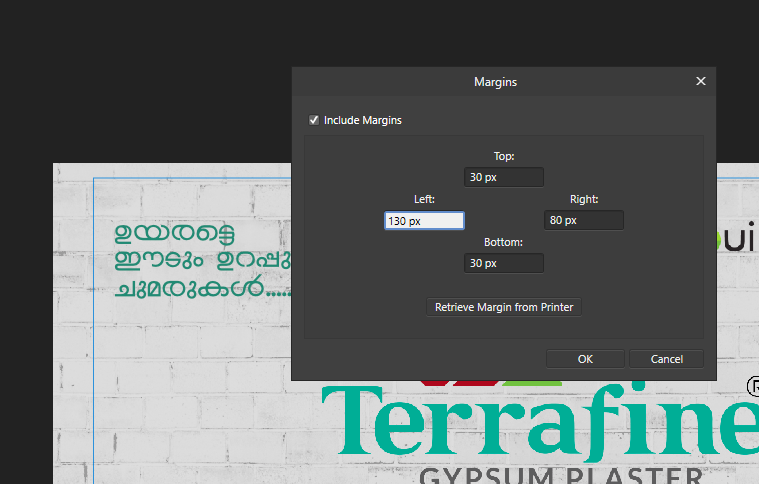
Include Automatic Preview in Margin setting. Can't see the preview on page when adjusting the "Margin" and it also not working on clicking OK. To see the changes made you must click the "Show Margin" again in the view menu. its so hard. hope you will adjust this. see below image
-
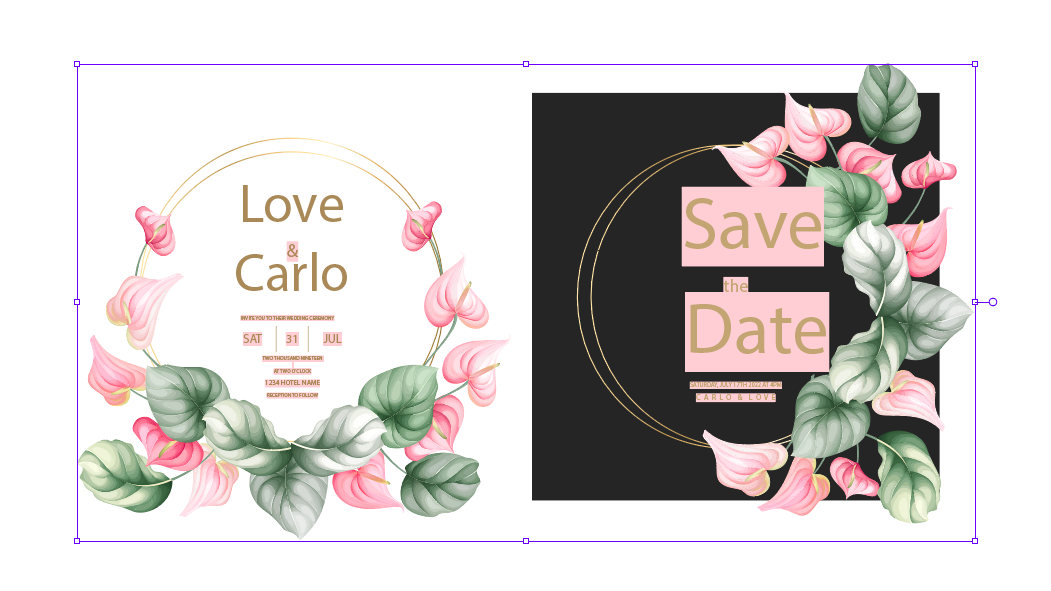
Hi, nothing special for the file. check the below link. Problem solved on beta 1.9.1.963. Ungrouping solve everything. ungrouping (clipping) solves everything. https://www.freepik.com/free-vector/beautiful-wedding-invitation-card-set-template_12050537.htm#position=2 tnx...
-
Hi Ready, Forget the technical problems or bugs... Simply export to pdf and print that from any pdf reader.
-
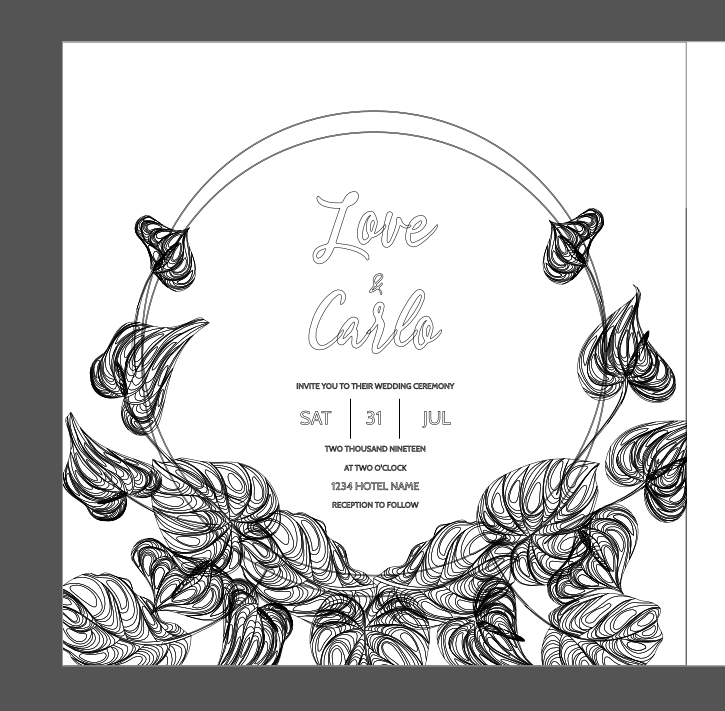
Hi, Thankyou for the new update. eps file opening is fine but couldn't keep the mask. File cropped at the mask line. this file open like the below image. but happy to see that font kept as it is as curve. Placing eps to the page with "Maximum Content - Page Box" option it shows the total size including the masked area but when clicking the Edit Document option it crop the artwork. Hope this also will fix on next update.. Hope this will fix on the next update. one more thing; It will be more easy if the transformation panel along with the toolbar on top
-
Masking / Inverse Masking
sujithta replied to sujithta's topic in Feedback for Affinity Photo V1 on Desktop
I didn't mean any of those above you mentioned except the last. To have an inverted mask instead of go to layer menu and click invert, use Alt/Opt key and click on mask similar to Photoshop. and the large text; I have an FHD display so texts are small to read in this display. -
Masking only mask selected area. To have an inverse mask use Shift or Alt key then click on mask they goes to inverse mask otherwise they work normal.
-
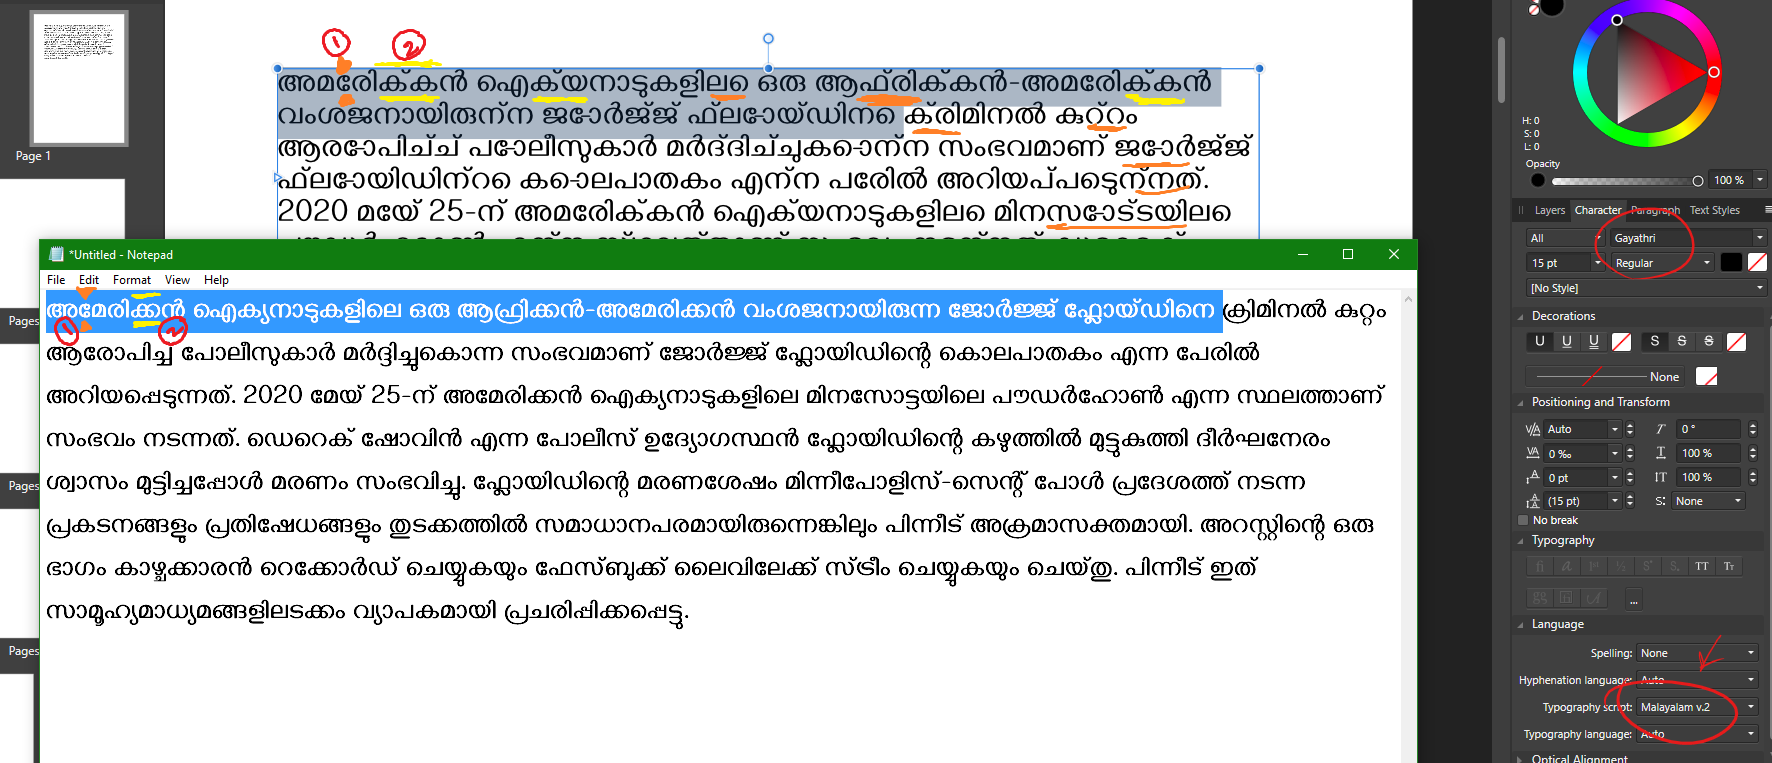
Unicode font (Karthika) rendering issue
sujithta replied to Bright's topic in V1 Bugs found on macOS
very sad to hear that. I already mention this in Windows Store. after purchase publisher I notice this. now cant use publisher for my production works so back to InDesign again. Hope you will add IndicScript features ASAP. SEE BELOW IMAGE THE VOWELS AND CONSONANTS ARE MISPLACED AND SEPARATED. HOPE YOU WILL FIX IT SOON #IndicScript #malayalam
-
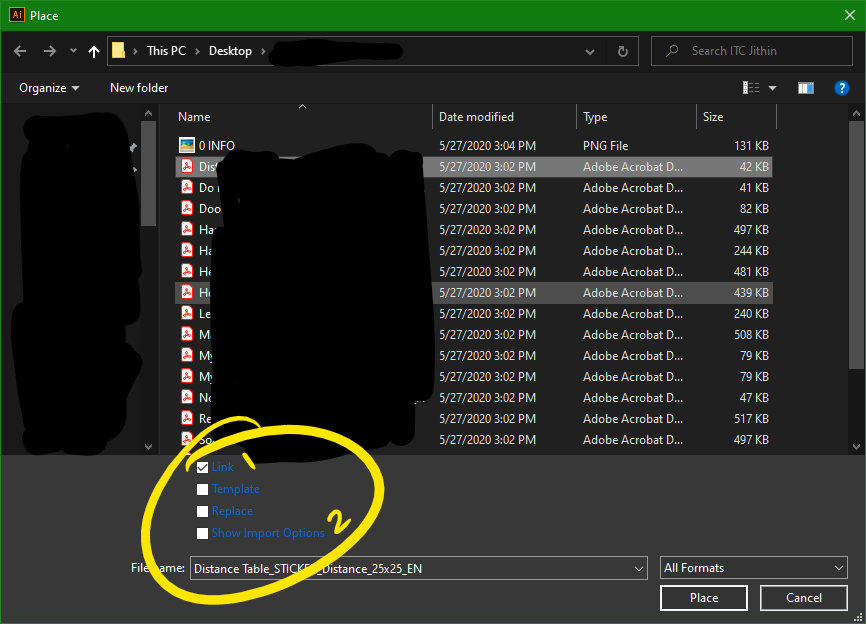
1. we need to place a pdf as a link. it can be placed but all TEXT inside the pdf are missing because of the font missing. so the placed pdf are technically not linked. so we need an options like that (image pdf linking.png). 2. after placing a pdf some times we have to edit or need to some adjustments so that time we nee to outline the fonts so another option similar to Illustrator FLATTEN TRANSPARENCY required. with both of those we; printers can handle client files easily.
-
"Actions"? where?
sujithta replied to pmk-wz's topic in Pre-V2 Archive of Affinity on Desktop Questions (macOS and Windows)
-
Is it possible to add a way to create or record a Macro or an Action similar in Illustrator & Photoshop within Designer along with a macro manager panel. so many of us can handle missing features and NOT FOUND things. MACRO & Macro Manager Panel
-
OBJECT TRANSFORMATION AND ROTATION
sujithta replied to sujithta's topic in Feedback for Affinity Designer V1 on Desktop
Ya I know.. but that's not what I mean.. simply like illustrator for a fast workflow. -
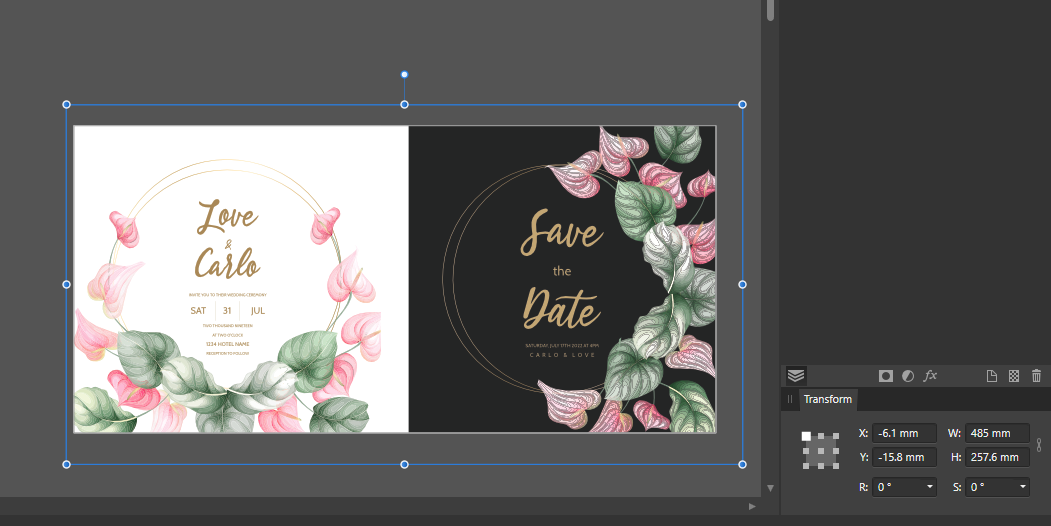
When working on an artwork object size and rotation (transformation) must be in quick access area possibly in Under Menubar area or on Toolbar area because this a full time accessing thing. theirs a transform panel in studio menu but it is more accessible if its under the Menubar area of the top. and Use Small Icons on Toolbar area without a background box. so will have more working space. When clicking on the artbord with box tool it must popup a window that showing the new size of the box that is going to place on the artboard.
-
It will be an awesome feature if you put a "Selection method according to attribute" which means when we need to Select Same color (Fill or Stroke), same opacity, or same appearance. It is so much helpful after tracing an image to select a range of colors. When working on a flyer or packaging design for production selecting similar color or select strokes that have same thickness or fill color to change together all those needs select with attribute option. Consider a special tool for those selection purpose with a bunch of option to rectify and narrowing selection range or Add all those features to the Move/ Selection tool.
-
- 2
-

-
- affinity designer
- selection
- (and 8 more)