Magnus_vb
-
Posts
70 -
Joined
-
Last visited
Everything posted by Magnus_vb
-
 Try (if you not already have) to use three fingers on the trackpad. First click to select the layer, then, with three fingers on the trackpad you can now move the layer. When you see the blue mark in right place, just lift the fingers.
 -
Candace, Markus I'm on a Swedish keyboard and the keys [ ] is hard to use. I always (in both AFD and AFP) use alt+ctrl and then drag with the mouse (mouse button down) to adjust the brush size. Very handy! AFD: drag horizontally for size. AFP: drag horizontally for size - drag vertically for hardness // Magnus
-
Almost right ;) - RAW files is developed in Photos (I use Aperture) - not with the RAW development module in AFP. If you want to use AFP RAW module you must export (from Photos) the original file (File -> Export -> Export Unmodified Original for...) - If you want to have the finished image back in Photos, you must export the file as a TIFF from AFP. Then use the import function in Photos.
-
Hello Ma lou I would do it the other way around. This is how my workflow (DAMing? :huh: ) is: - Import images from camera to an album in Aperture (Photos in your case). I don't put them in the Aperture library but instead in a regular folder structure on a extern hard drive. - Select images in Aperture and make overall adjustments - and then export them as tiff's (in Photos go to File -> Export and select TIFF). Save the tiffs in another (clients) folder. - Open in AFP -- Magnus (looking forward to the AFDAM :)
-
Hi Works fine as far as I can see. Click and hold on the layer (not the layer name) and drag up until you see a blue rectangular mark over the other layer. Magnus
-
How to Rename Layers
Magnus_vb replied to inquire's topic in Pre-V2 Archive of Affinity on iPad Questions
Hello You can just double click on the layers name. Best, Magnus -
Hi Some basic tips to make it easier (or, less hard) to do the cutout: - Before doing any cutouts, place the image of you two as a new layer over the background image. Rotate it, adjust the size and position (approx). - Make as good selection as you can with the Selection brush tool. Remember, the size and movements of the brush influence how "big" the selection is (slow, short movements = better precision). - With the selection active, click the button "Refine…". In the dialog, set the preview to "Transparence". Now you can better see how the edges blends into the background. - Brush over the "bad" edges. Start with the brush in "Matte" mode - if that does not work try with "Background" (erases) or "Foreground" (brings back the pixels). Try different setting on the Border width and Ramp slider. - Set the output to "Mask". That way you can adjust the mask with a brush after. // Magnus
-
Best Workflow?
Magnus_vb replied to tonyt's topic in Pre-V2 Archive of Affinity on Desktop Questions (macOS and Windows)
I start in Aperture (still!). Export as tiff and open i AFP. Save the final image as .afphoto - and export it as a jpg for use on the web. I'm also so exited about the DAM :) Have tried (and bought!) everything(?) out there, but always ends up using Aperture. -
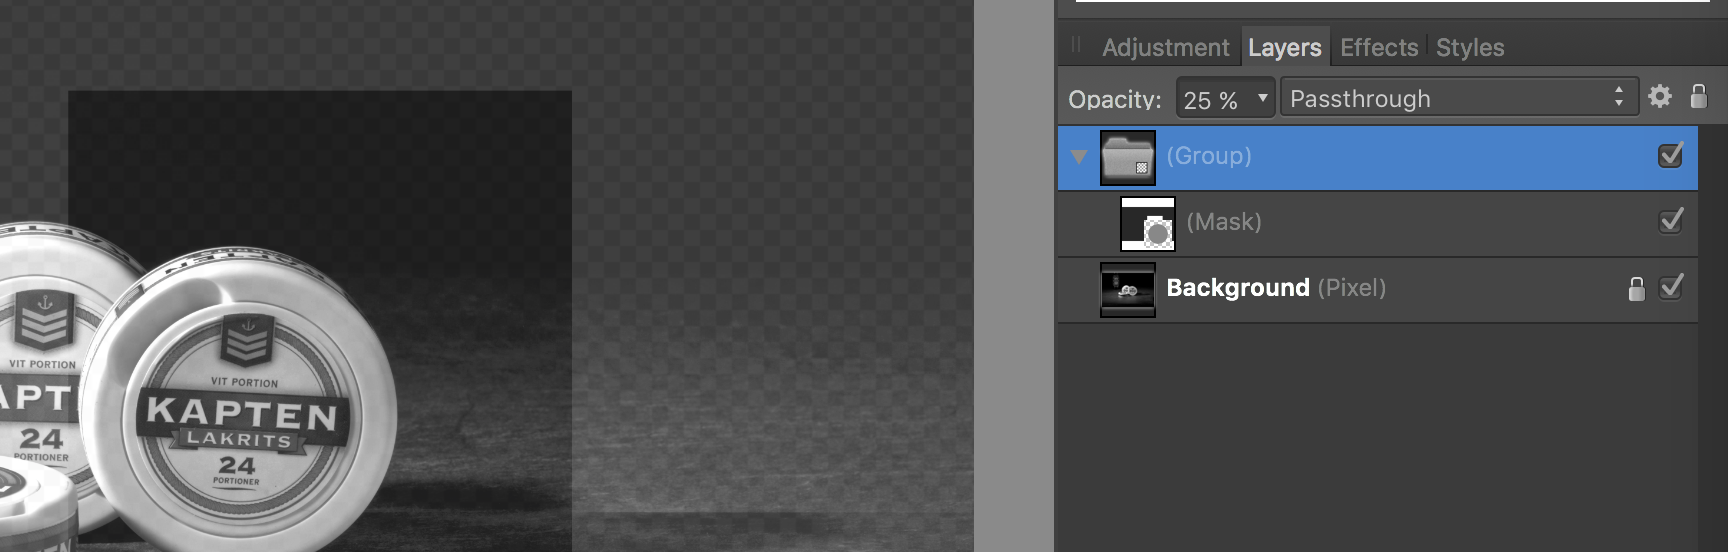
Not sure this will work for you. But, if you have the layer mask *not* nested, you can group it (even if it is just one layer) and then set an opacity on the whole group. Quick test with a screen shoot. Regards, Magnus

-
Gradient tool
Magnus_vb replied to Ron H's topic in Pre-V2 Archive of Affinity on Desktop Questions (macOS and Windows)
Hello Ron Maybe you already are familiar with, and use, the layer blend mode? I believe it's the most common way to use/apply a layer with a gradient on the layer below. The layer Blend mode is found in the top of the layer panel (default value is "Normal"). Regards, Magnus -
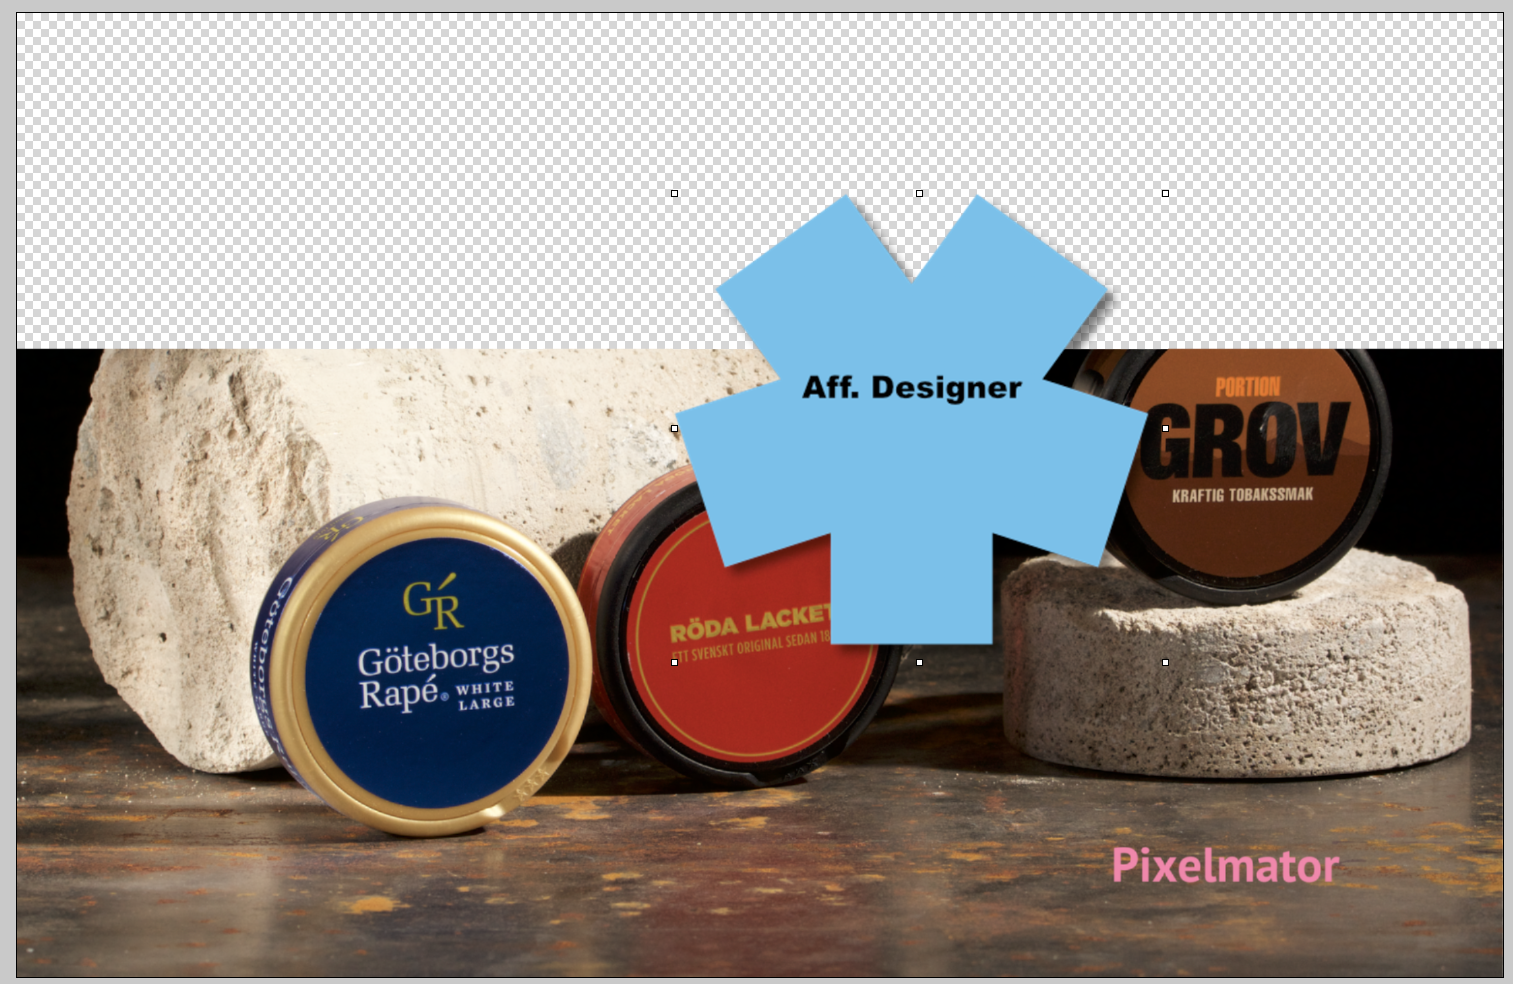
Hi Mark I think it should work. I did a quick test with Designer + Pixelmator. The important thing to do is to export the Designer file in PSD format (it keeps the transparency). Then you can open this file in Pixelmator (I don't think Pixelmator have a "Place" function). Then copy the layers to the main image. The drawback using PSD format when exporting is that it is no longer resolution independent - make sure the Designer objects are big enough. The screen shoot is taken from Pixelmator and the star, with the shadow, is from Designer. Cheers, Magnus
-
Hi Mark I don't think you can change to a transparent background if/when you starter created a new document by using File > New (and set the background to non-transparency). But, if you opened an image, you can add an pixel layer and drag that bellow the default "Background". A work around in the "New file" scenario can be to create a new document (with the desired type of background, and copy the layers from the original file. They should (I think) be placed in the same position in the new document when you hit Cmd+V -- Magnus Edit: MEB was faster then me ;)
-
Yay! That's about time a pro developer steps up and fill that big hole after Aperture. Love you! :)
-
I thinks this have to do with Apple Photos. I tested with one of Macphun's extension. And it was also saved as a jpg. -- Magnus
-
I don't think you need to reinstall AP – but you must have the latest beta of Affinity Photo installed to get the new extension in Apple Photo. EDIT: Just updated my main computer to El Capitan. And you must start AP beta once, before the extension can be selected in Apple Photo. /End edit -- Magnus
-
I shoot a lot tethered with Aperture. Also, basic color, organizing and rating all images in Aperture. My picks are exported as tiff and then open in AP for retouching and cropping. Have done a few test opening raw's in AP - but is not so satisfied with the result (nef files from a Nikon D7100). But I will do some serious tests… How hard can it be to bolt on a DAM solution on AP? :rolleyes: ;) -- Magnus
-
I was playing around this morning with Apple Photos (on OSX 10.11.1 public beta). Mainly to see if my MacPhun apps was available. And to my surprise, I was able to use AP as a extension (did not saw that coming :) Maybe I can leave Aperture now? ;) -- Magnus
-
Hi Maybe this is can help. If you have a layer with a mask, open that layer "group" by clicking on the small triangel to the left (in layers panel), Then select the mask by clicking on it. You can now paint with black/white (or grey) on the mask layer - and see the picture the same time. // Magnus
-
Can also be done using a HSL filter. Go to: Layer > New Adjustment Layer > HSL Layer. Select "Greens" in the color dropdown, check HSV. Then drag down (to left) Saturation shift. You might also need to select "Cyans" and drag the saturation down. // Magnus
-
Sorry. No images. But the help file have a link to these (technical) examples
-
Here are an example what it is called in Iridient Developer - which also have some more options. // Magnus
-
Thanks for the videos, Andy. They are super nice (even for one who have used Photoshop since version 2). You also have a perfect voice for tutorials :) -- Magnus (have not opened Photoshop a single time for months :D )
-
Sorry for waking up this thread again ;) Is it just me how have this problem? Have tried all sort of "combination" to see if I could find some pattern. But, nothing. I removed Photo (using CleanMyMac) and installed again. Same thing. I'm also having the same error on my MacBook Pro. Can it be my files (NEF files exported from Aperture to TIFF). Any ideas to test is welcome :) // Magnus
-
Hello Some beta versions ago my issue with re-position a crop - when you have a layer with transparency - was resolved. But I have still this issue: If I try to re-position a crop, the crop disappears and the tool is returned to the previous tool. Have tried to find out when exactly this happens, and have these two scenarios (used the Wacom pen in both scenarios): 1. Two layers, none with transparency (just duplicated the background layer): No problem 2. Two layers, top with transparency (pixel): the crop disappears and the tool is returned to the previous one. If I select the background layer and hide the layer with transparency, the crop works (most of the time). One (strange) observation: I have tried to do a screen recording (using Voila), but then, the cropping always works !?! If the issue is resolved, can I maybe have some old files from a beta laying around somewhere? ** UPDATE: Even with just a backgrund layer (no transparency) re-position fails sometimes. This (seems) to be solved by switching to another app (like Finder) and then back to AFP. Kind regards, Magnus
-
No .afphoto files in Media Browser
Magnus_vb replied to Magnus_vb's topic in [ARCHIVE] Photo beta on macOS threads
I agree on that. Was mostly curious how the Media Browser worked. ^_^ It have a low priority for me. But when released, I want a full fledging DAM :D