Hi Team
I updated Affinity Photo to 1.7 for my Windows Surface and was offered the Inksy Brushes which installed immediately - ok
I updated Designer to 1.7 and was given a bunch of fonts and some other iconic stuff but when i updated Photo and Designer to 1.7 on my iPad Pro no sort of offers turned up
any way of obtaining these free by for the iPad versions, please?
That is a bug, or at least a very poor implementation of a software feature. Lots of people have been complaining about that and let us pray Serif fix it in the next release of Designer. It is really naff at the moment and lets the whole program down.
Solutions (sort of).
A. Use the Transform panel and swipe across the X or Y controllers to move it.
B. Draw a larger shape (like a rectangle) and select that and the small object. You can then use the larger shape as a handle to move the smaller shape. A bit of a bodge but it works quite well.
Small celebration. I've now uploaded 100 Affinity Photo video tutorials to my InAffinity YouTube channel.
https://www.youtube.com/channel/UCOnLUmyPHr2rayOHVHWsHVw
Mostly, they are for beginners, though I throw in recent discoveries, effects, etc.
To properly celebrate, I'm now off on a photographing jolly, up the American East Coast, as far as Nova Scotia, no less.
TTFN.
I originally took photographs of leaf litter on a woodland floor to use as a background image for one of my woodland websites. Later, I thought it would be nice if I could create a tileable image for this purpose. This explains the procedure. I am using images of leaves here, but the principle would apply to any discrete image with transparent background.
For this example, I collected about 15 leaves from a Guelder Rose bush in my garden. Now is a good time (November in the Northern hemisphere) because the leaves are a rich variety of colours The Guelder Rose included reds, purples, browns and yellows.
Freshly gathered leaves may well be dry and are difficult to lay flat. My Guelder Rose leaves were OK, but I had curling problems with some Maple leaves (English Field Maple, Acer campestris). To flatten them sufficiently, I soaked them in water for about an hour and then laid them out on and between sheets of tissue to dry. They need some weight on top, but not too much. I used a few magazines for this. Leave them overnight to dry and flatten. They do not need to be totally flat or dry.
The reason for needing them fairly flat is that I create the image using a flatbed scanner. I lay the leaves on the glass plate and cover with a piece of thickish white card. This helps to flatten them and also provides a nice white background. I also apply some gentle pressure on the scanner lid whilst scanning to help flatten the leaves. I use a Canon MP630 scanner/printer and Vuescan for acquiring the image. After the image is saved, it is automatically loaded into Affinity Photo. Here is an example:
I can select each leaf one at a time using the Flood Fill Tool with the Add option and 20% tolerance. Many leaves will be selected at the first click, but a few more clicks may be necessary for others. Once I have a leaf selected, I cut it (Control-X on Windows, or the Mac equivalent). I use Cut rather than Copy since the gap tells me if any significant parts have been left behind, in which case I can cancel the cut.
Once I have cut out my leaf, I then select File > New from Clipboard. This then opens in a new window. Almost always this image need no further editing, but the opportunity is there if needs be. I can then export that image under a suitable name (Guelder Rose 01.png in this case). You need to save as .png (or .tiff) since you need to preserve transparency.
I do this for the leaves on this scan and then repeat for the rest of the leaves. I am now ready to create my tile.
Firstly I create a new image of 800 by 800px ( more or less if you prefer). I then select the first batch of leaves (six in this case, Guelder Rose 01.png to Guelder Rose 06.png). Each in turn is placed on my image tile (File > Place). At this point I usually rotate the placed image arbitrarily and resize it to about 10-20% of the tile size. After the first set have been placed you need to make a decision: do you want to proceed destructively or non-destructively? For the next stage you need to create a new pixel layer incorporating the images so far. To do this destructively, just pick Document > Flatten. This merges all your layers into one. Alternatively, you can pick Layer > Merge Visible. This merges all your layers into one, but leaves the other layers below. You may need to hide these. Personally, I use the destructive Document > Flatten.
You are now ready to make the first Affine Transformation. This allows you to to swap the left part of the image with the right part, along a line of your choice. Similarly you can swap the top and bottom parts. To use the Affine transform pick Filters > Distort > Affine. This opens up a box that allows you to select your division lines as Offset X and Offset Y. I find it easier to select Offset Y first, and then Offset X. You can pick any percentage you like here, but I tend to start with 20% for each. Click Apply. This shows the effect of the Affine transform on a set of six leaves (I cannot remember the % setting here):
Before:
After:
Some leaves have been split so that the leaves on the right have the right parts missing, but they are now seen on the left-hand side. Similarly one leaf is split top and bottom.
We can now repeat the process, adding half-a-dozen more leaves, flattening the image and applying the Affine transform. This time I use 40%. We can repeat this, adding more leaves, to fill in the gaps. Subsequent Affine transformations can be 60% and 80%, but after the first few, I tend to use a split which brings any significant gaps to the centre. Here are a few intermediate steps in my tile:
For the final image, I have enhanced the contrast a bit and added some sharpening. Here is the final image tiled with itself four times:
I will be putting some more examples of this under the Share Your Work part of the Forum.
John
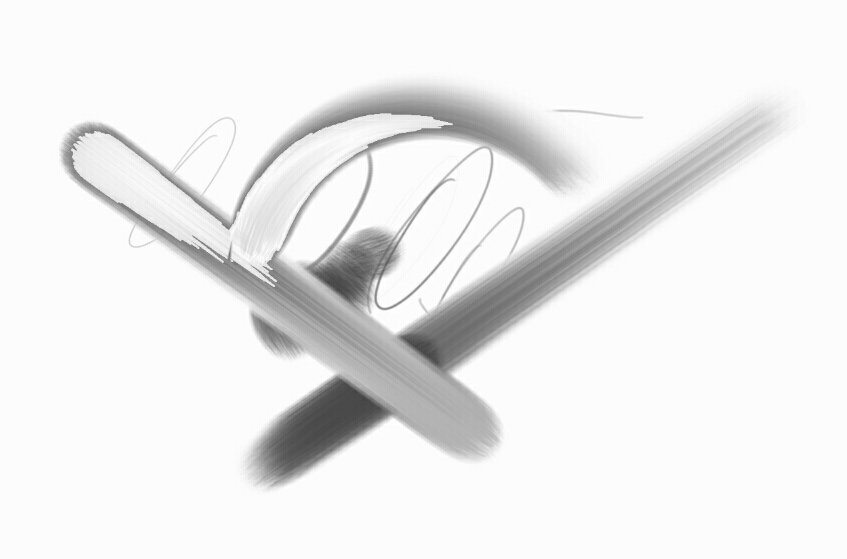
I've been fooling around with this idea of a legged oven for some time. It started as an unremarkable sketch for Inktober, but I liked the idea and am bringing it further. I am doing some moods and concept sketches in AD/AP, which might end up as guides for a 3D scene.


 Mike.Reynolds got a reaction from Dodgeruk in Affinity Photo and Designer for IPad - free Inksy brushes
 Mike.Reynolds got a reaction from Angelos58 in Affinity Photo and Designer for IPad - free Inksy brushes
 Mike.Reynolds got a reaction from Alfred in What's the difference between the Affinity Store and Windows Store versions?