SS Gilbert
-
Posts
29 -
Joined
-
Last visited
-
Thank you, Walt, but it is not automatically cropped or I wouldn't have started this feed. Anyone else is free to comment here! The issue is extricating my cropped selection from the background so I can use it.
-
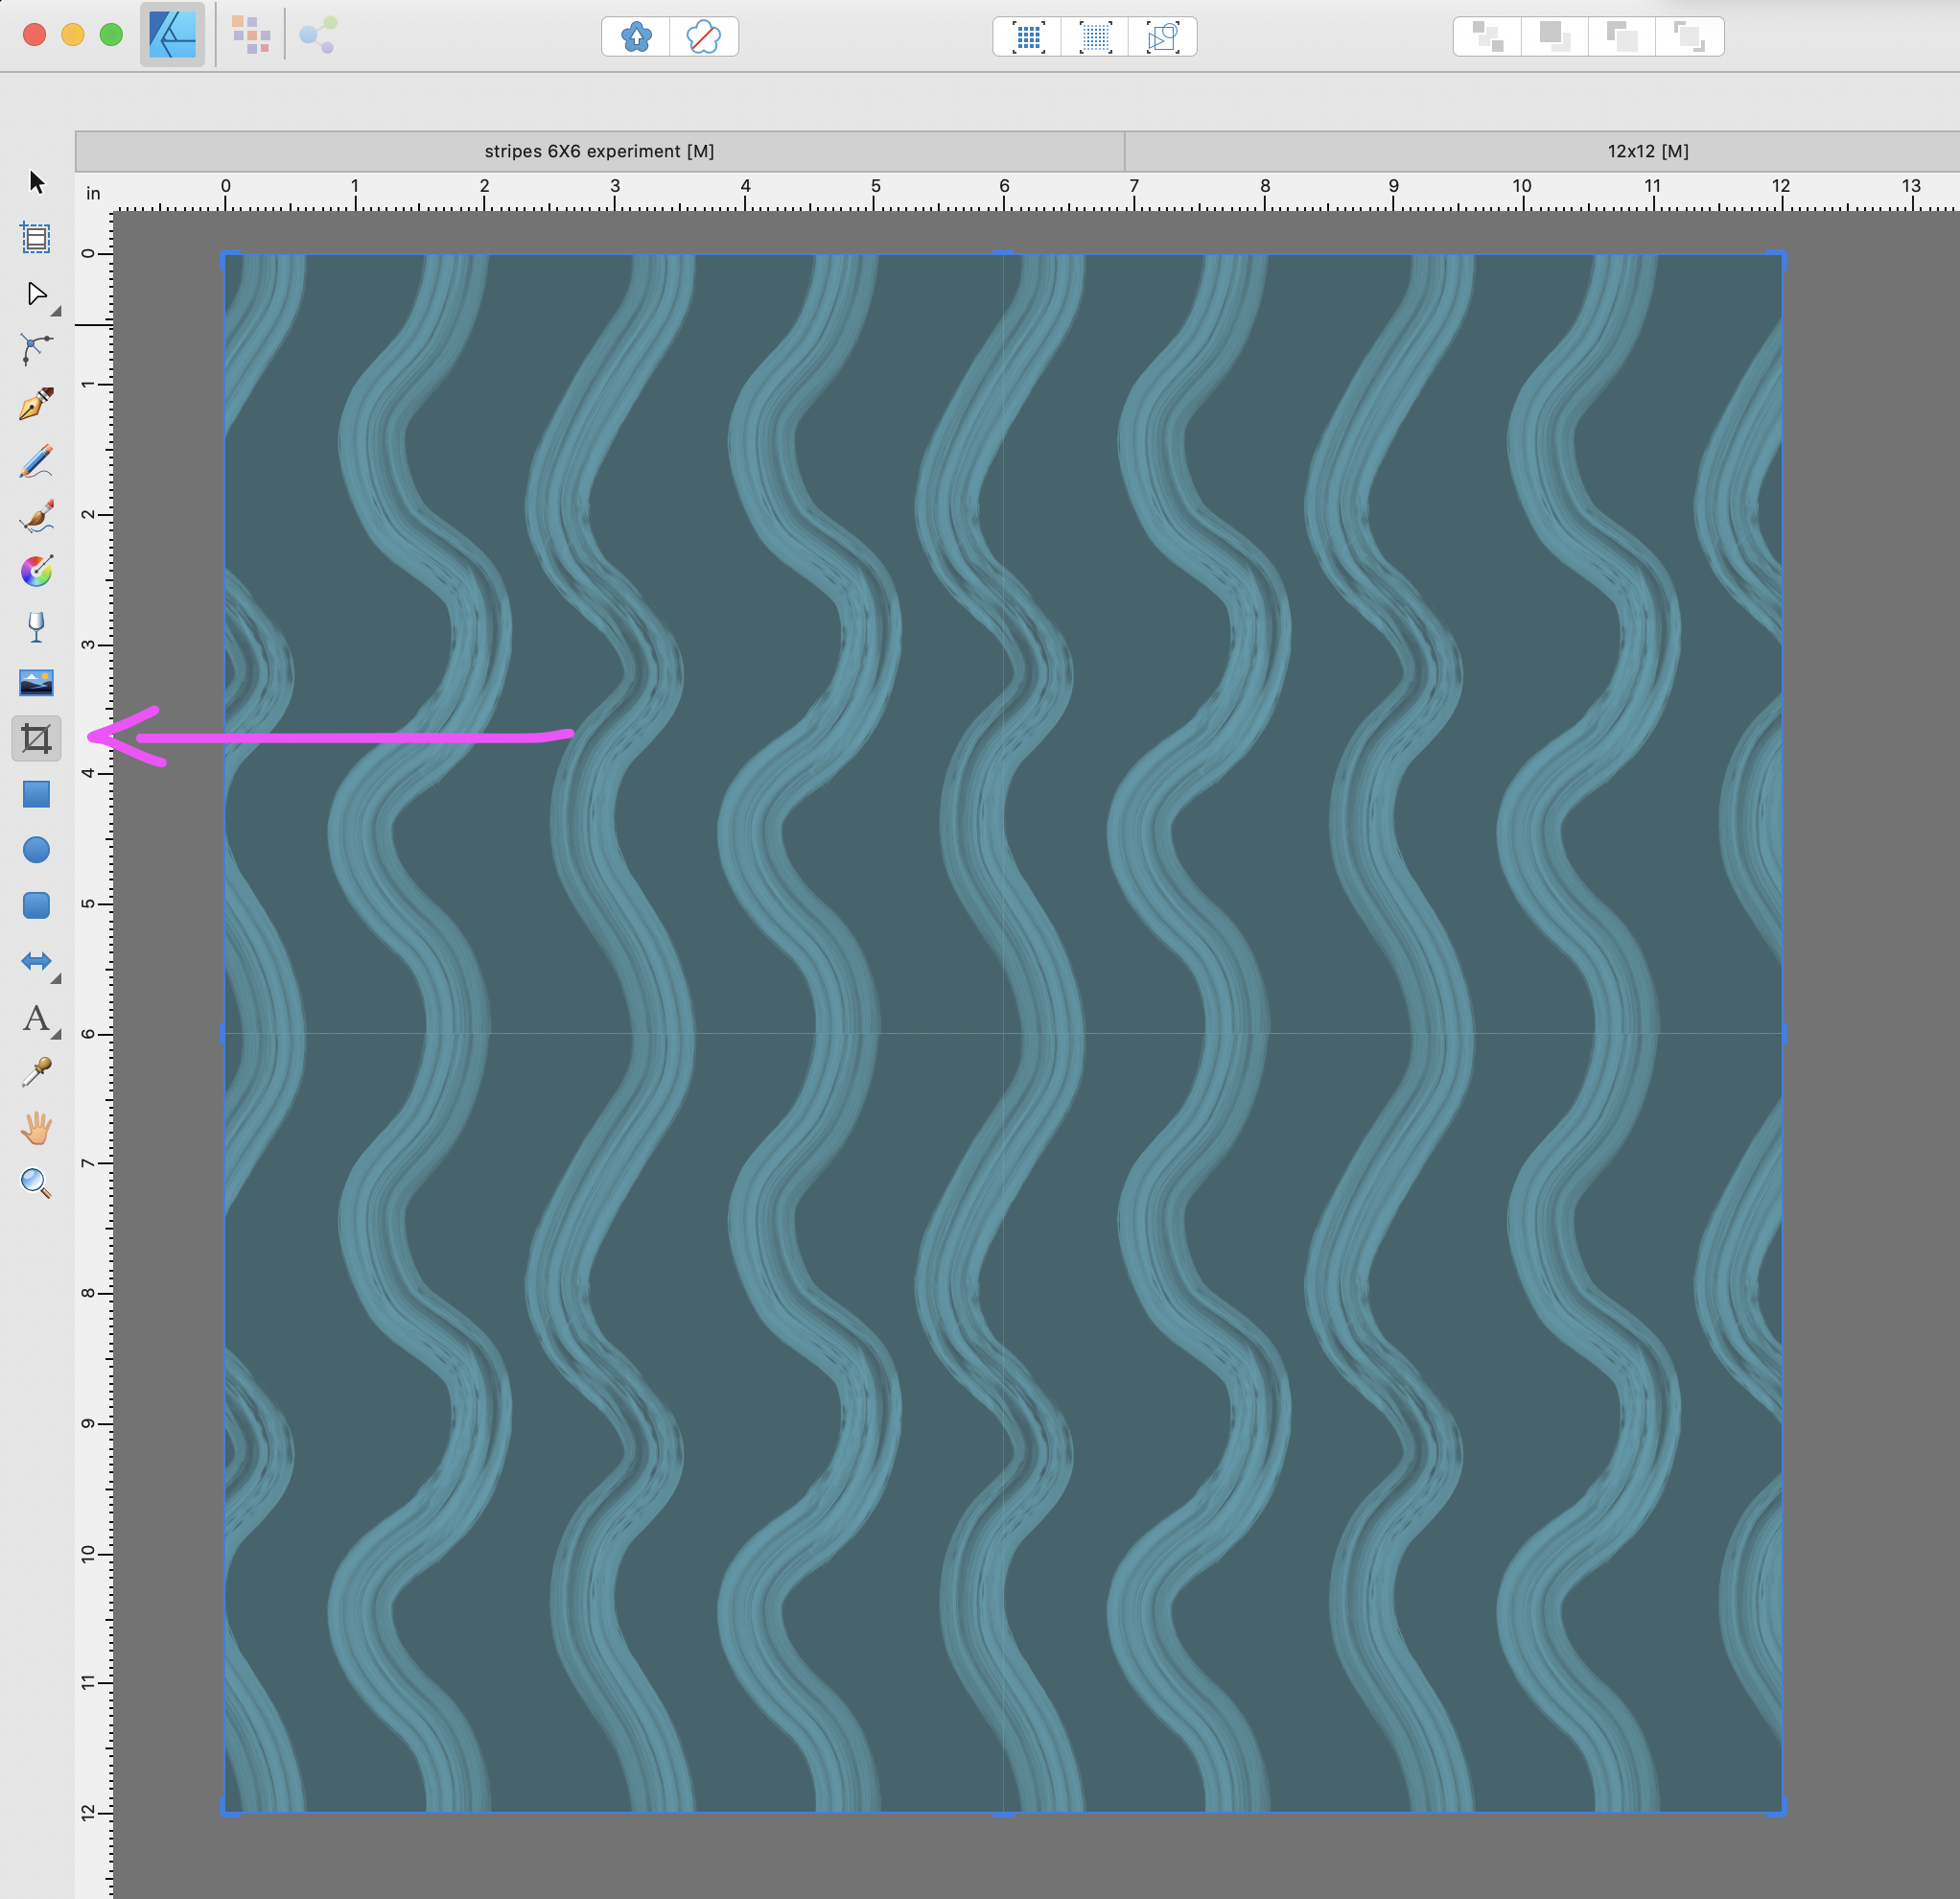
Having done that (first image above), how do I get the selection to crop?
-
Let me rephrase the question: how do I select the crop in AD v2?
-
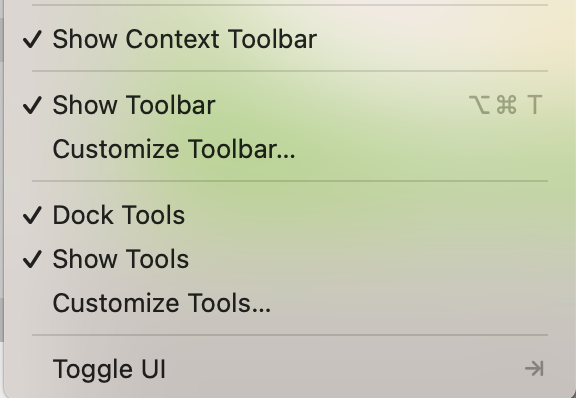
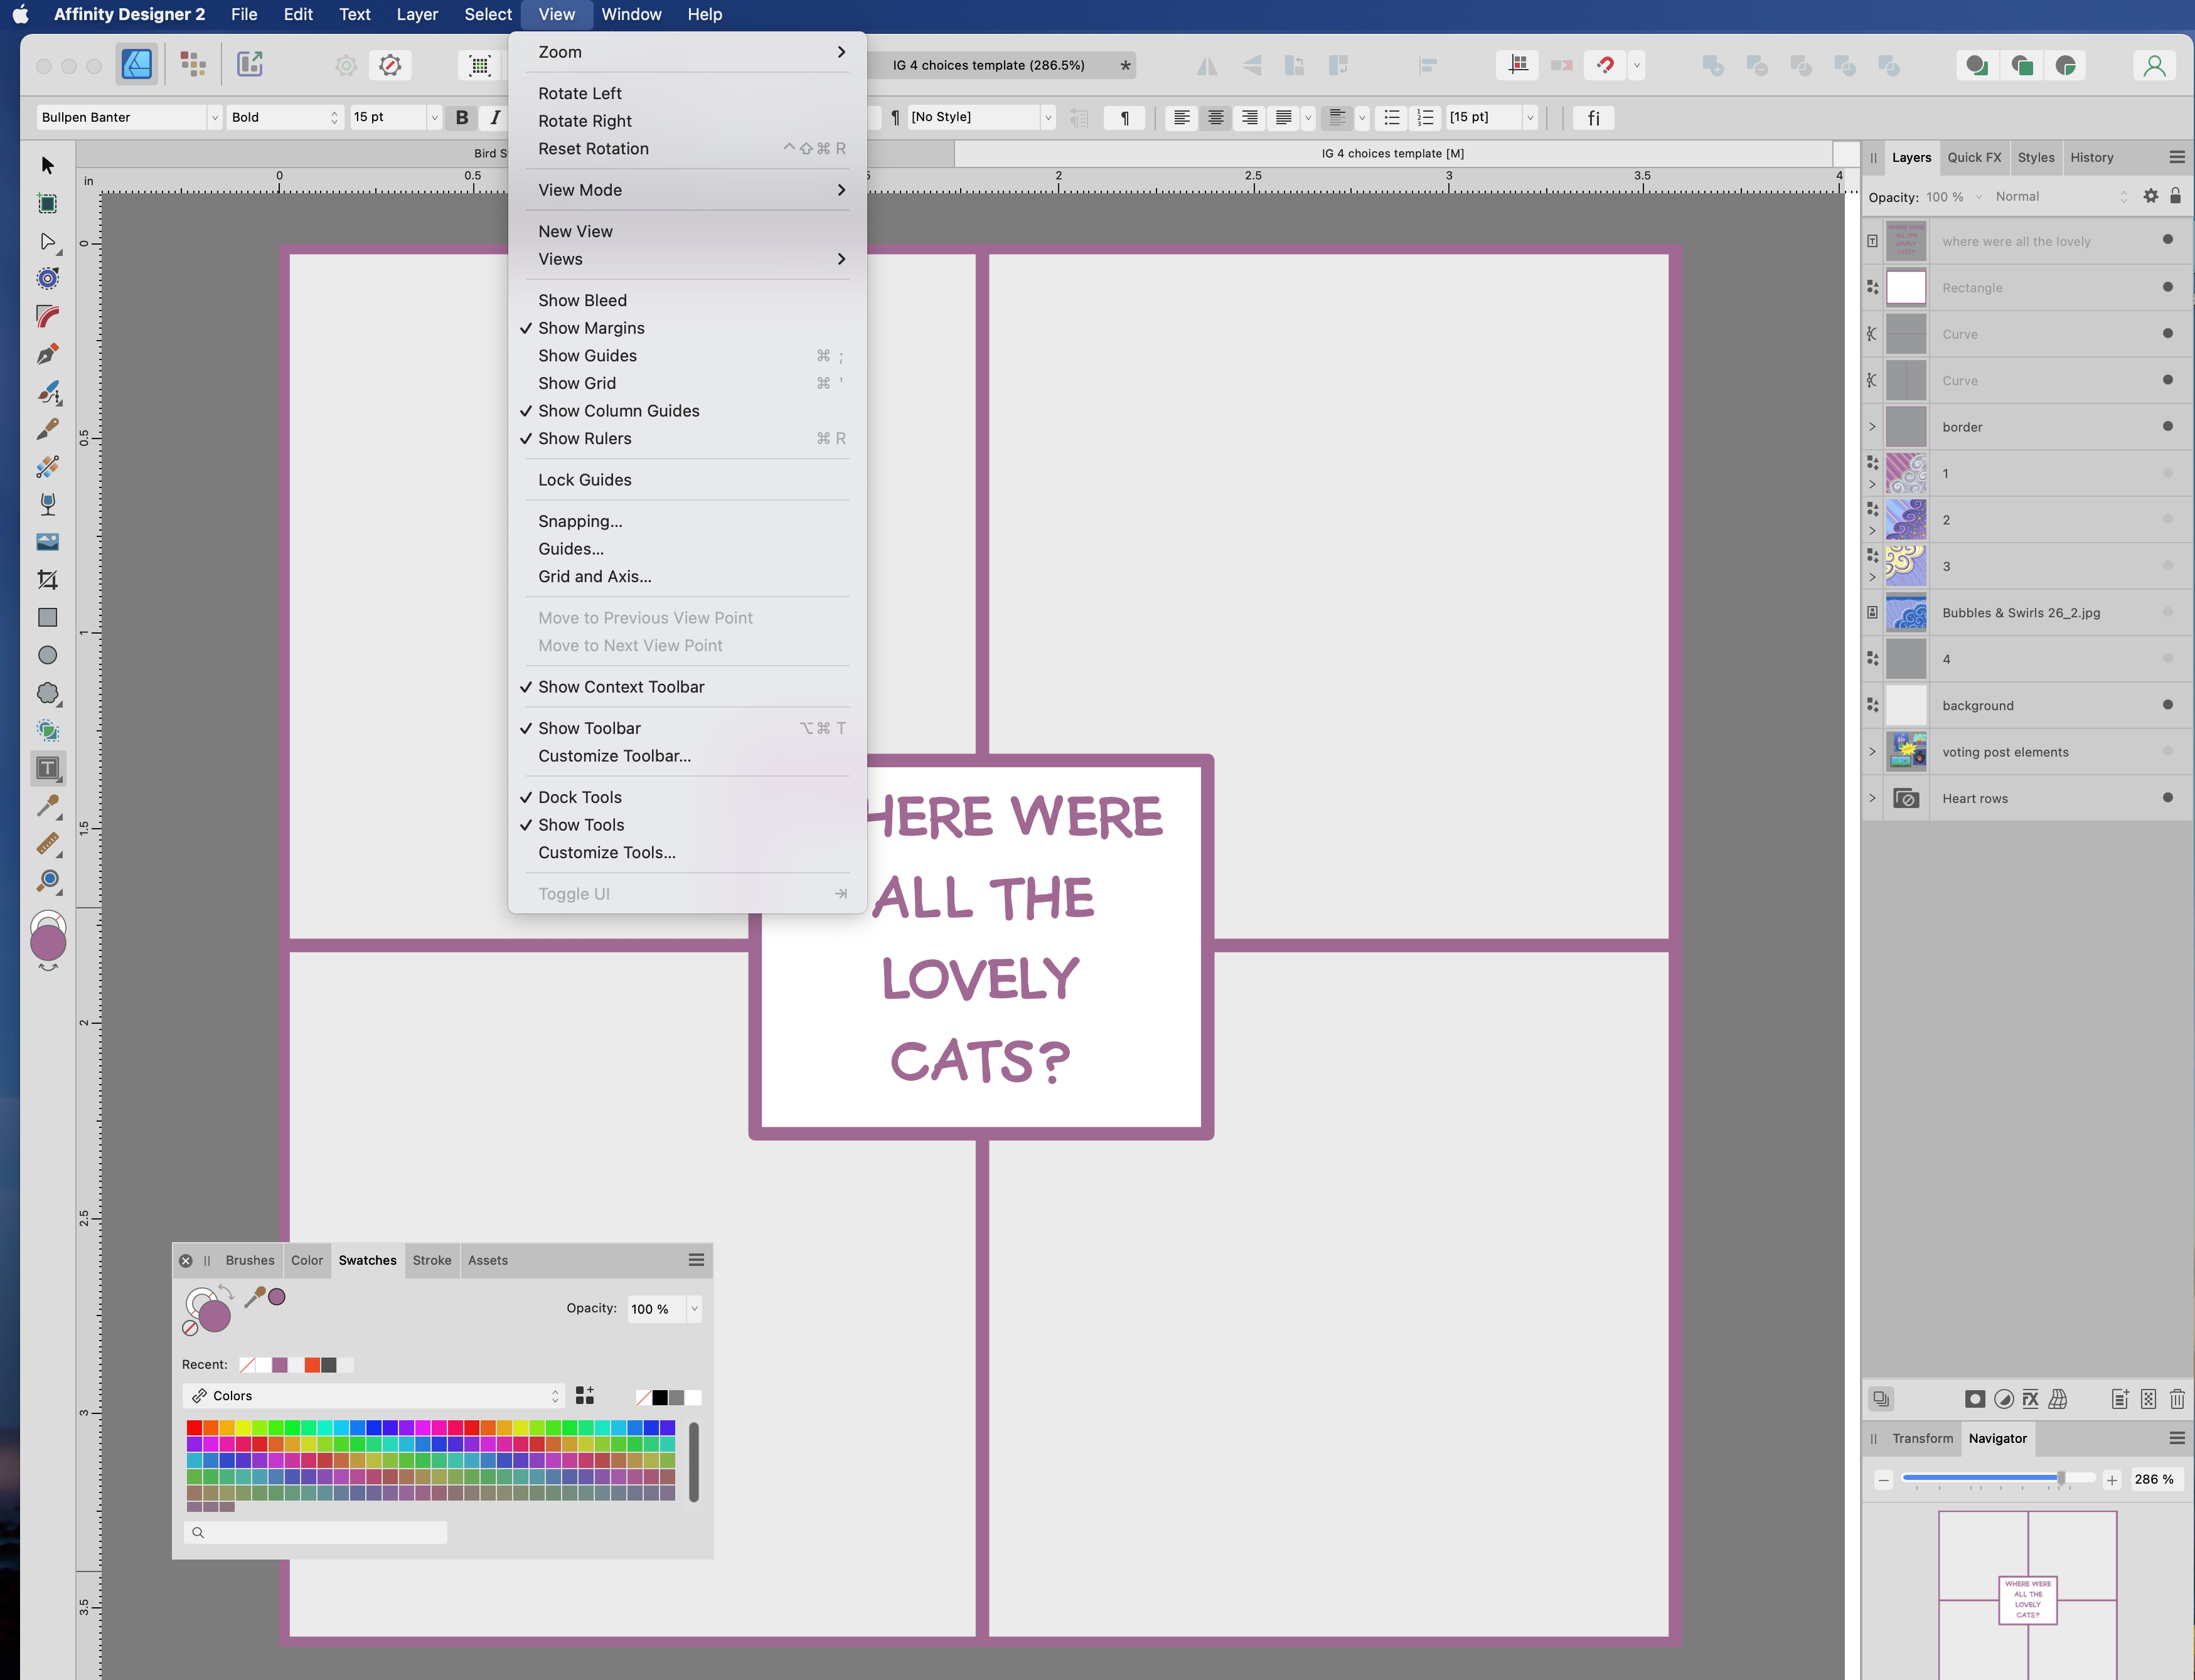
OK, I've never been able to figure out the crop tool in Designer. After I drag handles to my selection, I don't see SELECT in the context bar. (Always works great in AP.) What am I missing? Mac OS Ventura 13.6.1 AD 2 v 2.2.1

-
 AHA!! That was it, thank you! Just upgraded AP 2 to the same version and voila - Edit in Photo option is back. I'll have to keep better track of these upgrades!
 -
Please help! I have had this same problem since I upgraded to Photo v2. Am using Designer V2 on iMac running Ventura 13.6.1
-
 SS Gilbert reacted to a post in a topic:
Break Curve and Join Curve not working.
SS Gilbert reacted to a post in a topic:
Break Curve and Join Curve not working.
-
YAY, I see it! Thank you very much.
-
In V1, under VIEW, I used to find character controls under STUDIO. Where did they go? Feel a little silly asking, as no one else has mentioned this. Your help will be most appreciated!
-
Thank you for this and previous videos. To whom shall I report the bug?
-
Wosven reacted to a post in a topic:
Affinity CMYK gives me the wrong colors
-
WAIT - found a workaround!! I created a composite file to scale, with both images, used the color picker and voila! The colors matched. I was able to copy and place that layer into the correct file. Thank you all for your suggestions. Love this forum!
-
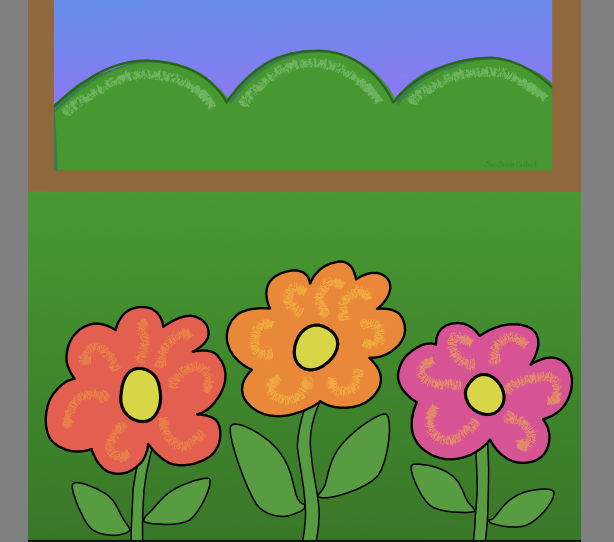
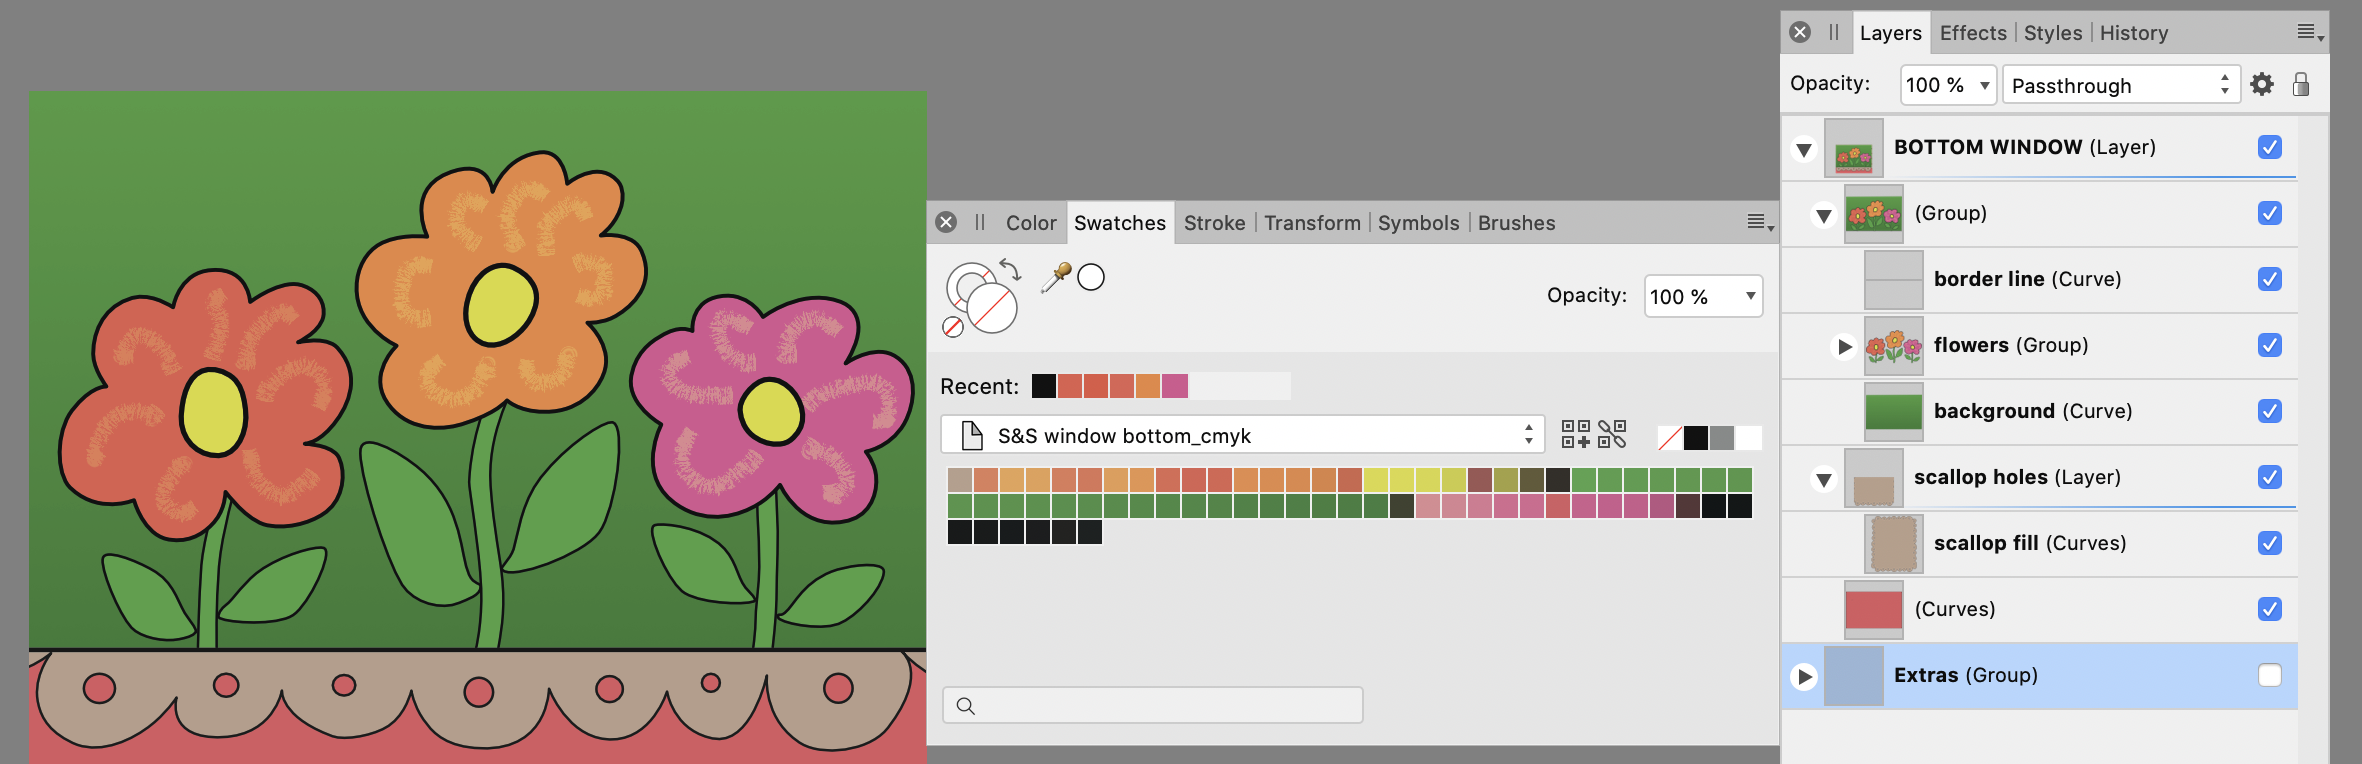
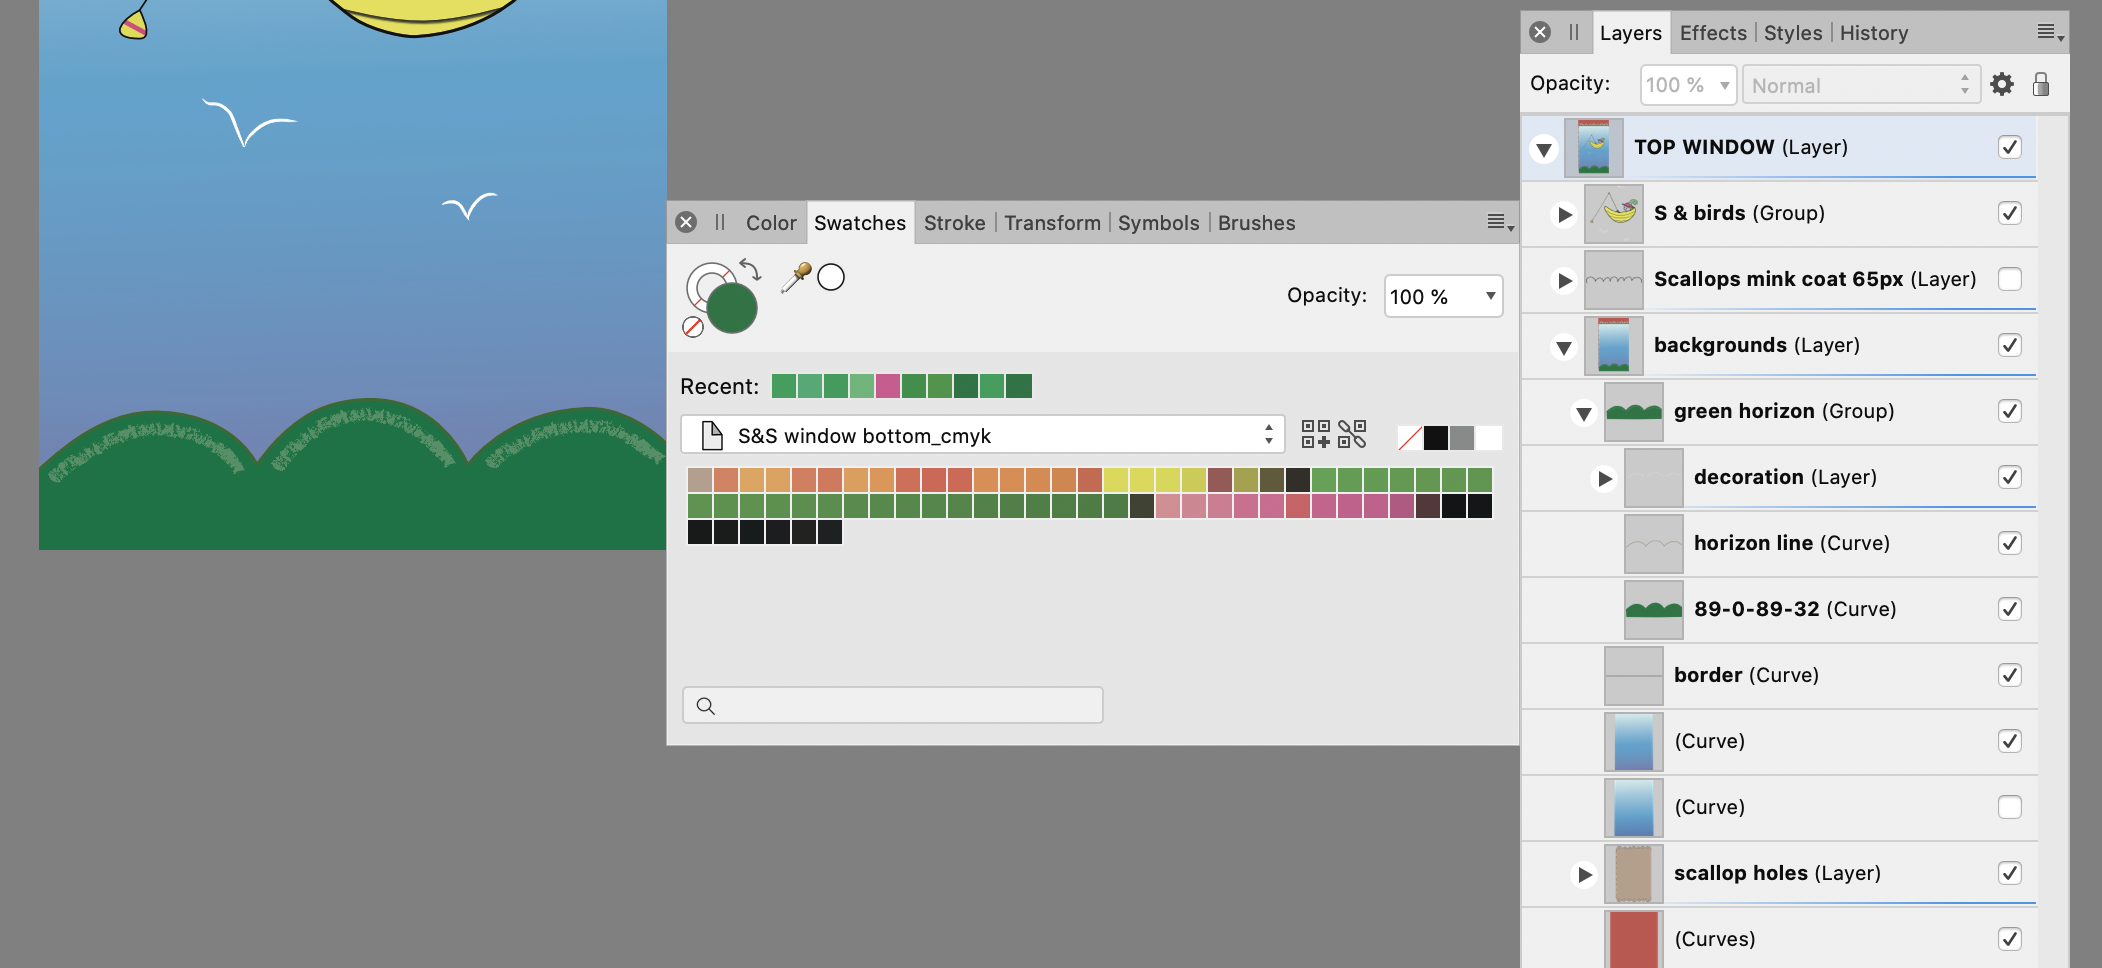
Thank you all for your help. I'm using Mac OS 10.15.7 (Catalina), Designer 1.9.3 I'm not sure what to do if the screenshots/screen colors are faulty (!) If this is an AD bug, I assume others would have reported it. I'm happy to learn about using the Mac OS Digital Color Meter - hopefully not for every file. I exported a palette based on the flower image, which has the correct warm green on top of the gradient. However it does not contain this green, therefore I was unable to use it when imported into the other image. So: no color picker, no color code, no matching green on the palette. I can visually match the warm greens, but am not sure if they will print the same. Thoughts? I appreciate your interest and help! Meanwhile, here are the requested screen shots.
-
Matching cmyk color across documents: How do I match the lighter green at the top of the first image to the solid green in the second using CMYK slider codes? As you can see, using 89-0-89-32 in both documents gives me different results. Eyedropper doesn't work between docs. The only way to match these colors visually on my screen is by changing the sliders. I worry that they will not print the same. Affinity Designer is set to “generic CMYK profile" in both files as well as full opacity. They will be printed on translucent vinyl. I’m used to the consistency of RGB hex codes. What’s up with this? All help will be appreciated.
-
InigoRotaetxe reacted to a post in a topic:
Designer - Free transform tool (perspective distort)
-
SS Gilbert reacted to a post in a topic:
Joining nodes - will it ever be working properly?
-
Very helpful. Just be aware that that layer will be rasterized, which may affect you later when scaling your vector image.
- 317 replies
-
- 1
-
-
- mac
- free transform tool
- (and 5 more)
-
Thank you for clarifying! Nothing said to select a layer first, so I was operating blind. Was spoiled by Affinity Photo!
-
Affinity Designer only: I am unable to use the crop tool. The Context tool bar does not appear when I activate it. This tool has never worked for me despite reinstalling the app. I am using V 1.8.6 on a Mac desktop. No problem with crop in A. Photo! Please advise.