simon bd
-
Posts
18 -
Joined
-
Last visited
Everything posted by simon bd
-
Adding the error dialog when opening a file.

-
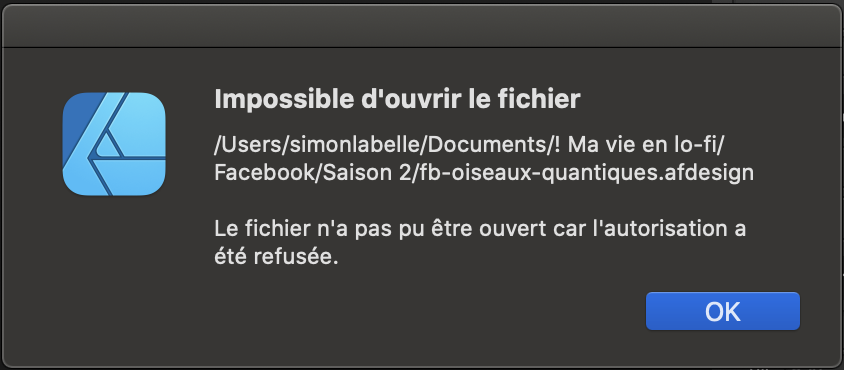
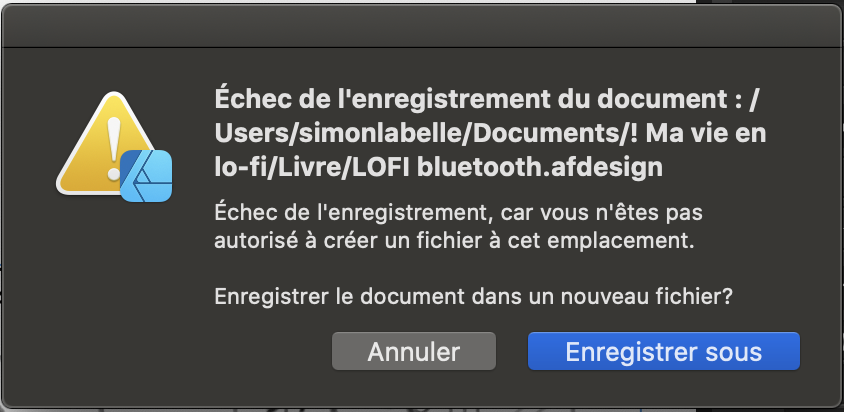
Hi, I started to get this issue in Affinity Designer 1.9.2 just a few days ago (April 11, 2021). It’s occurring randomly. AD won’t let me open an old file (created in pre-1.9, probably 1.8 (2018–2019)) because I’m “not authorized to open it”; or, it won’t let me save a new file because “I’m not authorized to save in this location”. Sometimes I succeed in saving in a different location, but sometimes not and I loose my work. After restarting the computer, the file that refused to open now opens without issue. I can save files until the bug starts to happen again. Please find attached the error dialog (in French). I’m using Affinity Designer 1.9.2 – 1.9.3 on Mac OS Catalina 10.15.7 on a 2017 MacBook Pro. At first I thought it was a system issue. I zapped the PRAM, reinitialized the SMC and ran a Disk Repair that found everything OK. I’m the administrator and have all permissions to open and save. If it can help: I’m opening old AD files created in 1.8; I copy-paste the content to a new file (1.9.3), adjusting and retouching it to accomodate for printing specs. I use a Wacom Cintiq tablet, but the issue occurs weither the tablet is connected or not. I made no change to my configurations recently, apart from updating Designer versions. I’ve been using Designer since 2017 without ever getting this issue. Thanks, Simon
-
Layer Mask Not Fully Applied (Affinity Designer 1.9.1)
simon bd replied to simon bd's topic in V1 Bugs found on macOS
Thanks for the tip, Sean! -
Layer Mask Not Fully Applied (Affinity Designer 1.9.1)
simon bd replied to simon bd's topic in V1 Bugs found on macOS
Hi Sean, Unfortunately, I deleted the masks after applying them; but please tell if you’d like to see the file anyway. Yes, it is a CMYK document. But the screenshot is RGB, which might explain the black not being 0,0,0. And yes, I’m using grayscale 0 as black, which should be OK on a grayscale mask. I wanted to report the problem; glad to hear it’s a known issue, I’m sure it will get fixed. Thanks for the quick answer, Simon -
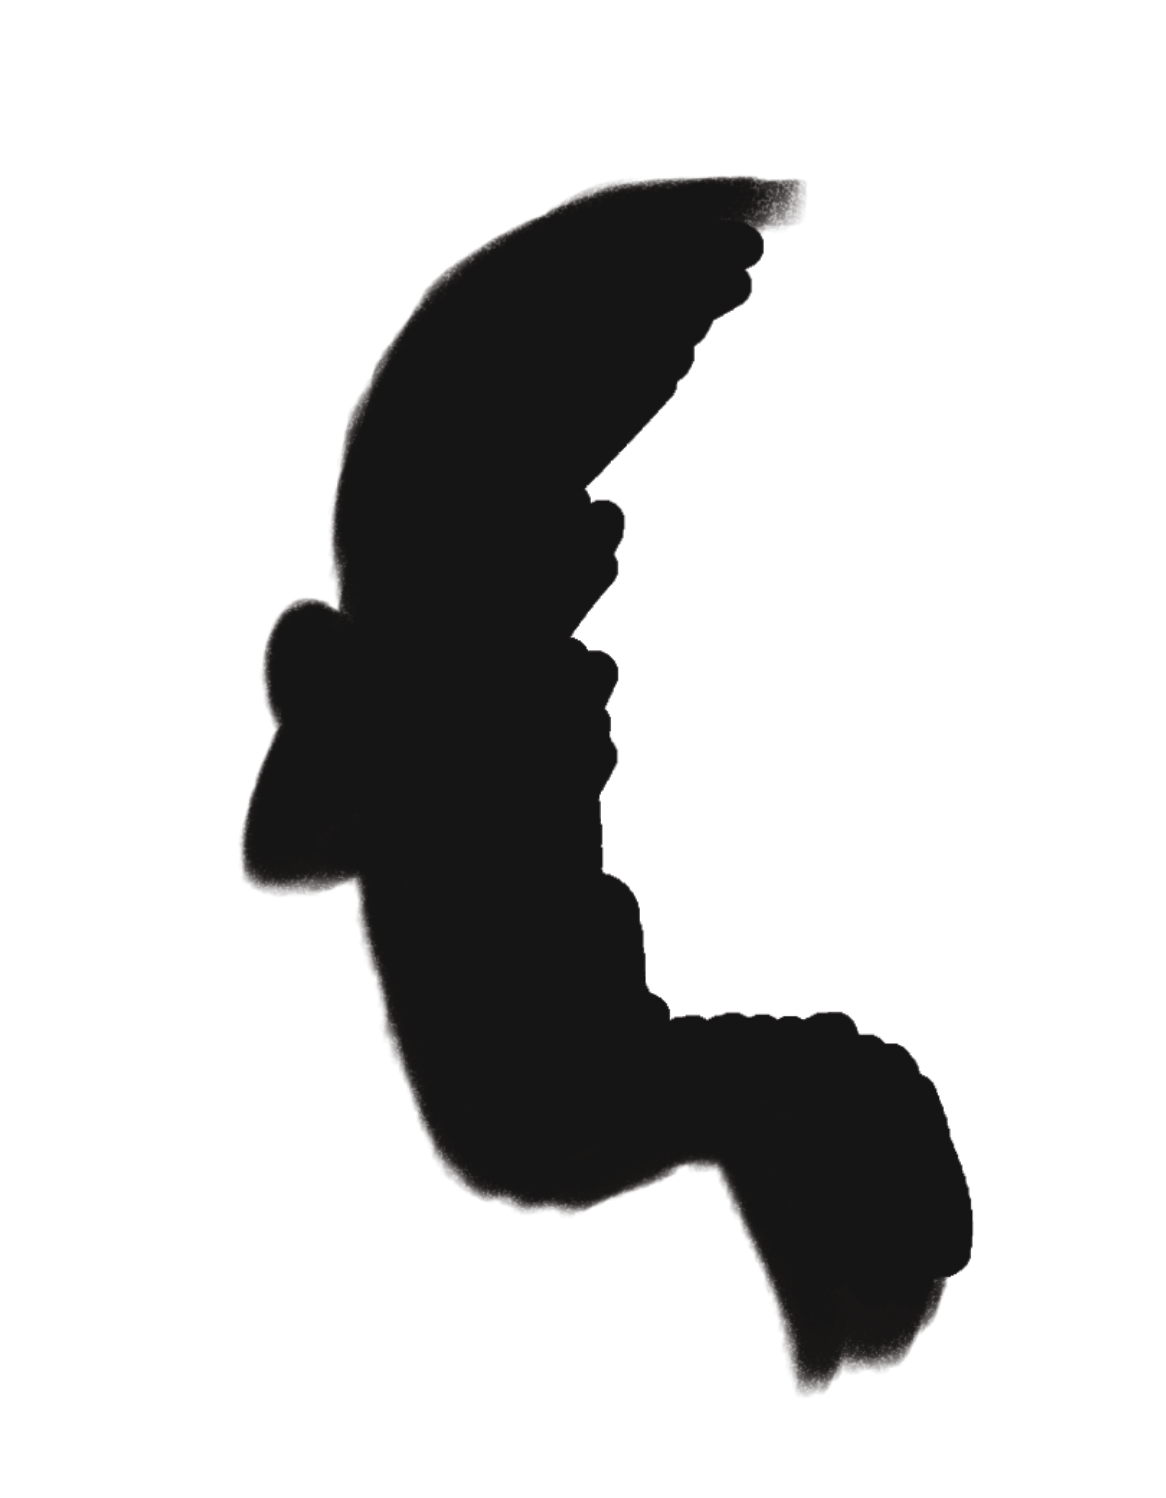
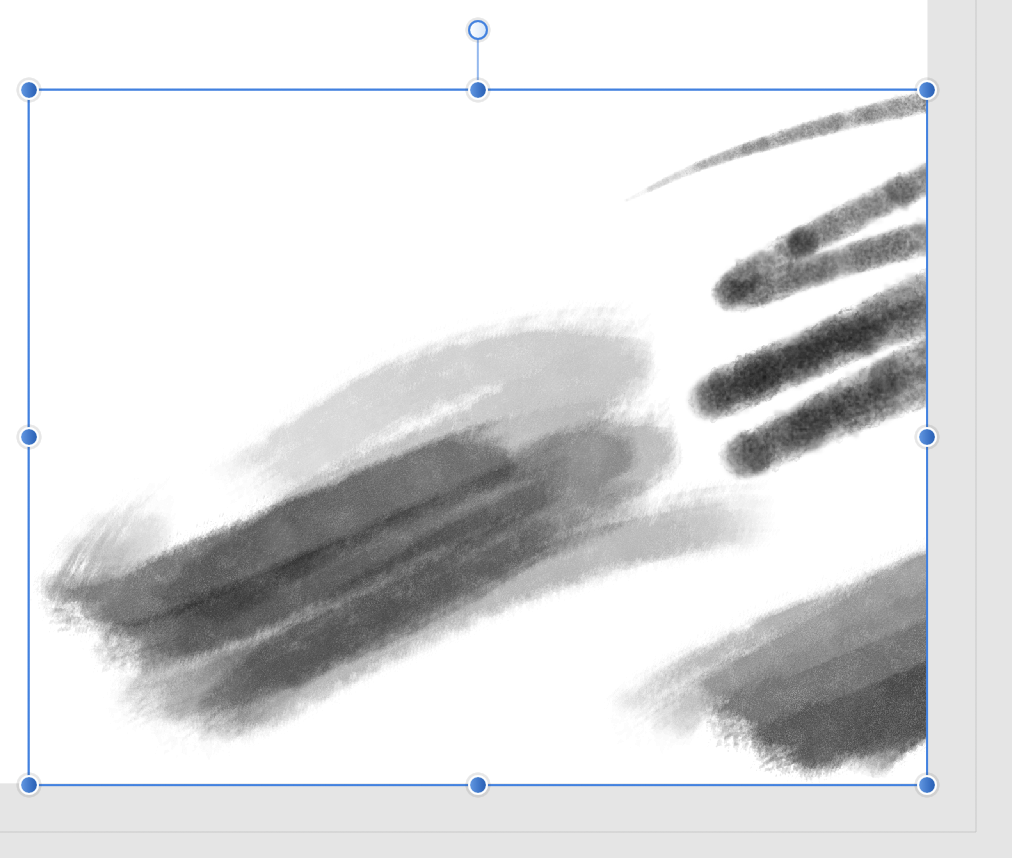
Hi, Using black on a mask should block the layer image completely—but it doesn’t. Attached Image 1 shows a two-layer drawing, one layer for the character and one for the dark background. The dark brushstrokes of the background intentionally overlap the character. A Mask is added to the background layer in order to hide the part where the brushstrokes overlap the character (Image 2). 100% black paint is used. Image 3 shows the result: the brushstrokes almost disappeared, but not quite: there remains a faint ghost of the background on the character (about 5% grey). You don’t notice it right away, but it would show at printing (dangerous!). I resolved the issue by working destructively. I loaded the mask as a selection and deleted the overlapping brushstrokes. This removed the 5% grey completely (Image 4). Now if a mask can’t fully hide the image, how is it possible that a selection, loaded from the same mask, fully deletes it? There is something wrong with the mask. Thanks, Simon
-
You’re right, Plastic! This seems to work. How in the world did you discover this? Anyway, Thanks! 😀
-
Hi, Just trying out version 1.8. You seem to have increased the Vector Brush tool precision quite a lot. It follows my strokes very well now. Just wanted to point out how much this is appreciated. Thanks a lot!! Simon
-
Hi, Here’s two small things that could improve Designer’s Brushes Palette. But first, thank you so much for your wonderful collection of paint brushes, they are great! I added the DAUB collection and I have so many now that I easily get lost. I want to try each brush individually to see how it paints. Then, when I find the right one, I don’t remember which one it was that I picked; so I need to try a few brushes again and when I find it back, to carefully take its name down. It would be great if the palette could highlight the selected brush somehow. Currently, when you select a brush, there’s nothing to remind you which one it is. The brush preview helps, but in the end they all kind of look the same. The next day, I start a new session and I want to use the same brush. I know its name now, but it’s like searching a needle in a haystack, going down the list and waiting for the tool tips to appear. It would definitely help if the user could choose to display the Brushes Palette list by name. If there’s a way, I didn’t see it. That’s it! Thanks again for this great software. Simon
-
Hi Dan C, Your advice to brandonj33 sounds good to me, and a good preference reset never hurts, so that’s what I just did on mine. As my issue occurs a bit randomly, I can’t really tell if this did the trick, and only time will tell, but it feels promising. Thanks for the insight! Simon
-
Interesting theory. However if that was the case, it would affect all apps and any text I write; and relaunching Designer wouldn’t by itself un-stuck it. So I’m doubtful.
-
Hi, Affinity Designer sometimes gets stuck on the View tool. This happens even if you’re not using the View tool. The Toolbar shows the Brush tool selected, but the cursor is the hand and the behaviour is the View tool’s. You can click in the Toolbox to change tools (you see the new tool being selected), but the cursor/behaviour is still the View tool’s; there is no way to get rid of it. It’s like the application crashed. However, you can still save your work, quit and relaunch. After relaunch, the application behaves normally…until the next time it happens. Affinity Designer 1.7.1 Wacom driver 6.3.35-2 Mac OS Mojave 10.14.5 MacBook Pro (13-inch, 2017, Four Thunderbolt 3 Ports) Thanks, Simon
-
Affinity Designer Customer Beta (1.7.0.3)
simon bd replied to MattP's topic in [ARCHIVE] Designer beta on macOS threads
Thanks everyone. Seems like Affinity should get their act together around this bleed thing and make it work cross-platform. Now if they can also give us vector brush stroke high-fidelity, Designer will really be my dream app -
Affinity Designer Customer Beta (1.7.0.3)
simon bd replied to MattP's topic in [ARCHIVE] Designer beta on macOS threads
Thanks Walt. I’ll report it. By the way, I tried this option with vector brushes. In fact the vector brushes will always draw on the pasteboard, no matter how you set up that option. Thanks again. -
Affinity Designer Customer Beta (1.7.0.3)
simon bd replied to MattP's topic in [ARCHIVE] Designer beta on macOS threads
Thanks Walt, so there is a trick! However, I disabled it and tried a stroke that bleeds—it still stops at the document’s edge. On or off, I see no difference. Anything I’m doing wrong? (I’m assuming “Attacher au canevas” is the option you’re talking about on my French version!) Thanks for your help!
-
Affinity Designer Customer Beta (1.7.0.3)
simon bd replied to MattP's topic in [ARCHIVE] Designer beta on macOS threads
Thanks for this beta version. My feedback: I wish I could paint up to the bleed limit, but my pixel brush strokes stop at the document’s edge. This, I find, defeats the purpose of a bleed. Of course I can still move or scale my artwork to make it bleed, but it’s not ideal. Unless there’s a trick? I was expecting more vector brush fidelity in the new version. The vector brush re-interprets my strokes too much; I don’t see any improvement over the current version. This is on my highly-desired-features wishlist! Please note that the pixel brushes, on the other hand, are perfect. Thanks for the pencil’s sculpt mode, a great feature! It would be great to make it available to the brush tool too. To use it on brush strokes, I need to change tools temporarily, which is not very productive… but it works.
-
I’m evaluating the Affinity Designer Brush for my art drawing. One nice feature in Adobe Illustrator, I find, is the ability to edit a path by simply selecting it and hand-drawing over it. With each stroke, you get to remodel the path and refine it until perfect. Let’s say I draw an oval with the brush in free hand: there will be small bumps and flat areas, and the endpoints will be open. After selecting it, I can easily smoothen the curve by drawing over it, and I can connect the two endpoints and close the path smoothly the same way. The process is very natural and intuitive. So far I haven’t found a similar feature in Affinity Designer. It would be great to have it!
-
Hi! I’m evaluating Affinity Designer as a replacement for Adobe Illustrator and I’m very impressed. However, my main tool would be the vector brush and I’m a bit disappointed with it. I find that Affinity’s vector brush re-interprets my strokes too much. I draw a curve and the resulting stroke gets transformed: it ends up being a bit too flat or a bit too curvy, a bit off. Is there a way to control the brush tool tolerance? In Adobe Illustrator, I can control brush fidelity and smoothness (see screenshot). I would say Affinity Designer’s tool would compare to Illustrator’s brush options set at 5 pixels / 5 %. I prefer setting it at 1 pixel / 1% for higher fidelity. Can something like this be done? (Please note that this doesn’t apply to the pixel brush (Pixel Persona), which follows my strokes precisely.)