Phily
-
Posts
19 -
Joined
-
Last visited
Everything posted by Phily
-
Hi Lagarto, thanks. Just tried it and it worked, so simple, lol. Now I finally know not to use the crop tool anymore when I try to do this with EPS files. As a photographer I mainly work with photo files and I was thinking about it from that perspective...
-
I never used Designer or worked with EPS files so I know this must be the most basic of basic questions but I just can't figure out how to export from a EPS file to high quality large pixel size JPEG in Affinity Designer. I basically simply want to crop a portion of the EPS image in Affinity designer and then export that crop to the size I want (like a high res 5000 x 5000 px) with keeping the quality and making use of the limitless zooming. The normal export window won't let me do this and the resulting file isn't even cropped after I saved it.
-
Thanks, everyone. Some good techniques. I will try these out and see which one works best.
-
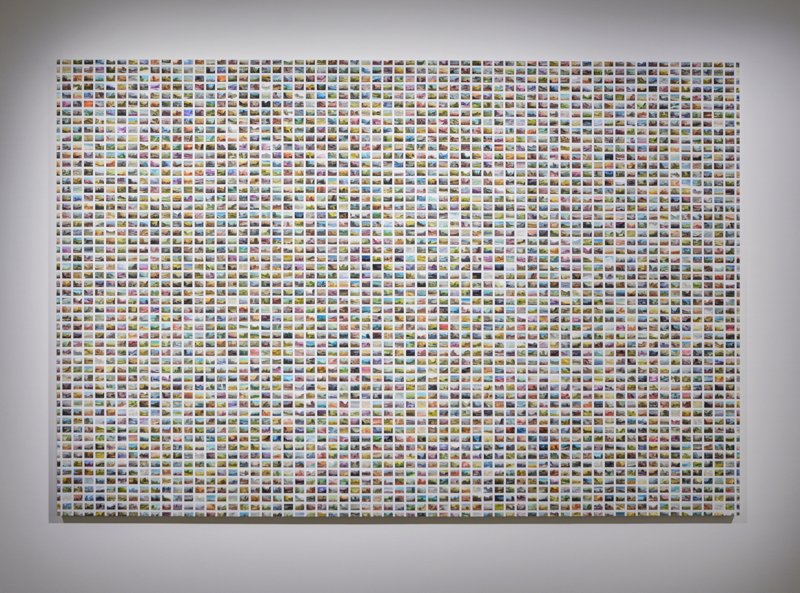
The background needs to be/look like the actual wall it hanged on. It thought about adding the shadows to make making the wall even across the surface easier (still didn't look great though) but it doesn't look natural with added shadows.
-
Hello, I have an image taken at an exhibition and because of the spotlighting, there's a vignette around the artwork (I cropped most of it out but it's still noticeablein the corners). What is the best way to get an even white wall across the whole surface of the wall (while still keeping the shadow lines directly around the artwork for depth)? I tried with the clone brush, dodge brush and inpainting tool but without much succes. I also tried with an image of a blank wall without any lighting on it and tried blending it as a layer (only the wall) with the original image but it didn't look natural either. I know this should be a simple fix but just can't find the right method to do it.

-
@Uncle Mez Thanks! I'll try that one out also...
-
No I'm using the paintbrush tool. I do have a b&w image. But it's an RGB image. Colors work except white.
-
The least dark color that works seems to be a light grey.
-
Yes, opacity is on 100%. Picking complete white shows nothing, as if the brush is invisible. It should show since I'm using it on a dark enough background.
-
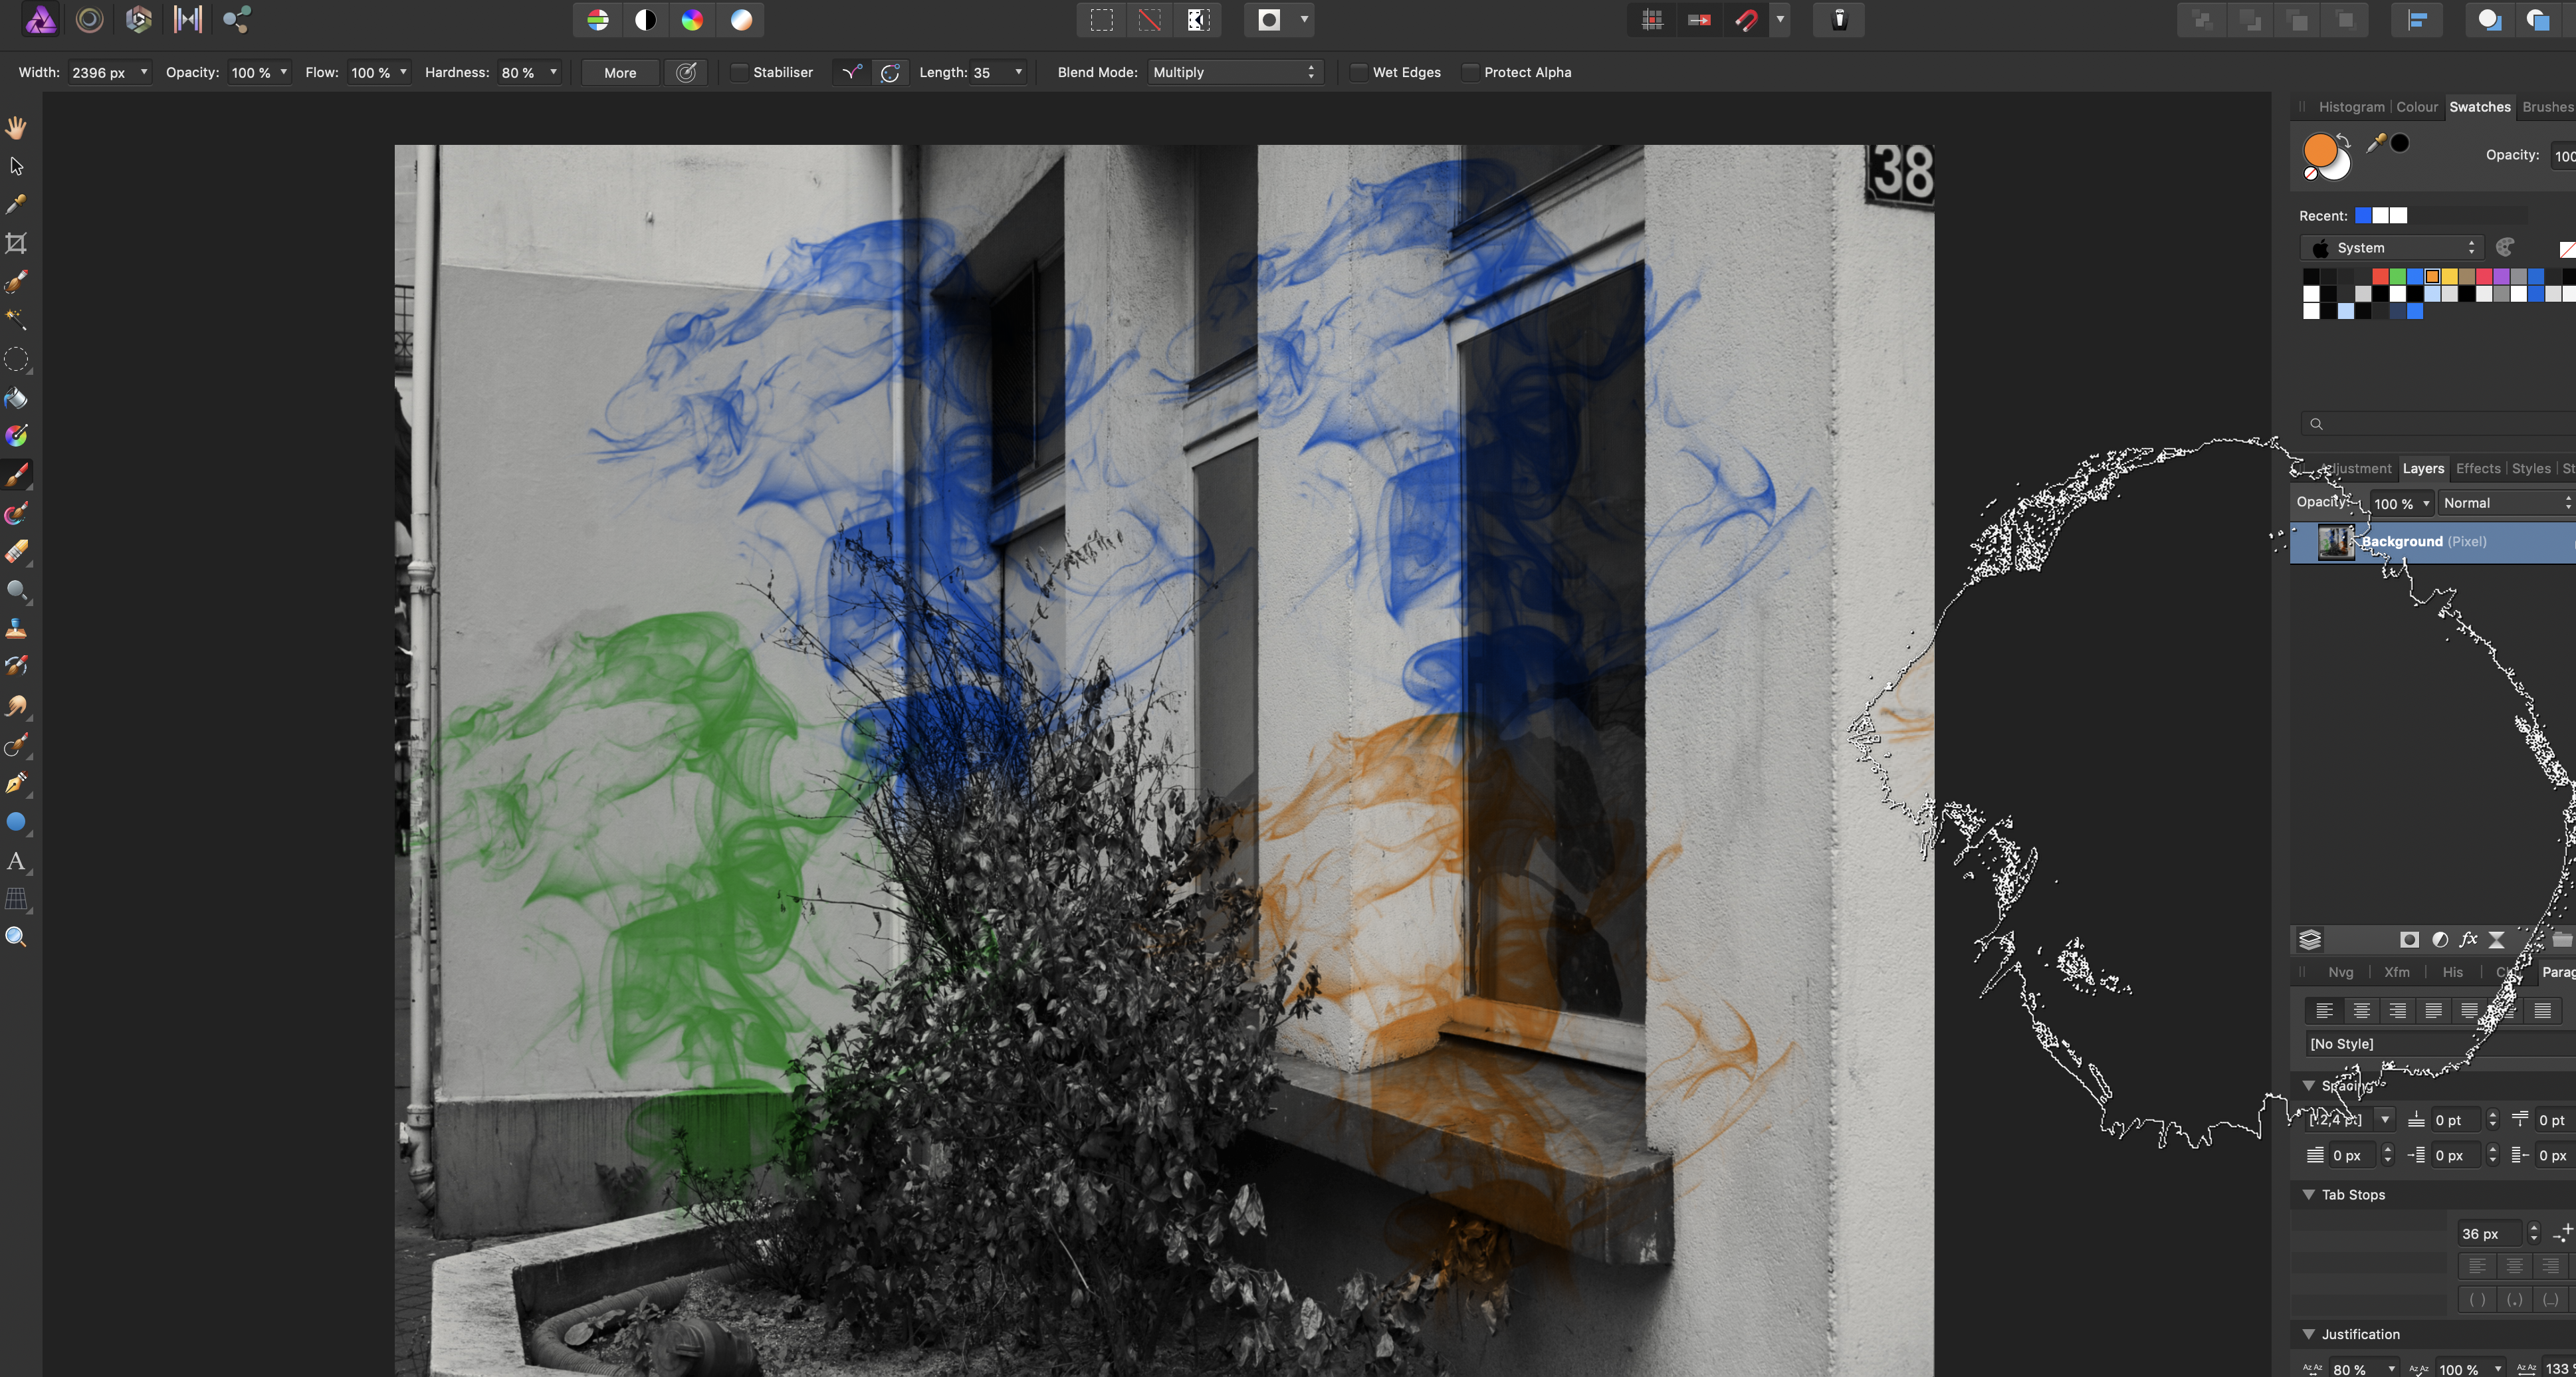
Got it! I'm in the Swatches panel and I can see the color of the brush change if I select colors, but when I pick white and use the brush on a black background I get a light grey or nothing at all.
-
Hello, I just started using some smoke brushes from the Affinity store. The brushes are black. How do I change the color of the brush, so that I can change it into white? Thanks
-
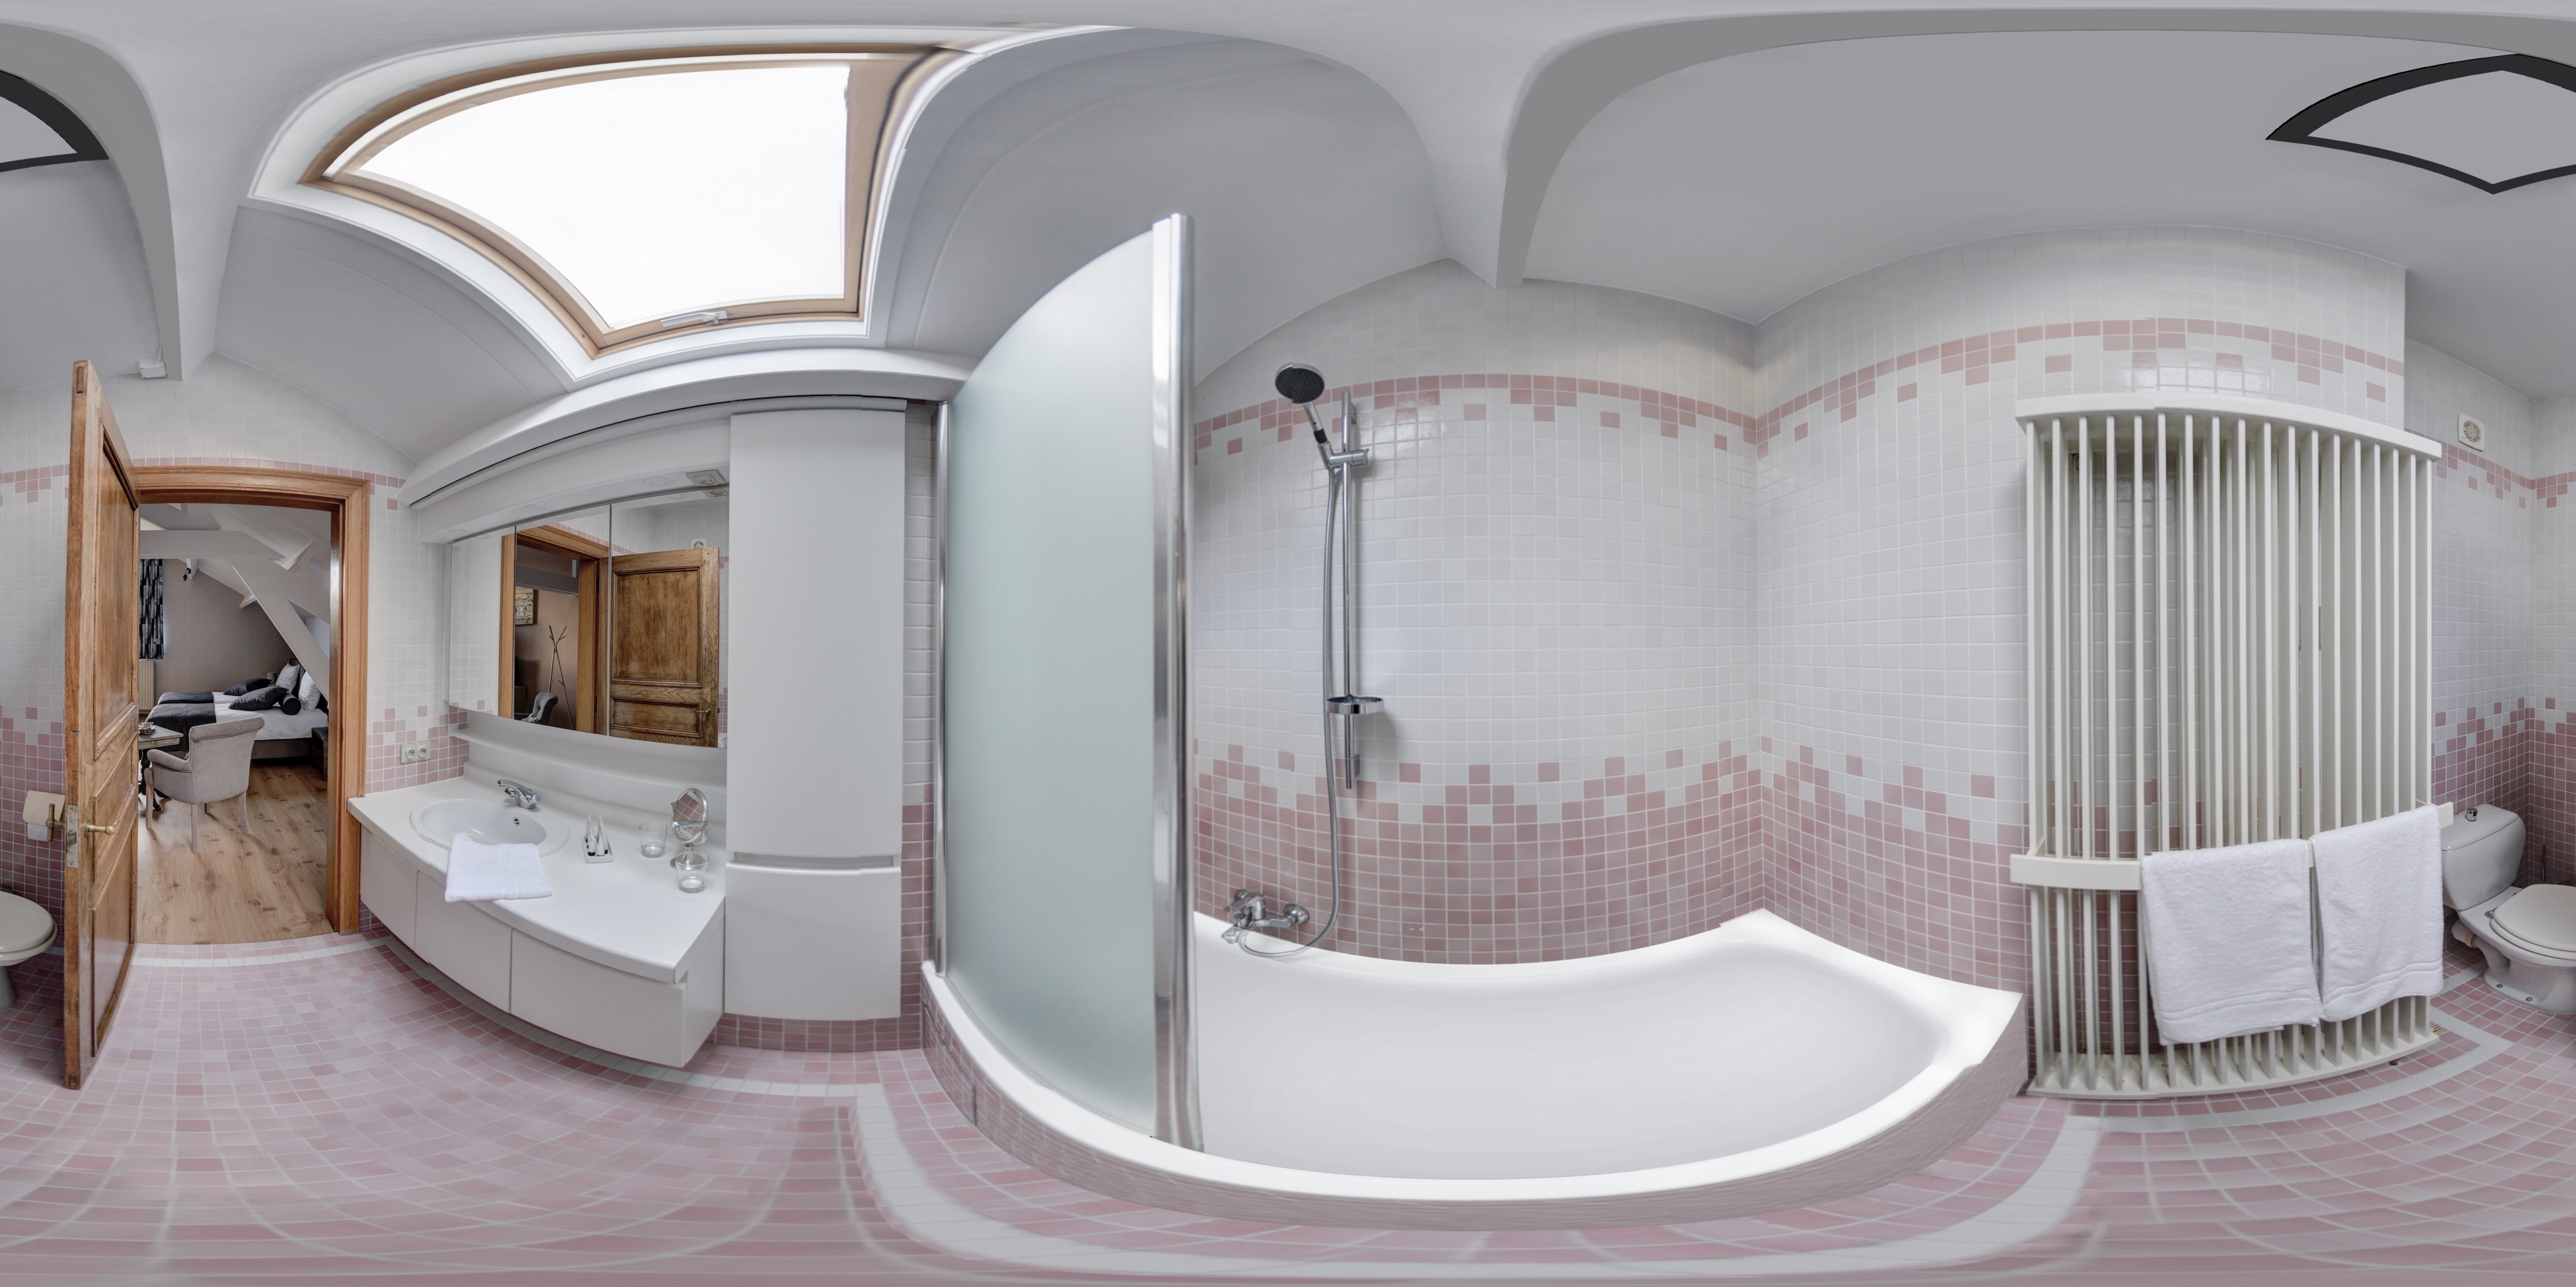
Thanks. I ended up using the dodge brush to color/lighten all sides equally. I could have started back from scratch since I kinda cloned myself into a corner. But this will do. It's a pano for a google street business view and what's often done to cover the nadir/tripod is to blur it all out since looking straight down is not the point of interest anyway. But cloning is a more elegant solution even when it isn't done perfectly.
-
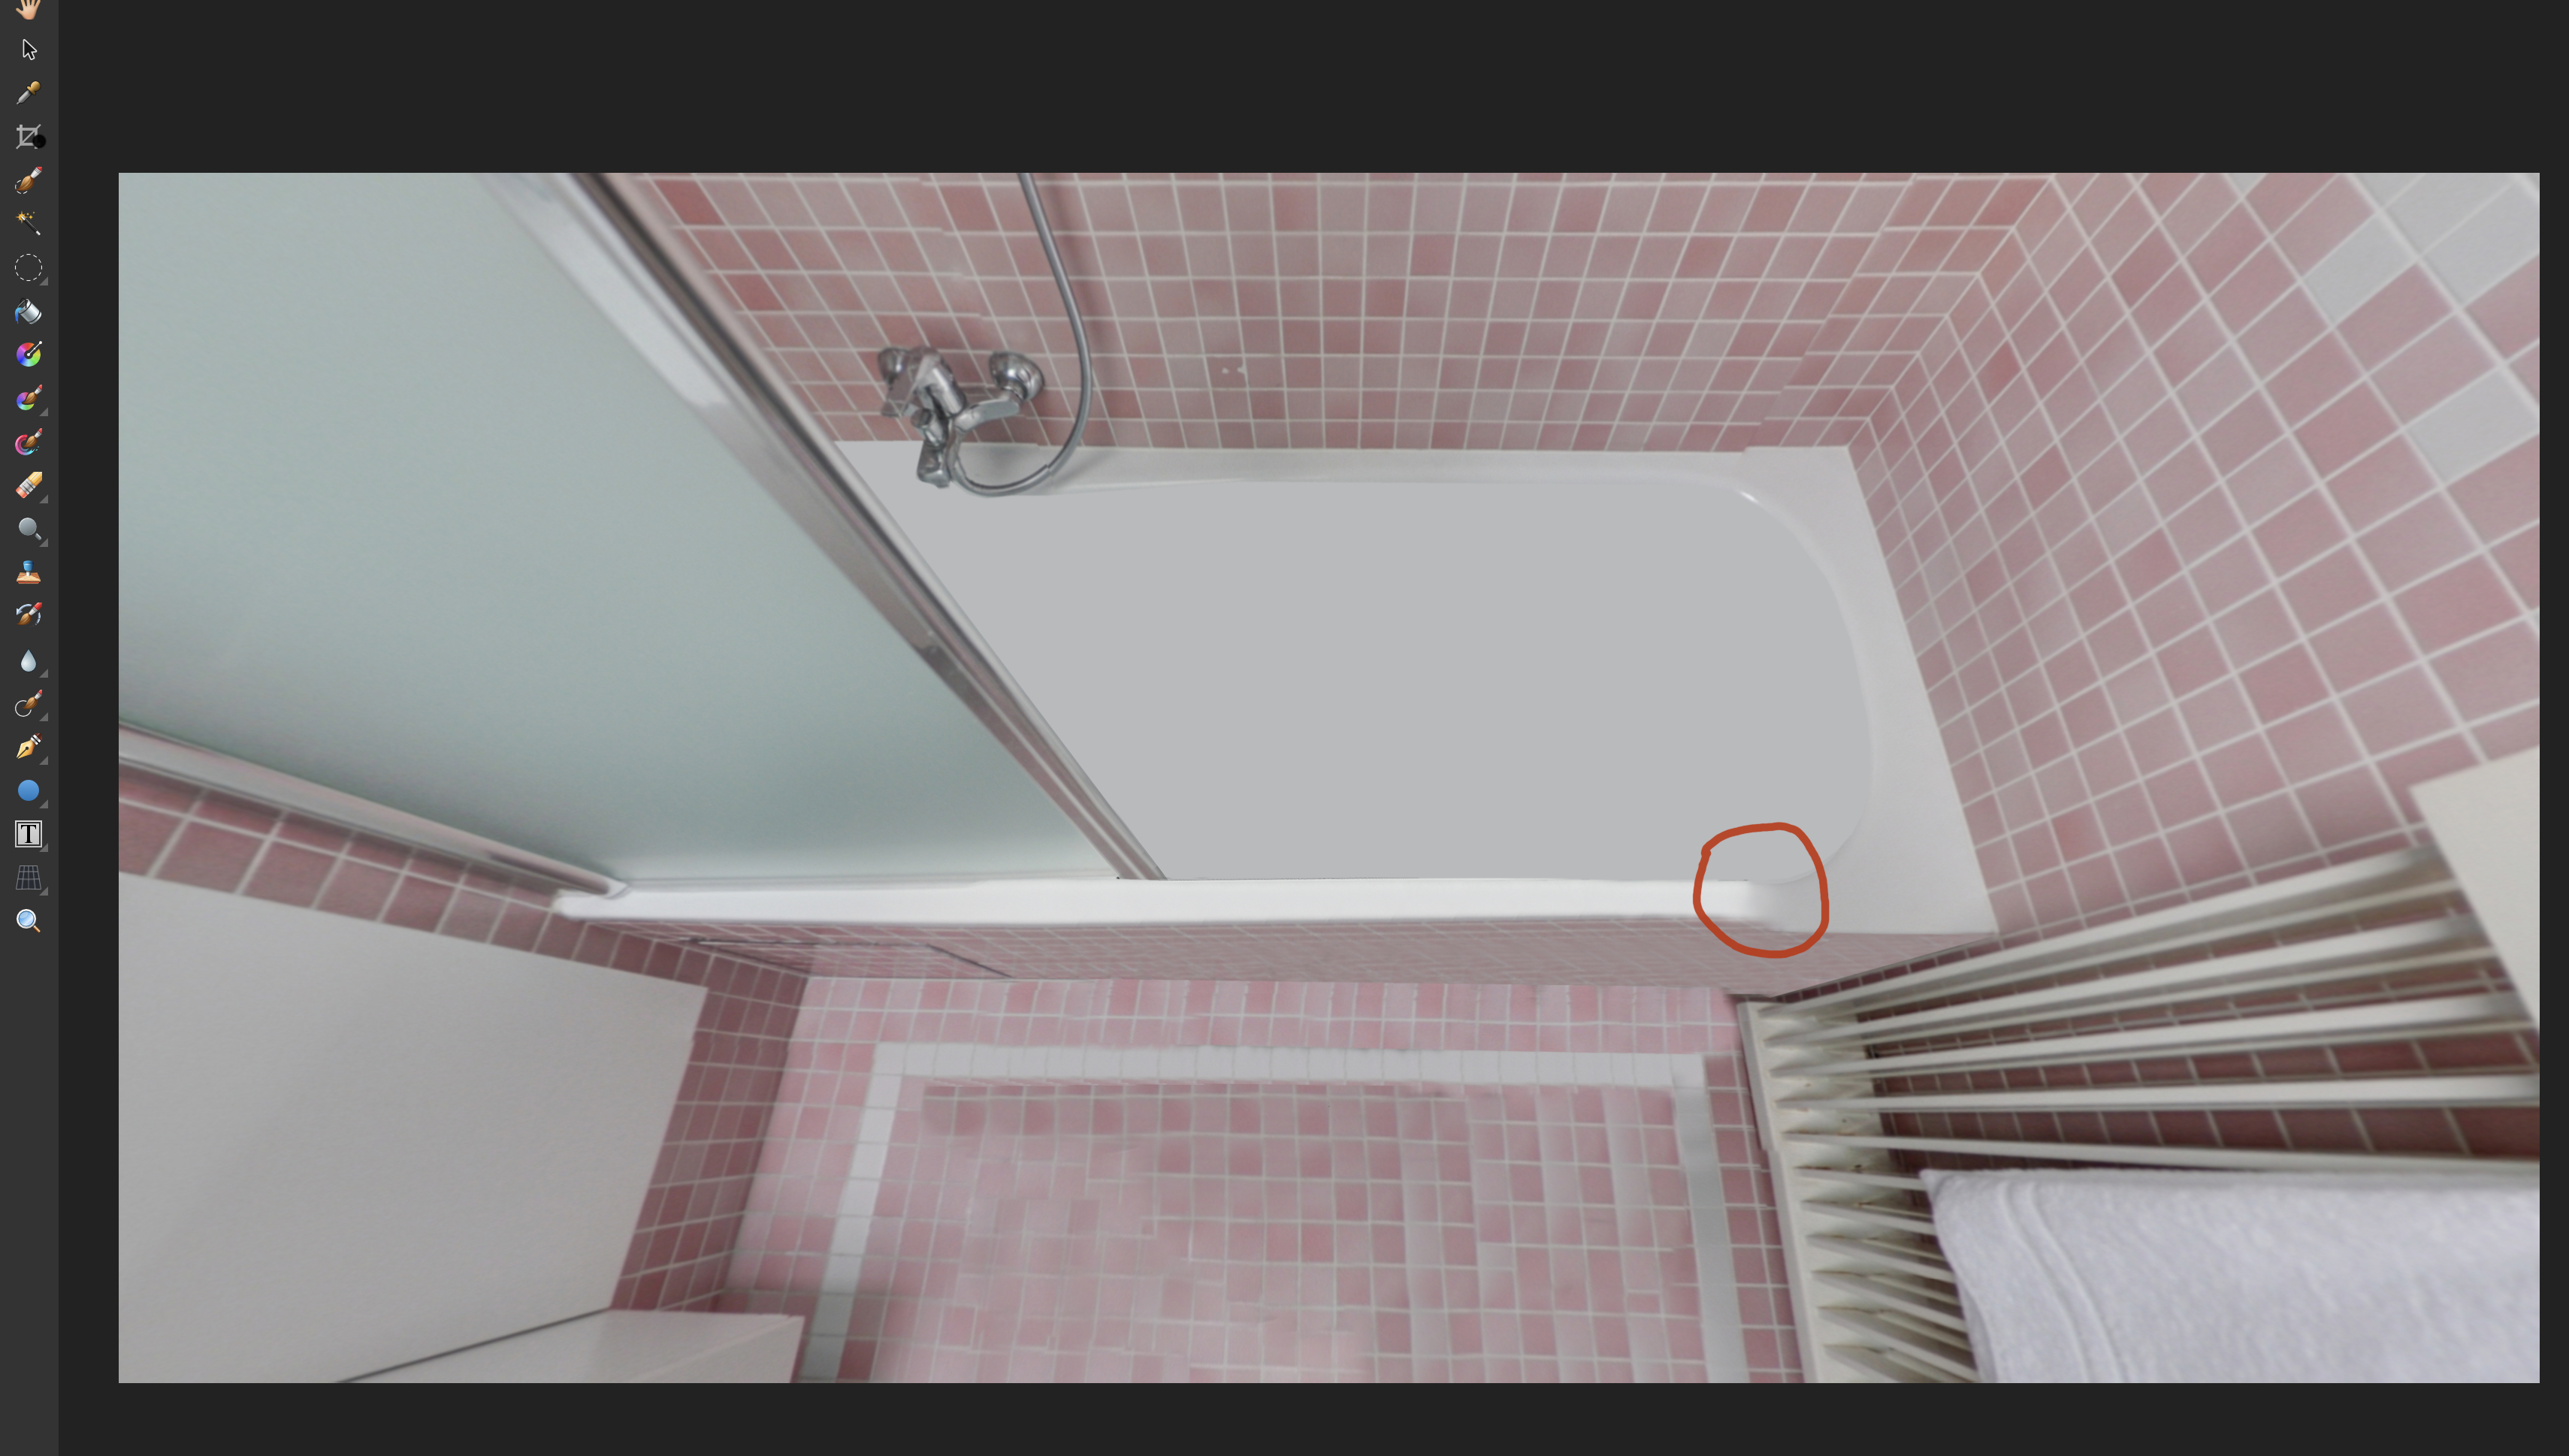
I tried to clone all sides equally but didn't really got the result I'm looking for with that (probably more to do with my retouching skills than to do with the tool). Didn't think of the doge/burn brush and I'm trying the burn brush. Experimenting with different brush settings now so as not to show streaks. Right now it's set at Opacity: 10% Flow: 47% Hardness: 5% but still shows some of the movement of the brush. But I think the burn brush is the way to go and I guess it's a matter of finetuning. Have no idea what all the other settings do in the 'More' panel (like Dynamics and Texture). I have been retouching the zenith and nadir from some 40 equirectangular pano's and this is the last one that's giving me a headache...
-
Hello, Does anyone know a way how to accomplish a smooth transition between the lighter and darker area (circled in red) or which tool to use for that other than the clone brush?! Thanks
-
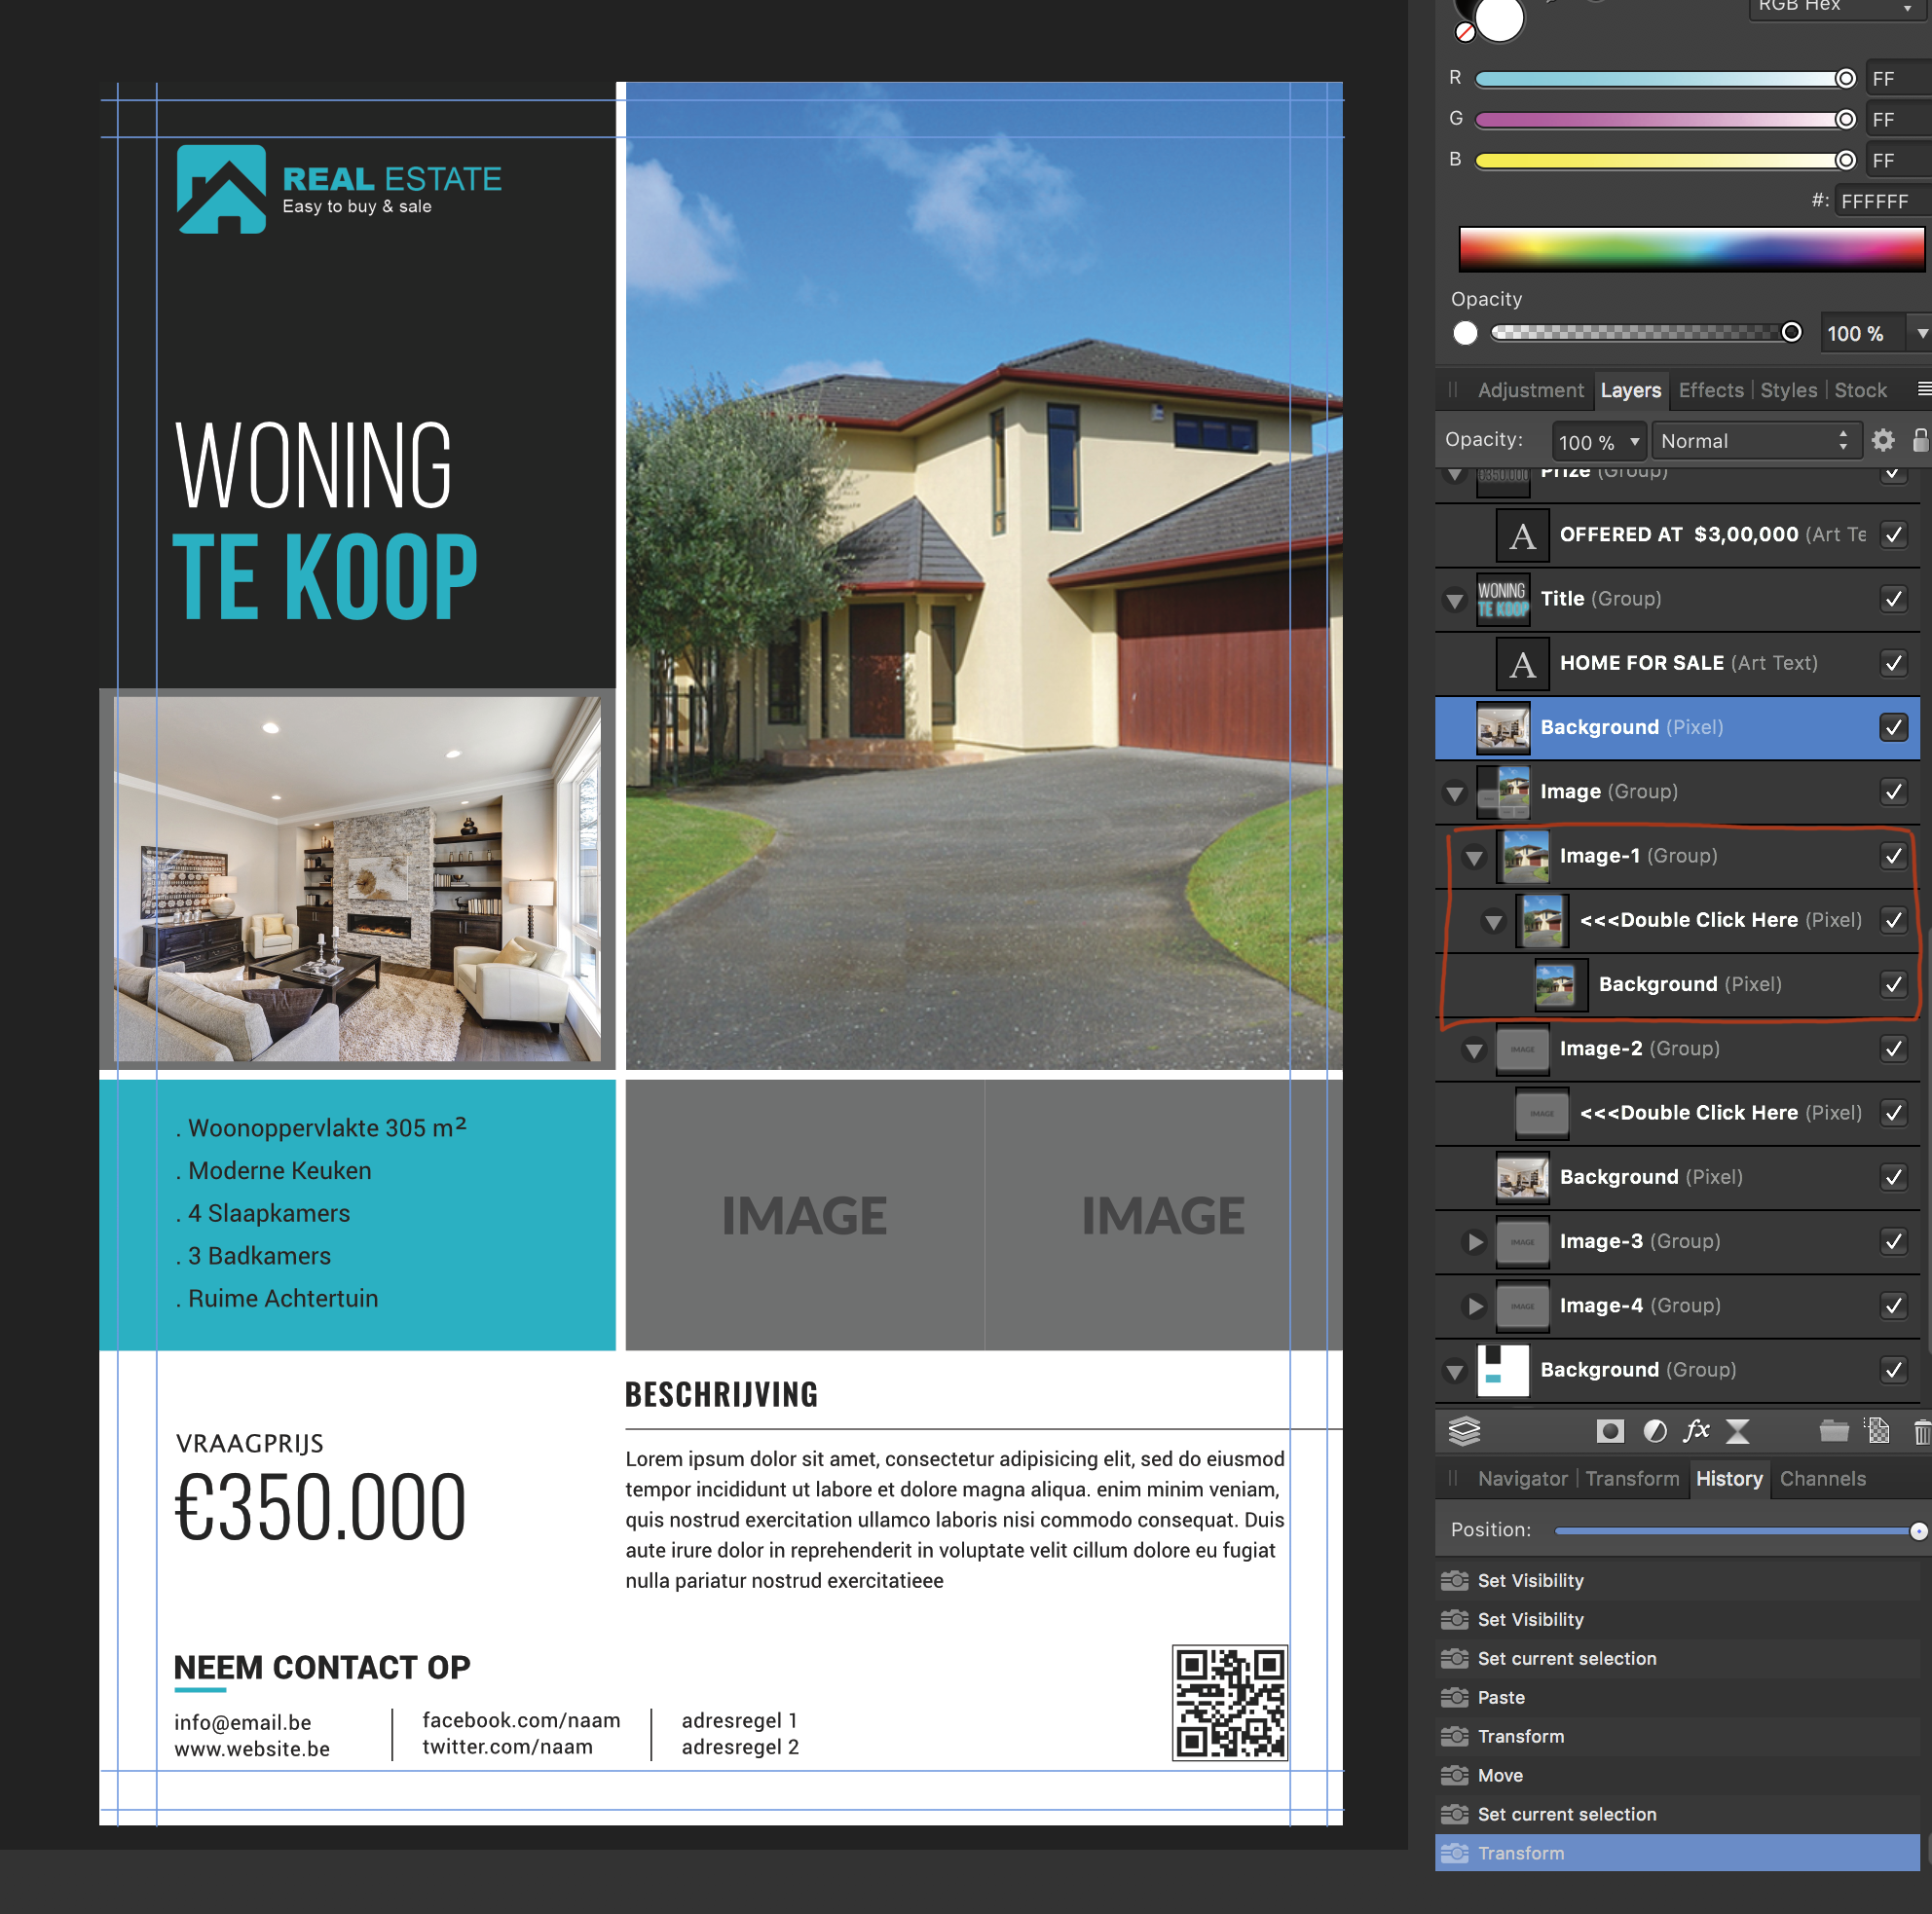
Never mind. Of course right after posting the question I figured it out that the image layer can be slided slightly to the right when placing it under the Double Click Here layer instead of right beneath it so that it follows the same hierarchy of the Image-1 layer.
-
Hello, I never worked with smart layers before. I'm working on a psd file that has smart layers. I need to place some images in/within a smart layer. I managed to do this with one image but now with the second layer I can't replicate the same thing with another image. See the screenshot and the layer outlined in red (Image-1). How do I get the same with the layer (Image-2) beneath it, so that the Image-2 and Double Click Here is also filled up with the image I want to place in the layer. I tried looking at the history and tried copy and pasting the image on the layer but I can't get to the same result as it is with the Image-1 layer. Thanks.