dkj
Members-
Posts
26 -
Joined
-
Last visited
Everything posted by dkj
-
I have some Kodak Gold negatives that I want to scan, then develop in Affinity Photo. Is there any point in scanning these negatives so I can open them as 32-bit ROMM-RGB files? (My scanner is capable of producing 48-bit DNG files.) i.e. Would I get any more detail from such a file than from a 16-bit TIFF scan? In other words, I'm not sure how much dynamic range is in a colour negative.
-
Text inside callout
dkj replied to dkj's topic in Pre-V2 Archive of Affinity on Desktop Questions (macOS and Windows)
Thanks, but I'm working in Designer, not Publisher.- 9 replies
-
- affinity designer
- text
-
(and 1 more)
Tagged with:
-
Text inside callout
dkj replied to dkj's topic in Pre-V2 Archive of Affinity on Desktop Questions (macOS and Windows)
In the Shape Tools section on the left-hand side of the screen, there's a Callout Rounded Rectangle tool and a Callout Ellipse tool. Those are what I was referring to.- 9 replies
-
- affinity designer
- text
-
(and 1 more)
Tagged with:
-
I am trying to place text inside of a rectangular callout. I cannot get it to work: both the artistic text tool and the frame text tool simply replace the callout shape. I can't find any online tutorials that cover this basic task. All I want to do is to have some text inside a callout that points to what the text describes.
- 9 replies
-
- affinity designer
- text
-
(and 1 more)
Tagged with:
-
Stacking RAW files
dkj replied to dkj's topic in Pre-V2 Archive of Affinity on Desktop Questions (macOS and Windows)
I came up with this process: Select File:NewBatchJob on the menu. Add the RAW files to the list. Check Save As TIFF with these settings: Pixel Format: RGB 32 bit. Resampler: Bicubic. ICC Profile: ROMM RGB Compression: None. Select Save Into and select or create a directory for the TIFF files. Then use the TIFF files to create the stack. The new images will have the ROMM RGB profile. I'm hoping this will preserve the colour data present in the original RAW file. Is there some way to check whether this is so? -
Stacking RAW files
dkj replied to dkj's topic in Pre-V2 Archive of Affinity on Desktop Questions (macOS and Windows)
Thanks for your answer. Processing the RAW files individually would be rather inconvenient if I'm stacking a dozen or more images. But all I do in the Develop Persona is use the ROMM RGB output profile. Might there be some way of automating that? Or some other way of ensuring the output of the stacking preserves the extra data? -
I added a Curves adjustment layer to the top of the layer stack and set it to CMYK (also suggested in the video). Then by playing around with the M curve I was able to correct the image somewhat. But Mareck's answer tells me what I needed to know. I'd love to see a tutorial about using Affinity Photo to mimic different types of vintage colour film.
-
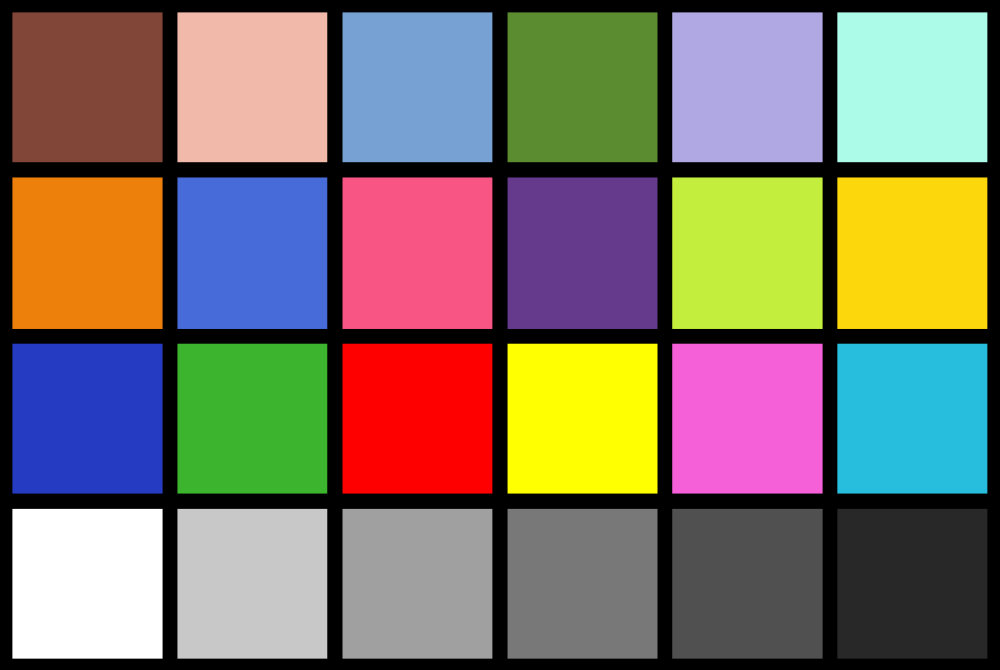
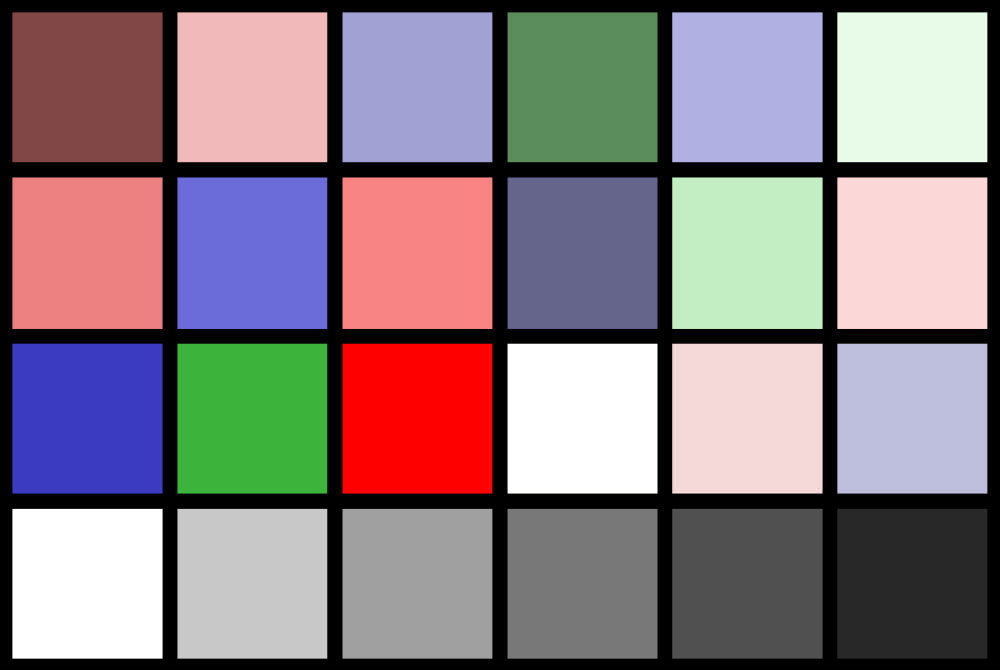
I've followed James Ritson's video tutorial on replicating the technicolor effect in Affinity Photo. https://player.vimeo.com/video/155520871/ I've followed the steps carefully, and checked to make sure that all recolour values were set as stated in the video (R=180, G=300, B=60). But I get yellows transformed into a shade of pink. Can anyone suggest what I might be doing wrong? I'd really like to learn how to use this technique to emulate different types of colour film.
-
Filters and adjustments
dkj replied to dkj's topic in Pre-V2 Archive of Affinity on Desktop Questions (macOS and Windows)
Thanks for this. So is this why live filter layers are nested by default: i.e. to keep them from having to compute what any other filter or adjustment layers have done to the original image? -
Filters and adjustments
dkj replied to dkj's topic in Pre-V2 Archive of Affinity on Desktop Questions (macOS and Windows)
Yes, I should have said "adjustment and filter layers" in my original question. -
(My apologies if this same procedure has been posted previously.) Suppose you have two adjustment/filter layers called "SourceLayer" and "DestinationLayer". Suppose you've created a mask on SourceLayer, so that it affects only part of your image. Suppose you want DestinationLayer to affect only that same part of your image. 1. Select SourceLayer. 2. On the Channels tab, right-click SourceLayer Alpha. 3. Choose Create Spare Channel from the menu. 4. [Optional] Rename "Spare Channel" to "SourceLayer Mask". 5. Select DestinationLayer. 6. On the Channels tab, right-click the icon of SourceLayer Mask.* 7. Choose Load to DestinationLayer Alpha from the menu. DestinationLayer will now affect the same part of your image as SourceLayer. *If you don't click the icon, you won't see the "Load to..." menu selection. This is a (minor) bug in Affinity Photo.
-
Suppose I add an HSL adjustment layer above my image layer. I then paint the mask of the adjustment layer so that it applies only to a part of the image. Now I want to add another adjustment layer (e.g. shadows/highlights) that modifies only that same part of the image. Is there some way of copying the mask from the first adjustment layer to the second? How can I avoid having to paint the mask again?


