
56_kruiser
-
Posts
45 -
Joined
-
Last visited
Everything posted by 56_kruiser
-
I thought there was a V1 archive that V1 users could still post on, but I see no links to that. I'm still on V1, and have a new laptop with Windows 11, and it crashes on load. I repaired, still crashes. Does V1 not run on Windows 11? What about V2? I checked upgrade options, and I do not see an upgrade option for those of use who only own the Photo app only. Am I missing it?
-
Thanks. I'll experiment with that.
-
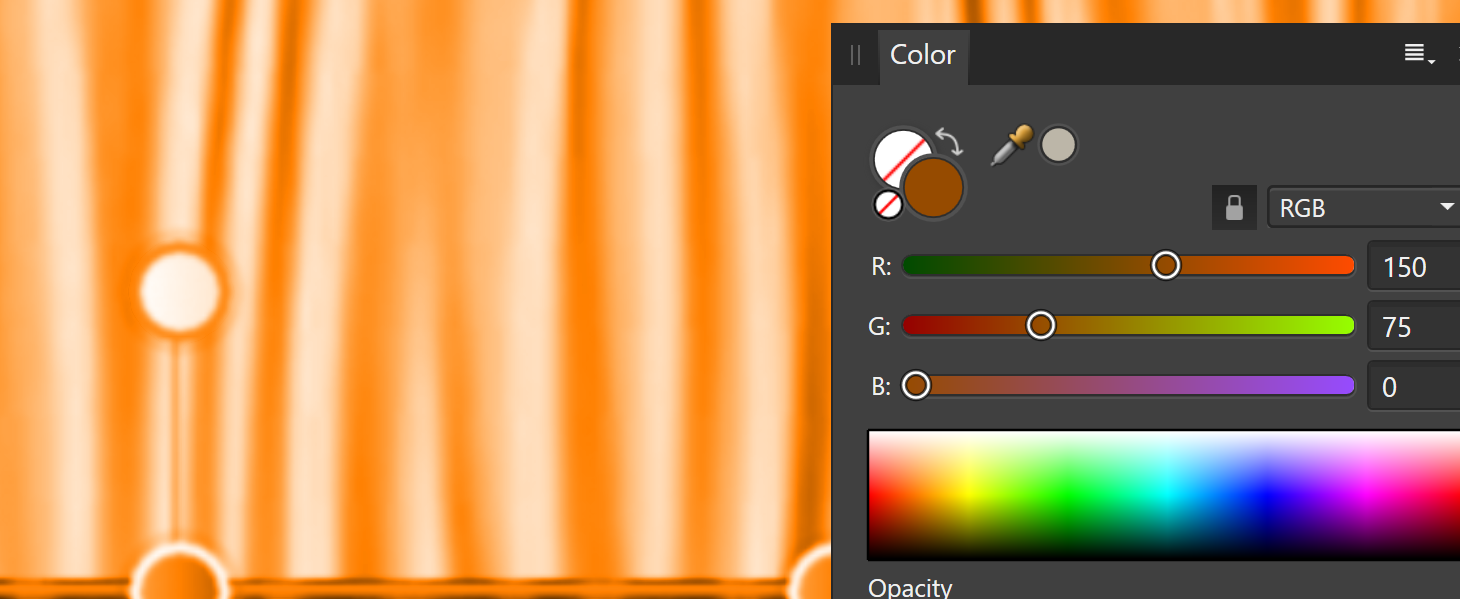
I don't have that exact item now to show the layers panel, but there was nothing in the layers panel than the first capture. So, for example, I just tried this: I did a regional screen capture of to top area, such as the attached image. So with the Recolor Adjustment tool, I can drage it for different colors that apply to the image, which changes all levels of that color fine, it does not just cover it with a block of the new color. What I'd like to do is to be able to do that to change the color to brown (or what ever color I want). But with my base knowledge, I can't achieve brown, as it is a combination of different colors which I can't achieve by dragging the Hue, Saturation or Lightness bars. or entering RGB, or RGB Hex humbers. For instance: If I enter 150,75, 0, I get this: on the image above: Similar results if I try RGB Hex,

-
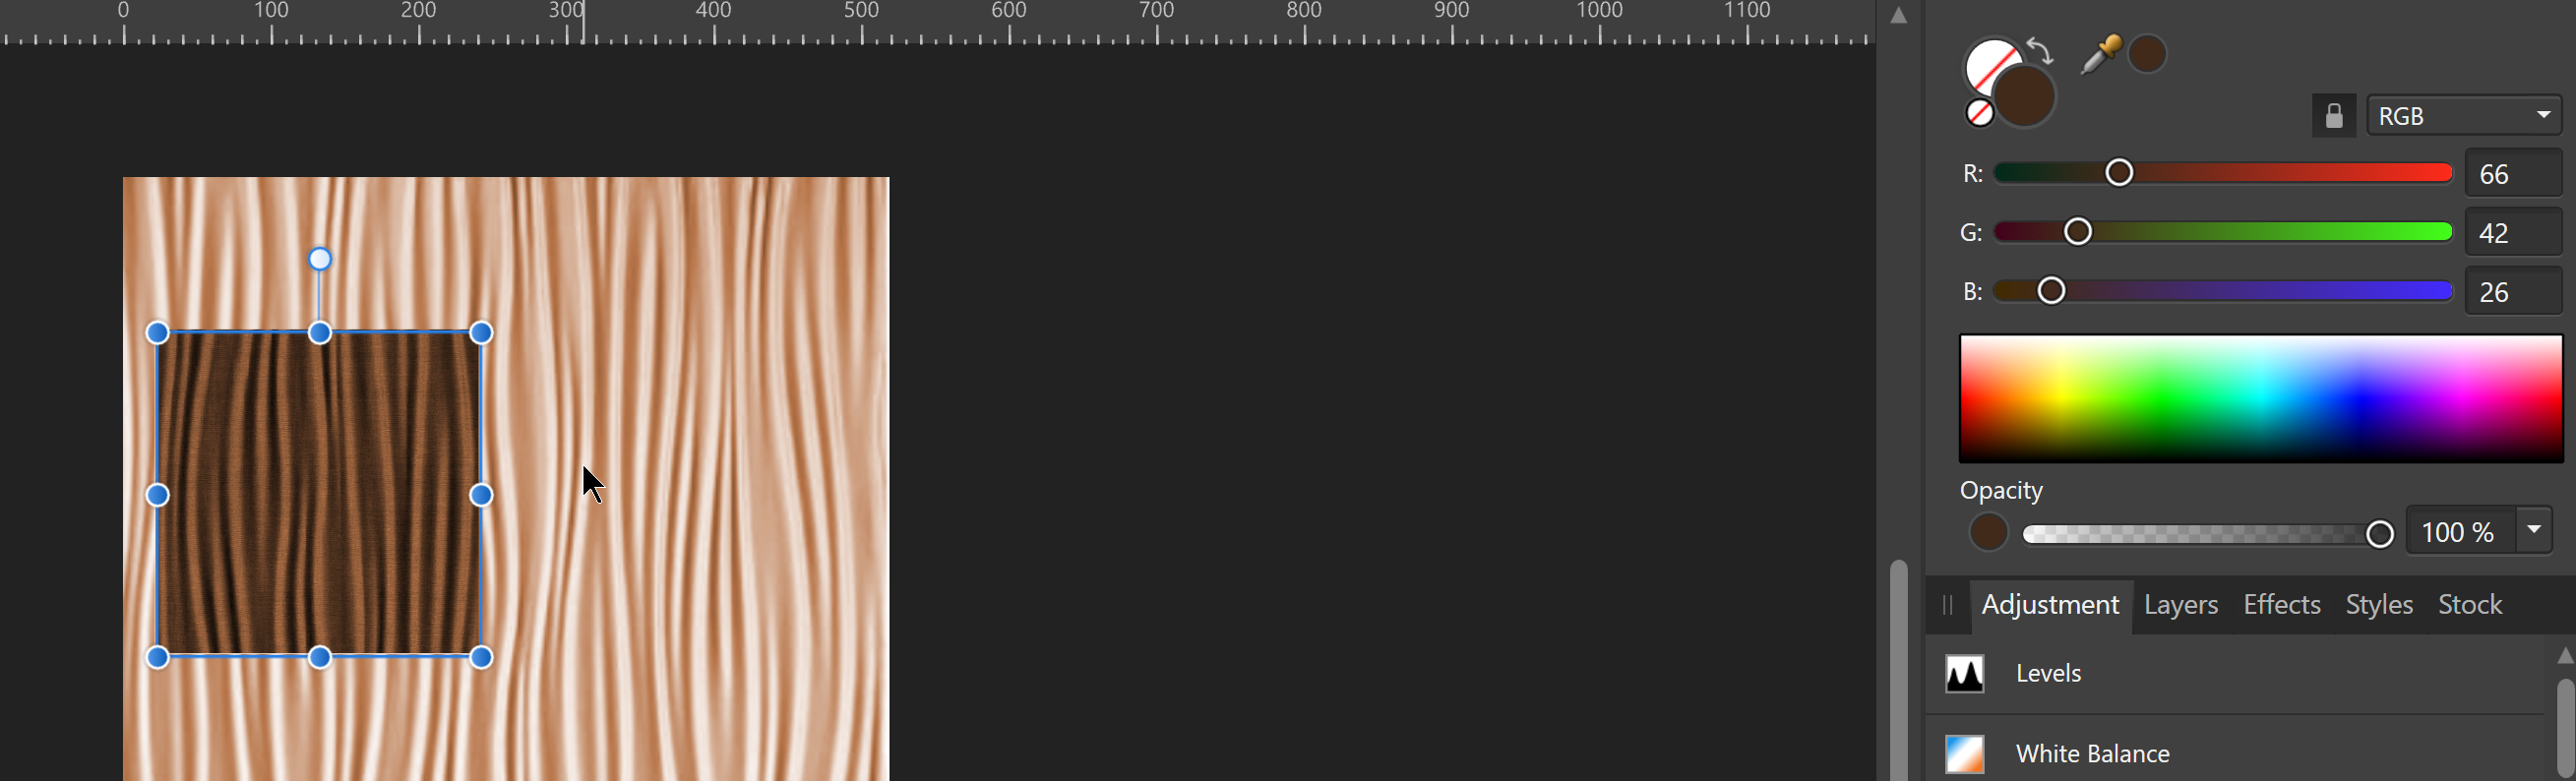
I am wanting to change the larger rectangle to the same color as the smaller brown square. When starting, the larger rectangle is white. In the picture below, what I did was use the dropper to click in the small brown square (have tried multiple locations in it from the darker part to lighter part), then select the larger rectangle and change the RGB settings to the same as they are when I click on the brown square. In the picture below is the resuslts of how the white changes based on the rgb colors after I clicked the brown square. It has not hint of brown at all. Any thoughts on what am I doint wrong or misunderstanding?
-
Sorry. I thought I had my app listed in my sig. Affinity Photo, on Windows 10. Another strange thing, I uninstalled the version I had, and installed v 1.6.5.135, supposedly, but checking now after more crashses, it shows 1.10.0.1127😜 So, I just went in and turned off OpenCL acceleration. I'll post back how it goes. Thanks for the replies folks.
-
I cannot say that this problem started with upgrade to v 1.10.4.1198 because I haven't been editing for a while. But over the past 3 days, I upgraded and then have been working a lot on a project. I am finding frequent crashes are biting at my ankles. It is interesting, because it seems what has failed is response to clicks, attempted selections, etc. But the menu responds. But anything I try to do through the menu does not work. It's like everything is frozen except for opening and making selections on the menu, but nothing responds. So here is how I am using the program which is making this happen: I am using it somewhat like Adobe Illustrator. I will put a rectangle on the screen, use the points ruler to make certain sizes, move it to a place, put a text box on top and group. Later I may edit the size of the box. etc. I have been finding this freeze problem often. Once in a while it will have a auto saved version for me to open, but it does not offer that up unless I try to open the file I was working on. Any thoughts? Should I roll back to a previous version? (Not sure best method to do that).
-
I can't find how wto set a ruler where it will scale. For example I want to use 3/4" = 1 FT. So, I want what would normally be 1" to be 3/4", but show 1. 1.5" would show 2, etc. Is this not possible in Affinity Photo? If it is, guidance would be appreciated.
-
Walt, you are right. I don't really know how it got activated, but it is. I added photo.exe to approve it, and it still doesn't work. So I turned it off.
-
I just upgraded to 1.7.3.481. I have loaded a picture, and done a bunch of editing. Any time I try to save it, wheter save as a native Affinity format, or export, it says "File Not Found". Any thoughts?
-
...And I ignored the notice as I loaded Affinity this time, as I was just going to do a 'quick edit'. Would have saved me a lot of time had I done the upgrade. Funny... Thanks for your help! Upgrading now.
-
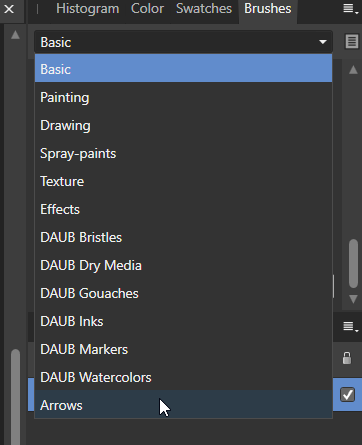
I really appreciate your help. (I need to learn how you are doing that 'video') I don't have quite what you have. I suspect it has to do with how I imported. I did it the way initially described...just double clicked on the file. So it is a brush, and I get it on the screen by selecting brush, then Arrows instead of Basic:
-
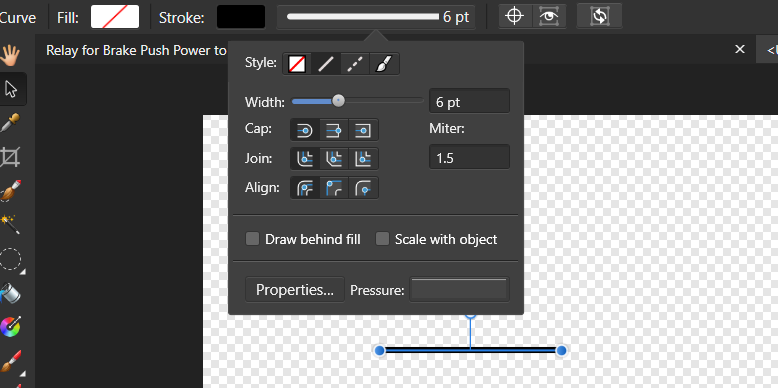
This is appreciated. I don't see how to change the color. I see you have green, so I suppose it can be done. All I can get is black. This is a great program, albeit with a lot of things yet needed, but no intuitive use it seems. Instructions are pretty poor too. For example, if I don't know how to draw an arrow, search help, it tells about it's capability, but does not show where to find the tool. Sorry for venting. This forum is very helpful.
-
I was wanting to automate some photo stacking, (HDR, Focus stack, whatever), but it seems not possible. Macros will not export. File save will not save as JPG. So it seems there is no way to automate saves. Is there some way to do that I haven't discovered? Seems like not being able to save with automation is really a miss.
-
Yes, they meant file size. Agreed, I need to read the stuff linked above re: DPI. So, it seems to me if I want a smaller files size I need to do 1 of 2 things: Save with less quality, or make the pixel dimensions smaller. Would you agree?
-
I took some shots for someone who indicated they wanted the file size smaller. I took the shots at the L size in my Canon 80jD. As an example, a shot is 5999X3999 and is 300 dpi. They are going to put in a web page, and so I thought that if I changed the dpi to 72, and exported, that the file size would be smaller, while maintaining 5999X3999. Turns out after the export it was larger. Original is 9.86MB and the exported one at 72dpi is 14.7MB. I guess I need to select lower quality in the export, no? What would be the suggested safe type/size, etc., for used in brochures, web site, etc.? [EDIT] I would also like to know what size is recommended to deliver to a realtor for MLS listings.
-
To answer questions... Yes it IS 2250X1500. What I have decided since posting this thread is that it is that resolution, but it is a dpi of 72, not 300. If I resize the document to 300 dpi, it saves as 12mb photo. I am presuming that if the photo was saved at 72dpi, then data is lost, and resaving at 300dpi will not be the same as the original file. No? I downloaded it from my daughter's web site with the download button. No options for selecting size. I did not do a File> Place. Here is a link to the photo in my Dropbox-> LINK
-
I downloaded a photo from my daughter's site. When it downloaded, it was only 499KB. So, I thought it was low resolution. I texted her, and she asked what the pixel resolution was, and it was 2250X1500. She also expected it to be 300 PPI. I don't see PPI listed in the help file for Affinity Pro, but I do see DPI listed. But I don't see how to tell what the DPI is of this photo. When I select Resize Document, it shows 72 DPI. But I don't know if that is the size it is, or the default it is using for me to resize to. That pixel resolution correlates to ~31X20 inches. I can't imagine that a 499KB file would print on 31X20 and be any good. How can I tell what DPI it actually is? Maybe I'm just needing a bit of education. Appreciate any thoughts.
-
Thanks! That info is helpful
-
I'm glad I post on wrong forum. That reply is great!
-
Darn it. I am in the wrong forum. It's on Zenfolio. Sorry for the inconvenience.
-
I really wish I could not have the LARGE photo for groups. I'd like to just have the galleries in that group just come up. I expect to have to tell users to scroll down to find the galleries. At any rate, I have assigned a photo from one of the containing galleries as the cover photo for the group. But when I enter the Id of the client and go to that group, the cover photo is not there...just a big empty white box. So I though maybe I needed to make that photo public, so I did not, still empty. Any suggestions.
-
Regarding the smudge tool...maybe I accidentally clicked it. Given my not understanding how the adjustment layers worked, I had times when the brush I was wanting to appear to burn away top layer from next, who knows what all I had clicked on. But it seems if it was clicked, we should see that happen in the video. I want to tell everyone thanks! This thread's info has helped me a lot.
-
Thanks. I'll read through that. Oh, Interesting! Thanks for that. On another note. Above...is that an animation, a video? I was looking for a way to embed the video I had but did not see a tool to do that, so resorted to a link.
-
That's well understood. That is why I want to do a mask on the top layer, then use the brush to reveal what's below to the extent I want. That makes sense. Although I had expected the adjustment to apply only to the layer below it. But I had experienced the adjustment being a child, but did not understand the difference or implication. I appreciate the time you are taking to explain this. Thanks. This will help me a lot. Things work better when you know how they in fact work
-
Here is a link to a short video demoing my problem, and one new one. LINK