Lescot
-
Posts
83 -
Joined
-
Last visited
Everything posted by Lescot
-
Lovely.
-
Started as a quicksketch with the 1st Beta, now finished it. Shortly before I got it ready I saw the POP-Flowers showed a strange gritty effect at the inner side of the outline (before they were crisp). The new tapered vector brushes still tend to behave funny ;) When changing the linecolor of an object using the group-effect and hitting UnDo the flying menus greyed out again. Nothing lost, AD is a real workhorse )))

- 3 replies
-
- 1
-

-
- Free vector draw
- blending modes
- (and 5 more)
-

Layers panel behavior: jump to the selected element
Lescot replied to Matthias's topic in Older Feedback & Suggestion Posts
Agreed - a 'jump to layer' option would be most useful. +1 -
Great, Ty MEB!
-
Thank you Matt and Andrew. I am really happy to have this genius feature where you can have different blend settings for different object on ONE layer - this is just wild. No idea if there is an Autoselect option to choose a layer via clicking an object but already now the layer management is fab. The option to set an object to 'Erase' is fantastic.
-
Thank you Dale. So delighted to see how fast Affinity is progressing!
-
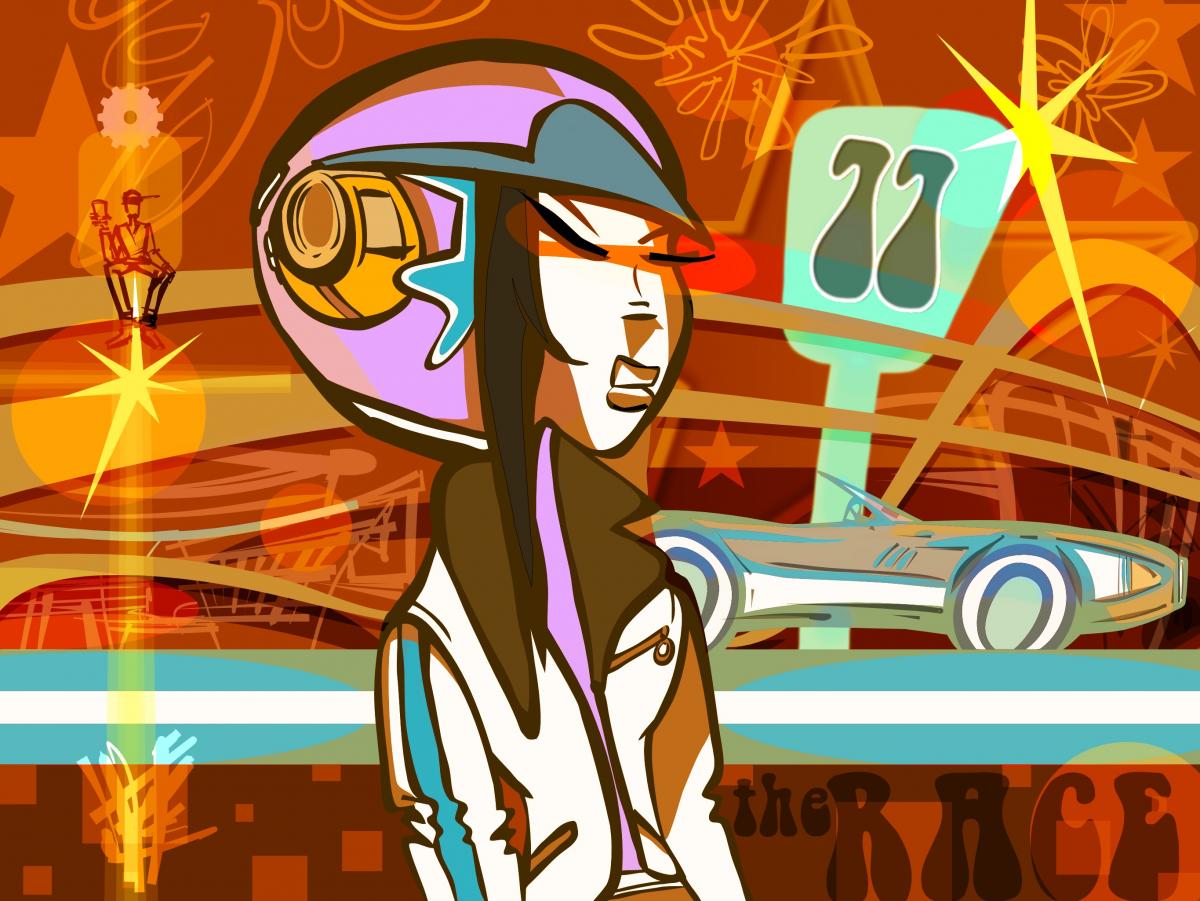
Had fun doing this, the new tapered brushes are pretty cool!. My Racing Queen was entirely done with RC-1. Minor glitches Had one freeze after: 1. using the top of the new tapered brushes, 2. then zooming in and 3. trying to select the drawn elements with a frame. Flying menus turned grey and the frame did not vanish. Unable to click anything after this, but happily SAVE worked like a charm. After re-opening some elements got an additional fill (all on the layer where I tried to select them) but with some mouseclicks it was fine again. Pencil tool: when drawing line is not visible - so it is still a bit 'try and error'. Brushes: I really like the additions, very useful. A bit of tweaking is needed for the Tapered Brushes. Sometimes, when drawing lines, the end of the line get's capped/ cut-off like you were using a square shaped brush. Tried this with different sizes and settings (velocity/ pressure/transparency): result is - the bigger the brushsize the more edgy your line-end. I also found the new brushes a bit laggy with the Companion Hybrid and the Bamboo. While the greyout of boxes has happened several times already I NEVER lost a sketch here. Find this very impressive. Some fully finished programs make me bang my head against the wall quite often ;)
- 9 replies
-
- 3
-
-
- retro
- freehand vector
- (and 2 more)
-
Lol, Thanx MattP. Maybe later this evening, on it now with the new release (some great new features!).
-
Great idea!! I will try this for my next drawing which is in the making. Next week my vacation with limited wifi starts, so I'm pretty eager to get a lot of stuff done with AD ;)
-
Thanx rui_mac and MEB. I will def. give the brushes a Go!
-
Thank you MEB, the layer blend tool is cool, especially that you can add different layer-FX to different objects on the same layer. Still looking for a function to merge ALL layers with a click for export while keeping all the settings. PDF is right now the best export option I have found ( only two errors, easy to correct ). The other formats make you lose all blend settings. @TonyB : Fantastic news, thank you! Imagine how cool it is when you have a closed freely drawn shape in full color, then draw the color gradient effects with locked Alpha over them (highlights/shadows). That's why I think the the color to transparency mode / directional control is most useful. Hope the video I posted helped a bit. Will speed up workflow like crazy ;)
-
Ty guys. Always like to draw my designs with some fluent lines, so it would be just great to have this feature. I used the Bamboo series a lot, now it's the Cintiq Companion Hybrid. @MEB: I used an old version of SC for iPad for the drawing. Sadly this will only allow you to export bitmap files and no true vector.
-
Lovely style.
-
booleans
Lescot replied to retrograde's topic in Pre-V2 Archive of Affinity on Desktop Questions (macOS and Windows)
Worked for me, but only when I did not change the position of the objects (moving was fine, but rotation of one object killed it ). -
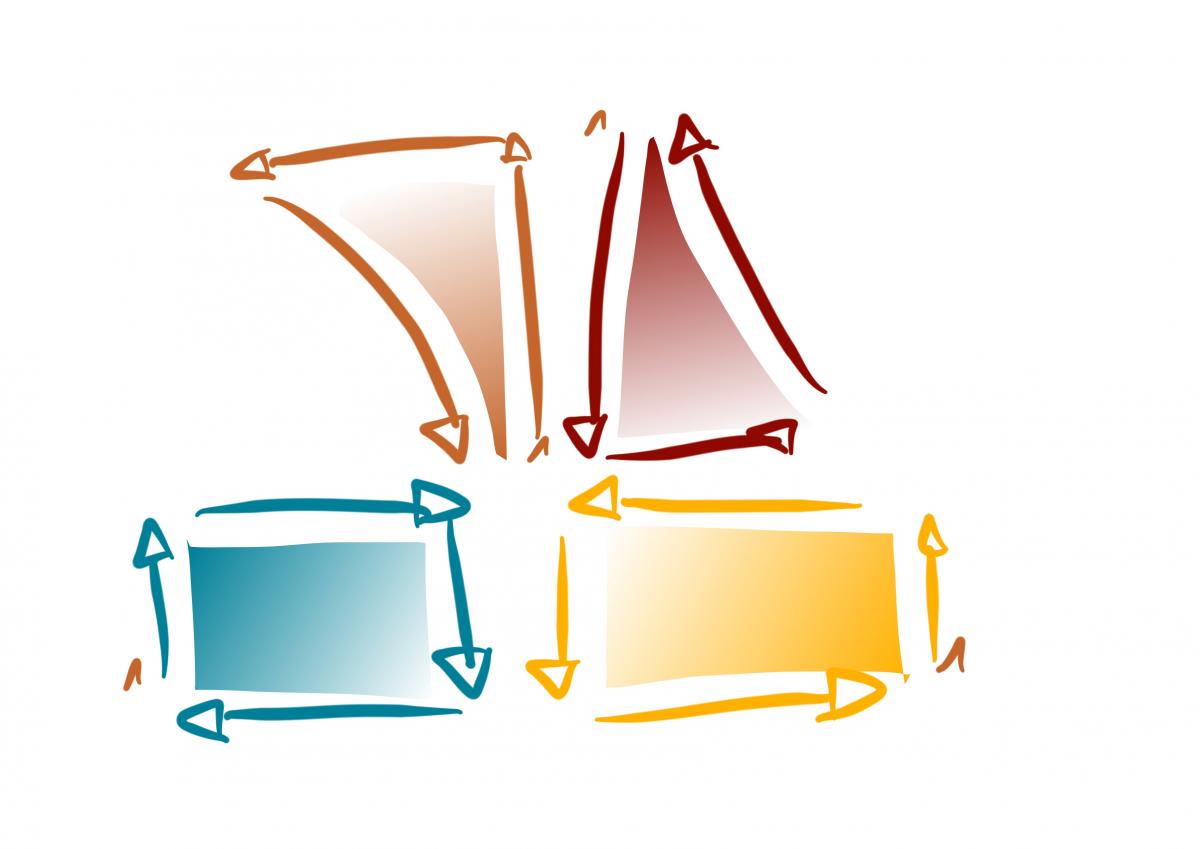
General question or idea: is there a way to draw in autofill/loop mode with the vector line-tool? that's for creating closed shapes, maybe with a smoothing slider? And even more important: do you see a way to integrate intelligent gradient fill for this function? Would be a KILLER feature. Settings: Smooth, Autoloop, Fill, Gradient The idea is to make the gradient fill depending on where you start drawing your shape. Gradient fill always from color to transparency, with a slider for color intensity. Normal vector fill (whatever setting) is just so 90'ies - having seen what YOU can do, it would be just great !!! Please find my sample here:
-
Ok, my (nick-) name is Lescot aka Val. I have been traveling the world for 9 year before coming back to my hometown Cologne in Germany. I started with PC's, switched to Mac when a virus killed my PC during a project. I go for wild-style/new ways. And I do pick my tools when they work for me. You might have seen my designs when you follow Viva-TV Europe or MTV. And you might own some products I designed when you like Pixar or Disney. Totally happy when someone tries something new - and goes for it. Looks like a cool community with highly dedicated people. Wishing you all the best for your attack on Adobe. Yes, they started something great...and forgot that the times are changing. Had one of the first Betas, but just started posting today, because NOW I know what I'm talking about ;)
-
Hi guys, total Newbie here. Love Affinity, very snappy. Of course I found quite some bugs, that's why we are testing. Can I post my findings here or is that a no-go? While working on this illustration I was missing deeply a function I'd like to see here. General question or idea: is there a way to draw in autofill/loop mode with the vector line-tool? that's for creating closed shapes, maybe with a smoothing slider? And even more important: do you see a way to integrate intelligent gradient fill for this function? would be a KILLER feature. Settings: Smooth, Autoloop, Fill, Gradient The idea is to make the gradient fill depending on where you start drawing your shape. Gradient fill always from color to transparency, with a slider for color intensity. (Please see attached file). 1 is the starting position. There is only one app offering this and it's sooo helpful. Second attachment is my first drawing with Affinity, hope you like it ;)
- 7 replies
-
- 2
-
-
- Illustration
- freehand vector drawing
- (and 5 more)