Yuri P.
-
Posts
37 -
Joined
-
Last visited
Everything posted by Yuri P.
-
@Old Bruce I agree, there are many labor-consuming workarounds, but nothing can beat the convenience of IrfanView print dialog. No need to resize the image or create many copies in process. I wish something similar to be available in future AP releases.

-
@fde101 This is exact explanation of my requirement, thank you. I'd like to print a high-res image in various sizes in the least number of steps.
-
The mangled file name is displayed in the tab.
Yuri P. replied to Yuri P.'s topic in V2 Bugs found on Windows
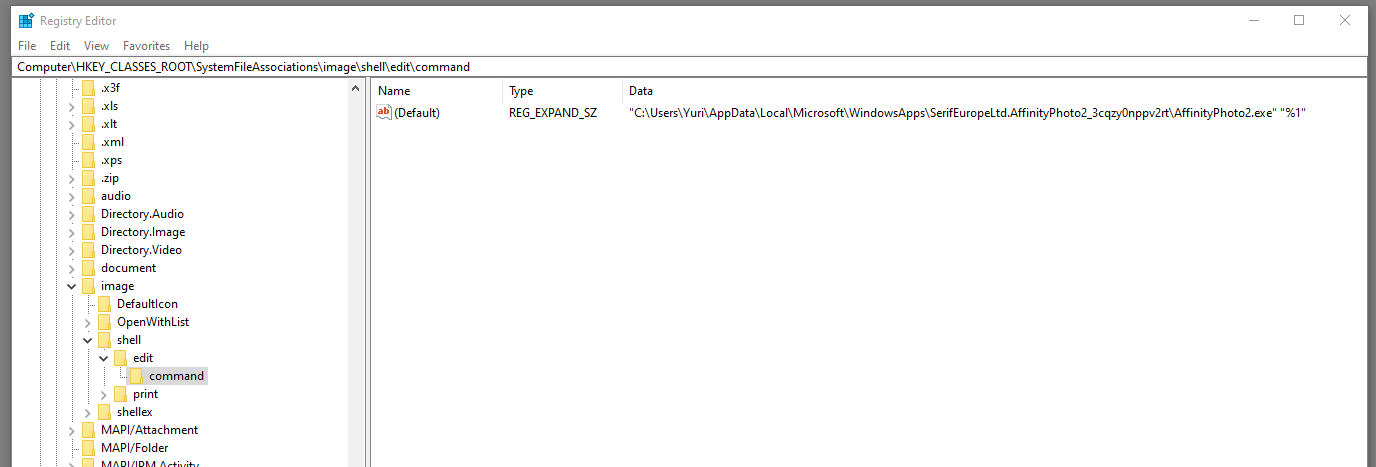
FYI - I found the solution. It should be %L, not %1:
-
The mangled file name is displayed in the tab.
Yuri P. replied to Yuri P.'s topic in V2 Bugs found on Windows
No problem, thanks. -
The mangled file name is displayed in the tab.
Yuri P. replied to Yuri P.'s topic in V2 Bugs found on Windows
This is how I defined the Edit command. If I remove %1, Affinity Photo interface opens but without the file loaded.
-
The mangled file name is displayed in the tab.
Yuri P. replied to Yuri P.'s topic in V2 Bugs found on Windows
I was opening it by associating the the "Edit" in context menu with the command "<path>\Photo.exe %1". This may an artefact of this approach. In all other cases the name is displayed correctly. -
-
I agree, there are many workarounds, but having the option of specifying the print scaling in inches would make life much easier. For example. if I design a wine label, I create hi-res image and do not want to go though resizing/resampling it just to print it the correct size. I can do some math and calculate scale percentage. But Irfanview, much simpler program, has this feature, and, honestly, I use it to print after I done with the design in AP.
-
Allow crop and resampling in one step
Yuri P. replied to Yuri P.'s topic in Feedback for the Affinity V2 Suite of Products
Thank you. It is what I needed, indeed. -
Hi, In your screenshot there is a setting for the paper size. However, in order to scale the print on the page, there is only "Scale" field. I don't see how I specify something like that:, "I'd like Letter size, but the print should be 5"x3" in the middle of that page". Here is a screenshot from Irfanview to show what I mean: AP has only Fit Type and Scale.
-
Currently AP does not allow to specify the print size in inches in the Print dialog, like Irfanview does.
-
Currently AP does allow cropping and resampling simultaneously, like Photoshop does. For example, If I need to crop my image to fit to a particular printed size, I need to crop it and then resample. If there would be a crop mode that allows to specify the target size (with persisting the ratio), this could be done in a single step.
-
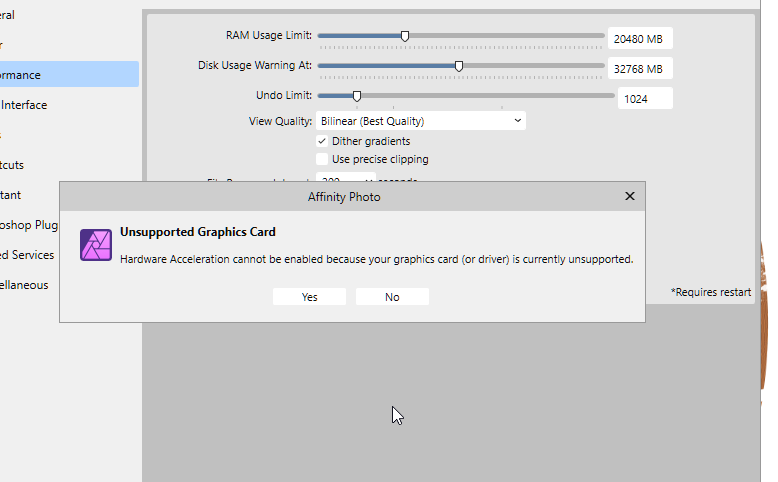
When the hardware acceleration is not available the "Yes/No" dialog is displayed instead of "Ok":
-
... and "Colours" in Pantone disclaimer in the same screen (and "About" screen) are also very British 😀
-
-
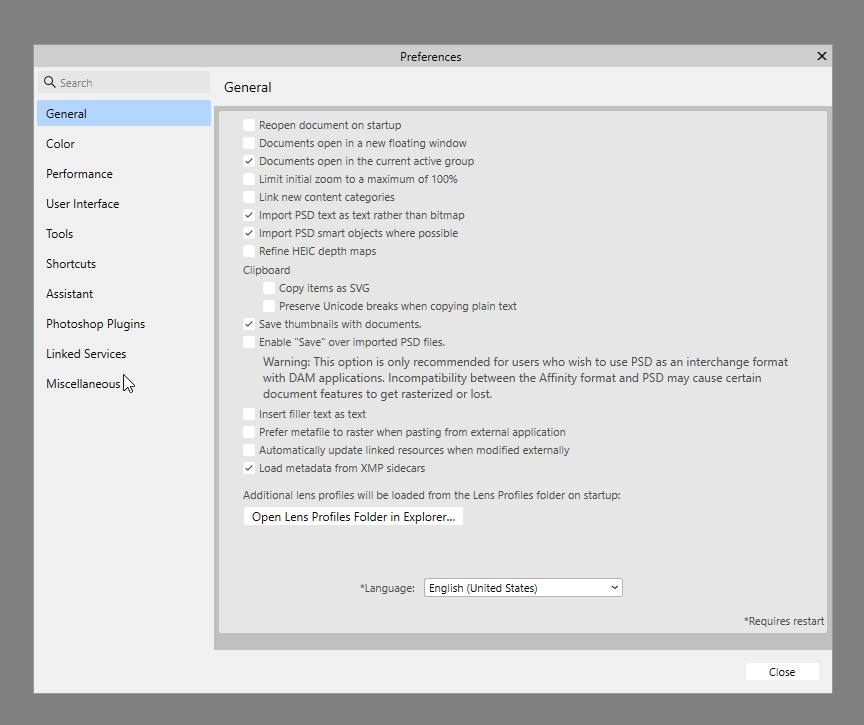
Hi, Not a big deal (in fact, very small deal) but "Initializing" is spelled in the British manner in the loading screen. My locale is en-US.
-
Your LUT layer seems to work. Also, when I try to export LUT now, it seems correctly on the preview. So, please, close this request for now.
-
When exporting LUT, it seems that Brightness/Contrast Layer is not included into the resulting LUT. Neither preview, nor the image with this LUT applied does not show this adjustment effect. When I manually copy this B/C adjustment to the target image, it becomes identical to the LUT source. The left image is the LUT source, the right one is the original with LUT applied. I tried to recreate this LUT in V1 and it was created as expected. IMXP1194_blue.afphoto Messi.cube
-
Hi, I was trying to apply live vignette filter with white background (upped exposure). It seems that the filter is not blended correctly, leaving picture outside of the vignette: Here is the original image:
-
Avast One anti-virus reports Photo.exe as containing virus.
Yuri P. replied to Yuri P.'s topic in V2 Bugs found on Windows
Thank you, Chris, I already did just that. However, I suspect that less technical users may find it difficult (like, for example, finding Affinity 2 executables, Photo and Help). It may be useful to make it a public knowledge in one of the Help sections or in the installation guide. -
Avast One anti-virus reports Photo.exe as containing virus. Re-installation is needed afterward. to make AP work again. It happened when I tried to open Help from AP menu. Also, I had to explicitly give Avast a permission to allow AP opening a JPEG file.
-
I used .AFPHOTO file created in V1 - maybe this is the problem? I attached the file in question. The testing scenario: 1. Click on the third layer from the top (one of the paper textures), select "Hide Others". 2. Same layer, select "Show Others". All layers are marked as visible but not shown. Garlic.afphoto
-
Comparing to V1, RAW files load time is quite long. The same is true for JPEGS, to a lesser extent.
-
When I click "Hide Other", other layers are hidden. However, when I click, "Show other", not all of them become visible again. It takes some playing with hiding/showing layers until all of them are visible.
-
It would be nice to have a feature in the Crop Tool where all four corners can be moved freely, resulting in the perspective correction/distortion. I believe that this is available in Photoshop.