AffinityJules
-
Posts
668 -
Joined
-
Last visited
Everything posted by AffinityJules
-
 Could you provide a screenshot showing the layers panel and context toolbars (whole screen in other words) when trying to use the tools you say are not working. It might be a simple thing that a screenshot will easily expose.
 -
Thanks, Wosven. I never rotate the canvas so I can't ever remember how to put it back when I accidently do. I'm still at a loss as to how I did it this time. Thanks again.
-
I should know how to do this but, after accidently rotating the canvas a few degrees in AF, I couldn't work out how to put it back before rotation. Yes really! Speak to me Yoda.
-
affinity designer Papercut Style Doodling.
AffinityJules replied to VectorVonDoom's topic in Share your work
Simple idea but nonetheless enchanting. -
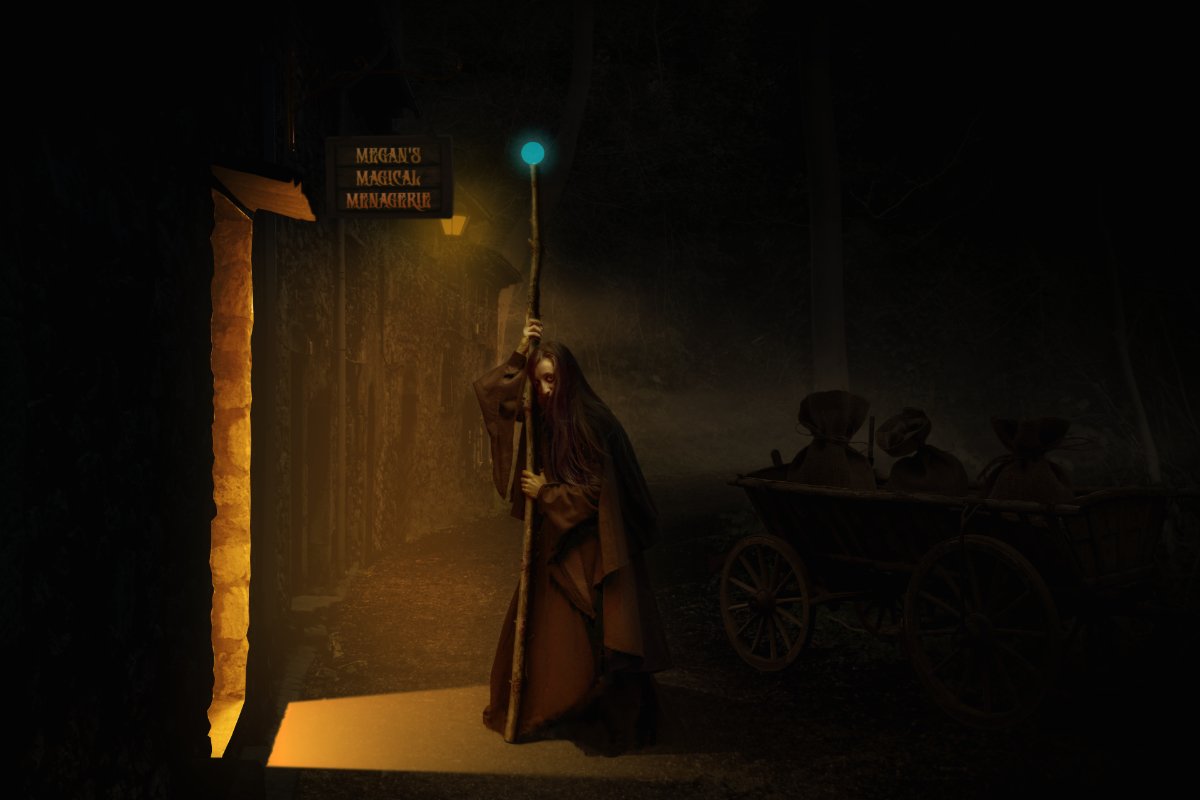
I can't leave it alone! Another story based picture.

-
Looks to me like you have the rectangle selected rather than the layer with the letter (you are trying to refine a solid background). Highlight the letter layer then make your selection and all should be fine.
-
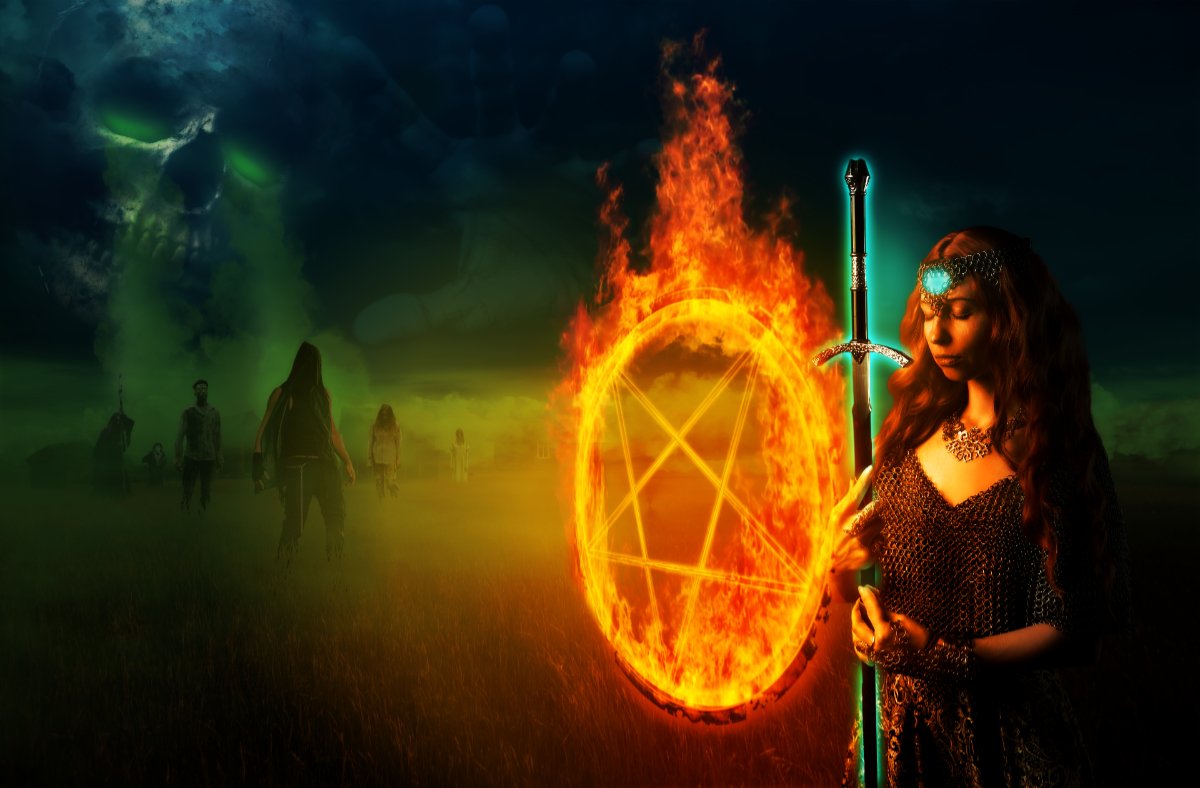
I knew that I wanted a pentangle included in this picture, so apart from all other pictures sourced at unsplash, the pentangle is mine/mine/mine. I was determined not to go trawling through the internet looking for an easy life in choosing other people's graphics - free or otherwise. So, by using shapes - and my tired brain, I was able to manufacture the pentangle to how I wanted it to look. After many crashes when using the Perspective tool (my computer hates it and always freezes and crashes when it's used) I emerged from my deficient computer's sulky, inadequate gloom, and had myself a customised graphic. Time to invest in an actual faster computer I think.
-
I don't use or know anything about Designer, but if like Photo they represent the same thing, then what those squares are showing are snapping candidates. In other words, all available layers/objects. In Photo, one would turn off snapping candidates from the drop down menu to get rid of those outlines. I'm sure someone who actually uses Designer will be able to explain it more than I can.
-
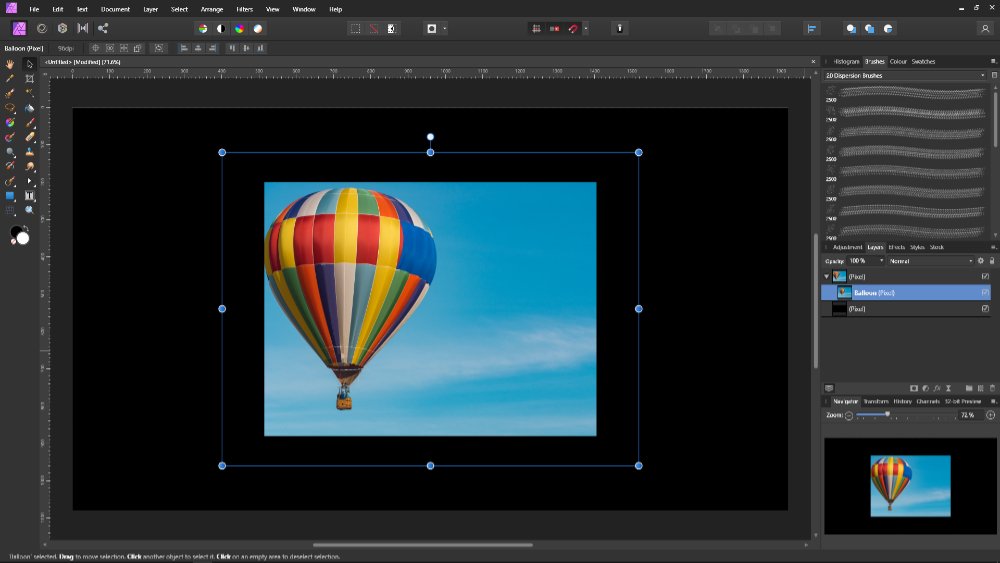
The two things to immediately check (Affinity Photo) are: 1. Make sure the picture is not an image file, but a pixel layer. The blur tool will not work on an image file. 2. Make sure that the layer you are trying to blur, etc, is highlighted in the layers panel.
-
I don't know about the video but maybe you're trying to do something like this (see picture)
-
Try using different blend modes with the image - multiply usually works well.
-
In answer to your original question: when a selection is made and a mask applied, the outside of the selection will be masked out (everything inside the selection is retained). To do the opposite, simply invert the selection then apply the mask (everything outside the selection is retained. Any image underneath any of the above examples will show through because the masked out sections are now transparent. Using the edit/cut method will still work and do the same thing as a mask, but it's a hard edit rather than a soft masked edit which is retrievable should the need arise. The thing to note using the edit/cut method is, when making the selection everything inside the marching ants will be removed unlike the opposite effect when applying a mask. This can also be reversed by inverting the selection and cutting away the inside rather than the outside of the chosen selection.
-
It seems a simple thing to me, but then again I might not be understanding your question properly. A JPEG opened in Photo has become an 'editable image' and thus capable of being live edited. A flattened file which has transparent elements exported as a JPEG (edited and saved) will not show transparency, and therefore when opening it again the transparency will appear as white. A PNG file saved with transparent elements will retain all the edited properties, and when reopened, the image will still have the transparency. Note: the image I uploaded had transparency, but once it was saved as a JPEG those properties were lost.
-
A new image with a white background and a new black text layer are two different entities, or 2 layers. Rasterising both layers then selecting the white background will not result in making the text transparent. The text layer itself will need to be selected for this to work. If the two layers in question are 'flattened' down to one layer, then the black text can be made transparent after selecting the black areas.
-
This started out as a peaceful scene in the long grass, but then my imagination interfered and took over. And thanks to Salvador for the soft watch idea.
-
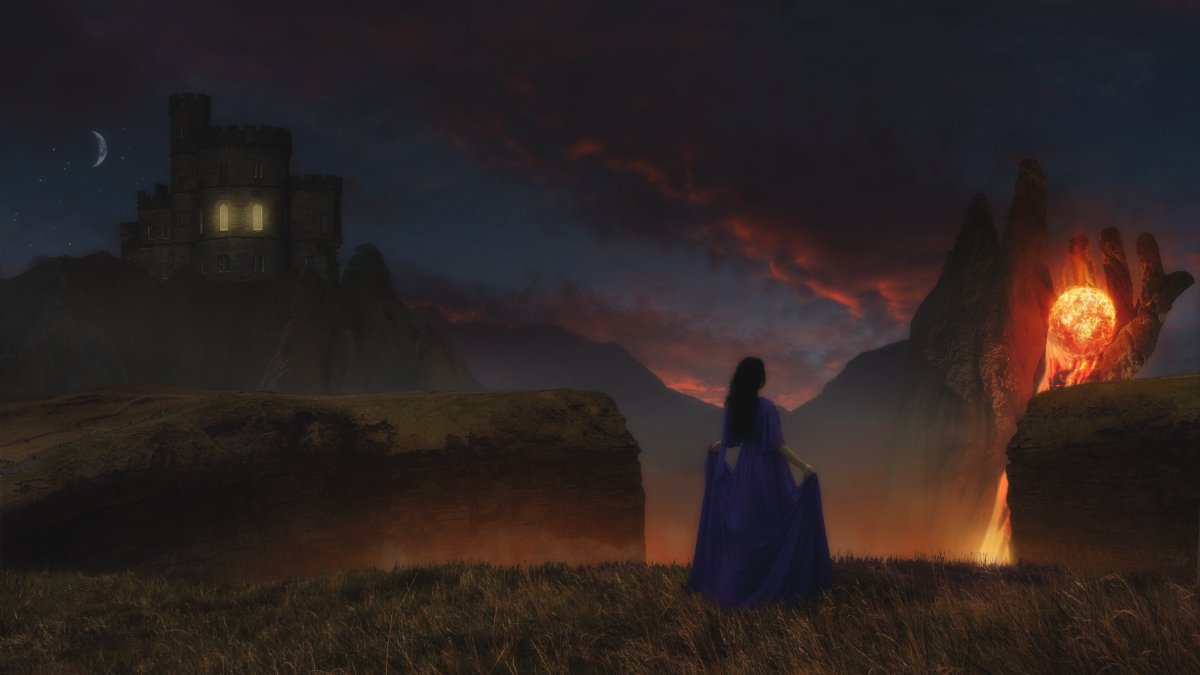
Playing around with medieval fantasy again. This picture actually has a story to go with it and helps explain the visual content.
-
I've never associated Christmas with a face full of cow tongue, but I'm open to anything new. Merry Christmas! 😁
-
I like it - I like it - I like it - I like it! I typed it four times because there are four pictures. Number 4 is reminding me a bit of certain landscapes found in "Uru" (Myst game). Wonderful work which has built-in wonder and mystery.
-
I like your work - it often reminds me of many things. Check out the art concepts of "Riven" (Cyan game company) - and because you have the talent, I would like to see you try something along those lines.
-
There are several ways to do this, one of them is by using a level adjustment (see attached).
-
It's the same box you just clicked to reply. . . .reply to this topic. . . looks like this.
-
Use the option at the bottom of the comment box drag files here or choose files. Attach the image then upload it.
-
Upload the picture for us to see - it usually helps.
-
Feathering
AffinityJules replied to bluntlarry's topic in Pre-V2 Archive of Affinity on Desktop Questions (macOS and Windows)
What you're experiencing is left over junk when using the refine tool after making a selection. Personally I keep well away from the refine tool because it always disappoints and needs improvement. It works with some images but is disastrous in others. And how a tool can place elements outside of the boundary/parameters that have been set are totally beyond my comprehension. I've never understood it. -
How are you opening the file/picture in Affinity Photo? If you place an image from the file menu (jpeg or not) Affinity will read it as an image file. If you drag an image from an open folder into Affinity (jpeg or not), this too will be read as an image file. If you open a file from the file menu (opens in a separate window) then copy & paste from the menu tab into your document, this will be read as a pixel image - and thus editable by the method you were trying to do. I don't know why Affinity behaves this way - I'm no expert, but it just does. Hope this helps to explain it a bit more. There are lots of people in here who are far more capable than me in giving a more technical explanation.