Datum
-
Posts
14 -
Joined
-
Last visited
Everything posted by Datum
-
Affinity Designer/Photo TIFF File Export
Datum replied to Datum's topic in Affinity on Desktop Questions (macOS and Windows)
@walt.farrell I have another question for you. I am trying to achieve what is done in the video but except, in affinity. Any idea if this is possible with affinity? This came from the manufacturer of my DTF printer. They are telling me I need photoshop and do not want to get it. I am doing everything I can to avoid it. They call it “Spot Colour”. Thanks in advance 专色缩小.mp4 069e9240-f340-4c9b-a0bf-c788bba1e010.mp4 -
Affinity Designer/Photo TIFF File Export
Datum replied to Datum's topic in Affinity on Desktop Questions (macOS and Windows)
Thank you for both of your replies. @walt.farrell you were almost bang on. I ended up getting a hold of the software developer and they helped me trouble shoot the problem. It was pretty cool as they knew the affinity software and were actually able to take my design file and examine it, to provide feed back on what I was doing wrong. They told me to do the following: 1. Not to make it transparent 2. Change the compression to LZW 3. Change the suffix from x.TIFF to x.TIF After I made those changes, I was able to successfully upload the .TIF file to the RIP Software. I still have to render it from the RIP to a .PRN file and print it but at least I was able to get it this far. Thanks everyone. -
Hello, I recently purchased a Direct To Film (DTF) Printer from over seas. The printer came with a RIP Software developed by MainTop called RIP 6. The program requires us to convert or export our design file to TIFF and upload it to the RIP Software to generate the print file. When I take the design file and export to the TIFF, there is an error message that pops up stating that the file type is unsupported. The manufacturer is telling me that I have to use adobe BS, I mean PS. which I am having a hard time believing, nor do i want to go into an agreement if I don't have to. I figured I would start here to see if there is anyone who has experienced this or knows anyone who has and is able to continue to use affinity? There is also something called "Spot Channeling" that apparently only be done with photoshop. This needs to be done when an image that needs to printed on a specific location on the print medium, needs to be done to ensure the image prints on the appropriate location. I have attached some pictures of the software and a video of how the "spot Channel" an image before uploading it to RIP 6, instructions as to how to start a new project in the software etc Any help would be greatly appreciated! 20230728_031804000_iOS.mp4 20230801_102308683_iOS.heic 20230801_102352739_iOS.heic maintop.pdf 20230801_005435380_iOS.heic
-
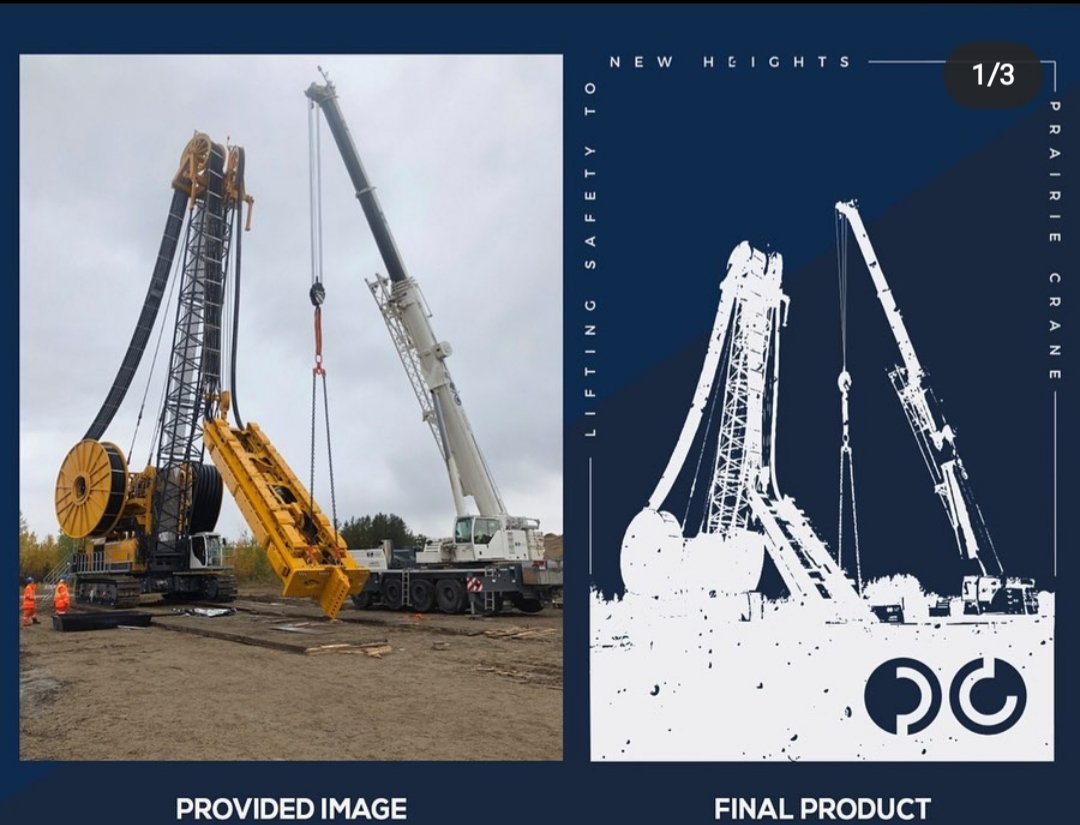
Good day, I am looking for some guidance on how to convert a jpeg to a vector. I attached an image titled "Image to Convert" that is the one I would like to covert to the vectored file. I have also attached an image titled "Desired Result" which is what I would like to achieve as an end result. Any help or guidance in how to achieve this would be greatly appreciated and thanks in advance.

-
Hello everyone, I am having a bit of a hard time with one of my designs. I am looking to place a line through some text and then subtract the line and part of the text the line covers. In the design that I have attached, it looks as though I achieve it but all i have done is make the line the same color as the background so it looks as though its disappeared. My issue is that I am using the design for a shirt and don't want the line to be completely gone so it doesn't get transferred over and printed on through the printing process. I will attach the file as well as some images explaining: Here is my design and the line I am speaking about is the black line through the word "FRONT". I want to keep the gold line in front of the text but want the Front text to have the line run through it so it cuts the text in half. This is what happens when I remove the back ground layer. I would like to have the black line removed as well as the sections of text where it overlaps so the word front is cut in half and where the line was, is now transparent: I have tried to select the layers then go into the layers tab and select geometry then hit "Subtract" and it deletes the whole text except the "F" which is just an outline (see image below) so I don't know if that is the best method for this requirement: Thanks in advance for taking the time to help with this! I have also added the design file. ECLMB - FL - NAHWC DARK ALL TEXT.afdesign
-
Altering a .PNG
Datum replied to Datum's topic in Pre-V2 Archive of Affinity on Desktop Questions (macOS and Windows)
Thanks so much @Dan C and @Joachim_L! I will give both of your options a go. This place is awesome and everyone is so helpful, very much appreciated. -
Hey everyone, I am wondering if it is possible to edit png's by removing portions of them that I do not want? I have attached a mock up of what I am speaking of as well as a copy of the png if needed. These pngs are generated off of a fulfillment company we use so I do not have access to any other files. Modifying the png would be my only option if possible. These files get geneated on a 3rd party website/platform in the company's mock up generator based off our logos and color options and then downloaded in eithe jpeg or png. The png I have attached is one I get when I select png download option. See below for more details: Thanks in advance for any help with this!
-
Thanks everyone! @Pšenda was correct. I just had to go into document settings and change the color format. Thank you all for taking the time.
-
Hello all, I recently opened a .jpeg image in affinity designer and photo and for some reason, its opening it in grey scale. A little message pops up that reads "Assigned Profile" stating that affinity assigned the working profile as grey scale D50 du to the image not being a profiled document (See below): I am building my product images and when I apply a .png to the unpro filed .jpeg, the product image (.png) is grey scale as well... Does anyone know why this is happening and how to prevent the .png from going grey scale? I am okay with the .jpeg being grey scale, just want the .png to be colored (see below):
-
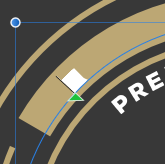
Hello everyone, I have figured out the Geometry function and was successful with it. I then set up a new file in the dimensions I need (154px X 28px) for a logo to fit inside in the navigation bar on my website. I built a parallelogram with the pen tool set the fill with no stroke. The parallelogram was built to the size of document created minus the two sides to create the parallelogram. I then added the logo over top of the parallelogram layer, selected both, selected layer tab went, went into geometry and selected subtract. Everything worked great. I then exported the affinity file to a PNG so that I could use it for the site. When I open it up in another document, the PNG is very blurry/pixelated. I have attached a few images below. Does anyone know why this is happening? This is after I press subtract within the Geometry: This is what the PNG files look like after the conversion from the above picture and when I open them in another document (document size 1000px X 1000px):
-
You guys are awesome! Thank you both so much. That's an amazing amount of knowledge from one question. Thanks @Joachim_L & @GarryP it worked perfect.
-
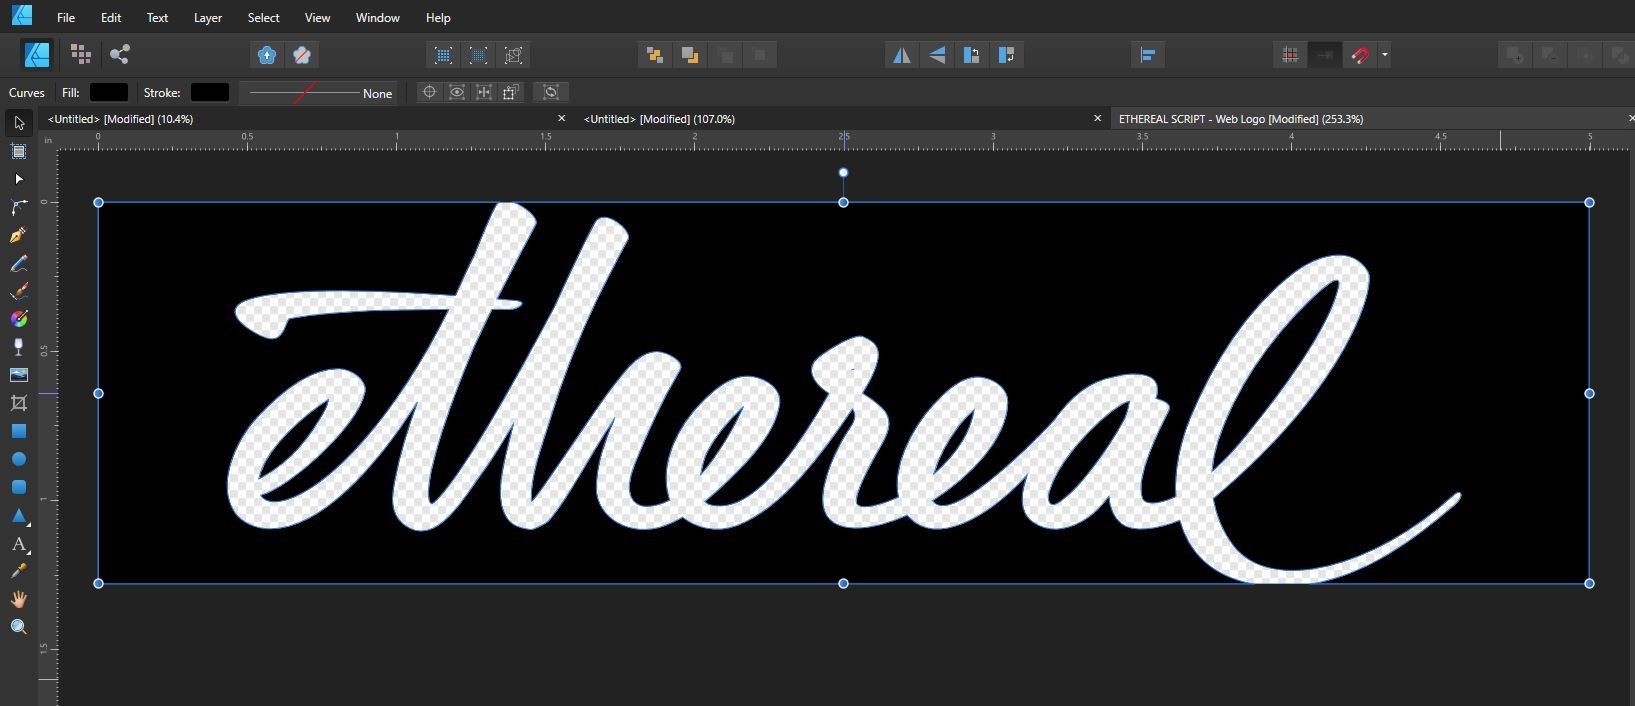
Hello, I am having trouble figuring out how to make a transparent cut out of an existing logo within a rectangle. I am new and may not be using the correct terminology... I have taken a few screen shots to help explain: This is what I want to do With this logo I can build the shape easily but just cant figure out how to combine the two layers and remove the color to make the script transparent and keep the shape the solid color Any help would be much appreciated, thanks in advance!
-
@GarryP Thanks for that, much appreciated. Its working fine now!
-
Hey everyone! I am very new to designer and have had a small issue with some of my fonts following the path. I am currently having an issue with an ellipsis and the font I would like to use, when placed on the path, wont follow it and just overlap onto itself. The first picture is when I type the first letter in and the 2nd is when I type the whole word. It works for some fonts and doesn't for others.