Affinity iPad Student
-
Posts
332 -
Joined
-
Last visited
Posts posted by Affinity iPad Student
-
-
10 hours ago, StudioJason said:
Nicely done!
Having been doing most everything from scratch my whole life, can understand difficulty some may have with what I find natural creativity.
Learn the methods and techniques of the processes, but continue evolving your own style to incorporate them...will get easier and faster the more you do.
‘Great work!Thanks man!
I most definitely shall keep on learning.
Yes, this stuff gives a miraculous feeling, once you get some understanding on how to go about creating what you see in your mind.
Affinity Photo for iPad, when it’s not busy being buggy, is an amazing creation tool.
-
I still have a long way to go, but I am proud of myself for creating this from scratch, after all these months of practicing and following along with tutorials -> finally a original piece from my mind. Man it feels good.

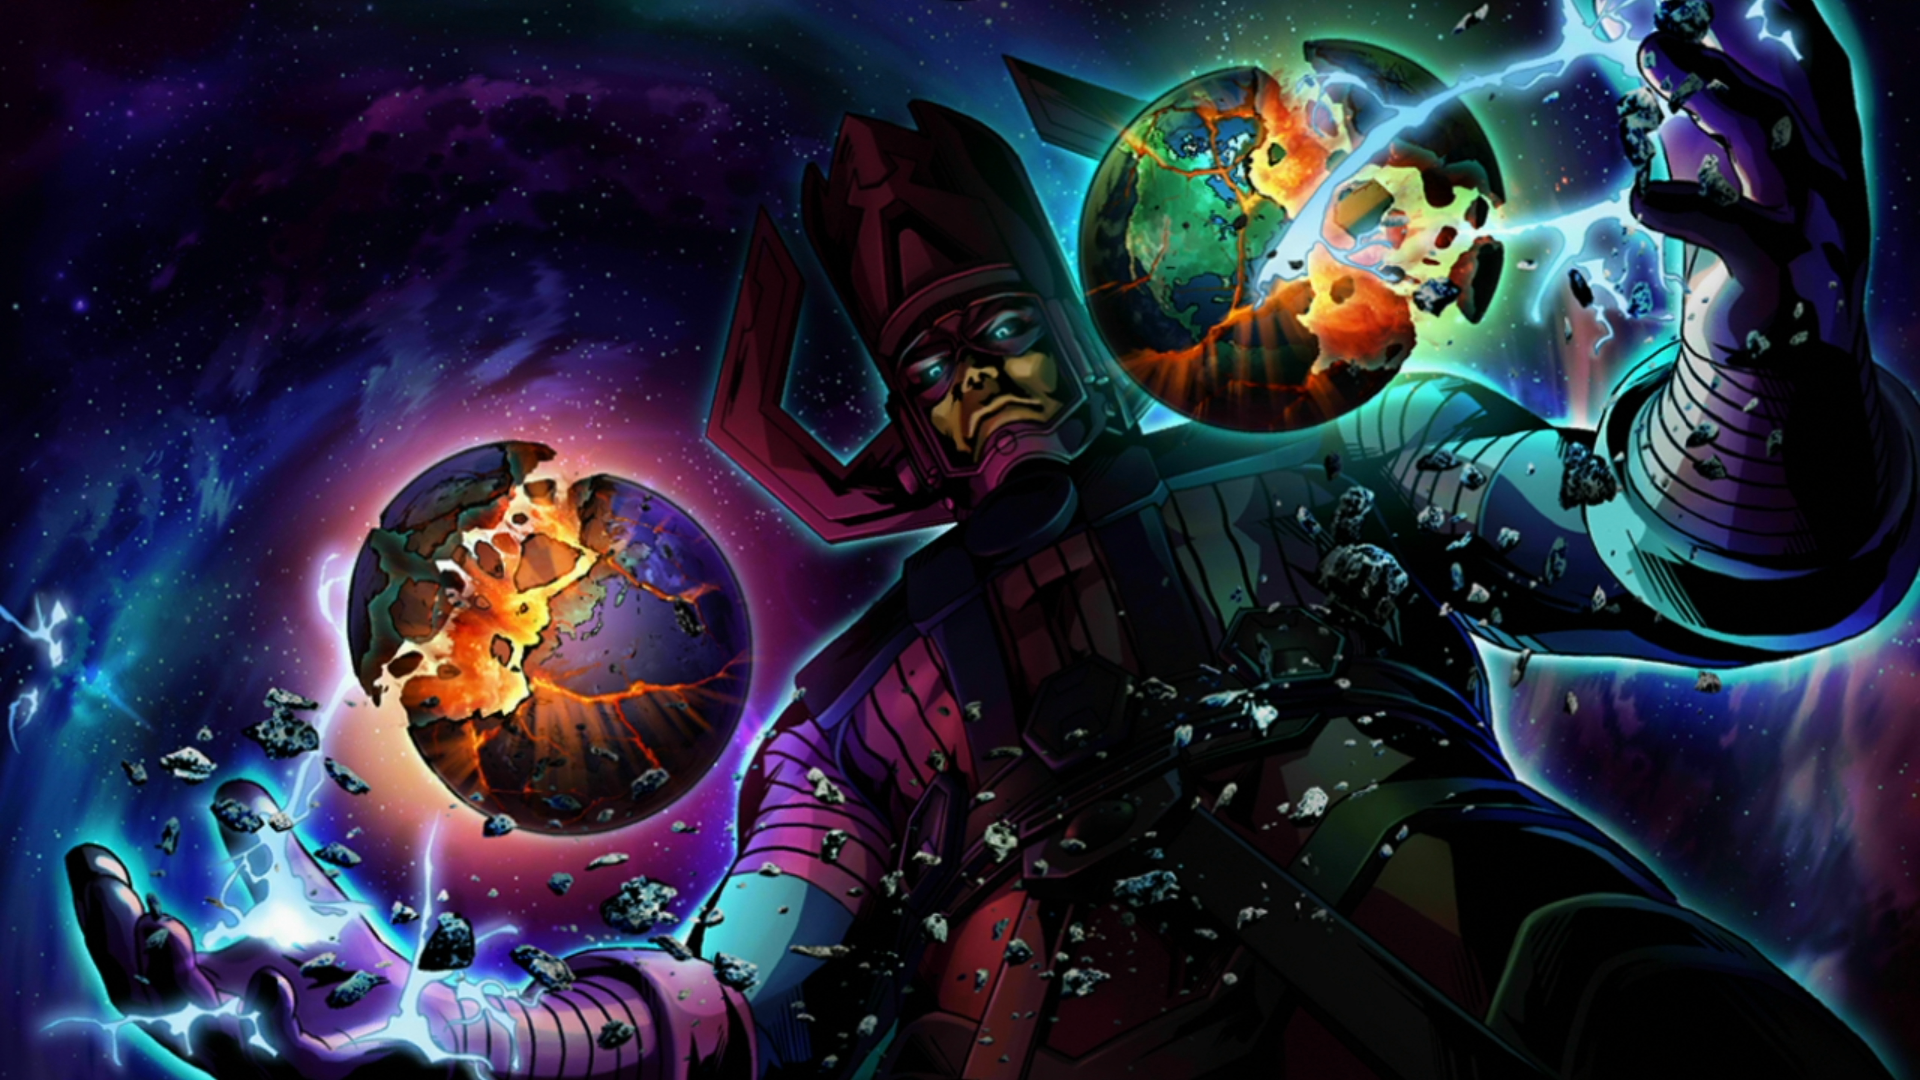
Original Images
-
On 4/22/2021 at 6:36 AM, Dan C said:
I'm not 100% certain for the reason of this, but it appears when copying text from iOS Safari, it is being copied as rich-text.
By default on the forums, rich-text is not automatically converted to embedded links, but instead retains it's exact formatting, hence why the plain-text link copied from the Twitter app does embed correctly.This is set by our Forum providers, Invision, and isn't something we directly have control over. When pasting the rich-text link from iOS Safari, you should see a pop-up (at least on desktop) asking if you want to convert the rich-text to plain-text. Selecting this option will convert the link to plain text and then correctly embed the link in the forum post.
I hope this clears things up
")
it does clears things up. Thank you
-
2 hours ago, DM1 said:
Interesting... Saving an export Photo to Photo folder duplicates rather than replaces.
On further testing, it seems that saving a Designer export to the Design folder works correctly, however exporting from Designer to the Photo folder results in duplicates rather than replacements.
To complicate matters further, saving a Photo export to the Designer folder still duplicates rather than replaces.
I suspect this is a bug in Affinity’s apps. Maybe permission settings?Yep, i’m still getting the same issues as well. However, it is not relegated to Affinity Photo alone. Craft (which is an app like Notion but better on iOS) is having the same issues. Craft: https://www.craft.do
I’m surprised no one else has reported this. I guess we really don’t look at our iCloud folders once we export.
I tried testing again after rebooting my ipad -> still getting duplicates. (scroll to white arrows)
-
9 minutes ago, DM1 said:
@DM1 can you check with affinity photo? i’m curious about your results.
-
Wow 🤩
That’s fresh!
-
Maybe buy via iTunes app on pc? If iTunes still exists, search Affinity Photo / Affinity Designer and then check to see if there is a iPad tab if so, choose the iPad tab, then make the purchase. Probably worth a check.
As @DM1 stated, you will still need an Apple ID, as it’s the only way for Apple to verify and identify your purchase when move around to different iPad devices.
-
On 4/19/2021 at 4:37 AM, Dan C said:
Thanks for letting us know, we certainly appreciate the heads up!
Unfortunately I'm not too familiar with the iCloud app, is this 'replace' option one that is found in iCloud only, or is this a standard option across Files on iOS?
Is loading/saving from directly with the Affinity app affected? Or only when changing files externally?
Apologies for being late, i’m just now getting back on the forums.
I’m not sure on Mac PC.. (I only use iPad) but I know for sure, this is standard for all iOS mobile devices (iPad, iPhone)
only affecting when you’re exporting to iOS cloud - you end up with same name duplicates.
This seems to be affecting all iOS apps. I tested two apps
Affinity Photo & Craft
-
Example, I copy & paste this link from twitter iOS app: (notice, it embeds on the forum perfectly)
Now below i copy & paste it from twitter on iOS safari:
https://twitter.com/larianstudios/status/1384580554369159171?s=20
See^ that’s bug life 🐜
-
Larian Studios creator of extremely successful tactical game series Divinity Original Sin 2 announced they will now port over “with no compromise” the pc version of the game over to ipad due to M1 processor.
I was wondering is it possible for Setif to do the same with affinity photo?
This game:
-
@DM1 I see. Checking the layers, i noticed there are two brightness adjustments. One on the ship, and the one you moved out of the ship. So simple now that revealed, yet i could had not conceived that on my own.
Man, I wonder how long it’s going to take my mind to catch on, to little confusing things like this which are so nuanced.
I wish somebody would create a bunch of Affinity Photo puzzles with little nuances like this, so us amateurs can fast track when it comes to these situations.
As always, I appreciate you Champion Sound thank you.
-
Mods I hope I put this in the correct section, since it has to do with iCloud and this is the iPad section.
The recent iOS update has brought with it a nasty bug. I discovered this bug using Craft app, then tested with Affinity Photo, and yep this affects all iCloud saves no matter what app the file is being exported from.
When saving your work to Cloud, you will now have duplicates of the same name when tap on replace. Be aware of this
-
@iconoclast Your english is excellent.
@DM1 Thank you
Thanks fellas, I found it in my iPad local save file. You will find it in the mega ship layer. I removed all the other stuff I had in there, so you can locate it quickly. affinity forums copy.afphoto
-
On 4/12/2021 at 2:06 AM, iconoclast said:
As I already said (and you can see in the layers panel on the left of my screenshot - "Ebenen" is the german word for "Layers"), I didn't attach the curve layer ["Mega Ship (Kurve)"] to the Brightness/Contrast layer, because if you do this, its effect will only be applied to the curve layer, and everything below will be cut off. In Olivio's tutorial this doesn't happen, because his background is more greyish, I think, and it also seems that he rasterized the curve layer, so that it is a pixel layer. Edit: I have to correct myself. Olivio had no curve layer in his image, so this couldn't happen this way.
I also changed the gradient of the curve layer, so that the windows are on the hight of the shadow. That gives a better effect, I think. By the way, I'm not sure if light, that is shining through a window, really would produce such an extreme lightbeam in form of a spot light. Anyway, it wouldn't be the only lightbeam if there are more windows in a row. On my image, there is a bright light on one spot inside the ship, so through the windows to the left and right of that spot is lesser light shining. Nevertheless there must be some weaker lightbeams with wider angles coming through the neighbour windows, I think. It's all a matter of how realistic do you want it.
I will have to replicate this. Fantastic my friend, just... fantastic!
-
On 4/12/2021 at 3:43 AM, DM1 said:
Upload as .afphoto🙂
I do not see .afphoto option in export file types. do i type it in?
My first time exporting this file type

-
Following along with this compositing tutorial.
I cannot replicate what Rikard is doing in Photoshop -> by making edge disappear via curves. See Clip. After clip, see all the steps I have tried and cannot make edge blend.
Steps I’ve taken
Regarding Curves, I tried all the channels just like the video clip: Master, Blue and Red, tried for about 40 minutes moving the nodes to various points. Even tried putting a curve on both sides of the photo to balance out that way -> to no avail:
Maybe it’s because i never used Paint Mixer before? but i did try in different strengths and flows - to no avail:
I thought i would fair better here, due to my familiarity with light round brush.. unfortunately that knowledge yielded no results.. then again, i’m definitely no color expert.
If anybody would like to take a shot. This is the original image, to get the edge I have you need to put mountain in the center. To achieve this, apply Affine filter and choose 50% on the x grid (horizontal) @DM1thanks for the Affine filter guidance yesterday.
-
@DM1 Offset example in the bottom.
To answer your question why not follow affinity courses? Truthfully, I have not found any good compositing and special effects course material like Rikard’s (the photoshop instructor) for Affinity Photo. Rikard Rodin is amazingly skilled and a great orator. I’ve learned a lot from him. For the most part, I can follow along easy since the similarities between AP and PS are damn near virtual - i’ve been learning this way for about 6 months now.
I paid for Rikards master suite, so i learn from his website courses not his youtube, below i’m just introducing him.
Also, when it comes to Affinity and real skills on display - - for the stuff i want to learn: (composites, photo manipulation, photobash) the talent pool seems to lie in photoshop. Affinity is nowhere in that conversation unfortunately. At least not from what i have found. I mean look at this young brother:
Regarding offset, I have never seen or heard of it, until now. Here is a clip of what Rikard is doing with offset:
-
i’m taking a course, it’s on photoshop, but i follow along on my affinity photo ipad.
the instructor pulled up something called an offset tool located in the the filters - do we have some like that? because i cannot find it. thanks.
-
this is beautiful - it’s exactly what i’m trying to achieve, how did you get it to work?
Also upon reading your notes and @DM1 it seems you both have this issue - but in different ways?
It seems that for you @iconoclastyou have the very same cut off issue i have? how did you resolve it?
should i upload my files in.psd so you can look at it? and maybe help me identify what i may be doing wrong?
thanks.
18 hours ago, iconoclast said:To be honest, there are some confusing points in this workflow. So you're absolutely okay.
I was just fiddling a bit, how I would make it and attached the result as a sample here. Just a verry, verry rough sketch, far from perfect. Hope it may help somehow.
-
Yep, pulled the contrast slider all the way - no change.
Regarding the blend modes from top down knowledge - thank you. That is something i was not aware of, or if i was.. definitely did not remember it.
I am going to shelf this technique for now since something is definitely going on. most likely me. I’ll test another dark space background later and see what happens.
I think i’ll just go about this a longer way...
I’ll mask some of the light beam assets i purchased from serif, and using a thin round light brush, shave off the edges to bring into alignment with the mega ship windows and hopefully, I will be able brighten the light beams a bit more, to achieve the visual i am seeing in my mind.
you’ve been extremely helpful in not only explaining the mechanics of how some of these things work but also, on what could potentially be the problem. Thanks @iconoclast i really appreciate you.
-
That my friend was a beautiful breakdown. Man.. i really appreciate how skilled you guys are in this community. What a blessing to have access to all of you.
My brain is twisted from trying to figure this out. I know of no other ways of getting hazy shards of light beam to peer out of those window openings on the ship.
The other techniques i am aware of:
- Creating shape, then in it’s FX option, enabling glow and glausian blur. However, the end product for me is light beams a bit to bulky. I need it lite, like a haze.
- I tried using the light beam asset packs i purchased from serif store. still, to bulky.
You’re right, it definitely has to do with my space background for whatever reason. The space background itself has no blend modes, filters, adjustments.. etc, it’s just a basic background.
What’s confusing me, it does not absorb into the black within Olivios background. Which you are 100% in that , it’s a different background, but the black areas in his background seem on par with mine, and yet... it’s not being absorbed. very strang.
I thought brightness adjustment would shine even more on a darker background, since dark is the opposite of the luminosity spectrum. I guess i am definitely wrong. going off what you’re educating me on, the dark absorbs the brightness adjustment.
I tried checking different blend modes in the curve to test stuff out, only one works - negate:
i tried testing brightness on the entire image itself. seems to brighten up the space portion - but as you pointed out, the pitch black area... though slightly brightened, somehow it’s absorbing it.
Here it is without brightness adjustment:
-
thank you @iconoclast
unfortunately still stuck on this cut off.
i just checked, i definitely did not apply a mix mode. I’m confused by what you mean by later mode. Did you mean blend modes? if so, no i did not apply any blend modes, it’s on normal.
-
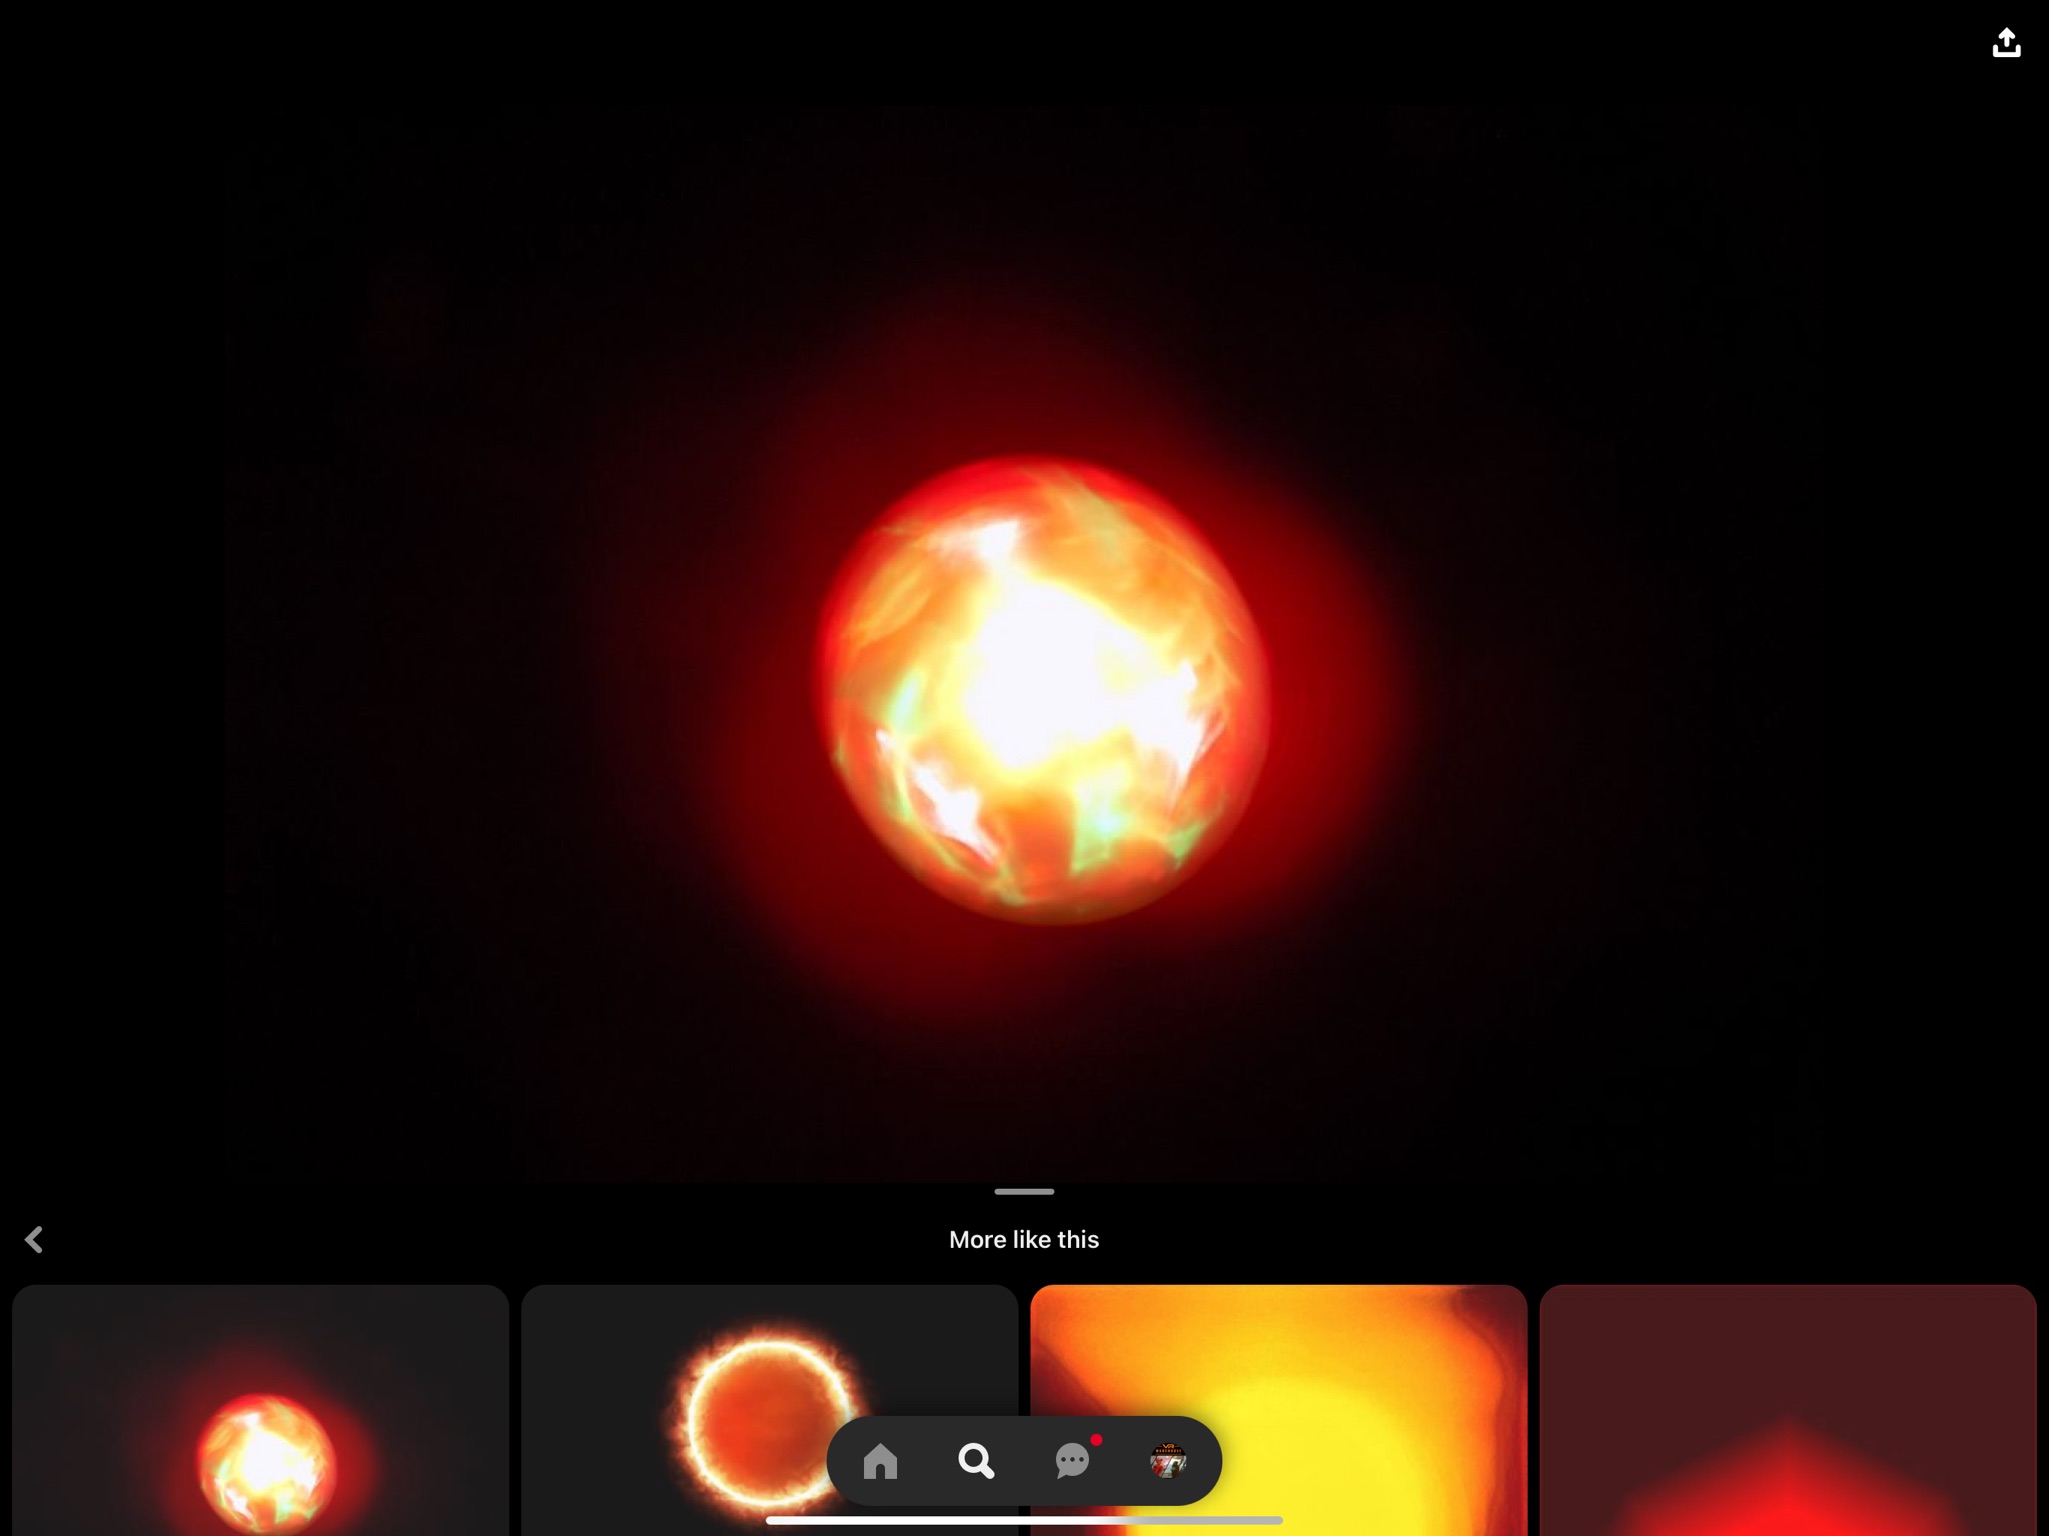
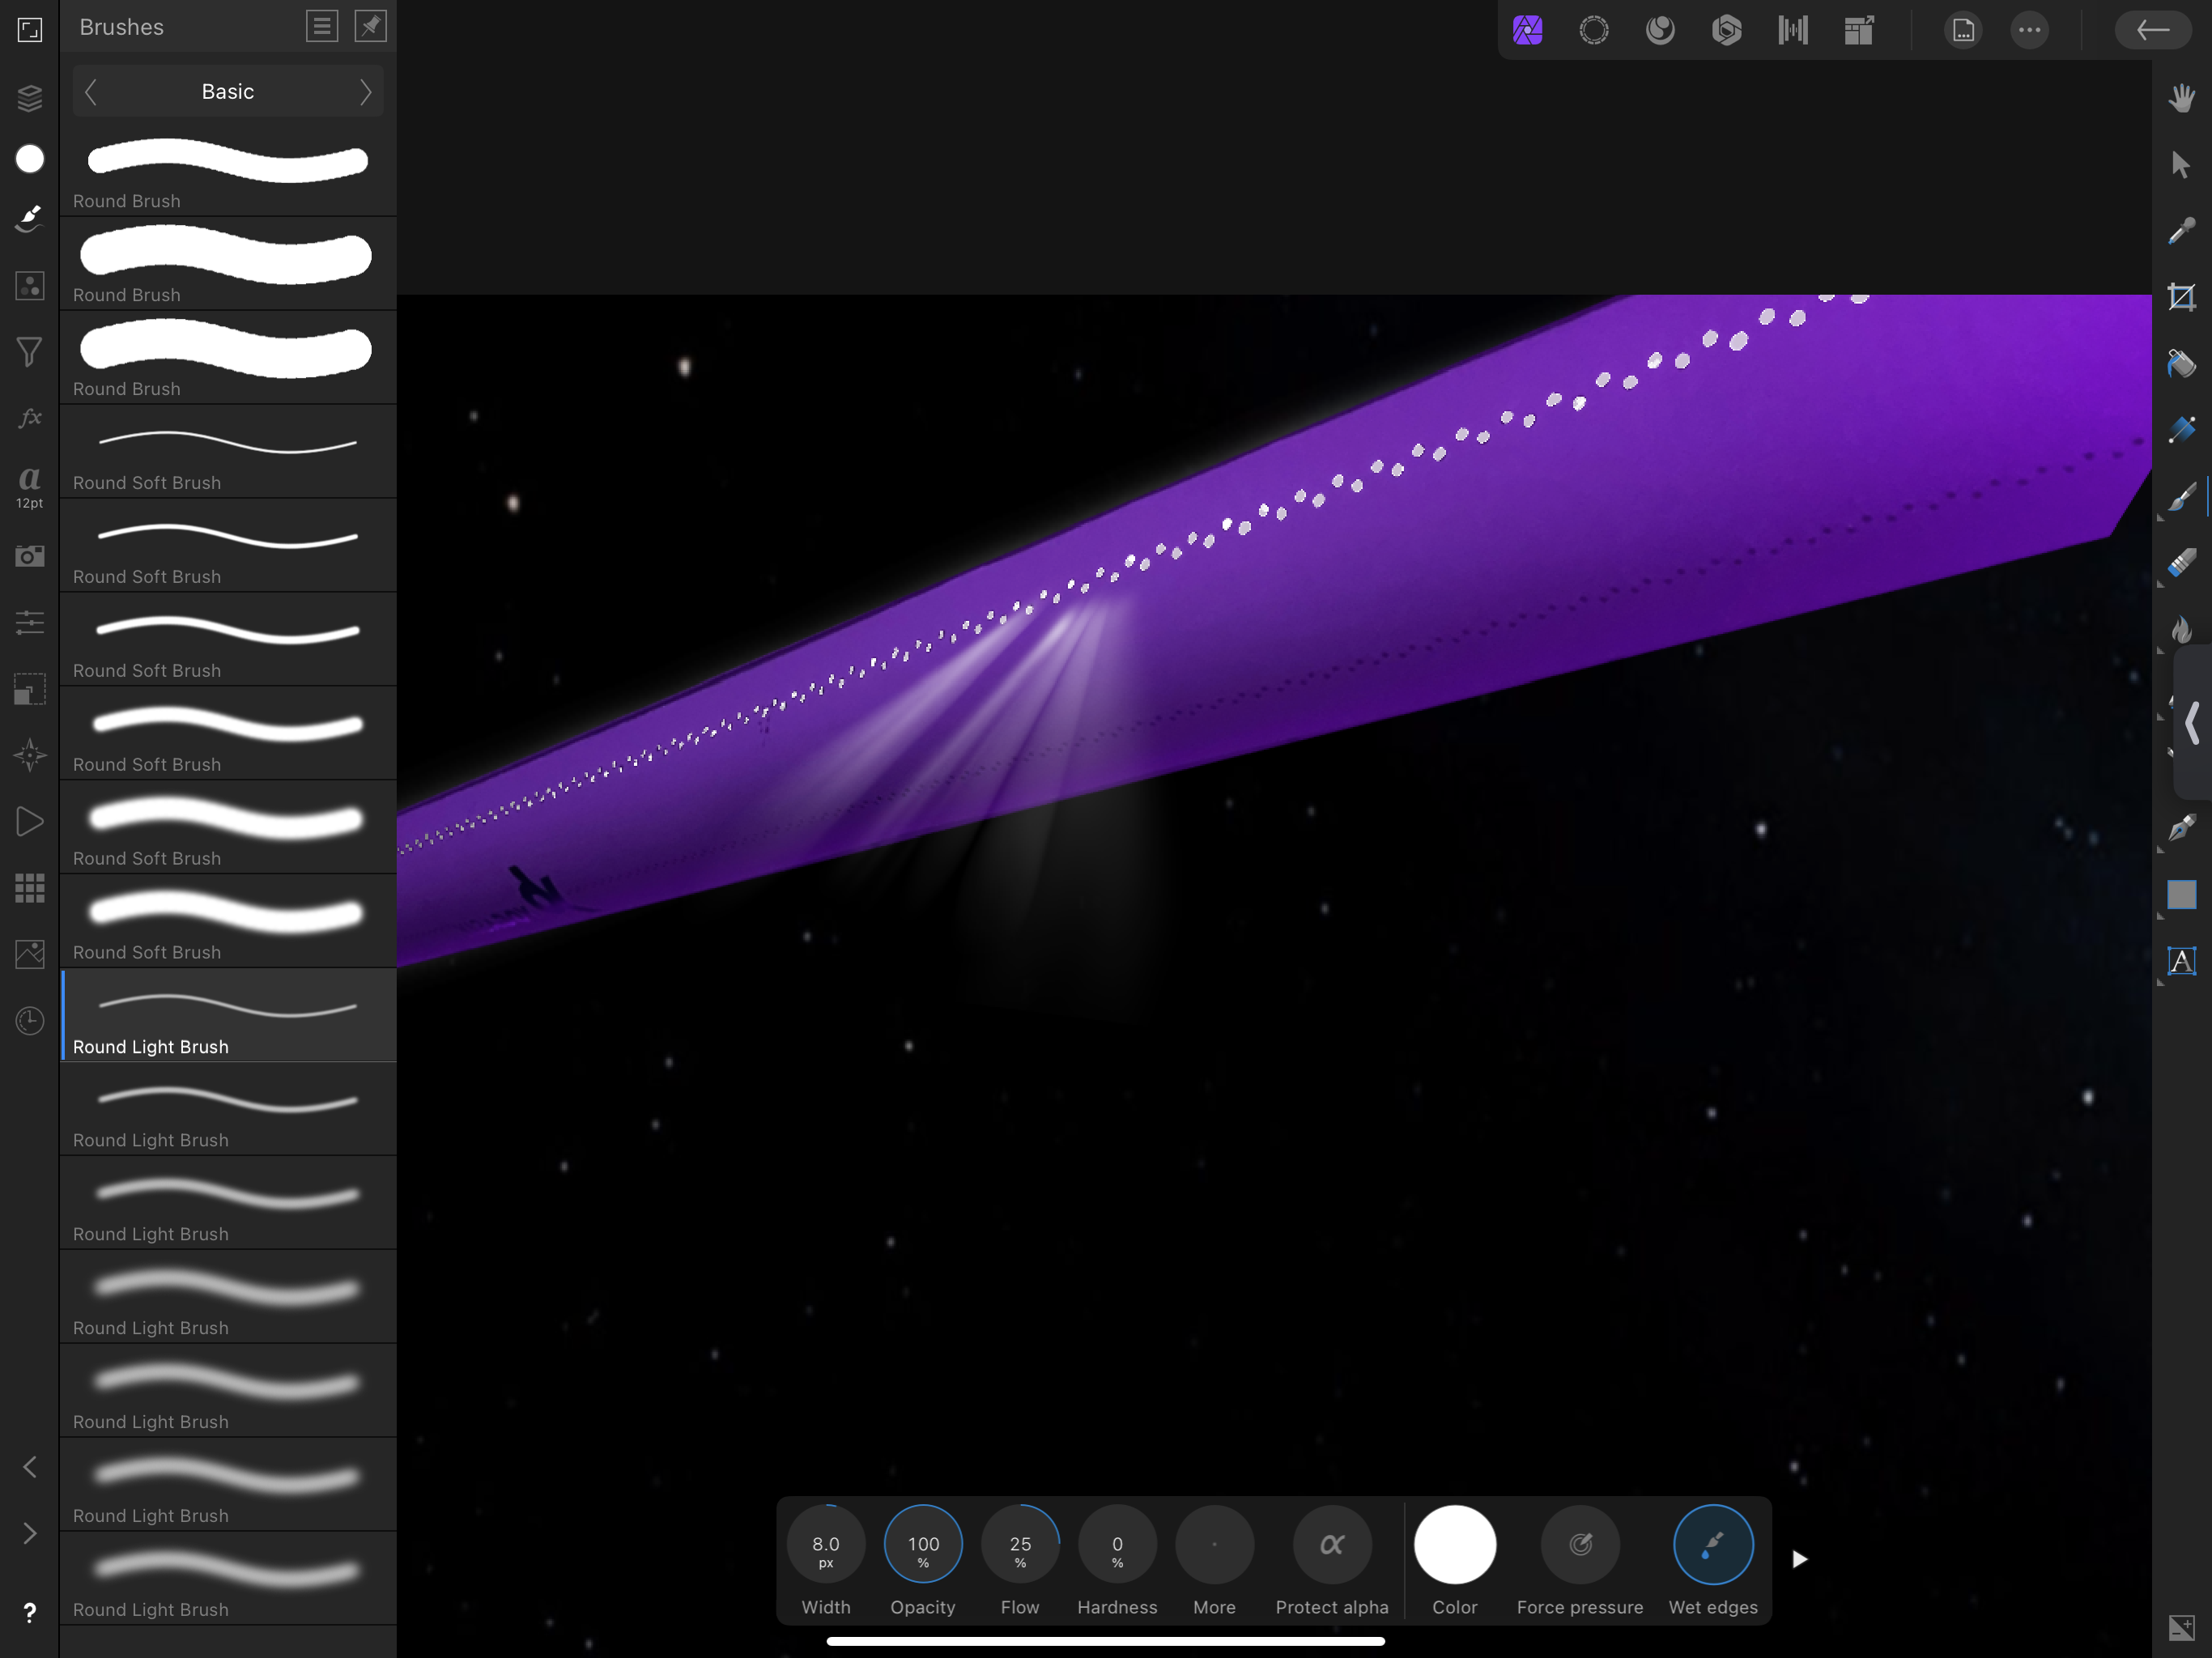
I am following along a Olivio Sarikas tutorial, for some quick tech. I am trying to replicate his light beams technique onto a project i’m working on, where multiple light beams shine through multiple, small vent openings.
So what’s weird here is that in the curve I created, which i set to mask, the brightness adjustment, doesn’t shine into the entire shape of the curve. it cuts off at the end.
This will make more sense when you see the clip i created. i’m trying to figure out why is affinity cutting off the bottom segment of the curve shape, and not allowing the brightness adjustment, to brighten the entire curve. What am i doing wrong?
This is the portion of the tutorial I am stuck on, because for whatever reason, as you see above, the brightness is not moving past the yellow line
-
@DM1 as usual - with the answers. Thank you.
I see now where I was messing up, i was not in the selections persona.
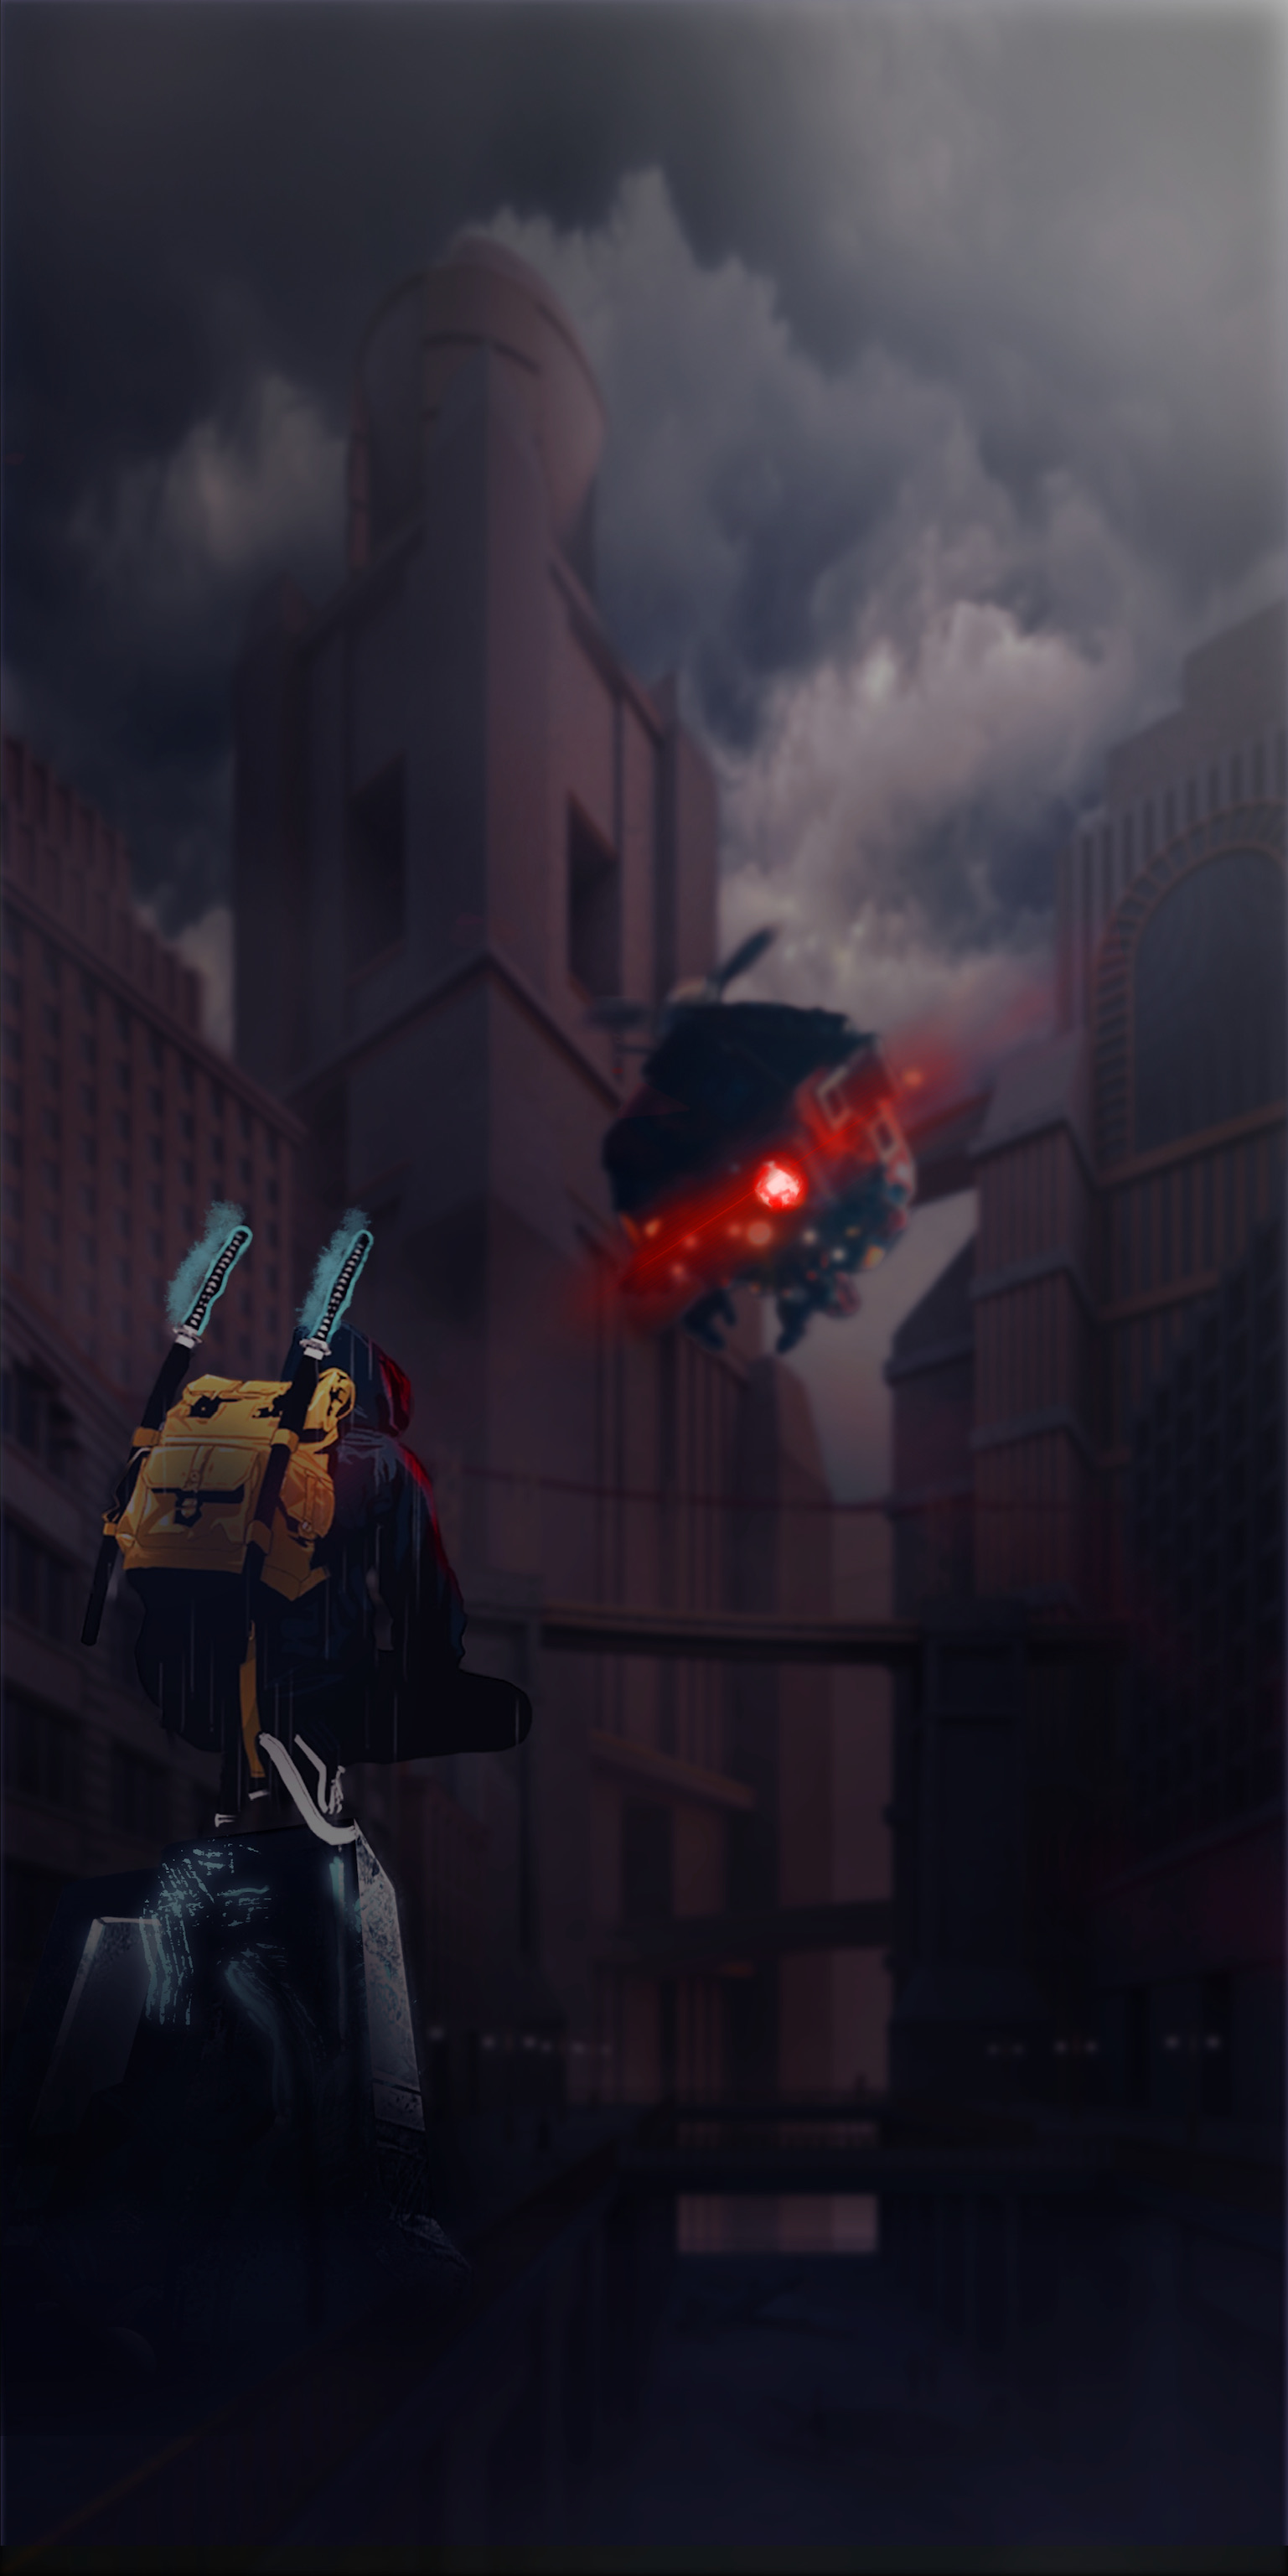


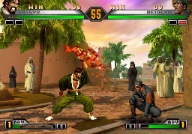
Hangar Bay Shoot Out (VR Game Concept)
in Share your work
Posted
A game design I’m working on. I’m beginning to understand rim light concept somewhat. I feel the glow to the left of the guy is too much, could be because my senses not fully developed yet with lighting and how it should cast.
Couple things I’m struggling with:
1. Perspective of enemy on right side about to shoot w/ red flare.. seems off. It’s closest to guy behind cover.
2. Borg cube in Blue, is supposed to be enormous.. yet, I have no idea how to maintain it’s enormity, while still representing it is part of the background. I thought adding some haze, decreasing contrast & adding motion blur would do trick. Doesn’t seem like it. At the moment, it seems to be sharing foreground with red flare enemy.
I have no idea how to make this better. If you scroll down to picture below of manta ray & mountain, the mountain is humongous, but it’s part of the background & manta tag is foreground. I wish I could replicate this. Perspective is difficult for me.
Concept:
Originals: