markbowen
-
Posts
229 -
Joined
-
Last visited
Everything posted by markbowen
-
It is unfortunately a bug but one they do know about and are working on a fix for. I'm hoping it will be really soon. Best wishes, Mark
-

affinity designer Steve McQueen - all vector in Affinity Designer
markbowen replied to Ken Cope's topic in Share your work
I have simply no words that can describe what I feel when I see an image made out of vectors to that kind of quality. Utterly stunning work! (Actually there's three right there lol) Best wishes, Mark -
Straight-forward Image Duplicate
markbowen replied to WorthIt's topic in Feedback for Affinity Photo V1 on Desktop
EDIT - Apologies I misread what you were after here. I was thinking of when in Photoshop and you have the same document side by side so you can say have one at 100% and the other is the one you're working on. Apologies I believe that View->New View is what you're looking for here? You would then need to go to Window->Seperated Mode to get at what you need. Not sure if this is just a Mac feature though as don't use Windows. Anyway, hope that helps a bit. Best wishes, Mark -
Pressure Sensitivity
markbowen replied to DavidMalcolm's topic in Feedback for Affinity Photo V1 on Desktop
I have to agree with this. Most of the brushes (I believe) have it turned off and it would be great to have it turned on as default. If someone is then using a pen it will work and if they're not and just using a mouse or other input device then well it's not going to make any difference to them anyway. Definitely add my voice to a +1 vote for this. Best wishes, Mark -
What's wrong with Select->Feather… (Shift F6 on Mac)? Best wishes, Mark
-
Zoom to spot under cursor?
markbowen replied to markbowen's topic in Feedback for Affinity Photo V1 on Desktop
Hi Walt, Good catch. I could do (however unless there's a way to speed up the zoom?) but just prefer zooming using the Command + keys as it just feels faster to me. Will give that a go though definitely. Best wishes, Mark -
Crikey!! You're absolutely spot on there. I created the before image when exporting first and accidentally turned off a layer that was beneath the moon to cover the stars. Have updated post above with correct image. Thanks for that! Best wishes, Mark
-
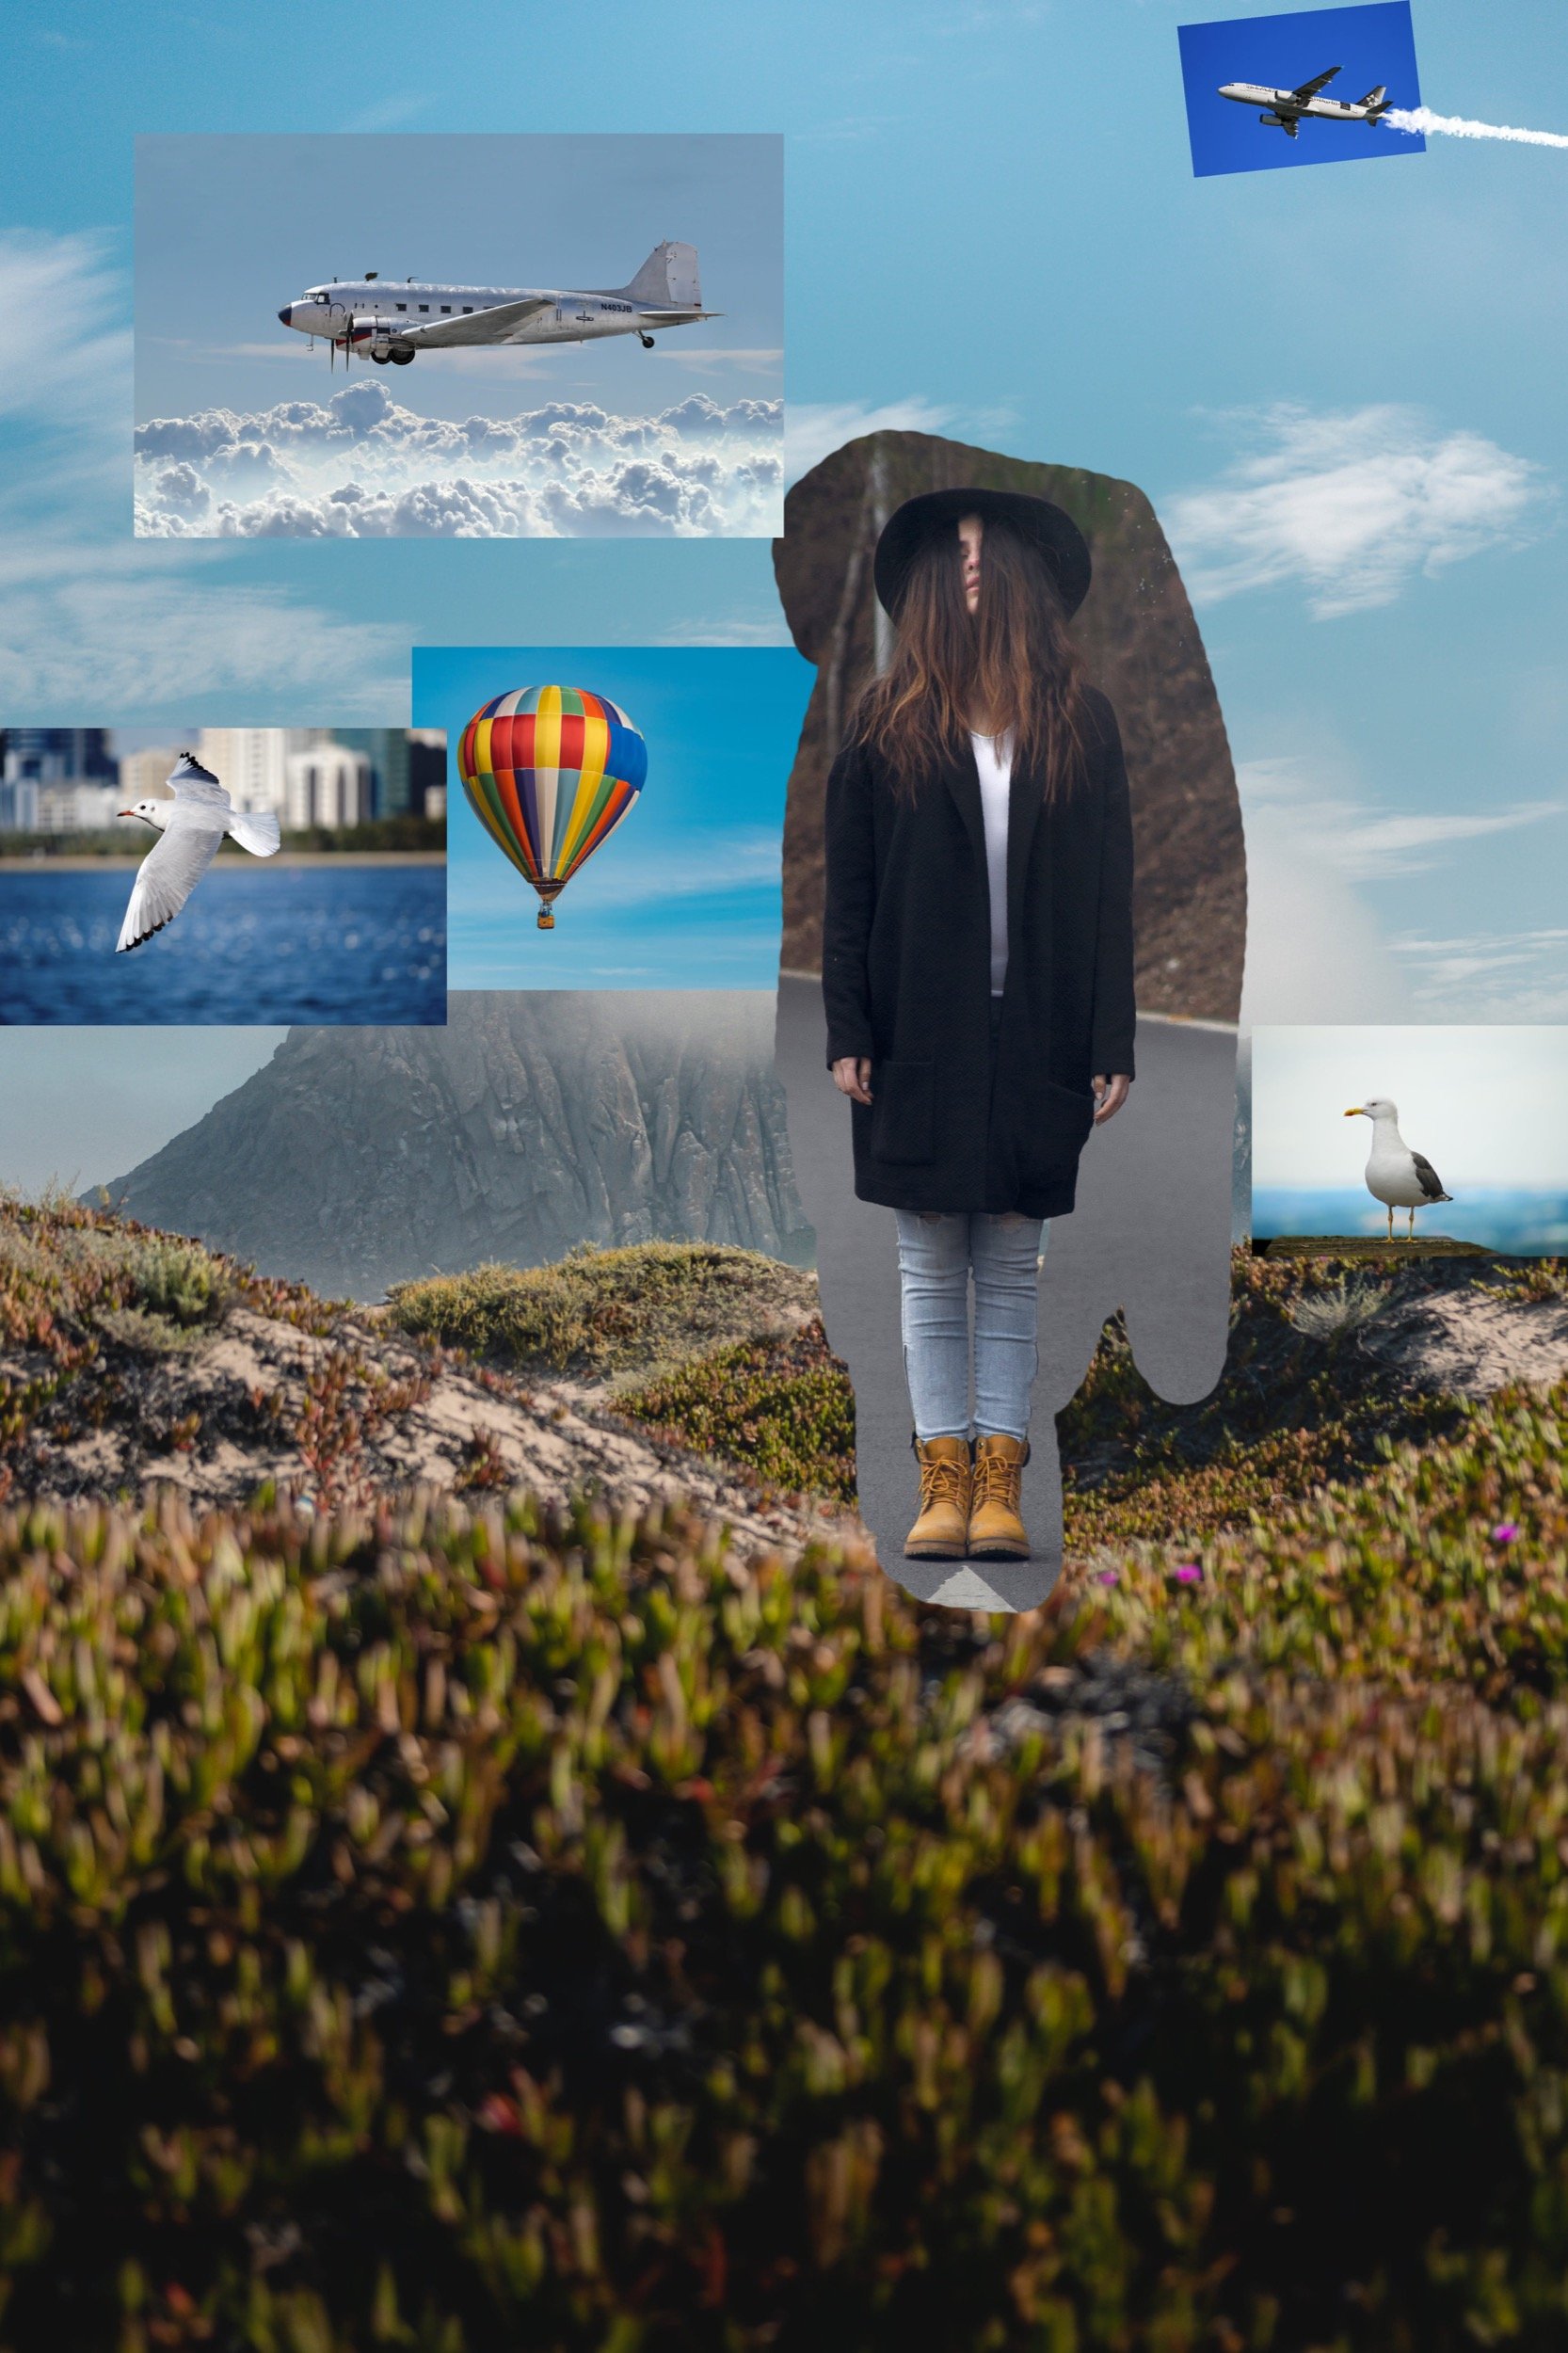
Wandering Thoughts.

-
Zoom to spot under cursor?
markbowen replied to markbowen's topic in Feedback for Affinity Photo V1 on Desktop
Actually looking into this I notice that using the Apple Mighty Mouse I can scroll zoom and it zooms to the spot under the mouse cursor but unfortunately I'm using a pen tablet which doesn't have any zoom support in that way (not sure even if it did that it would work correctly?) so not really wanting to keep taking my hand away from the keyboard when zooming in / out. I keep one hand on the keyboard and the other I'm using the pen as it's a very quick working method. Many thanks, Mark -
Hi there, Keep on coming up against this one and whilst it's not a showstopper or anything like that it can throw you for a few seconds sometimes. When copying a layer from say a larger resolution document to a lower resolution one a lot of the time (not always - not sure exactly how things are pasting?) the pasted layer will be outside of the current pasteboard area so you can't see what you've just pasted. Would be nice if perhaps the visible content of the pasted layer were centred in the new document so you can see where it's gone straight away? Many thanks, Mark
-
Would it be possible to have a setting or (perhaps set it as standard) that when you zoom in and out using the Command + / Command - shortcuts to get the image to zoom in and out centred around the cursor on the screen? When masking a large image and needing to zoom in and out a lot to look at what you're doing it would be nice to be able to zoom back in again to the spot you need to work on quickly. As you'll already have your pen / mouse pointer in this position then it would be really easy to get back to where you want again without having to first zoom to the level you want and then scroll around the document to the position you want. Many thanks if you consider this. Best wishes, Mark
-
Motion Blur to Text?
markbowen replied to Chul's topic in Pre-V2 Archive of Affinity on Desktop Questions (macOS and Windows)
Well without an exact description of what you're after it's very very difficult to help out here. There are a lot of us that know Affinity inside and out but without a firm knowledge of what it is that you want then we're not going to be able to give the help you're after. If Carl123's was closest but you just want the lines coming from one side of the letters then you can just mask out the effect where you don't want it? Hope that helps a bit. Best wishes, Mark -
This page here : https://affinity.serif.com/en-gb/photo/full-feature-list/ lists all the formats that Affinity Photo can open / handle. You'll need to scroll down to the Compatibility and Printing section as I'm afraid there is no ID set on that section so can't give a direct link to it. Hope that helps a bit. Best wishes, Mark
-
Motion Blur to Text?
markbowen replied to Chul's topic in Pre-V2 Archive of Affinity on Desktop Questions (macOS and Windows)
If the above image is nothing like what you're looking for then if you can provide an image of the type of thing you're looking to do here then that would help greatly. Most things can be achieved in Affinity Photo in one way or another. Just need to know exactly what type of effect it is that you're after though. Best wishes, Mark -
So sorry. I must have misread the post. I thought the OP was asking where the options shown in the image they posted had gone to, not something extra that used to be in that options page. Apologies all. Best wishes, Mark
-
Motion Blur to Text?
markbowen replied to Chul's topic in Pre-V2 Archive of Affinity on Desktop Questions (macOS and Windows)
As PixelPest has mentioned above all you need to do is add the Live Motion Blur filter to the text layer then the easiest way to get what you want is to click on the Motion Blur layer and invert it (Command-I). This will invert the colour of the mask on that layer so that the effect will be completely gone and then using a soft white brush you can just paint it back in again where you want it to be. Best wishes, Mark
-
This is the great thing about this software, many ways to achieve the same result which is nice. Copying from another document, masking or clipping the image are all viable alternatives depending on how much or little control you want and how much you need to keep the image / edit it afterwards. Absolutely love using Affinity products as they make you think outside the box sometimes and lots of great help on the forums from people too. Best wishes, Mark
-
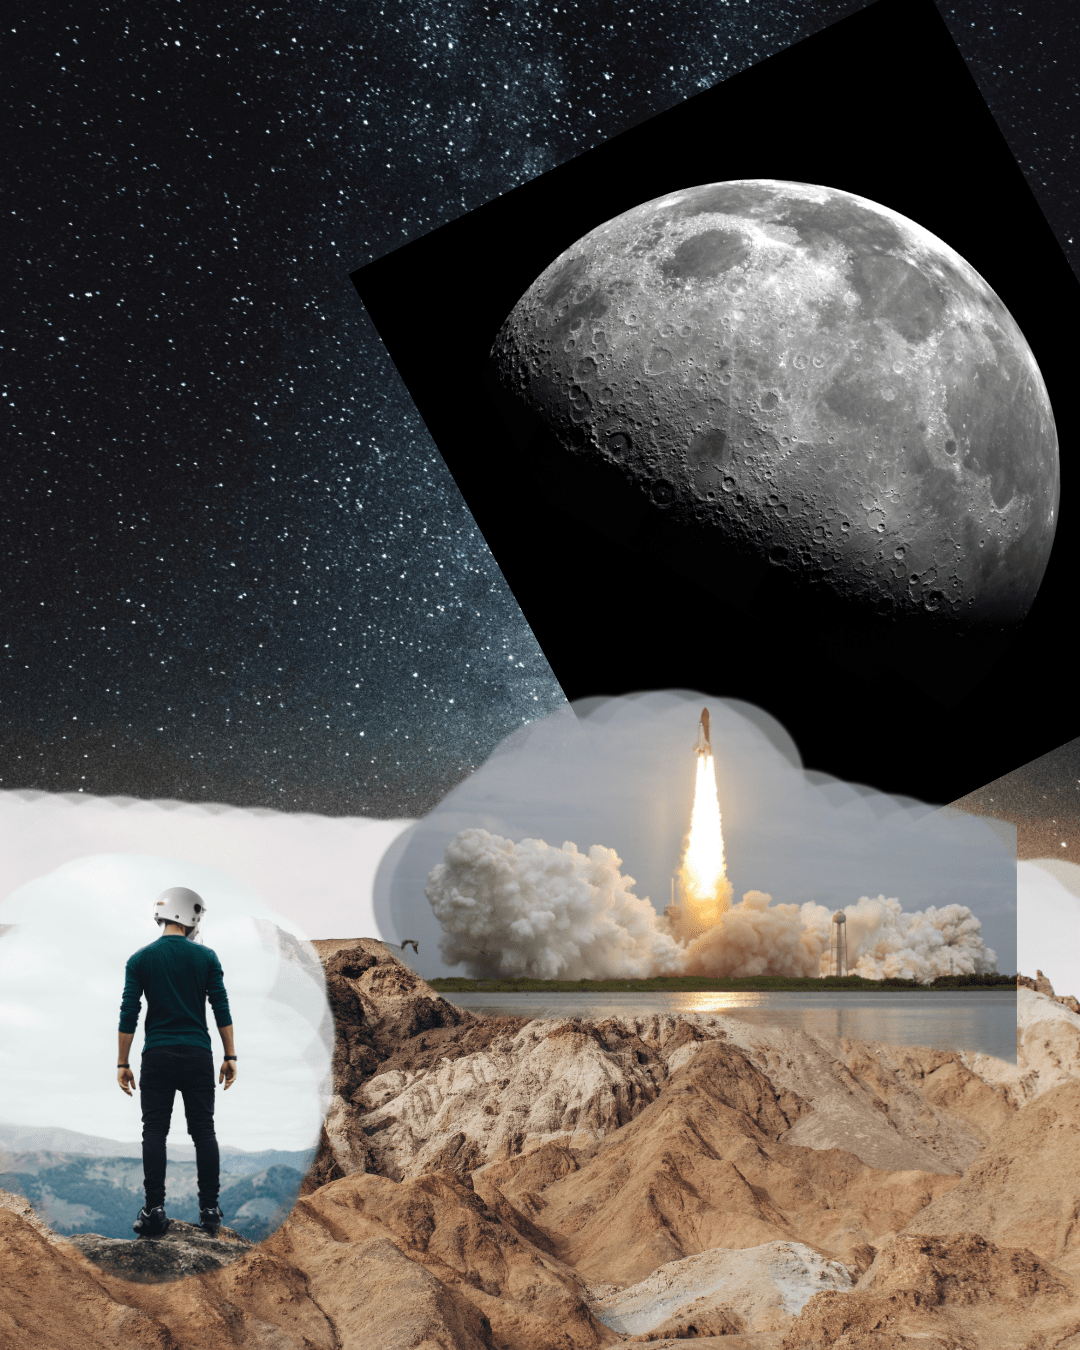
Space Man.
-
Currently the crop tool is a document based crop so not going to be of any use to you here. You can destructively get rid of pixels though by making a selection that you wish to keep, then selecting the inverse of the selection (Command-Shift-I) and then hitting delete on your keyboard to get rid of that selection. Alternatively you could use a mask to hide the pixels so they are still there incase you need to come back to them at a later date. Hope that helps a bit. Best wishes, Mark
-
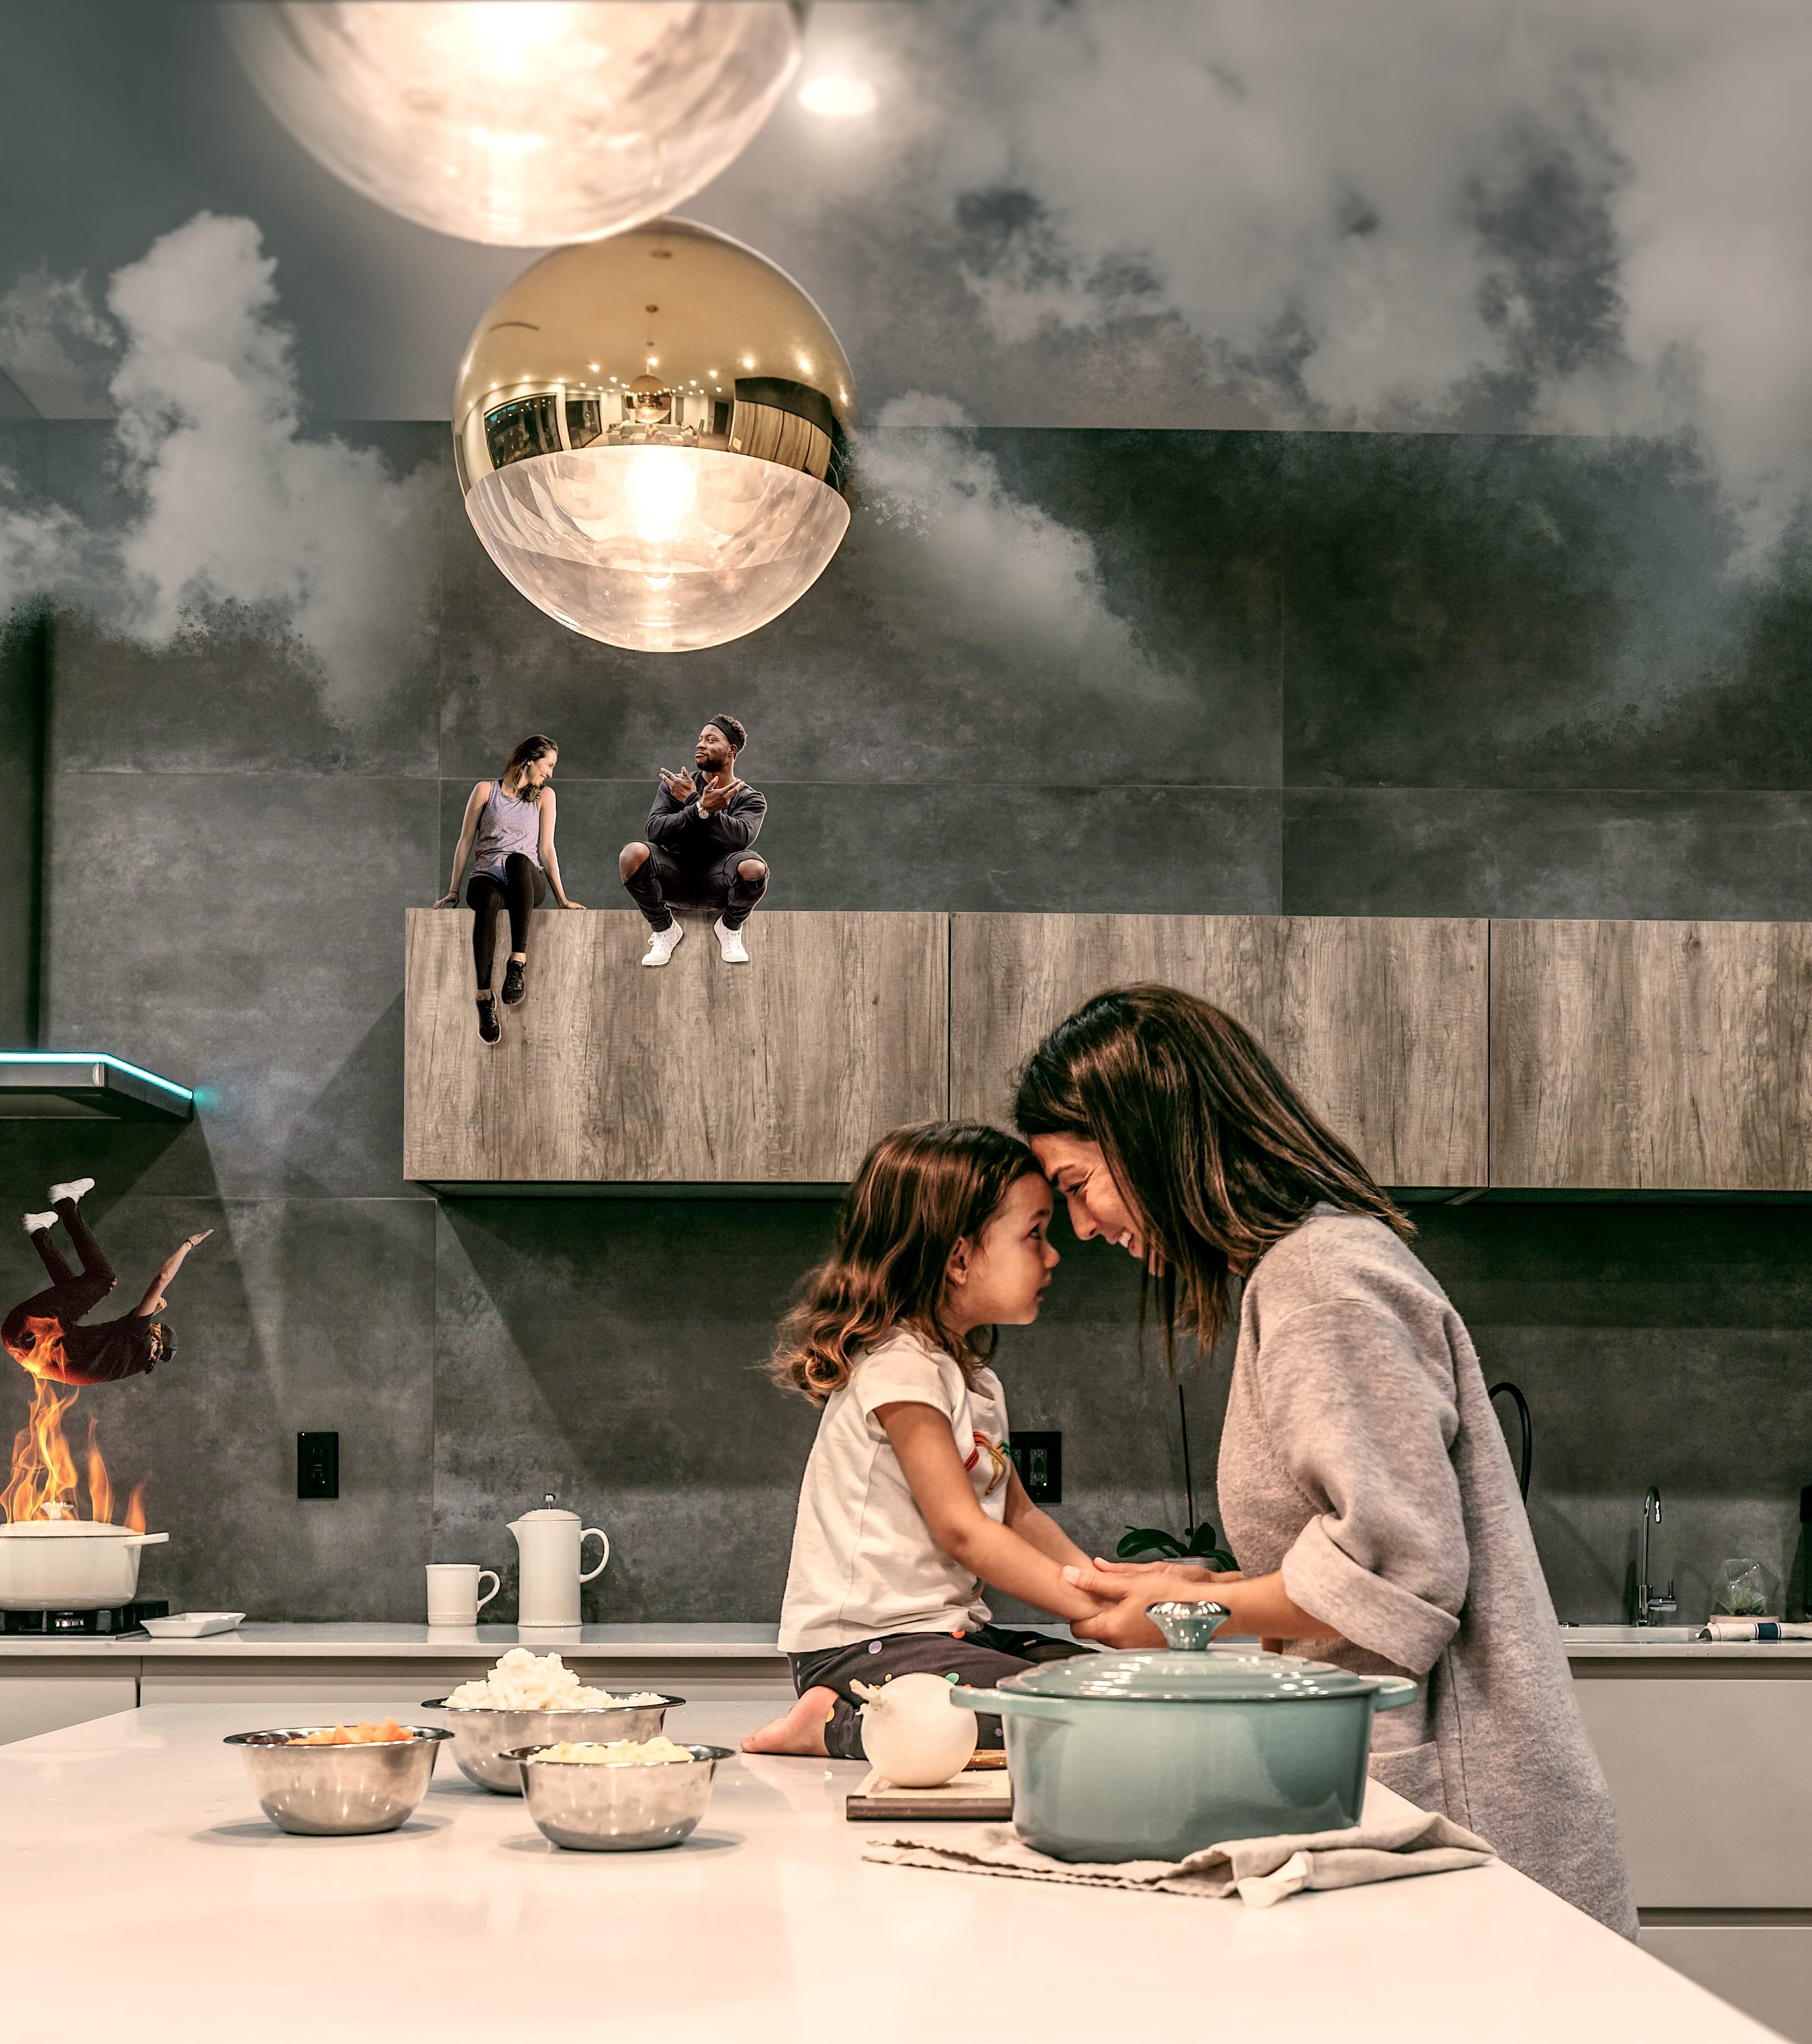
Small People.
-
Hiya, I've not used InDesign in quite a while now however I seem to remember that you can't edit complex (vector) graphics inside it. Things may have moved on although from a quick look on the web I couldn't see anything to tell me otherwise. Have you tried exporting as an EPS and placing that into InDesign? What happens when you do that? Best wishes, Mark
-
Did you see PixelPest's post above? All the options that you have shown in the image above are definitely there but you just need to click on the More button in the export dialogue box. Best wishes, Mark
-
Actually I think that Affinity is just doing here what it is expected to do. As you are effectively changing the shape that the FX are applied to then it will continue to place the outline around the shape. When you say you are painting part of the outline away I'm guessing you mean by using a mask? If so then it's going to do this and the only way around that would be to apply your effects then convert that layer (keep the original as backup) to a pixel layer. You can then use the mask to do what you need. Hope that helps a bit. Best wishes, Mark
-
What size is the exported file? Is it the same as the original file or much much smaller?
-
Hi Kasper, Thank you very much for the kind words. Still a way for me to go too as you never stop learning as they say. Best wishes, Mark