manu schwendener
-
Posts
507 -
Joined
-
Last visited
Everything posted by manu schwendener
-
 Hi Chris, thank you for replying. > 1. [...] I think black looks better. Yes, exactly. Please keep it as it is in AP 1.6.7 (or let me change it in settings). > 2. [...] options Yes, please, let me change what I see in settings, or let me drag&drop what I see. > 3. [...] if you aren't sure which preset you want I know exactly which preset I want. What I mean is: In AP 1.6.7 I choose the crop ratio via "Mode: ...". After I pick one, the pulldown menu closes automatically. In AP 1.7.0.106 I choose the crop ratio via the cogwheel icon. After I pick one, I have to close the the pulldown menu with an additional click on the cogwheel. Please close the pulldown menu automatically after I chose one of the crop ratios. (And the cropping ratio should remember the setting from last time I used it, but that's a separate thread).
 -
> If you are working on a laptop with a smaller screen that cannot fit what you are working on, you might want to consider investing in a larger external display No. I just want the newer version to not to be less practical than the older version was. > Reordering ... other people That's why it should be part of settings. (and the values should be sticky)
-
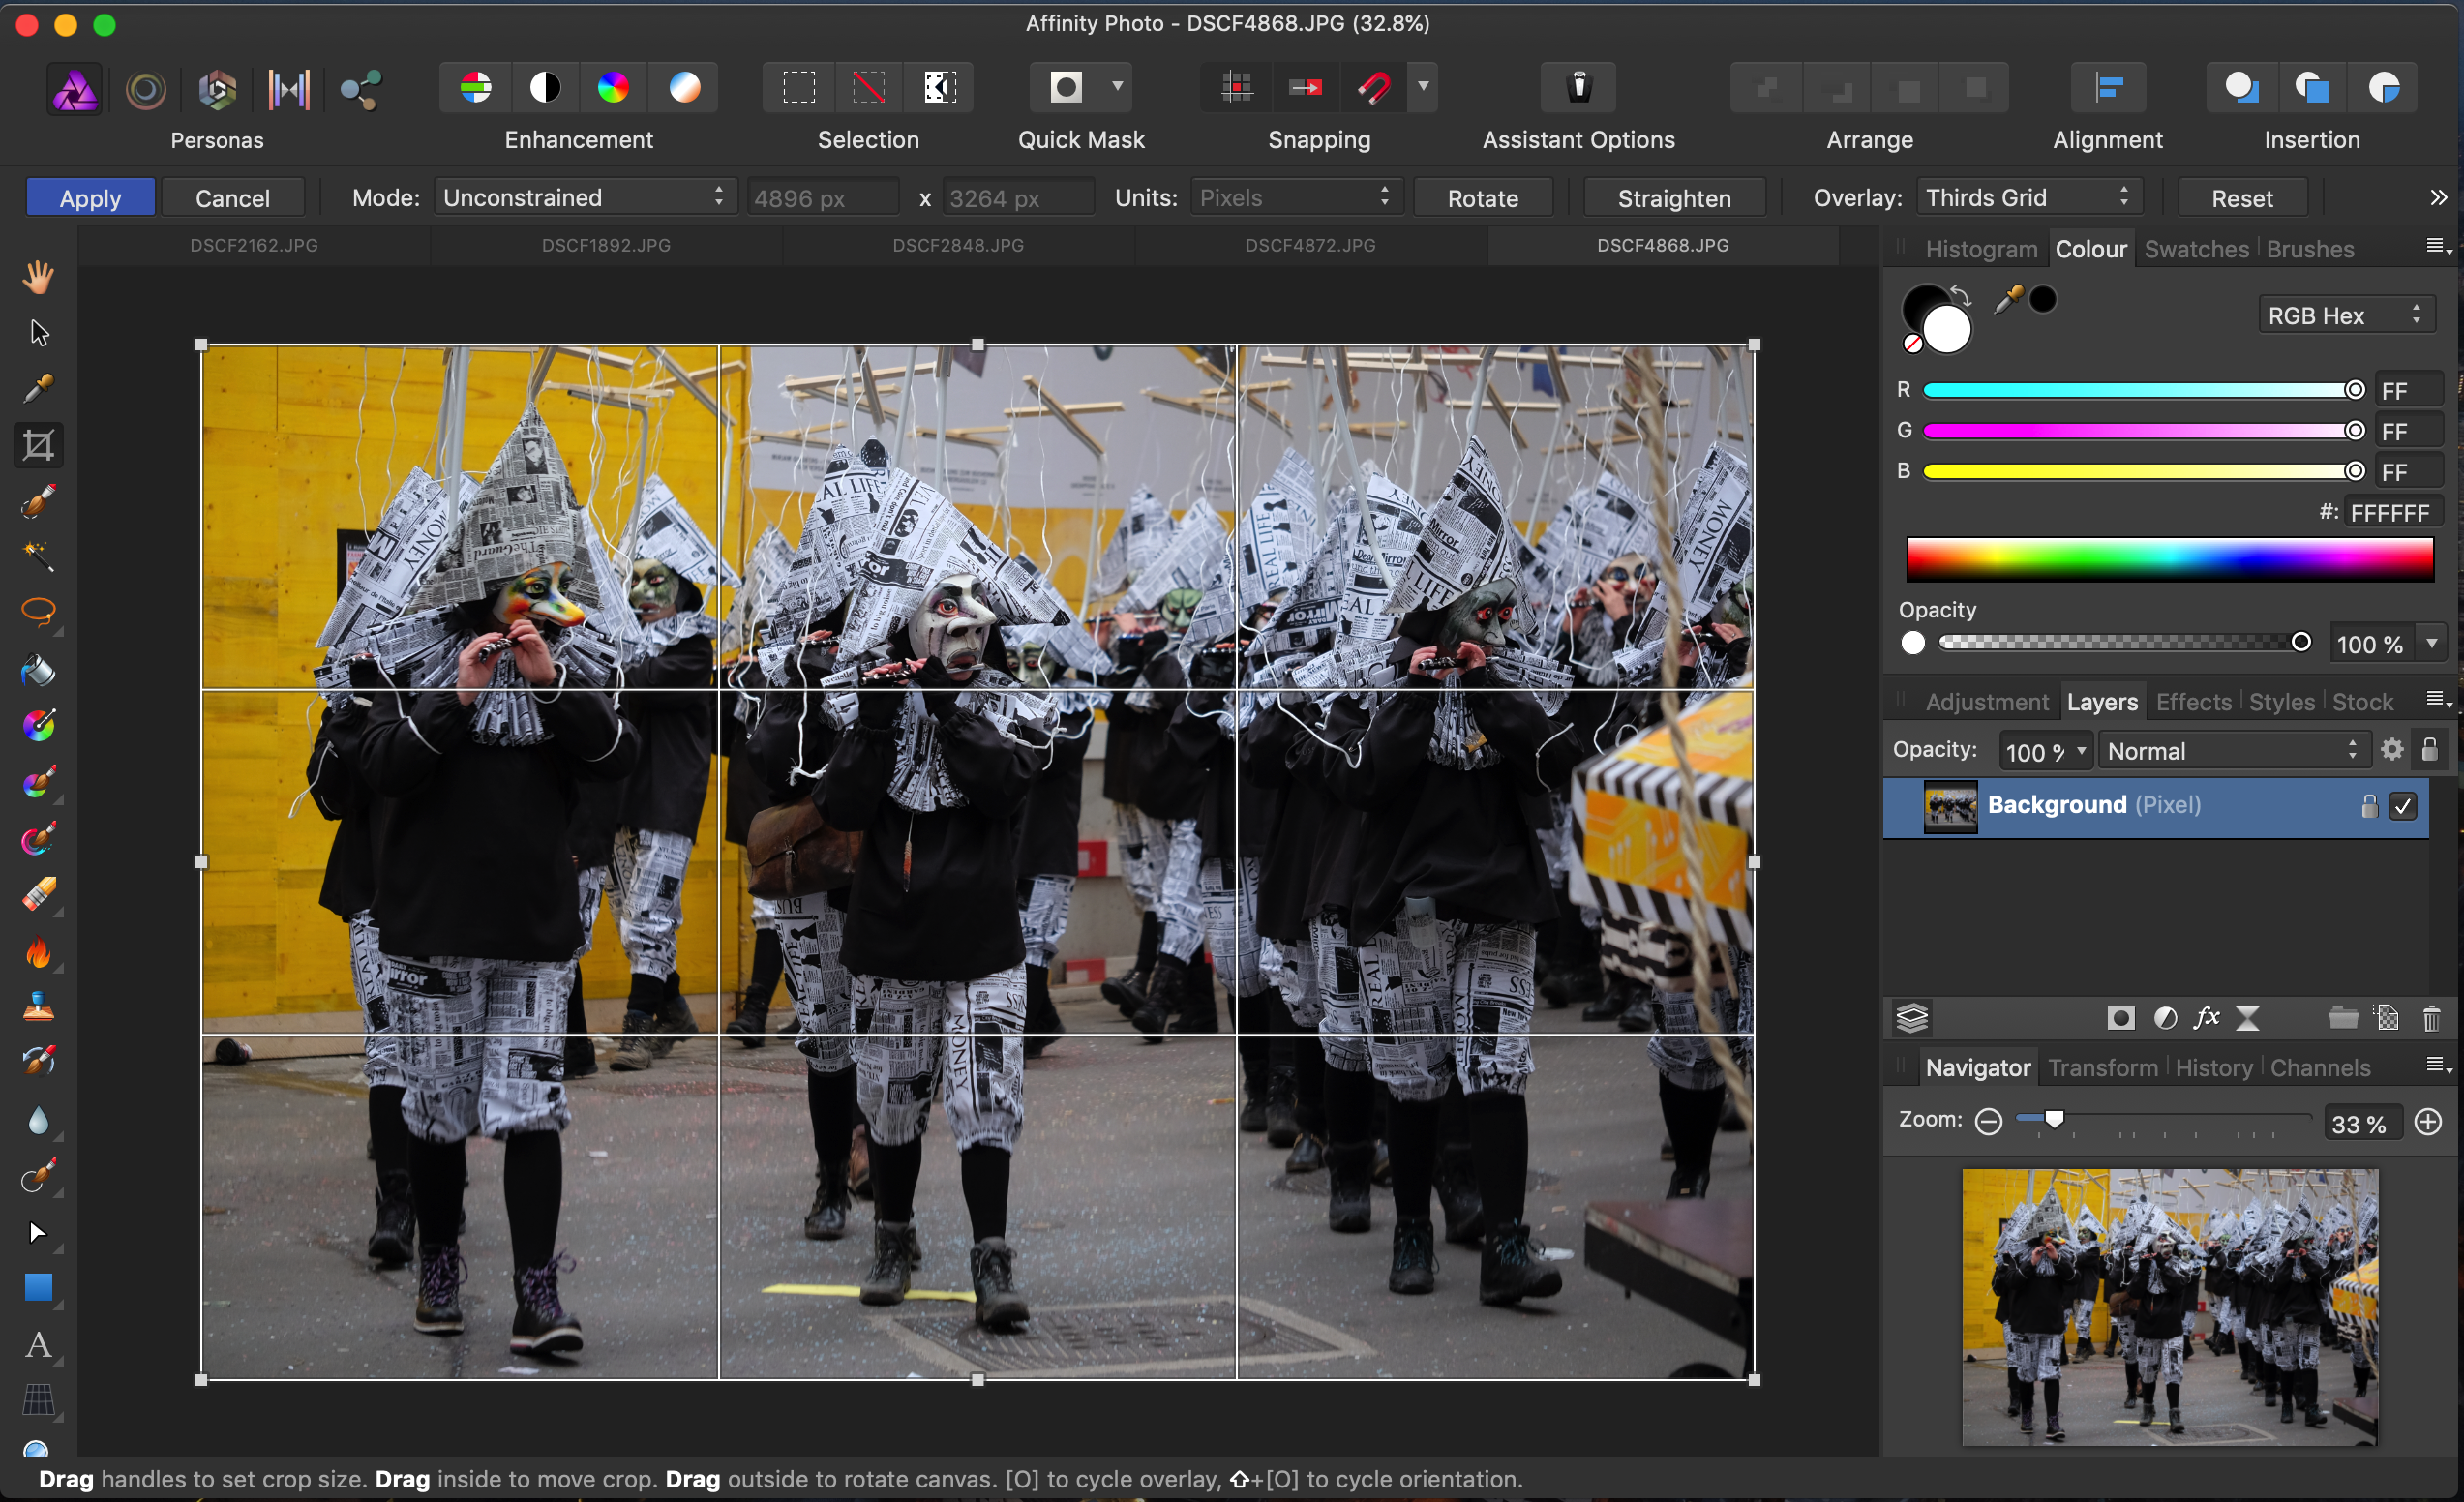
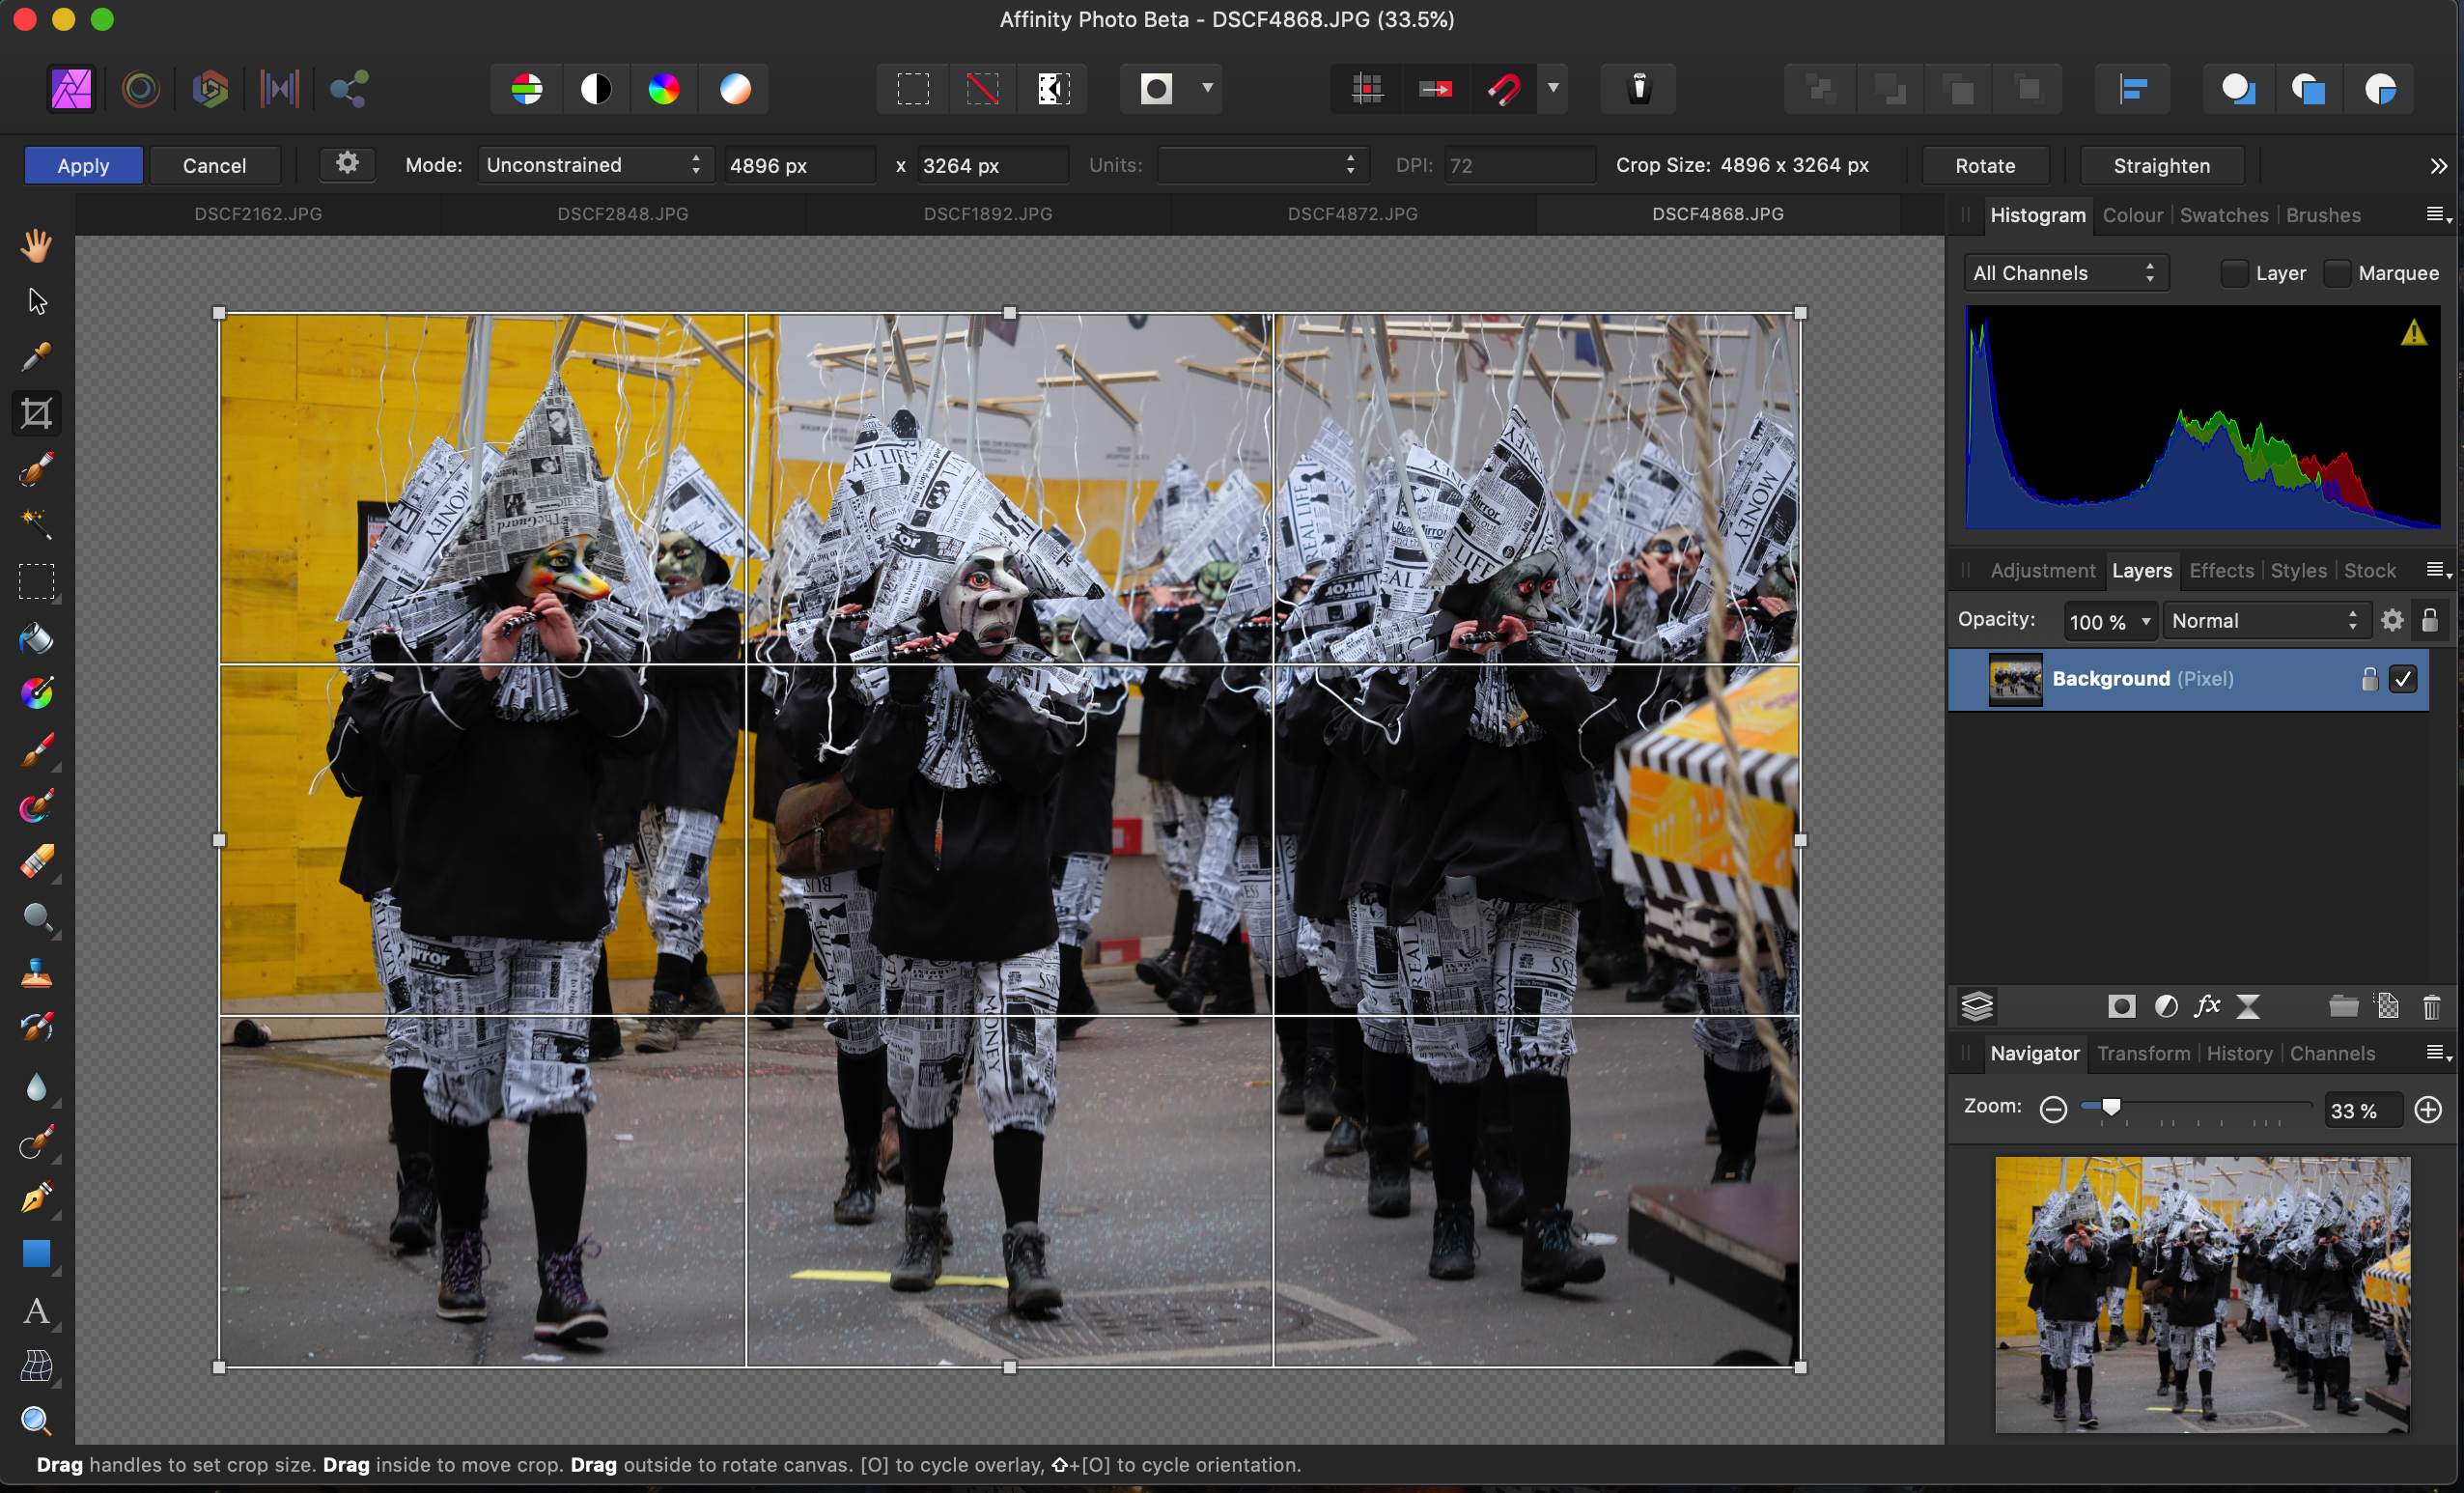
I'm working on a 13-inch MacBookPro I'm missing the following aspects of AP 1.6.7 in 1.7.0.106 – please restore or let me keep them via settings -> user interface: – When I crop, the space around the photo needs to be darker than the photo (as it is before I activate cropping) – As long as the setting for Overlay is not sticky and I have to change it for every single photo I work on, I need to be able to change it without also having to click on >> to access it – Edited to add: when I choose a crop ratio, the pulldown with the ratios needs to close itself after I chose, without an additional click by me (plus an old cropping bug which has been logged already) Screenshots: top 1.6.7, bottom 1.7.0.106

-
> I will get this looked into. Thank you :-) > unless it's by design Can't be. It's just the same old bug again: cropping 1:1 (for example) works fine if original is in portrait orientation, bug only present in landscape orientation.
-
Sorry Polygonius, but your post has nothing to do with the aim of this thread.
-
> That's the return of an old problem that was corrected in the AP 1.6 series. Yes. Works as expected if your original picture is higher than wide, should be fixed again for landscape orientation.
-
> logged to be looked at Thank you :-)
-
> checking with the dev team thank you
-
Yes this is an issue for me. Not allowing me to save my own custom ratios is quite a big step back from what I can do in Affinity Photo 1.6.7.
-
Solved: reordering the categories is possible in Beta 1.7.0.105
-
Thank you MEB, that brings me a step further. What I could do within the cog wheel: - make new category - drag my category from last to first (yaay!) - drag some of the listed Common ratios into my category What I also need to be able to do: - custom crop in a ratio that isn't listed under Common ratios, for example 1:2 - save this ration in my category
-
1.7.0.105 I'd still like 6374 / 12902 to be solved.
-
no change in Beta 1.7.0.105
-
Hi Maybe I just don't see it: how can I save custom ratios in the crop tool now? (1.7.0.105) In 1.6.7 I use Mode -> Custom ratio -> Set preset
-
1.7.0.105, .106 This was fixed, but now it's back (see thread 8799). I have a photo in portrait dimensions (= height > width), I click on 1:1 -> the crop happens within the photo, as it should. I have a photo in landscape dimensions (= width > height), I click on 1:1 -> the crop happens around the photo, adding empty space within the crop. Please fix again. Edit: Will be looked at
-
Still no sticky settings ?
manu schwendener replied to csp's topic in [ARCHIVE] Photo beta on macOS threads
> Still no sticky settings? Three years and counting. -
> We've changed the Crop Tool so that it adds the transparent background Please let me go back to the darker / not transparent background like it is in 1.6.7. * . For me, all the background around the photo needs to be darker than the photo itself. * For example via Preferences -> User Interface
-
Snapping Stays ON
manu schwendener replied to smadell's topic in [ARCHIVE] Photo beta on macOS threads
Works as expected for me, 1.7.0.105 -
Hello curtds When you have the pixel layer selected and try to use the inpainting tool, do you see the red marking where you want to inpaint? If yes, maybe the transparency is set too low (I always have it on 100% for inpainting). If the red marking doesn't appear: can you close the photo and open it again and use inpainting as the first step? If both aren't helping: would you post a screenshot of the Layers panel?
-
still waiting
-
As far as I know if you only want to see one person what you write, you have to click on that person's name and send a message via their profile. But if you reply in a thread, it makes sense that all people following (or finding) that thread see your post. And yes, your reply goes to the bottom, so it helps if you include what exactly you're replying to; for example by using the 'Quote' button or just copy & paste. PS about the forum: if you get stuck with another AffinityPhoto tool you might want to post in 'Questions' instead of 'Resources'. Full list of subforums: https://forum.affinity.serif.com.
-
Good to hear that you got it to work.
-
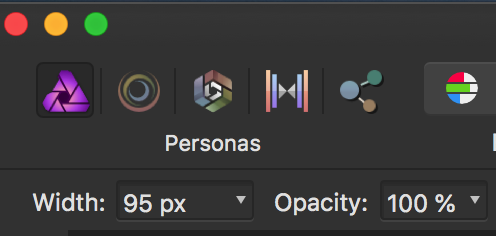
> I can see that the tool selects the area which I want to work on So the area _does_get a red overlay before you release the mouse button? Check the value for opacity? (edit: See screenshot) If that's not helping, maybe start with another of your own pictures: easy candidates are twigs in a blue sky, or bright spots on an otherwise dark background (just to get it to work).
-
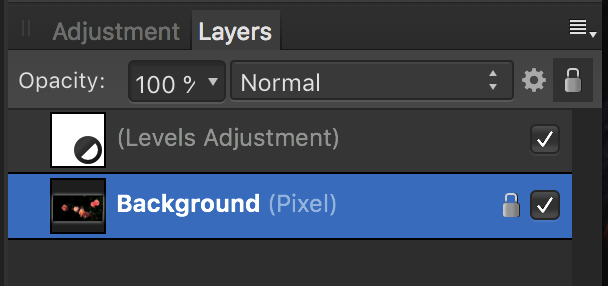
Or, if you're not using layers on purpose yet (some actions create a new layer on their own): make sure your background layer is activated to get the inpainting tool to work (see screenshot). If that's not working either, try the inpainting tool as the _first_ step after opening a photo in AffinityPhoto. PS: I use that tool a lot. When I get a result I like, but am not finished yet, I go to the navigation on the top and select 'Document – Add Snapshot'. Then I continue cleaning up my photo; if the next inpainting action doesn't give the result I want I can go back with 'Document – Restore Snapshot'.
-
[Multi] Sticky Settings
manu schwendener replied to mredig's topic in Feedback for the V1 Affinity Suite of Products
I agree, the export values should also be remembered. Just some minutes ago I thought I would not use AP any longer if it wasn't for the amazing inpaint brush tool. Having to manually set the same values for every single photo just makes no sense.