GT70
-
Posts
107 -
Joined
-
Last visited
Everything posted by GT70
-
 Did you follow the advice of @v_kyr?
 -
Yes, I think the tool in English is called that. Now I set it up with Metal. I will do some testing. Thank you very much for the suggestions
-
Never had such a thing happen. Occasionally it would give some on-screen weirdness, but never like this. The problem appeared only with Affinity Designer, no with Photoshop, DaVinci Resolve or After Effects...or others. I was working in person pixels. With the distortion>prospective tools (sorry, but in english I don't know what they are called exactly. I have the Italian version of the desktop app). Any ideas? Registrazione schermo 2024-02-16 alle 19.42.19.mp4
-
Thank you very much! With your procedure I solved it. I can now switch from Designer to both Photo and Publisher. No problem on Publisher, as well as on Photo to switch to Designer. I would never have got there on my own! And anyway, thank you all for your advice!
-
I currently own the latest version of Ventura (13.06.2). However with version 1 I never had this problem.......
-
@walt.farrell Thank you for your advice. Yes, Photo and Designer are both at version 2.3.1. Both are in the applications folder and open regularly without any problems. I have found that, on the other hand, from Photo to Designer the switch option is available... So I don't know why this behaviour occurs. @GarryP Thank you for this trick! I thought I could edit the photo from the "Persona Designer" view and since I couldn't, I thought I had to use Photo. I have to decide to study the manual.... Thanks again!
-
I am working on Designer 2 and I need to use the perspective tool for a photo that I need to deform. I thought about doing this in Photo 2, but on the menus the option is disabled. I have also tried starting Photo 2, but nothing. I even saved the file from Designer 2 thinking that was also the problem. Both applications are fully functional and I don't notice any problems. Any ideas on how to solve it? Thank you

-
Thanks for your advice. i will try to fix it as you suggested.
-
This already happened to me in Designer version 1, but I didn't pay much attention to it. In version 2, however, the problem occurs again. Basically, when I start using guides, strange things happen, such as guides that move on their own (I find them moved) or that I cannot delete or move as in the case of this post. I made a video. Who can help me figure out how to delete that damn line above! bug.mov
-
@thomaso Thank you for your pointers, eventually I will do as you say by scaling everything proportionally so that it all matches. At least I hope so. @debraspicher Thank you for your very professional explanations. My English is not as good as it sounds and I think I only understood part of your explanation. In any case, I attach the screenshot of the total window of the Sparkle working environment. Obviously having a monitor set to a higher resolution, if you measure the whole image, you will not get the 1920px you are looking for. The part you are interested in is the part indicated in width by the yellow box that measures 1920px. Above you can see that Sparkle is set to 100% and that the working area of the page is 1920px (which is the space where the yellow box is) I hope this solves the mystery... PS: sorry, but for privacy I had to blur parts...
-
Thank you in the meantime for your reply. So: - Affinity level is to 100% - The measurements in Free Ruler are in pixels However, I cannot find the density in Free Ruler because the version I have does not seem to have this option. So if the problem is density, I wouldn't know, although as it's a monitor it should be around 72DPI (which is what I measured in Affinity).
-
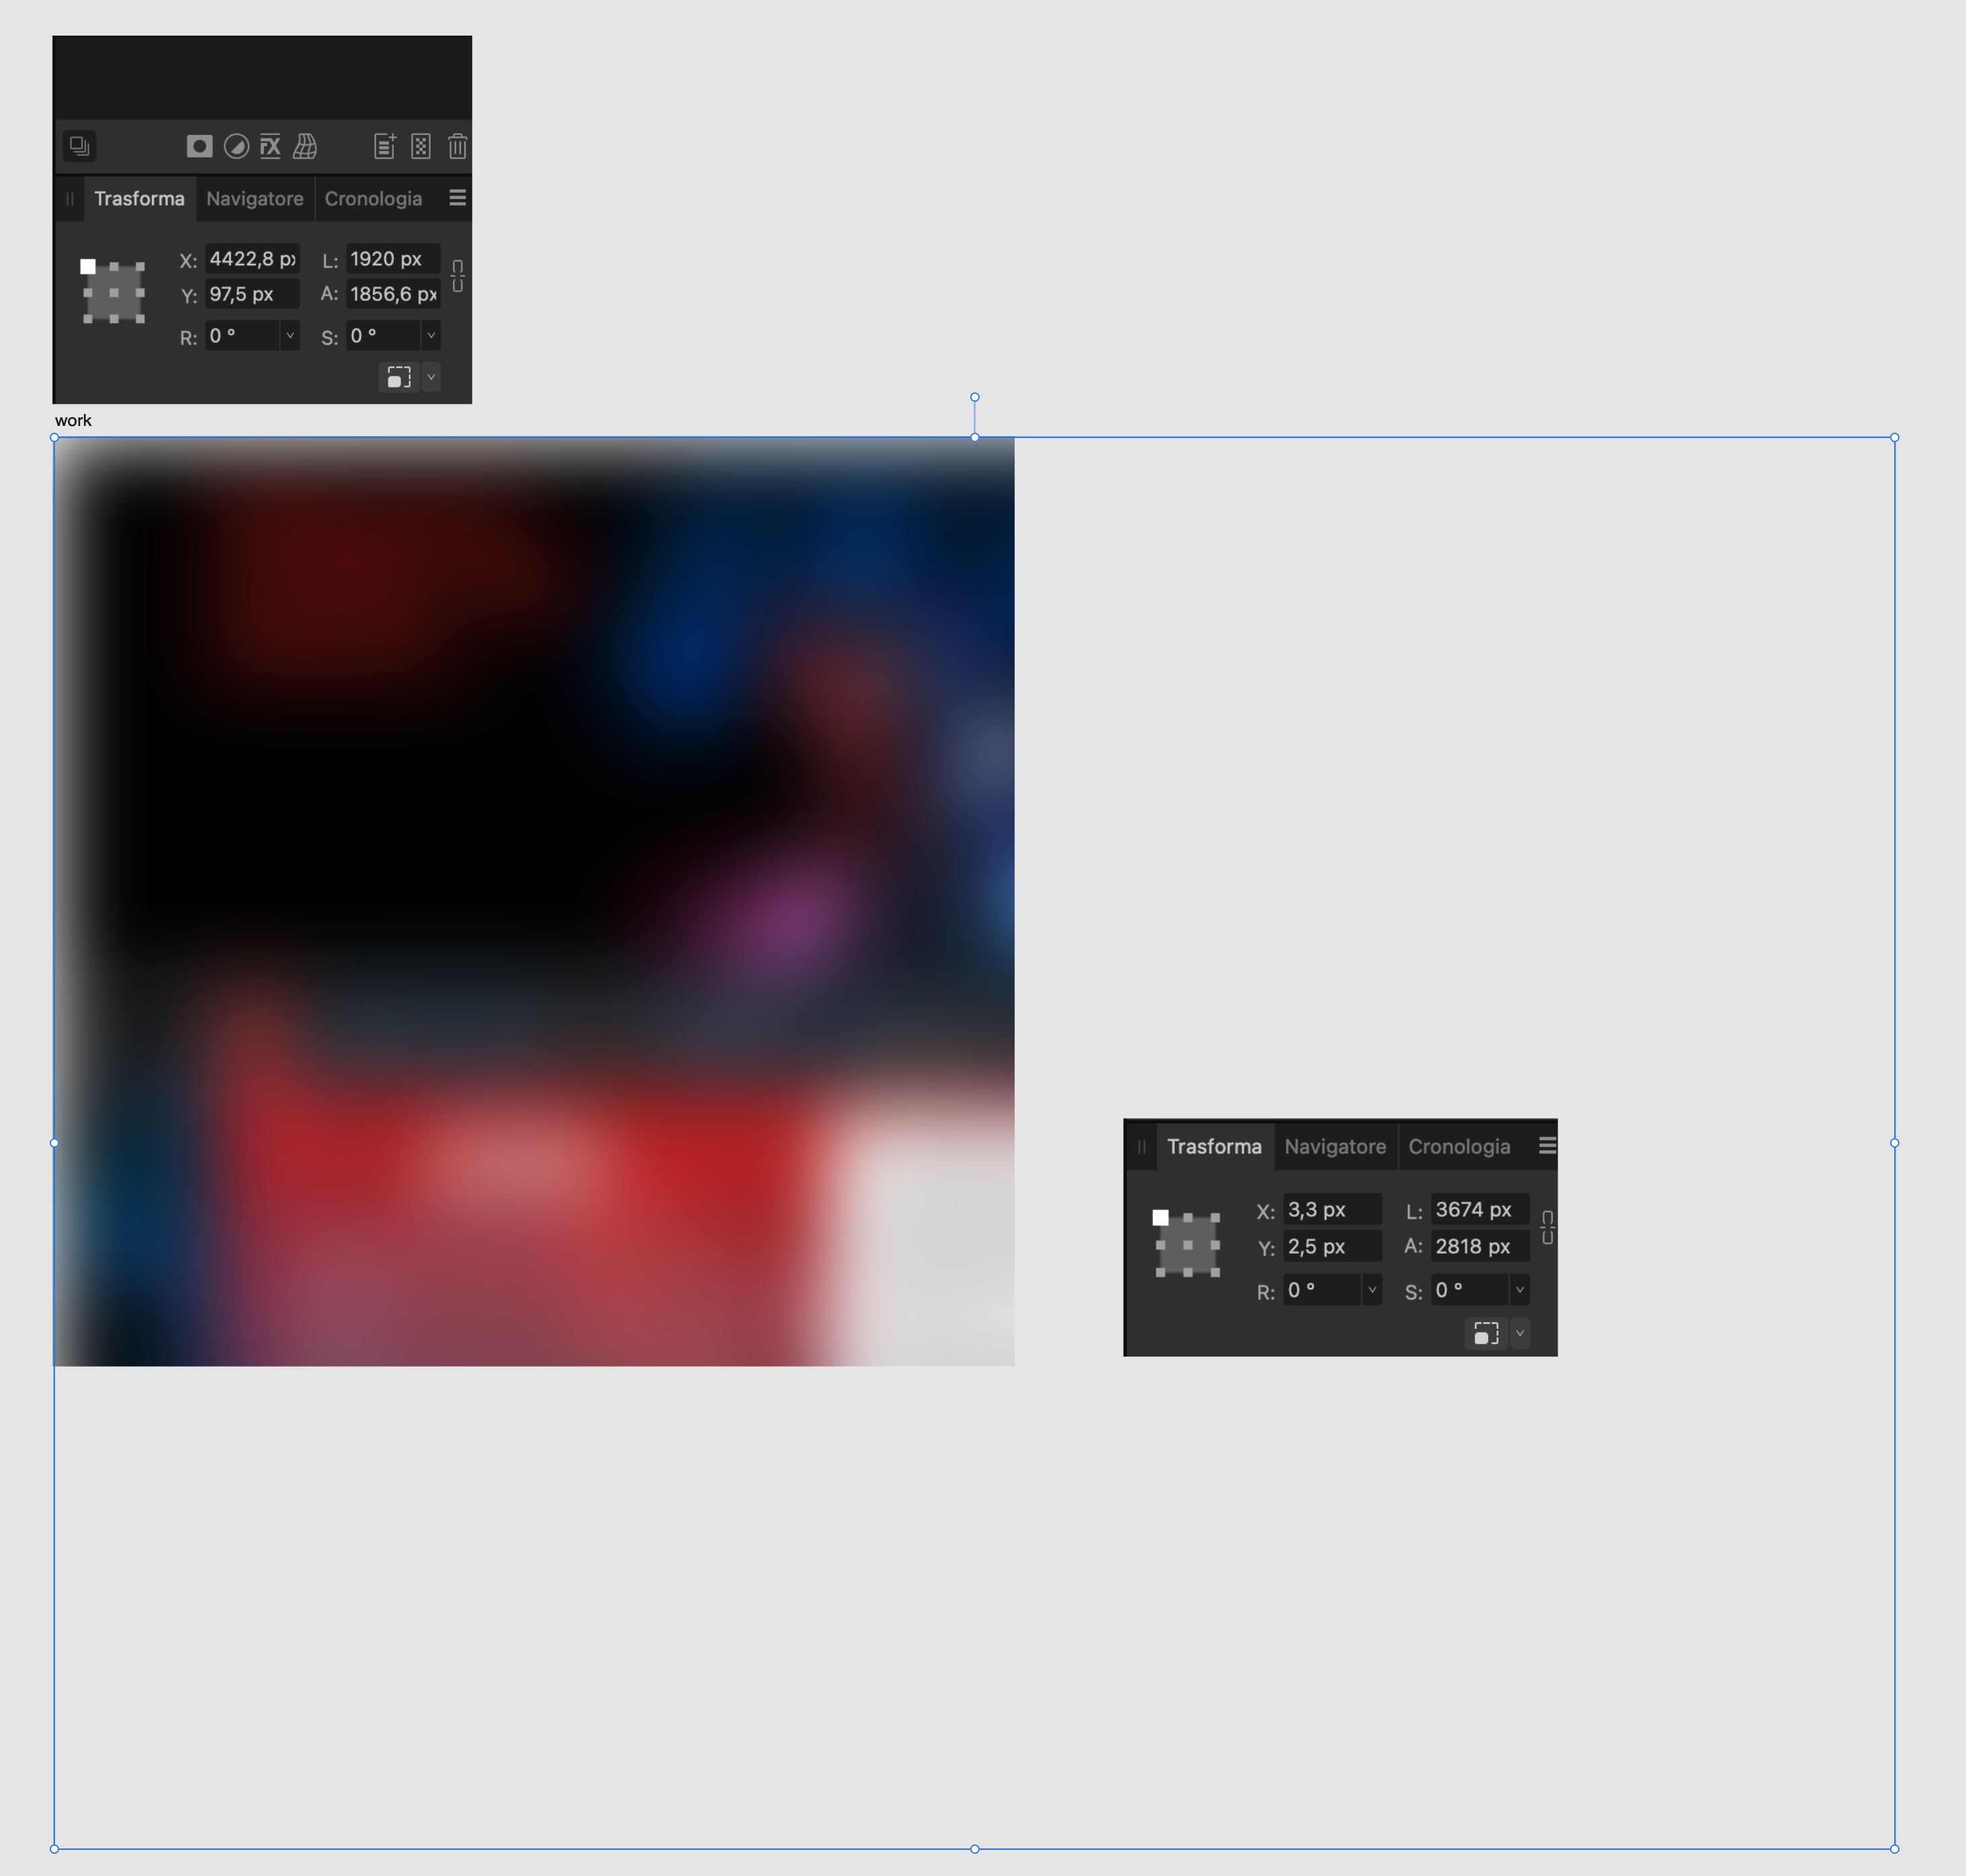
Hello everyone. Surely I'm doing something wrong or don't understand, but I'd like to be sure that this is the case and not have a problem with some kind of bug instead. So, I'm restyling a website. To help me with the size of the graphics I decided to take a screenshot of one of the pages in the program I'm using to create the pages (Sparkle) and import it into Affinity Designer to work on it. Unfortunately when I paste the screenshot, it appears immensely larger than it should be. Measurements in hand: on Sparkle I have a page set to 1920px. The settings are correctly set on the programme. As a further check, I also used a small programme that measures the actual screen size (the programme is called Free Rule). See the image is number "1" (where the workspace is named 'page'). Here the measurements are correctly set to 1920px. However, when I paste the screenshot into the Affinity work table I get different measurements.From image 2 (the one with the work table named "work") I get an image that now measures 3674px! Whereas the work table is correctly sized at 1920px. What am I missing? What am I doing wrong? Does it have to do with the screen resolution distorting everything? Currently my screen settings are 3840x2160...Could the solution be to shrink the screenshot to fit within the 1920 set in Affinity? I am very confused...
-
That's probably what happened to me, but I didn't really pay attention to the layer opacity bar....
-
Sorry, I'm an idiot. I didn't realize that the transparency of the object was at zero....
-
For the past few days Affinity Designer has been behaving abnormally. Sometimes it does things that don't make much sense. However, I have not been able to witness these abnormal functioning until now. In this picture you see a rectangle that I cannot fill with any color. Despite having deleted the box and done several trials, this one just won't color. I have closed the program and restarted it, but nothing. I have even deleted the program from the computer and preinstalled it again. Same problem. Can anyone help me out? Because I really can't work like this. This is the first time since I've been using Designer that I'm having such problems. Thank you! Computer: MacStudio OSX: Ventura latest version
-
Yes, this image has been corrected as well. So, this might be the problem causing the errors. Yes, you're right here too. I used Mac's preview to extract the files. A totally wrong move, I guess, but I don't know how to do it on Publisher, I mean, I don't know how to say "export only this and that page". I've learned to use Affinity Publisher in the last month, so there are still many things I don't know. I'm sorry, I may have wasted your time by using Preview to select the pages to submit to you. By the way, is there a way to make the space symbol appear like Word does to separate one word from another? I've seen blue dots somewhere, but I don't know how to activate them on Publisher. The demo file was extracted with Mac's Preview, but the same file was "cooked" with Adobe Acrobat, which indeed removed the mysterious object pointed out by Hangman. In any case, I want to clarify that the original file sent to Amazon, the one with the wrong prints, had been generated by Publisher. I didn't use Preview on the original file.
-
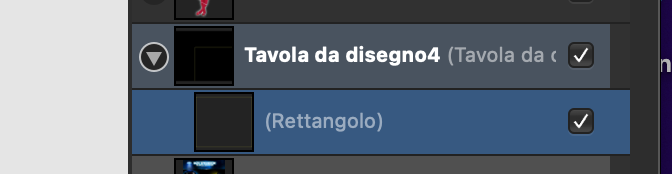
I believe that it could be named Adjustment Layer. See picture, please.
-
Anyway, on checking the file I get the same errors as you. However, I used Adobe to convert the demo file back to a "correct" PDF/x. I had Adobe Acrobat do it (I have Adobe's cloud subscription and the software is "free" to me). With the understanding that Affinity Publisher should pull out as standard and correct a file as possible, the problem could for me be solved (without having to go crazy to figure out where the problem is) by converting just the entire file with Adobe Acrobat. The conversion in fact, now, does not report any errors to me after the conversion. What do I do, convert the whole file with Adobe Acrobat? Here is the reconverted file with no errors. demo2 correct with Adobe.pdf
-
Yes, there is a level adjustment on that image (I used it to fix the brightness because the image was too dark)... I think if that was the problem, it would be a bug. Does it seem like a user can't adjust an image to get a better result?
-
You don't have to apologize! In fact, I am the one to thank you and Lacerto for the help you are providing. Waiting for me is the least! As I was writing to Lacerto earlier, since this is an essay on film and video art I am forced to pull images from videos that I own and the only way for me to do this is to take screenshots. In any case, I have already warned readers that some of the photos may be of inadequate quality. If on the print, the photo, should not look good, it will be a small price to pay, In any case from the prints that have come home to me I do not see with the naked eye photos that are printed wrong (in short, I do not see artifacts or grainy). As for that black pixel...I don't know. I tried as per the picture to select all the elements on the page and there are no ghost objects....
-
I will point out that these are screenshots taken from the video of the film. Dealing with film images for the most part I had to make screenshots from video.
-
Thank you for the helpfulness! Here are the photos for you. However, if you exported directly as a flattened PDF it would be better so we avoid these problems. Because the file I sent you is only part of the 200 pages. I wouldn't want there to be problems in other images as well. Or I could rasterize all of them and then try to export again.... images.zip
-
Basically for almost all the photos I needed to rearrange, I turned them into picture frames as in the picture. That's the only operation I did because there are no graphics in the layout that I made...
-
Thank you for the quick feedback. These are the settings I used . The PDF/x-1a2003 should avert any errors because from what I understand it should flatten it out. In any case I still don't understand how there can be transparencies. I imported those photos and turned them into image frames. I didn't do anything else. At this point do you recommend that I rasterize any graphic elements?
-
Hi guys, here is a final demo of my layout file. I took care of all the details following your instructions. I am ready to send the book interior to Amazon, can you please check the file's goodness? I also attach the screenshot of the final settings. Thank you very much! demo.pdf