AmpedAndy
-
Posts
47 -
Joined
-
Last visited
Everything posted by AmpedAndy
-
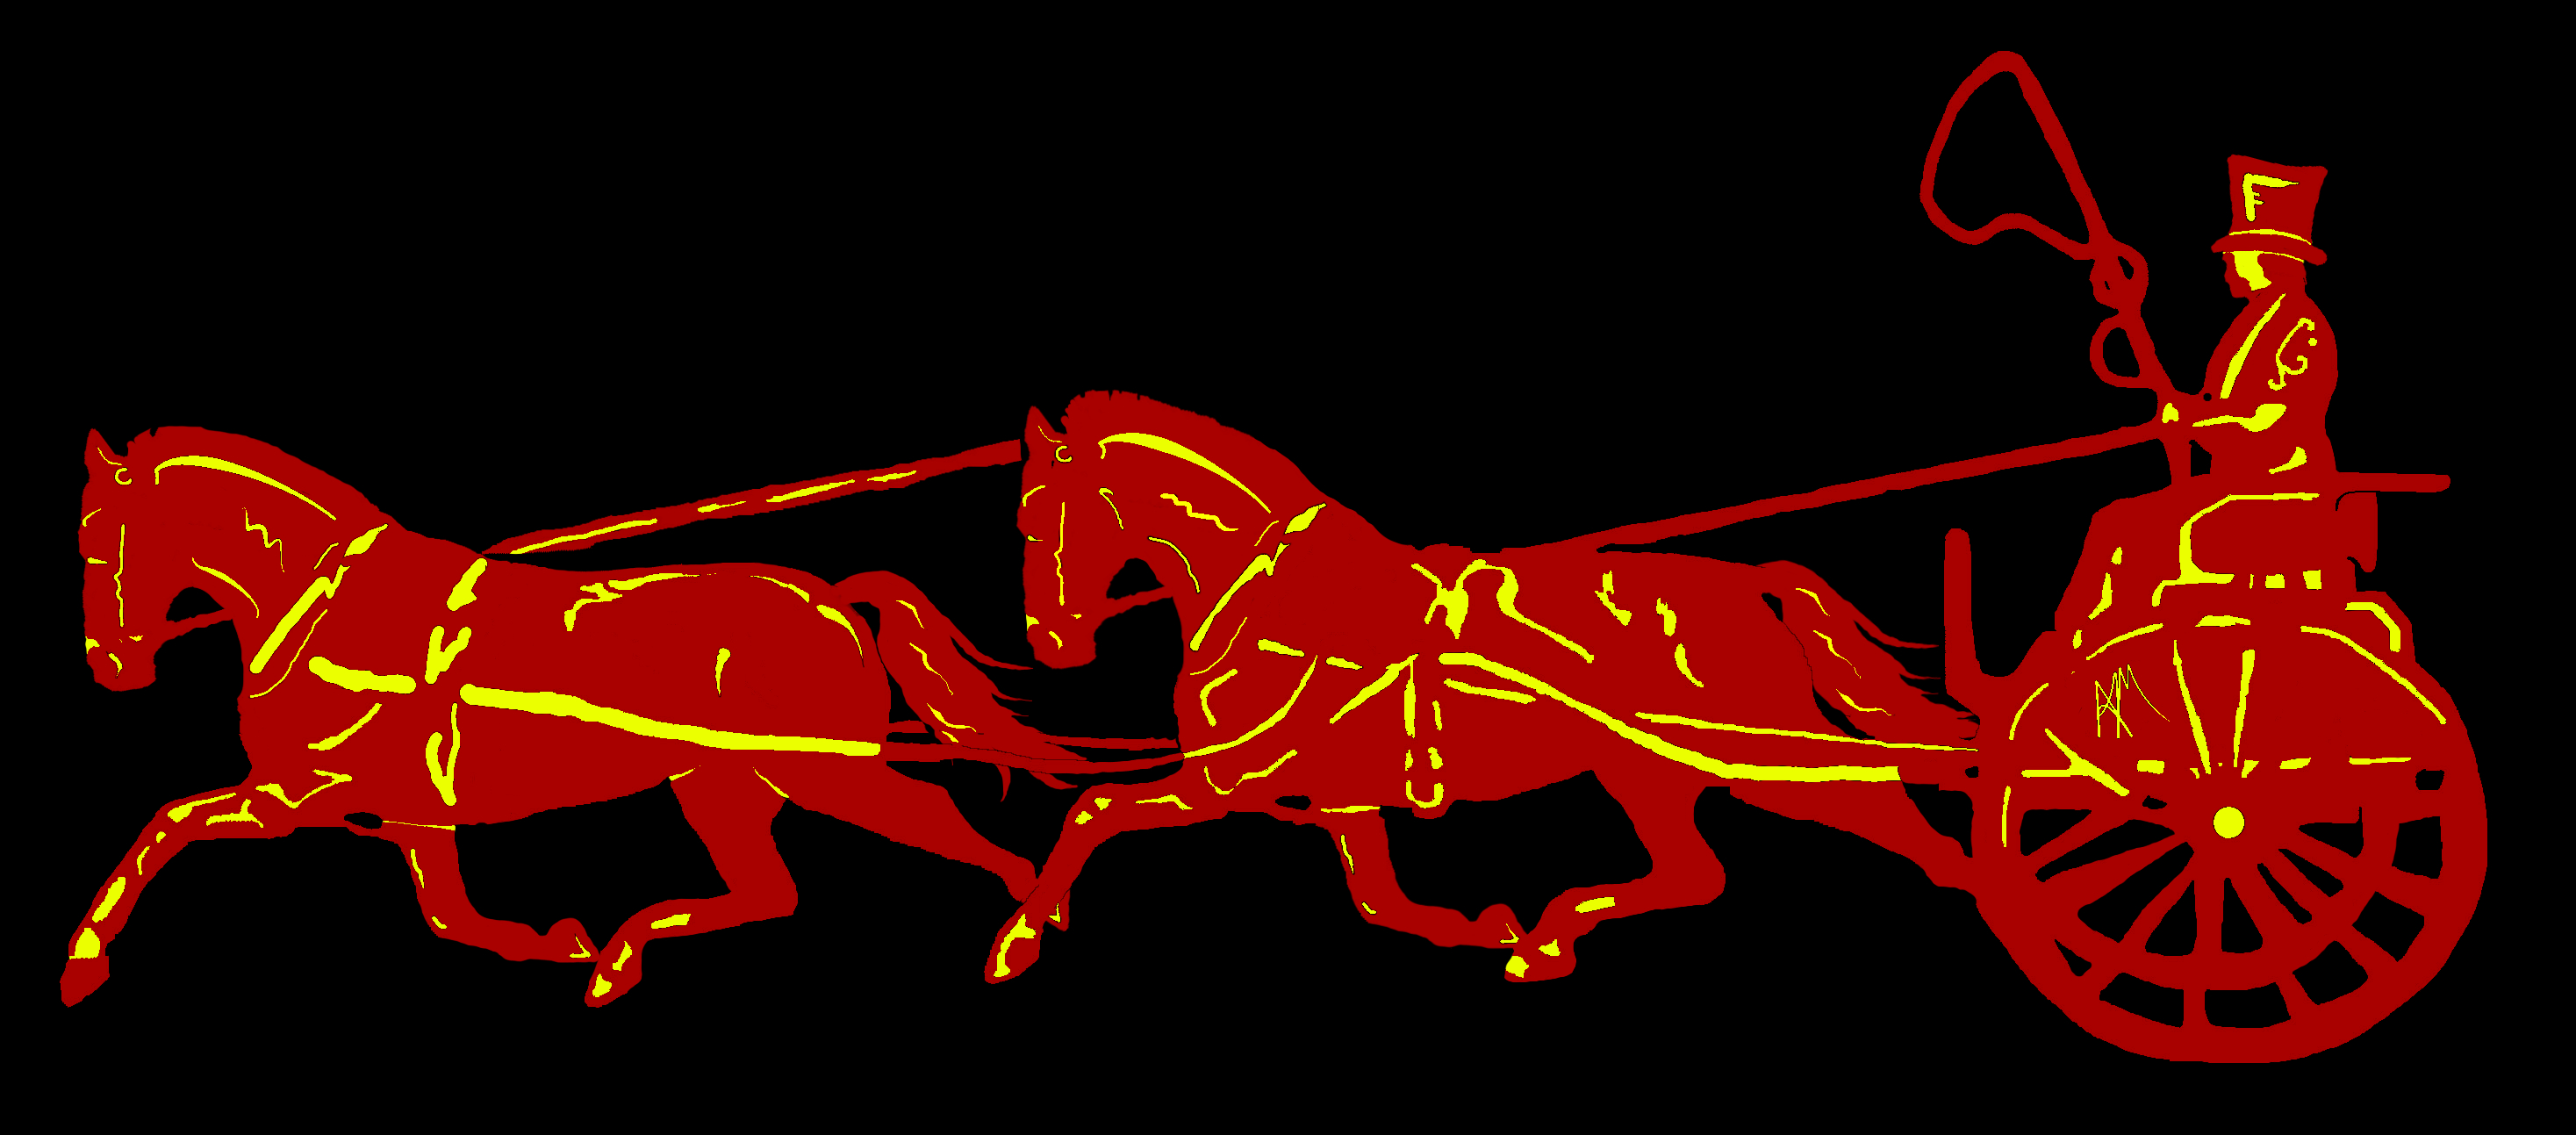
 Came out fairly well
-
Ya, that's how I'm going about.
-
All the little details on the horses and carriage such as the harness.
-
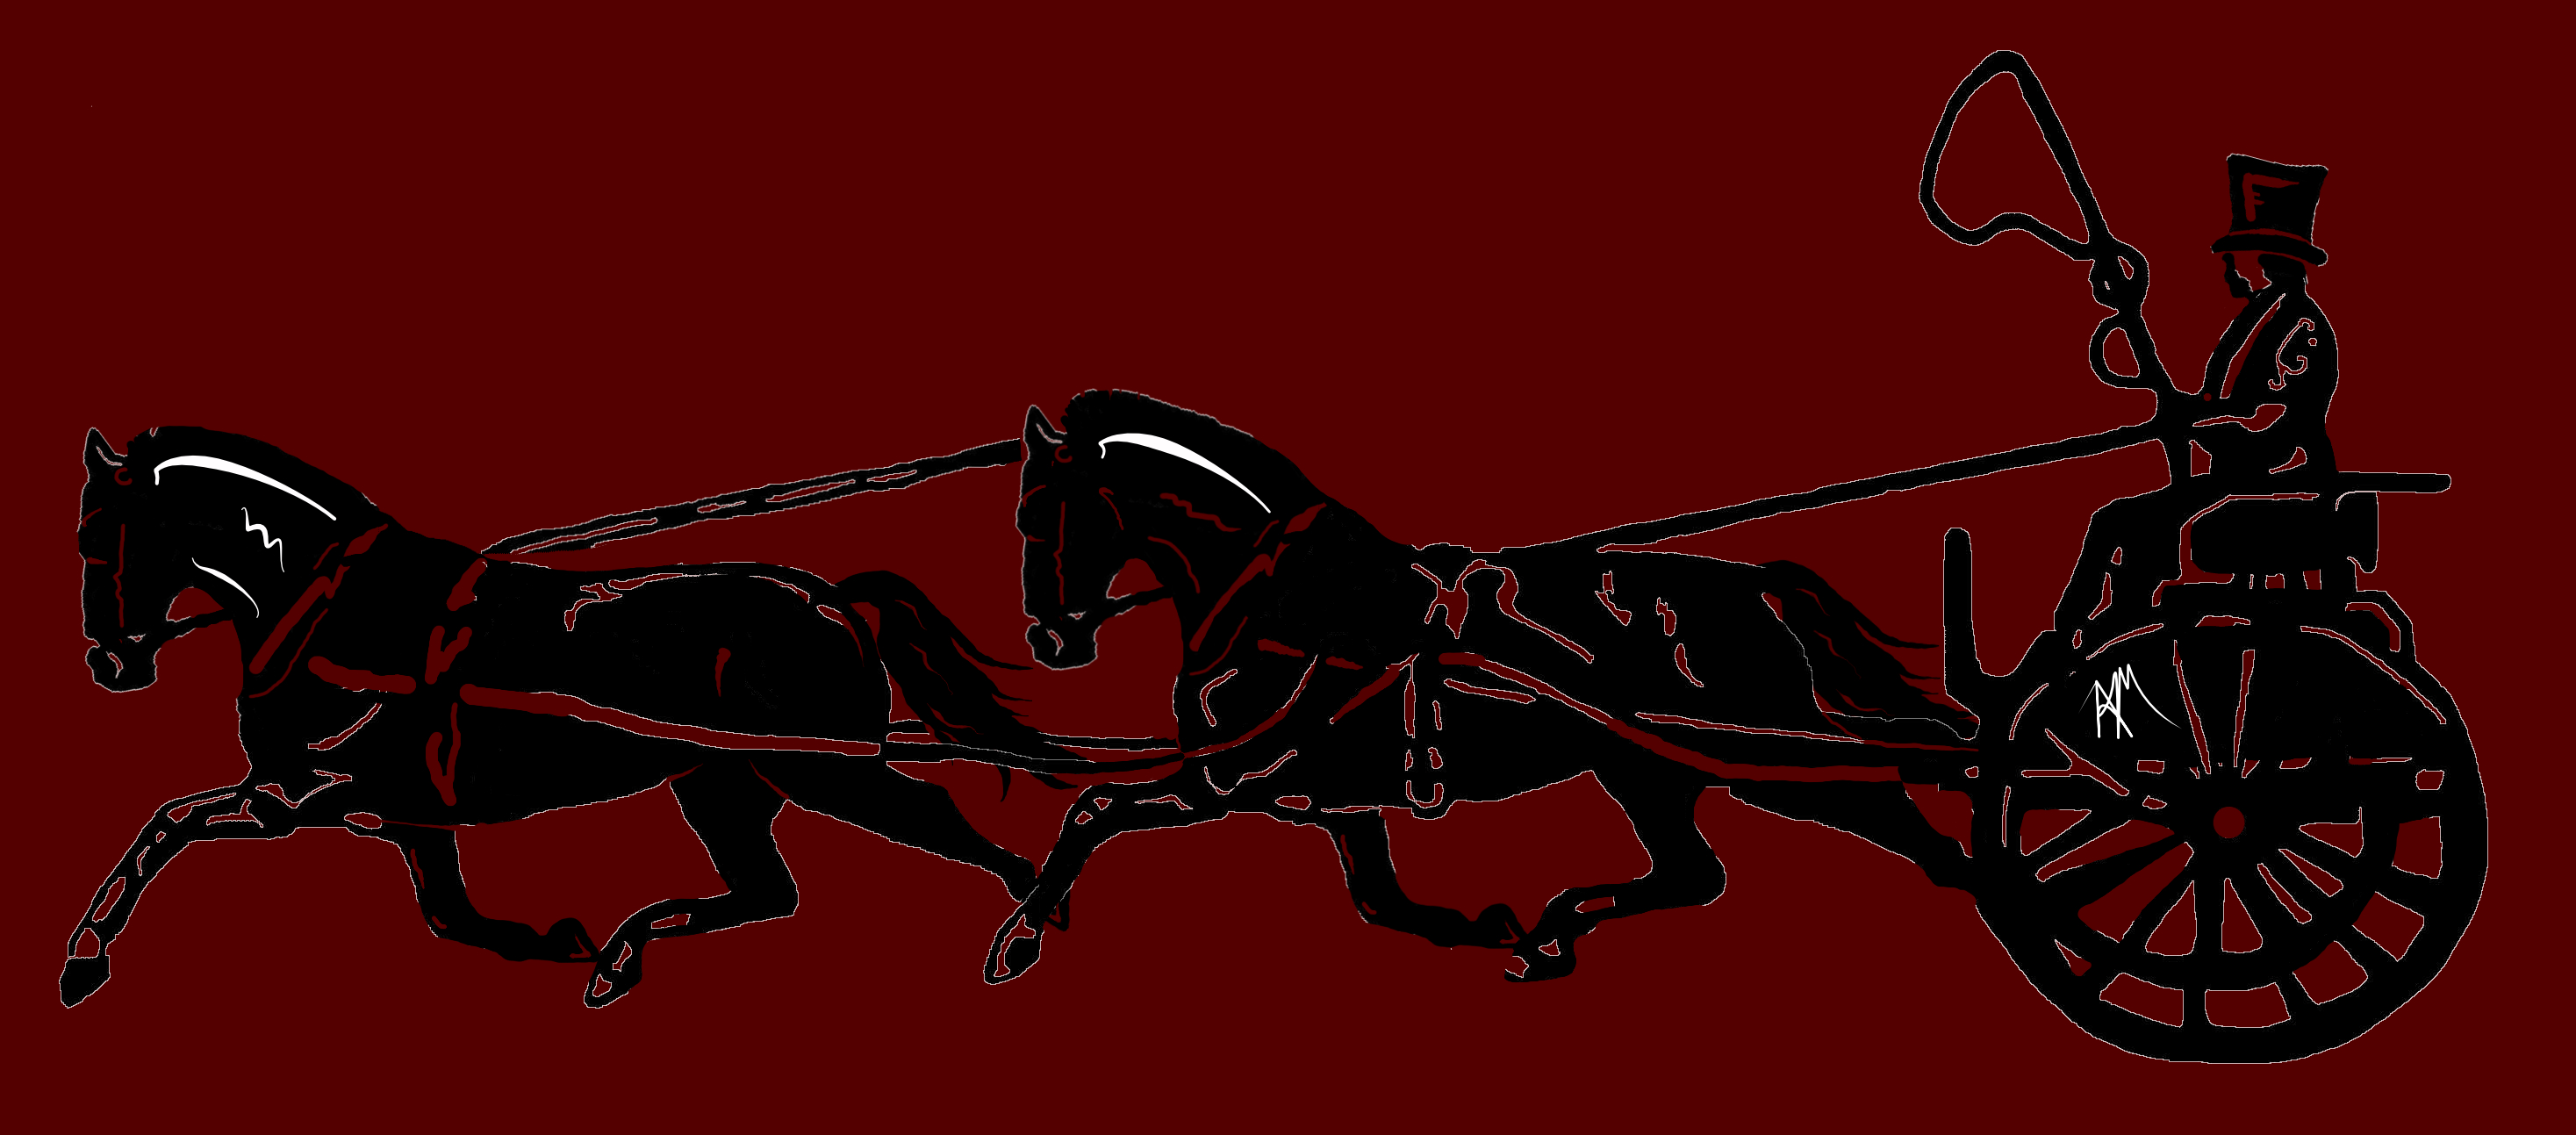
Ok, got there after a couple tries, thanks. Bonus question: Now, can you think of a really quick way to fill in the negative space with a contrasting color?
-
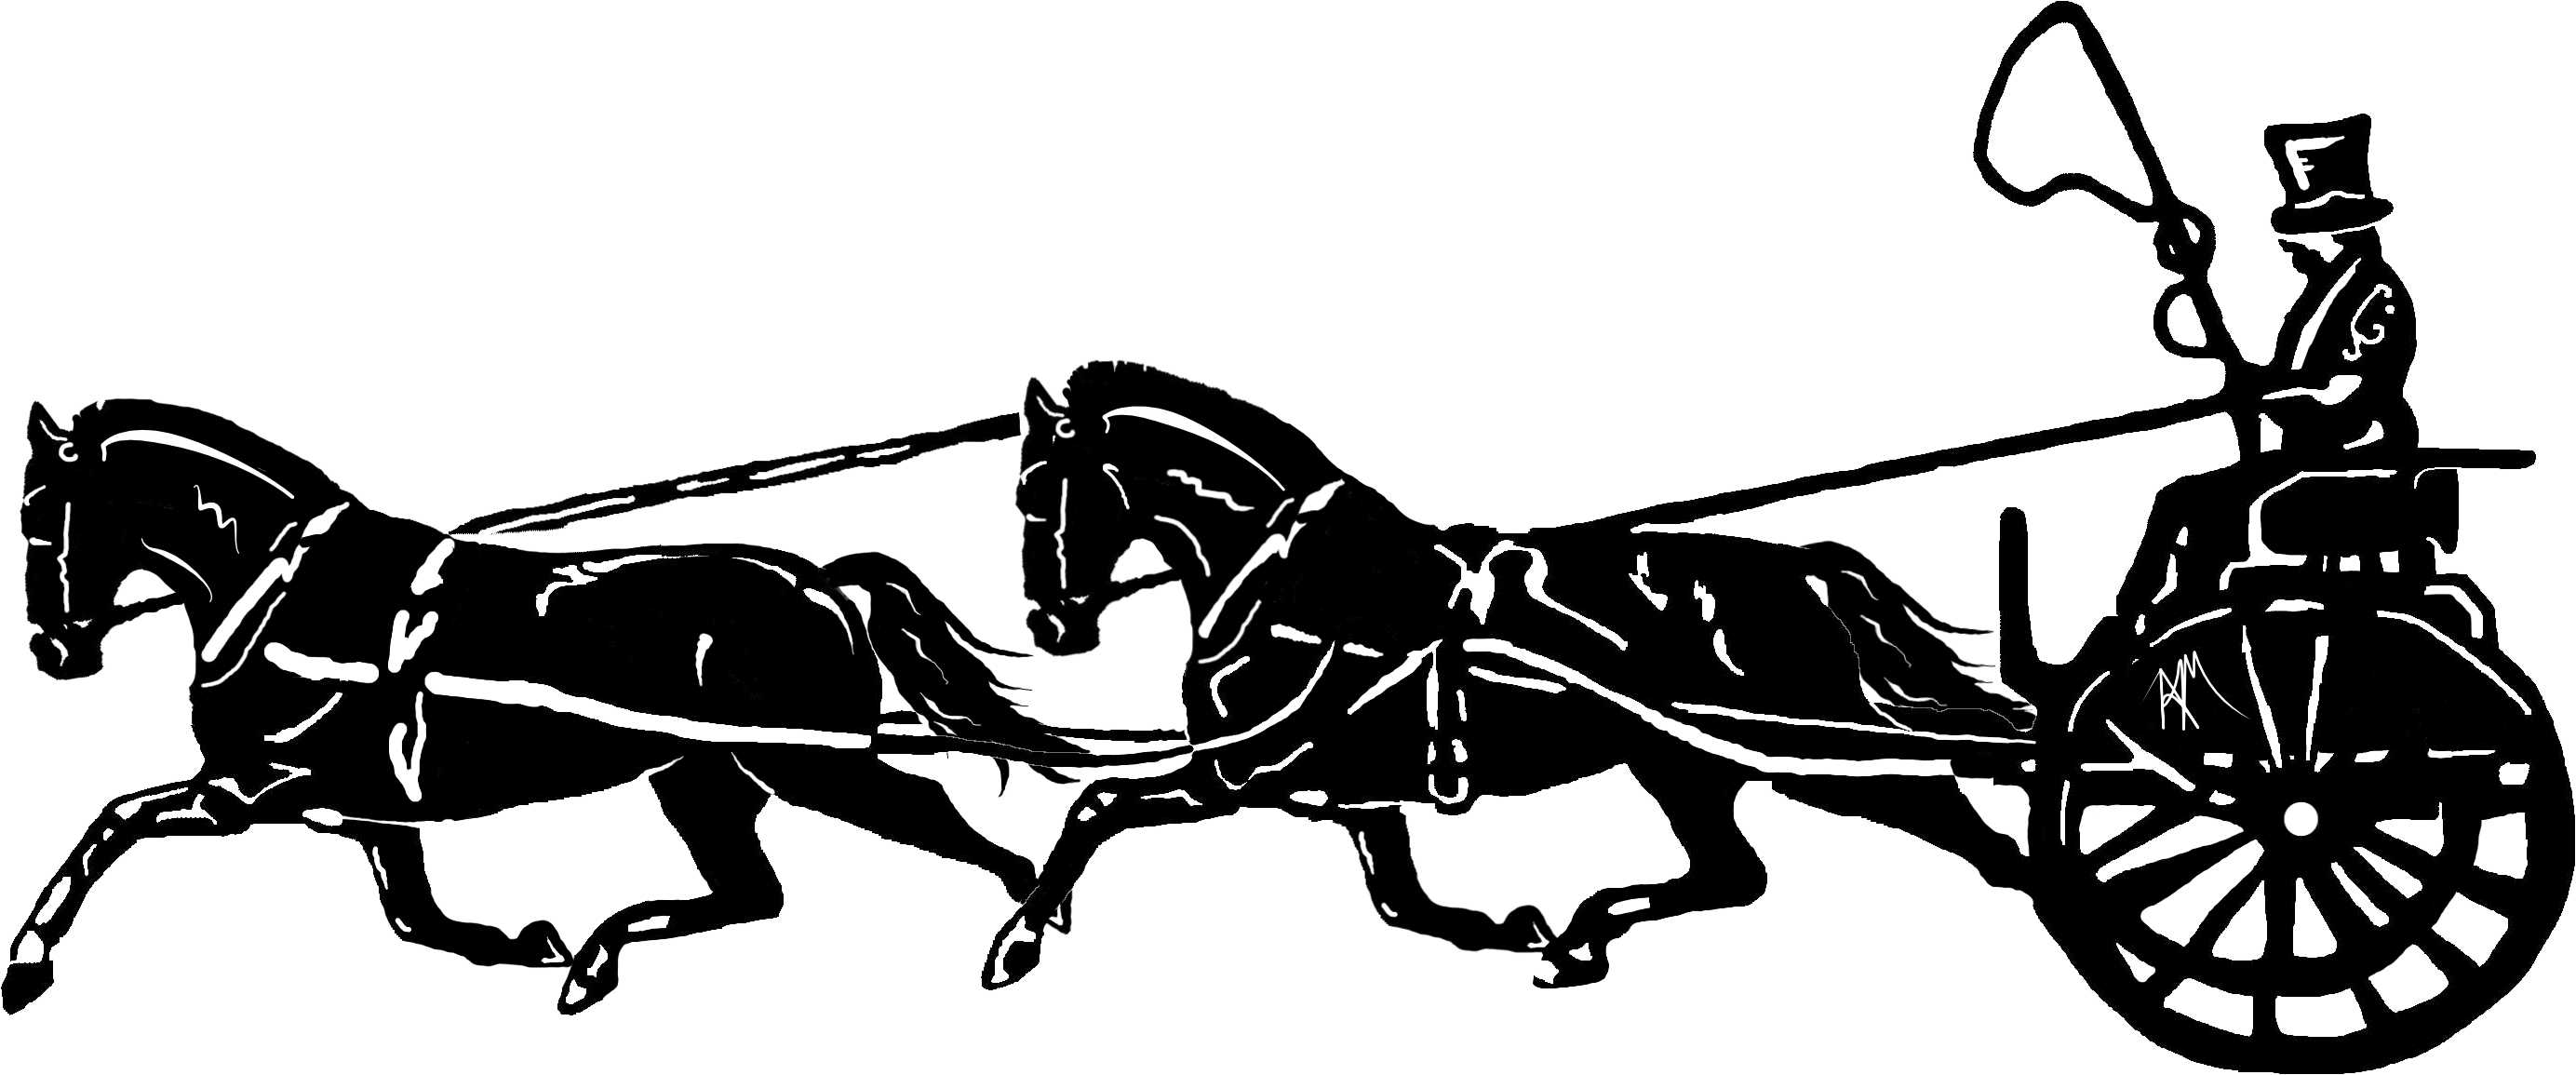
That takes care of most of it, but not entirely. There are still remnants of white-ish pixels
-
Affinity Designer, but I have both.
-
I'm working on updating a new logo graphic. I want to make the graphic a one color silhouette. The problem is, in the process of editing and tweaking, there's lots of left-over junk from various edits. The graphic looks fine if it's on a white background because you can't see the leftovers. However, if it gets placed on a dark background, there's a halo effect from previous edits. Tolling around to remove each and every last non-black pixel with the eraser is possible, but pretty darn time-consuming. I've tried all the options I can think of, and searched the forum like crazy for the solution. What do you suggest?
-
In the middle of my workflow, my pinch to zoom stopped working. Is there a setting I bumped, or is this a bug? I need help quickly because I'm on a deadline.
-
Ya, doesn't seem to be much help. Maybe I'm not using it correctly?
-
I've searched here, but don't see anything on how best to go about dealing with grainy old photos. Does anyone have suggestions on how to clean up those old grainy photos in AF Photo?
-
Cool, thanks! Looks pretty good. I was doing something similar, but your method is a little more efficient.
-
I'm trying to avoid re-inventing the wheel here. I want to make graphics for some of my e-pubs that has the cover of the e-pub, with the turned up page look behind it, the way you see when turning a page on a Kindle or similar e-reader. It seems like this should be relatively simple to make, but for me, time consuming. I wonder if anyone has any suggestions to make it go a little quicker?
-
Brush shapes
AmpedAndy replied to AmpedAndy's topic in Pre-V2 Archive of Affinity on Desktop Questions (macOS and Windows)
That works in pen mode, but I can't seem to get it to work in vector brush, or paint brush mode. -
Brush shapes
AmpedAndy replied to AmpedAndy's topic in Pre-V2 Archive of Affinity on Desktop Questions (macOS and Windows)
I've tried that Madame, but it doesn't change the shape. -
Brush shapes
AmpedAndy replied to AmpedAndy's topic in Pre-V2 Archive of Affinity on Desktop Questions (macOS and Windows)
What I learned from that video is how to say bezier... beyond that, it didn't come close to answering my question. What I'm asking is the shape of the brush, be that pen or vector brush what have you. In brush properties, it shows a nice line with a tapered end to it. What gets drawn is either a round end, or a square end, nothing else. I can manipulate the pressure, velocity, curve, everything else, to no effect on the actual line that gets drawn. Anyone have an answer to that? -
It seems no matter what I do to manipulate a brush shape with the pen tool, the line created comes out the same with either square or rounded ends according to the cap I choose. I want to make calligraphy like lines with tapered ends, as the brush shows it would in the brush selector, but I can't figure out how to make that happen. Suggestions?
-
Good to see it's in the works! I love so much about the program. Keep up the good work!
-
I know all about the follow path tool in art text. I'm aware of that, but that's pretty limited. What I'm talking about is creating text in the shape of something such as a circle, square, trapezoid or really any other irregular shape. I created the attached graphic using A.P., which took a remarkable number of steps for what should seem to be a relatively simple task. 1. Create text (oh ya, it drives me crazy that I can't select the text color before creating the text! Every time I try to se the color before typing it reverts to black as soon as I type. Same is true in Design) 2. Adjust text spacing & size so that the words fill the box uniformly 3. Use mesh warp tool to manipulate shape (an awesome tool which I wish was part of design so I don't have to keep switching programs to do this type of work) 4. Let the disappointment settle since I don't have the world's steadiest hand, so there is some unintended warping of the characters as I used the warp tool, but I'm not going to spend 20 minutes getting this one small part of my graphic just right. One of the main disadvantages to this process is that it turns the text in a pixel element as soon as the warp is applied, so the text can't be manipulated after the fact. That causes a certain amount of trial and error to get the look you want. I usually copy anything that I'm about to manipulate so I can just delete what I don't like to save "undo" steps, and also can "redo" the manipulation later if I find the warped graphic shape doesn't work quite right in the design I'm working on in A.D. It just would be a whole lot easier if there were a process that I could do this while working on the actual design in A.D. without program switching. Is there something that I'm missing to make my life a little easier?
-
I second that!
-
Grrrrrr, Apple! Just figured out I have two apple id's. It's all good now.
-
Good suggestion Mark, but that didn't do it.
-
Welllll, not so much. Trouble is that it doesn't show up in my past purchased apps in the app store on my Macbook. I've slogged through every Apple help info I can find on this info, and have not gotten anywhere. Any suggestions?
-
Ha! Downloaded the newest version, and it all works fine. Didn't realize I was on an outdated version. Thanks for all the suggestions.
-
I just got a MacBook, so I can continue projects while on the road. Do I have to buy a second copy of designer & photo for that computer, or is there a way I can duplicate it onto my new laptop?
-
Thanks for all the help, but alas, it ain't working. Fine to group things, or put them in layers and hide or unhide the group or layer, but if I want to do that to a few things in a group or a layer, it just doesn't work.