dmstraker
-
Posts
829 -
Joined
-
Last visited
Everything posted by dmstraker
-
Nothing like a nice sky. Especially if you are a nice guy.
-
Really nice. You don't really need all the grass at the bottom as it's mostly about the sky. Because I'm a lumberjack, I would skew the image to straighten the hedge (pull down bottom right corner in perspective tool).
-
 Attached is my complete set of notes about blend modes, now spread across 52 pages of A4. These are significantly updated from the previous revision, with lots more 'recipes' and organisation of these under main topics, hopefully to make them more usable. Enjoy. Blend modes notes V5.pdf
 -
Painting with light
dmstraker replied to Enord's topic in Tutorials (Staff and Customer Created Tutorials)
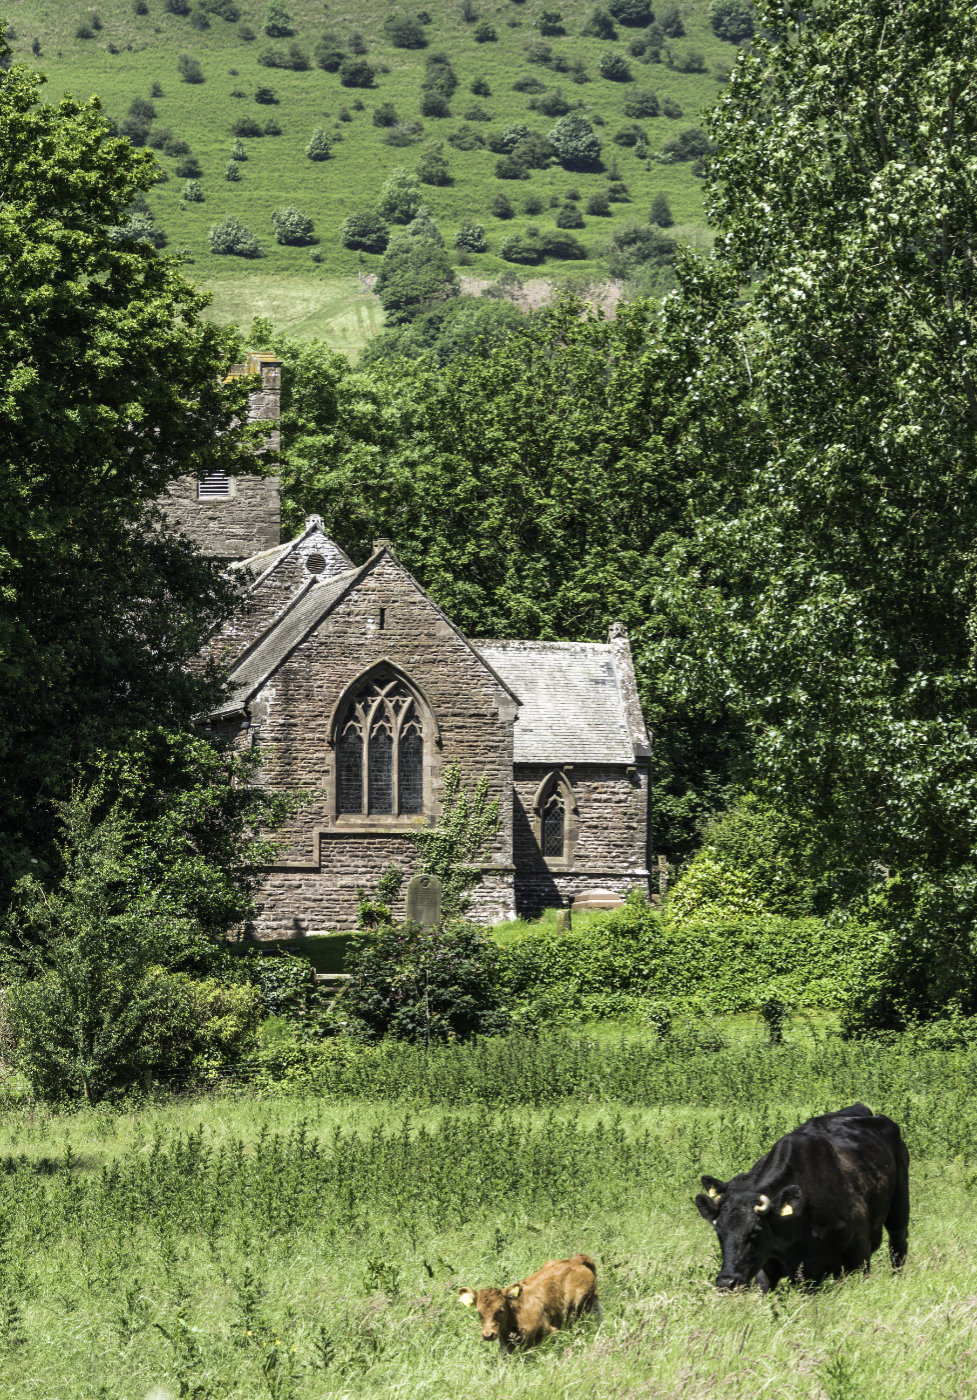
Almost. It's St David's church and the Skirrid mountain in, guess where, Llanddewi Skirrid. You've still got me puzzled, Roger, about who you are. -
Affinity products for Linux
dmstraker replied to a topic in Feedback for the V1 Affinity Suite of Products
While Linux is a nice thought, I'd be happier if those really smart Affinity folks just got on with heading towards version 2. Personal and totally biased view: this iPad version is a distraction. Come on chaps (and chapesses) -- let's see the next mega-revolution! You're already knocking at the gates. I want an innovative browser, a Lightroom RAW killer and other tweaks from double-click any slider to reset, to a macro system that knocks PS actions out of the park. Go Team Affinity!!! -
Painting with light
dmstraker replied to Enord's topic in Tutorials (Staff and Customer Created Tutorials)
ps. Please forgive maudlin stuff. Just consumed bottle of stuff called 'Delerium Tremens'. https://www.ratebeer.com/beer/delirium-tremens/1039/ Followed by half a bottle of red plonk. Ungamunga! -
Painting with light
dmstraker replied to Enord's topic in Tutorials (Staff and Customer Created Tutorials)
I'm Welsh and totally ashamed of the Welsh people who voted for Brexit. But at least we're artistic. Eisteddfods and all that. And living in God's country. The Brecon Beacons National Park is literally just over the road. Photographic heaven.
-
Photo to Painting
dmstraker replied to CircularWebs's topic in Tutorials (Staff and Customer Created Tutorials)
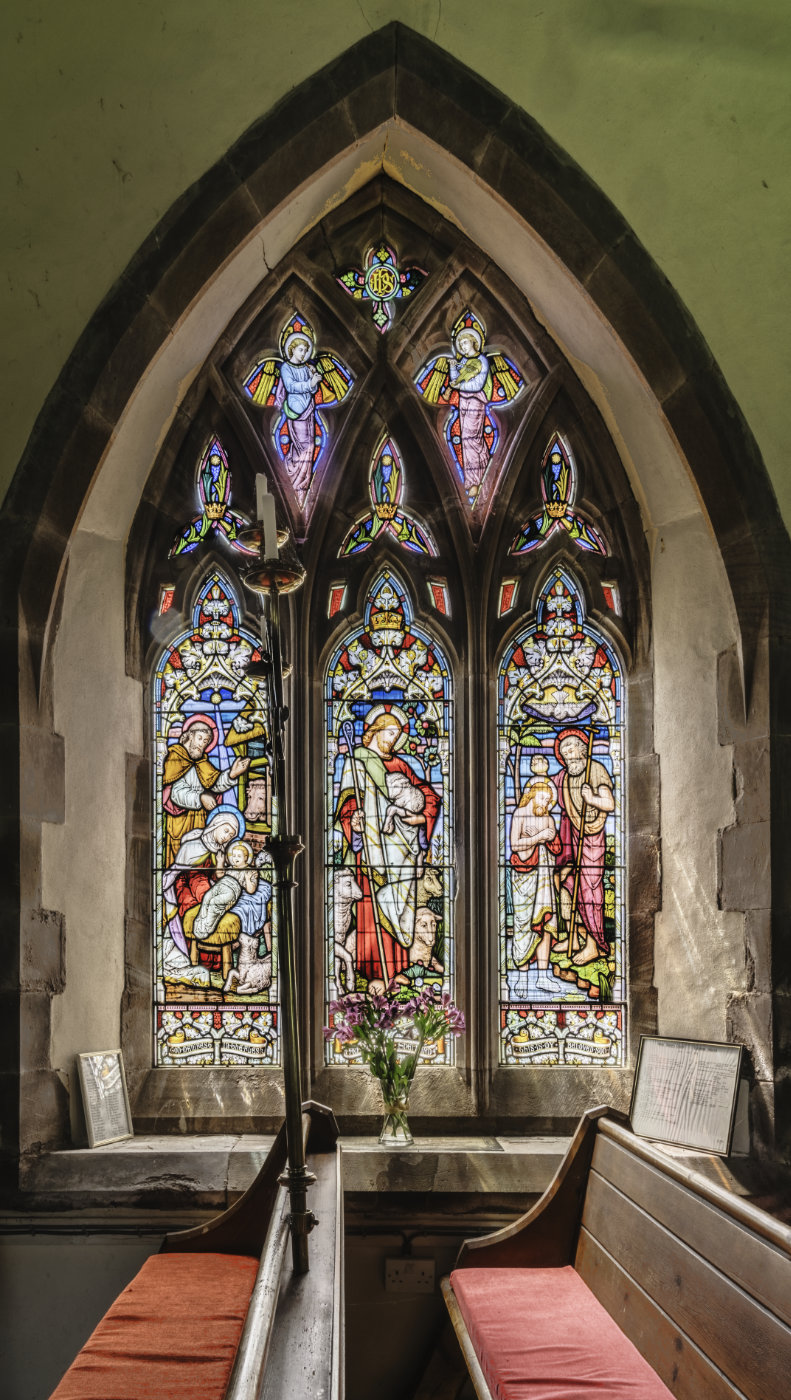
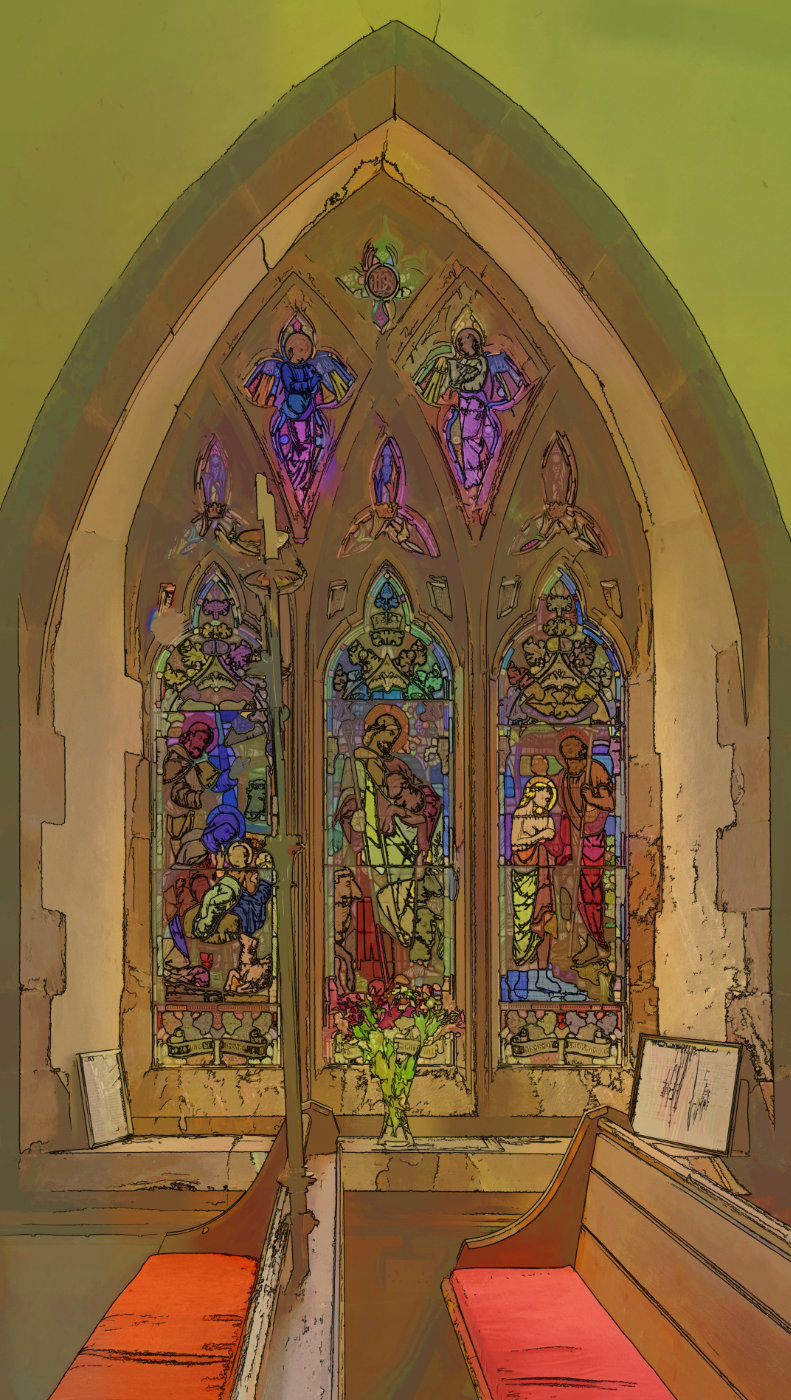
I bought a cheapo version of Topaz labs years ago at a photography show in the NEC in the UK. All on a CD with a code. Still brilliant and I use Topaz Simplify to create great 'painting' versions. Sneaky tip: If you've got a great photo that is out of focus, Simplify will find edges and fill in a 'cartoon' version that works really well. I've such a picture on the wall, printed as a 'canvas' and which loads of visitors have thought was a real painting. Bottom line: Affinity's ability to use Photoshop Plugins extends its capability still further. I have played with all kinds of photo editing software, from PS to LR to ON1 and more, and I spend by far the most time in Affinity. Just love it for its massive capability. Example of photo and Topaz Simplify variant attached.
-
Do NON-VIDEO Tutorials exist?
dmstraker replied to BobsCreek's topic in Tutorials (Staff and Customer Created Tutorials)
I made notes on all the videos here: -
Use Sony. Never any problems. Even with newer ARW format of RX100V that PS CS6 won't open.
-
Yes, I know. Just happened to be a photo I had handy for general experimentation. Could at least have had some dark clouds. Trivia: It's the Boudhanath stupa in Kathmandu.
-
Hello Santa. Please could I have for Christmas a little check-box on all brushes that says 'edge-aware', just like there is in the Develop Persona. Thank you. ps. I have been very good.
-
I start with LR and basic global NR/Sharpening. I then get a lot more specific in AP, using different methods (I like to play and see what works) and painting it into key focus areas. If I'm going to do output sharpening it's just before print or digital finalisation.
-
Selection from Layer Mask
dmstraker replied to Anim8or's topic in Pre-V2 Archive of Affinity on iPad Questions
Ah yes. I arrive via 'stuff I've not read' forum link and didn't notice the iPad bit. -
There's probably an easier way, but here's how I created some rain today: Add pixel layer. Fill with white. Add noise (about 30%). Layer/Rasterise (to fix noise). Zoom in to see pixels. Levels, black up about 50% (darkening it a bit). Threshold about 70% (rain distribution). Gaussian Blur (to widen spots), Preserve Alpha. Levels again, black up to darken spots. Juggle Blur and Levels for optimal size of raindrops. Motion Blur, Preserve Alpha, angle diagonal, radius right up (can type in big number). Levels to darken rain. Invert layer to make rain white. Pixel layer Blend Mode: Screen. Adjust Opacity to suit.
-
Selection from Layer Mask
dmstraker replied to Anim8or's topic in Pre-V2 Archive of Affinity on iPad Questions
Control-click on mask layer. (took me a while to find this too -- fortunately there's lots of help on this forum!) -
Bags Removal
dmstraker replied to KC_Shutterbug's topic in Tutorials (Staff and Customer Created Tutorials)
AP curves aren't as fancy as PS, but there's many ways to do this. I'd be inclined to use Frequency Separation. Another way with curves is to: Add live curves layer: Layer/New Adjustment Layer/Curves Drag up the centre of the curve so the bags are as light as required. Invert the built-in curve mask (Ctrl-I). Select paintbrush (B) and change the colour to white. Reduce the opacity and hardness on the top context toolbar. Paint back in the bags under the eyes. Or with a pixel layer using a Colour blend mode: Add a new pixel layer. Layer/New Layer. Change the blend mode of this to Colour (in drop-down menu at the top of the Layers pallet). Select your replacement colour with the eyedropper tool. Select paintbrush (B) and reduce opacity and hardness on top context toolbar. Paint in the bags area. Texture is retained. -
It's Bangor pier. Yes, that's me on the right. Brian on the left. Sounds like I know you, Roger. That smilie seems awfully familiar...
-
Blurred high-pass sharpen
dmstraker replied to dmstraker's topic in Tutorials (Staff and Customer Created Tutorials)
Ah. Interesting. Not the same effect! Attached is a simple test. Three groups and a layer. Bottom layer is test image of progressively blurred lines. Zoom in to pixel level to see effects. Three groups are three different attempts. Progressively hide groups to see effect. Top two groups have same effect. Bottom group is different -- shows you're right, MBd. I learned something here. Thanks! I also tried shuffling the order of the adjustments in the bottom group to no avail, btw. bilateral_sharpening_test.afphoto -
Here's a novel way of creating a kind of aged colouration style - I found it particuarly interesting in faces (see attached image). Go to Channels panel, right-click layer colour channel (eg Background Red) and select Create Greyscale Layer. Set Blend Mode: Reflect for the new layer created. Go back to Channels colour channel, right click same channel as in 1 and Create Mask Layer. Use Opacity to control effect.
-
Blurred high-pass sharpen
dmstraker replied to dmstraker's topic in Tutorials (Staff and Customer Created Tutorials)
... replacing the bilateral blur with a median blur, which also preserves edges, has a very similar effect. A difference is the bilateral version has two sliders to play with... -
Blurred high-pass sharpen
dmstraker replied to dmstraker's topic in Tutorials (Staff and Customer Created Tutorials)
I did it like this (two-layer). Any effective difference? It's quite handy to be able to switch back and forth between the BB and the HP to get the best edge selection. Turning off the bottom layer lets you see the grey layer, which can help. Turning Preserve Alpha on and off on the BB I can't see any change in the image. You can even do it like this (one-layer), saving a pixel layer.
-
Just going through the various modes for next update to my Blend Mode notes and trying stuff. Blending inverted duplicates appears in various places so I had a go with the Vivid Light. Lots of that 50% grey appearing, as in High Pass filter, so I tried blending again with HP-type contrast modes. Thanks also MBd for your list and ongoing inspiration. You're well down the line and I'm happy to hang onto your coat tails. I find sharing such a great way of learning. It's good too when I get called out for barking up the wrong tree. Just as long as I learn something, I'm a happy bunny.
-
Another experimental variant on sharpening (just playing about on a Sunday morning): Duplicate layer twice (so there are three layers). Top layer: Invert. Blend Mode: Vivid Light. Add Gaussian Blur (radius about 4). The effect looks a bit like a high-pass effect, so... Middle layer: Blend Mode: Hard Light (or Overlay or Soft Light, if you like).. There's an odd effect where colour patches appear in light areas. Increasing Gaussian blur can fix this but reduces sharpening effect. You can also add a mask to the top layer and paint them away. I suspect it's caused by the Vivid Light blend algorithm.
-
Just found this site: http://www.graphicxtras.com/tutorials/tutorials-affinity-photo-designer.htm Includes useful notes.