

Teddy
-
Posts
17 -
Joined
-
Last visited
Posts posted by Teddy
-
-
Hi all,
I think it would be very convenient for Character styles to have a font size that is relative to the underlying Paragraph style’s font size, by addition, subtraction and even multiplication or division.
A Character style’s font size could be expressed as -2 pt or +2 pt, for example. If the underlying Paragraph style’s font size is 14 pt, the Character style’s fonts size would result in respectively 12 pt or 16 pt in the aforementioned example.
This is very convenient in for example optical adjustment of different typefaces, while keeping everything dynamic. If the Paragraph style’s font size changes, the Character style’s font size changes accordingly.
-
Hi MEB, have you had the chance to look at this issue yet?
-
Great, thank you. I’ve just uploaded the file; both examples in the video come from this file.
-
It's the automatic grid behaviour - it includes midpoints between the visible lines. Does the grid change as you zoom?
Switch off "Use automatic grid" and set up the grid manually.
That’s interesting, but I do not use the automatic grid.
-
So it’s already there and it’s great! Thank you for pointing it out MEB!
-
No one else? :)
-
Thank you both for looking into this. :)
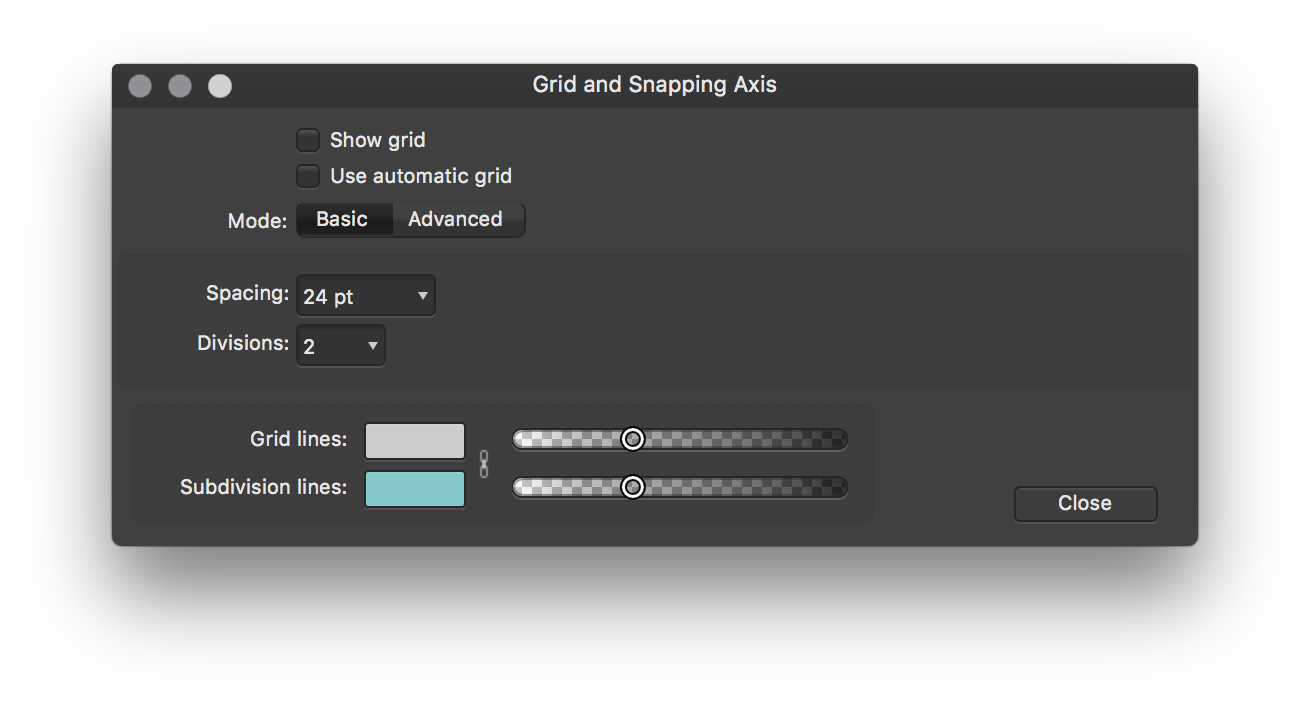
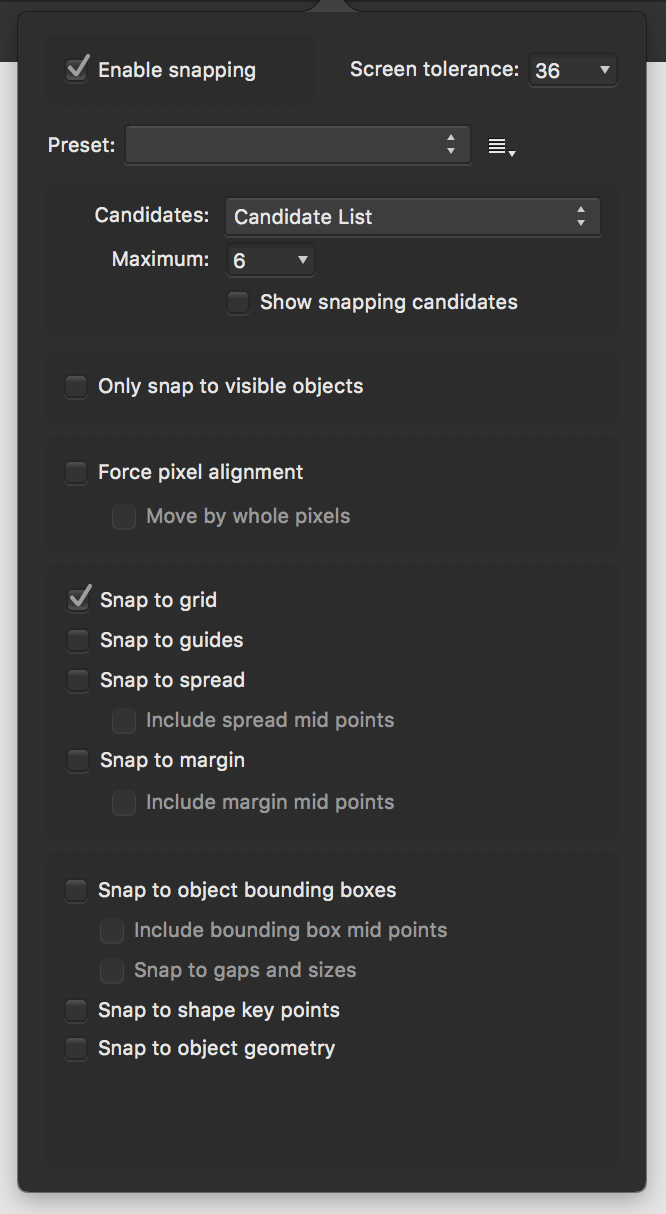
Can I deliver the afdesign files to you directly MEB? Since they are part of a project that isn’t public yet, I’d rather not post them here. I’ve attached a screenshot of my grid and snapping settings.

-
When in Affinity Designer I choose to snap to grid only, I expect my elements to snap to the horizontal and vertical grid intersections only.
However, when dragging a rectangle for example, it vertically snaps in the middle of two grid lines.
Especially with text frames, the bounding box or baseline snaps in between the grid lines, sometimes between pixels.
I find this very annoying. It takes more time to get things precisely in place. Can someone explain to me why that is happening?
See the video’s I’ve attached that Illustrate this behavior.
-
I managed to join the end points of two pen curves like this:
1. Select node tool
2. Select both curves using shift
3. Command+click TWICE on the end points you want to connect (thus selecting both end points)
4. Select Join Curves from the Actions box
Hope it helps
Thank you for the suggestion Electrofied. However, this only works for end points and I seem unable to change a paths end point.
-
Illustrator IS NOT the program to emulate.
I agree. I wouldn’t want Designer to emulate Illustrator, but it serves as a good example for this particular functionality. I agree the best solution would be a keyboard modifier to toggle a join paths functionality.
-
Hi all,
I would really like to be able to apply a corner style to curves, similar to the way I can already apply it for a rectangle. In fact, it would be great if I could apply it to any shape! ^_^
-
Hi guys
It seems that I am not able to join nodes from different curves with the pen tool, like I am used to in for example Adobe Illustrator. I think it would speed up my work enormously if I were to be able to join different curves’ nodes with the pen tool instead of drawing extra nodes, selecting these and applying the action Join Curves every time.
I hope you will consider this.
Thank you!
-
Hello guys!
An interesting and welcome addition to Affinity Photo would be something like a ‘split view for comparison’. A way to compare and edit versions (or Snapshots) of an image without having to duplicate it and use Separated Mode or toggle between tabs.
An example would be when I apply the ‘Curves’ and ‘Soft Proof’ adjustment layer to an image to prepare it for print. I would like to have one window where I can see the original and another window right next to it, preferably optionally mirrored, with the adjustment layers active to edit and compare it to the original image (or Snapshot or state when I entered this split view mode).
I think the basic elements for this feature are already available in Photo (i.e. Snapshot) and it comes down to the ability to arrange (and mirror or split) your windows/views. The ability to arrange windows (tabs) next to each other without having to enter Separated Mode would be a valuable addition and to a large extent fulfill this feature request.
What do you think?
-
Hi MEB, thank you! I will post a feature request for this.
-
This would be a very welcome addition indeed!
-

[AD] Snap to grid only behavior
in Pre-V2 Archive of Affinity on Desktop Questions (macOS and Windows)
Posted · Edited by Teddy
Uploaded new video file
Thanks, I’ve installed the Beta and gave it a try. It seems to be fixed for shapes, but the issue persists for text frames. Both in the file I’ve provided, as well as in a newly created file. The snapping seems to apply to the text frame as well as the text itself (and its baseline), see the video’s attached. The first example has a baseline shift applied to the text, the second doesn’t.
SnapToGridBeta02.mov
SnapToGridBeta01.mov