christovw66
-
Posts
127 -
Joined
-
Last visited
Everything posted by christovw66
-
 Thanks R C-R. Will try this evening. Appreciate your responses. -Christo
 -
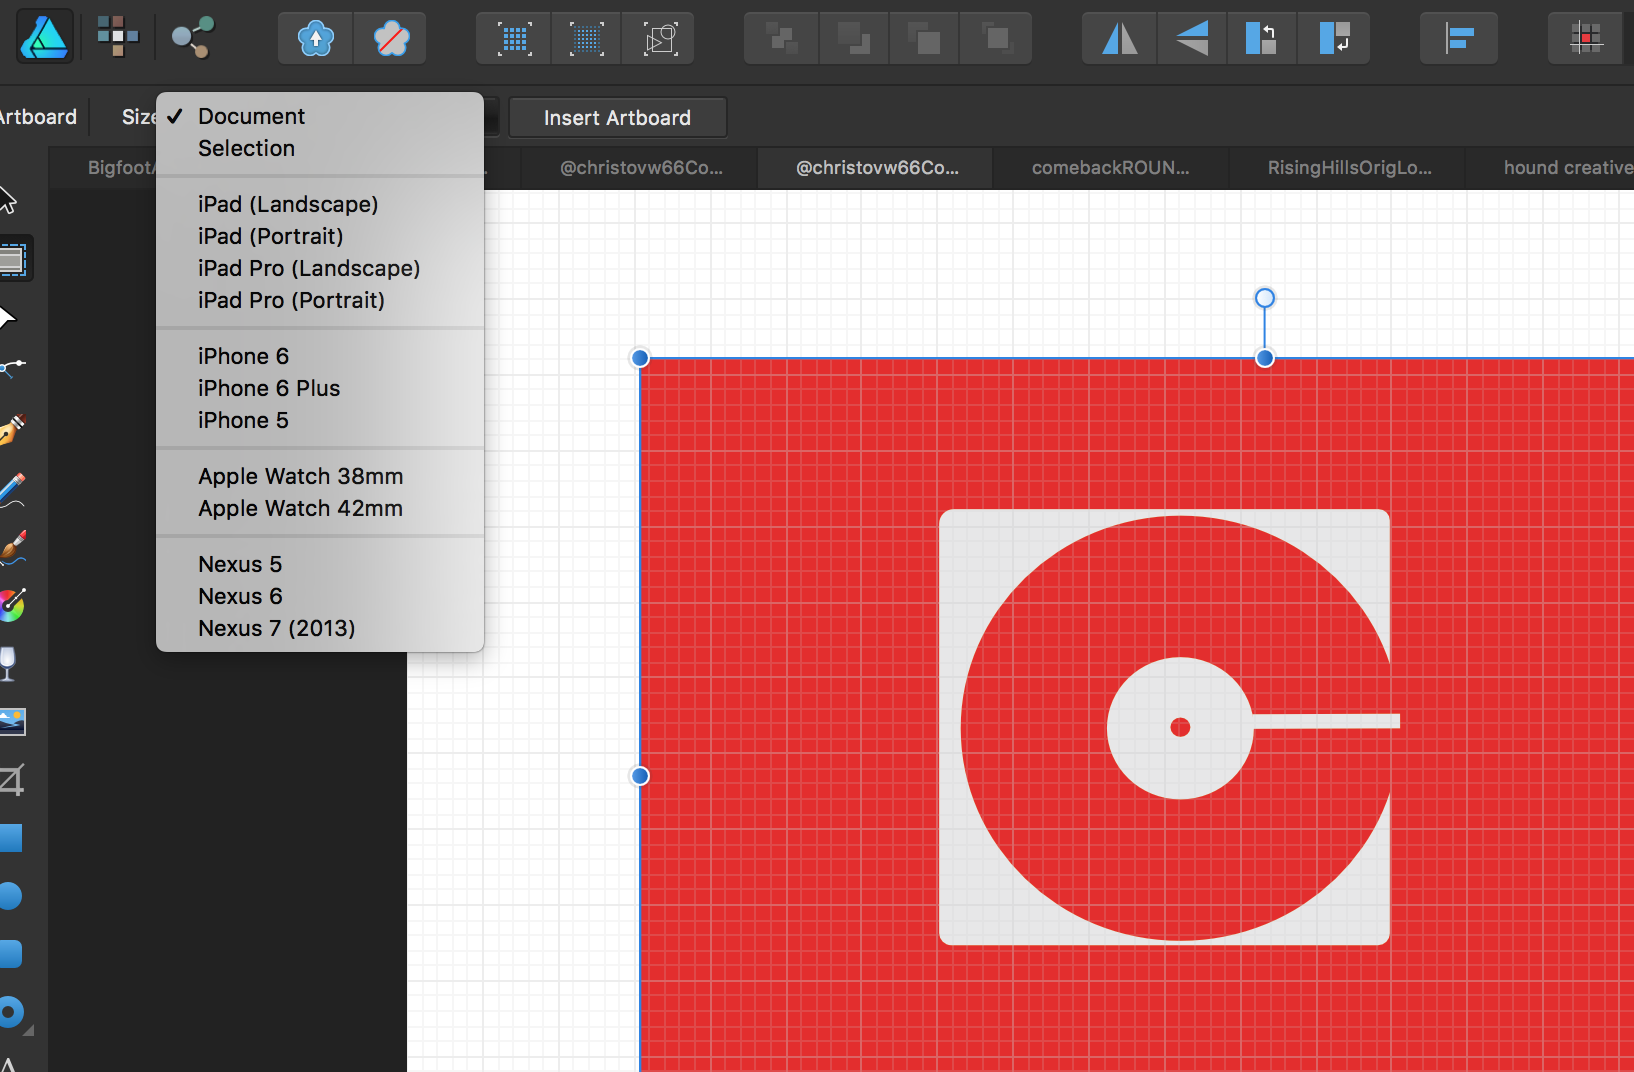
Stuart_R... ...real quick follow-up (please see thumbnail below). While in the Artboard tool, I don't see 'Size' as an option to choose when following your instruction in #1 of the options you offered in your response to my post. I've had my AD 1.5 (Mac) since January 2017...could this be missing because of an AD update not yet done on my system? Thanks again. -Christo

-
Many thanks Stuart_R! Will give these a go tomorrow afternoon. Really appreciate your time and direction. -Christo
-
Quick and simple question guys... What is the best/most efficient way to reduce the outer dimensions of this document, while MAINTAINING the size of the logo image within it?...masking?...cropping? Not sure what direction to go. I attached a copy of the file for your viewing. My desired end result is a thin border around the outer edge of the white curved corner portion of the logo. Thanks! -Christo (sorry for all the newbie questions) @christovw66ComebackROUNDEDprimary2.afdesign
-
Very good R C-R, hope you know how much I appreciate your input. Extremely helpful. -Christo
-
Callum and MEB, I believe this is the file that is 'changing' in proportion upon size reduction. (Disregard red circle) -Christo CVtoteSingleRasterized1.afdesign CVtoteRasterLayers1.afdesign
-
Got it MEB - my bad. I'll get it to you as soon as I get wifi back and can upload. Thanks! -Christo
-
...right on cue, my wifi is down preventing me from re-uploading that file Callum. Thanks in advance for your time (sending this on my phone). -Christo
-
Lemme know if you can see it now Callum... -Christo
-
Sorry about that Callum, Will get that file posted asap. Unfortunately it may not be until later this afternoon. Appreciate your help.
-
Callum... http://@christovw66toteasset1
-
...here you go Callum... Thanks again, -Christo
-
Thanks much R C-R. -Christo
-
Yes Callum - I will post the file but it may not be until later today. Thanks in advance for taking a look. -Christo
-
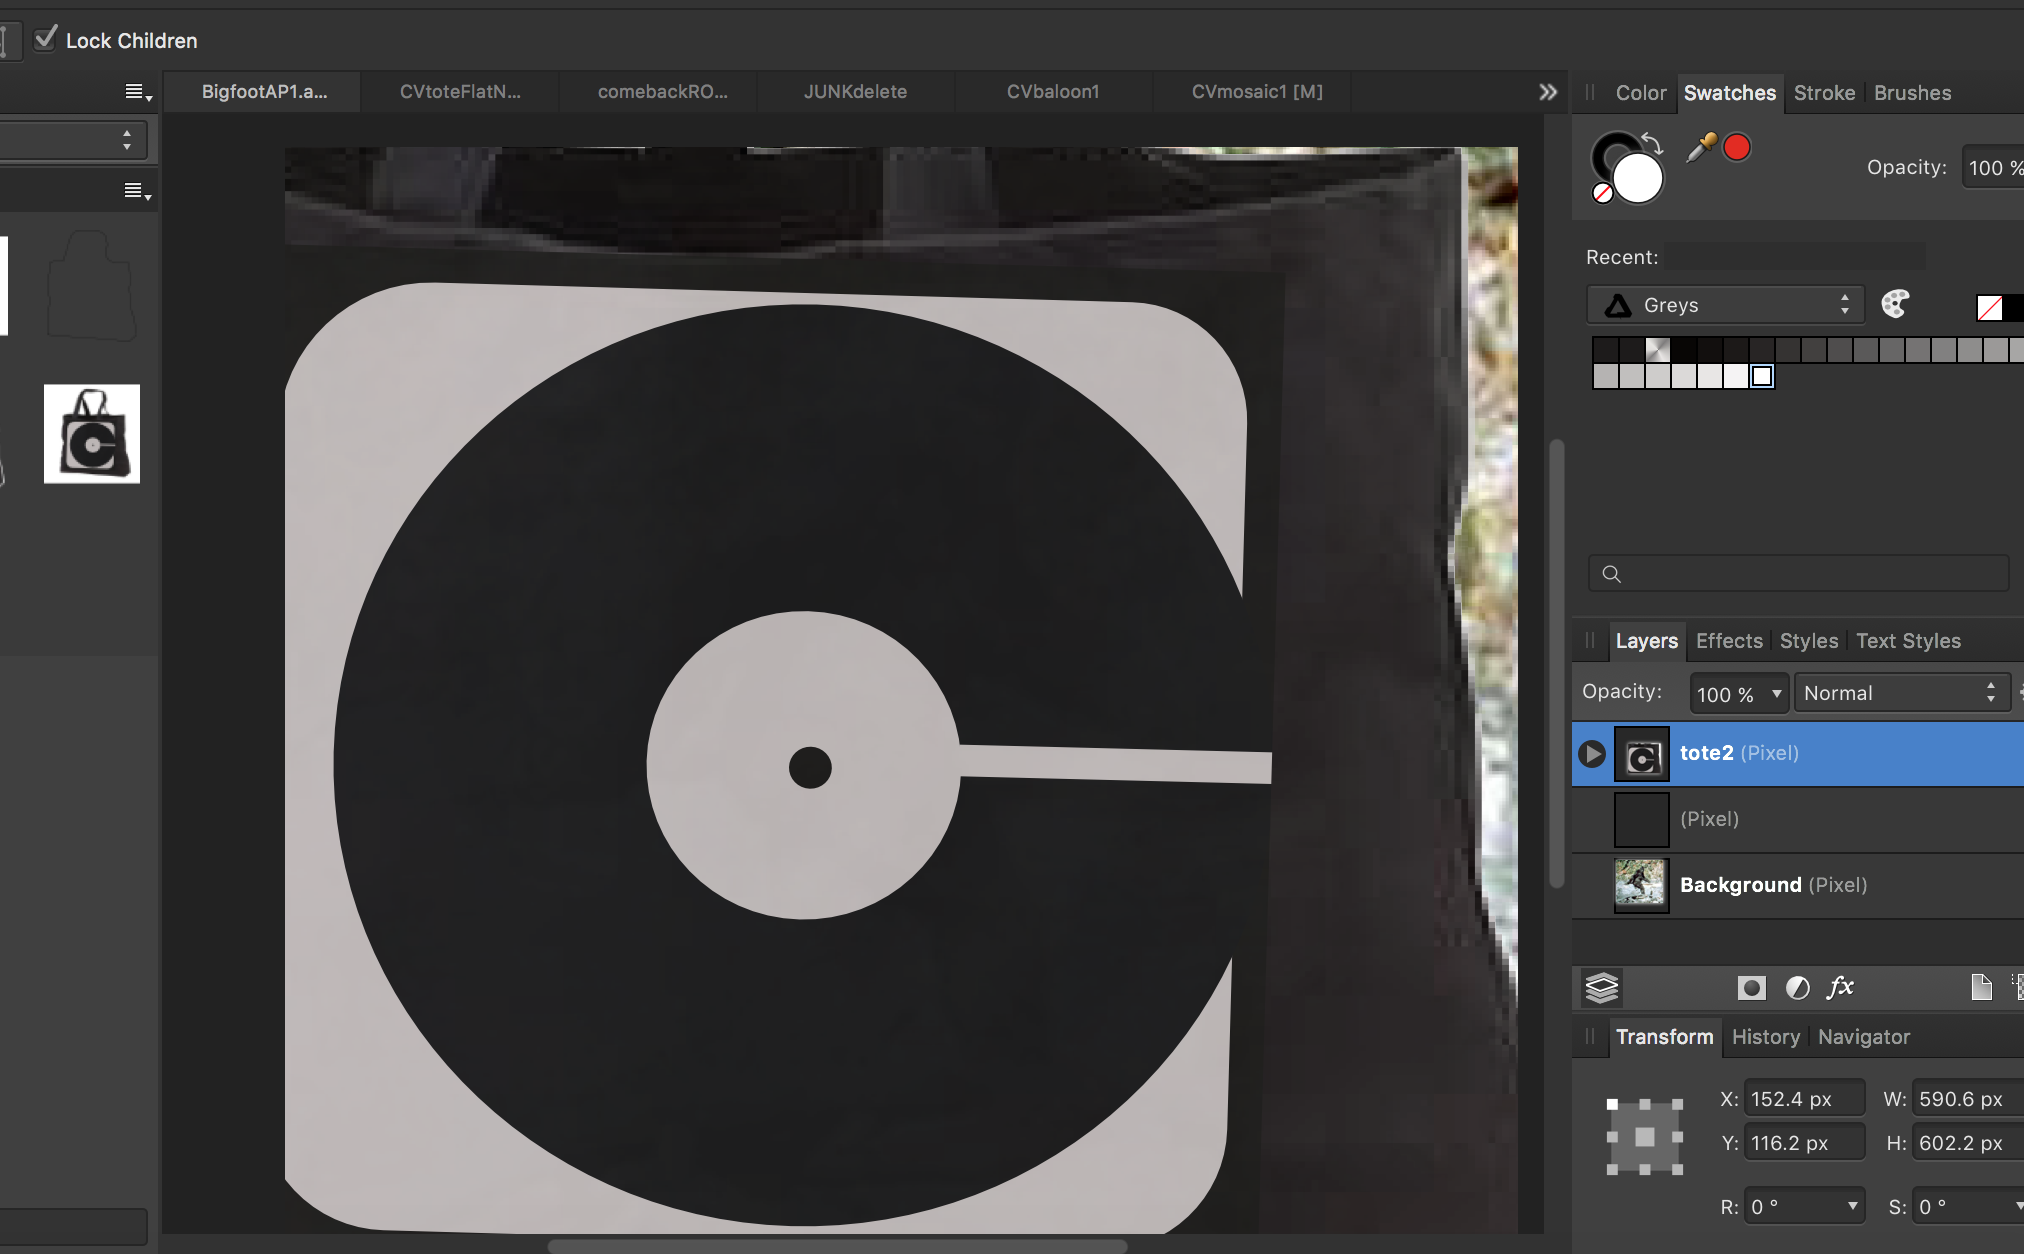
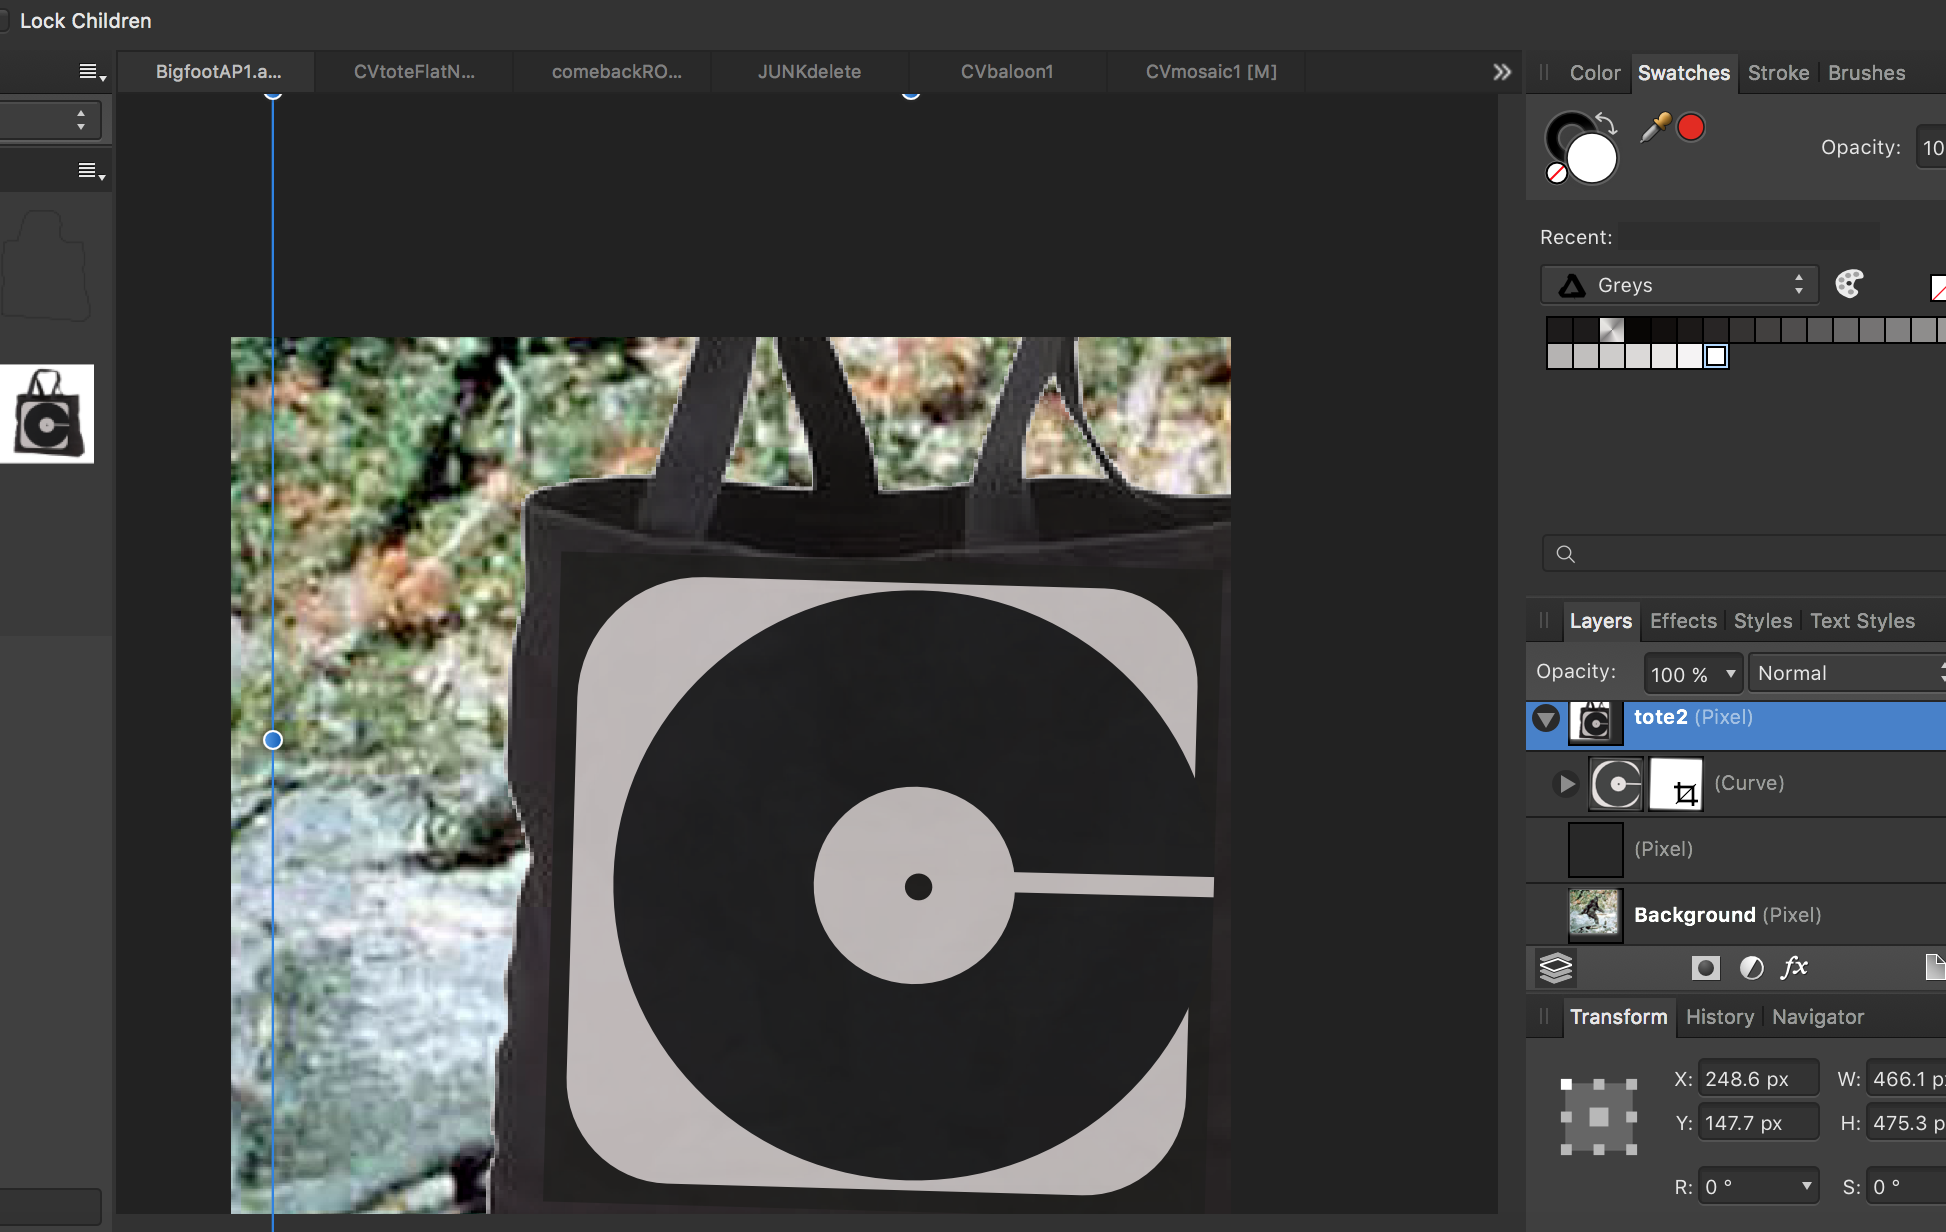
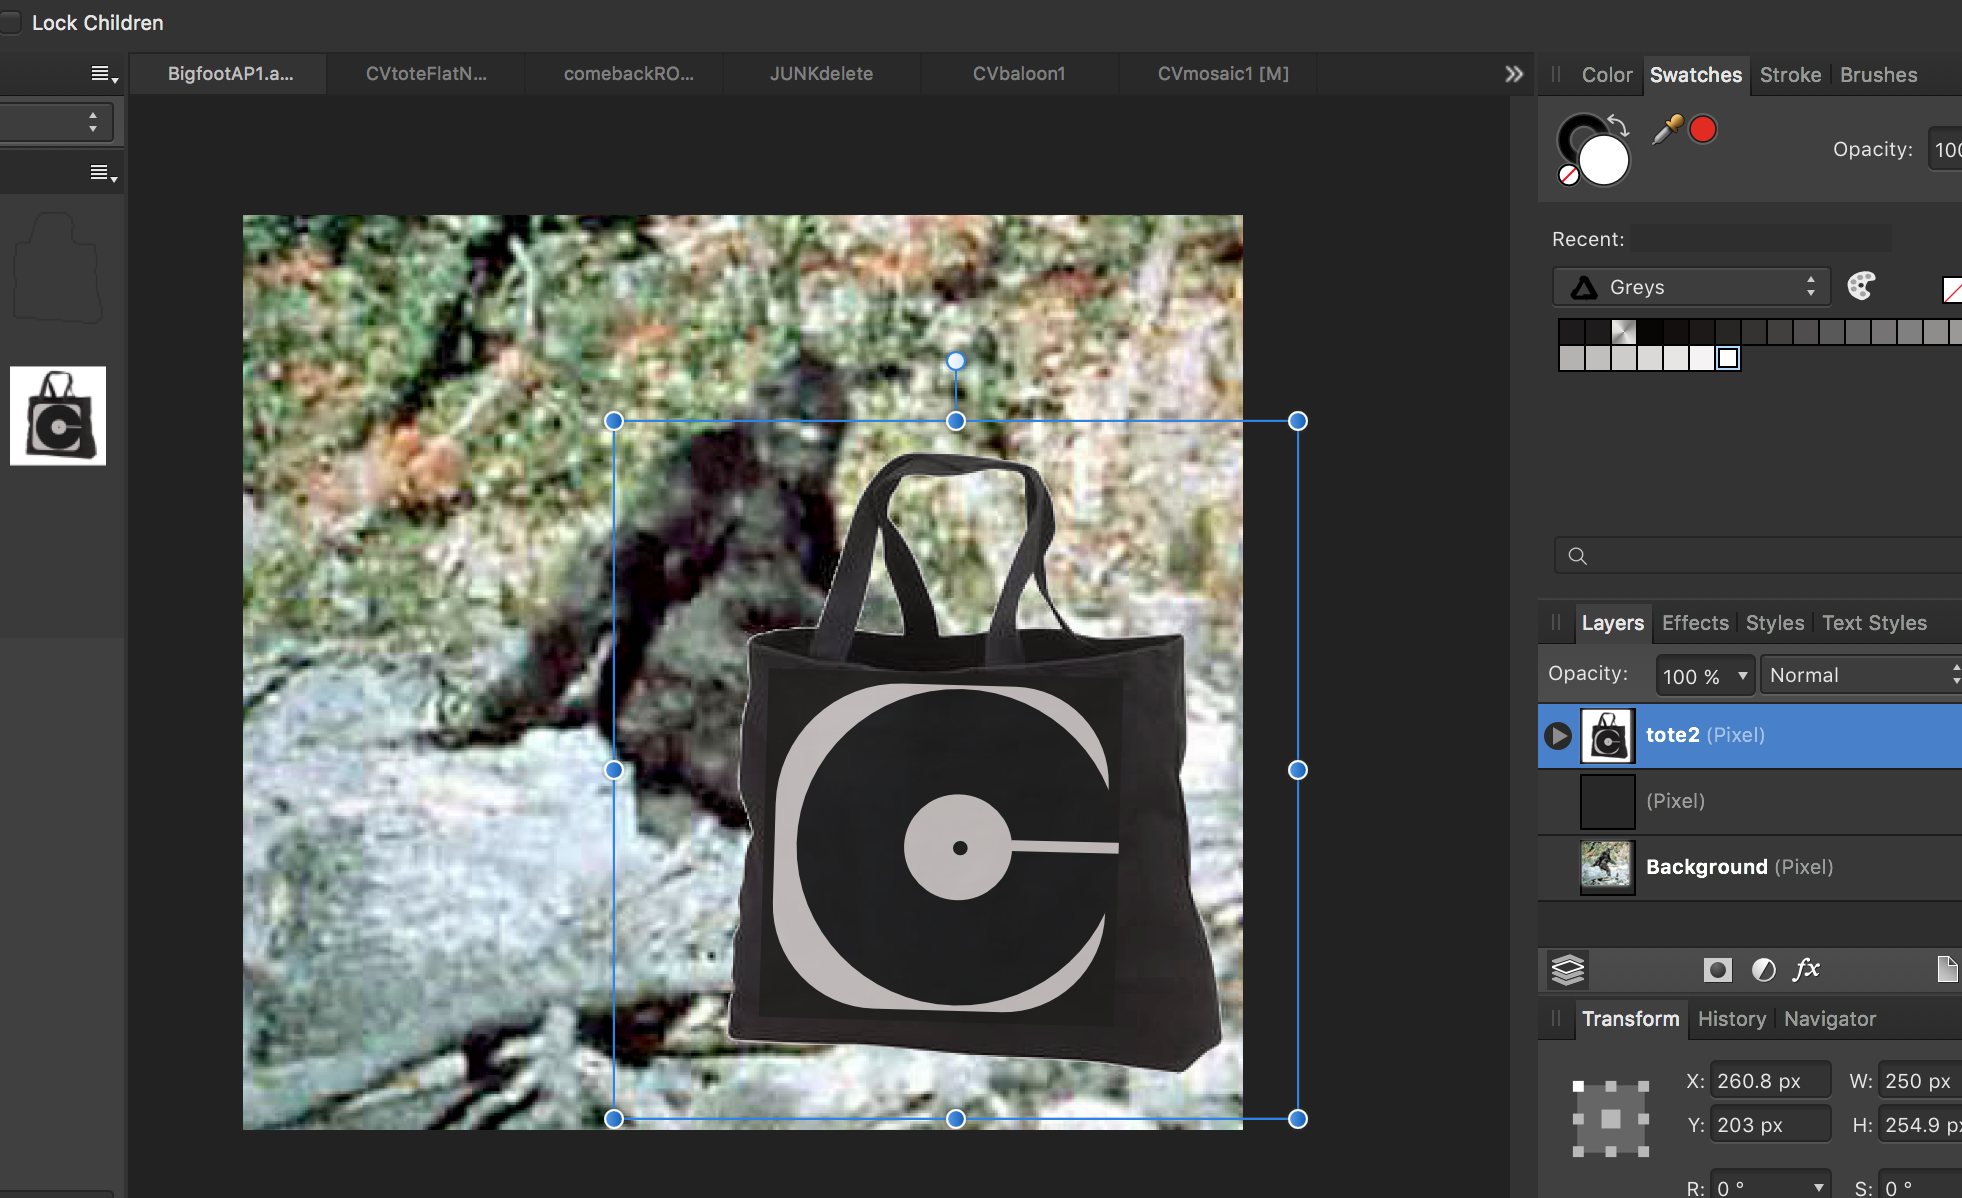
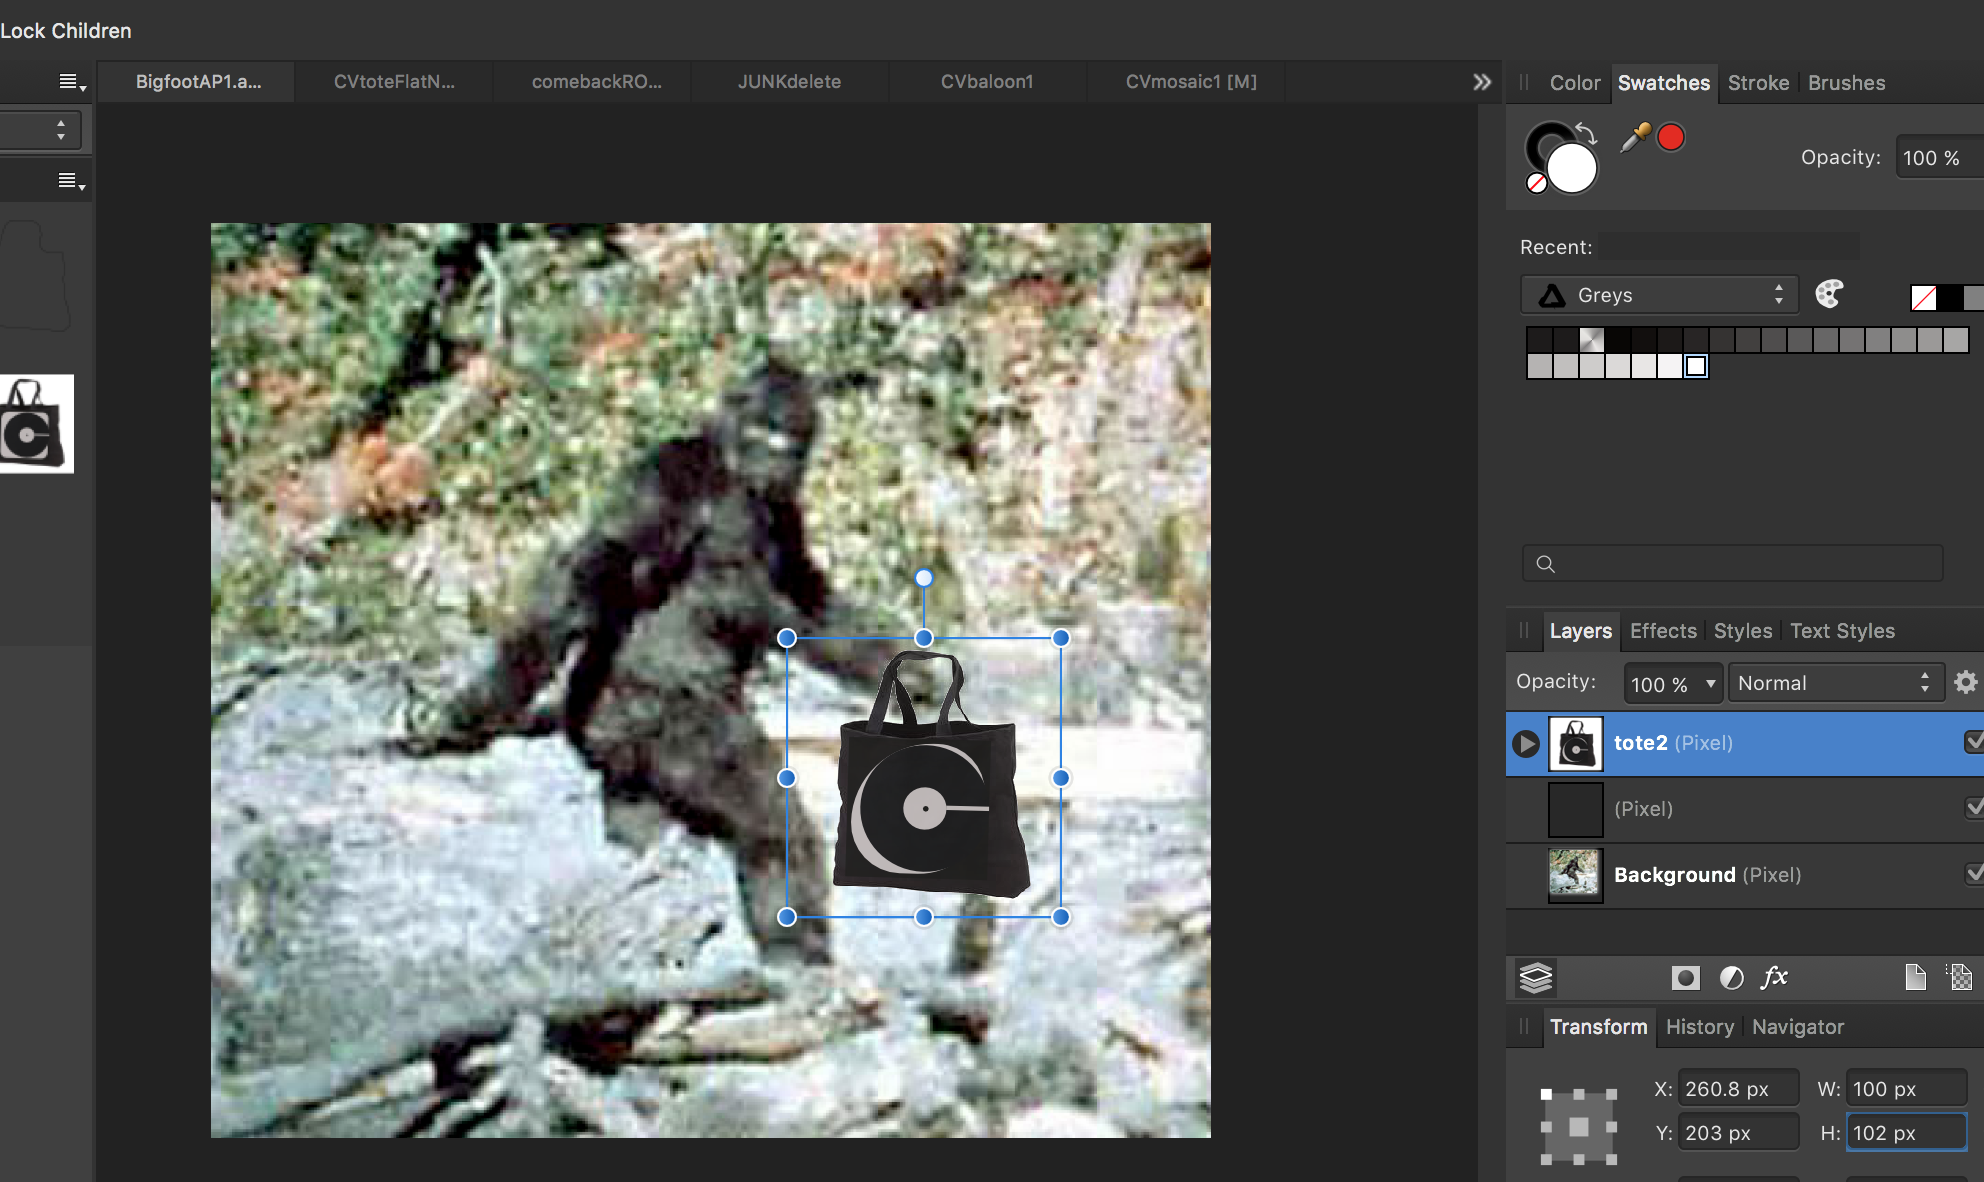
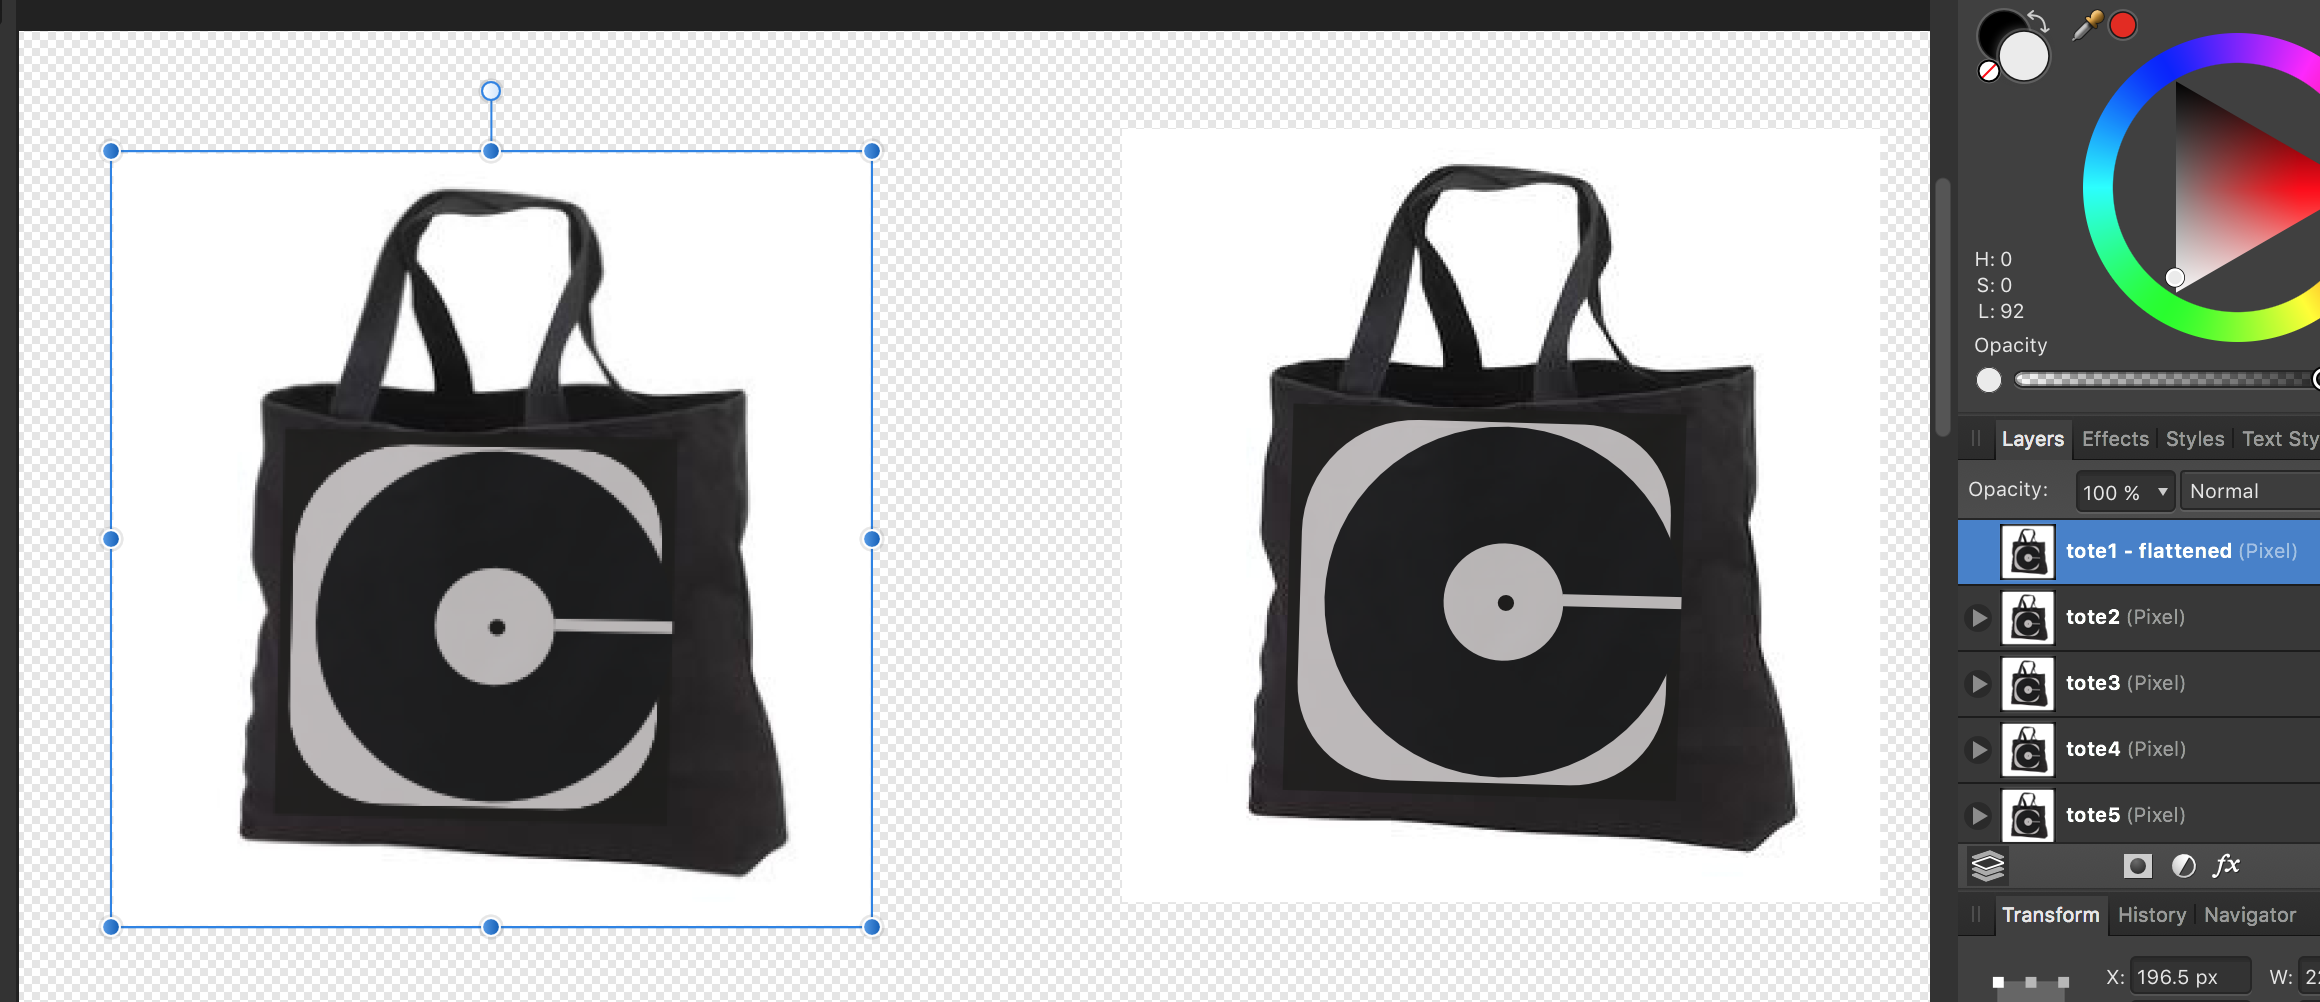
No doubt again something simple, again probably a simple fix, but I've already conceded my infant level AD knowledge - help please. How do y'all explain the following behavior upon my reducing the image size in AD, on a 3 month old MacBook Pro running AD 1.5? I've attached 4 thumbnails below to help illustrate. I drag a me-made asset (that stupid black tote bag) onto a photographic image of Bigfoot in an attempt create a crude image of him carrying a black tote bag with a logo on it. Obviously, the scale of the tote is way too large so I begin to reduce it's size. I used both the Transform Panel (W+H) as well as constraining via Shift/Drag. In both cases, the smaller I reduce, the more I see proportional changes in certain layers in the logo (which are grouped). I did NOT have the 'Loch Children' box ticked - would this have bearing on the effect I'm getting? Most obvious IMO is the change in the curvature around the black 'C'...just saying. Thanks for any help! (I love playing with this program - can't wait 'til i have a better grasp of it all) -Christo
-
Evening folks - quick question, How does one delete an Asset I created and added to the Assets panel it is no longer needed? Didn't want to start hitting 'delete' until I knew this correct procedure. Appreciate it. -Christo
-
R C-R, Pretty sure I have the latest version, but I'll check in a few hours when I have access to my laptop. I just downloaded it about 30 days ago - assuming it's the latest version. Thanks. -Christo
-
R C-R, Pretty sure I have the latest version, but I'll check in a few hours when I have access to my laptop. I just downloaded it about 30 days ago - assuming it's the latest version. Thanks. -Christo
-
Follow-up question R C-R, When in ADesigner under File options, the 'Edit in Photo' function is grayed out/deactivated. Possible reasons for this? In APhoto in File options, I was able to use the 'Edit in Designer' without any problem. Is there a preference/option box somewhere in AD that needs to be ticked? Thanks for any help, -Christo
-
Worked like a charm. Thanks again R C-R! -Christo
-
Very cool - knew nothing about that function, and I really do try to 'discover' these things on my own before having to ask. Thanks a ton R C-R for the quick response - I'll give this a go this evening. -Christo
-
Could someone please walk me through the steps required to insert an image I've created and saved as an Asset in AD 1.5, that I know want to insert in a photographic image I have in AP? I'm early in the learning process and still shaky on some of the most basic of operations. For example, I am unsure of the best/proper way to combine two separate documents (in this case, one in AD containing the Asset with the photographic image I referred to in AP) in order to lay the one on top on the other. Would this require me to export the AD Asset as a slice, then import into AP? I really am lacking in knowledge here, apologizing in advance for the elementary nature of the question. I'm working on a new MacBook Pro with AD 1.5 and just-purchased AP software. Thanks all! -Christo
-
...BTW, I've also recently purchased AP but have not messed with it yet - the plan was to get a good grip on Designer first then tackle Photo. However, the situation mentioned above sounds like it may be the ideal starting point for my foray into AP. Thanks again guys - hope you know how much I appreciate your guidance. -Christo
-
Thanks guys!...will try this afternoon. -Christo
-
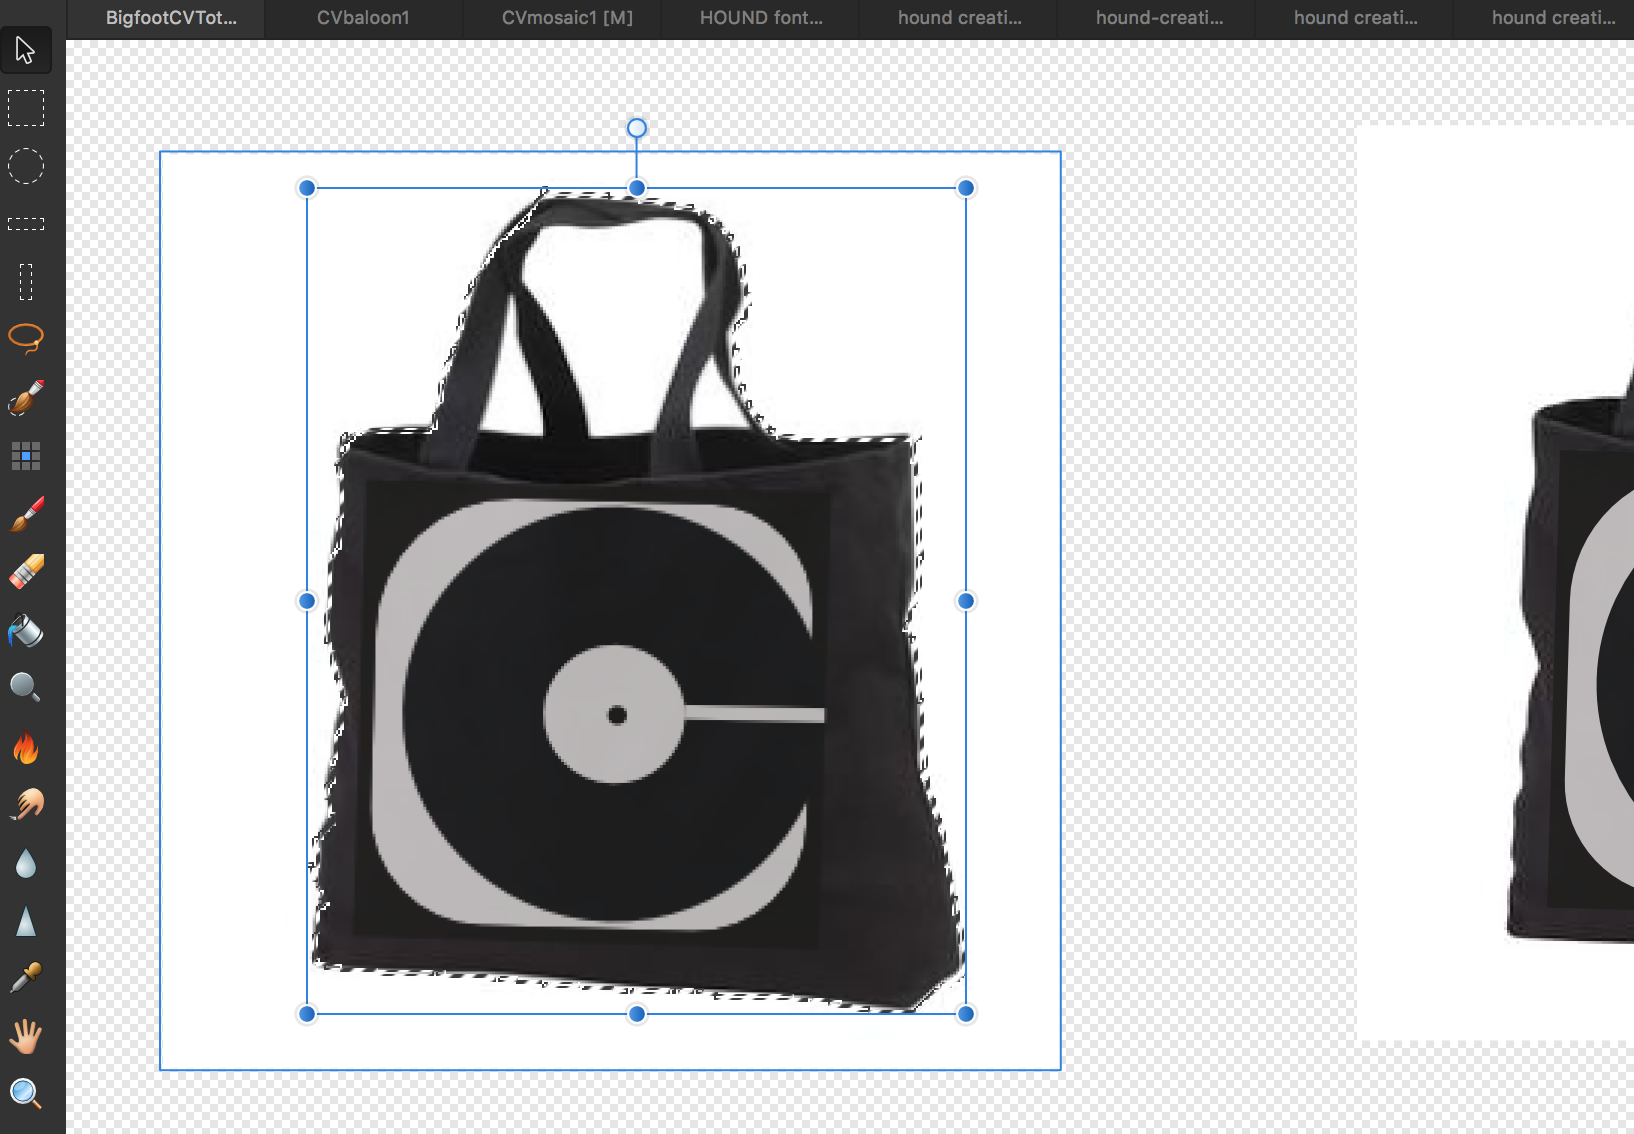
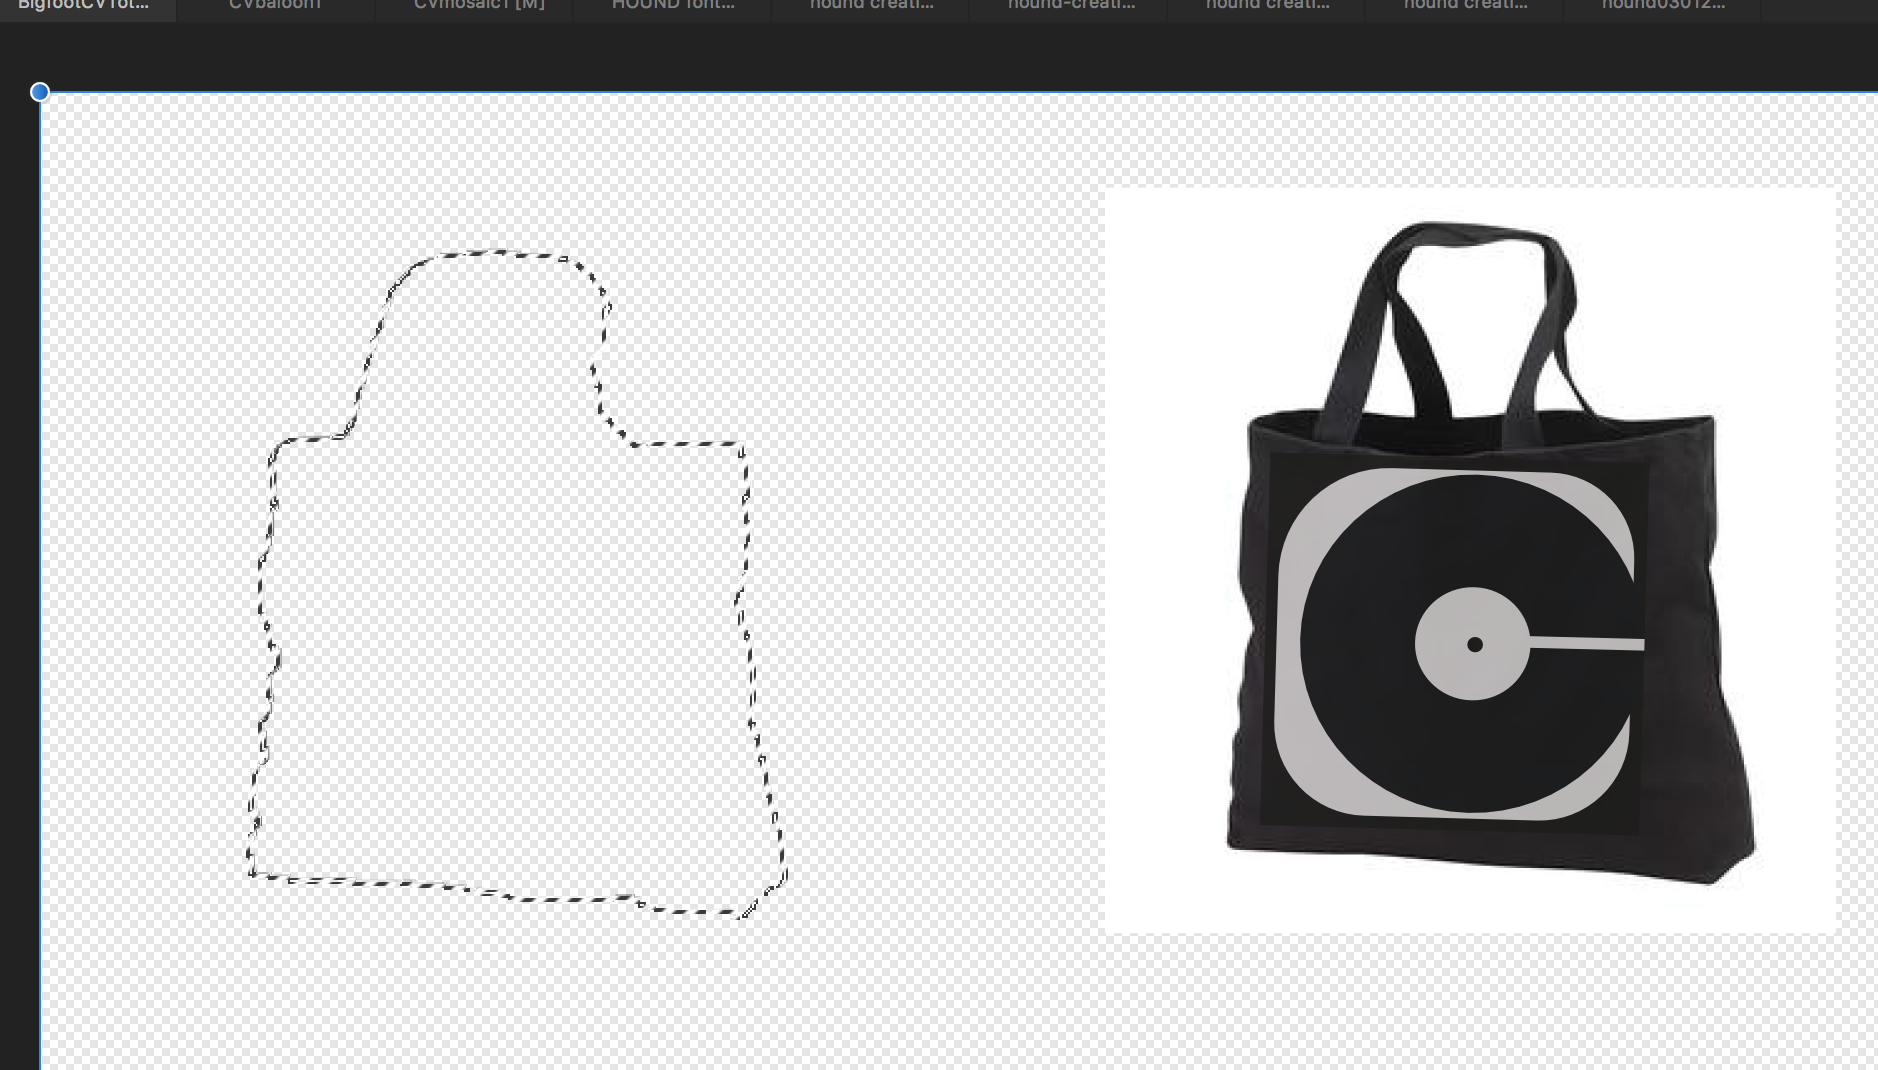
Dudes/Dudettes, a little help please... Missing something obvious and simple again, I'm sure - and I've sincerely tried to research the forums myself, doing my own leg-work but am just stuck on this one. This time I brought along some visual aides. Working on a MacBook Pro with AD 1.5, all I am trying to do is remove the white background behind this black tote back (see images below). After surveying the forums, I understood that in order to accomplish this I needed to do the following (please point out my error): 1) add new Pixel layer over image 2) outline the image wanting to kept using Selection tools (I used the Brush selection tool)...pardon the crudely traced selection line, I'm just practicing 3) Invert the Pixel selection (I used the Ctrl+Shift+I keyboard shortcut)... **this is where I'm stuck - a post in the forum says to now 'paint in the selected area'. Would I not used the In-Fill tool by selecting a color then clicking on the selected area? This is what I tried, yet was unable to paint-in the selection. Feel like a major dork here guys - what am I missing? -Thanks as always AD Fam, --Christo